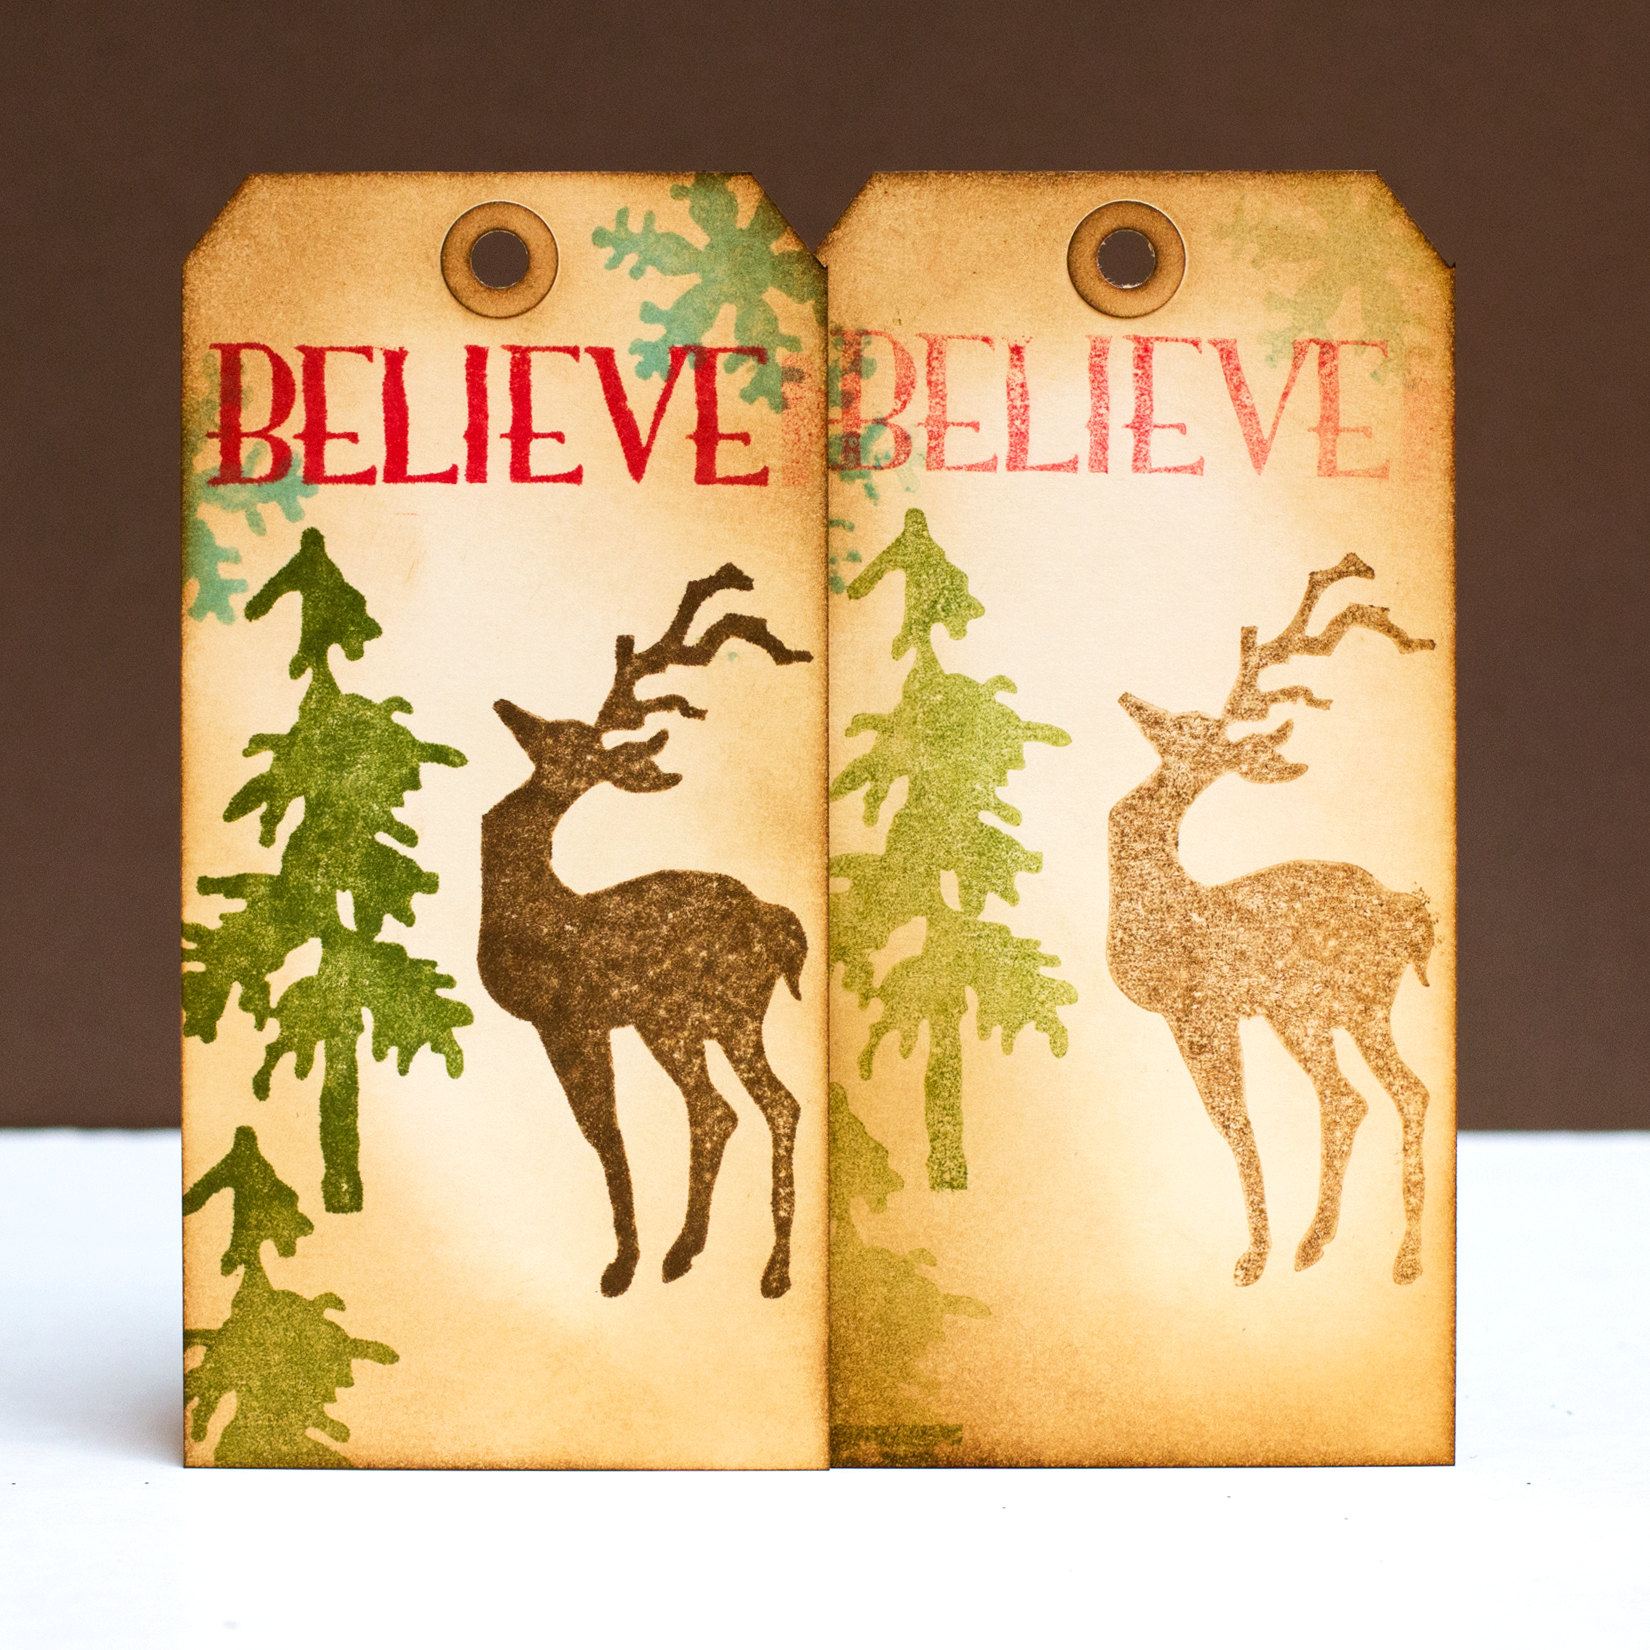
One of the techniques shared in the Online Card Classes Tim Holtz Creative Chemistry 102 class was smudge stamping with distress inks. The idea being that you stamped once, then stamped a second time and smudged the stamped image. I attempted this technique, but I wasn’t able to smudge the ink.

I don’t know if my distress ink pads aren’t juicy enough, or whether I wasn’t smudging the right way. At any rate, trying the technique gave me an opportunity to use the Tim Holtz Seasons Silhouettes stamp set, which I bought when I first started stamping two years ago.
The trickiest part was using the sentiment stamp, which is a subway art stamp with several sentiments. I put sticky notes on the stamp after I carefully inked the “Believe” sentiment and also put sticky notes on the tag to block out the area in which I wanted to stamp. I finished off with some Vintage Photo around the edges. I think I like the first generation stamped tag the best. I’ll add ribbon, die-cut evergreen pieces, and maybe a bell to finish it off.

My smudging didn’t work either. Cute tags. I just bought the reindeer dies. Now I want the stamp. Or I could make one from foam. 🙂
Both tags are beautiful, Jean! I love all the texture on the reindeer and trees! Maybe you could try the smudge technique again next time you buy an ink pad, I would love to see it!
hmmmm… smudging… well, I haven’t tried this Jean! One of the first techniques I learned from Printworks years ago was to stamp and then spread the ink a bit with a wet paint brush. I’m trying to imagine what smudging looks like! I will ask Annette and Linda if they’ve tried it yet! Kinda like the chalkboard smudge but not white…
When I have a subway art type stamp, I just go ahead and cut it up but I don’t trim or cut anymore than the cuts necessary, then I can fit it right back together again, so it stamps complete the same as before I cut it up! Does that make sense? It works great!