Cards for Him

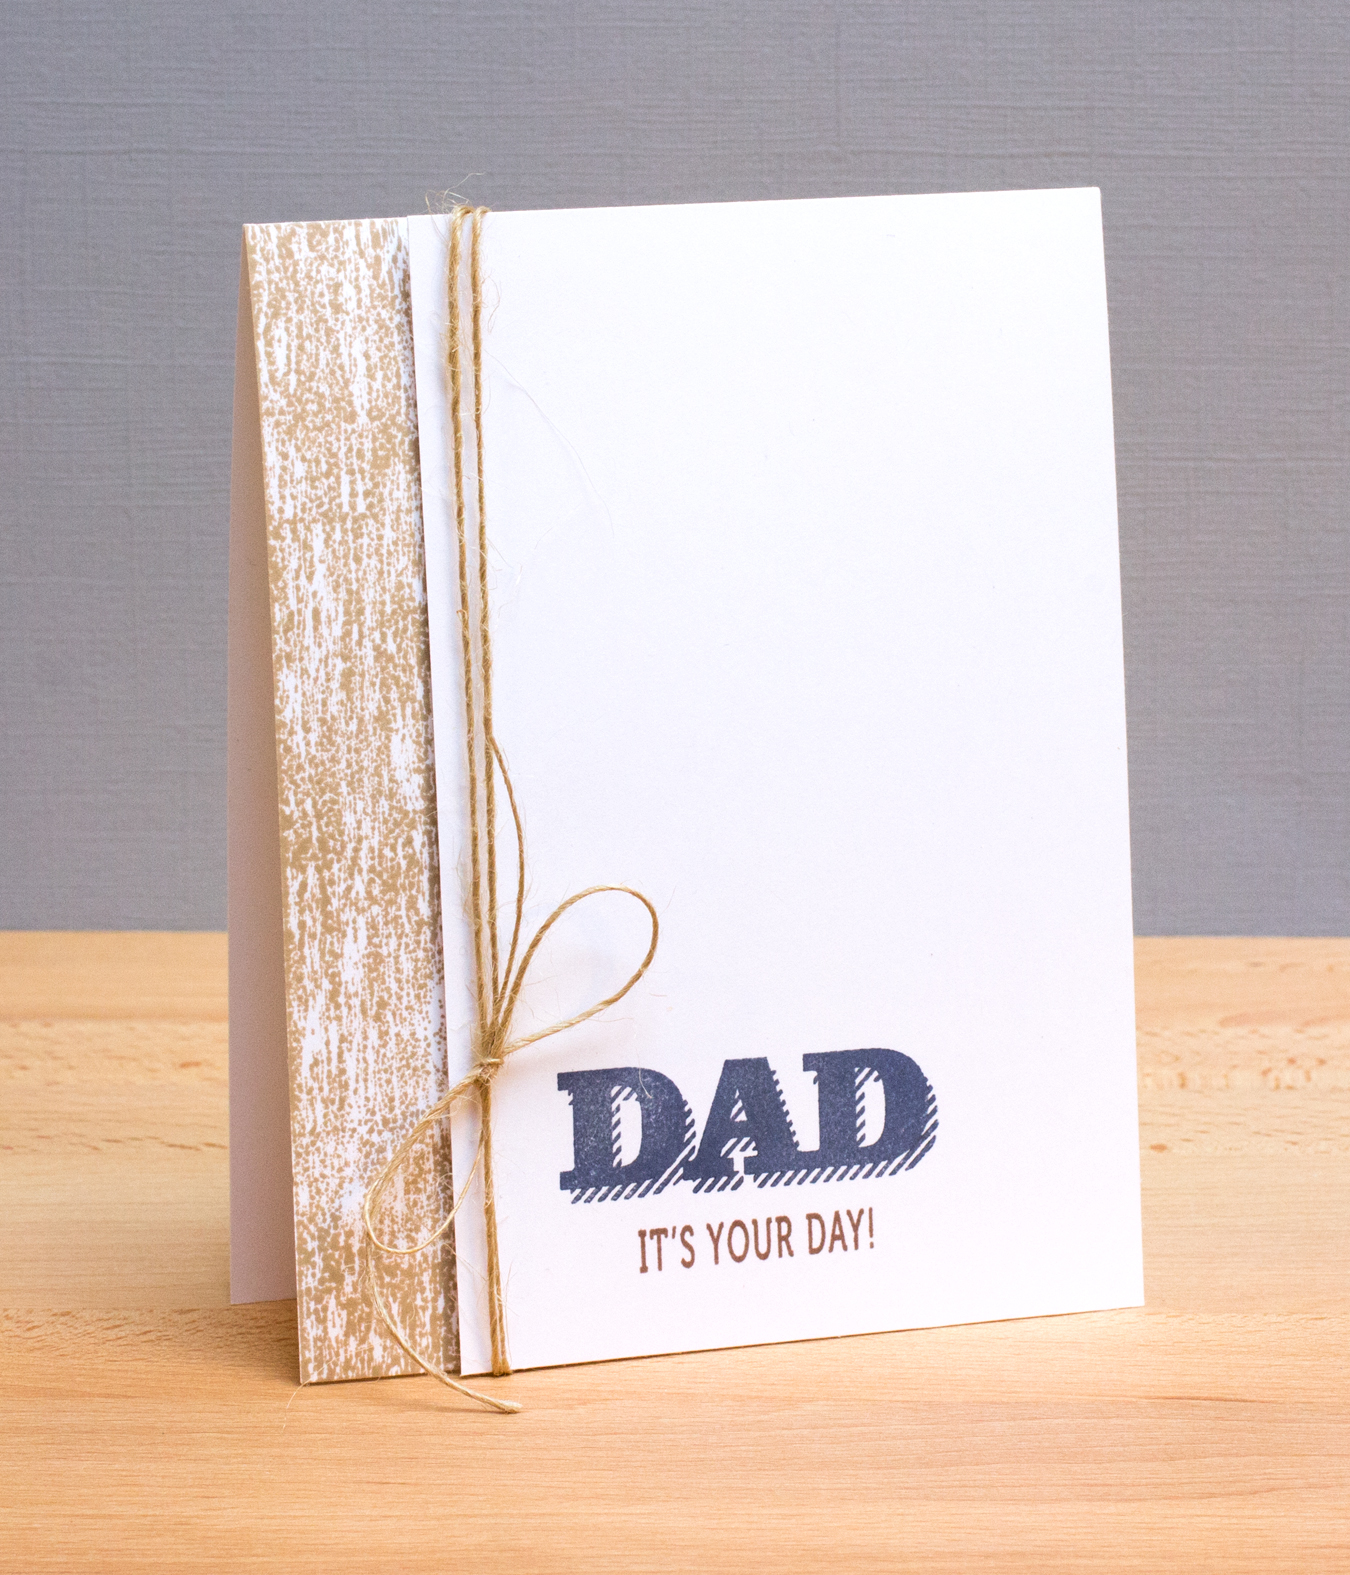
I’m sharing a few more cards from Catherine Pooler’s online class Cards for Him. The first two are variations of a card Catherine showed in a lesson on Nautical-themed cards. I used a border from WPlus9’s Dockside set with sentiments from the WPlus9 Super Star set. For the first card, I stamped “Dad” with Ranger green ink and on the second one I stamped it with VersaMagic navy ink.
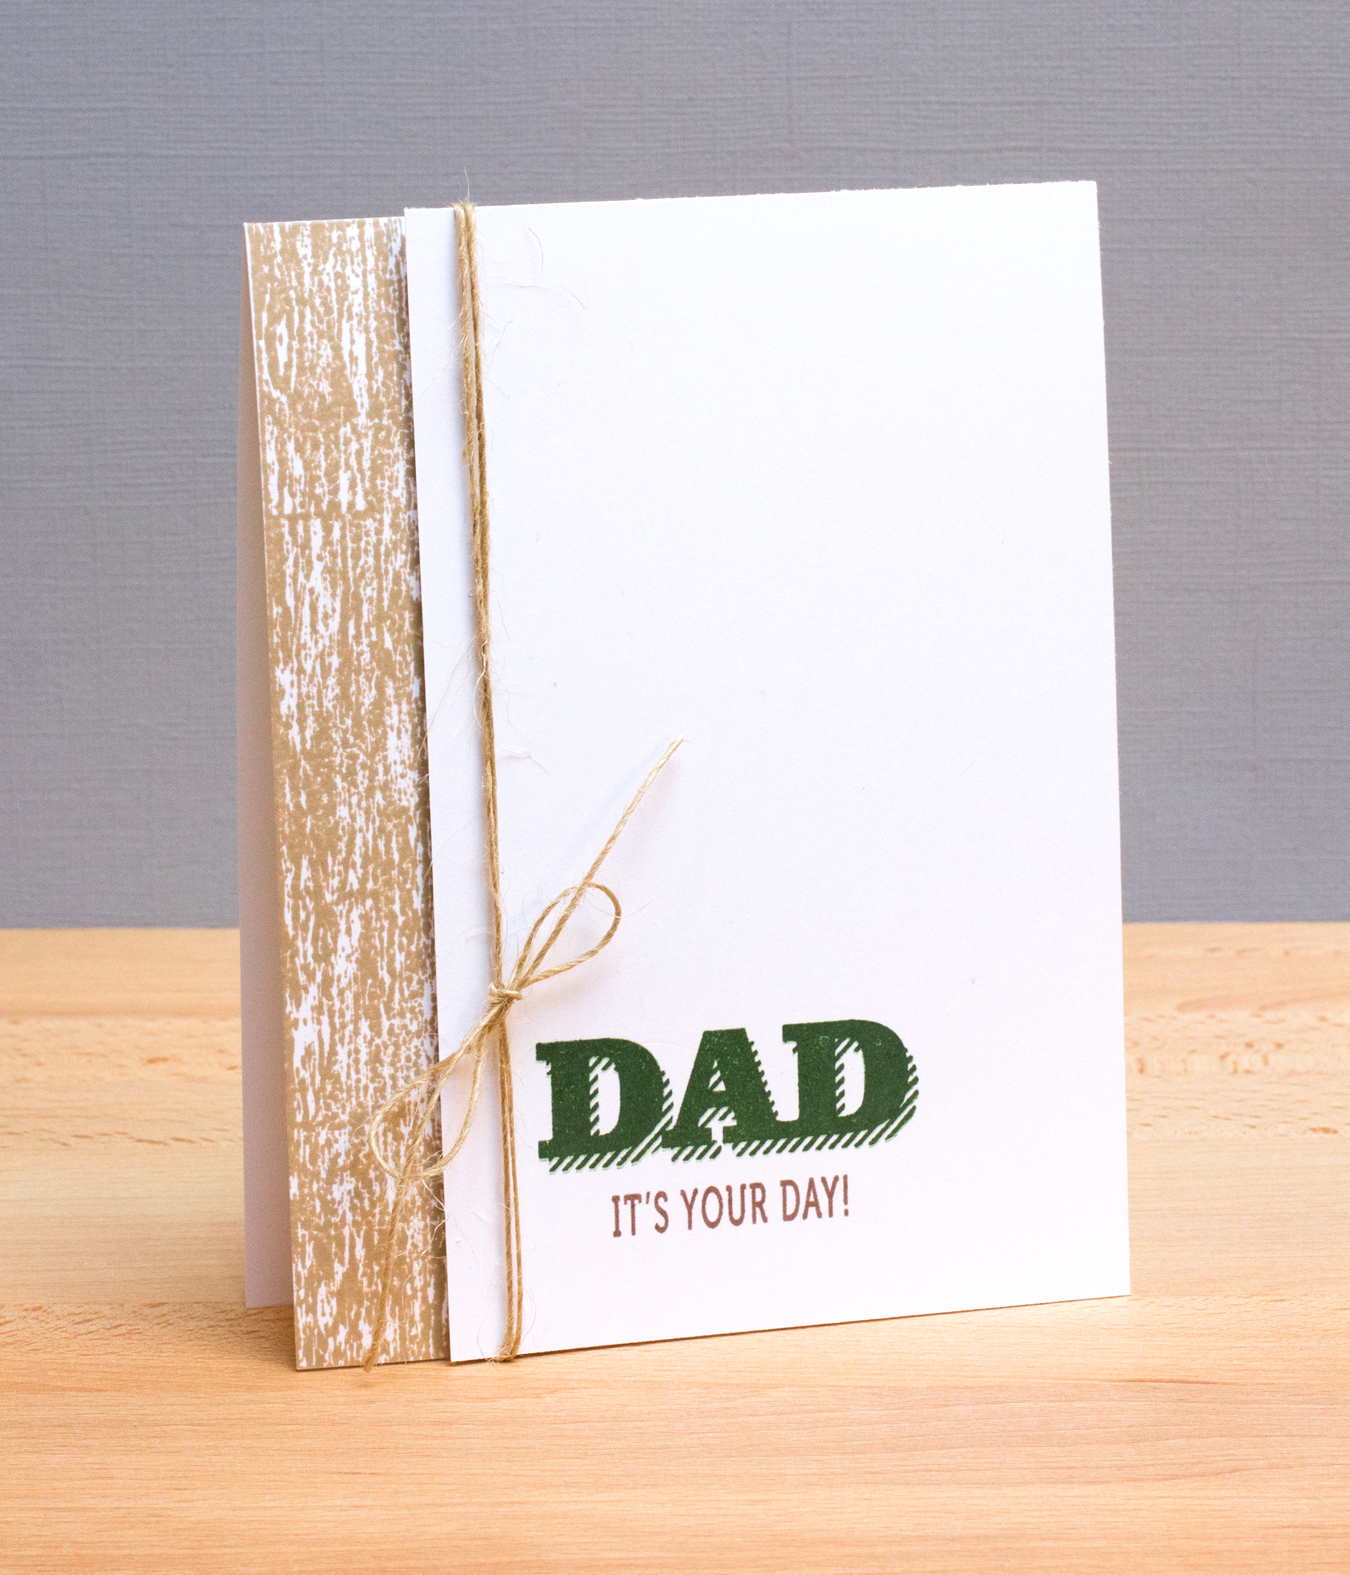
DadCardGreenDadCardNavyThe next card, also by Catherine, is a variation of one in the Graphics and Grunge section of the class.Celebrate
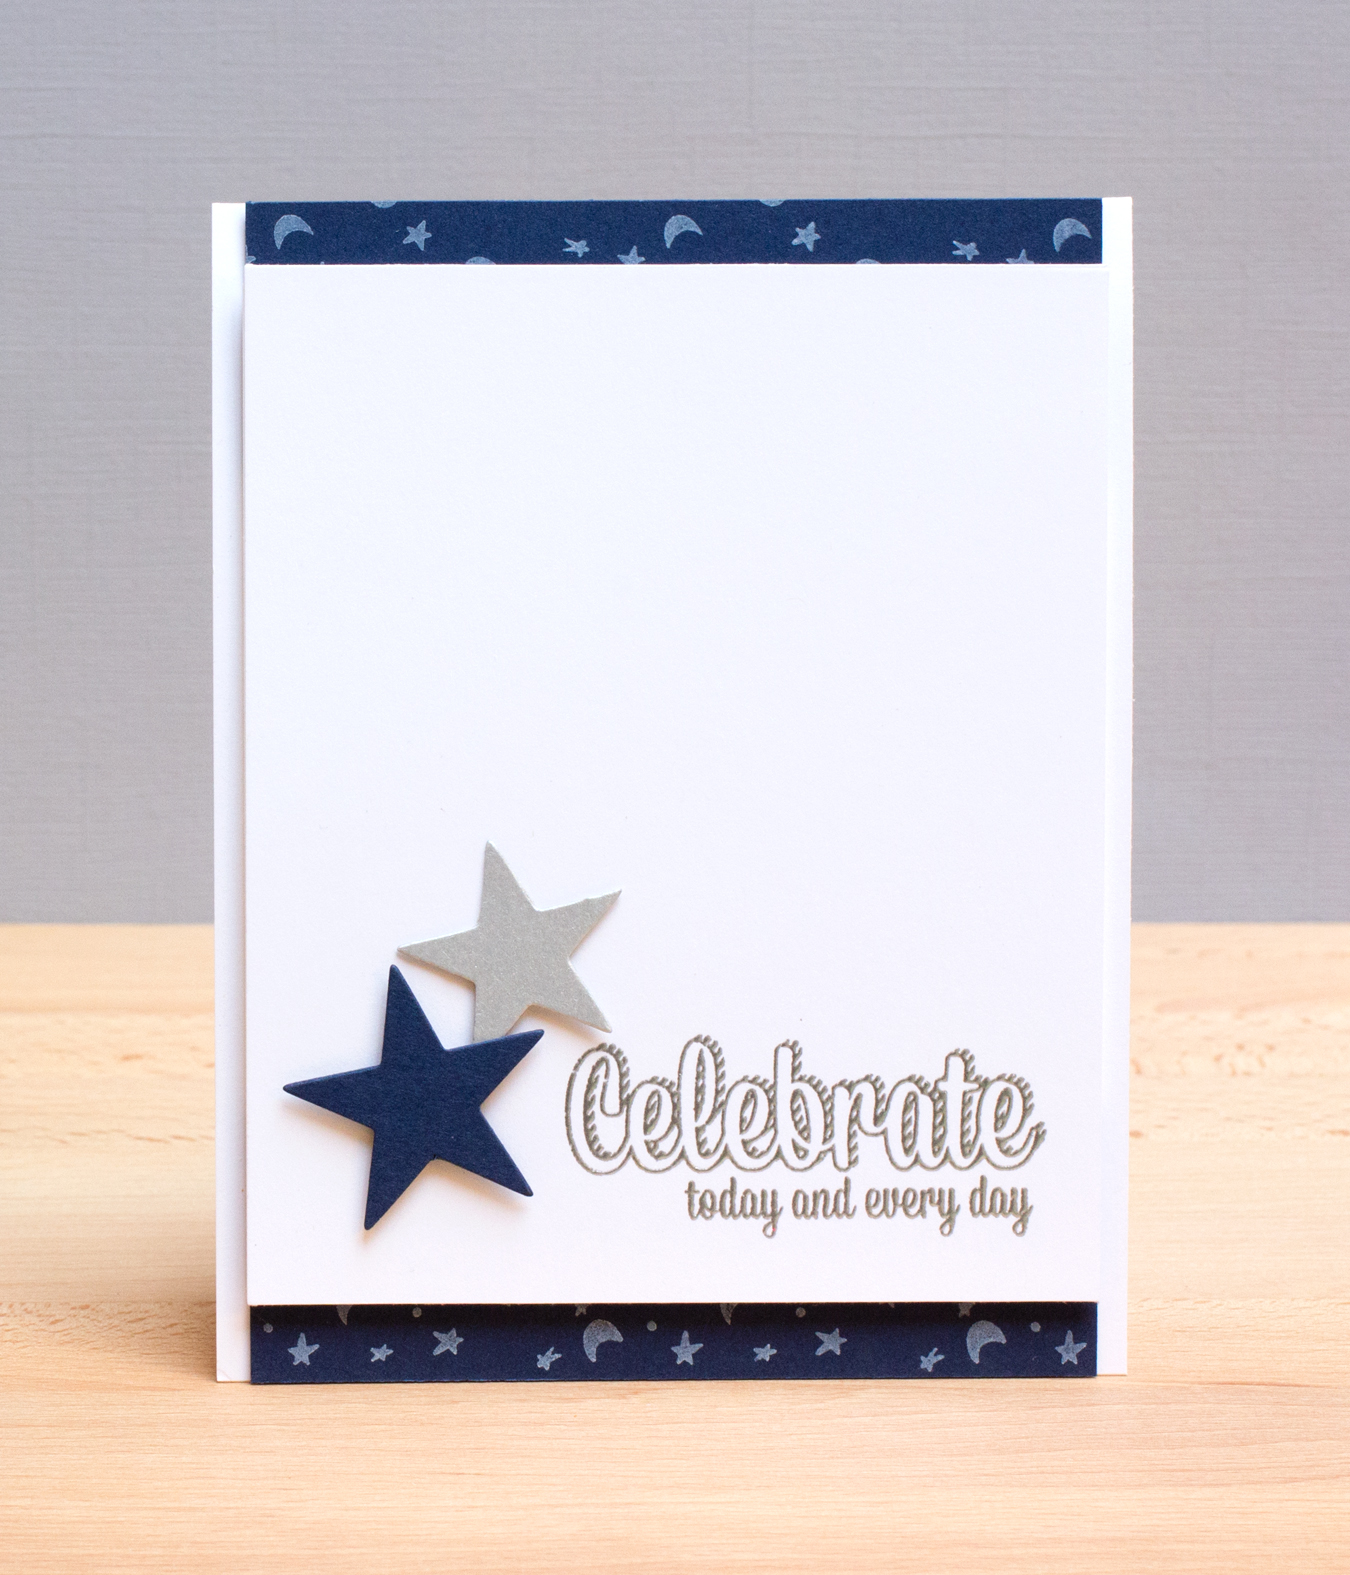
I really like this card design and see myself using it again and again.

The top and bottom panels are stamped with white ink on navy cardstock with a border from Avery Elle. I used a different Avery Elle set for the sentiment, stamped in Versamark and heat embossed with silver embossing powder. I added a couple of die cut stars for embellishment. This would be a fun graduation or birthday card. Navy and silver just happen to be my eldest son’s college colors.

I had quite the “a ha” with these card design, realizing the huge potential with border stamps and strong sentiments!

OCC Watercolor Day 1

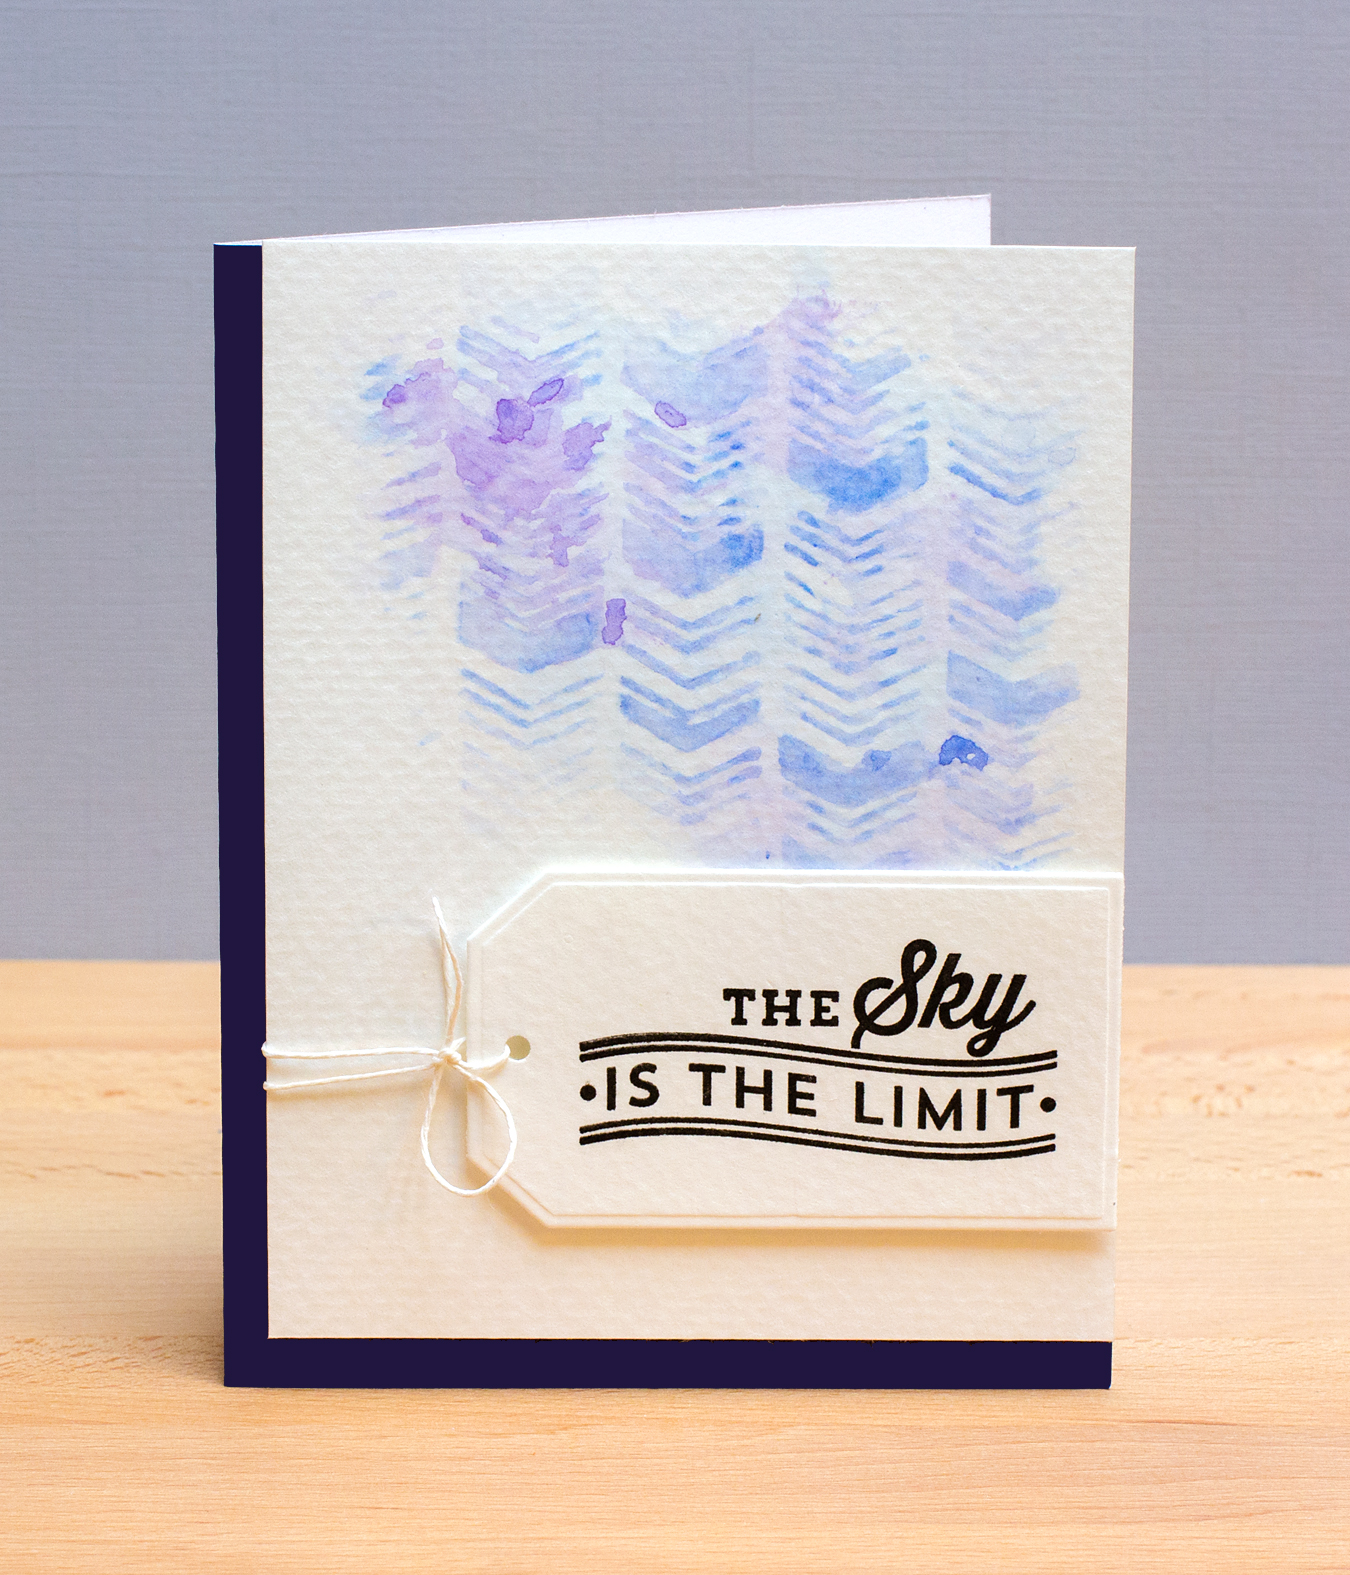
Today is Day One of the Online Card Classes Watercolor for Card Makers class. My card is a CASE of the one shown by Jennifer Rzasa.

OCC Watercolor Day 1


The focus of today’s lesson is on creating backgrounds with watercolors. I used Strathmore 140 lb coldpress paper and pan watercolors. I applied several shades of watercolor to a wet background, then I brushed several of the colors through a Studio Calico stencil. Jennifer shared a method in which she put the stencil on top of the wet painted paper, weighted in down, and allowed the paint to puddle up through the stencil. I tried this and met with no success. I also tried using Distress Inks on Ranger watercolor paper and the results weren’t to my liking.

My favorite thing about this card is the design. I really like adding a sentiment with a tag.

Additional Supplies: My Favorite Things sentiment and tag die

Poppystamps: Starry Night

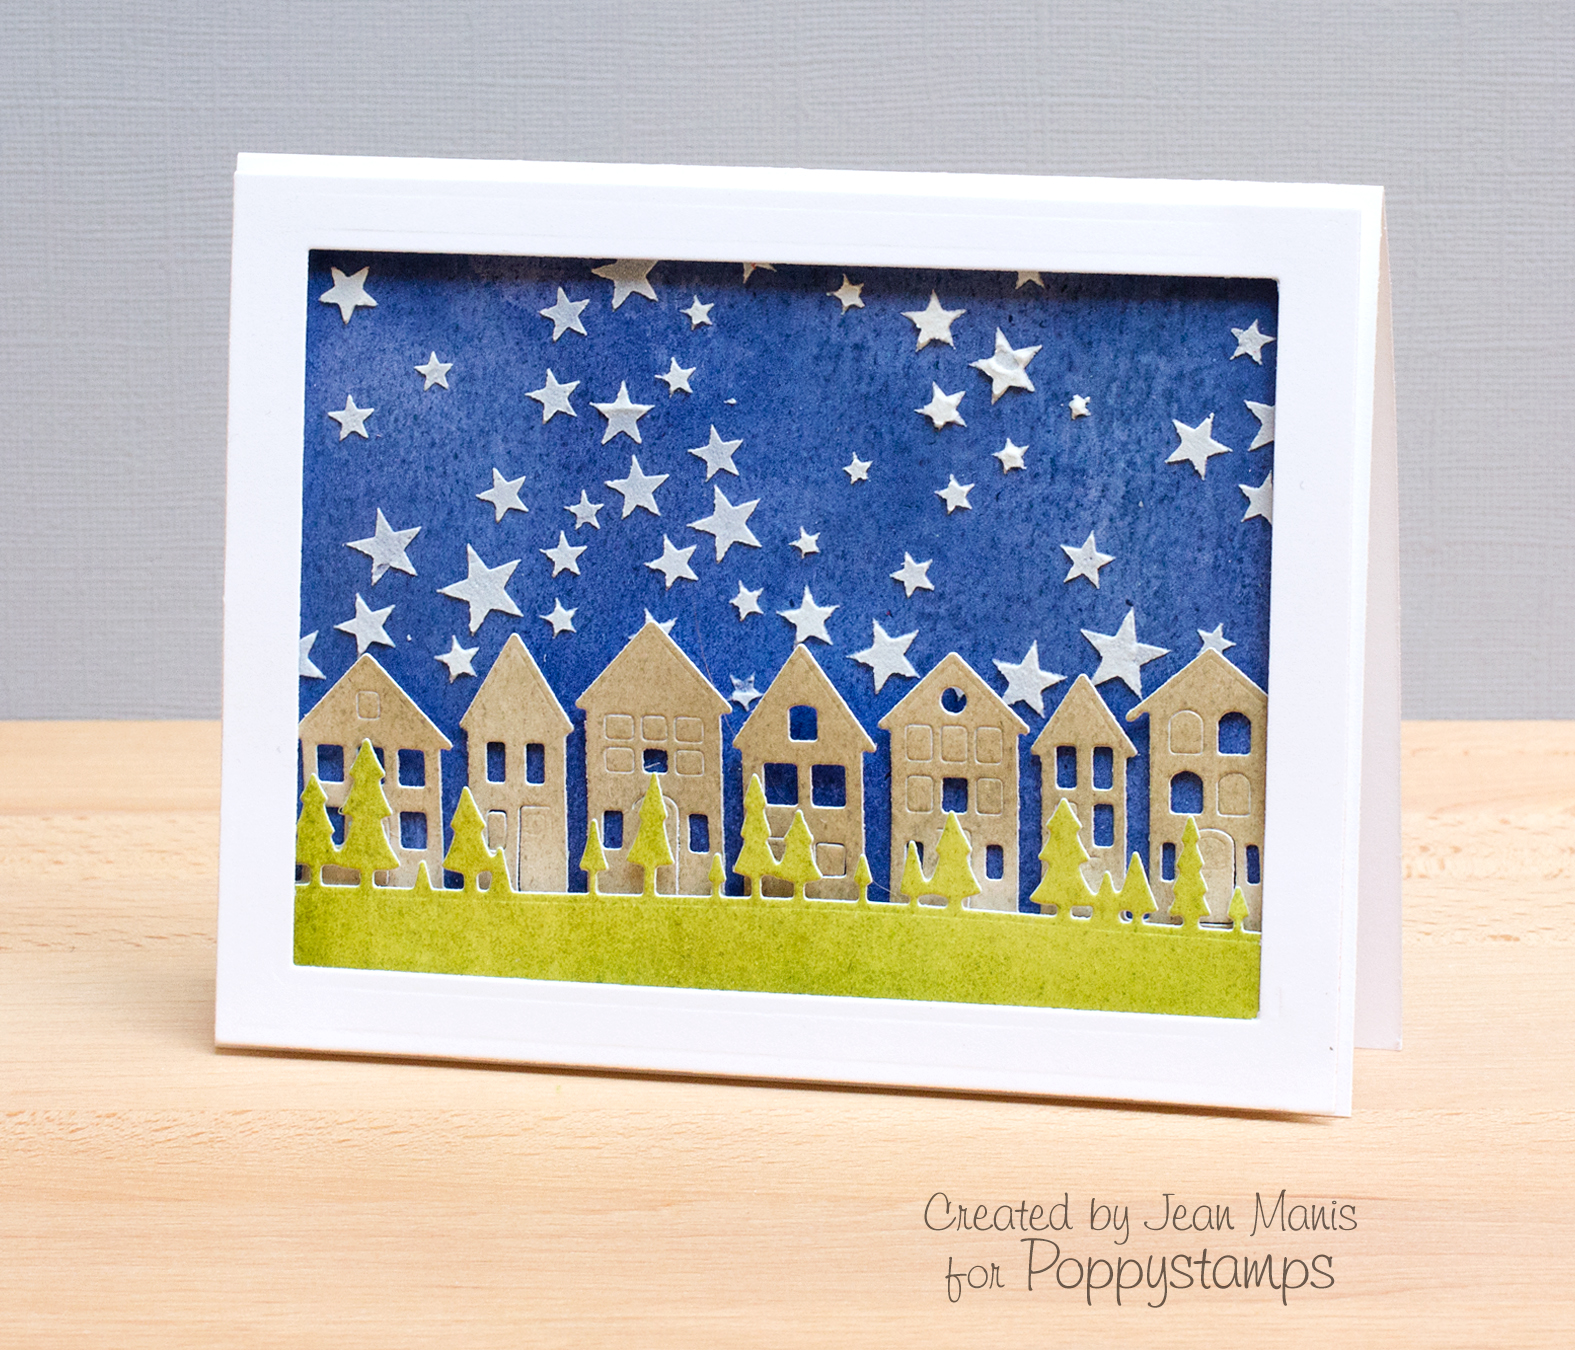
Hello, today I’m sharing a card created with Poppystamps dies and a Memory Box stencil suitable for any occasion. My inspiration was a clear night in the Pacific Northwest. Year-round we have beautiful evergreen trees, and the Pine Tree Border fits perfectly with the Brevilla House die. We’re more apt to have a clear night during the summer.

HousesMay2014

To begin, I colored three watercolor panels with Distress Inks. I die cut the panel colored in earthtones with the Brevilla Houses die, and I die cut the green-colored panel with the Pine Tree Border. I intentionally left some of the windows in place in the houses for some variety. Finally, I applied embossing paste through the Starry Nights stencil onto the panel colored in dark blues.  Before applying the embossing paste, I covered up the largest stars in the stencil with washi tape. Even though the stars aren’t realistically in scale with the houses, the largest stars would have thrown off the balance considerably.

Supplies:

Cards for Him

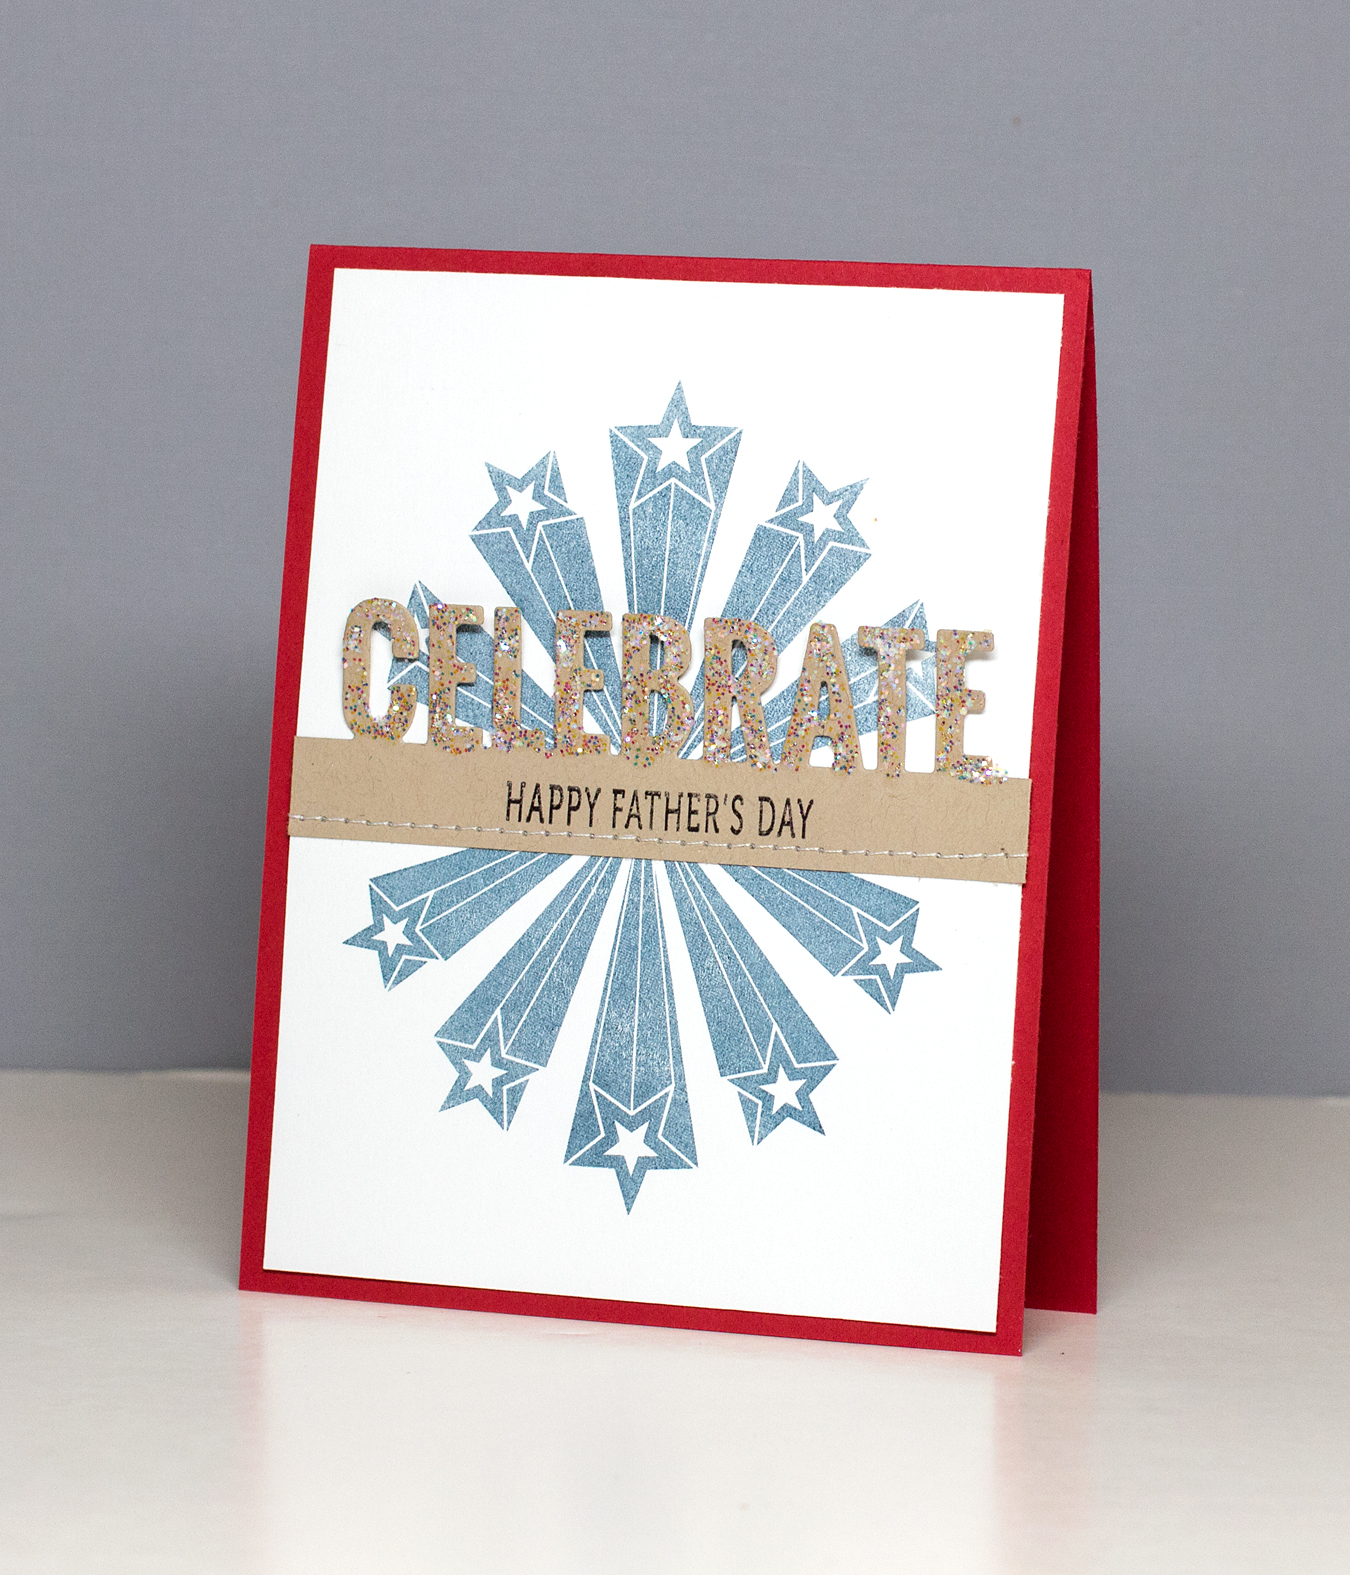
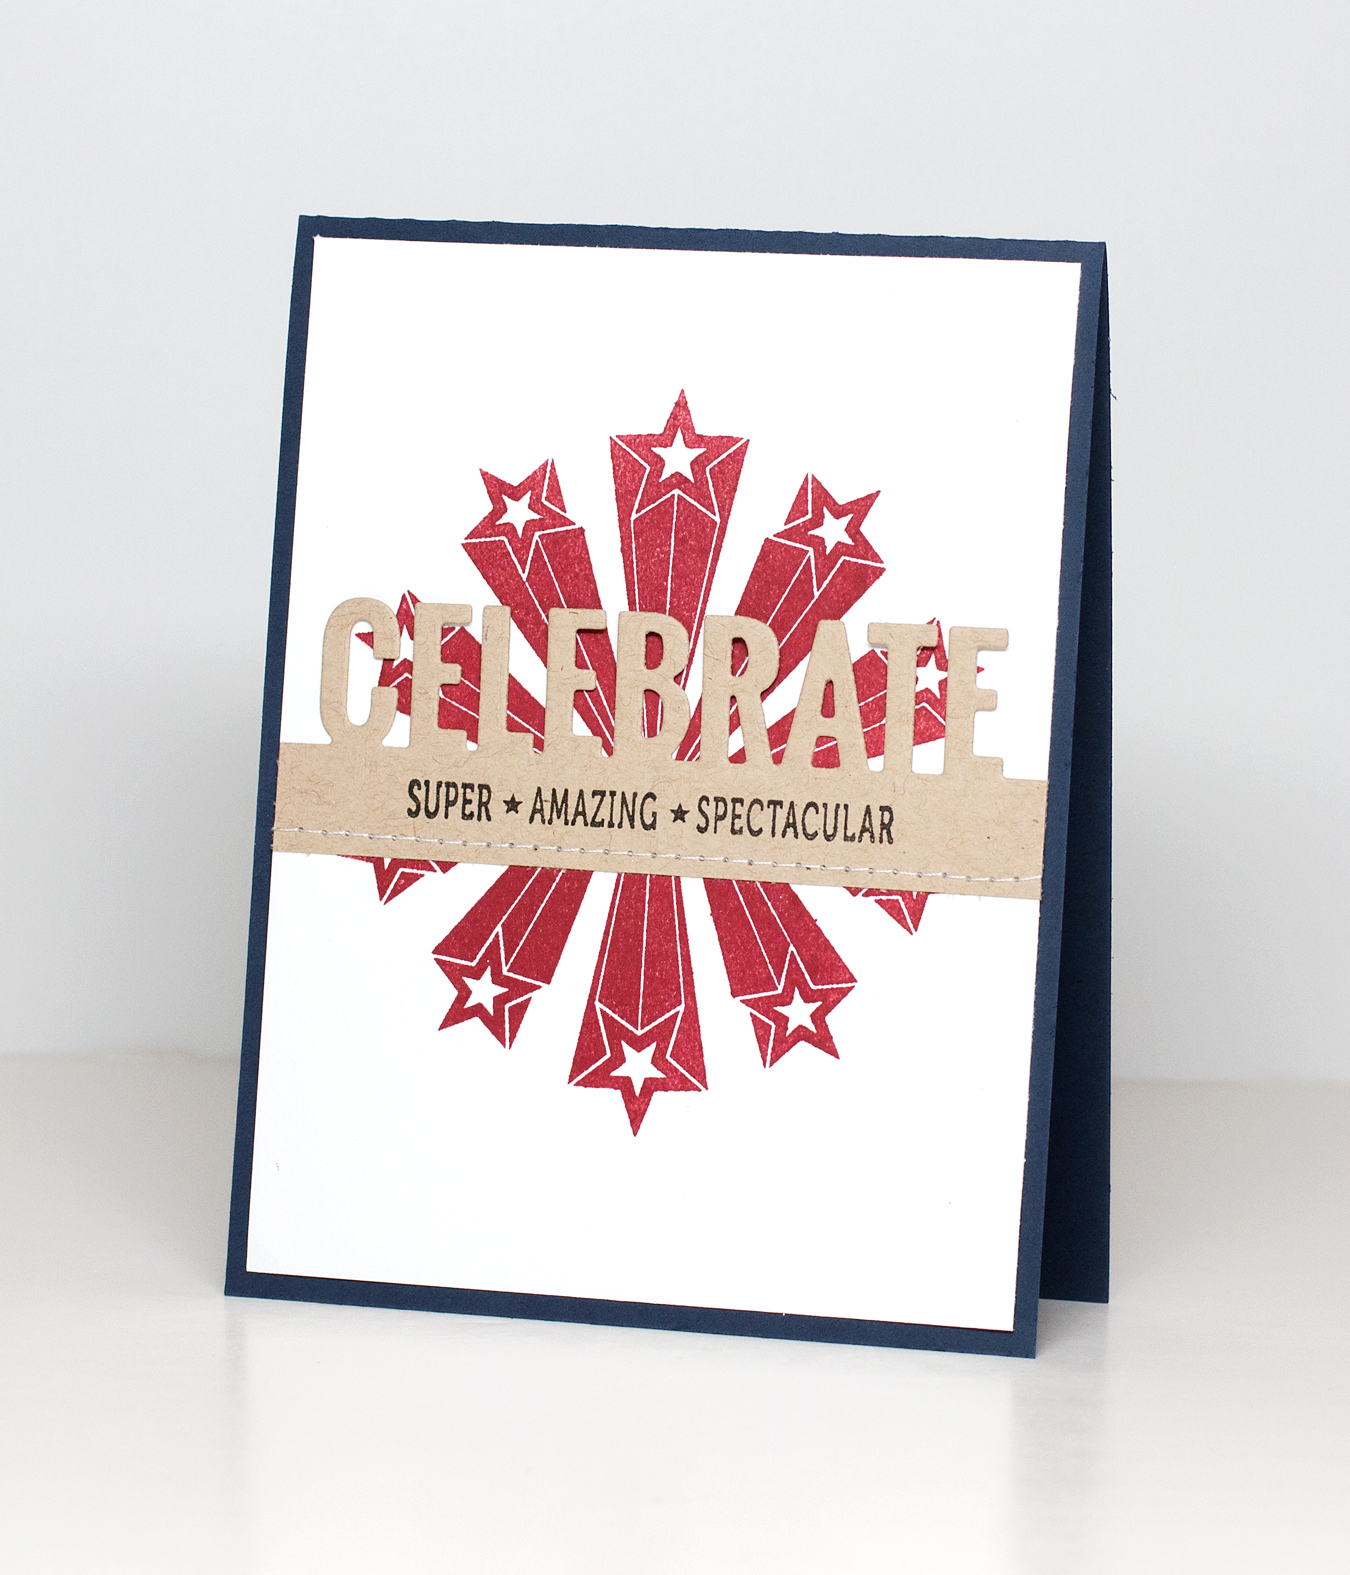
I recently joined Stamp Nation and immediately enrolled in Catherine Pooler’s latest class “Cards for Him.” Today, I’m sharing three variations of a design from the class by Iwona Palamountain. I didn’t make a card that exactly copies Iwona’s card, but rather played with color and texture; the focus of the lesson was texture.

Celebrate

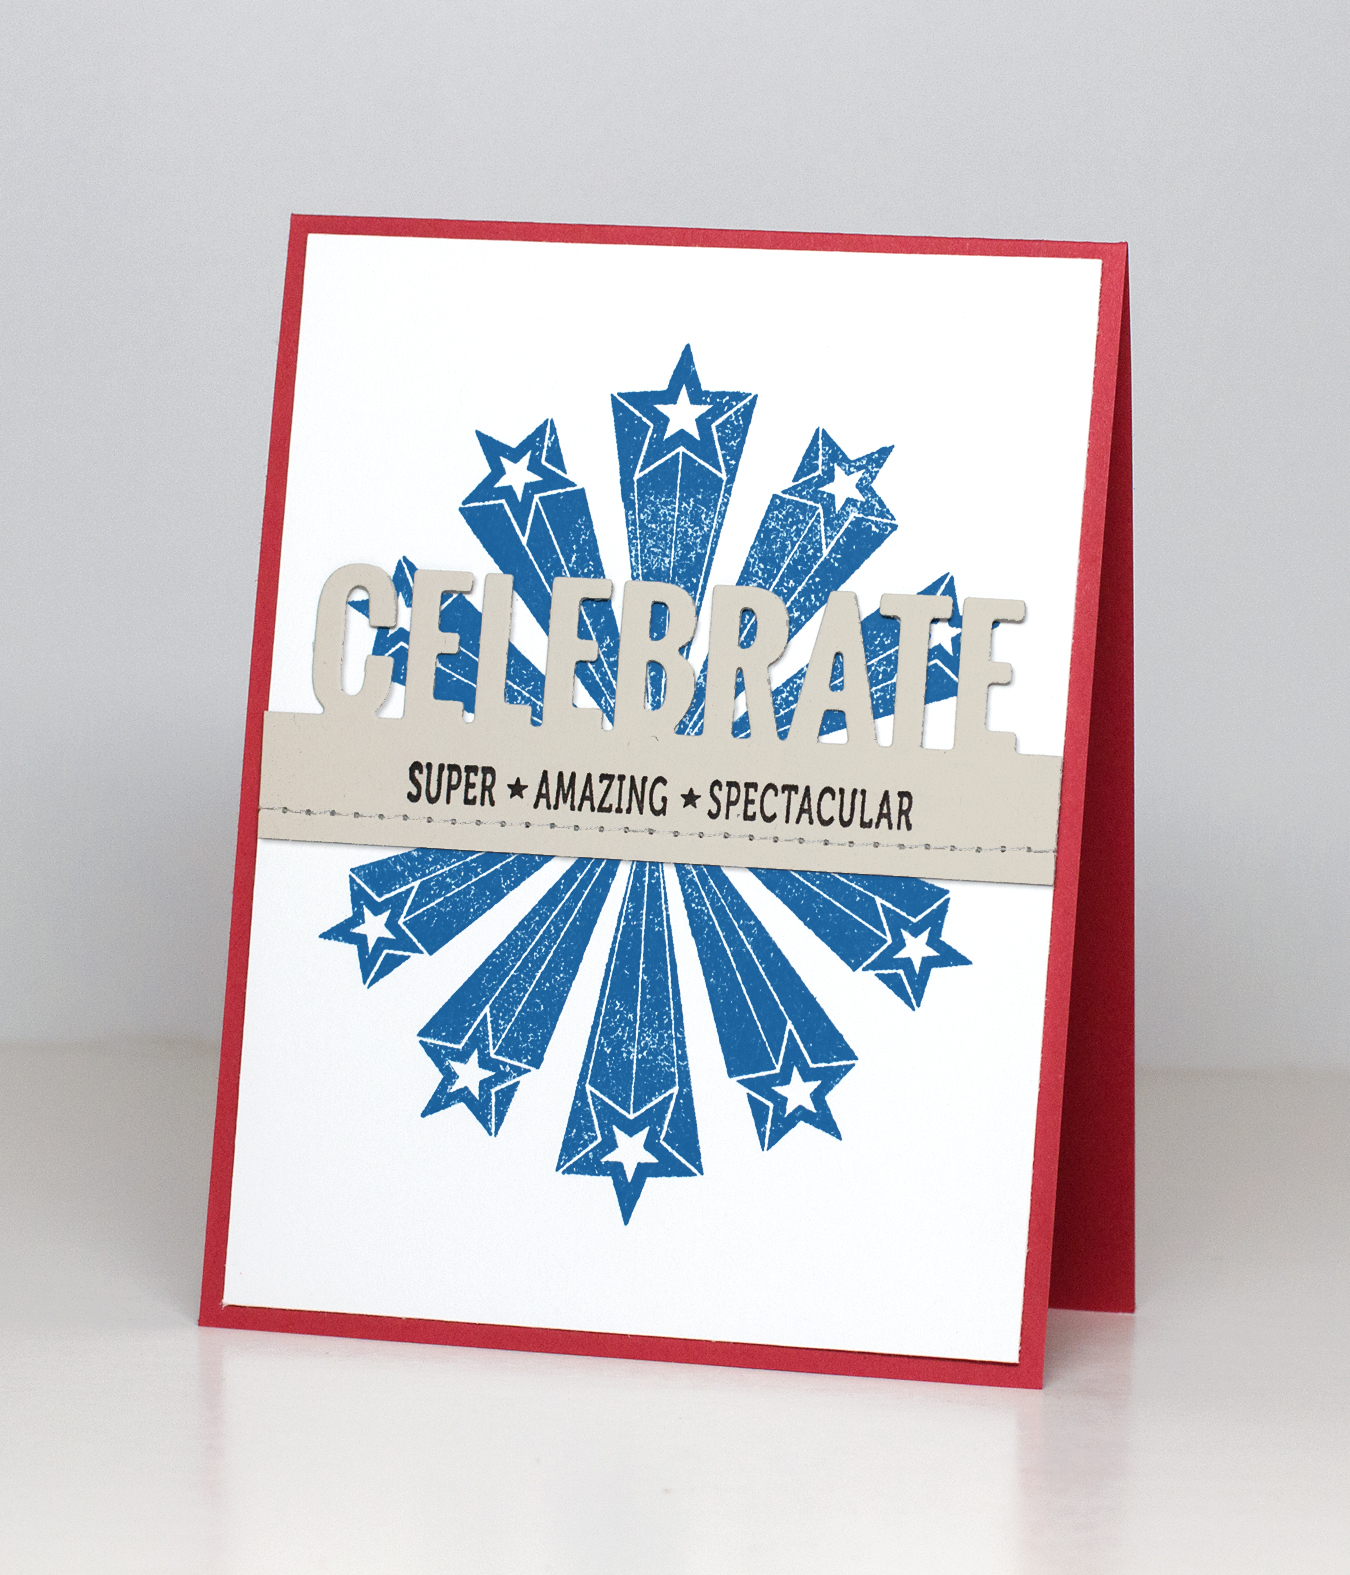
For this first example, I machine stitched the MFT die cut to the stamped card panel. The starburst from WPlus9 is stamped with Memento Nautical Blue.

Celebrate2

For the second card, stamped with Fresh Ink (pigment ink from Impress), I machine stitched and added Stickles to the die cut.

Celebrate3

For the third version, I stamped the starburst with Stampin’ Up ink and was really pleased with the coverage. I kept this one simple texture-wise with just some machine stitching. I also stamped this one more the way Iwona had stamped hers. In the two cards above, the starburst is stamped in full. For this last card, I masked the card base and stamped less of the starburst. You can see there’s more white space.

I really like making variations to card designs especially when I’m trying to learn something. I’m planning to machine-stitch more often. It’s a relatively easy way to add texture. I’m also on the hunt for a navy ink to use with masculine cards that gives solid coverage. I’m planning to order the SU navy ink pad and have ordered one from WPlus9 as well.

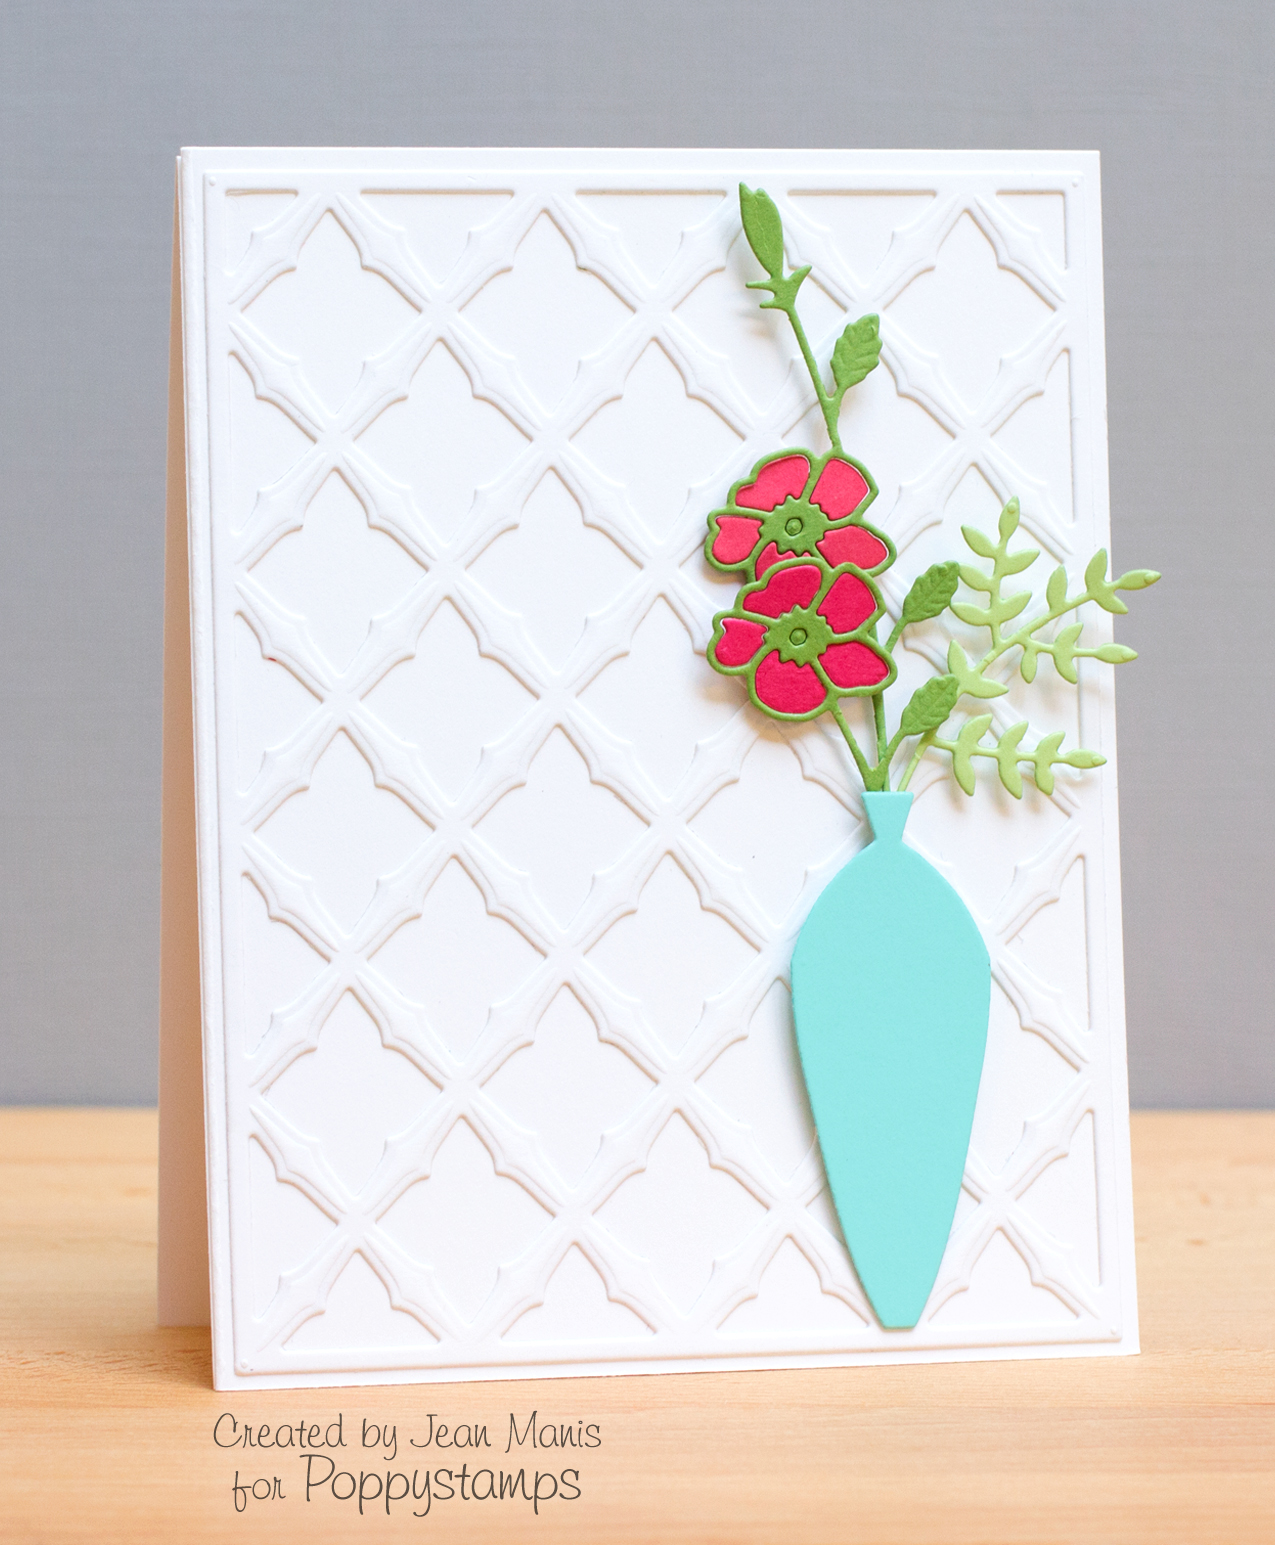
Poppystamps: Mother’s Day Bouquet

Today, I’m sharing a card created with a combination of Poppystamps dies that would work for any occasion, including Mother’s Day.

MothersDayMay2014

The Meso Background was cut out of white cardstock and attached to a white cardstock base. I cut the Meso Background from cardstock backed with a Be Creative tape sheet (cut to size). Although it can be a little tricky getting the die cut piece onto the cardstock base, it’s worth it, as there are no gaps in the adhesion.  I cut the Wild Rose Bud several times, out of green and coral-pink cardstock. I added a sprig of greenery to the bouquet in the Tall Vase.

Supplies: