
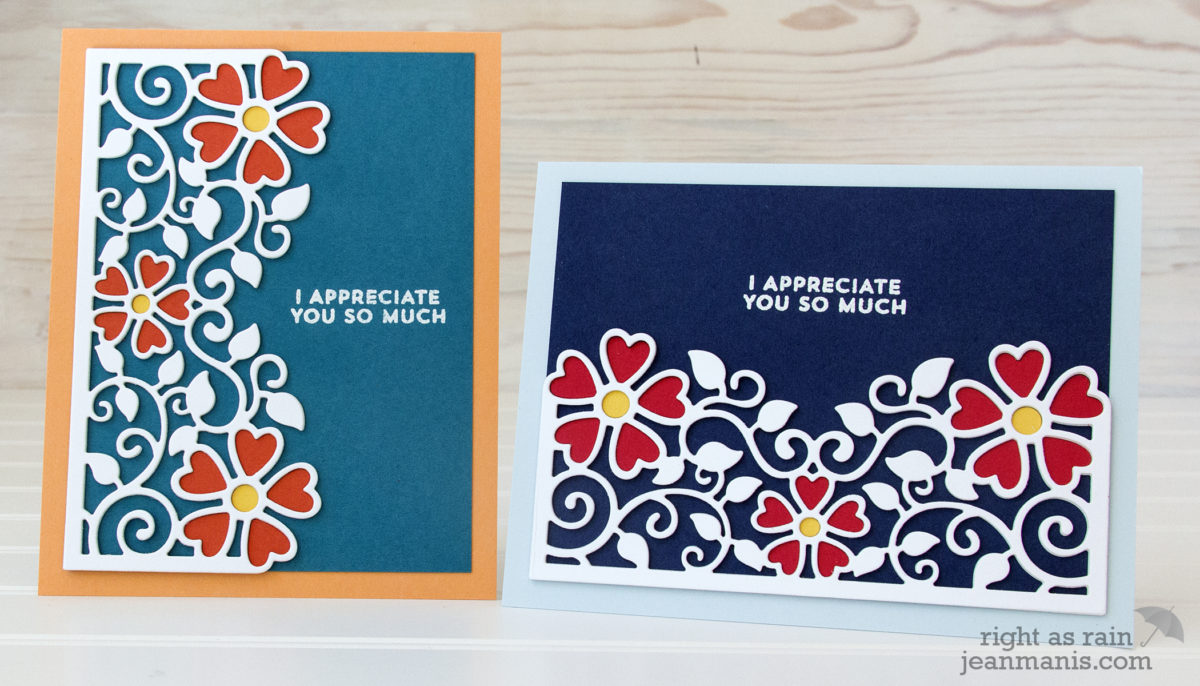
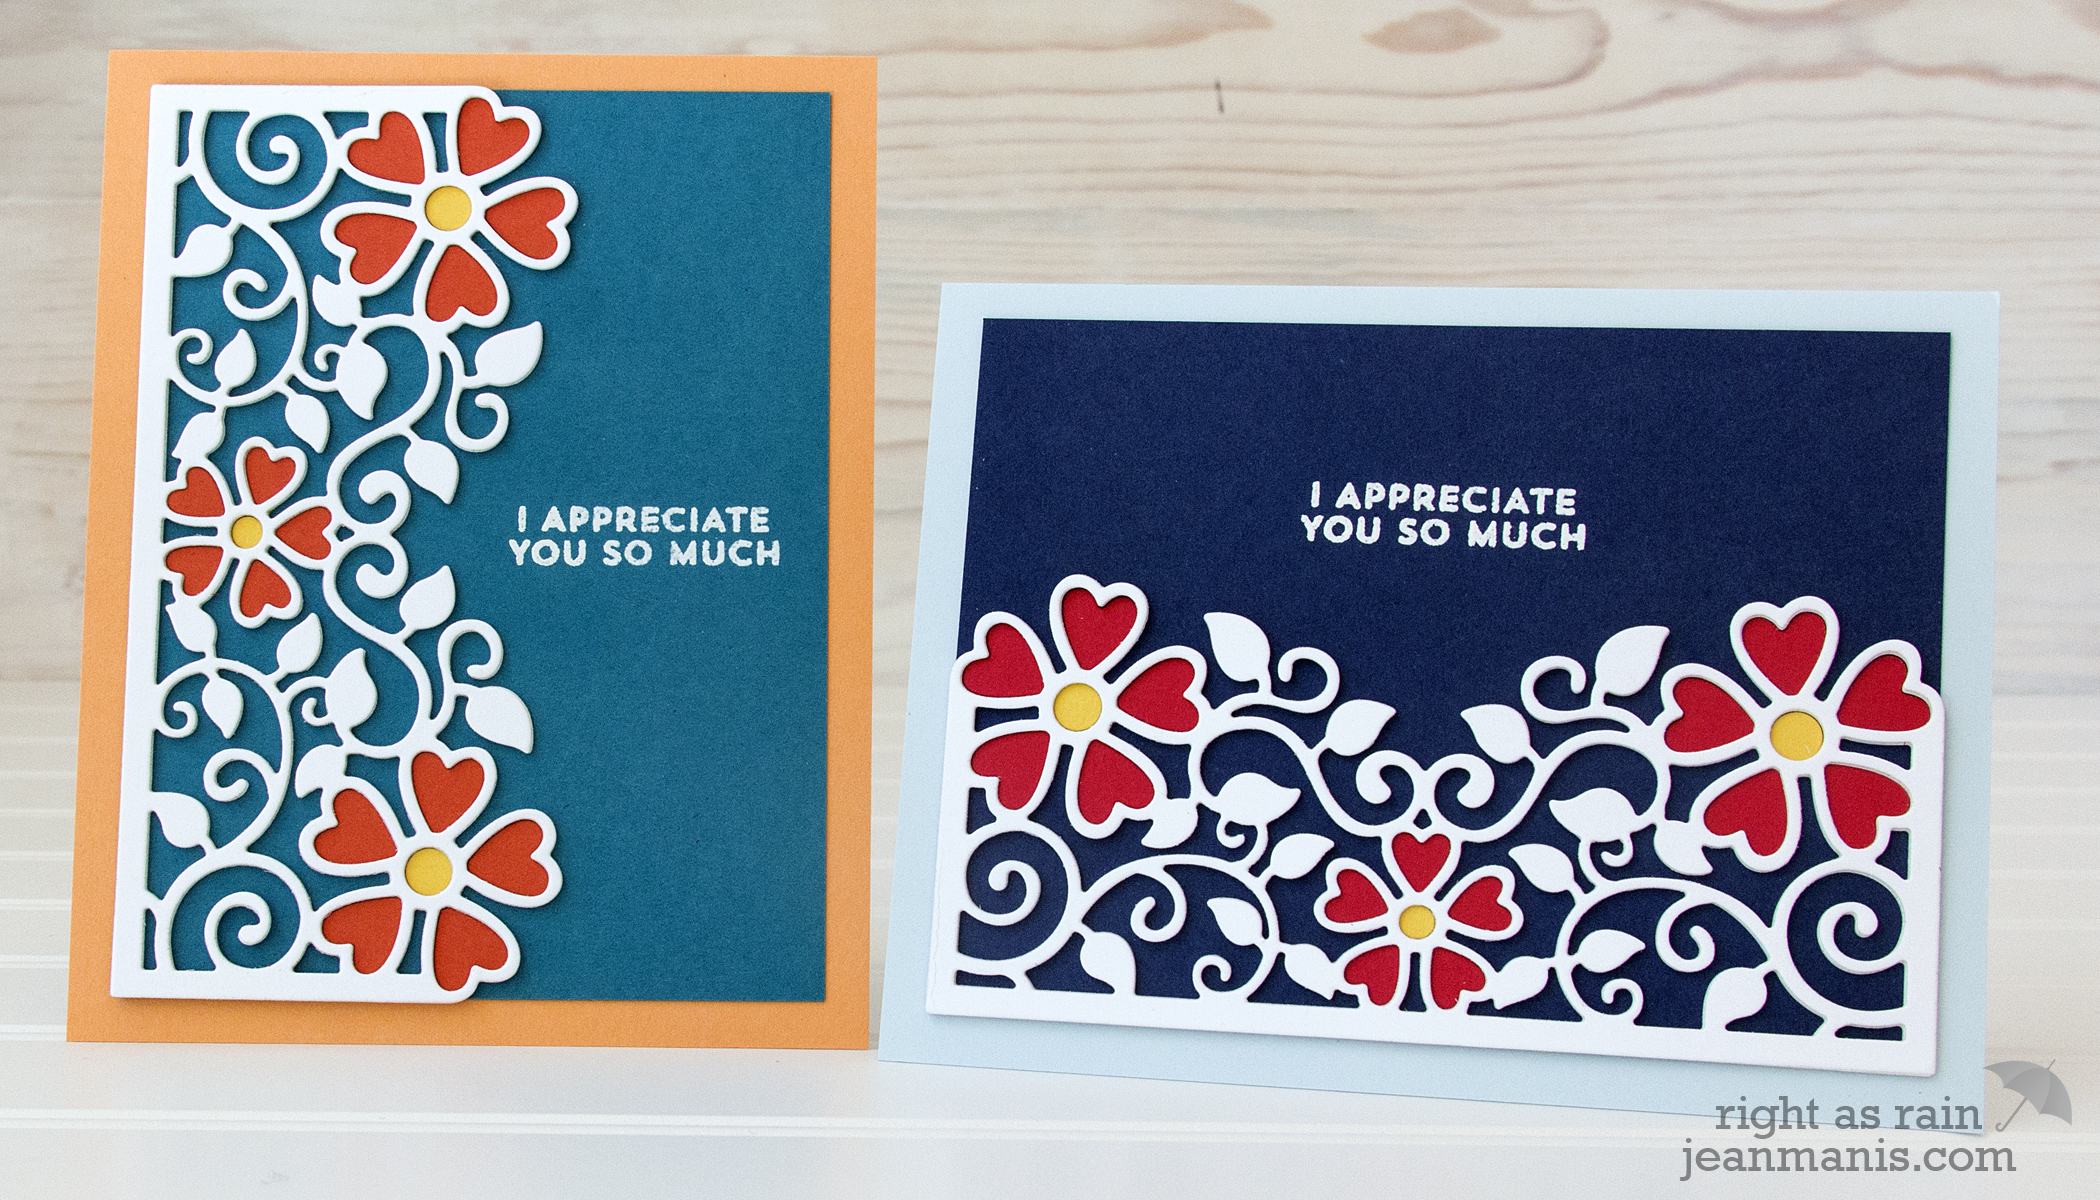
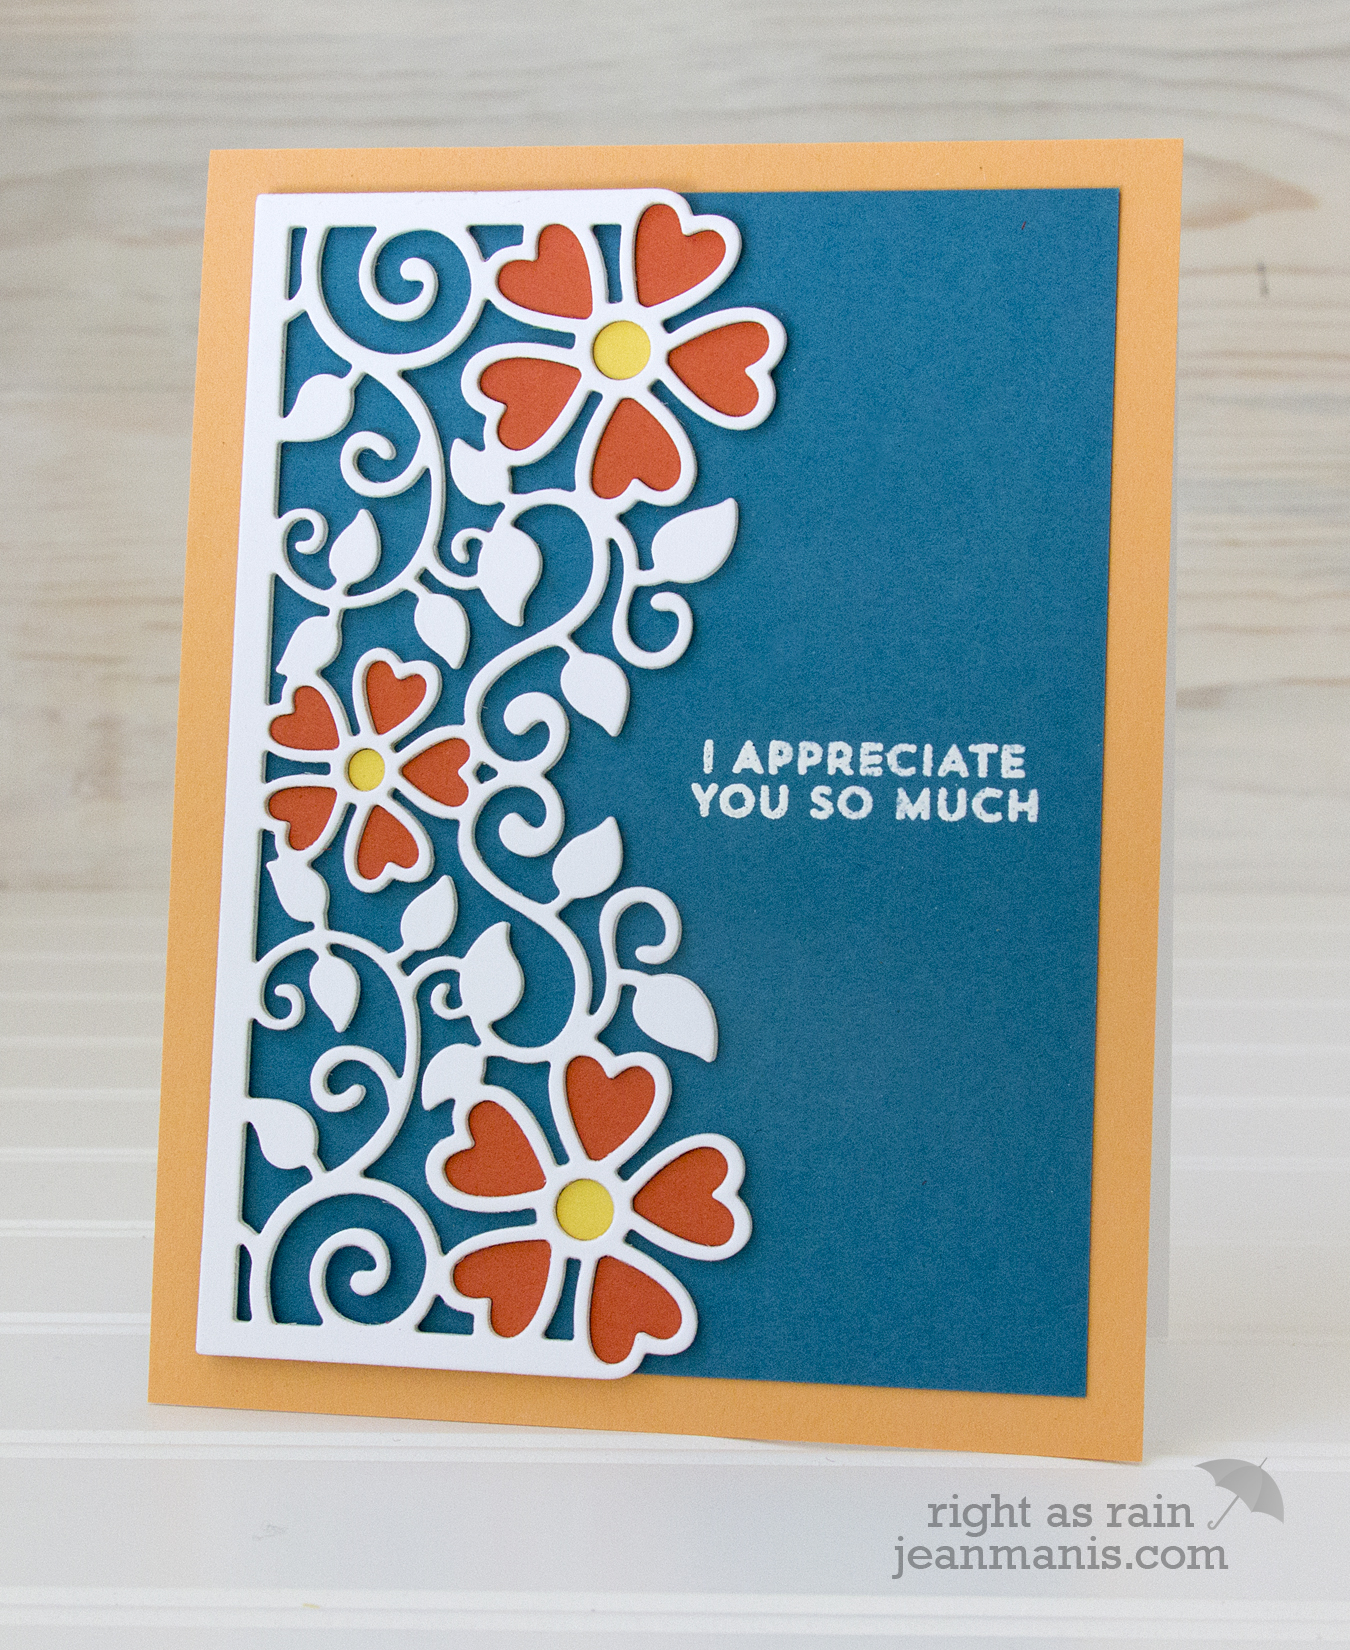
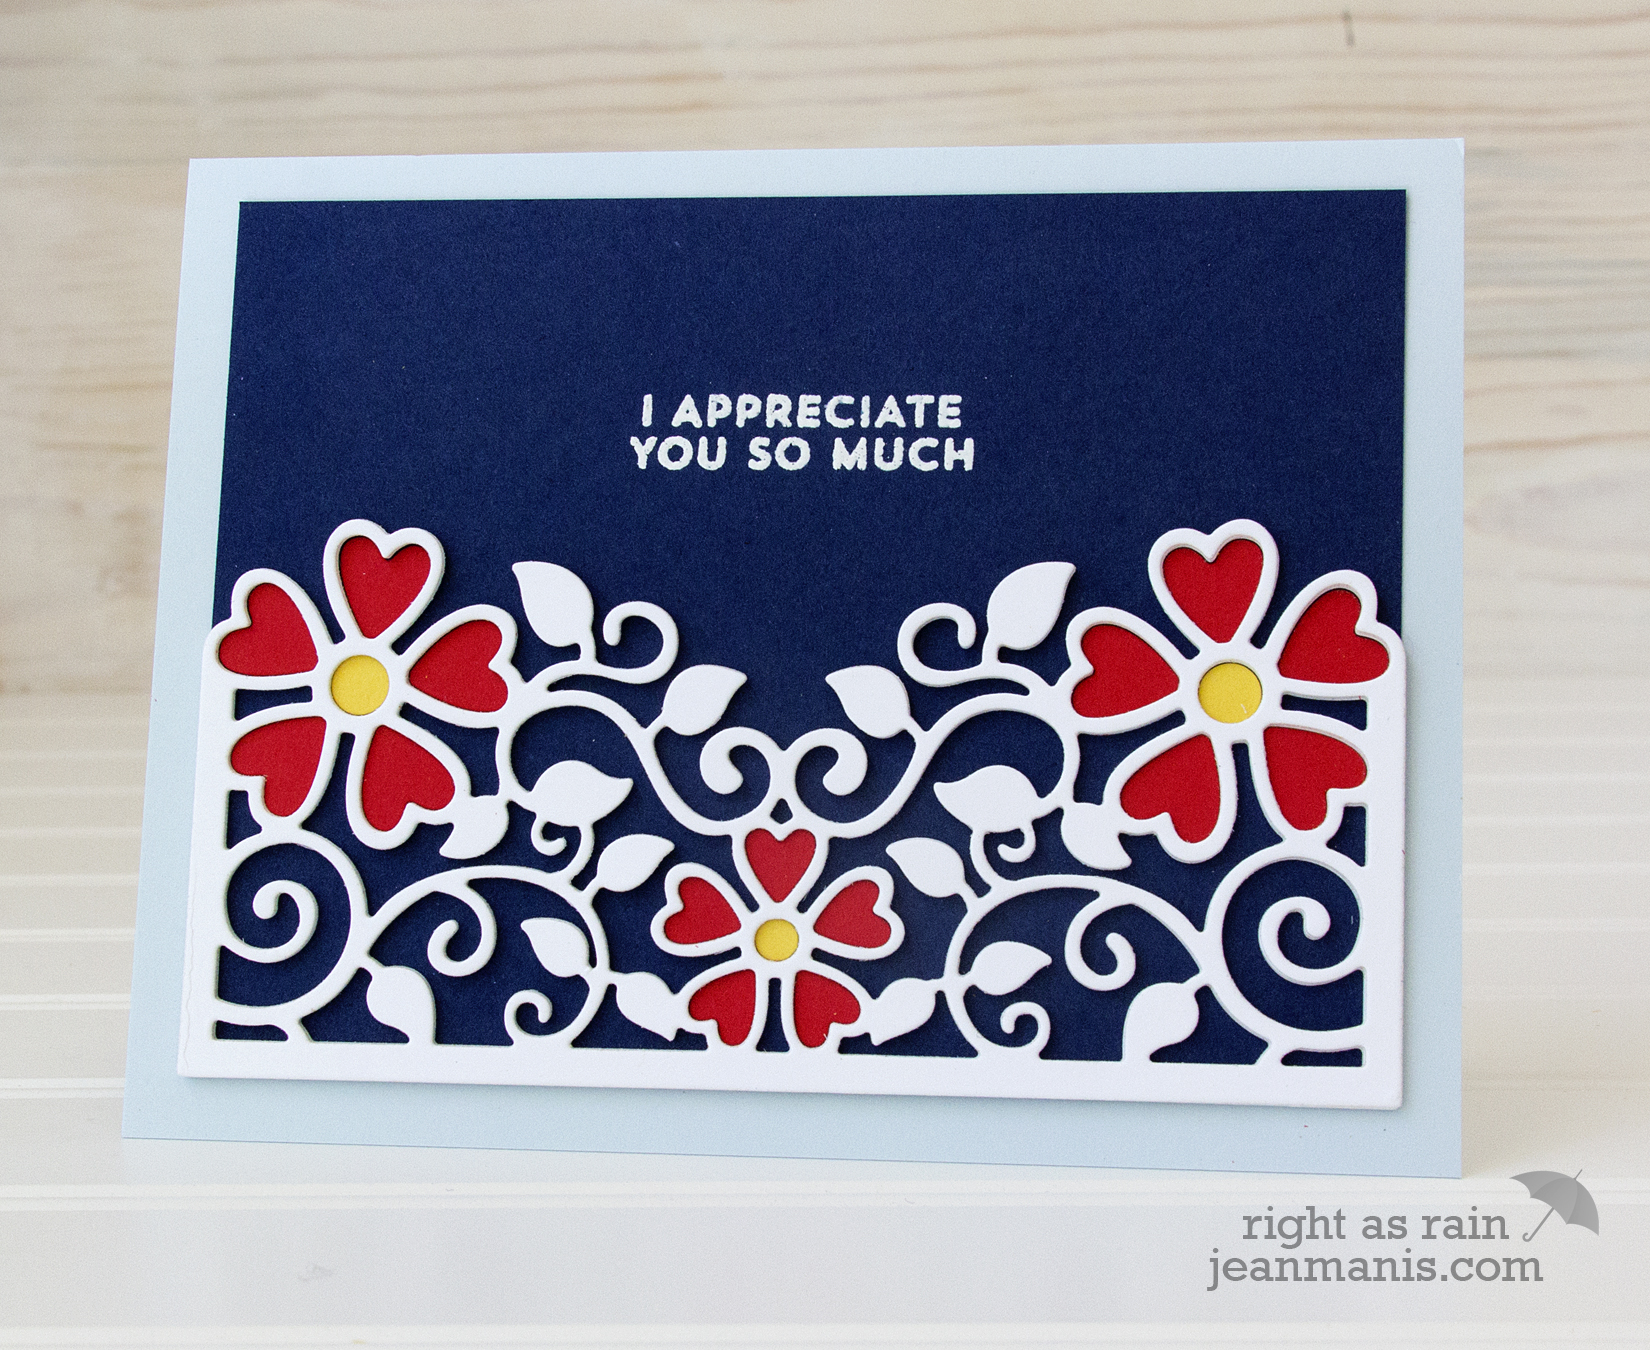
Hello! Today, I am sharing two cards created with the Spellbinders Top Floral Panel die, part of the Blooming Garden Collection by Marisa Job. The cards vary in orientation and color.
I used the same technique for both versions:
- I cut the Top Floral Panel from white cardstock three times. I adhered the panels together to create a thick die-cut.
- I heat-embossed the sentiment on to a rectangle, which I sized to fit just inside the Top Floral Panel, and adhered the heat-embossed rectangle to the card base.
- I adhered the Top Floral Panel to the heat-embossed rectangle before adding the petals and flower centers.
- I used the Top Floral Panel die to cut the the petals and flower centers. I added a small amount of liquid adhesive inside the Top Floral Panel frame and inlaid the petals and flower centers.

Two great cards, Jean, & fab color combos!! Especially love the teal and orange! That diecut looks like it’d be perfect for the faux stained glass effect!
Two wonderful cards Jean. Great colors again.
Fabulous technique Jean – the white really pops on these cards and the colour combinations are both stunning.
Love this! At first I thought you did inlay with the petals and flower center, so thank you for explaining you stacked three top floral panels and then cut out the petals/flower center. Inlay is nice but I love the way this looks better. Thank you!