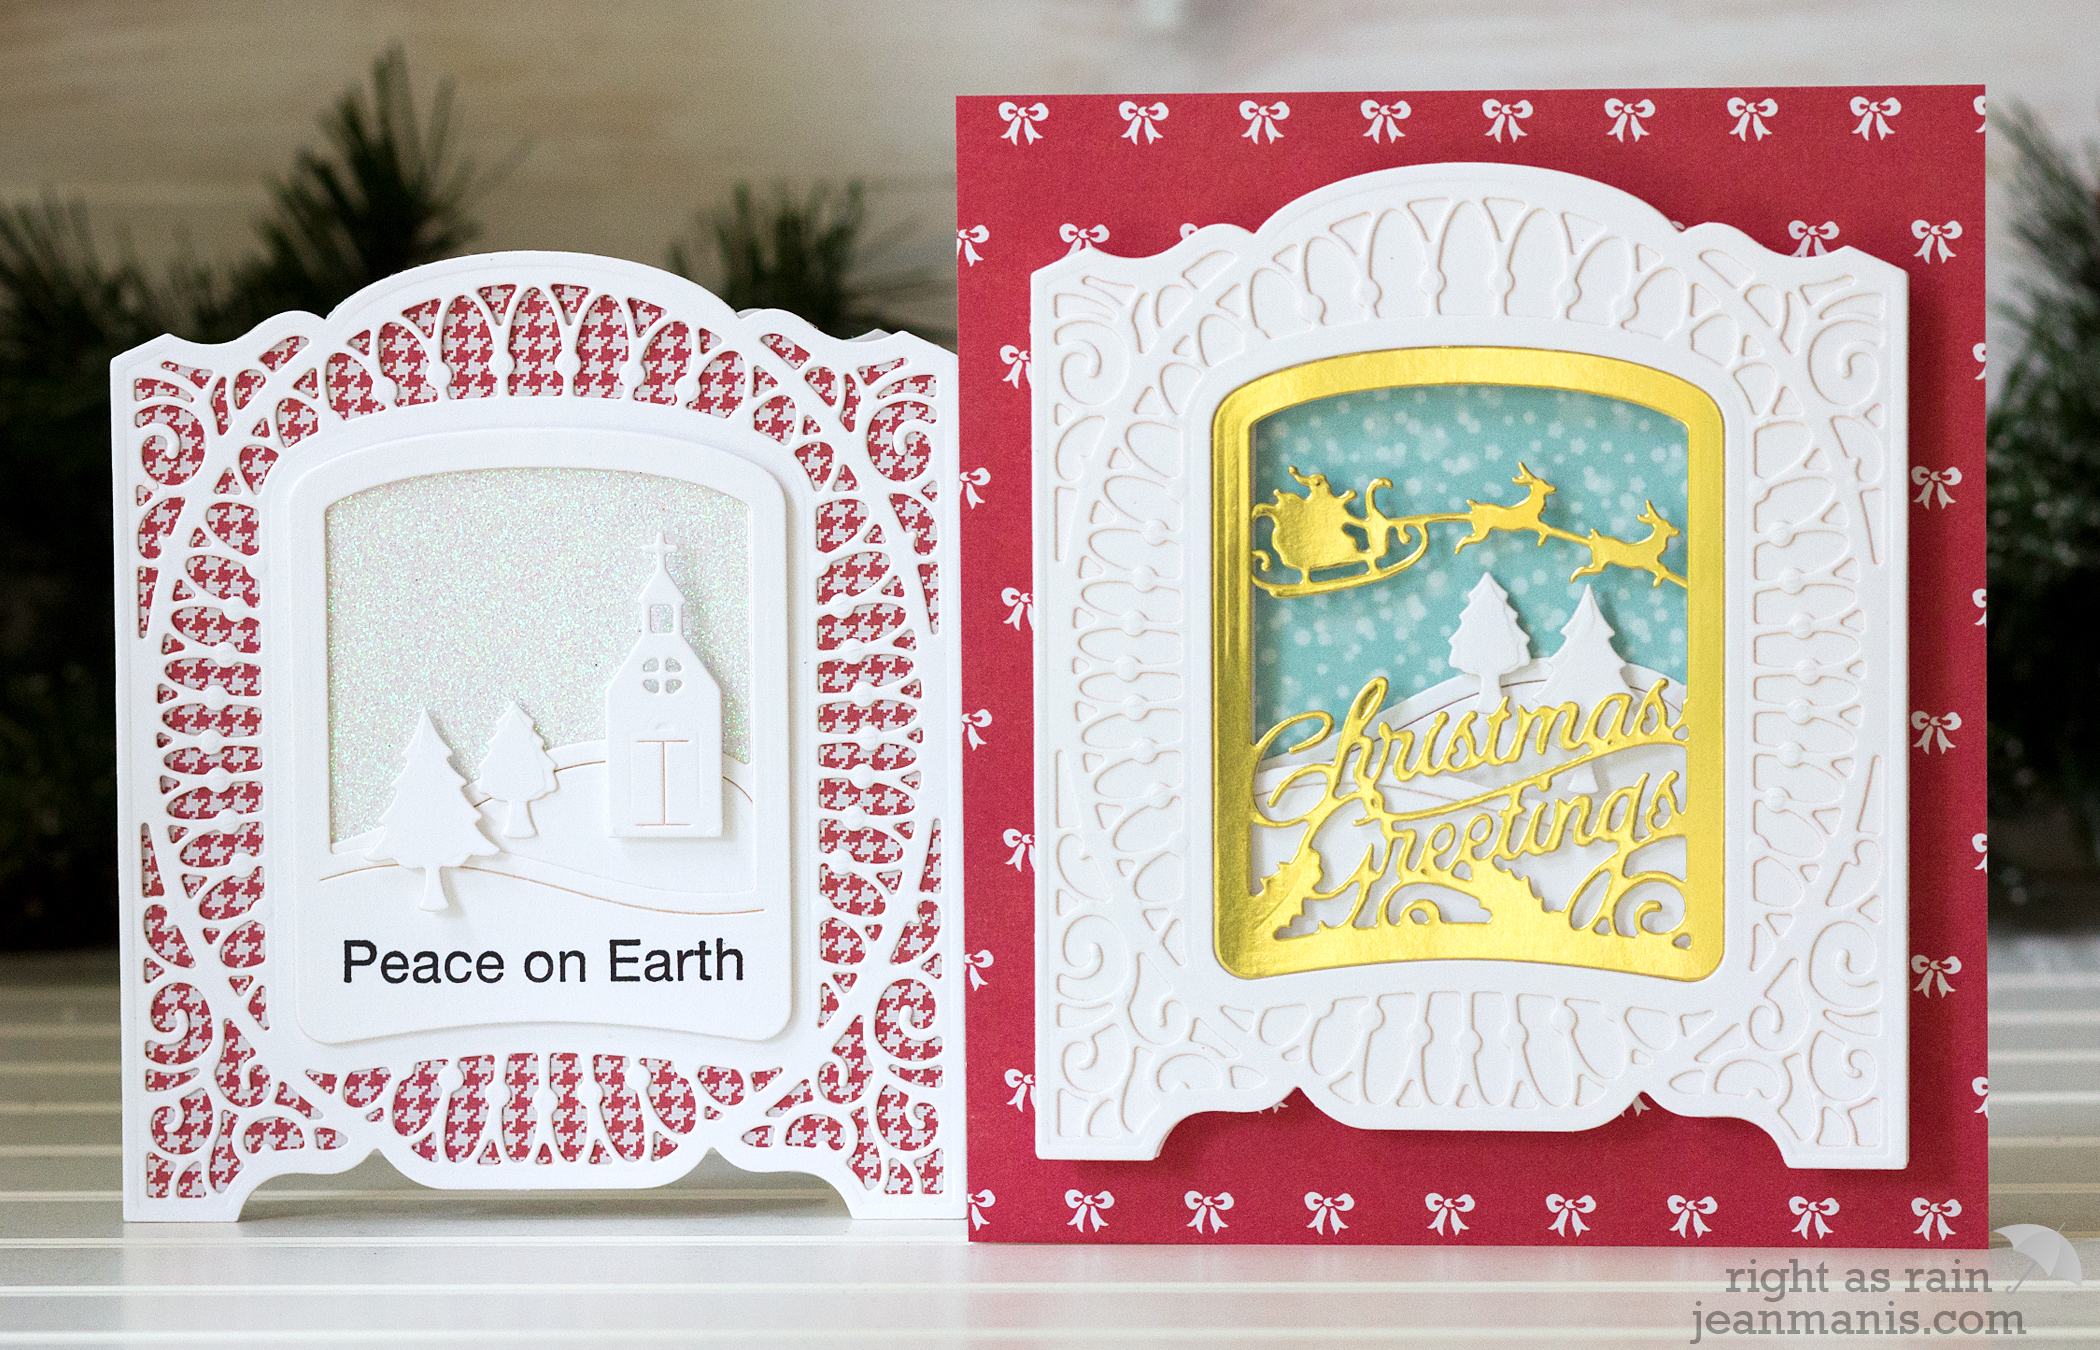
 Hello! Today, I am delighted to share two projects created with this month’s Amazing Paper Grace kit from Spellbinders. The Christmas Village Vignette Frame Die Set is perfect for making holiday themed cards. It can be used to create stand-alone projects and coordinates with the previously-released Grand Cabinet 3D Card Etched Die Set. I was amazed at how easy it was to achieve elegant cards with just a few die cuts!
Let’s take a look at my first card.
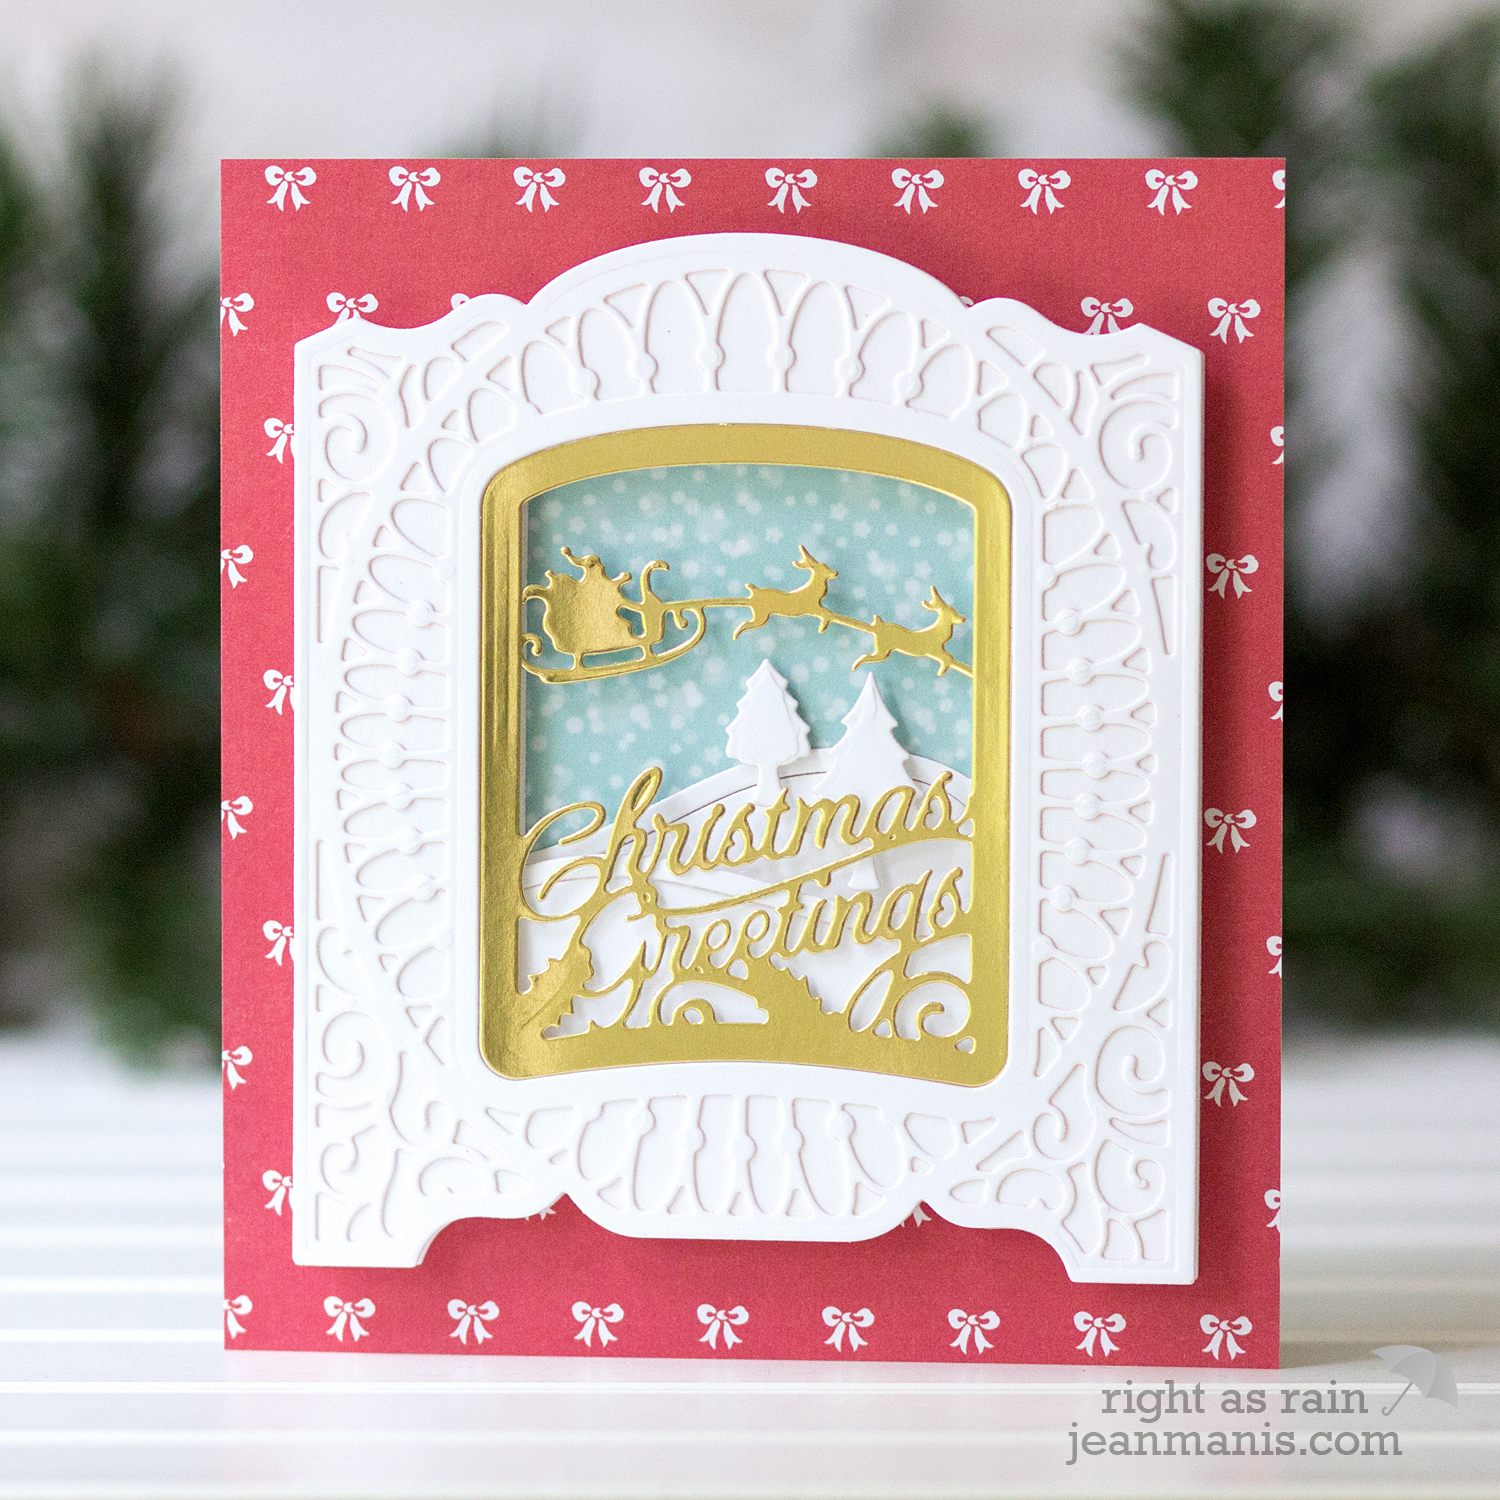
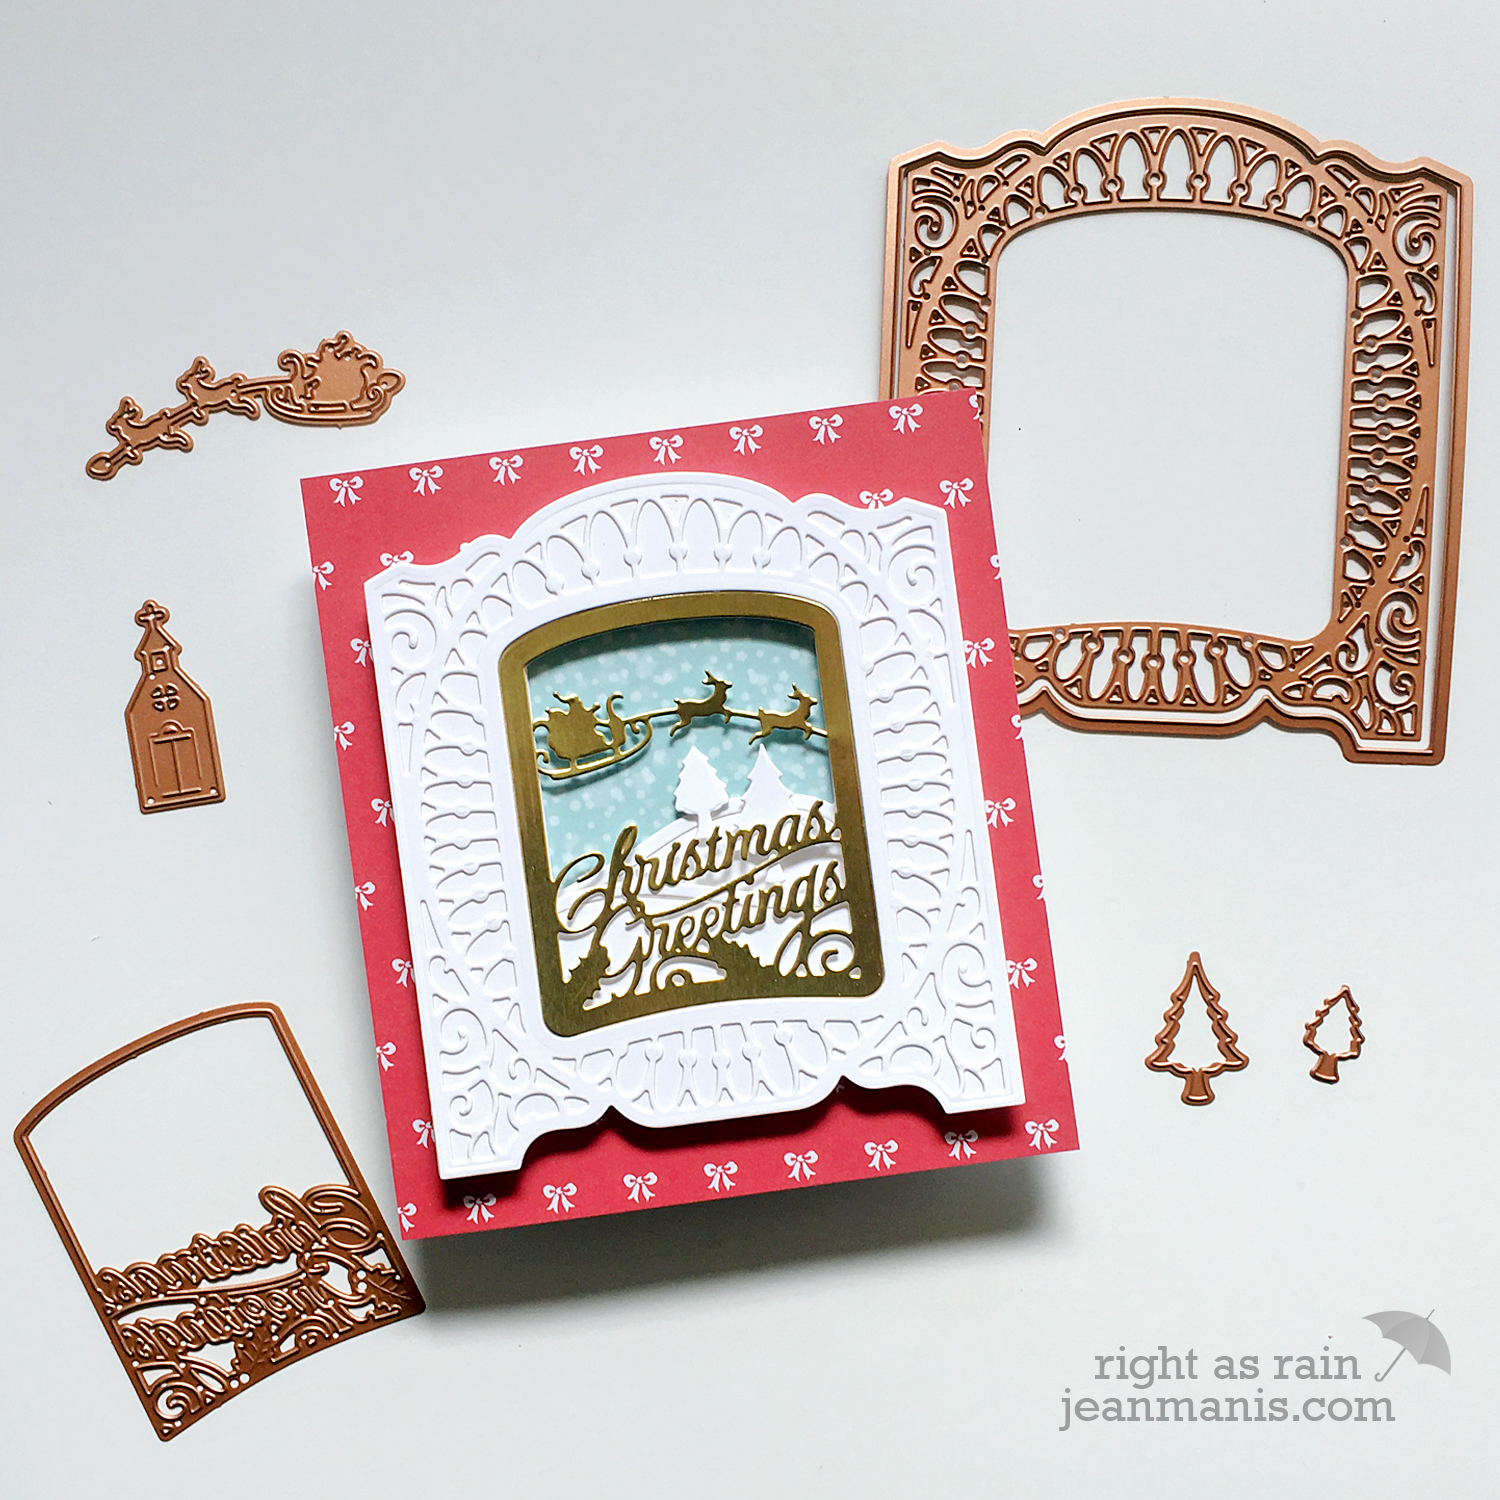
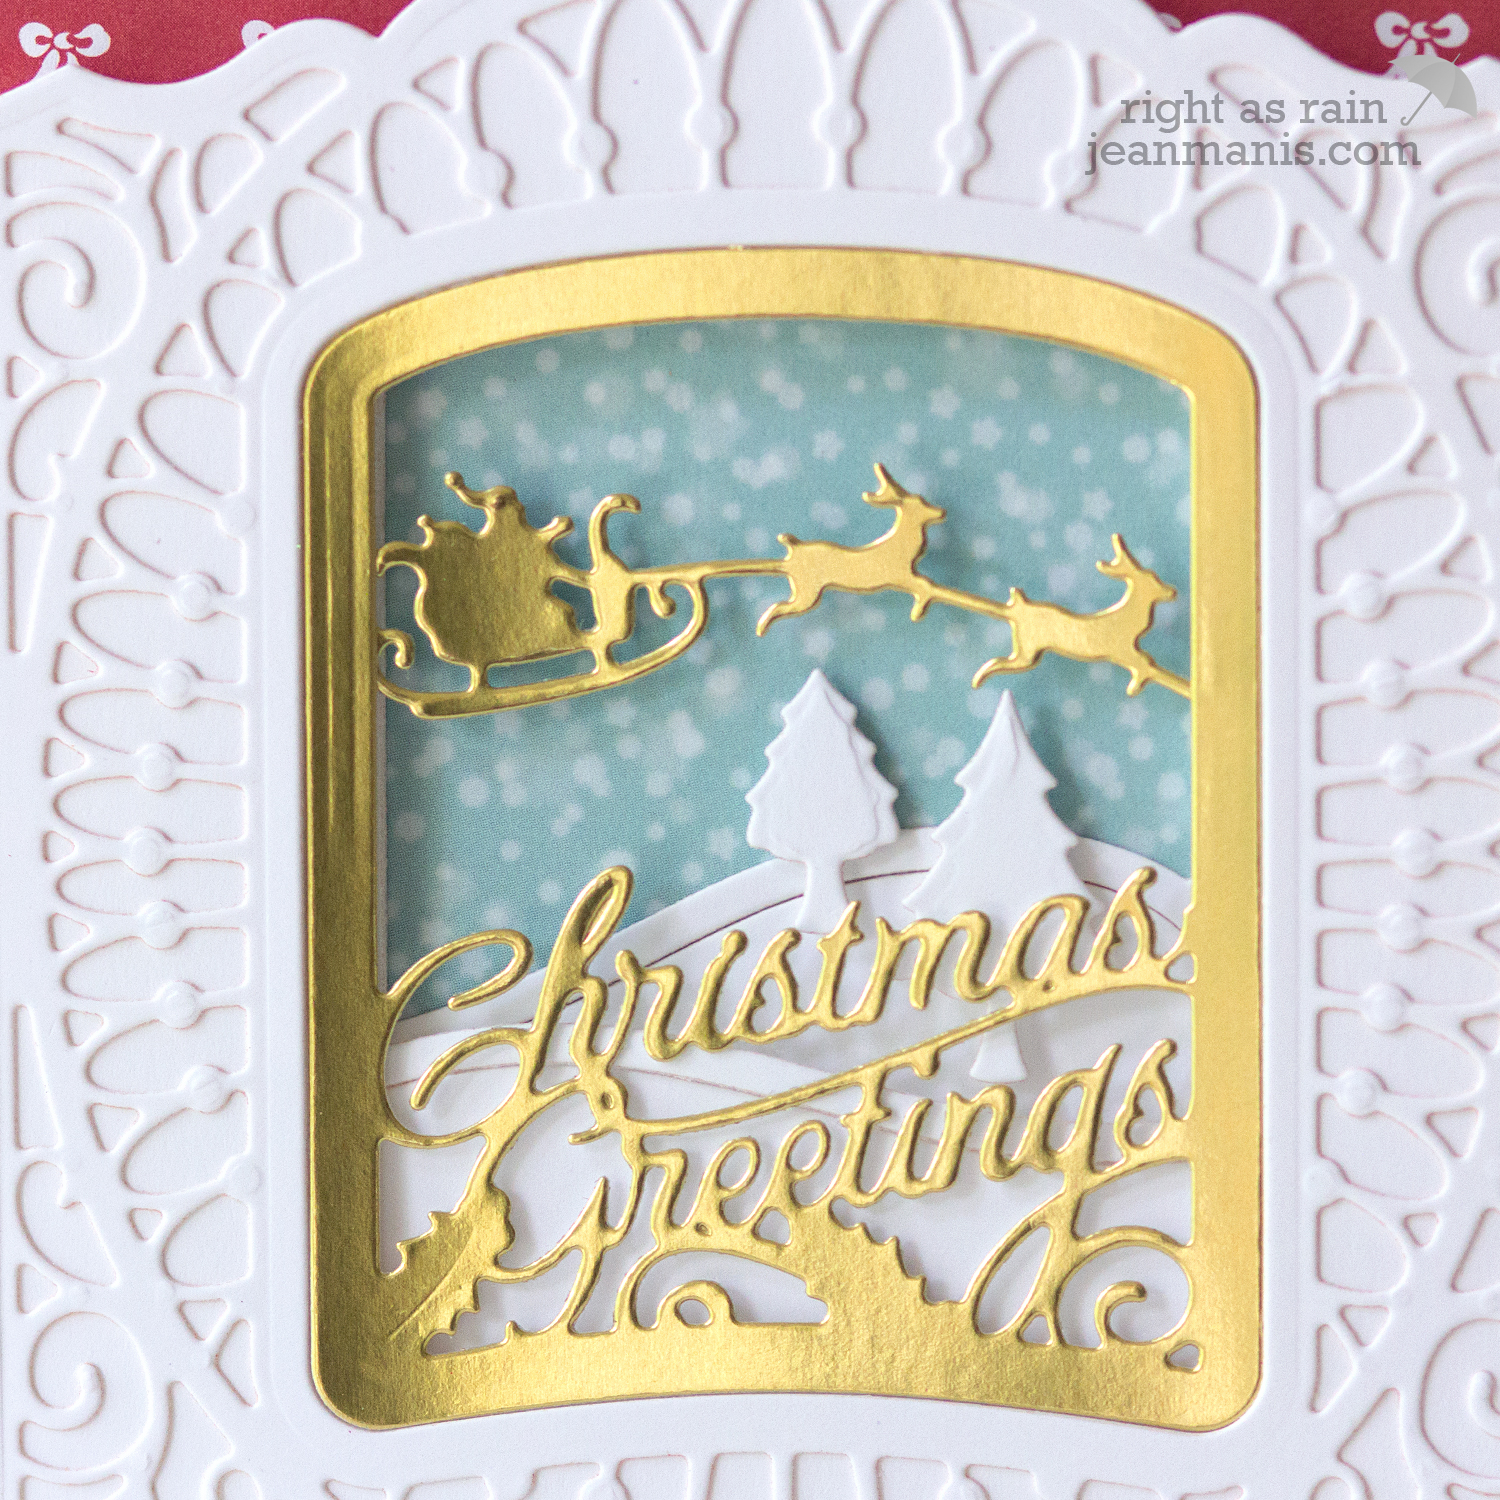
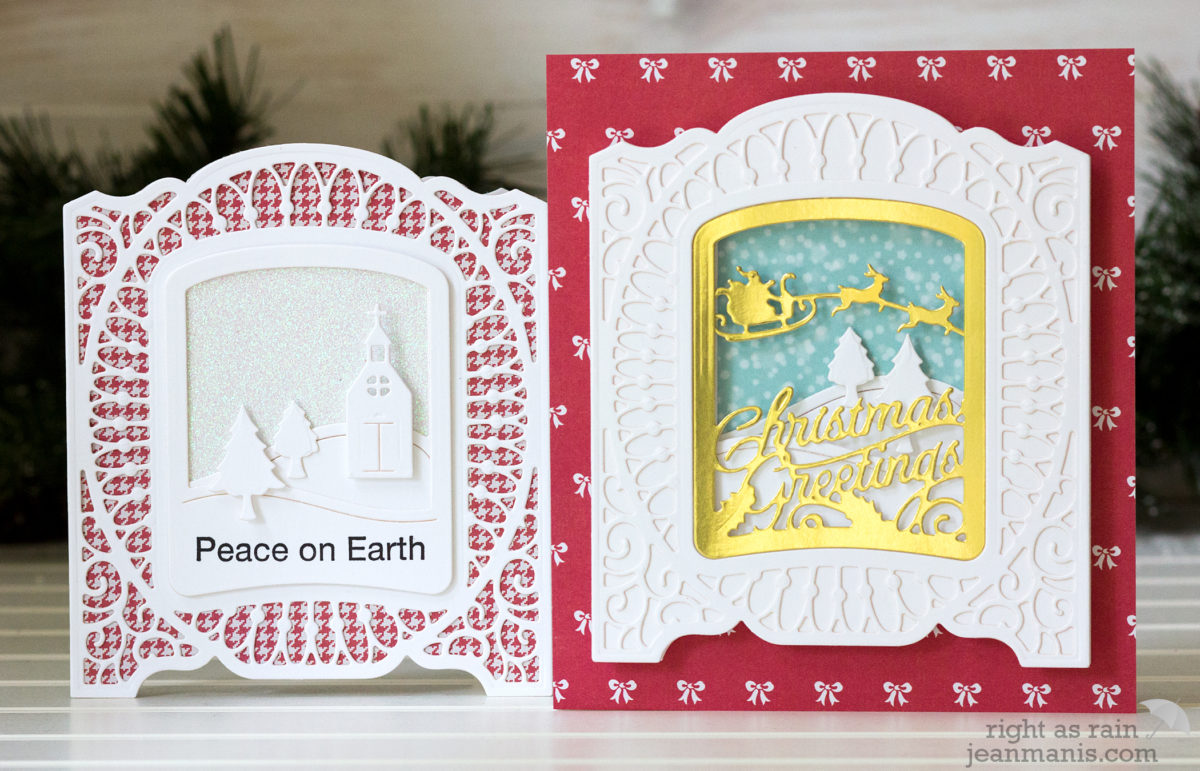
On my first card, I used the large dies in the kit to create a frame for my holiday scene. I cut the sentiment panel from gold foil and attached Santa and his reindeer behind the panel. I taped the sentiment panel to the frame on the inside. I attached the die-cut snowbank panels and the patterned paper snow background to the back of the frame with dimensional adhesive. I attached the entire assembly to a back piece cut with the frame outline die.

I attached the assembly to the patterned paper base, which measures 5 1/4″ x 6″.
For my second card, I used the large frame piece to cut a shaped card base. I did not cut the shape on the left hand side where the fold is located. I used the same shape to cut patterned paper, with which I covered the base.
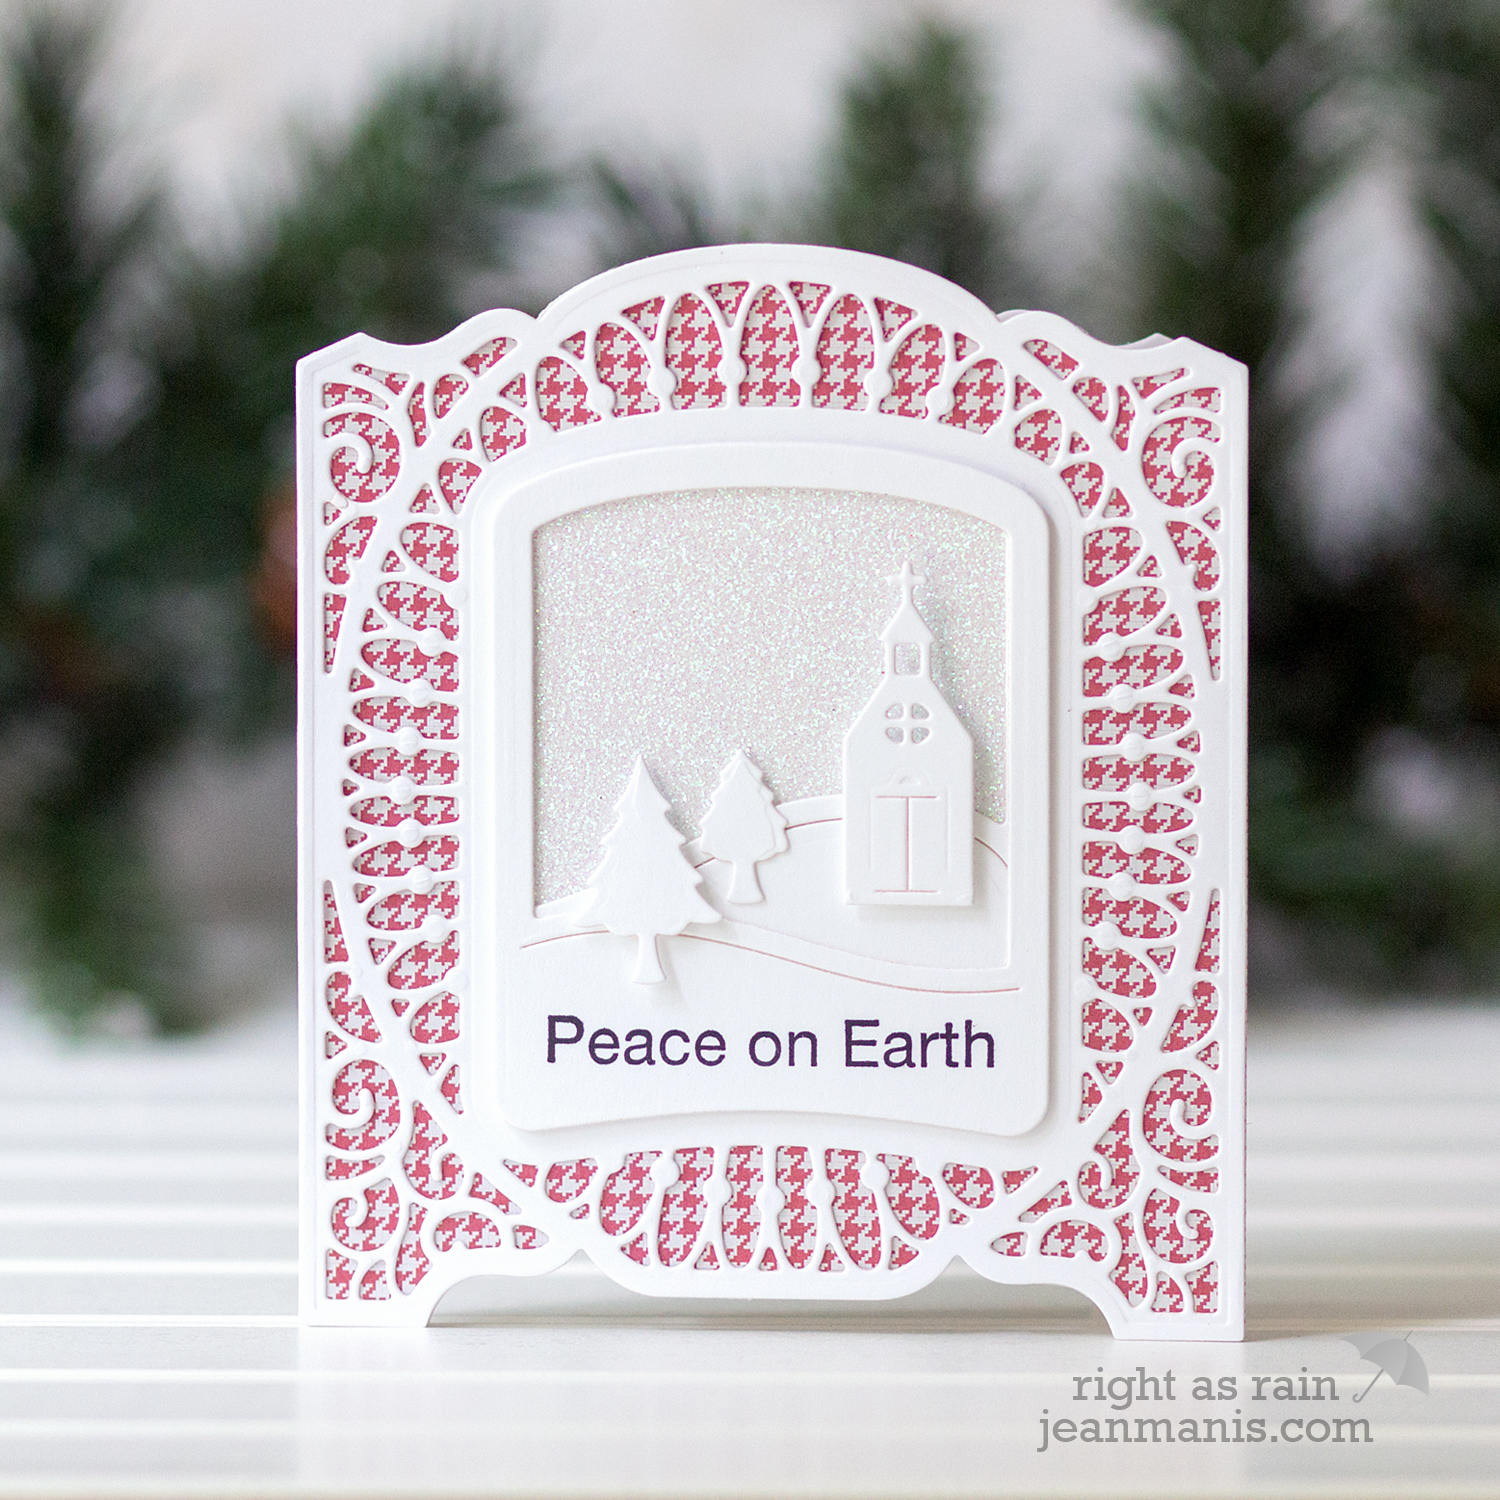
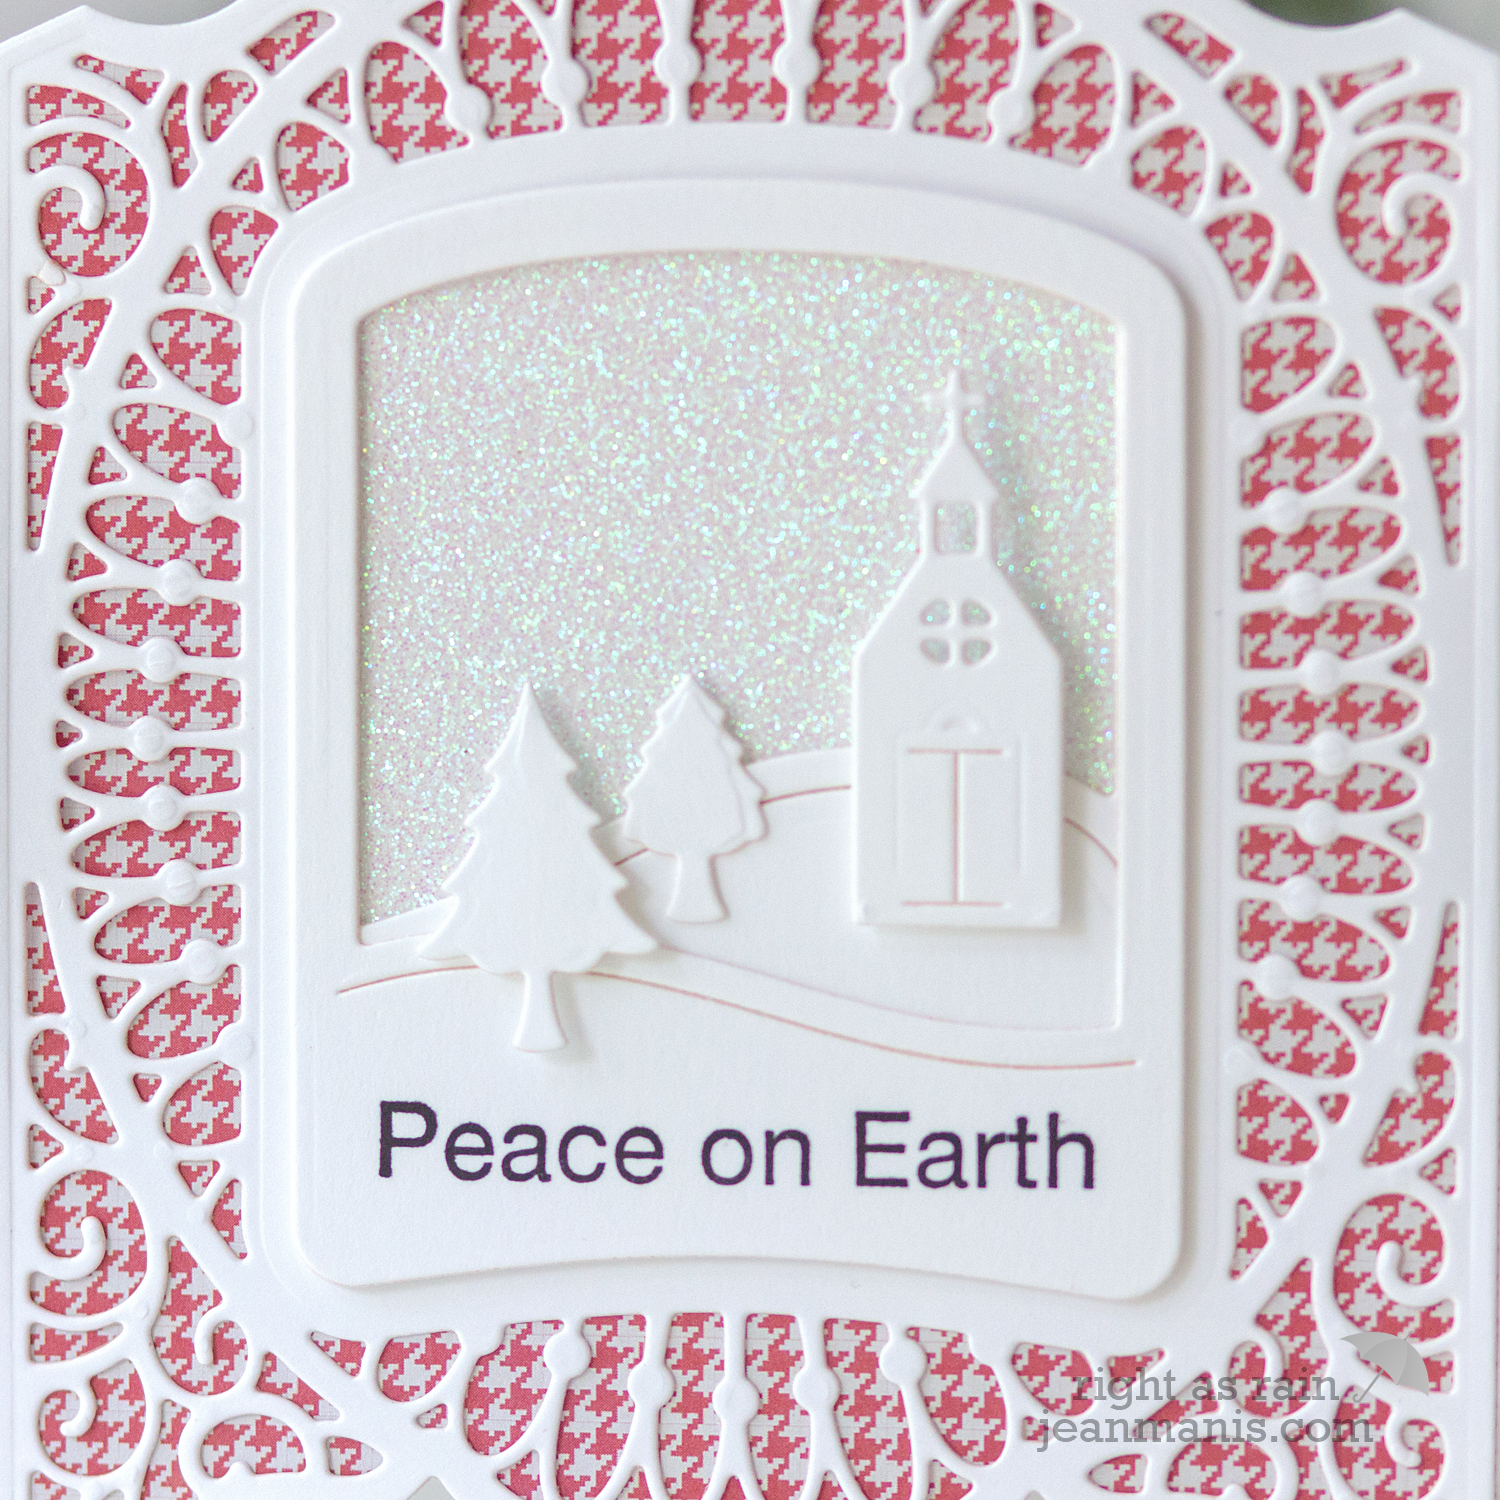
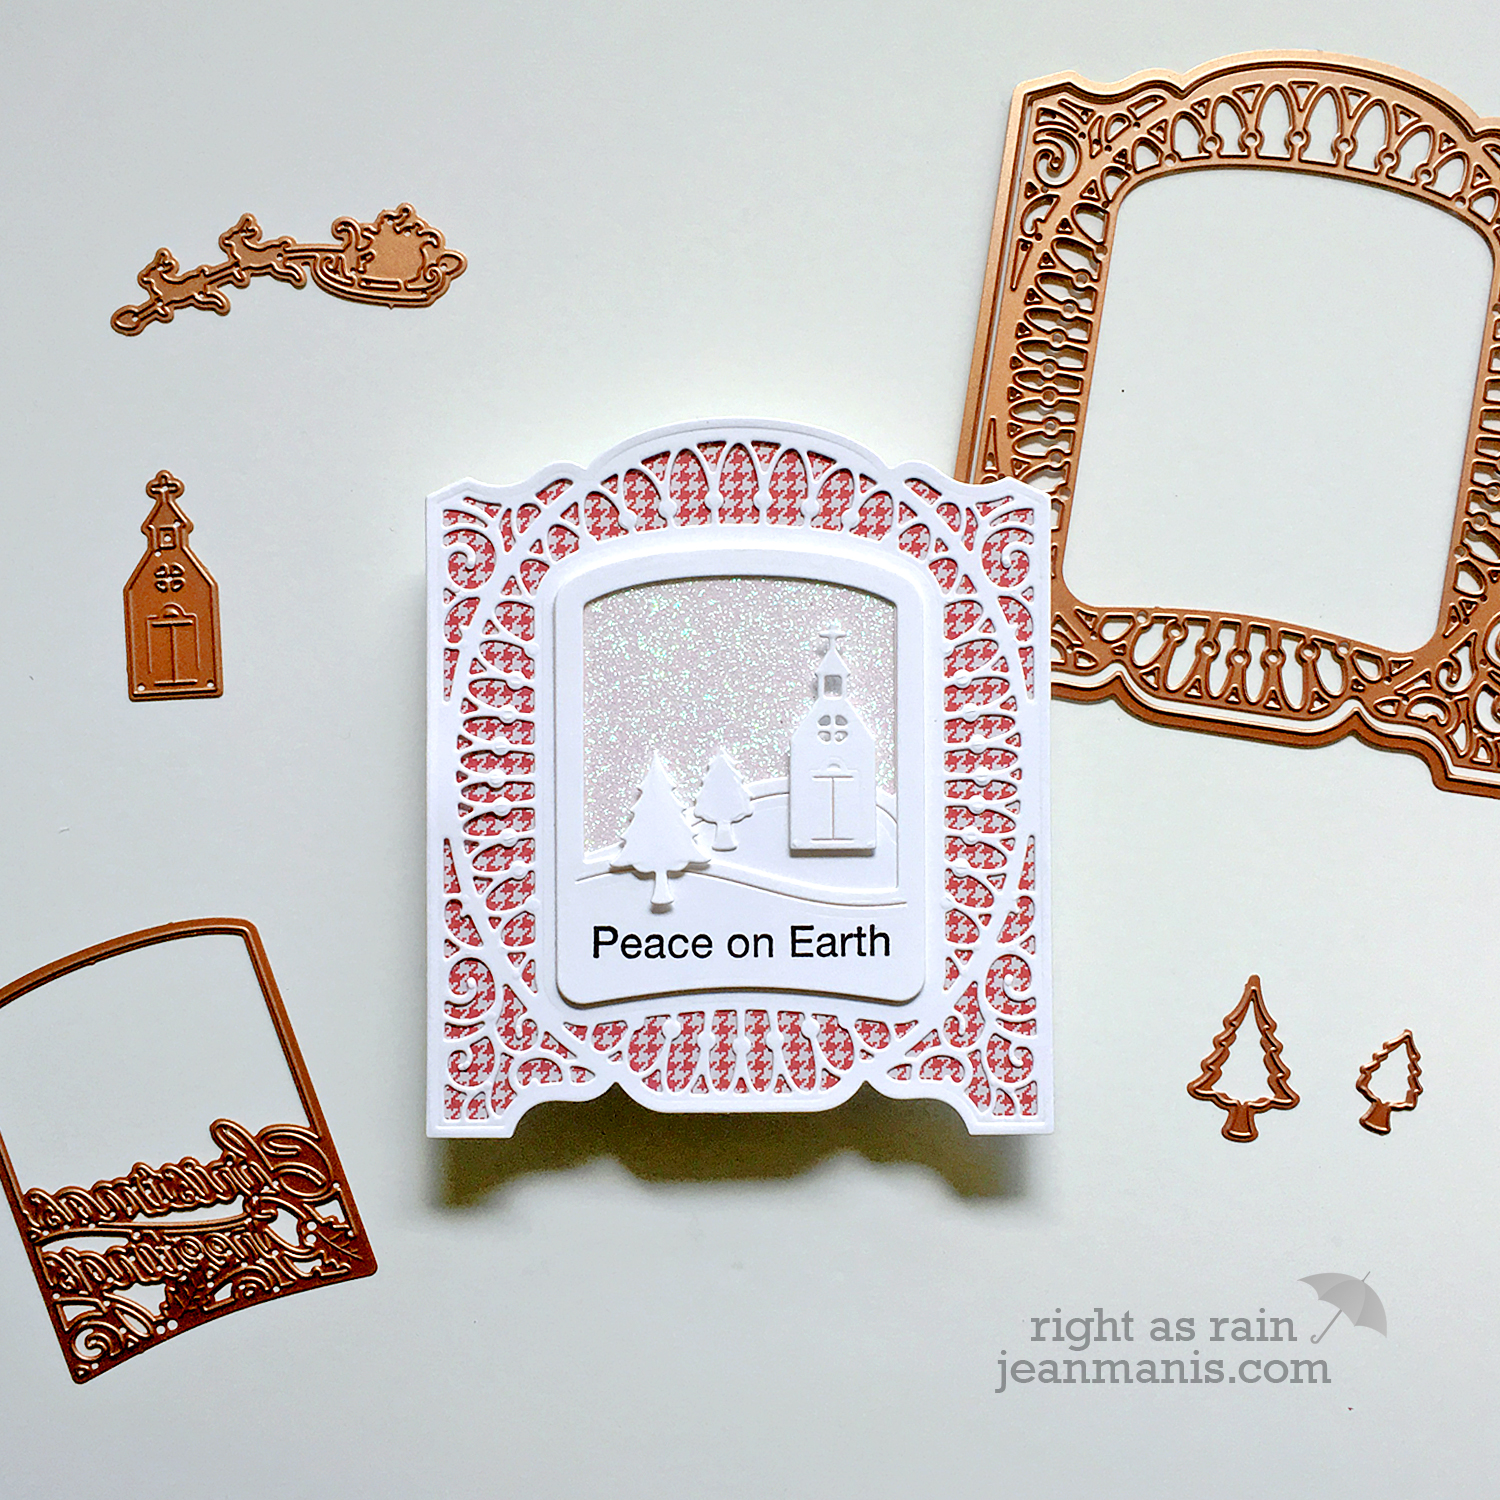 I used the large frame and detailed frame to cut the white cardstock background. I cut the two snowbank pieces and backed the assembly with glitter paper. I stamped the front snowbank piece with a sentiment from the Charming Tag Sentiments set. The church and trees were adhered to the scene.
There are dozens of ways to use these dies to create stunning holiday cards! Head to the Spellbinders product page to see more examples created with this kit.


Jean,
Stunning cards. Love the depth you’ve created with the layers.
A BEAUTIFUL JOB on your cards!!!!! LOVE that hounds-tooth print behind the die! It just adds the right pop of color behind! I LOVE the dimension & the snowy scene you’ve created with your first card too!!! A SUPER JOB on your cards!!!!!!!!! 😉