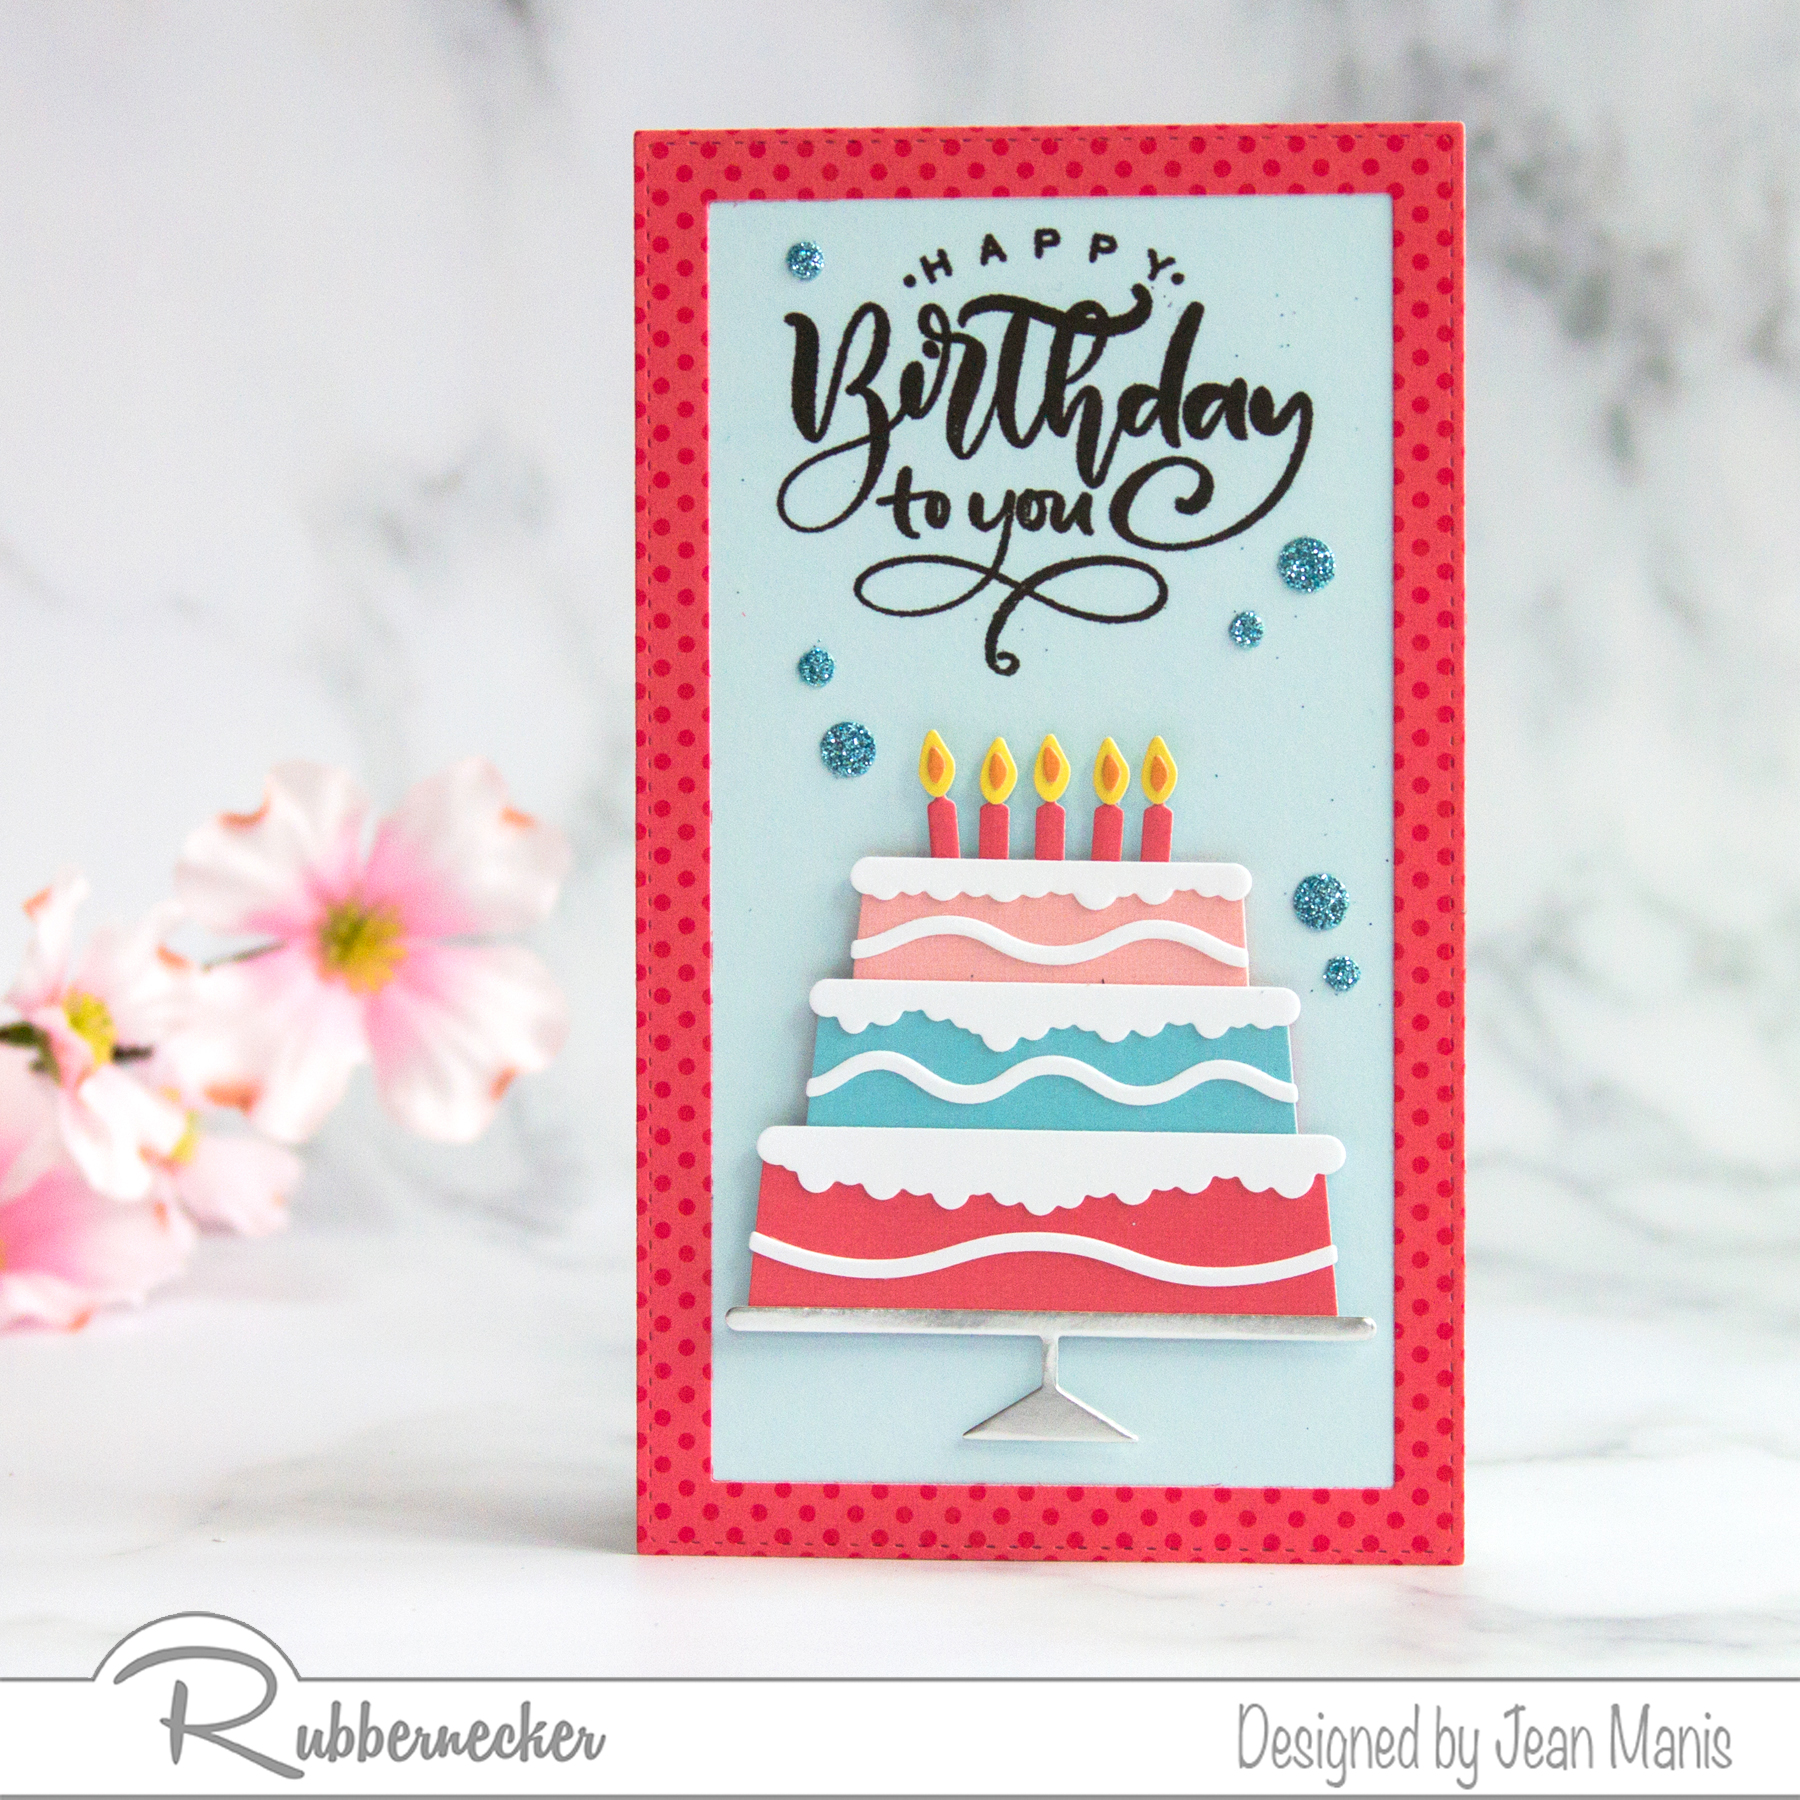
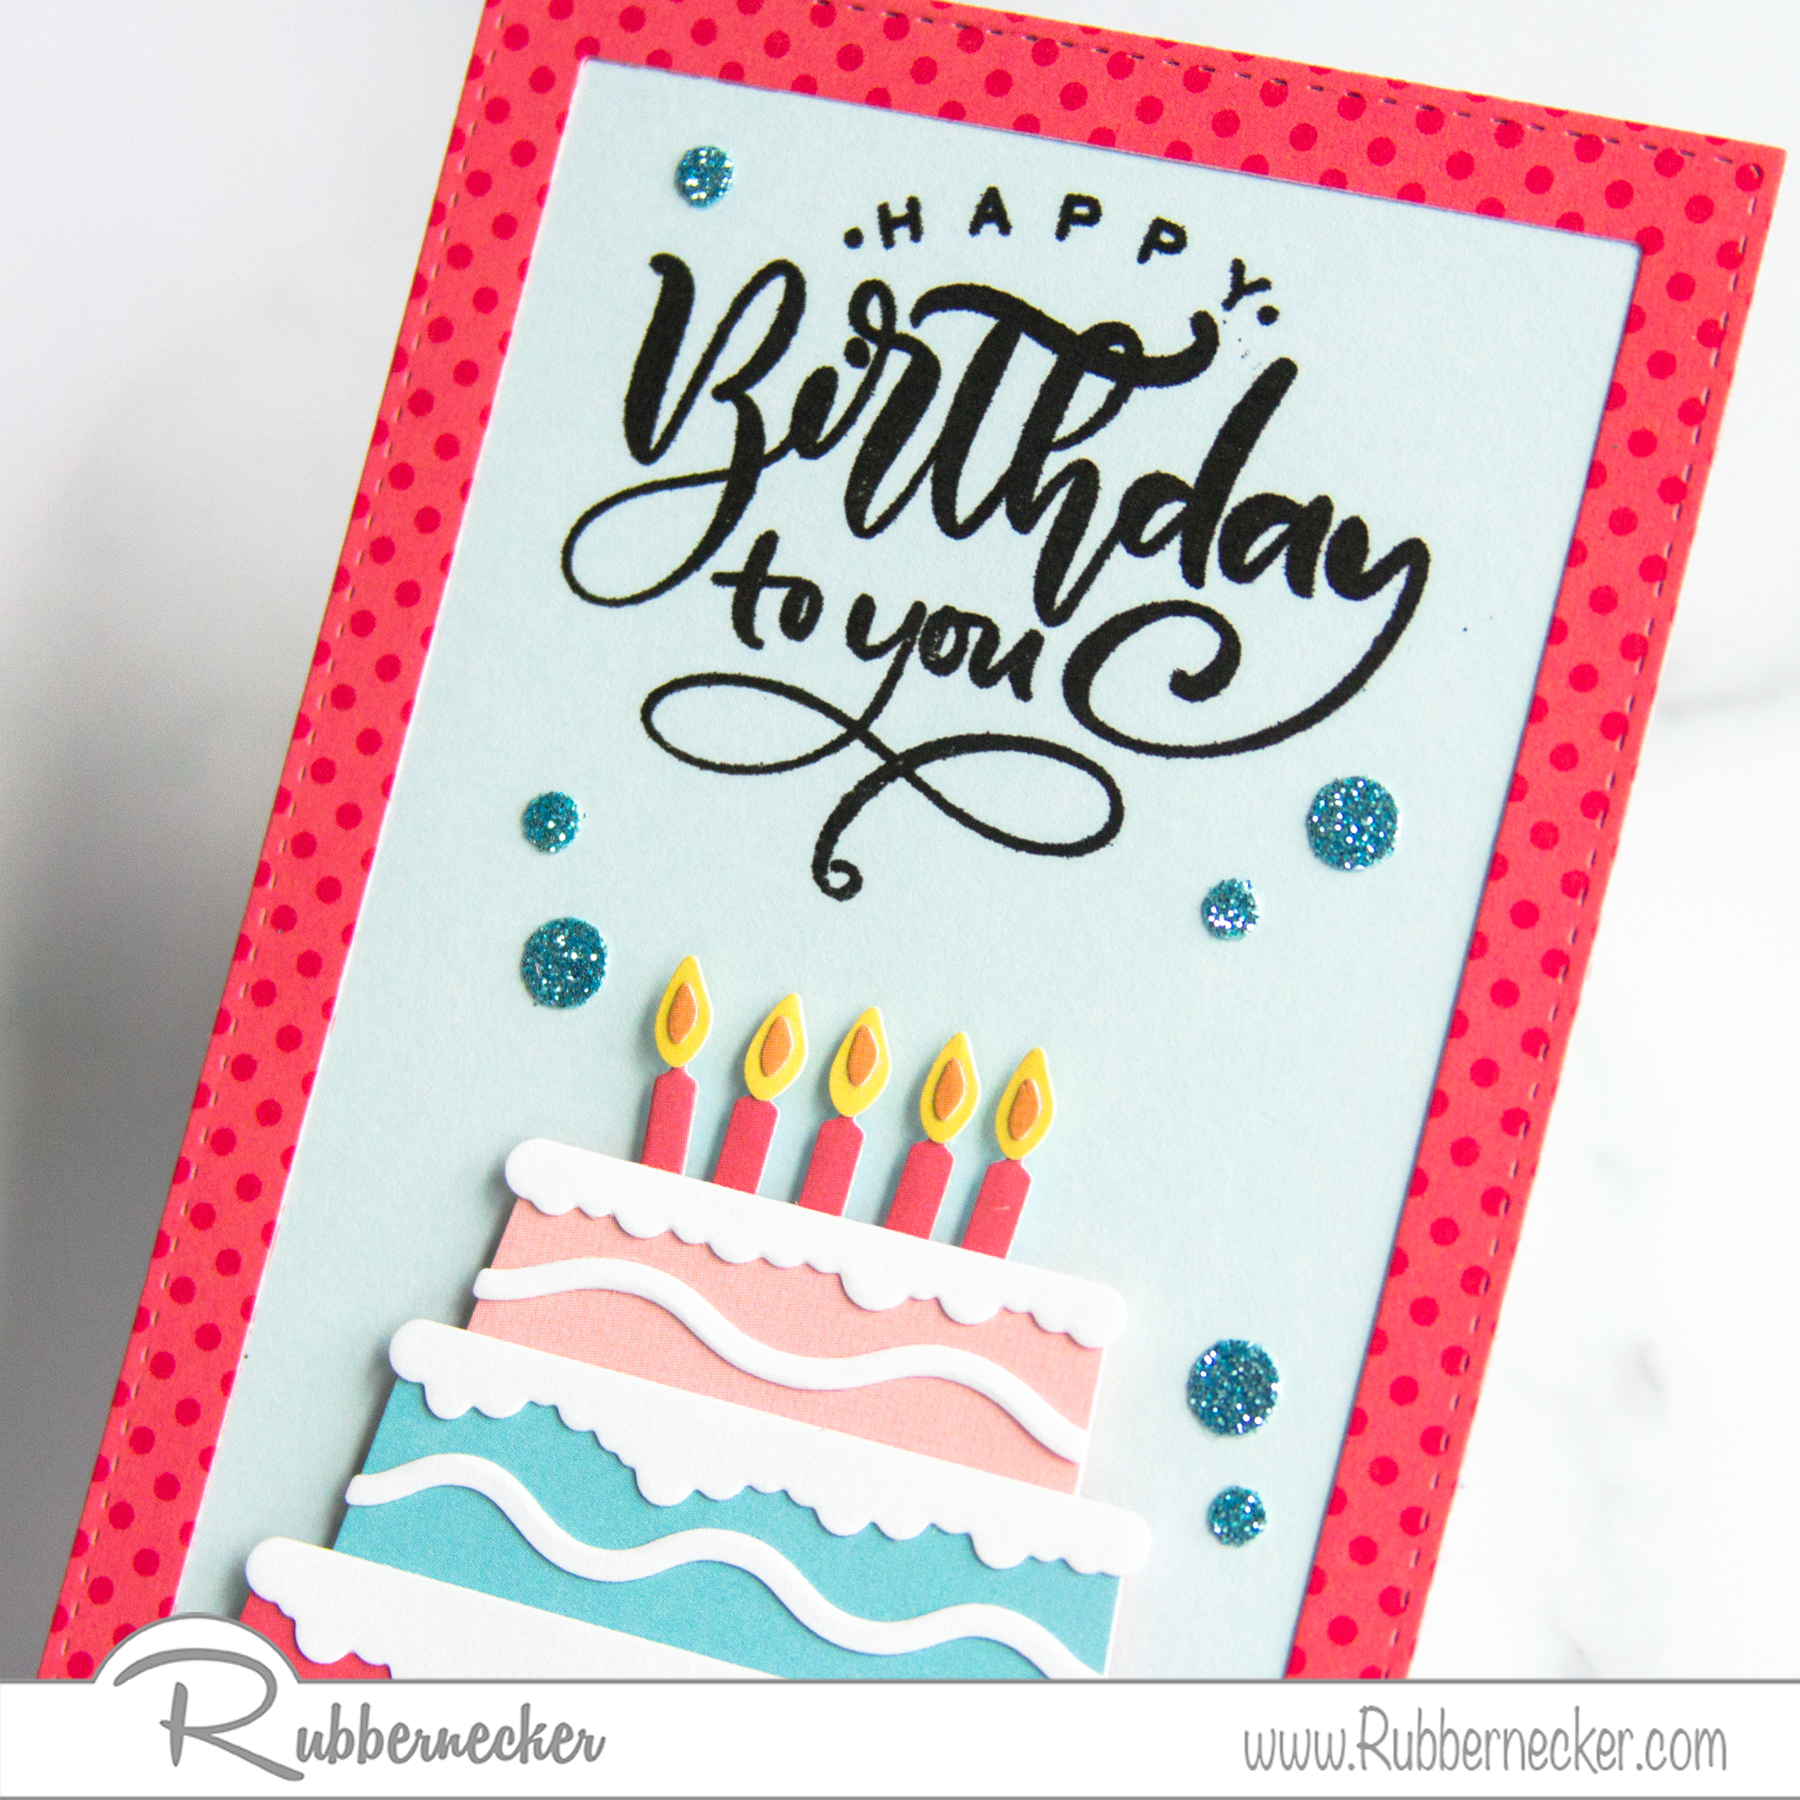
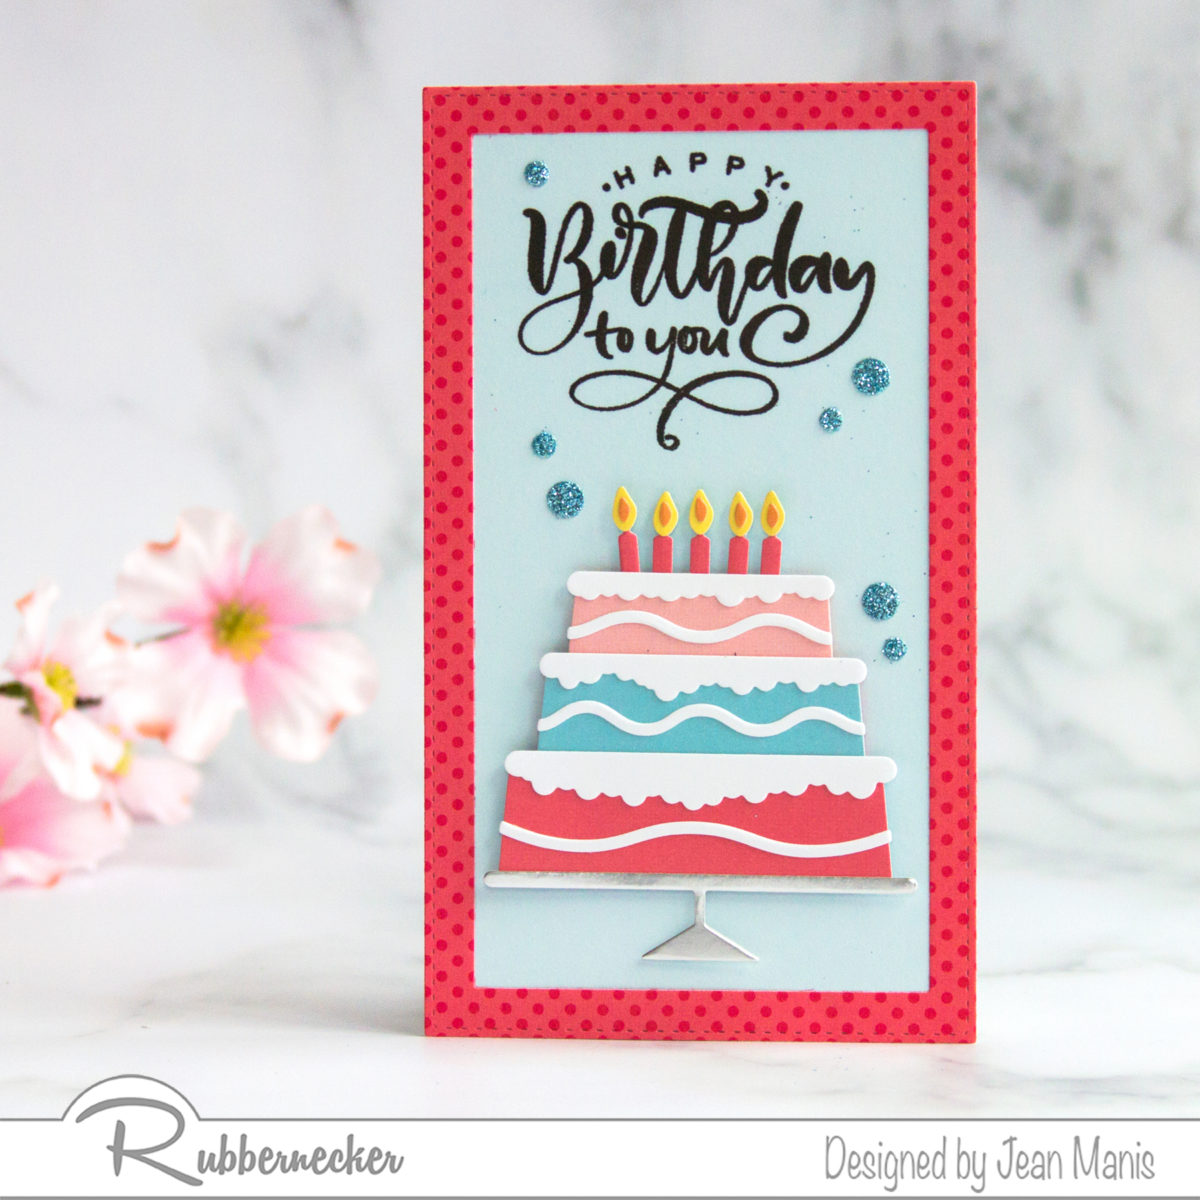
Hello! Today, I am sharing mini-slimline, birthday card featuring Rubbernecker supplies. Crafting a die-cut, birthday cake card is much like baking a layered birthday cake – create a base, bake the layers, ice the layers, add the frosting, and light the candles!

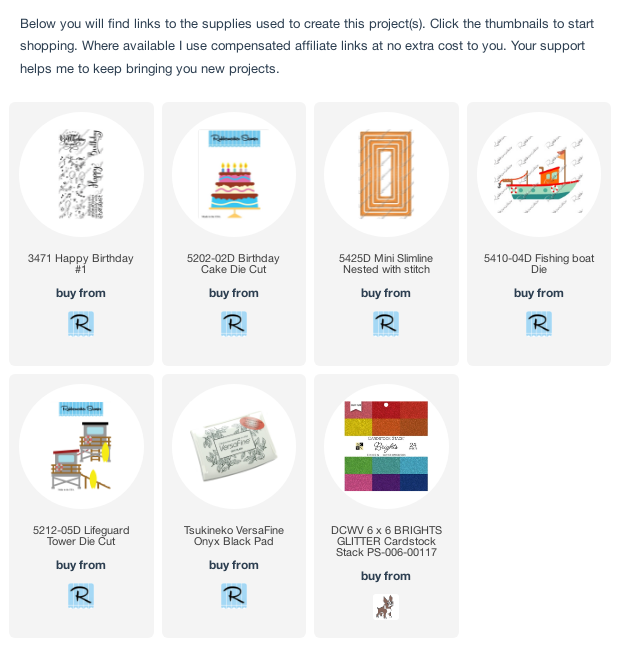
- Stamp Happy Birthday #1 sentiment on light-blue cardstock in Versafine Onyx ink. I previously used this set on a card in this post.
- Die-cut the Birthday Cake from colored, white, and silver foil cardstock. Assemble the cake and candles for sizing purposes. Tape the cake layers from behind. I opted to change the colors of each layer while keeping the frosting the same color on all three layers.
- Die-cut patterned paper frame using the two largest dies in the Mini Slimline Nested with Stitch set.
- Using the frame for placement, determine where to cut the stamped panel. Trim accordingly. Add frame to stamped panel.
- Finish assembly of the cake, adding the piped frosting pieces on the cake layers and the inner flames on the candles.
- Attach cake to stamped panel with foam adhesive
- Die-cut small circles with the Fishing Boat and Lifeguard Tower die sets from blue glitter cardstock and adhere for embellishment.


What a sweet mini slimline. Perfectly sized images.
But which is more work? The cake card or the cake! Love this card. That sentiment stamp is really nice!