
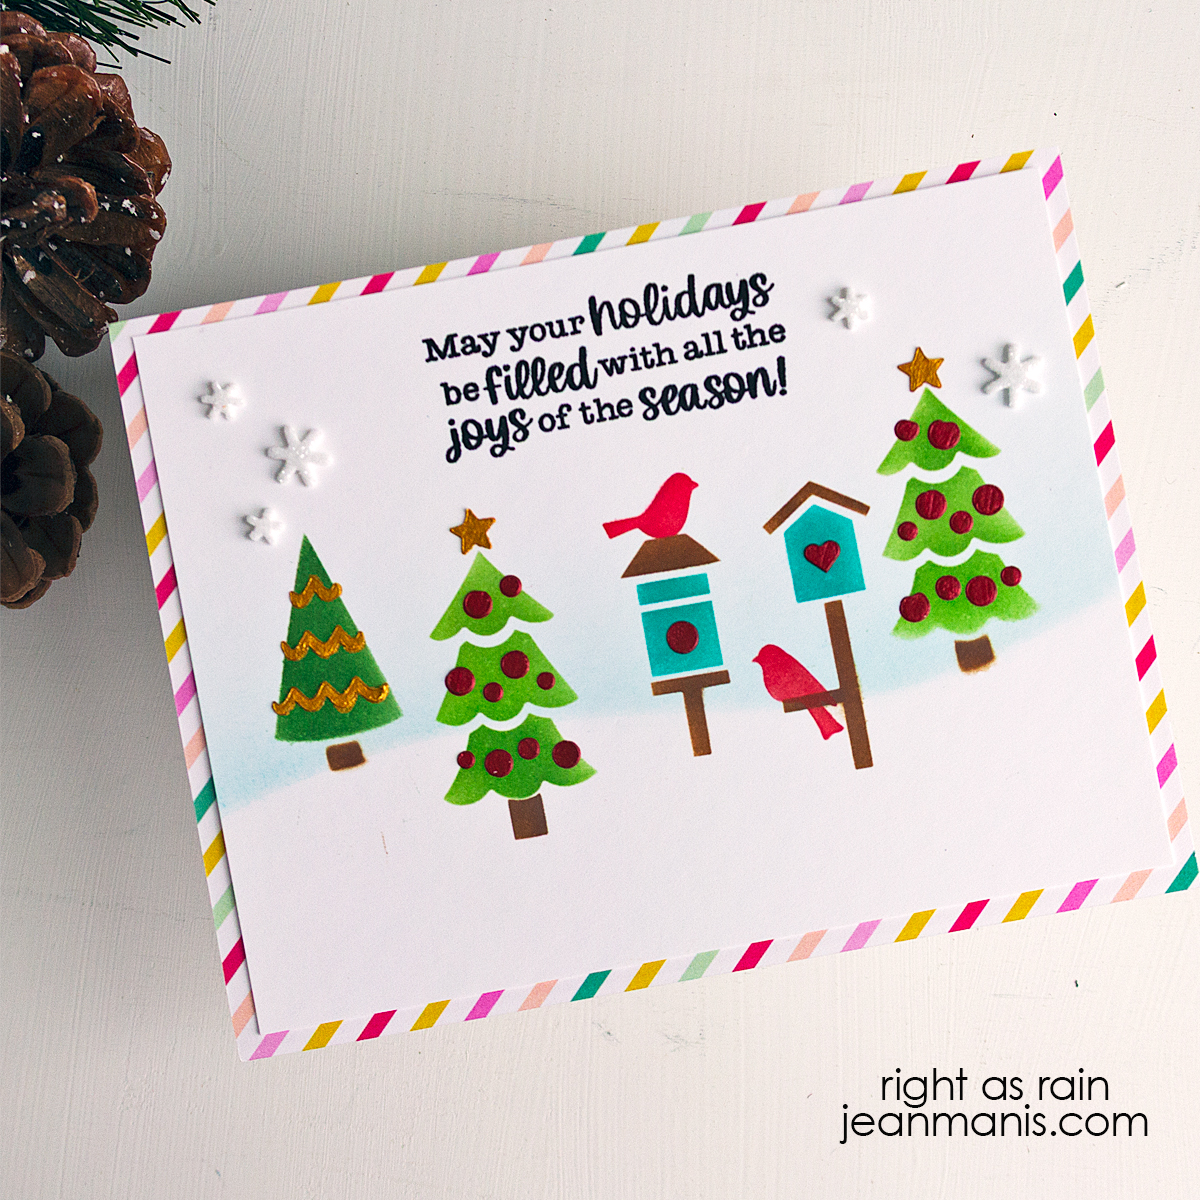
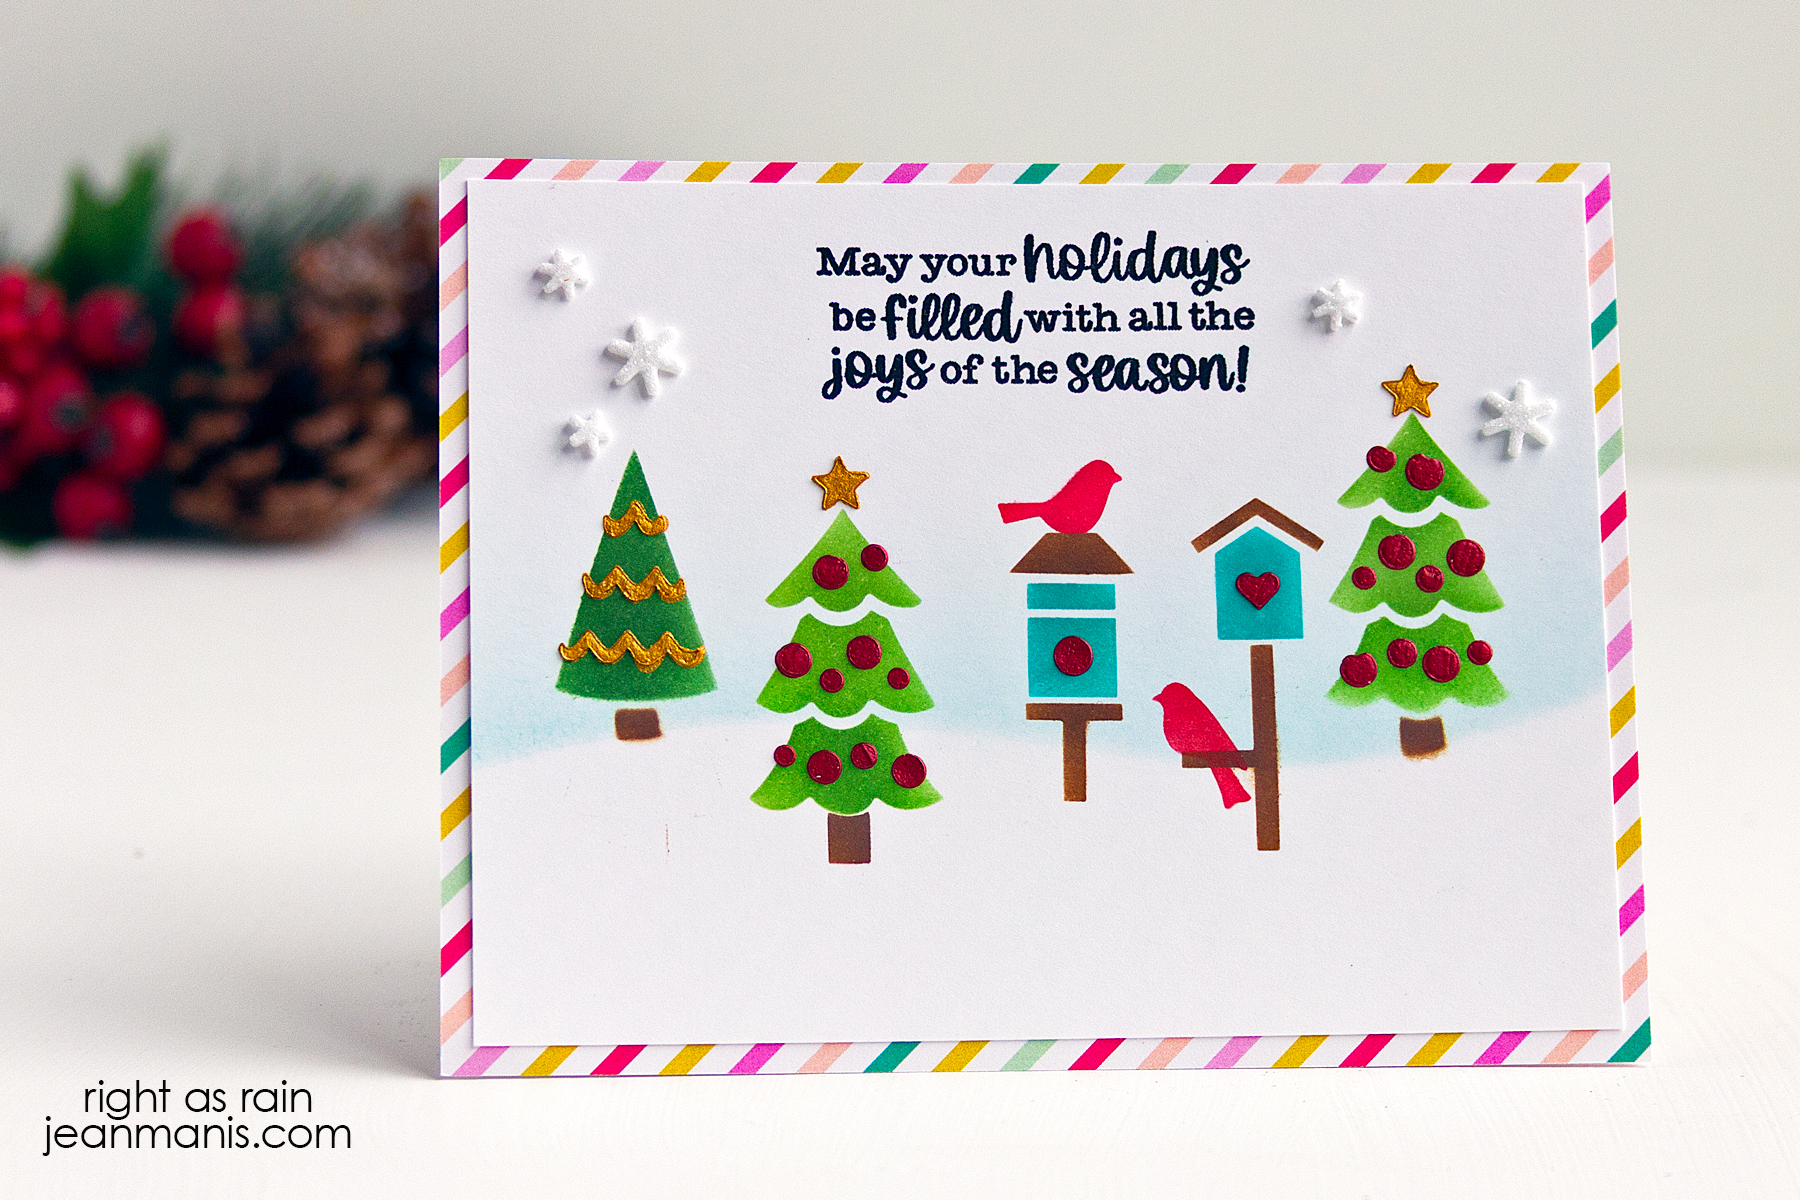
Hello! For those of us who love crafting, there’s a joy in building a layered scene with stencils. On this Christmas card, I combined two Newton’s Nook stencils to craft a playful forest view. Mixing and matching stencils opens up so creative possibilities, allowing you to experiment with color and composition. It’s also a fun way to challenge yourself to try more complicated scene-building on your holiday cards.
- Begin with a draft scene, stenciling in black on scrap paper to determine the placement of the trees and bird feeders.
- Once the scene is determined, stamp the Holiday Haul sentiment on to white cardstock.
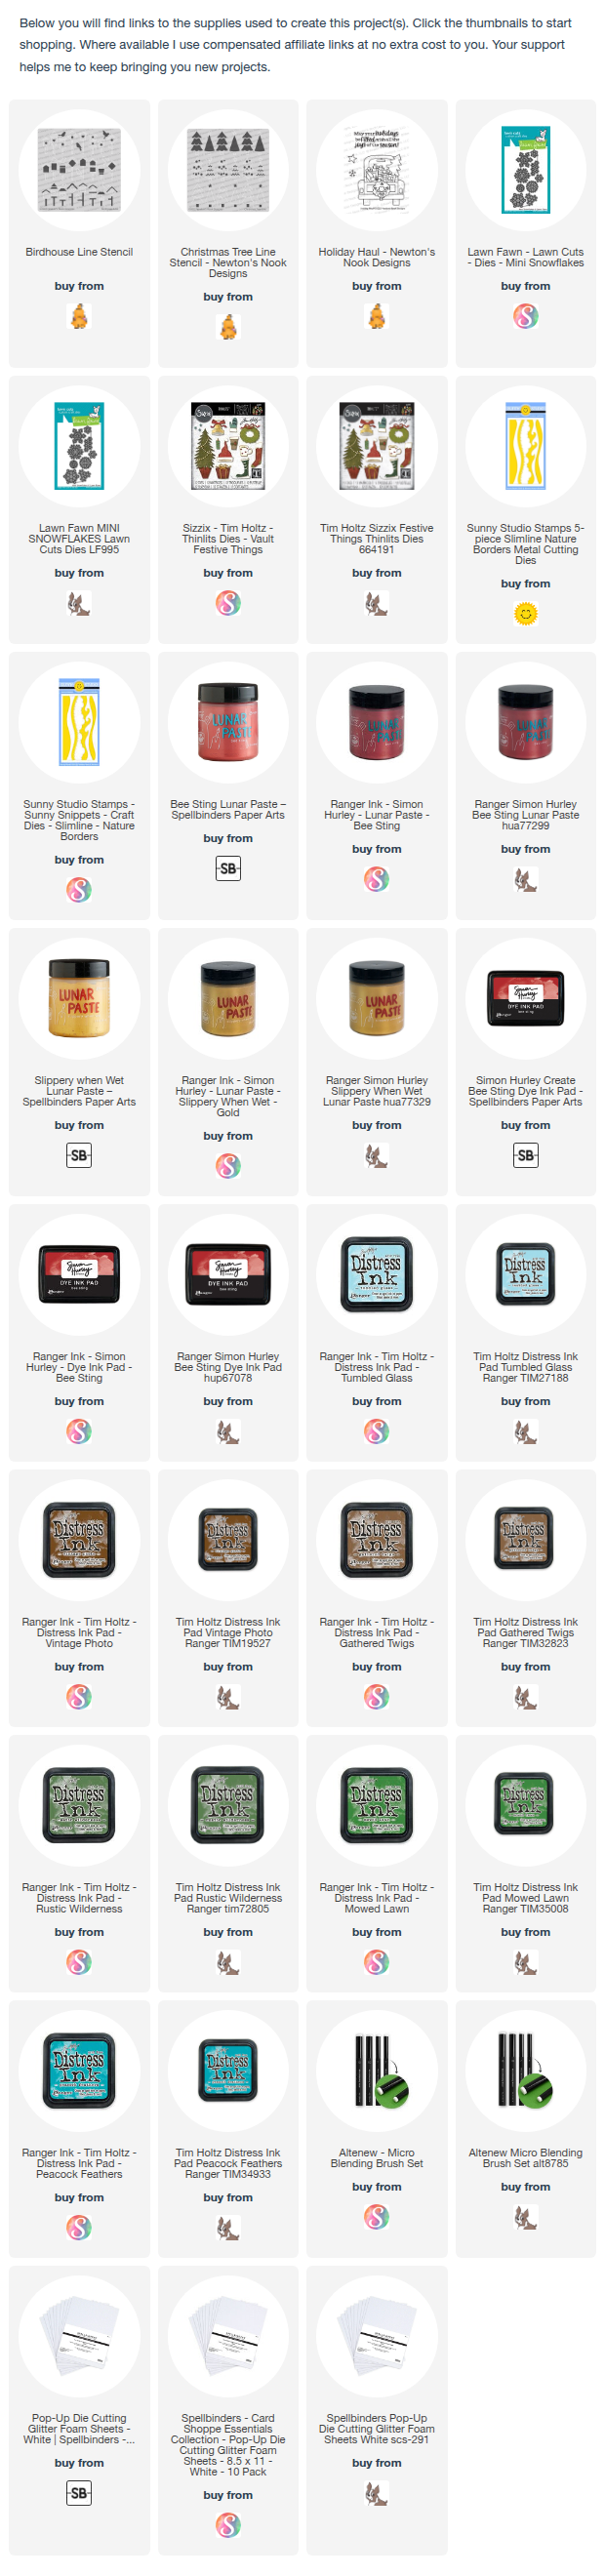
- Next, cut the hillside with a die in the Nature Borders set from vellum and stencil the sky above the snowbank with Tumbled Glass ink.
- Stencil the Birdhouse Line birdhouses and Christmas Tree Line trees in steps, adding the layers of embossing paste last.
- Adhere patterned paper to an A2-size card base. Trim the stenciled panel and add to the base.
- Finish the scene with snowflakes cut from glitter foam using dies in the Lawn Fawn Mini Snowflakes and Sizzix Festive Things sets.
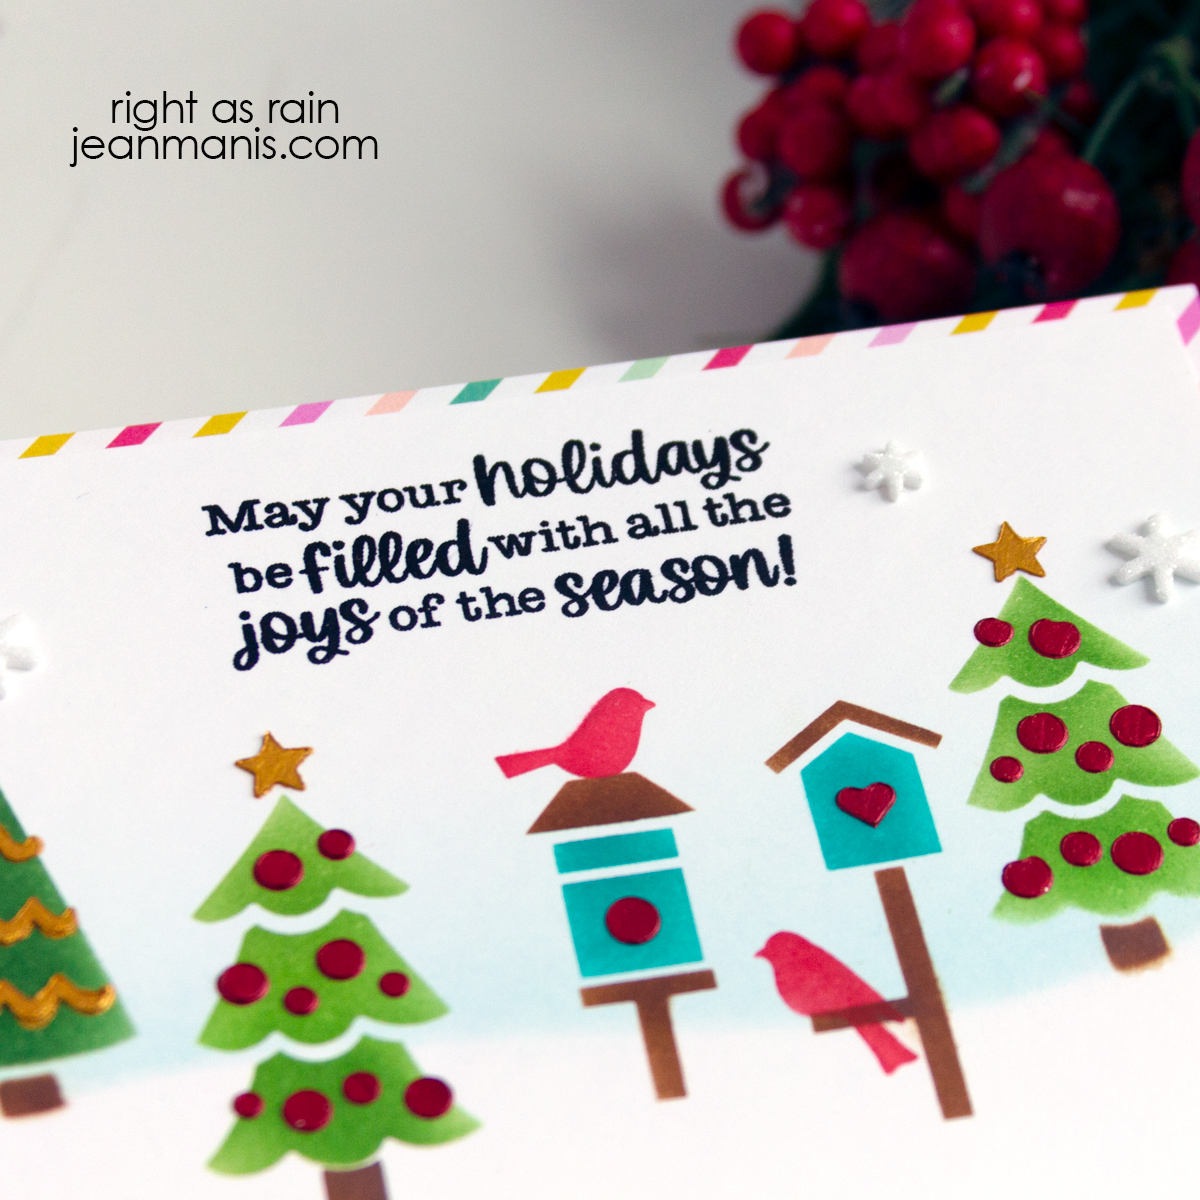
The texture just makes the stencils come alive! Great tips.
The traditional scene looks so festive on your rainbow striped base. Really a pretty card.
Sweet stenciled scene, Jean – love the colors you’ve combined!!