Reverse Confetti Happy Fall-idays: Thanksgiving

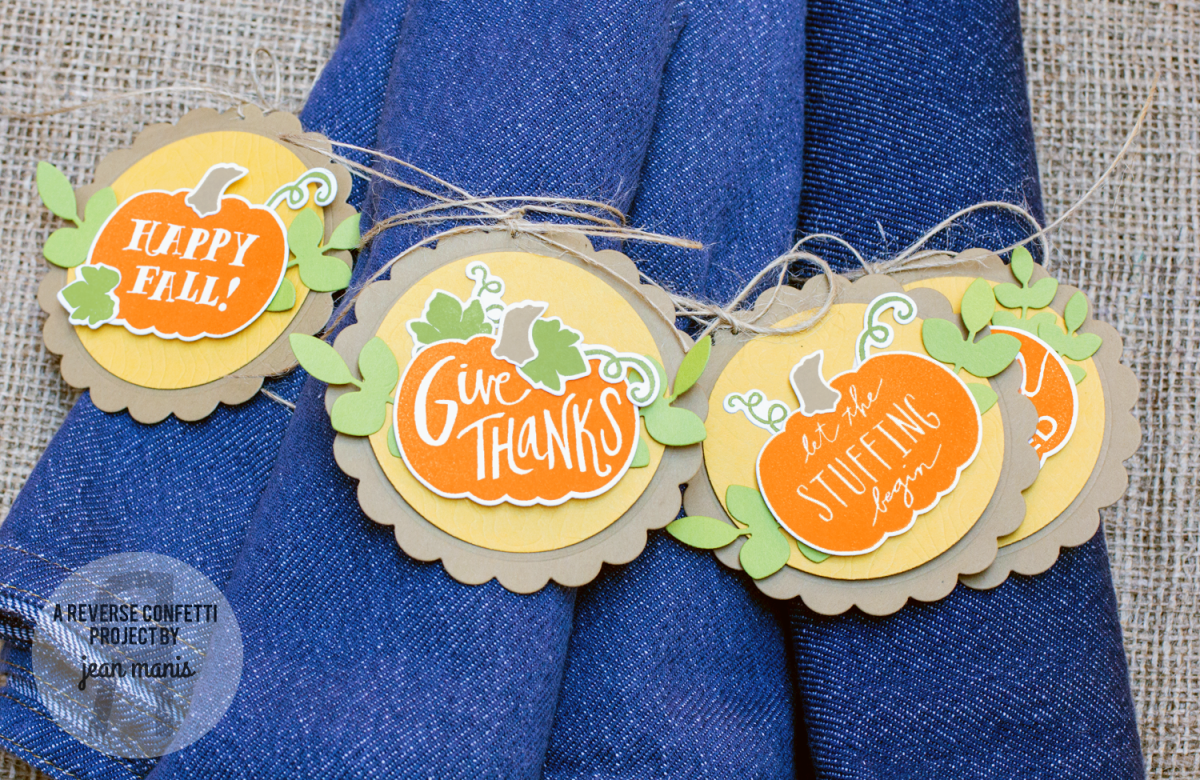
Welcome to the second day of the Reverse Confetti Happy Fall-idays – an event to provide ideas and inspiration for the holidays! Today we’re featuring Thanksgiving projects! There’s a list of everyone sharing ideas today at the end of the post. I created a table setting idea featuring the Pumpkin Patch stamp set.

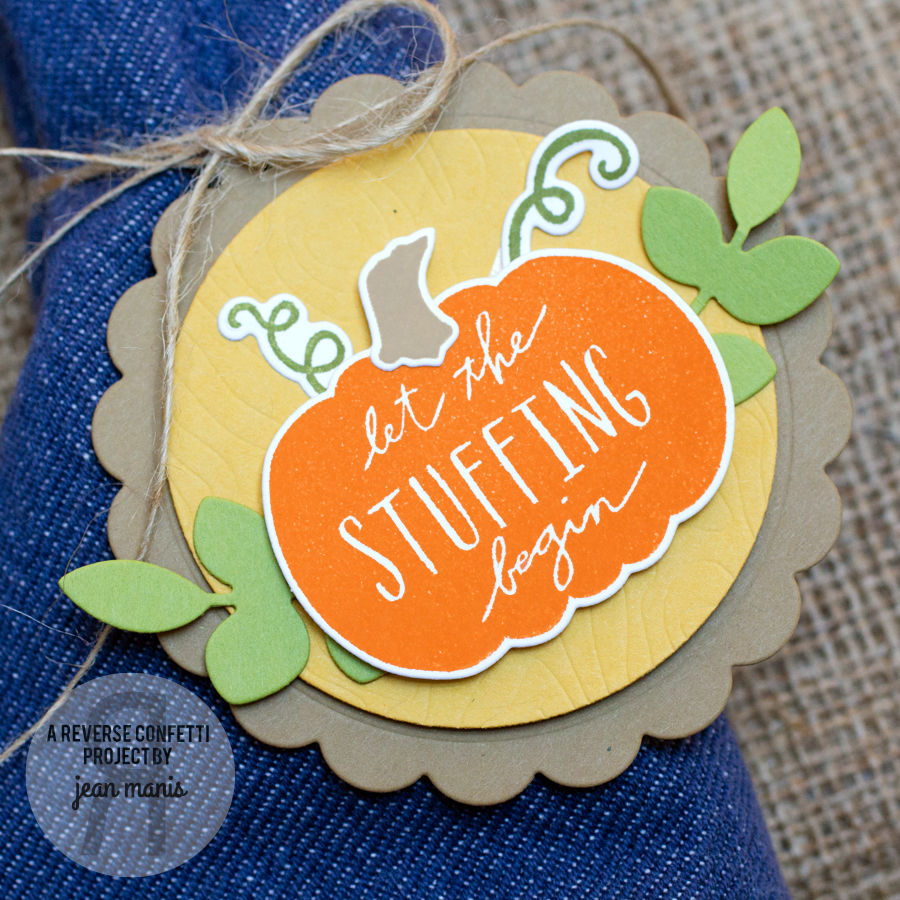
I stamped the pumpkins, stems, vines and leaves from the Pumpkin Patch stamp set and cut the pieces with their corresponding Confetti Cuts dies.

ThanksgivingTableSetting

I embellished the pumpkins with greenery from the Leafy Confetti Cuts set and adhered them to a circle base which I dry-embossed with the Woodgrain Confetti Cuts before cutting with a circle from the Circles ‘n Scallops Confetti Cuts. I added the circle to a scallop, also cut with the Circles ‘n Scallops Confetti Cuts, to create a tag, which I tied onto the napkins with twine.

ThanksgivingTableSetting3

There’s lots of inspiration being shared today by the design team, check it out!

Reverse Confetti Happy Fall-idays: Halloween

Welcome to the first day of the Reverse Confetti Happy Fall-idays – an event to provide ideas and inspiration for the holidays! Today we’re featuring Halloween projects! At the end of the post I’ve provided a list of everyone from the Reverse Confetti Design Team sharing ideas for Halloween.

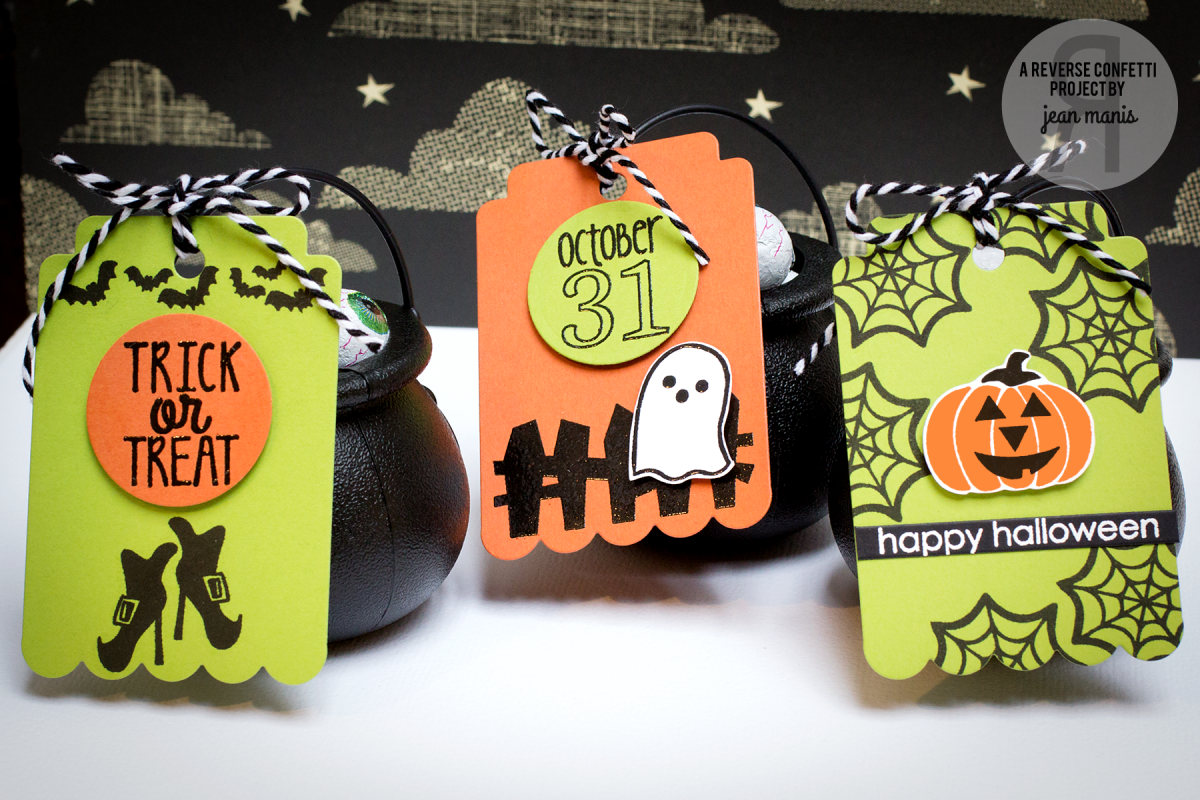
My first project features Halloween treat packaging. I’ve created three different tags in orange, green, black and white.

HalloweenPackaging

For the tag base, I used the Thanks Tag Confetti Cuts die. I stamped and heat-embossed images and sentiments from Spooky Cuties and Spooky Sentiments.

The tags are tied to tiny cauldrons filled with chocolate eyeballs!

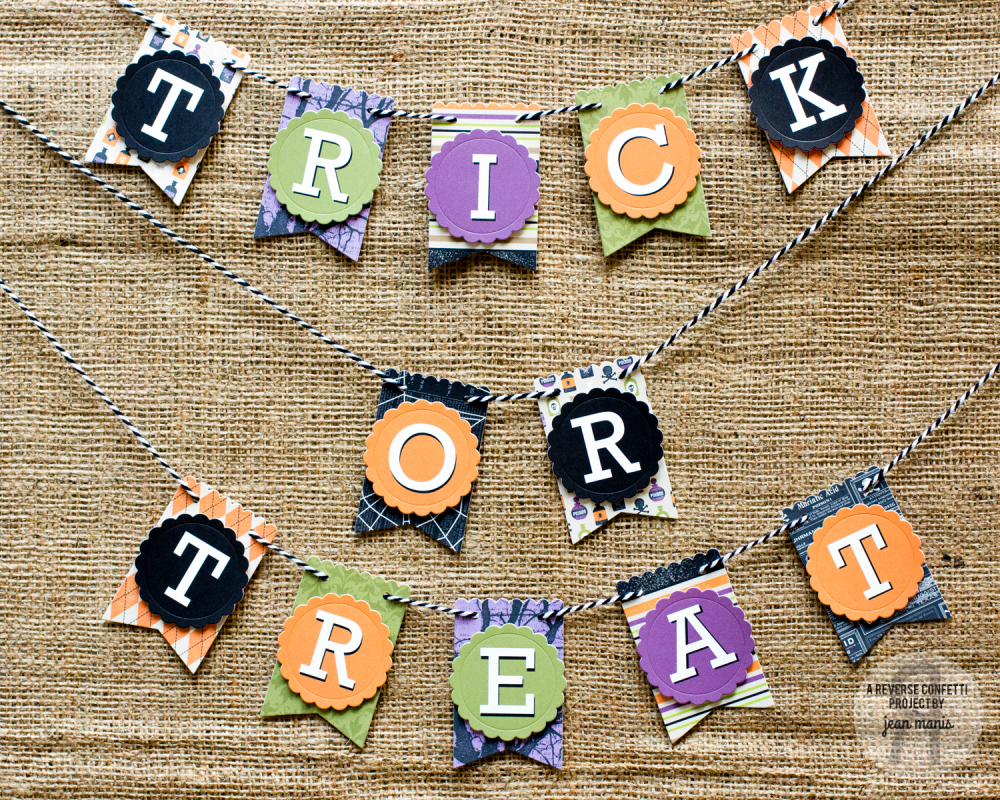
My second project is a Trick or Treat party banner created with one of the Layered Banner Duo Confetti Cuts die.

HalloweenPartyBanner

I created the letters on my computer and cut them out with one of the Circles ‘n Scallops Confetti Cuts. I attached the letters to banners cut from patterned paper with the Layered Banner Duo Confetti Cuts die.

I punched holes on either side of the top of the banners and strung them with chunky twine!

There’s lots of inspiration being shared today by the design team, check it out!

Reverse Confetti – Mixed Media Faith Bookmark

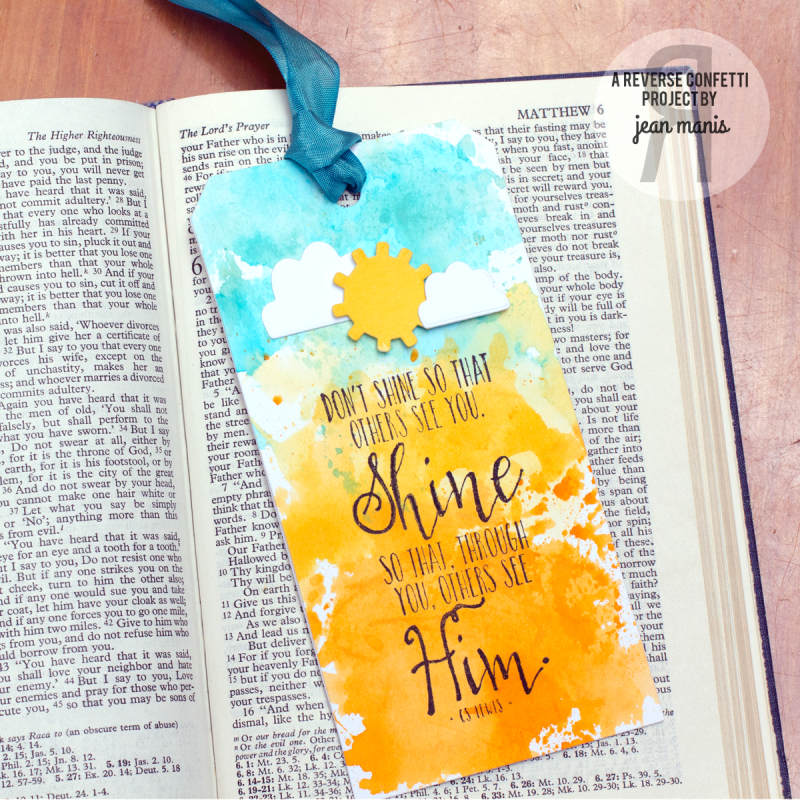
Today, I’m sharing a mixed-media, faith-based bookmark featuring one of the sentiments from the Reverse Confetti God Is Good set.

FaithBookMark

Both Reverse Confetti God Is Good and Walk By Faith stamp sets can be used for Bible journaling. I don’t own a Bible with a journaling margin so decided to make a bookmark.


To begin, I applied three colors of Peerless Watercolors to watercolor paper and then die cut a large tag out of the watercolored paper. I stamped the sentiment and added clouds and a sun die cut with the Weather It Together Confetti Cuts set. The sun was also colored with Peerless watercolors. To finish I added ribbon that I dyed with Distress Stain.

Reverse Confetti Concentration/Memory Card Game

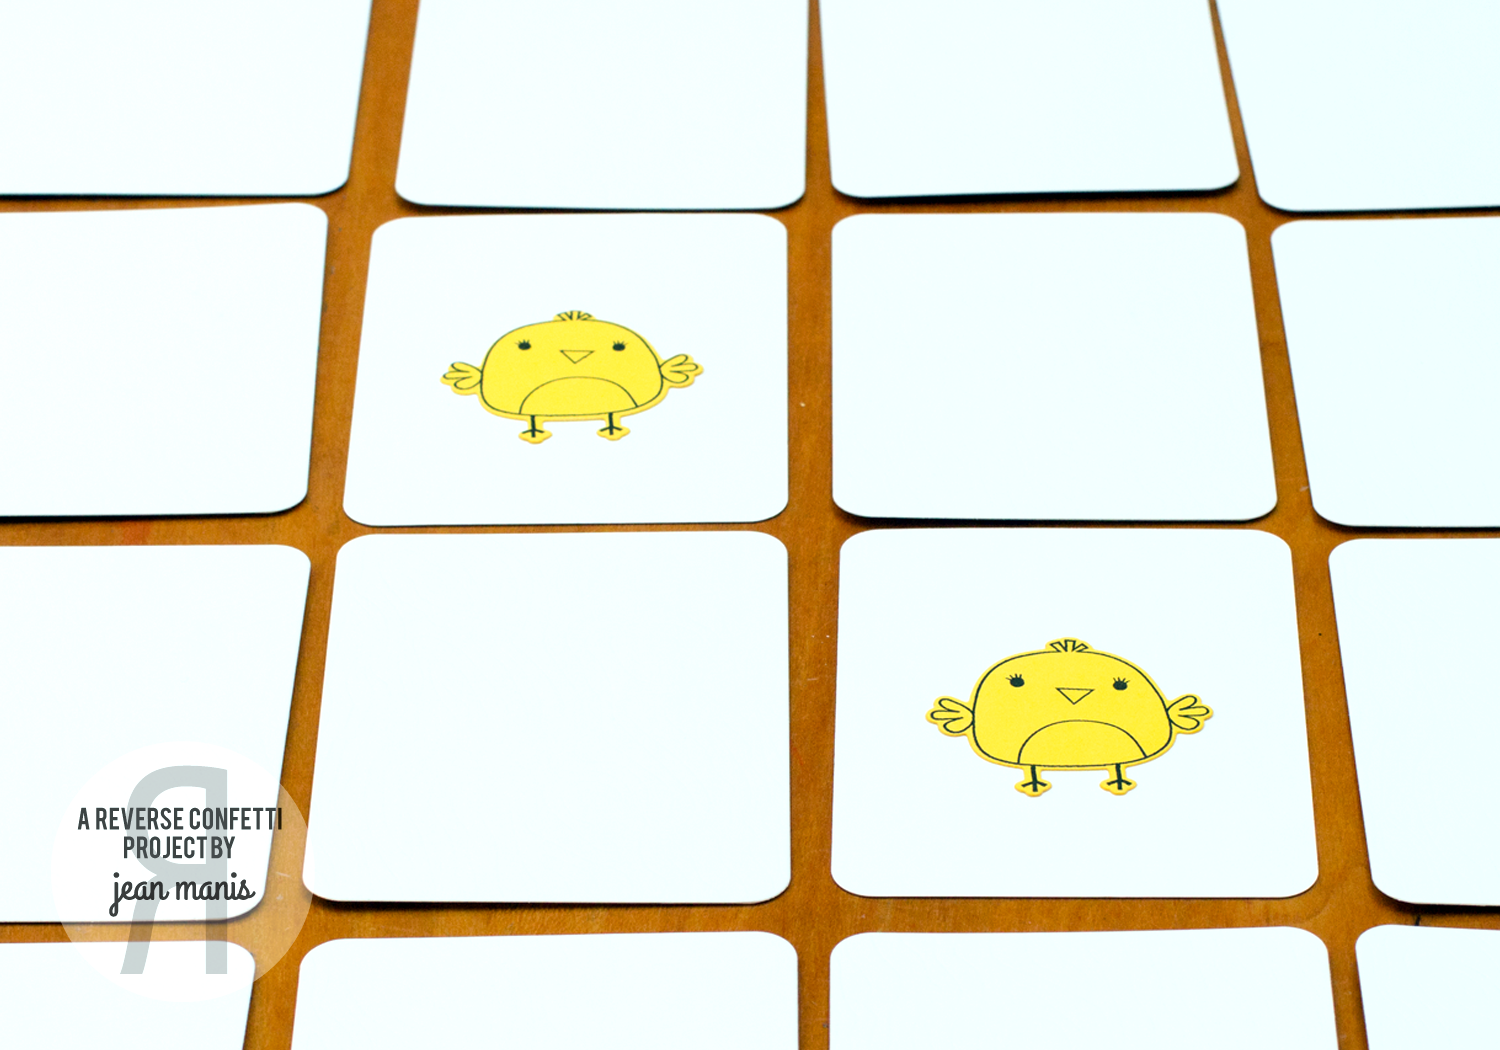
Today, I’m sharing a card game project created with Reverse Confetti stamps and Confetti Cuts. The game is “Concentration” (also known as the “memory game”) and requires pairs of cards.

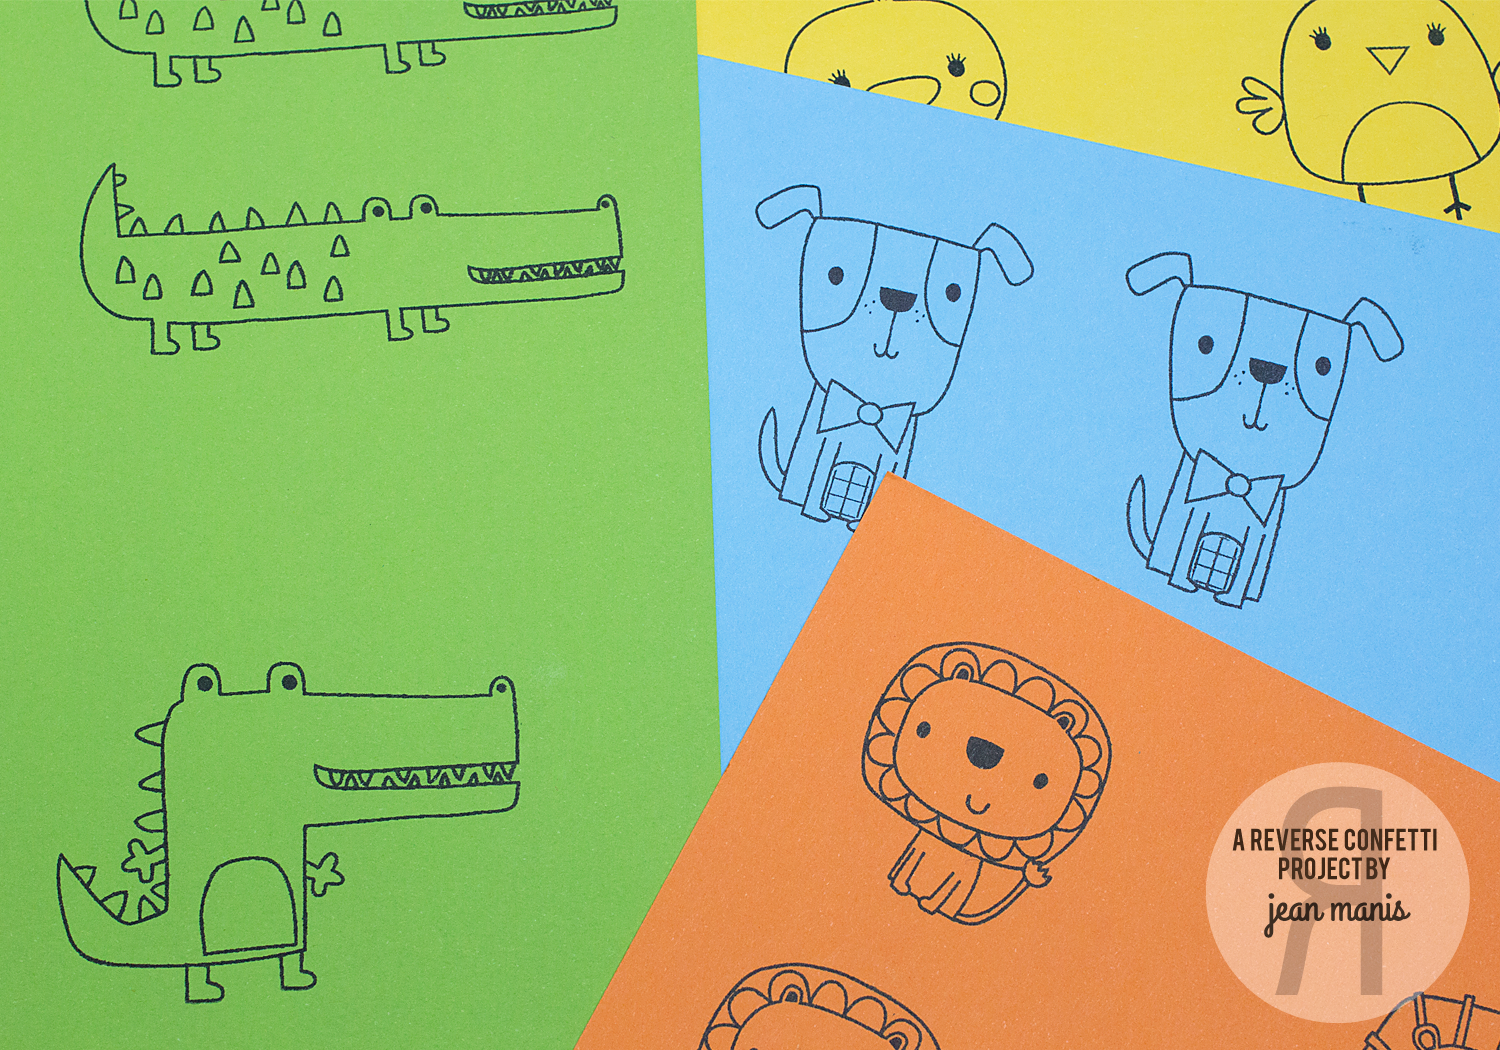
I chose eight pairs for a total of sixteen cards. I stamped animals from the Later Alligator, Monkey Business, Leaping Lions and The Tweet Life stamp sets onto colored cardstock.

Concentrationstamping

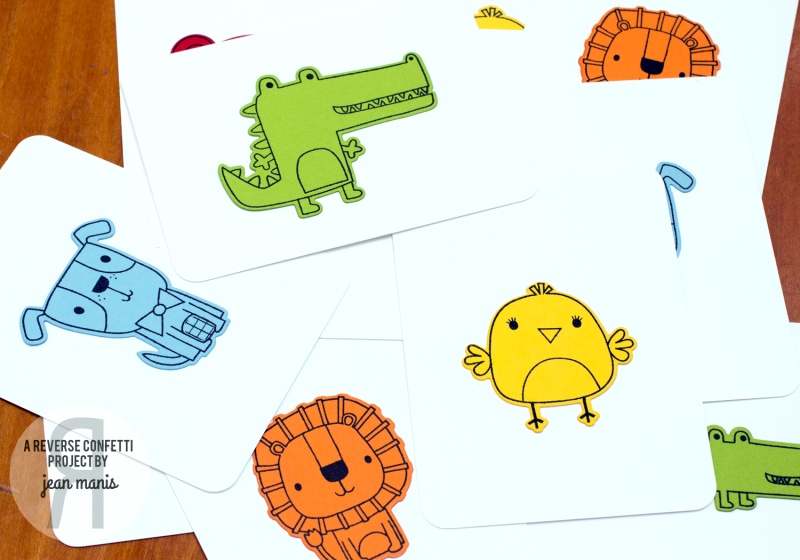
Next, I cut the animals with their corresponding Confetti Cuts sets. I also cut sixteen playing card bases with the Woodgrain Confetti Cuts die from heavyweight white cardstock. The die cut is the perfect size for playing cards and the woodgrain gives a great texture. I adhered the animal die cuts onto the backside of the cards.

Concentrationcards

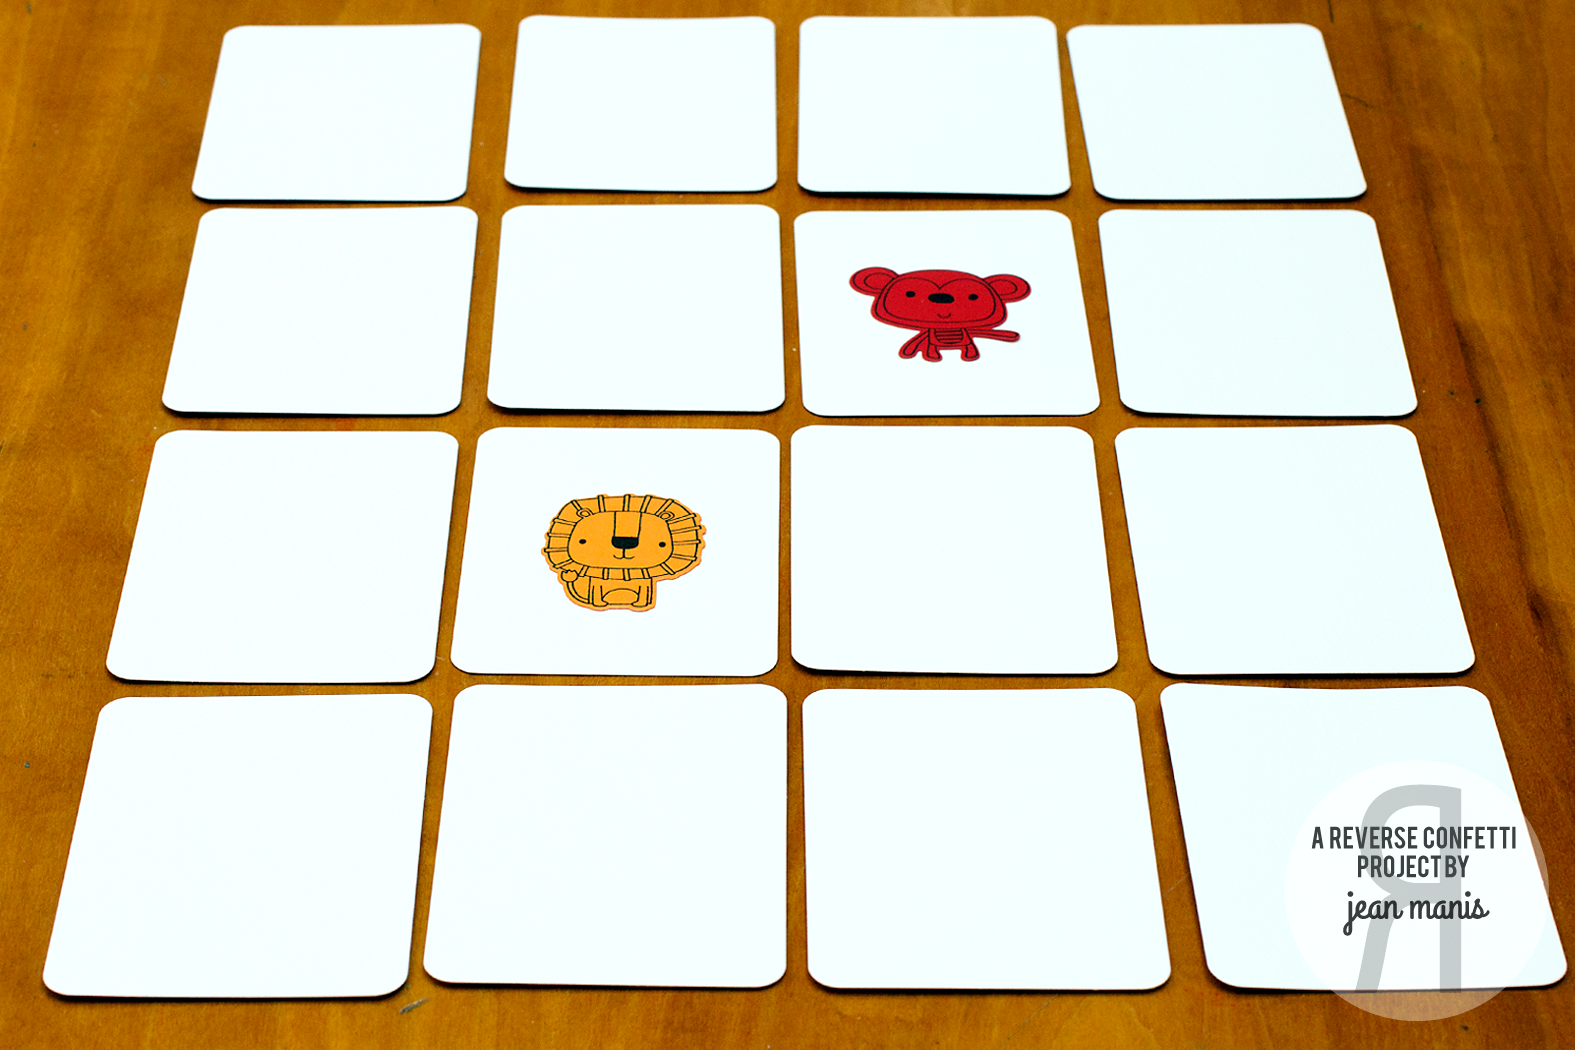
To play the game, the cards are flipped so that the images are hidden. The first player flips over two cards attempting to make a match.

Concentrationnomatch

If the player doesn’t make a match, the cards are turned back over and the next player tries to make a match.

Concentrationmatch

If the player makes a match, that player wins the pair and gets another turn. The player who makes the most matches (and collect the most pairs) wins!

Reverse Confetti ABC Valentines

Welcome to this month’s Reverse Confetti Blog Hop. If you were following along from the beginning, you reached me from Lisa Henke’s blog.

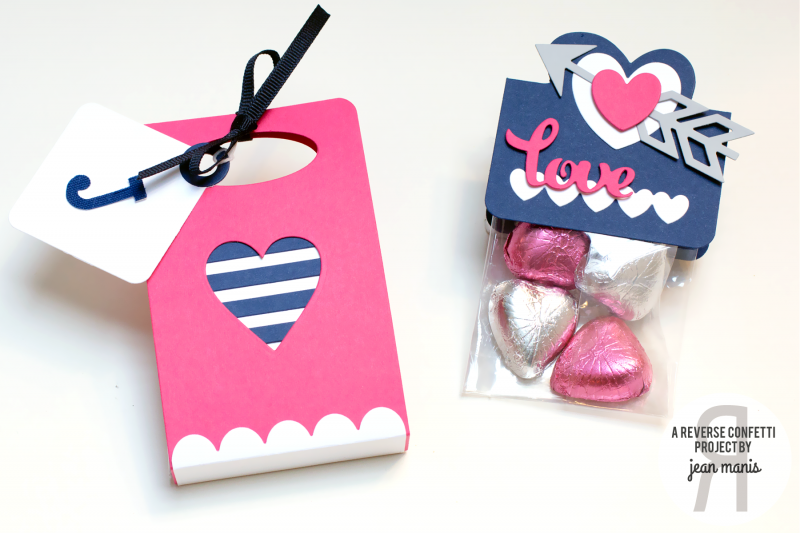
I’m sharing two ABC [Anything but a Card] packaging projects designed for Valentine’s Day treats. I chose a preppy color scheme for a twist on traditional Valentine’s Day colors!
ABCValentines

The treat tent, (on the left in the photo above), houses heart-shaped chocolates, but it could just as easily be used to package a nail polish bottle, small soaps, or trial-size cosmetics. To begin its construction, I used the Sweet Treat Tent Confetti Cuts to cut three tent pieces. With my paper trimmer, I trimmed the top tab off of all three. Next, I die cut a heart from one of the tents, the one for the front, with the heart die in the Puppy Love Confetti Cuts set.

I covered the heart cutout with a combination of the Straight Stripes Pretty Panel and the Class Act rounded rectangle, which is the same size as the Pretty Panel. Next I covered the tent front with another tent panel, which I trimmed at the bottom score line. I attached the trimmed tent panel to the tent panel front.

For the scallop bottom, I used Love Note to cut a scallop rectangle. I cut off the two short ends, cut the rectangle in half and trimmed the pieces to the depth of the tent base. Both sides of the treat tent have a scallop bottom treatment.

To finish off the packaging, I added an adhesive letter to the Square Tag for a monogrammed (and personalized) gift tag tied on with navy grosgrain 1/4″ ribbon.

Now let’s take a look at the treat topper. To begin, I cut a rounded rectangle with the die in Documented. I scored the rectangle at its center point approximately 5/8″ from the left and the right. Next I positioned the large heart die from the Heart to Heart Confetti Cuts set in the center of the panel. I placed the top plate of the cutting sandwich on the score line and ran it through my Big Shot. In this manner, only the top part of the heart was cut.

I scored the rectangle on the score lines and embellished it with die cuts cut with Heart LoveArrow and Love Note. The arrow was cut in the middle so that I could extend it a bit. The top heart is attached with dimensional adhesive, as is the love sentiment.

Thanks for joining me today! Next on the list is Kathy Martin’s blog. Comment at each stop along the way for a chance to win a $15 gift certificate. Comments close Thursday at noon CST; the winner will be announced on Friday.