Hello! Today I am sharing a birthday card, created with Paper Smooches supplies, which is on its way to a friend who is an avid gardener. I am entering this card into the latest Paper Smooches Challenge, whose theme is Anything Goes.
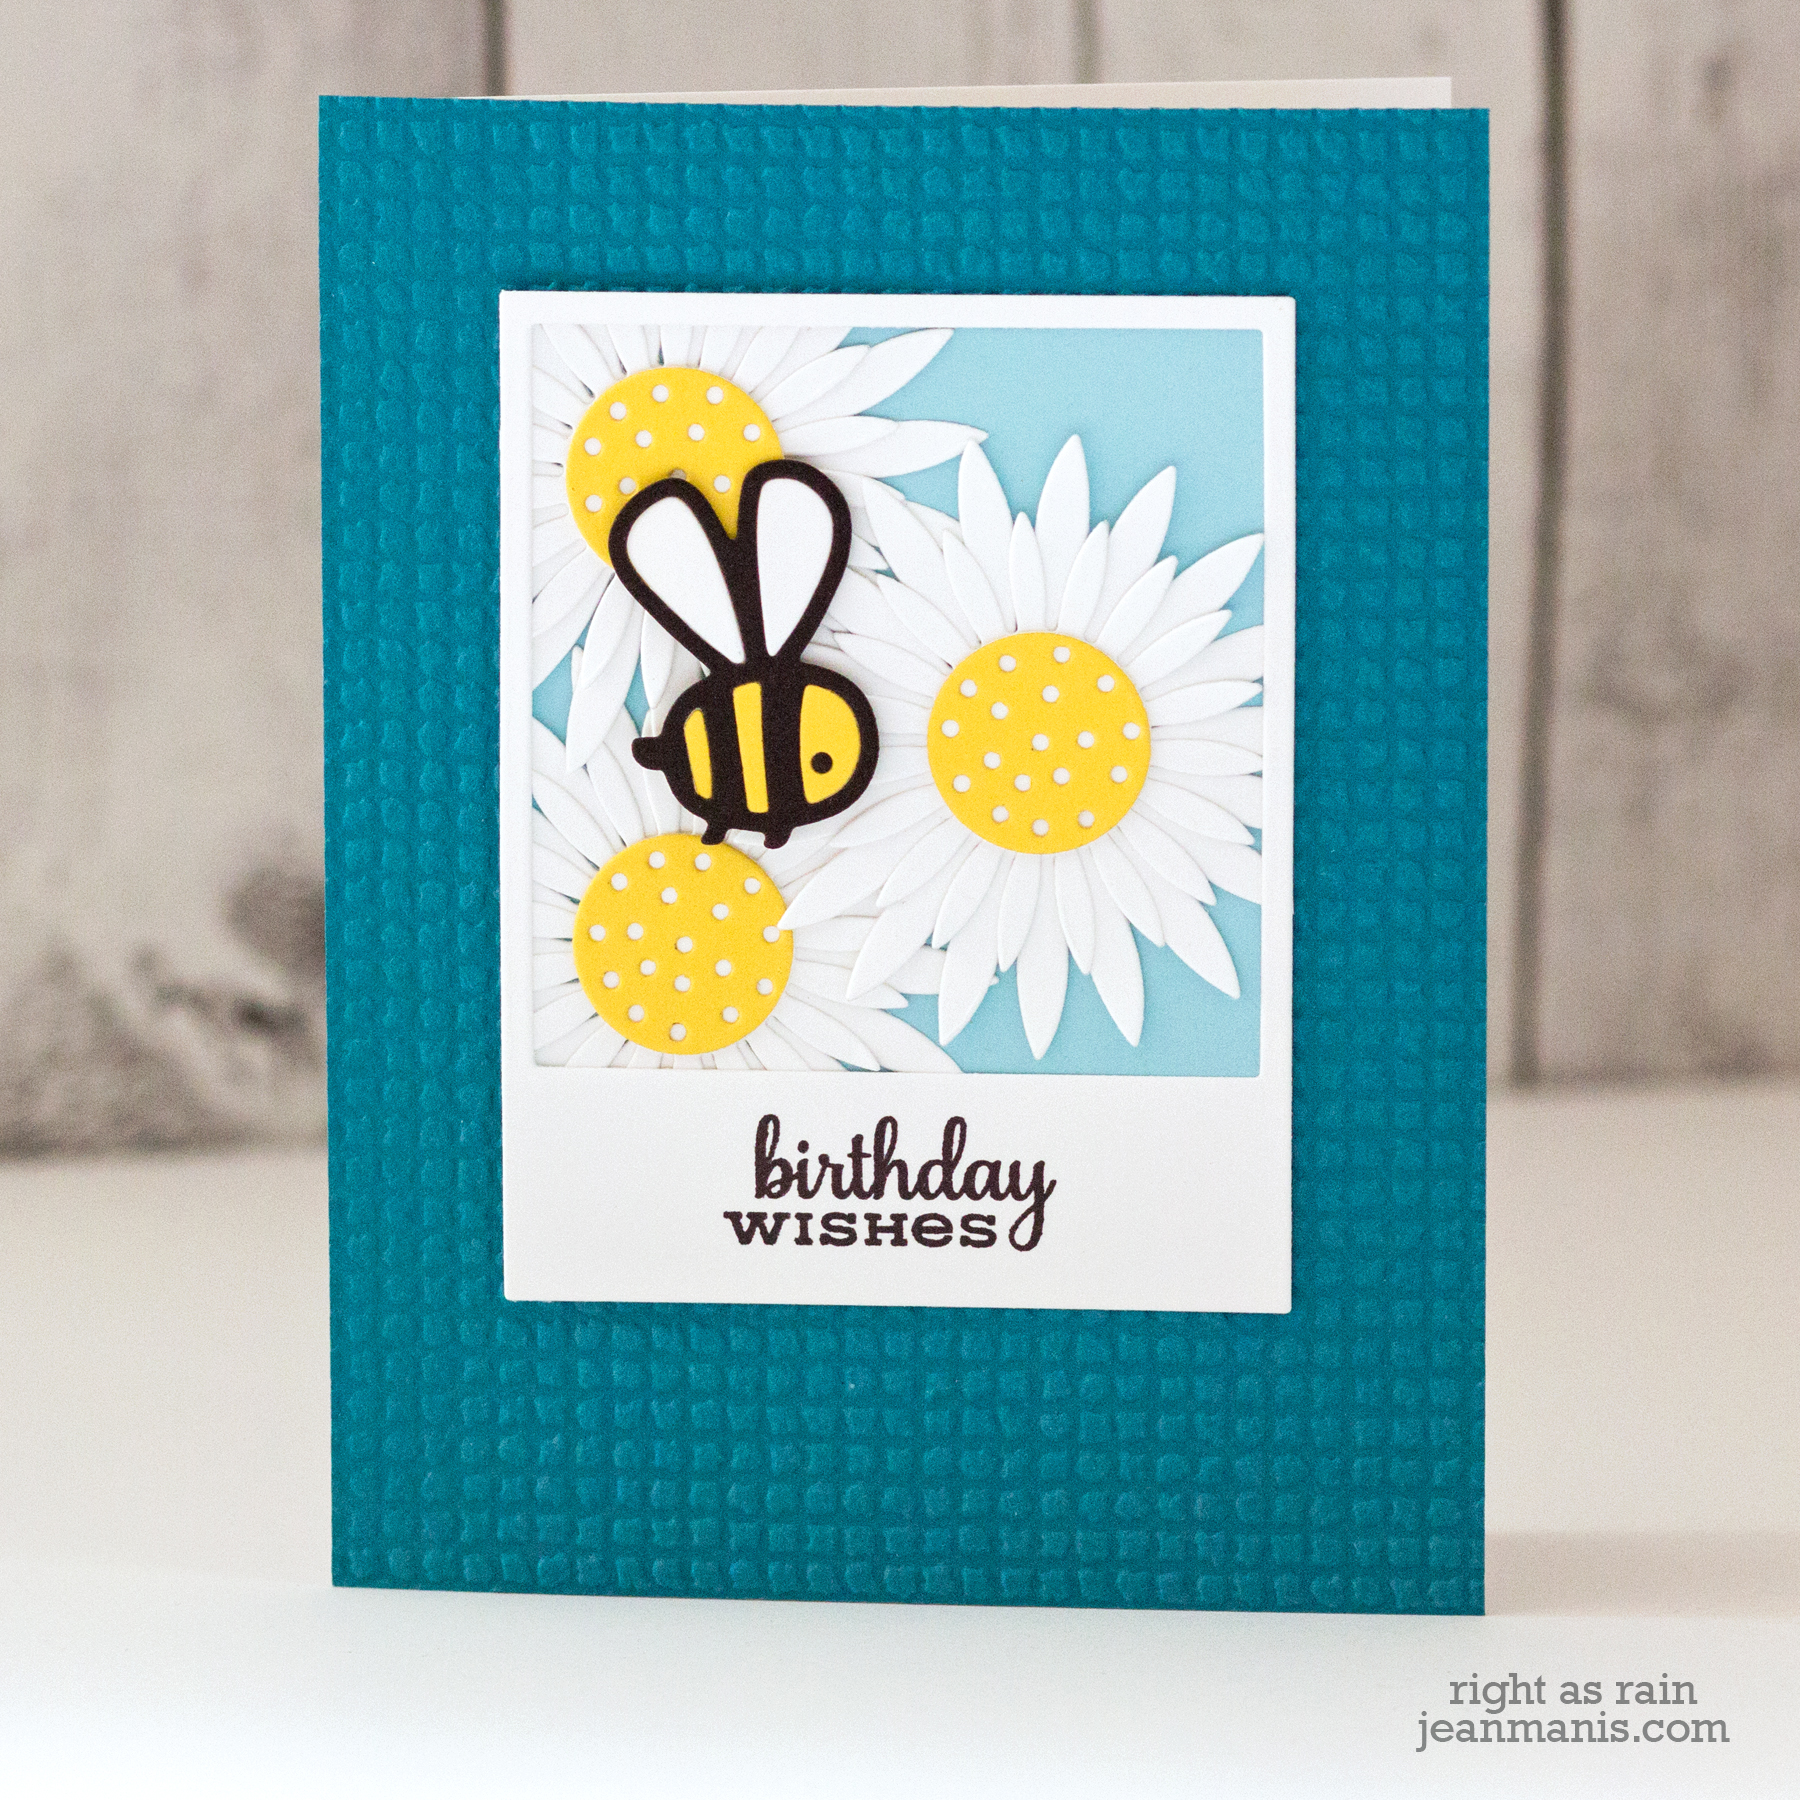
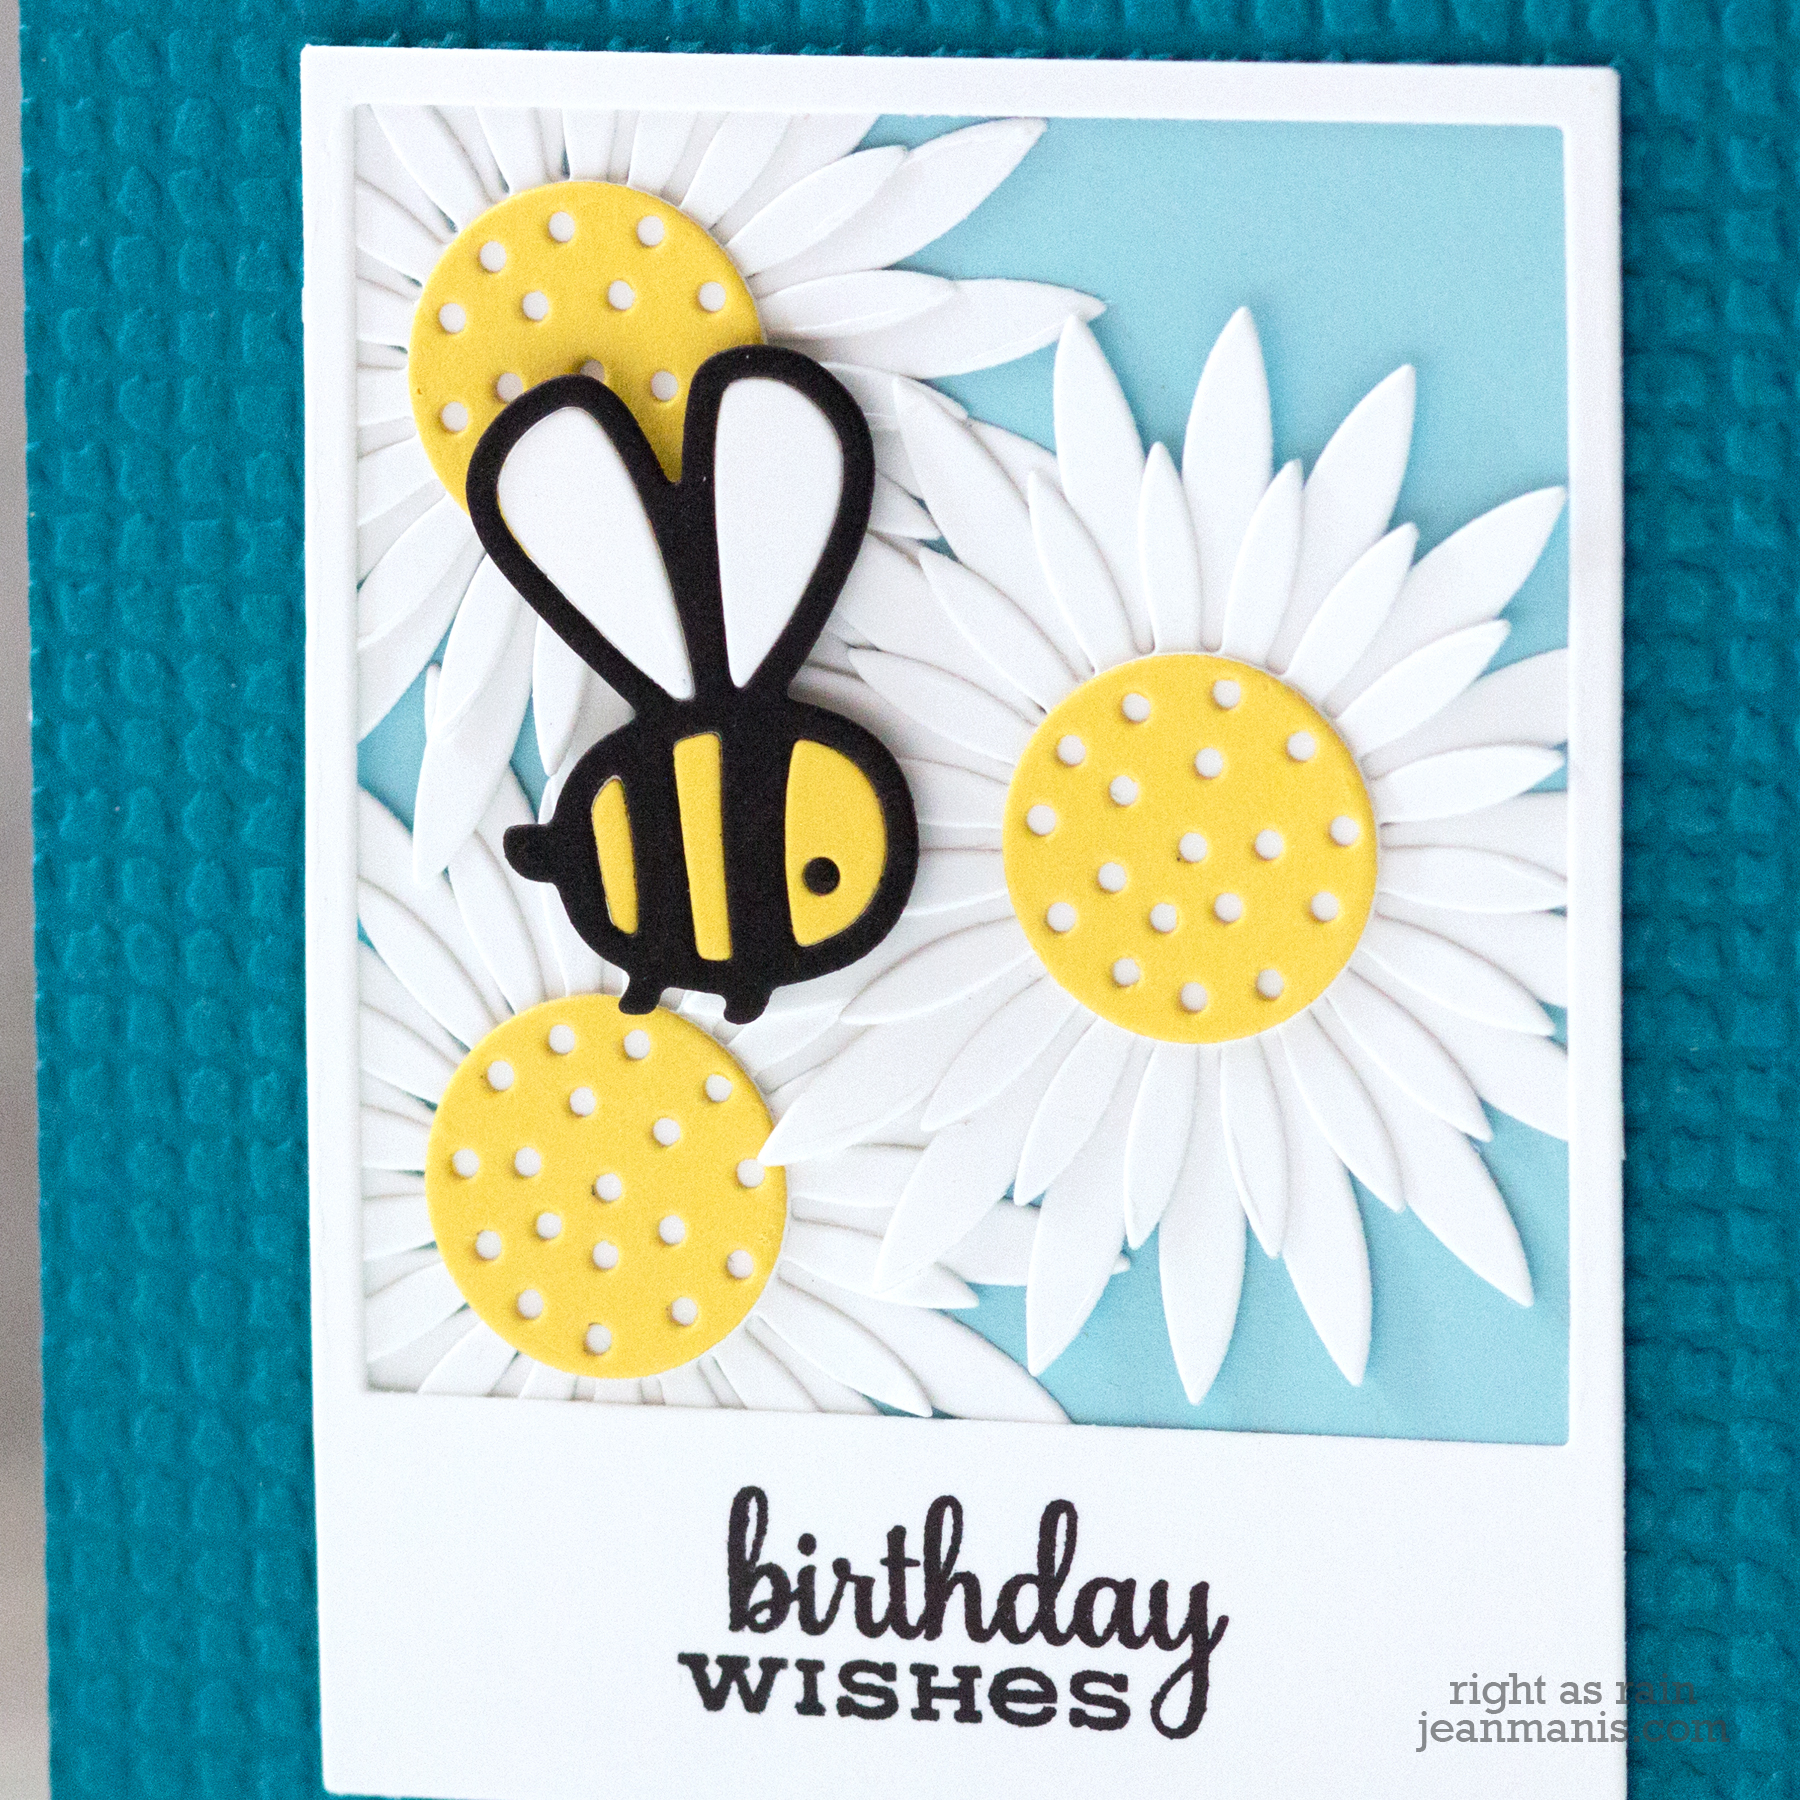
- I die-cut the daisies with the Sunflower die.
- I glued the daisies on to light blue paper and trimmed the panel. The panel was sized to fit behind the Polaroid die-cut.
- I added the Polaroid frame on which I stamped the sentiment.
- For whimsy and additional detail, I added a bee!
- I added the Polaroid panel to a dry-embossed background (SU Island Indigo cardstock, now retired, embossed with the Taylored Expressions Burlap folder).
Supplies:


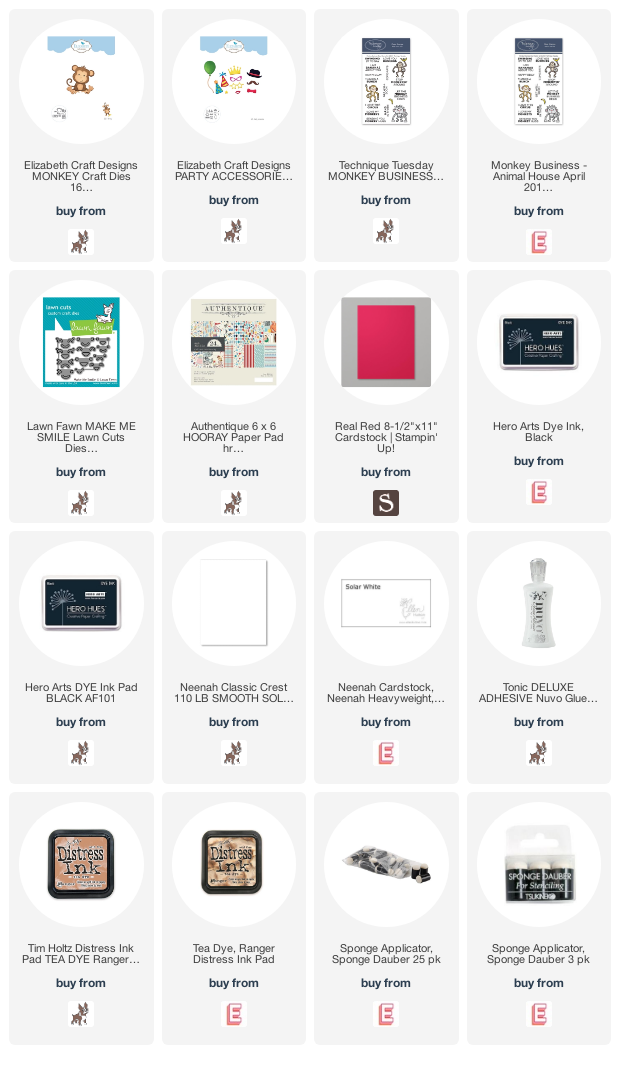
 Supplies: