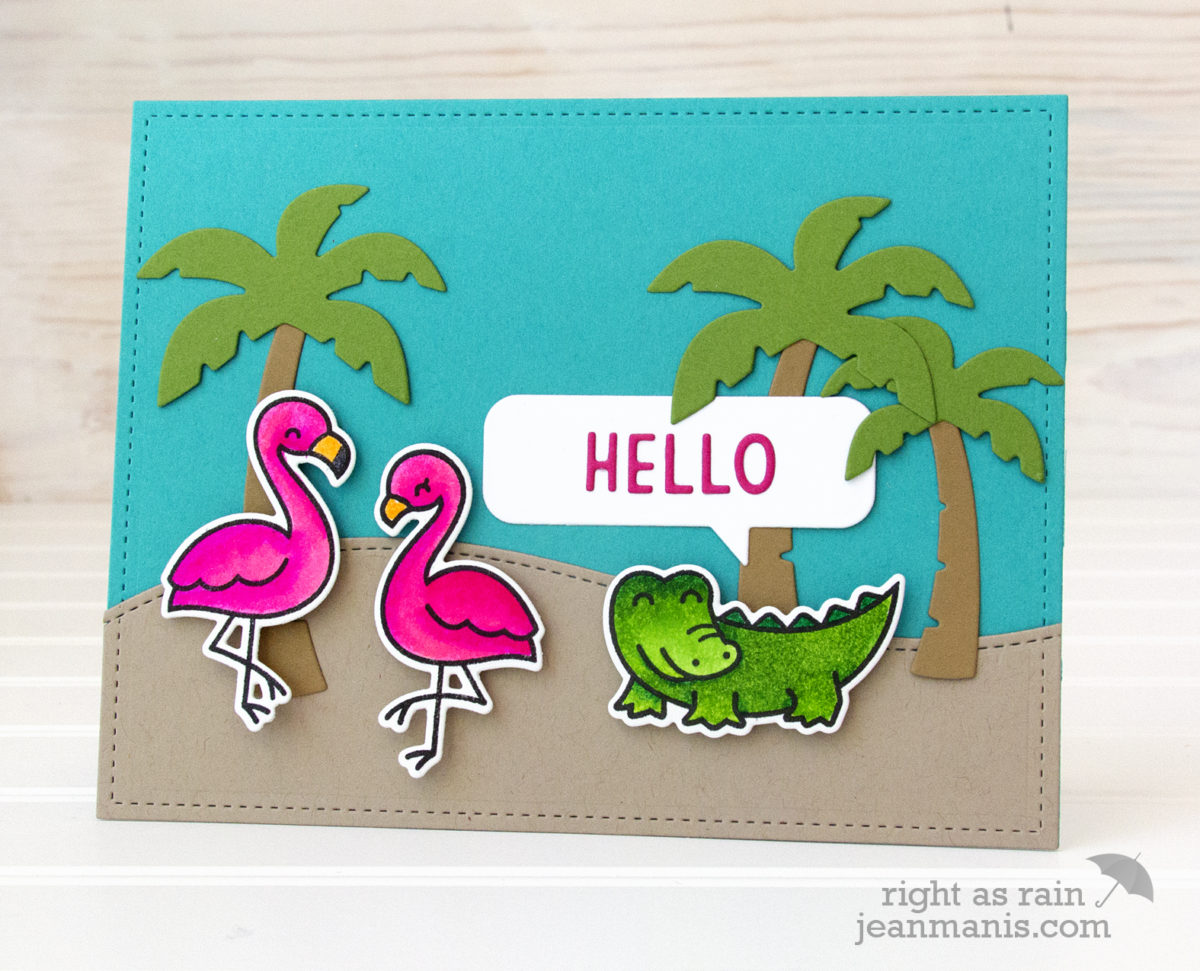
Hello! Today, I’m sharing a “just because” tropical-themed card combining several Lawn Fawn products.

I have been wanting to color more with the Zig Clean Color Real Brush markers. Both the flamingos and the alligator were stamped on the Mixed Media paper and colored with Zig markers (the markers yield bright results!).
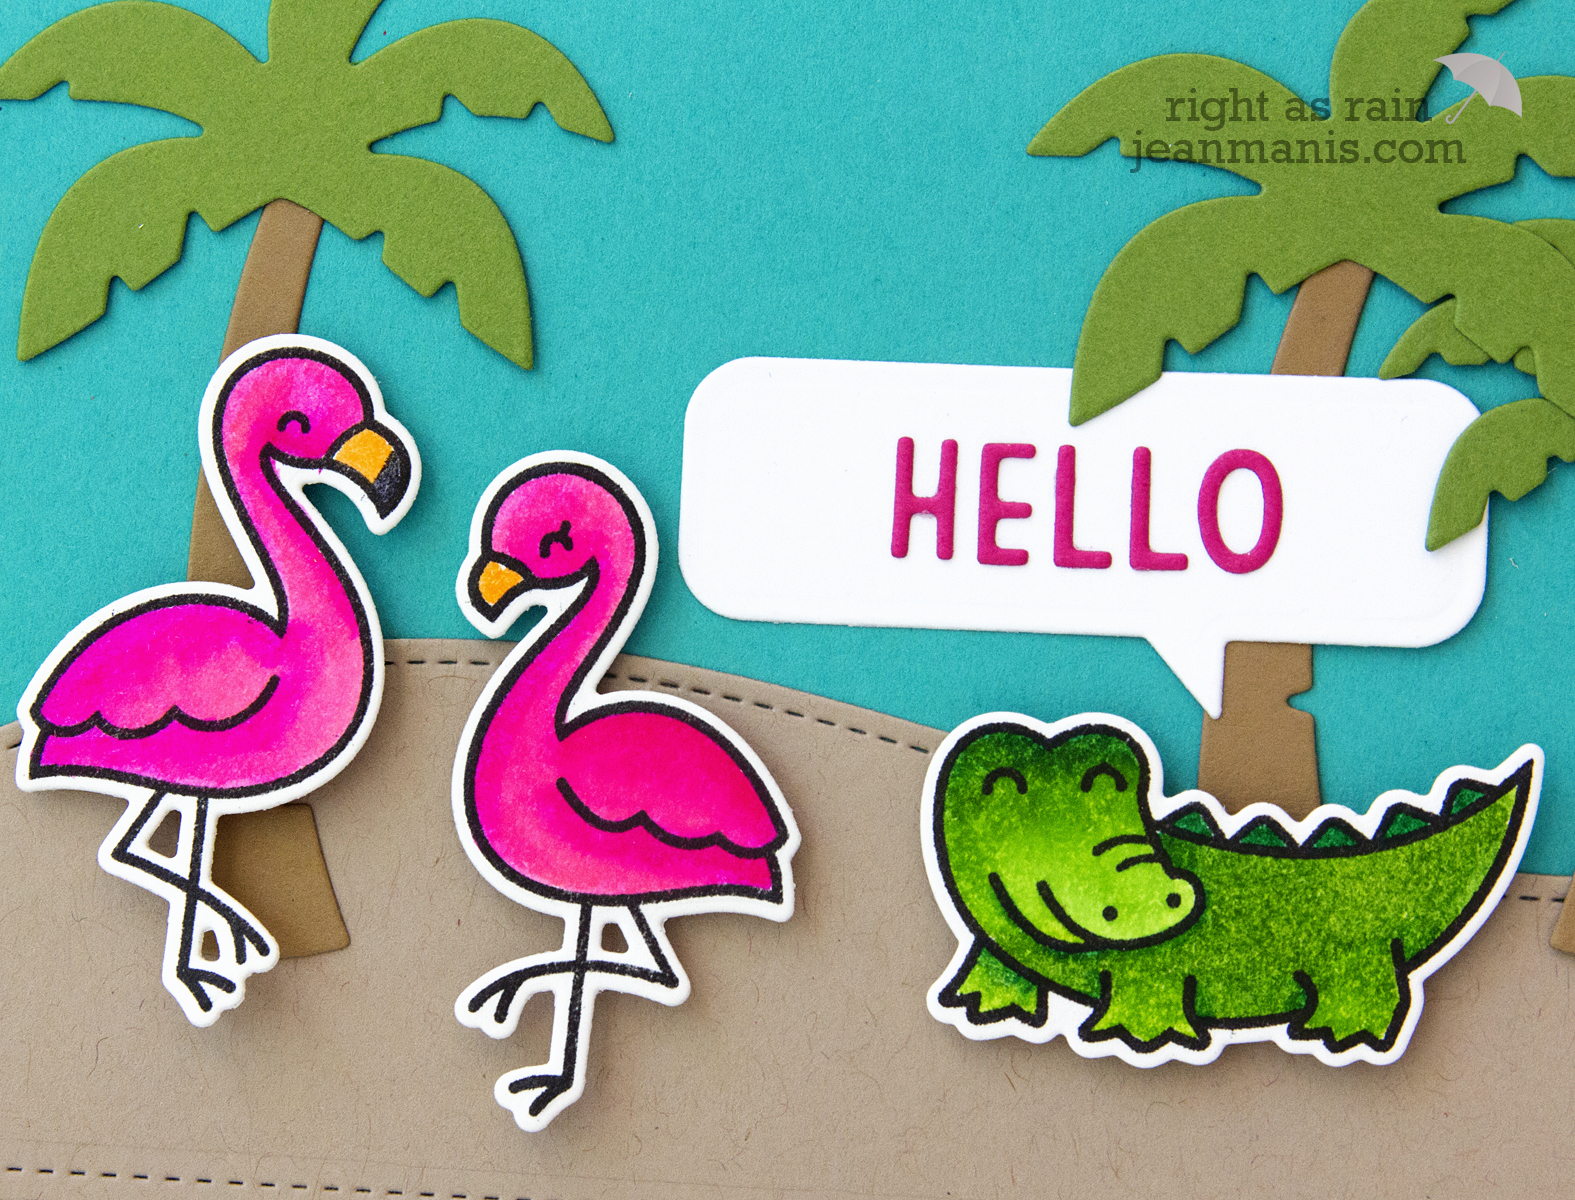
I added the animals to a die-cut scene created with Palm Trees, Hillside Borders, and a card base cut with the largest die in the Large Stitched Rectangle Stackables set. I used the Speech Bubbles set for the sentiment. I envisioned the alligator luring the flamingos over with his “Hello”!
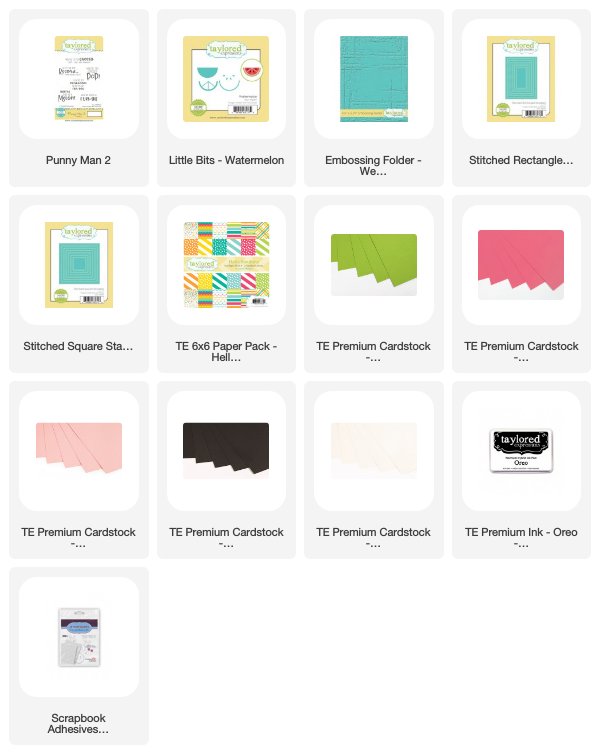
Supplies: