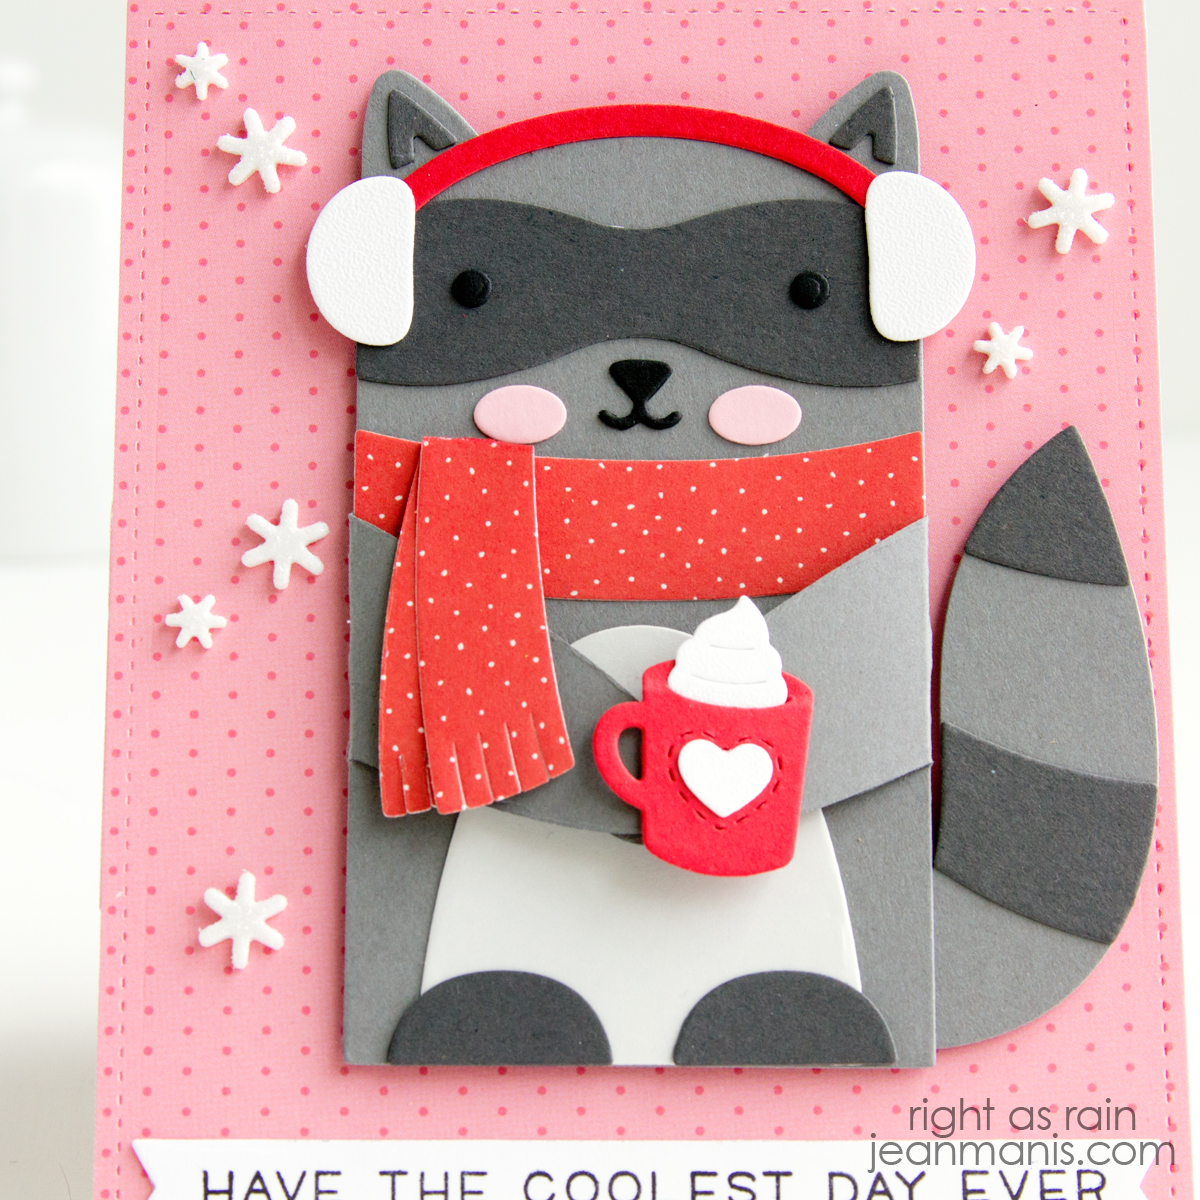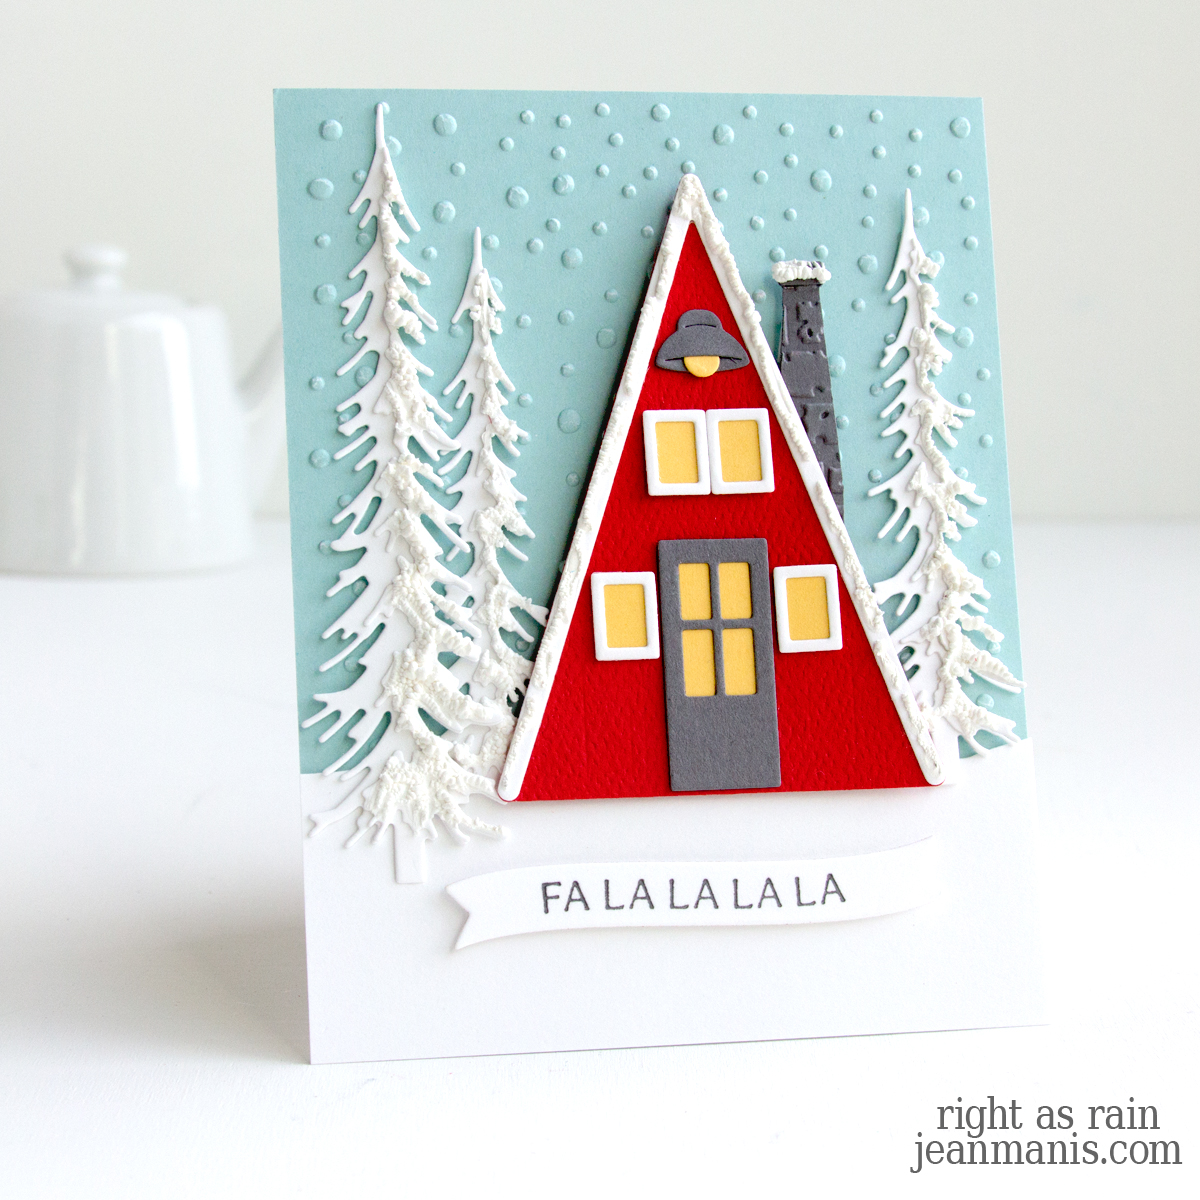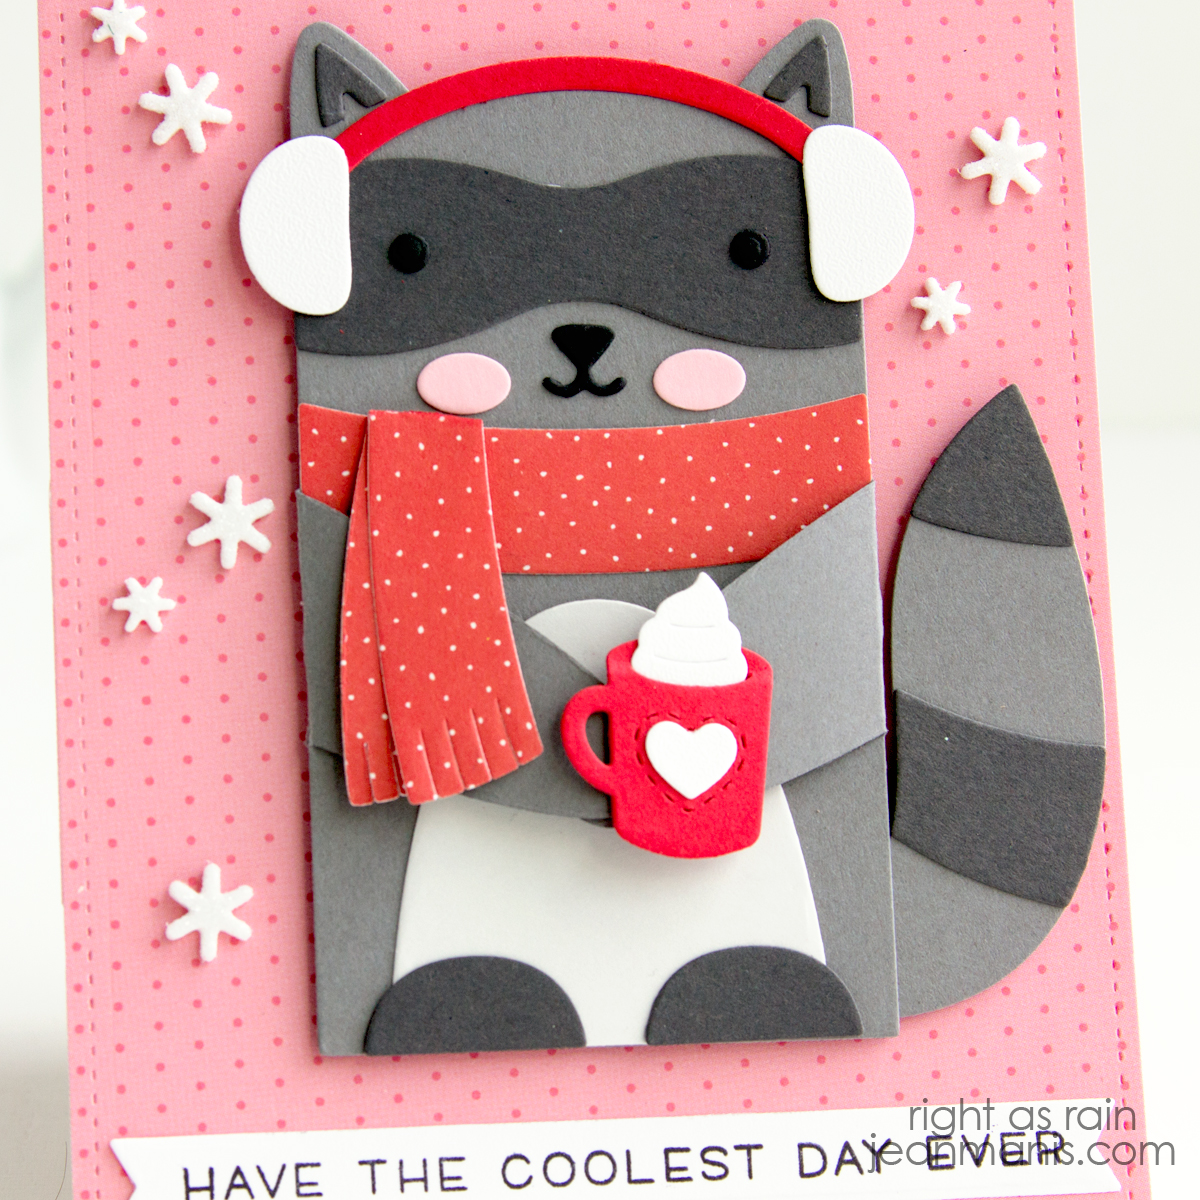
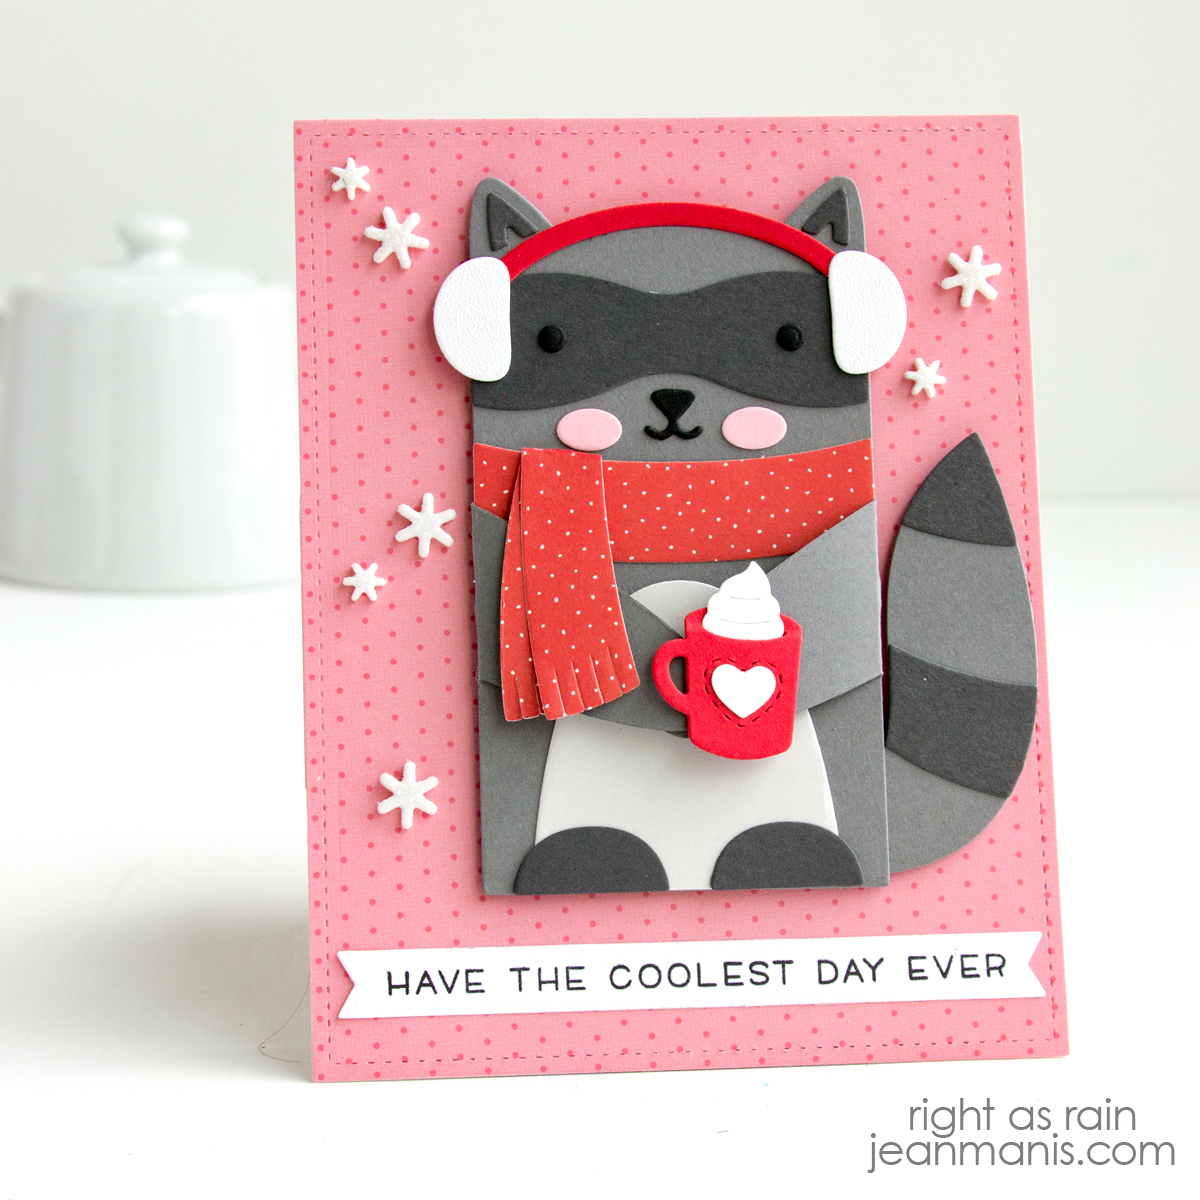
Hello! There’s nothing cozier than a warm cup of cocoa on a chilly winter day—unless, of course, it’s a cute woodland critter enjoying one too! For this winter-themed friendship card, I used a delightful die set to create a raccoon all bundled up in a scarf and earmuffs, holding a steaming mug of cocoa. This card is perfect for sending warm winter wishes to a friend!
-
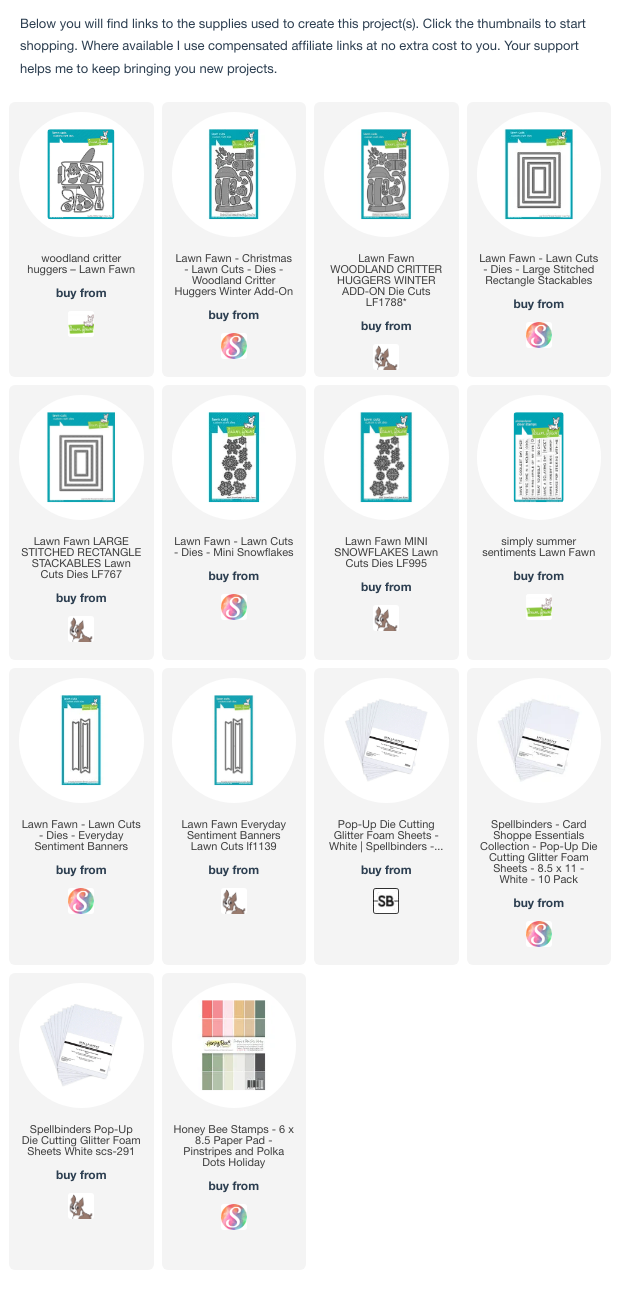
- Cut Honey Bee patterned paper with A2-size die in the Large Stitched Rectangle Stacklets and add to card base.
- Cut raccoon with dies in the Woodland Critter Huggers set from a variety of cardstock colors.
- Cut scarf, cocoa, and earmuffs with dies in the Winter Add-On set.
- Assemble raccoon and winter accessories. Note: place the piece of the scarf that goes around the neck on the raccoon body to determine placement of eyes, nose, and cheeks. Additionally, I chose to place the scarf ends on top, rather than placing one of the ends behind, in order to reduce bulk.
- Stamp Simply Summer sentiment on to white cardstock and cut with banner die. The sentiment “Have the Coolest Day Ever” comes from a summer-themed set, but it works perfectly for a winter card, too. By looking beyond a product’s intended use, you can get even more versatility out of your stash.
- Add assembled raccoon to card front with foam adhesive and the sentiment with dot adhesive.
- Embellish background with snowflakes cut from white glitter foam. Additionally, I added a white heart to the red mug, which I cut with a die in the Speech Bubbles set.
I shared a summer-themed card featuring a fox created with the Woodland Critter Huggers set HERE.