Lawn Fawn | Christmas Build-A-Dog

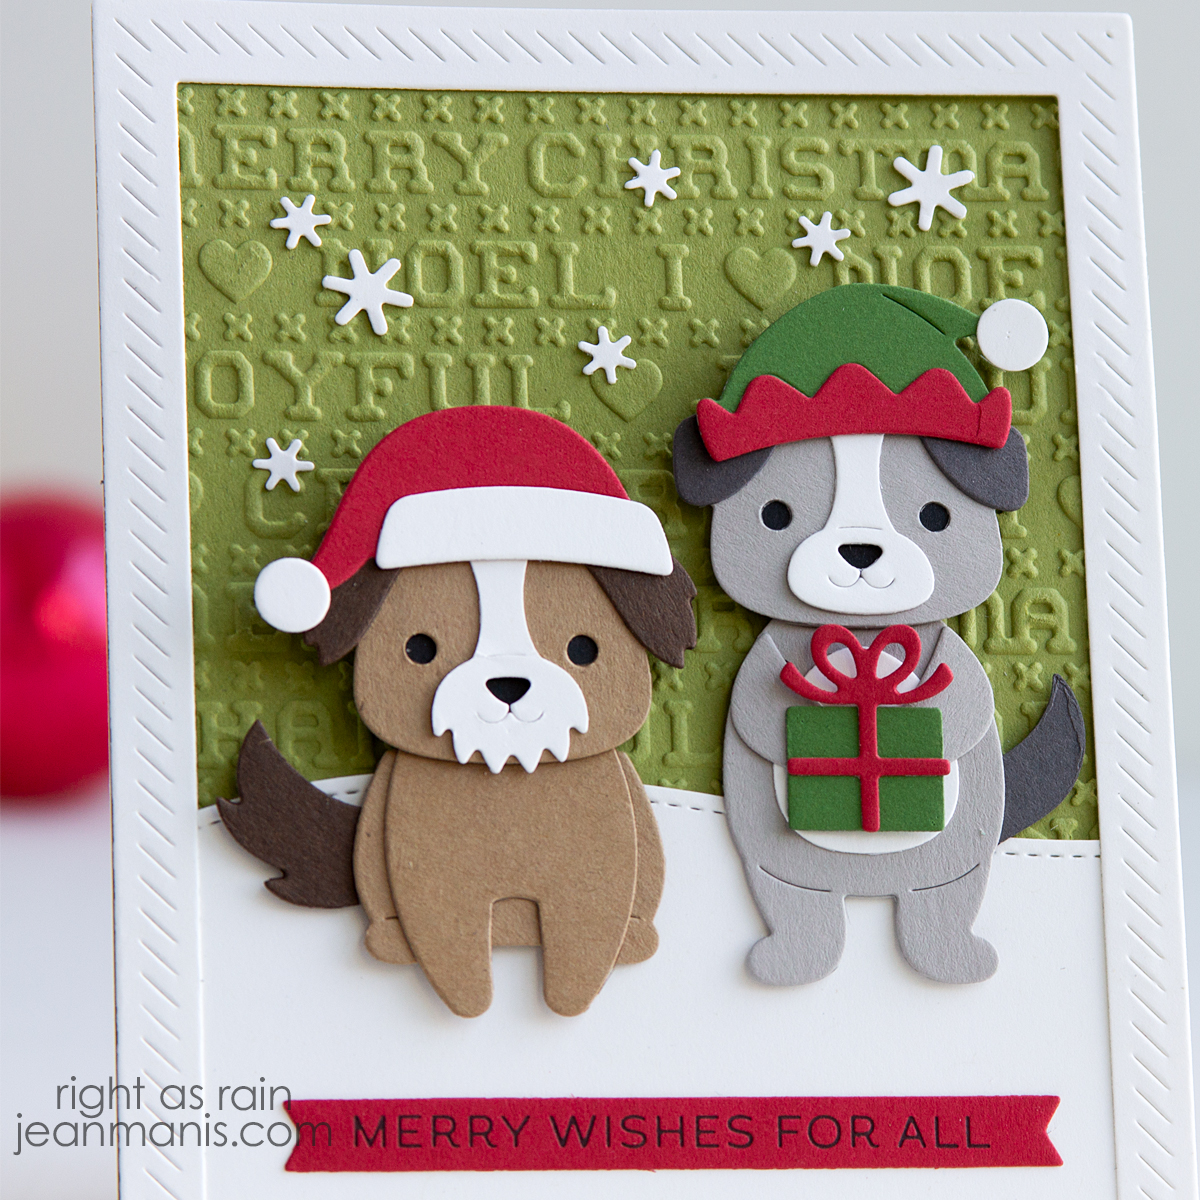
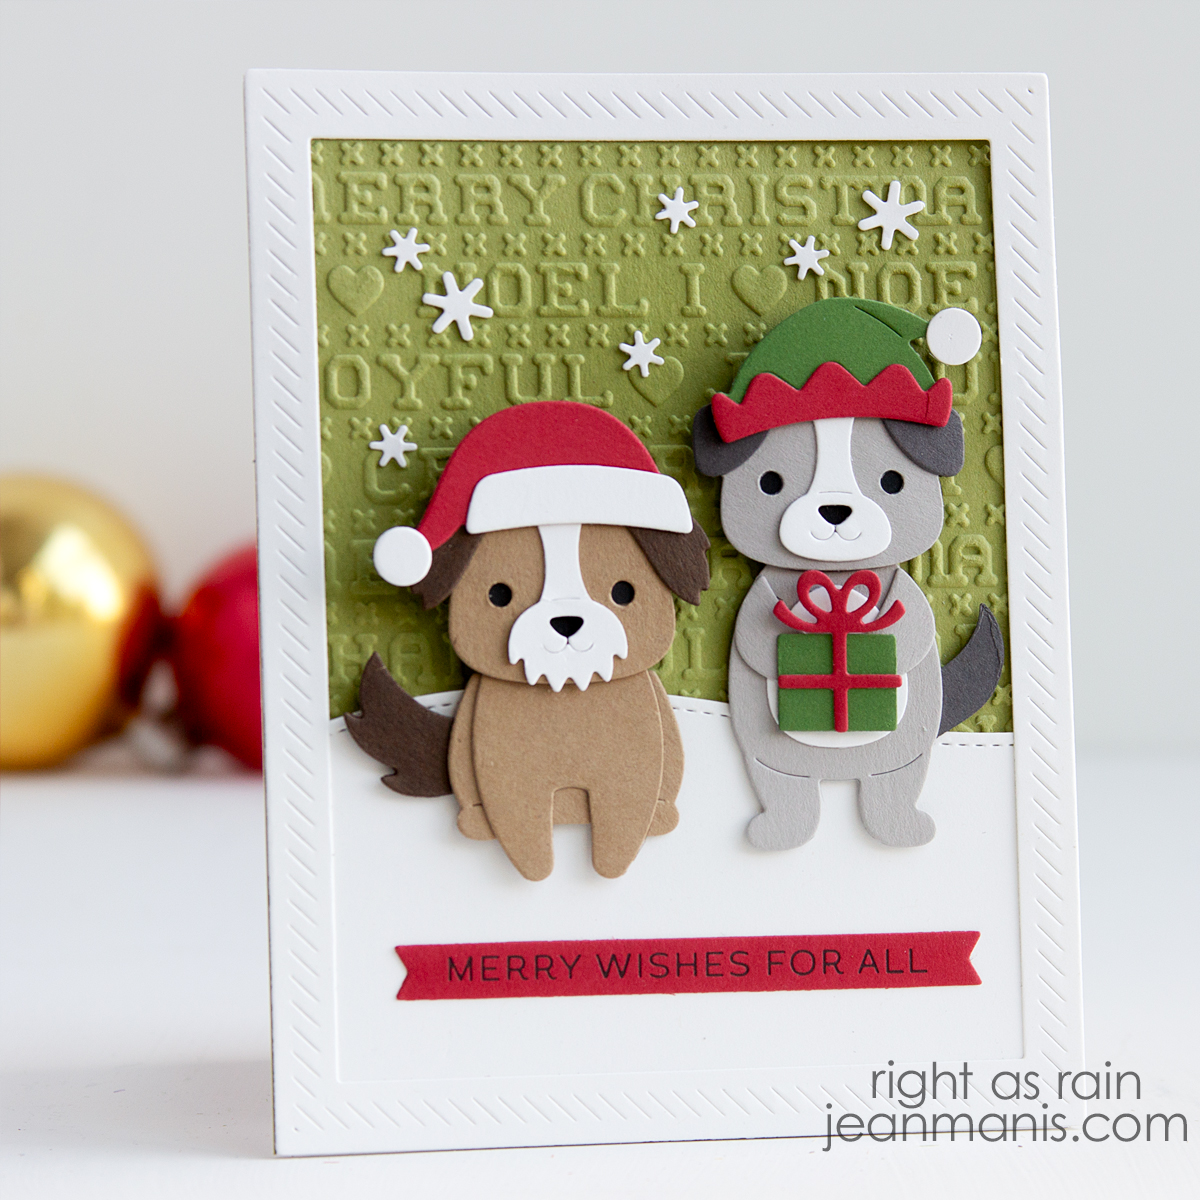
Hello! In this post, I created Christmas-themed backgrounds as a low-pressure starting point for holiday cardmaking. On his card, I’m using one of those backgrounds with the Lawn Fawn Build-A-Dog die set and its Christmas accessories.
Lawn Fawn | Christmas Build-A-Dog

This is my first time using the Build-A-Dog set (Scrapbook.com | SimonSaysStamp), as it is a fall 2026 purchase. I wanted to spend time working out cardstock color combinations for the dogs. Finding realistic grays and browns can be challenging, especially when finding lighter and darker shades that work well together.

I tried three or four different cardstock colors in each shade. I wanted to see the combinations rather than rely on how I thought the colors would look together. I followed this process for browns and grays. I chose Lawn Fawn Paper Bag and MFT Milk Chocolate for the brown dog and SU Gray Granite and Taylored Expressions Poppy Seed for the gray one.

Once I had settled on the dog colors, I moved on to the Christmas accessories. With the Build-A-Critter Christmas Accessories set (Scrapbook.com | SimonSaysStamp), I cut the hats and package from several red and green cardstock to find the ones that worked with the dogs and with each other. Can you see a theme of overthinking? I chose Taylored Expressions Cherry Pop and Lawn Fawn Noble Fir.

Once the red and green combination was chosen, I could evaluate the dogs and accessories against the backgrounds I’d made earlier. This made it easy to narrow down the choices for both color and embossing folder texture and pattern. I chose a SU Old Olive background dry-embossed with the now-retired Sizzix Cross Stitch folder (658195).

I’m approaching this as a way to build a useful collection of color combinations for the die set. Testing the colors should make it easier to use the set again without repeating all the same decisions. There’s still room to try other combinations, but I’ll have a starting point.

For the sentiment, I used the now-retired Spellbinders BetterPress Merry & Bright set. With its selection of sentiments and ease of use, it has been a great investment. I can add a finished greeting quickly without spending much time on that part of the card. Although this set is retired, there are other sentiment options available that offer similar versatility and long-term value.

Additional Supplies

Taylored Expressions Frame in Frame 3 die set

Lawn Fawn Stitched Hillside Borders (Scrapbook.com | SimonSaysStamp)

Lawn Fawn Mini Snowflakes (Scrapbook.com | SimonSaysStamp)
Affiliate links are used when available at no extra cost to you.

Fall Scene Card

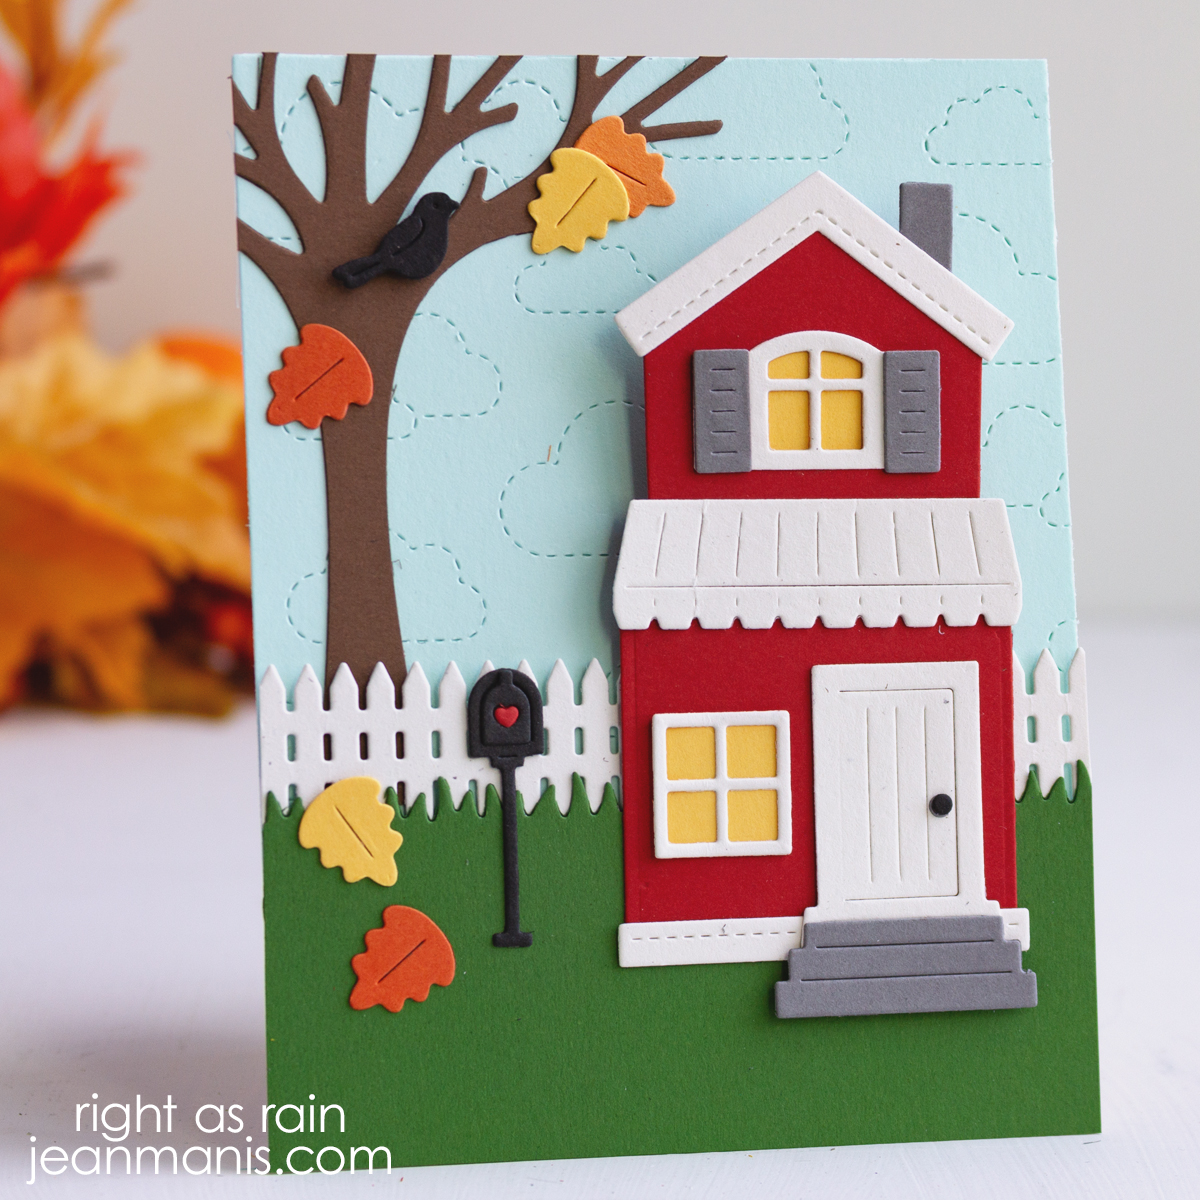
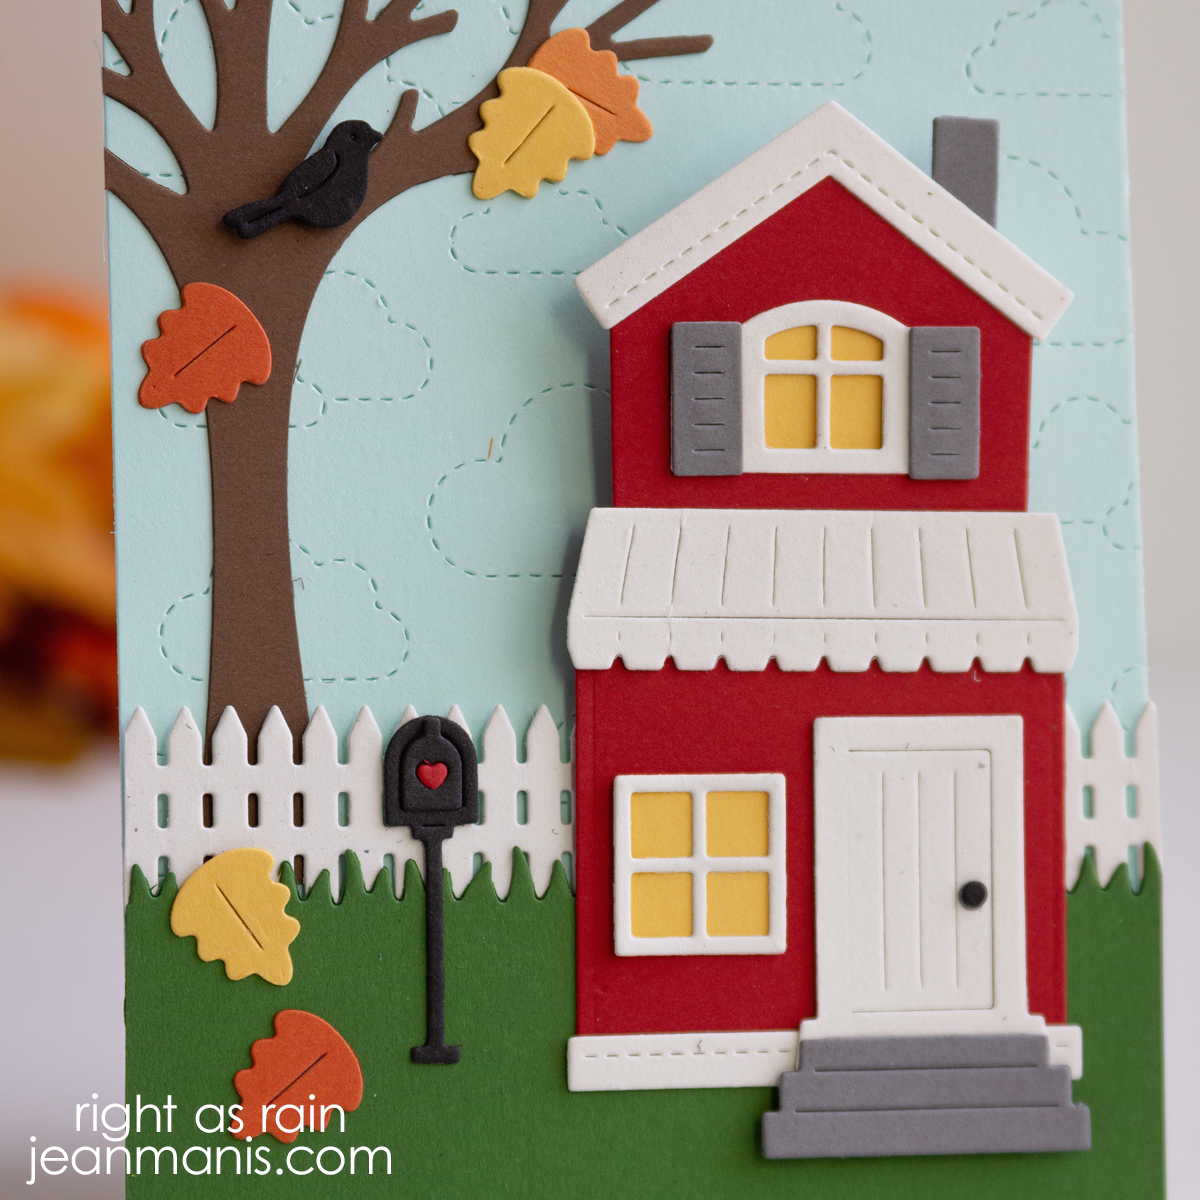
Hello! This fall-themed card came together using a variety of die sets from my collection. Most were from Lawn Fawn, along with a fence die from Taylored Expressions. The house, fence, grassy foreground, and falling leaves create a little seasonal vignette that is an ode to fall.

Fall Scene Card

I enjoyed looking through my collection of scene-building dies. They are an important part of my supplies and have great play value. Combining pieces from different sets lets you create new scenes. You do not need to buy anything specifically for the project. I also used the process as a chance to organize my cardstock better and pay attention to which cardstock I enjoy working with most. For me, projects like this are as much about exploring what I already have as they are about making the finished card.

With October here, I’m thinking about creating a mix of Halloween and fall cards.

Lawn Fawn Dies: Build-A-House, Build-A-House Beach Add-On, Build-A-House Spring Add-On, Leafy Tree Backdrop, Stitched Cloud Backdrop; Penny Black 51-657 Wildwood die set (birds); Taylored Expressions Picket Fence Border die; Sunny Studio Stamps Picket Fence Border die set (grass die)

Lawn Fawn | Cozy Winter Raccoon Card

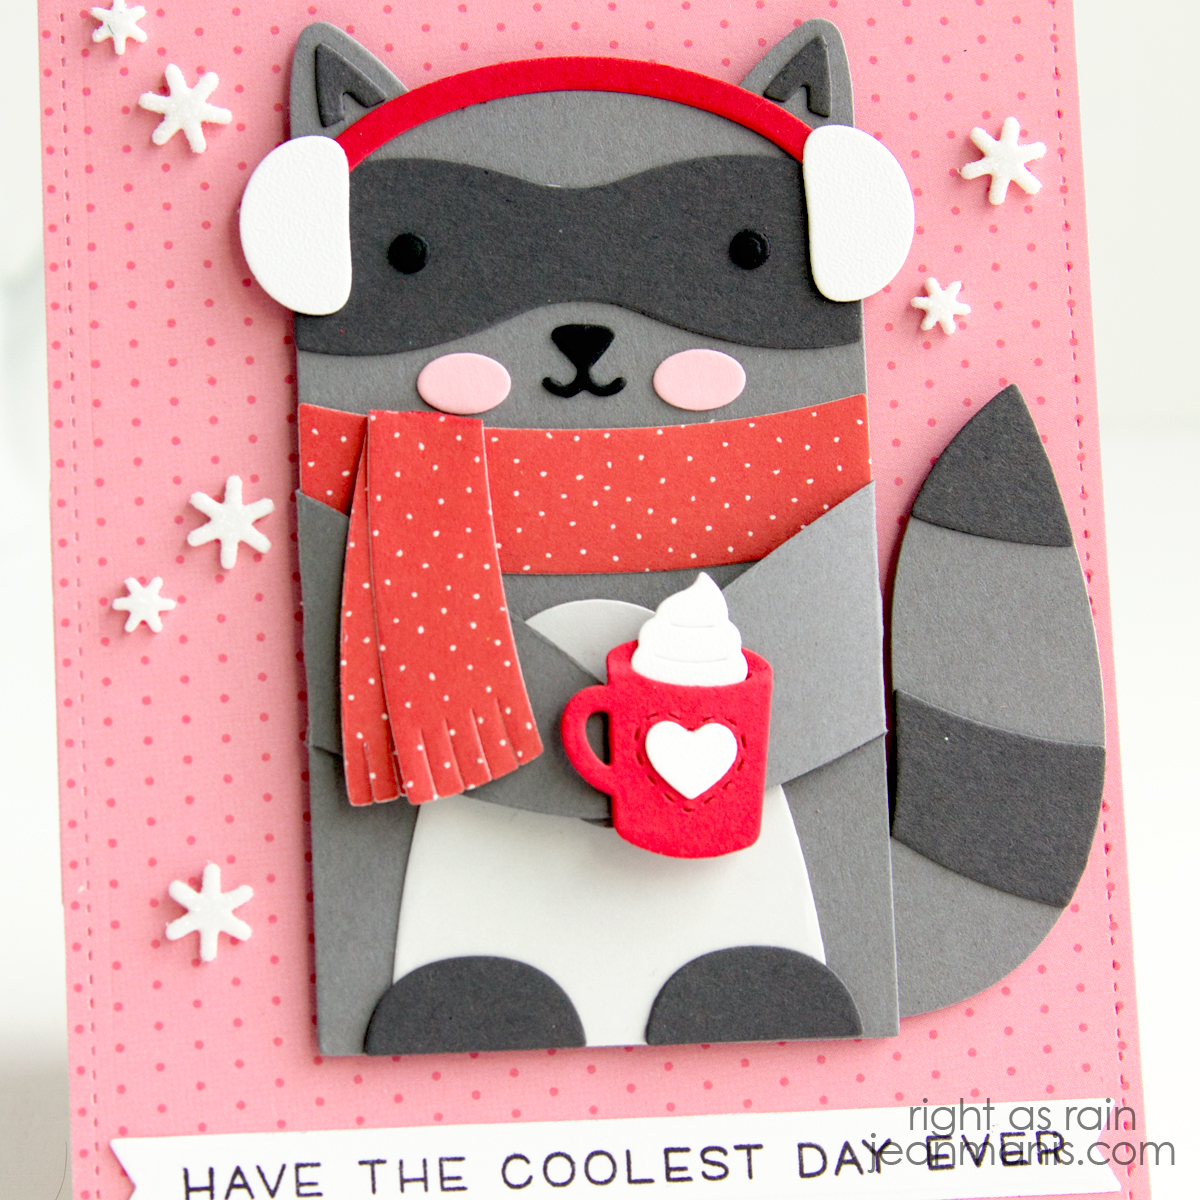
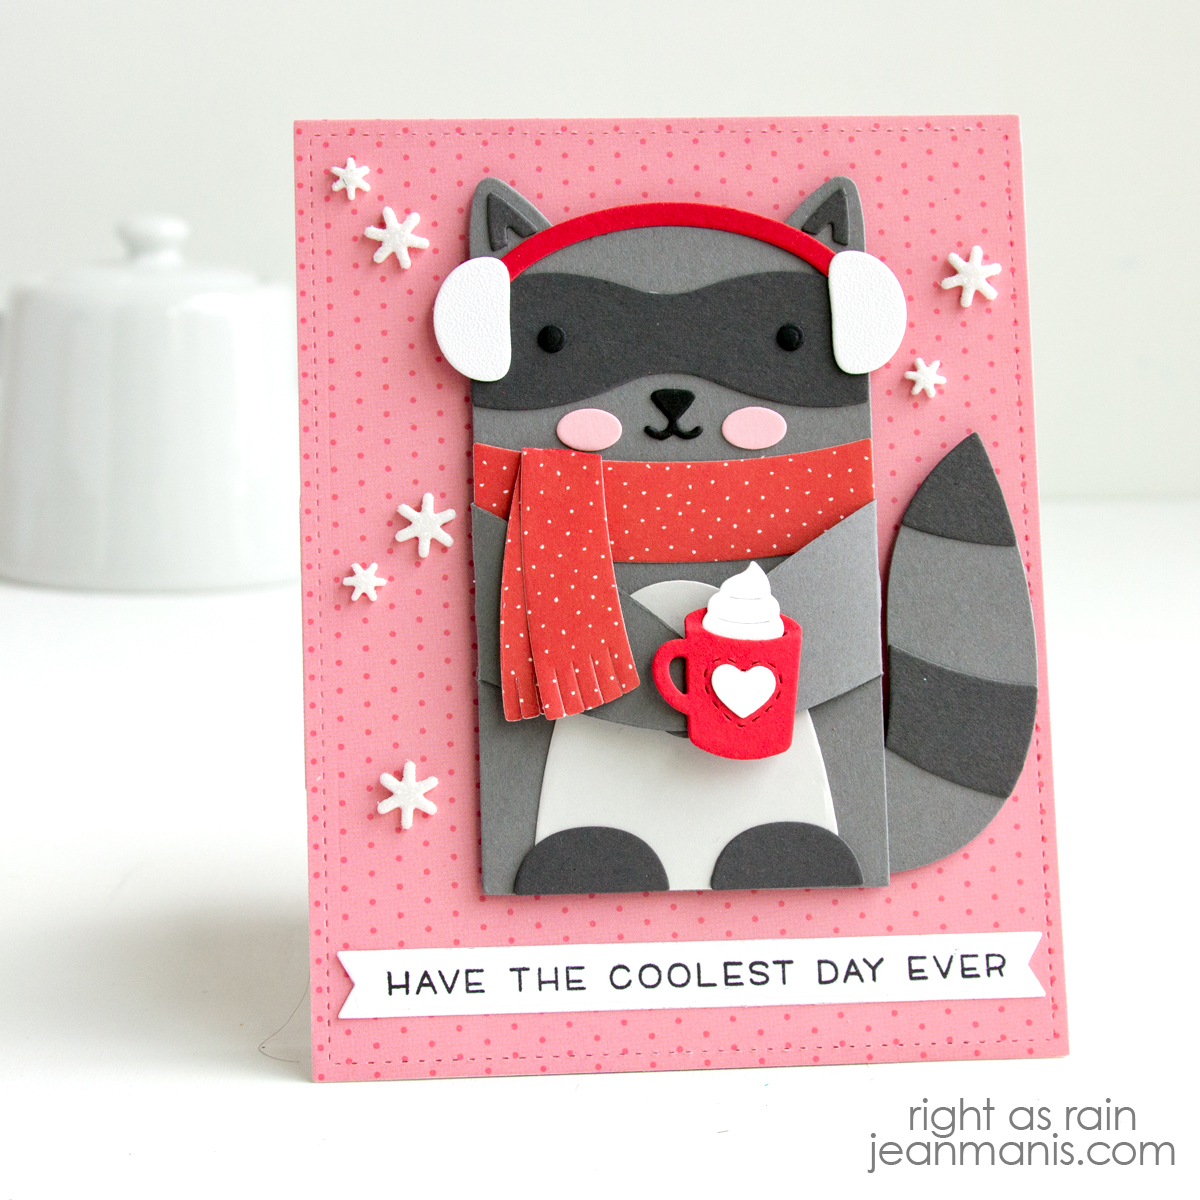
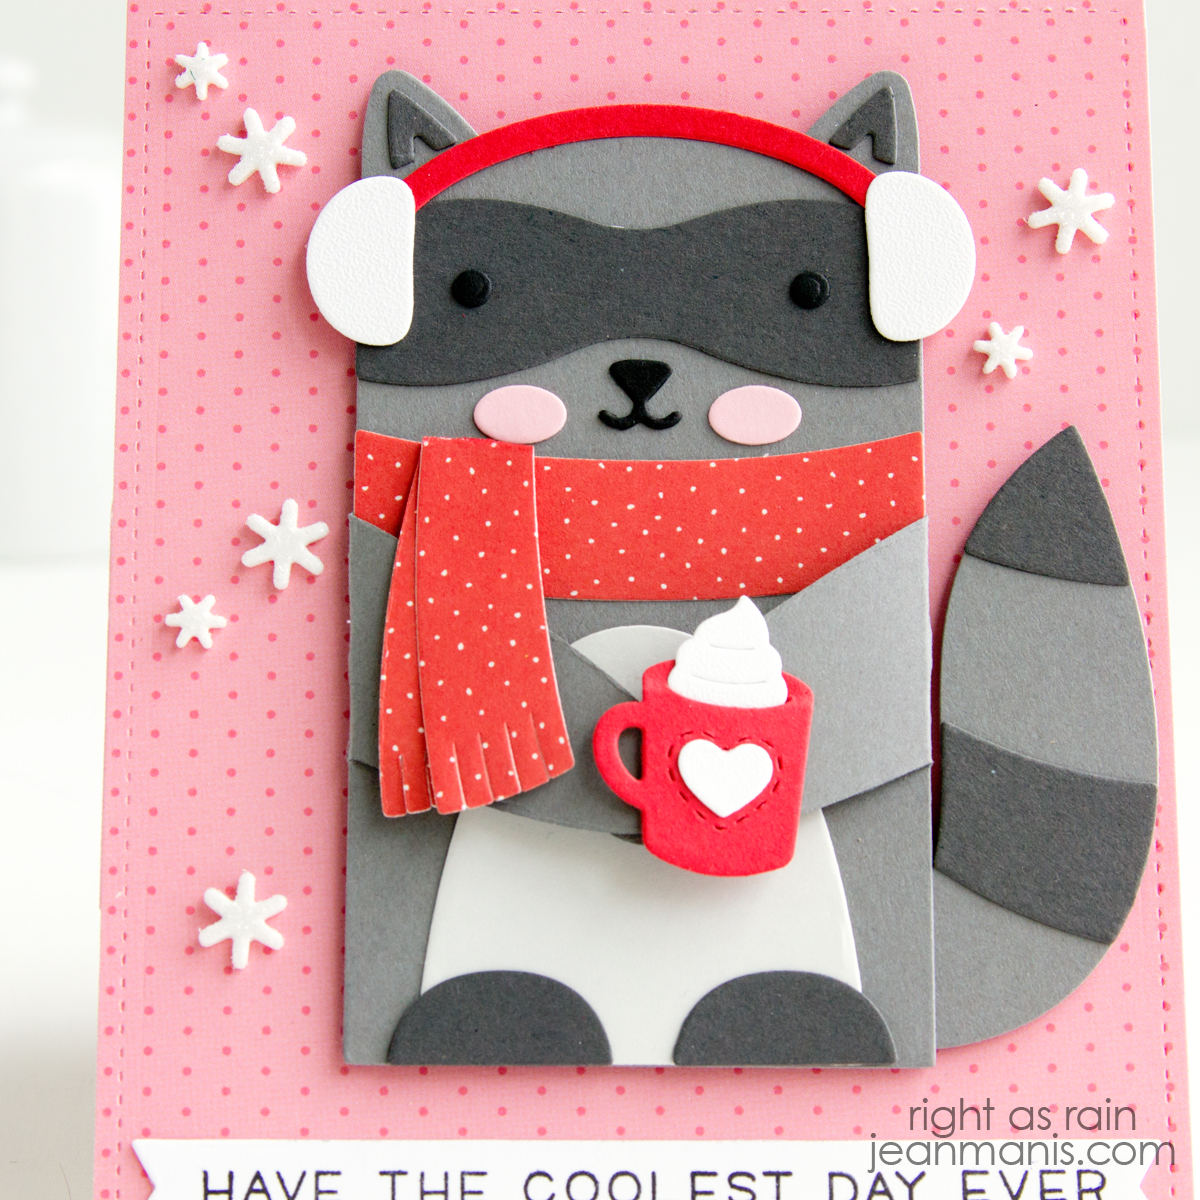
Hello! There’s nothing cozier than a warm cup of cocoa on a chilly winter day—unless, of course, it’s a cute woodland critter enjoying one too! For this winter-themed friendship card, I used a delightful die set to create a raccoon all bundled up in a scarf and earmuffs, holding a steaming mug of cocoa. This card is perfect for sending warm winter wishes to a friend!

Lawn Fawn | Cozy Winter Raccoon Card

    • Cut Honey Bee patterned paper with A2-size die in the Large Stitched Rectangle Stacklets and add to card base.
    • Cut raccoon with dies in the Woodland Critter Huggers set from a variety of cardstock colors.
    • Cut scarf, cocoa, and earmuffs with dies in the Winter Add-On set.
    • Assemble raccoon and winter accessories. Note: place the piece of the scarf that goes around the neck on the raccoon body to determine placement of eyes, nose, and cheeks. Additionally, I chose to place the scarf ends on top, rather than placing one of the ends behind, in order to reduce bulk.
    • Stamp Simply Summer sentiment on to white cardstock and cut with banner die. The sentiment “Have the Coolest Day Ever” comes from a summer-themed set, but it works perfectly for a winter card, too. By looking beyond a product’s intended use, you can get even more versatility out of your stash.
    • Add assembled raccoon to card front with foam adhesive and the sentiment with dot adhesive.
    • Embellish background with snowflakes cut from white glitter foam. Additionally, I added a white heart to the red mug, which I cut with a die in the Speech Bubbles set.

I shared a summer-themed card featuring a fox created with the Woodland Critter Huggers set HERE.

Lawn Fawn | Cozy Winter Raccoon Card


Purr-fect Handmade Cat Cards

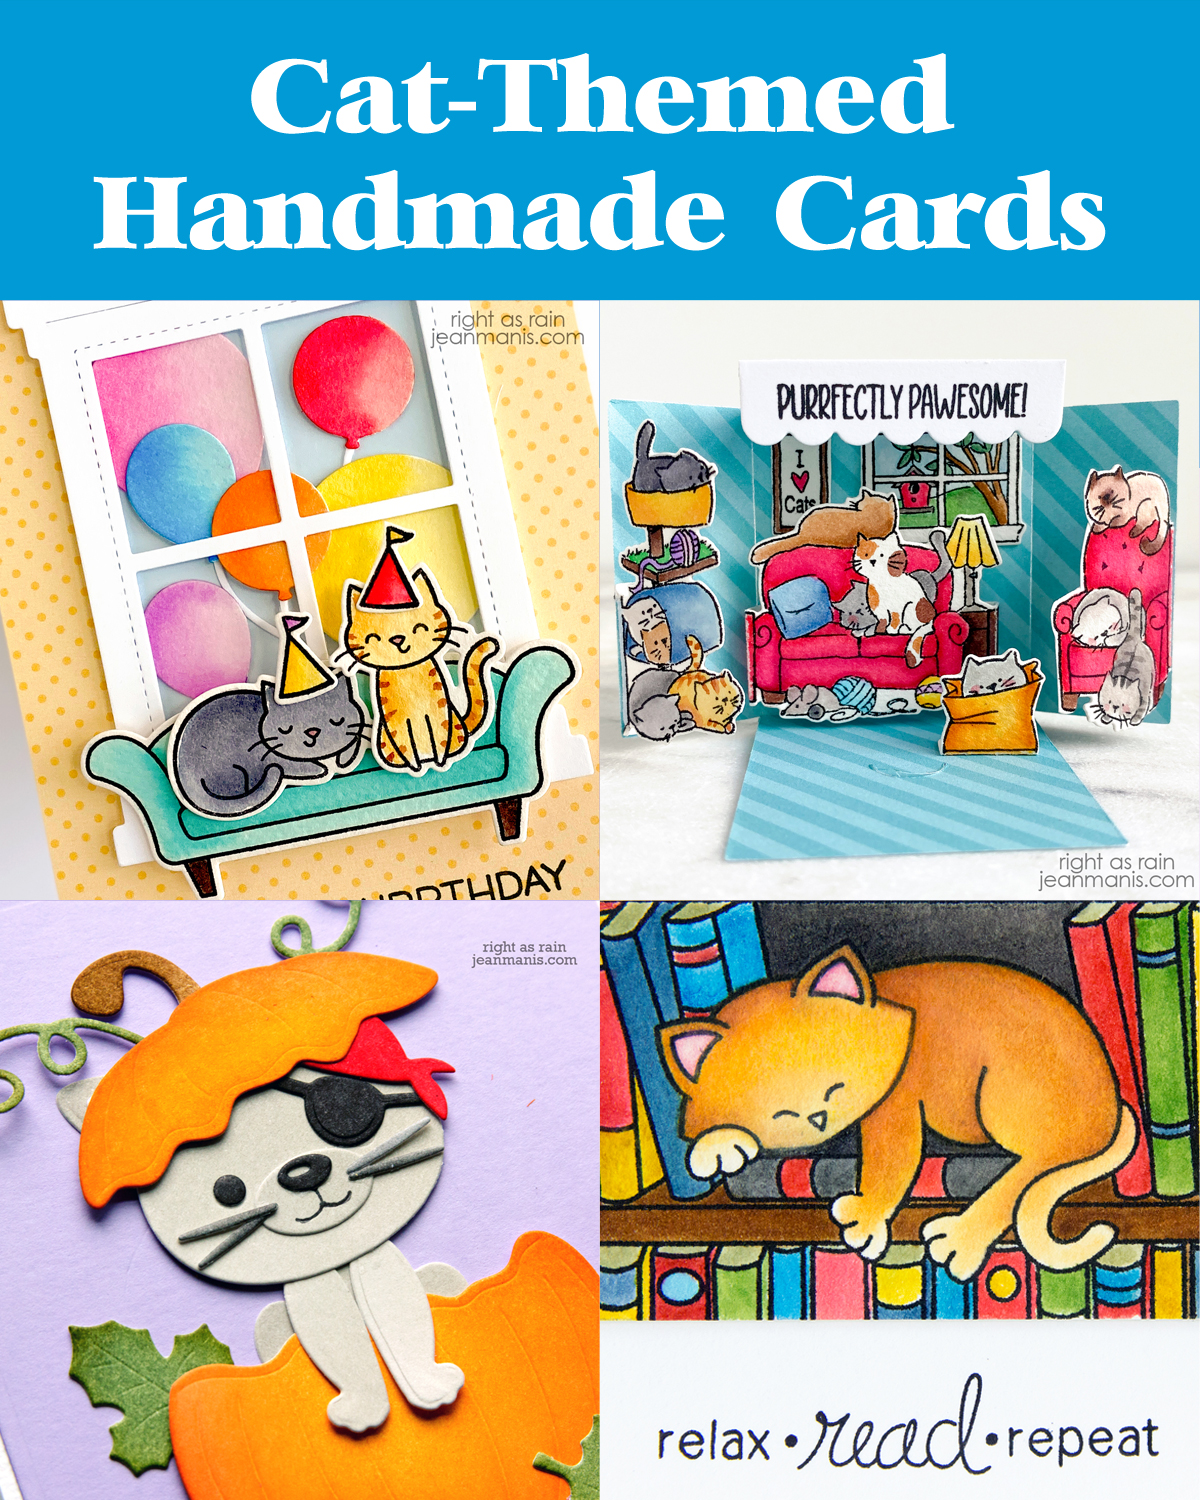
Hello! Cats have a timeless charm that makes them the purr-fect subject for handmade cards. Whether playful or cozy, feline friends bring personality and warmth to your designs. These cards make wonderful choices for occasions like birthdays, Halloween, thank-yous, or just-because moments. Join me as I share a roundup of cat-themed creations from my blog archive. Click on the card image to be taken to the original post for additional details.

These two birthday cards feature stamped and watercolored cats, complemented by die-cut elements for a fun and whimsical celebration.

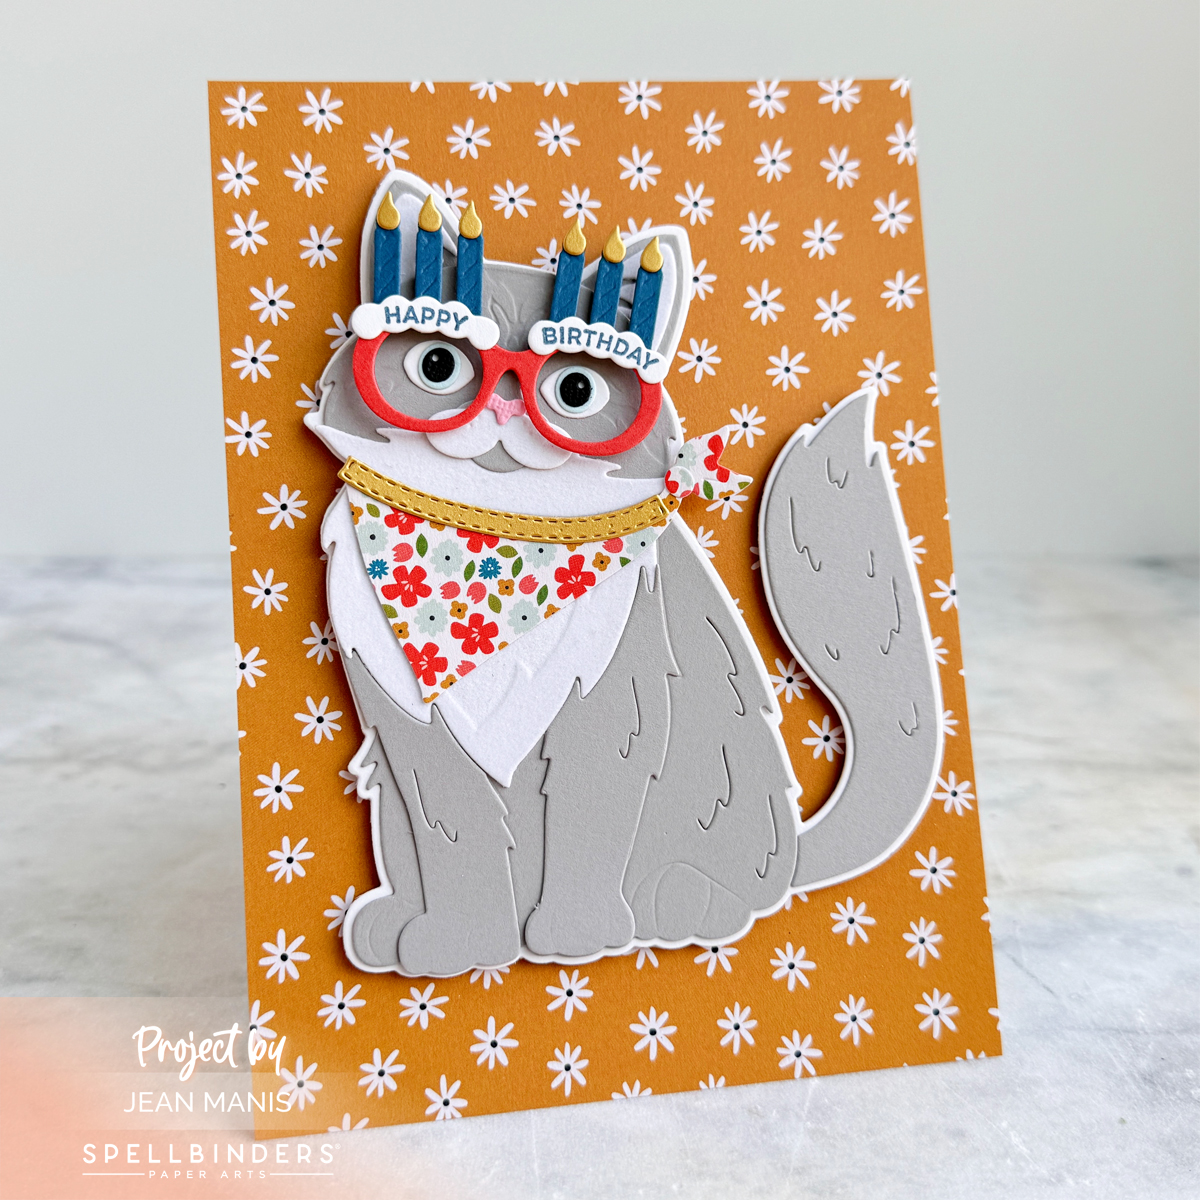
This larger birthday card showcases a die-cut cat wearing sunglasses with a “Happy Birthday” message, making it the perfect statement piece for any cat lover.

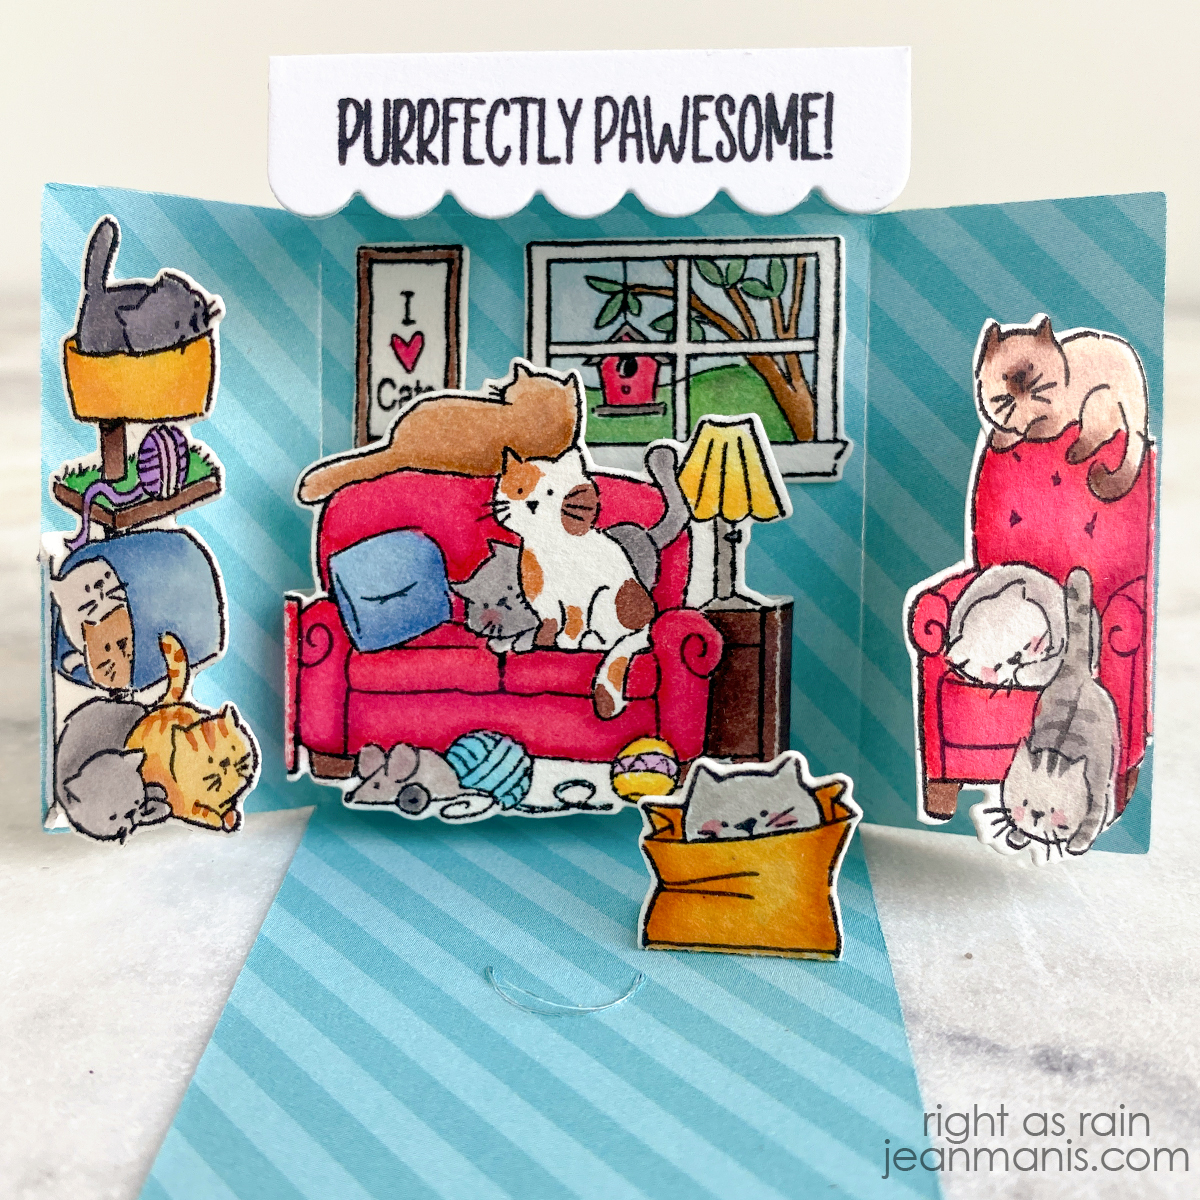
This “just because” card features a delightful small watercolored scene of cats, created with the Art Impressions Matchbox series.

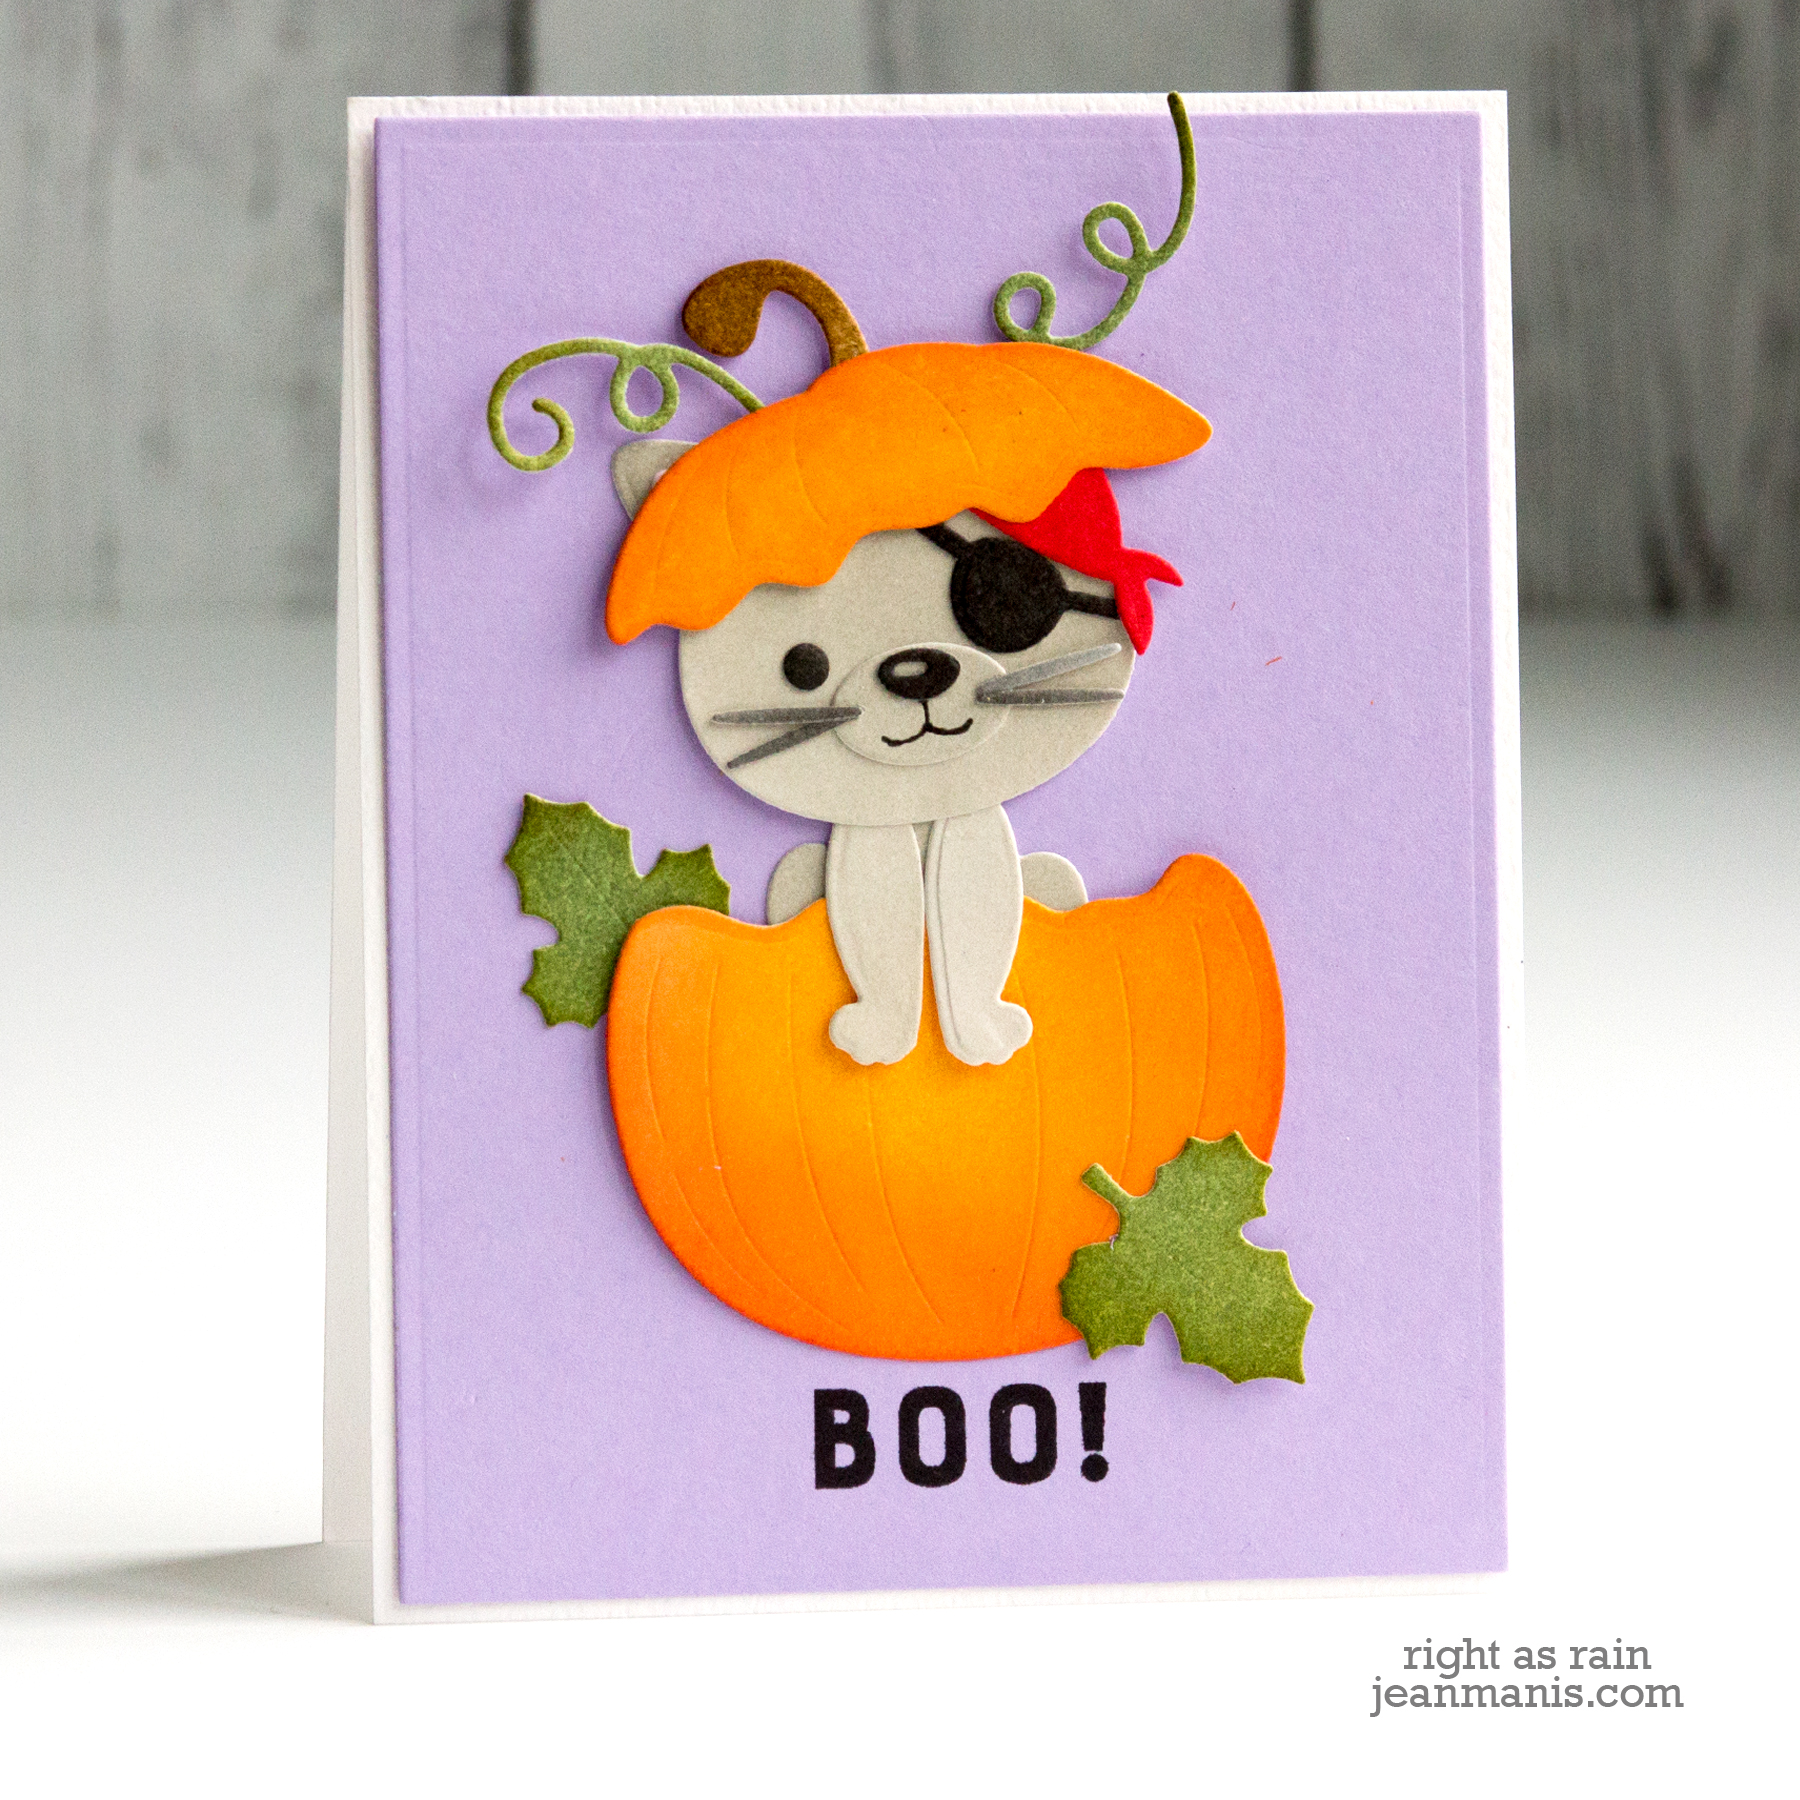
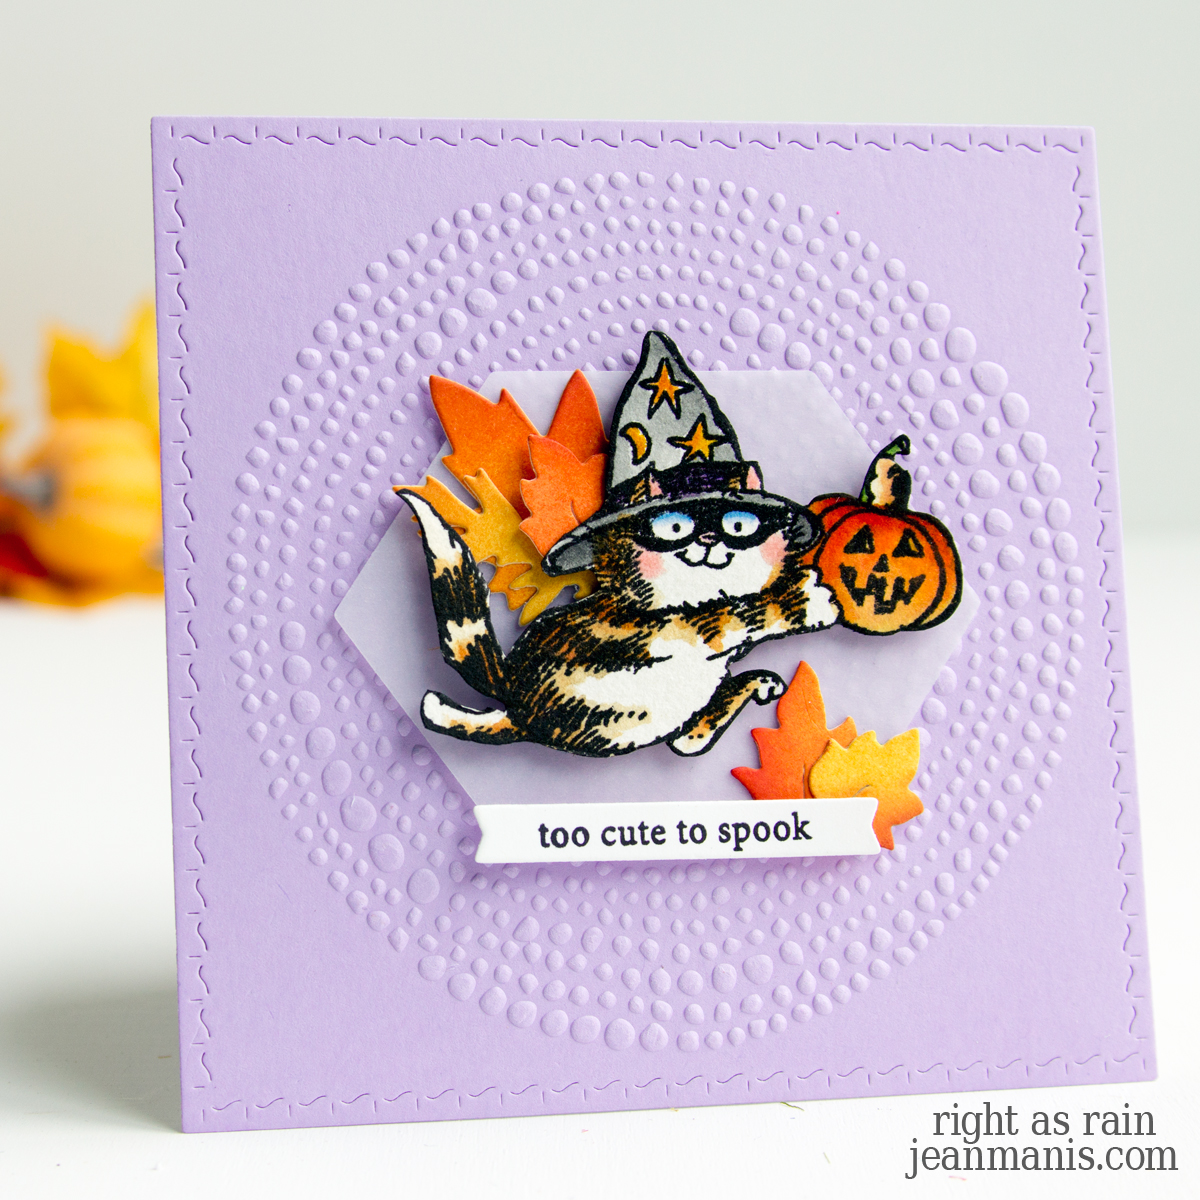
These Halloween cards feature cats in their spooky best—one with die-cut elements to create a playful cat and pumpkin scene, and the other showcasing a watercolored cat ready for the season.

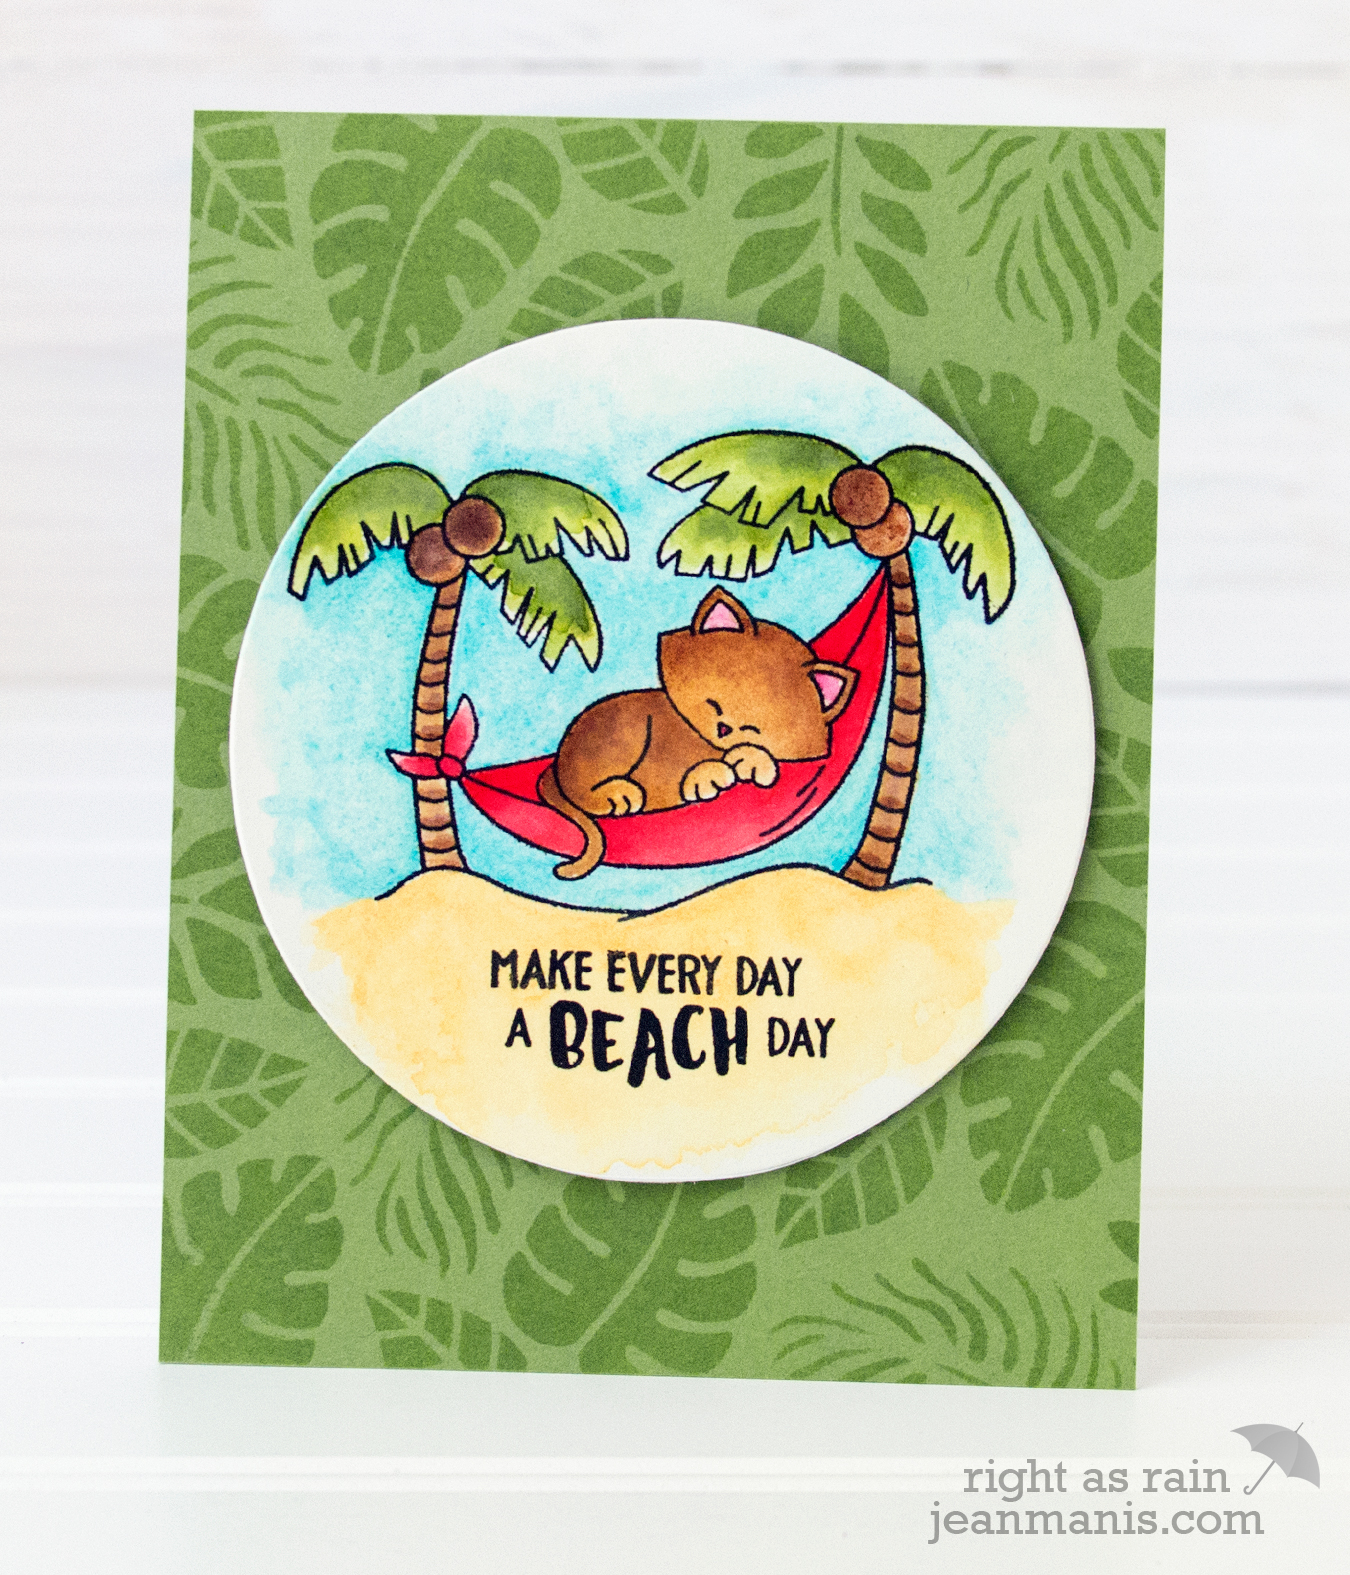
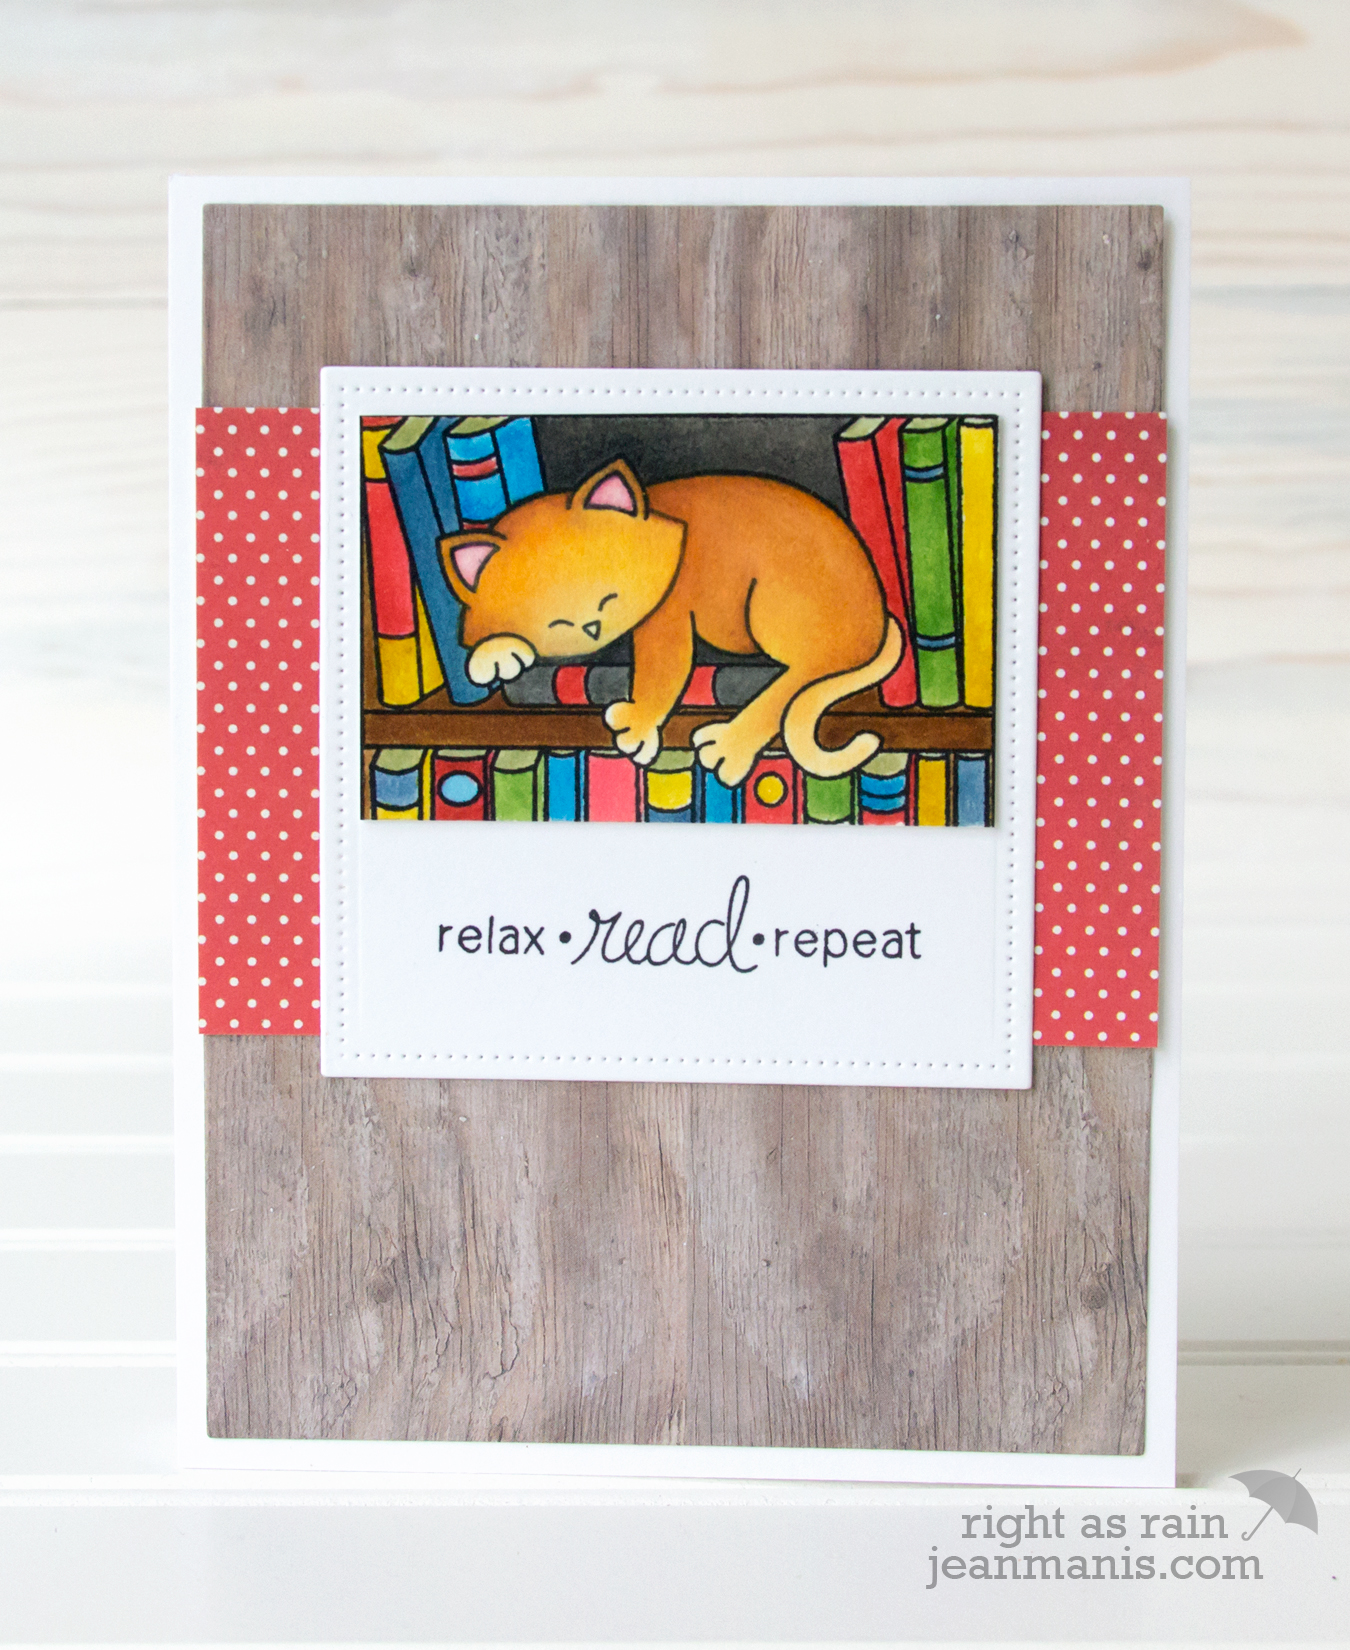
These two stamped and watercolored cat cards feature playful scenes, both created using Newton’s Nook stamps, known for their charming cat imagery. One captures a relaxed beach scene, while the other sets the stage in a cozy library.

There’s something irresistibly charming about cats on cards. They bring a playful and timeless appeal to any design! I hope this roundup has inspired you to use cats as a theme in your own creations. While putting this roundup together, I realized that many of my cat cards feature stamped images that I’ve colored. I own several silhouette cat dies and have used them on a number of cards (although none are included in this roundup). While silhouettes create a bold and classic design, most cats aren’t a solid color, so stamping and coloring allow for more variety and detail. Do you have favorite cat stamps or dies? Is there a cat-themed set on your wish list?

Storybook House Valentine

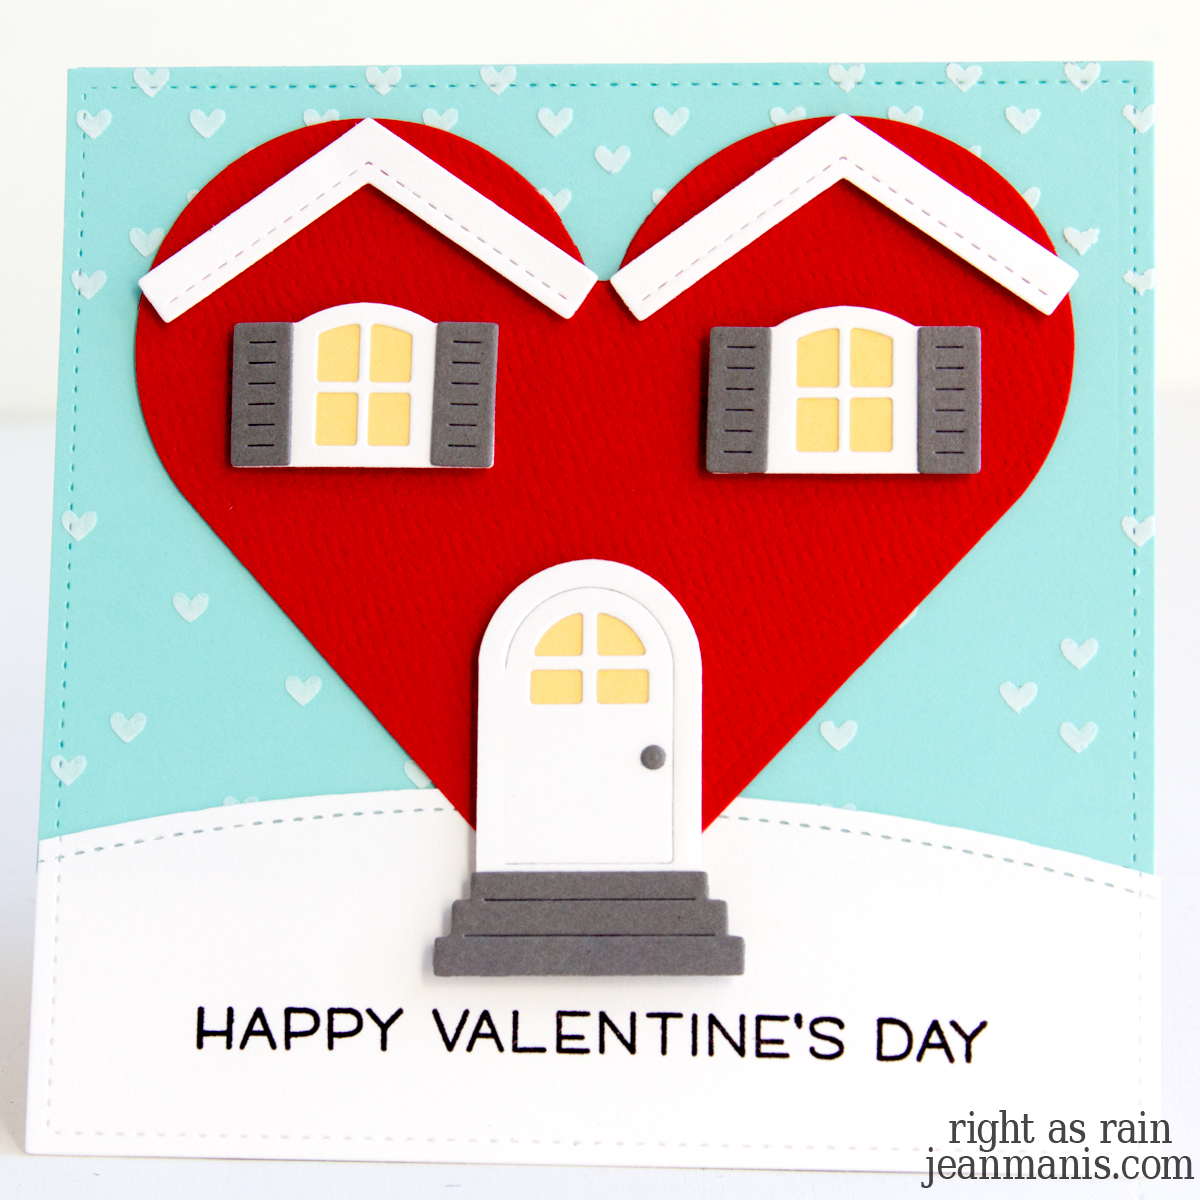
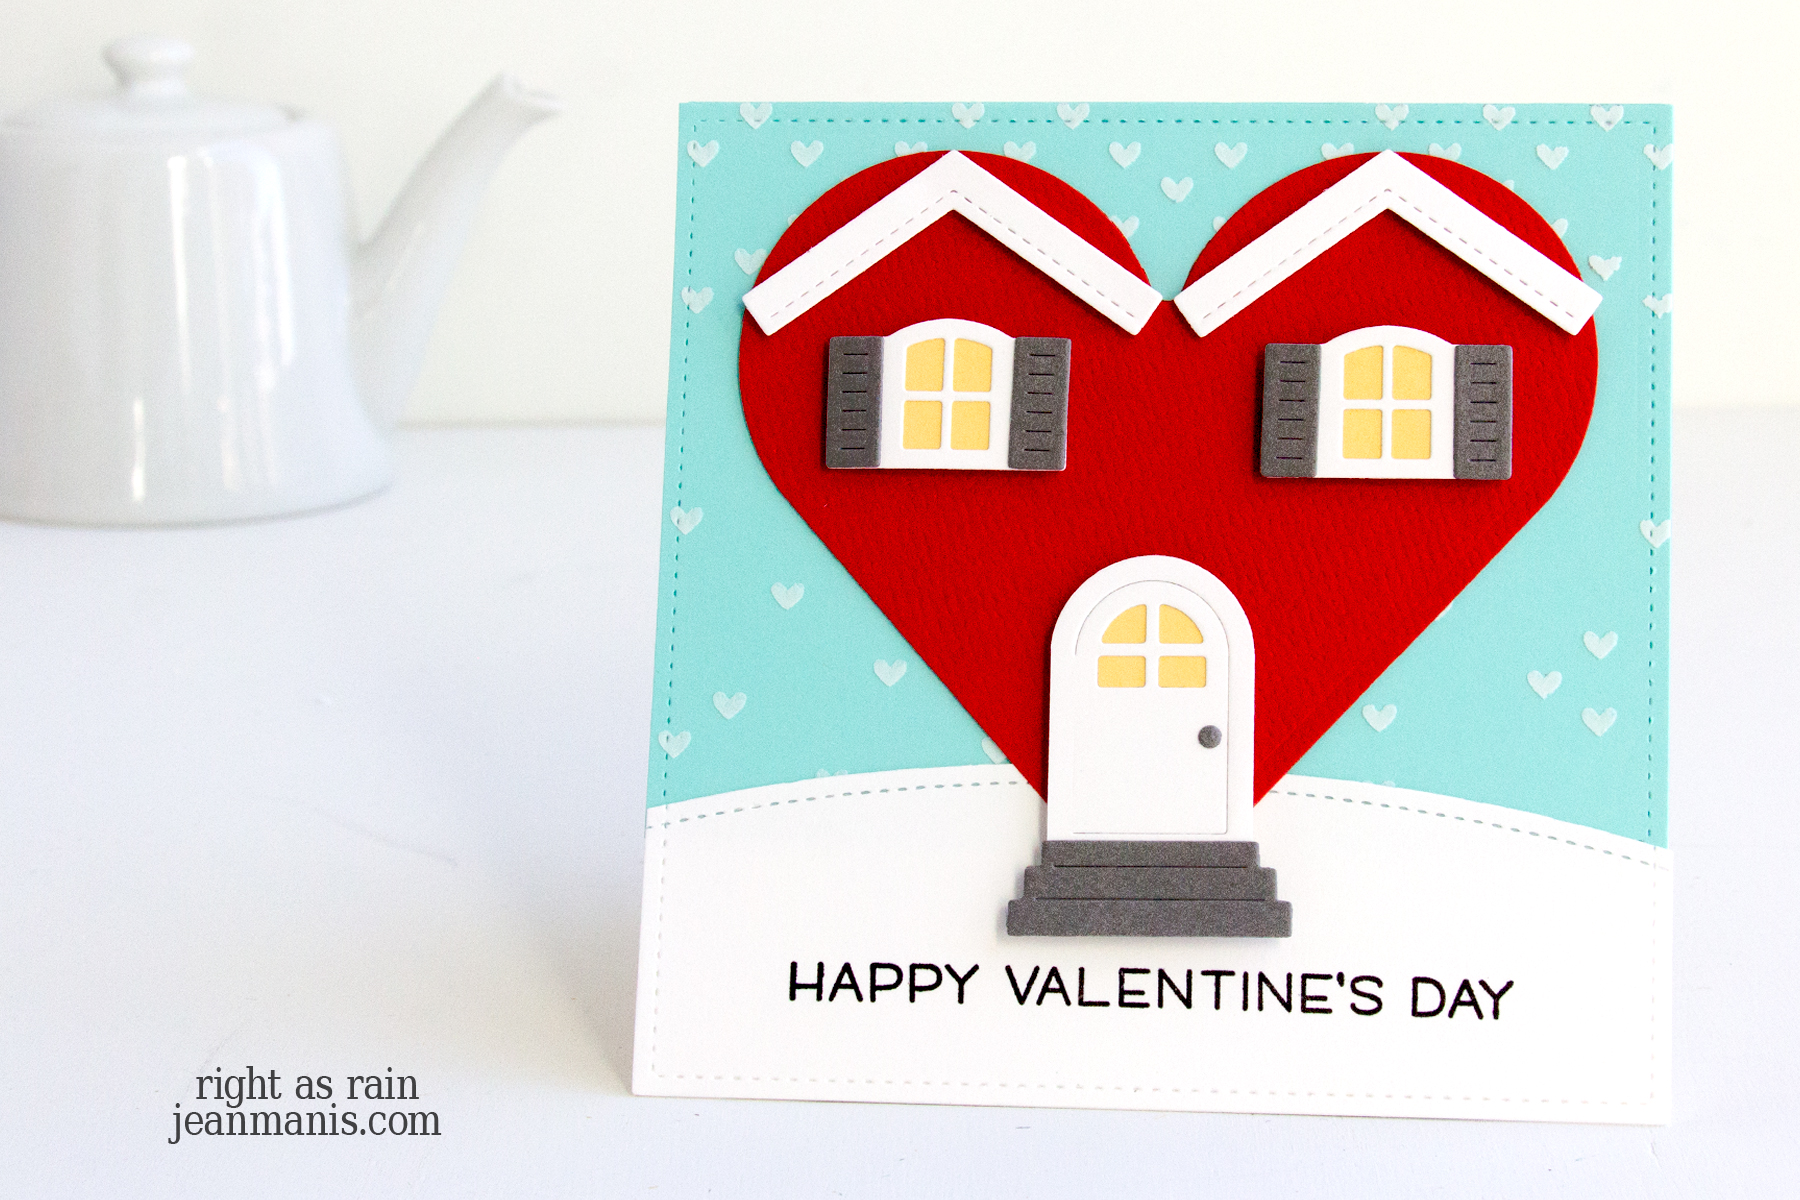
Hello! After posting this roundup of house-themed cards, I was inspired to craft a storybook house Valentine with a heart serving as the house body. Using Lawn Fawn dies for the roof, door, and windows, I transformed a simple idea into a whimsical creation full of charm. Let me take you through how I made this Valentine’s Day card

Storybook House Valentine

    • The overall card size is 5″ square. I do not own a die that size, but I realized I could use by rectangular die to cut the sky and the ground to form a square. To begin, use a 5″ x 3 3/4″ rectangle die to cut light teal cardstock. Apply modeling paste through the Fall Hearts stencil and set aside to dry.
    • Stamp the Simply Celebrate Hearts sentiment on white cardstock. Cut the top with a die in the Simple Stitched Hillside Borders set and the base with a 5″ x 3 3/4″ rectangle die. Adhere the sky and snowbank to a 5″ square card base.
    • Use a heart die to cut the house base from textured red cardstock. I used a now-retired nesting set from Spellbinders.
    • Use dies in the Build-A-House, Scalloped Treat Box Spring House Add-On, and Scalloped Treat Box Beach House Add-On sets to cut the door, window, roof pieces, and stairs; assemble as required.
    • Add the assembled elements to the heart house with foam adhesive. Add the assembly to the card base.

Storybook House Valentine