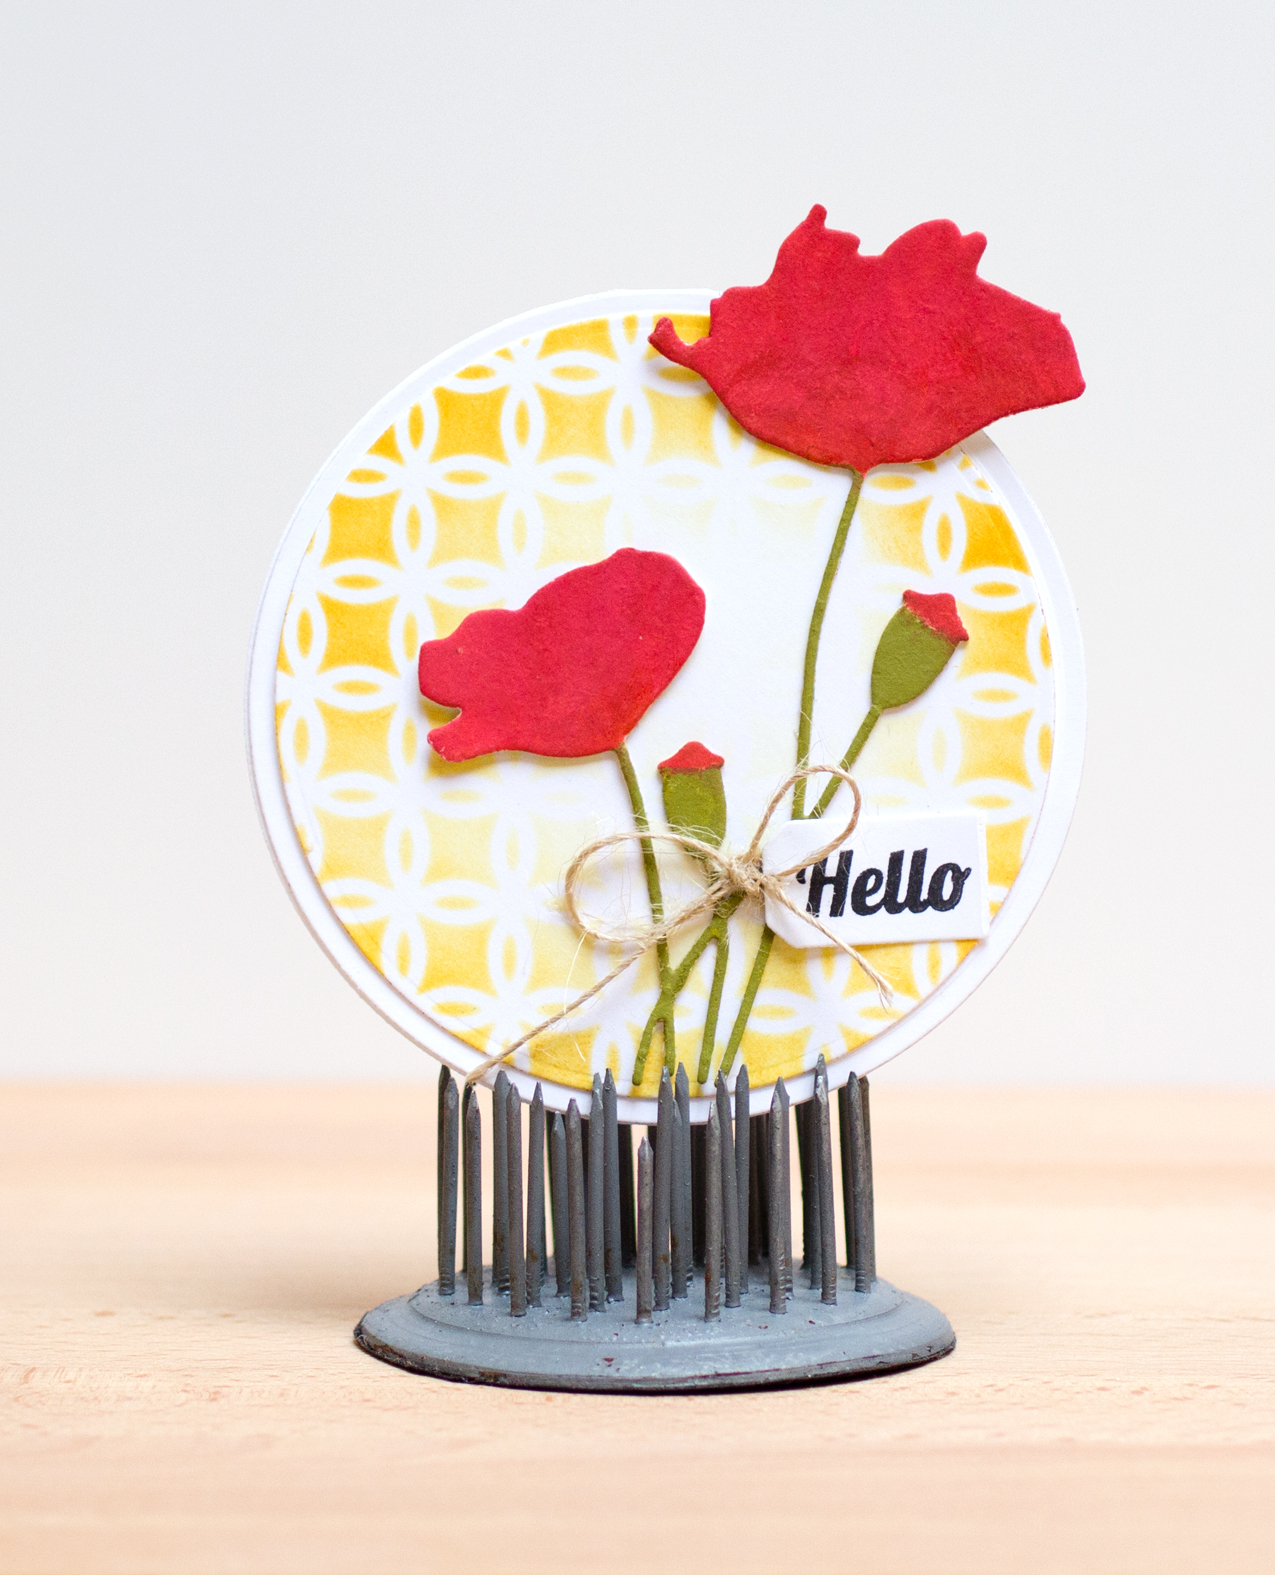
Today, I’m sharing a CASE of a card made by Jill Foster using Penny Black dies and stamps. I’ve been working my way through many of Jill’s tutorials in the past several weeks.
Mine is a little simpler than the card Jill made. I used the Field of Dreams die [ #51-030] to cut the poppies and painted them with Distress Paints. (As an FYI, the die works with the Poppies stamp in the Blooming Garden stamp set [#30-155].) I created the yellow background by making a single-use stencil out of cardstock with the Interlocking die [#51-029], through which I applied a combination of Distress Inks. I finished the card with a sentiment stamped with Versafine ink from the Blooming Tags [#30-228] stamp set.

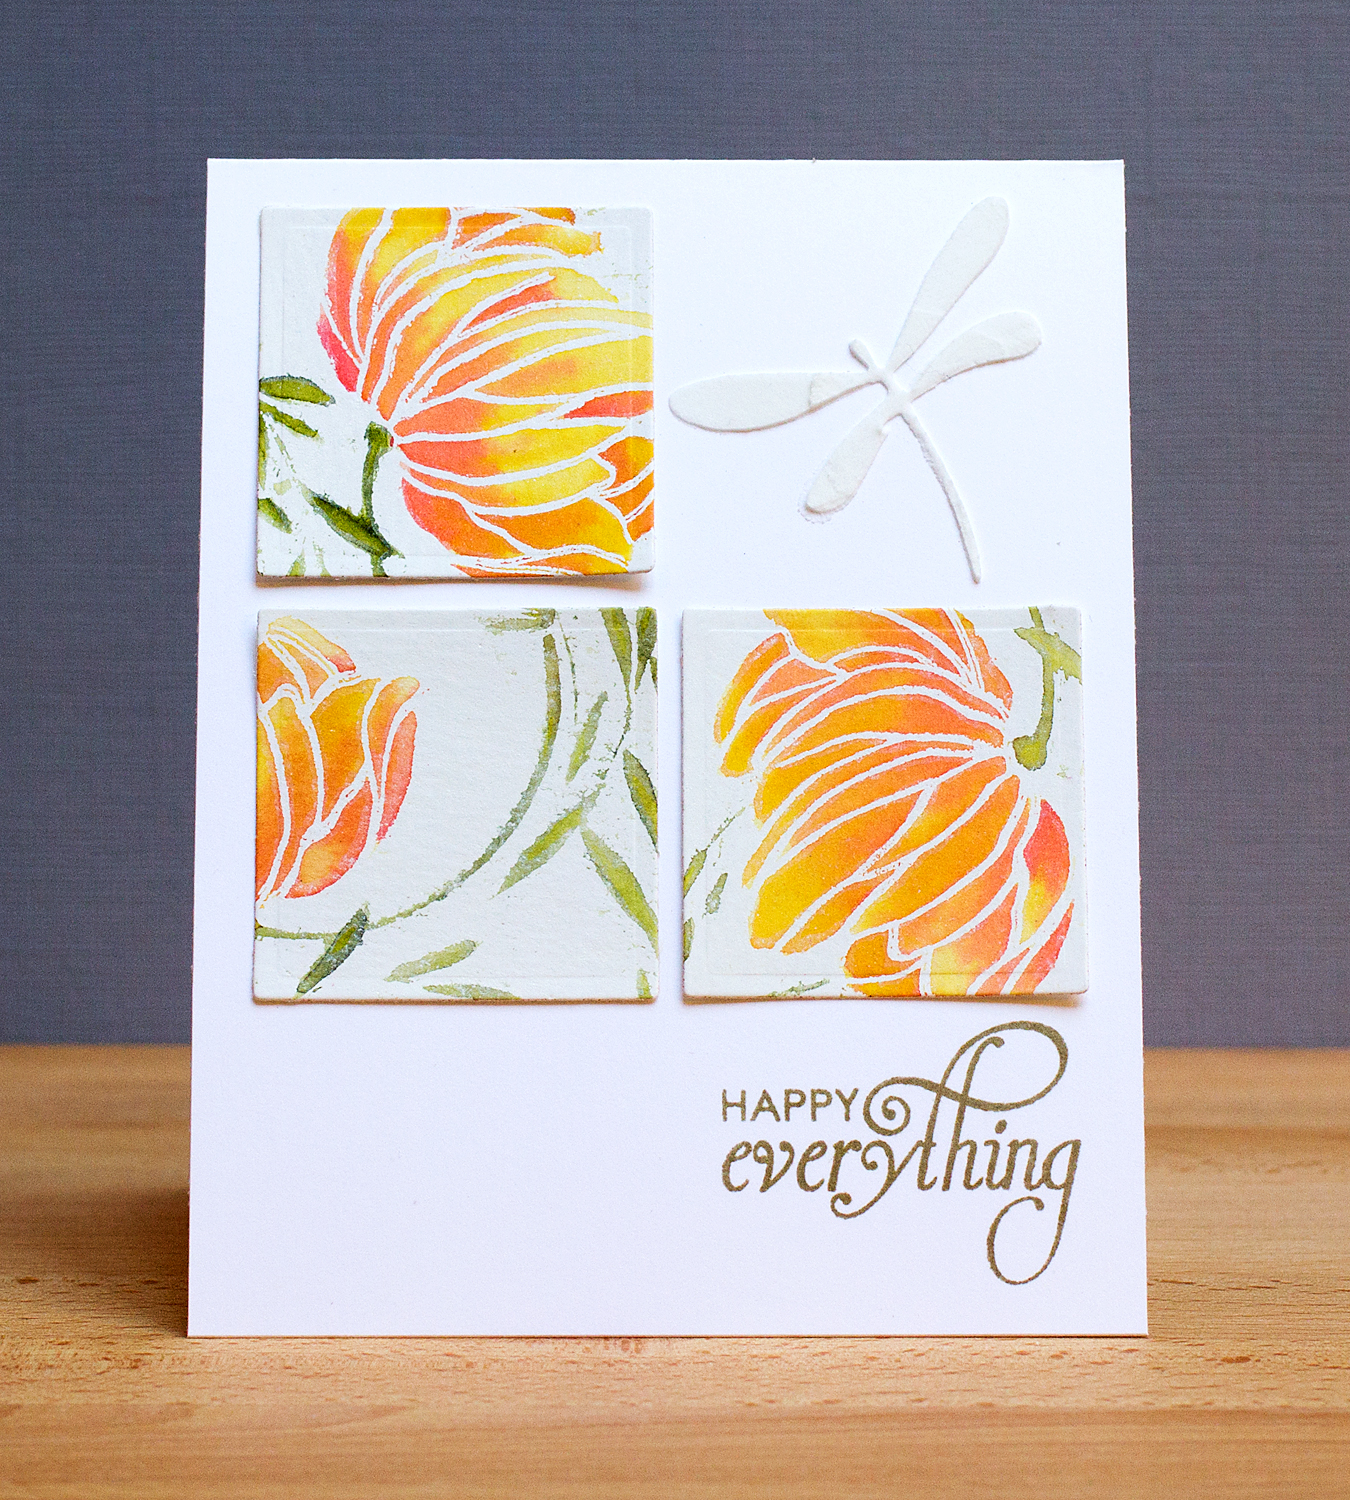

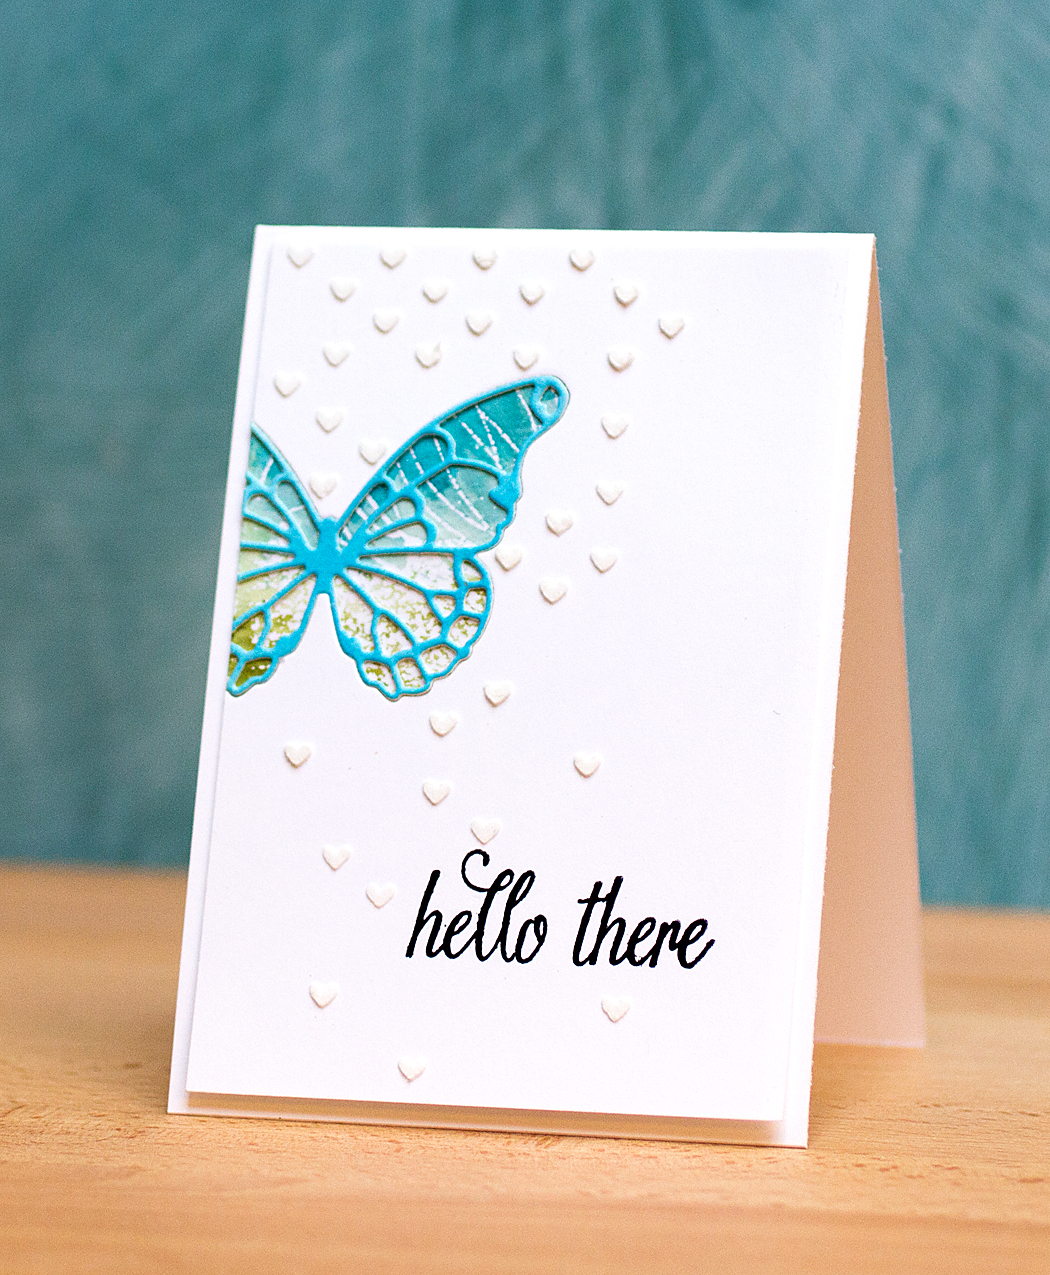 I made a few changes with the way I created my card. Rather than stamp and color a butterfly, as Debby did, I die cut a butterfly (Memory Box Vivienne Butterfly) that I inlaid into the panel. I backed the front panel with a heat-embossed and watercolored panel using the Penny Black Sweetness stamp (that was a project from yesterday which didn’t go according to plan). The butterfly was also cut from watercolor paper onto which I had scribbled some Distress ink. The front panel was stamped with a sentiment from the Hero Arts “Enjoy Today” set. I adding embossing paste with a Simon Says Stamp stencil.