
Today is Day One of the Online Card Classes Watercolor for Card Makers class. My card is a CASE of the one shown by Jennifer Rzasa.

The focus of today’s lesson is on creating backgrounds with watercolors. I used Strathmore 140 lb coldpress paper and pan watercolors. I applied several shades of watercolor to a wet background, then I brushed several of the colors through a Studio Calico stencil. Jennifer shared a method in which she put the stencil on top of the wet painted paper, weighted in down, and allowed the paint to puddle up through the stencil. I tried this and met with no success. I also tried using Distress Inks on Ranger watercolor paper and the results weren’t to my liking.
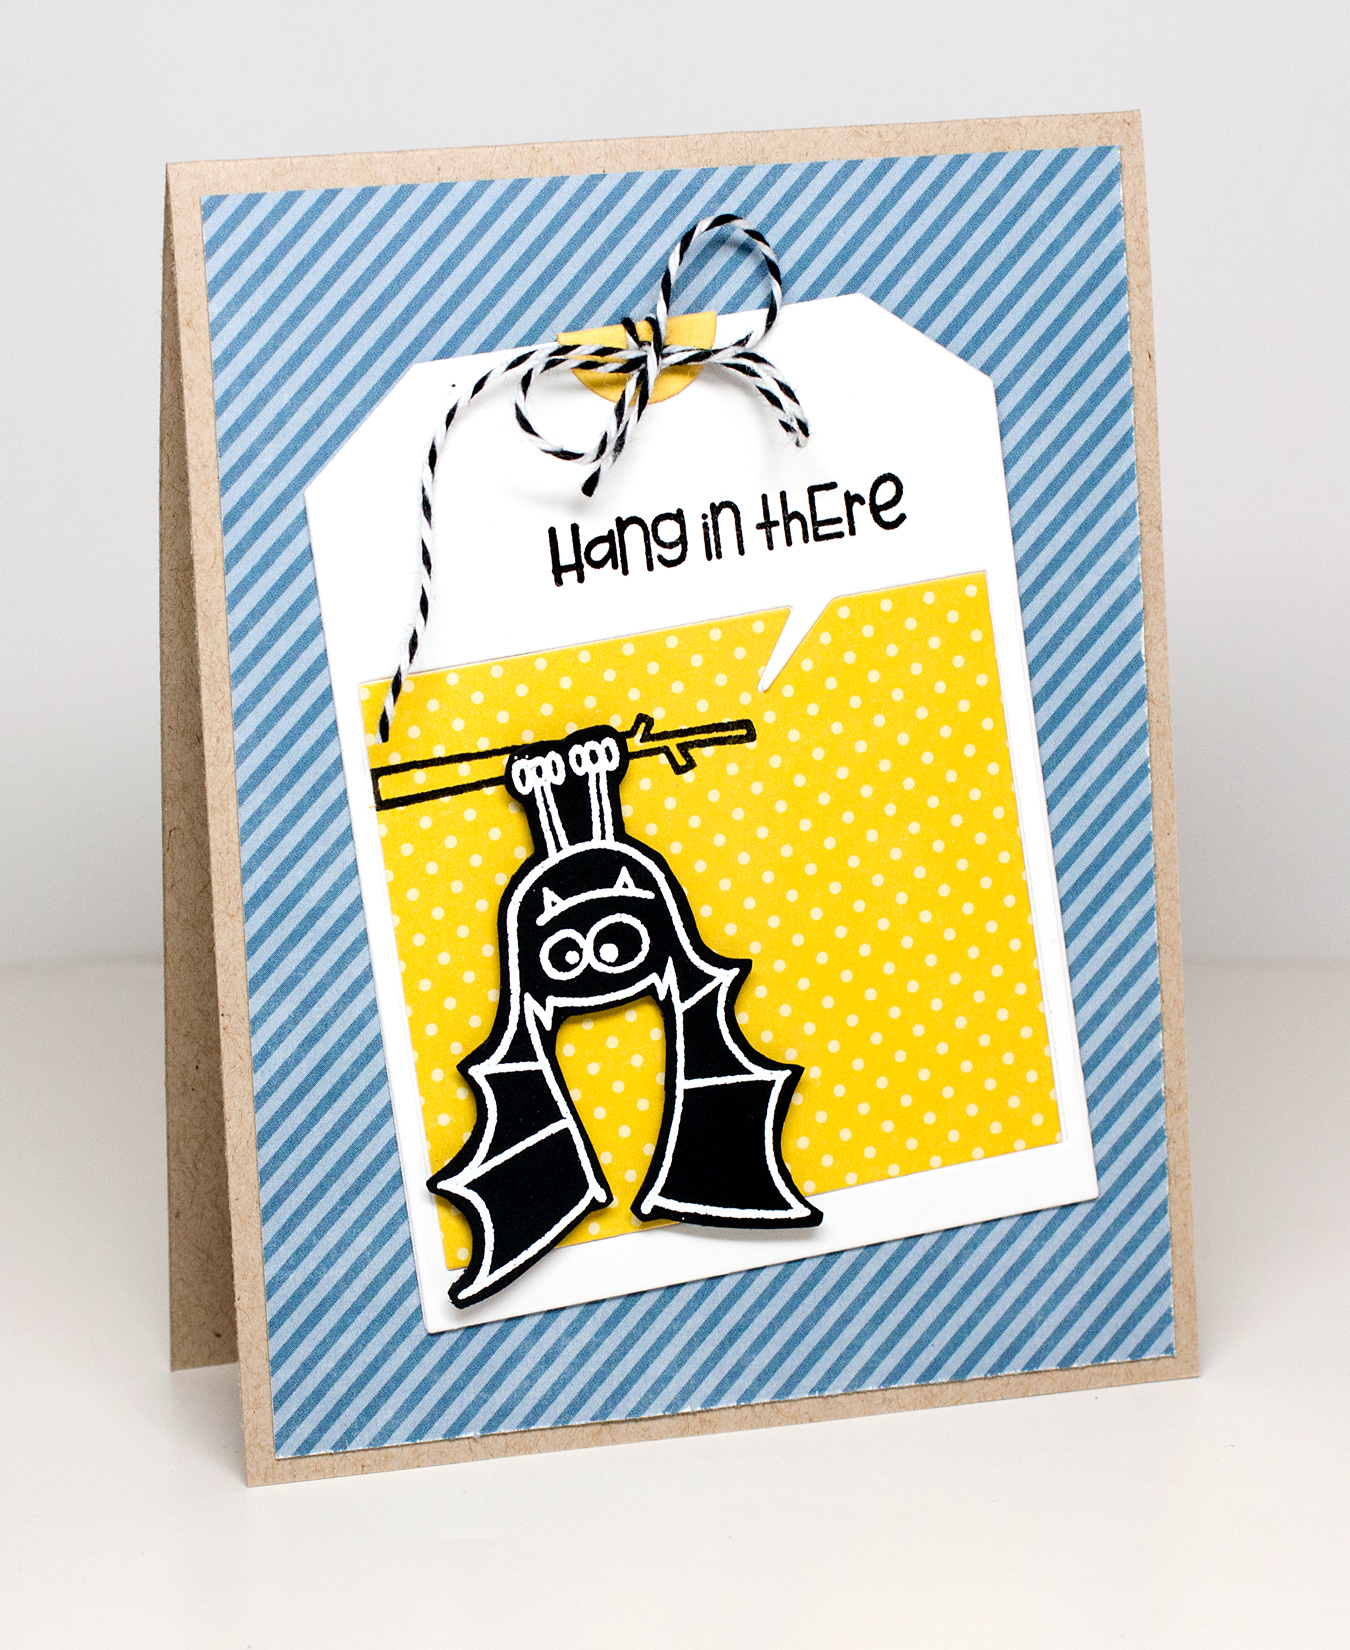
My favorite thing about this card is the design. I really like adding a sentiment with a tag.
Additional Supplies: My Favorite Things sentiment and tag die


