Gray and Pink Valentines

Ever since the beginning of the year, I’ve been thinking a lot about color. I really like gray and pink together. I like gray and red together as well, but while playing with some Paper Smooches stamps and die cuts for Valentine’s Day cards, I preferred the pink to the red.

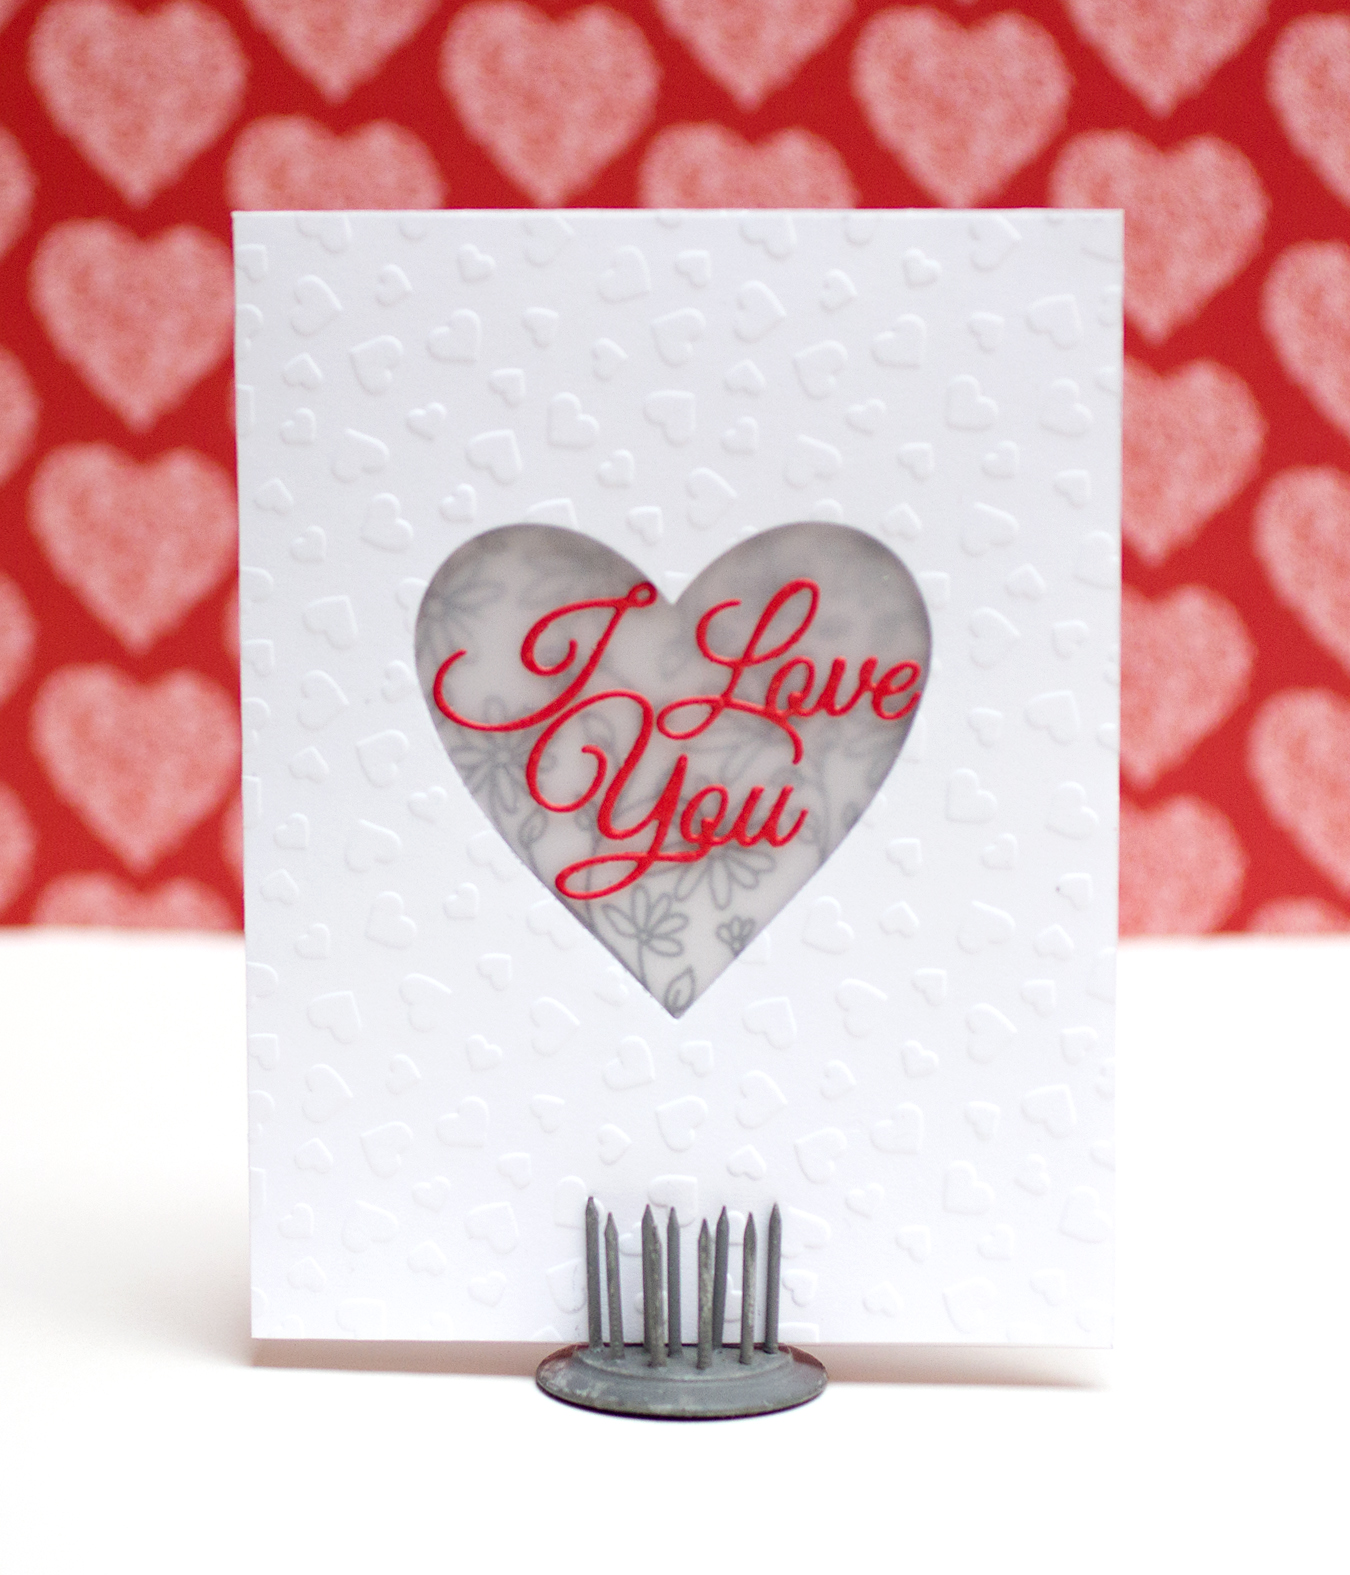
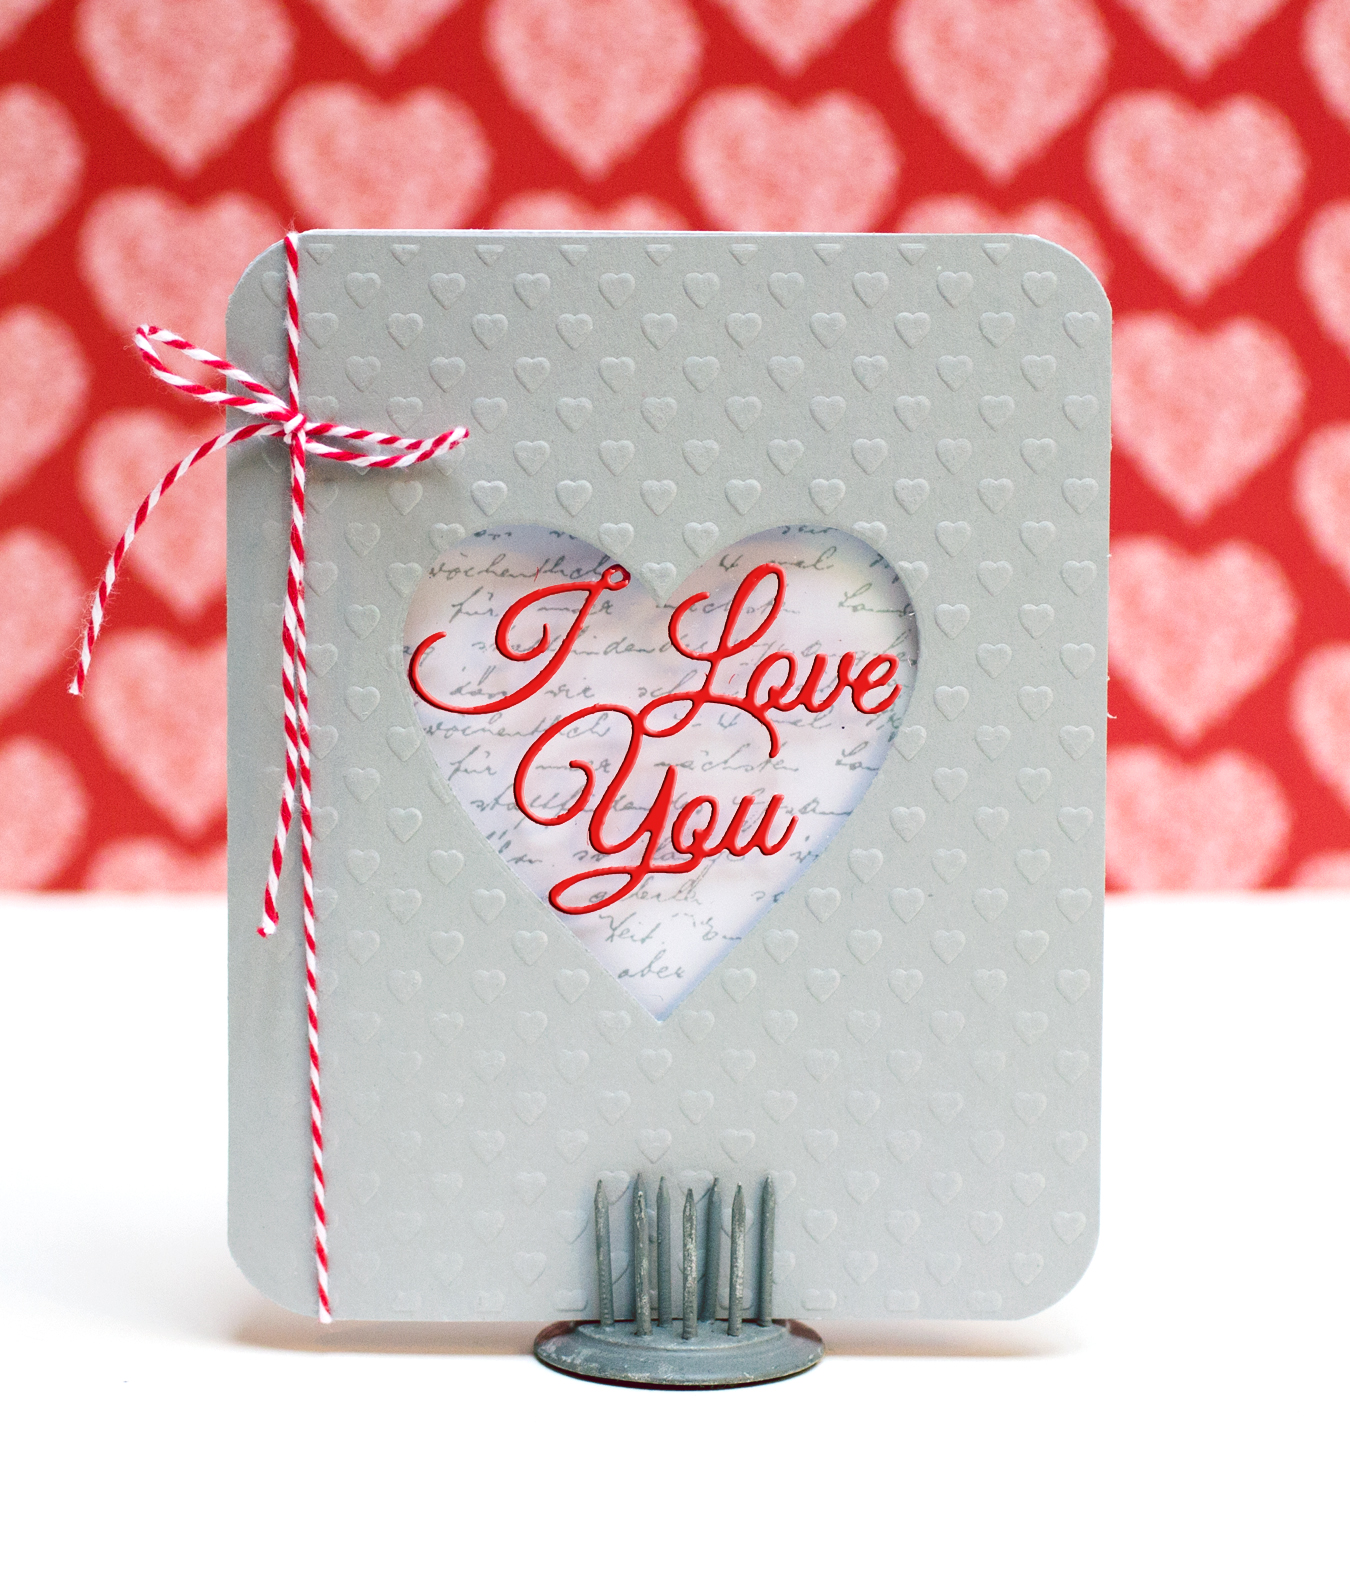
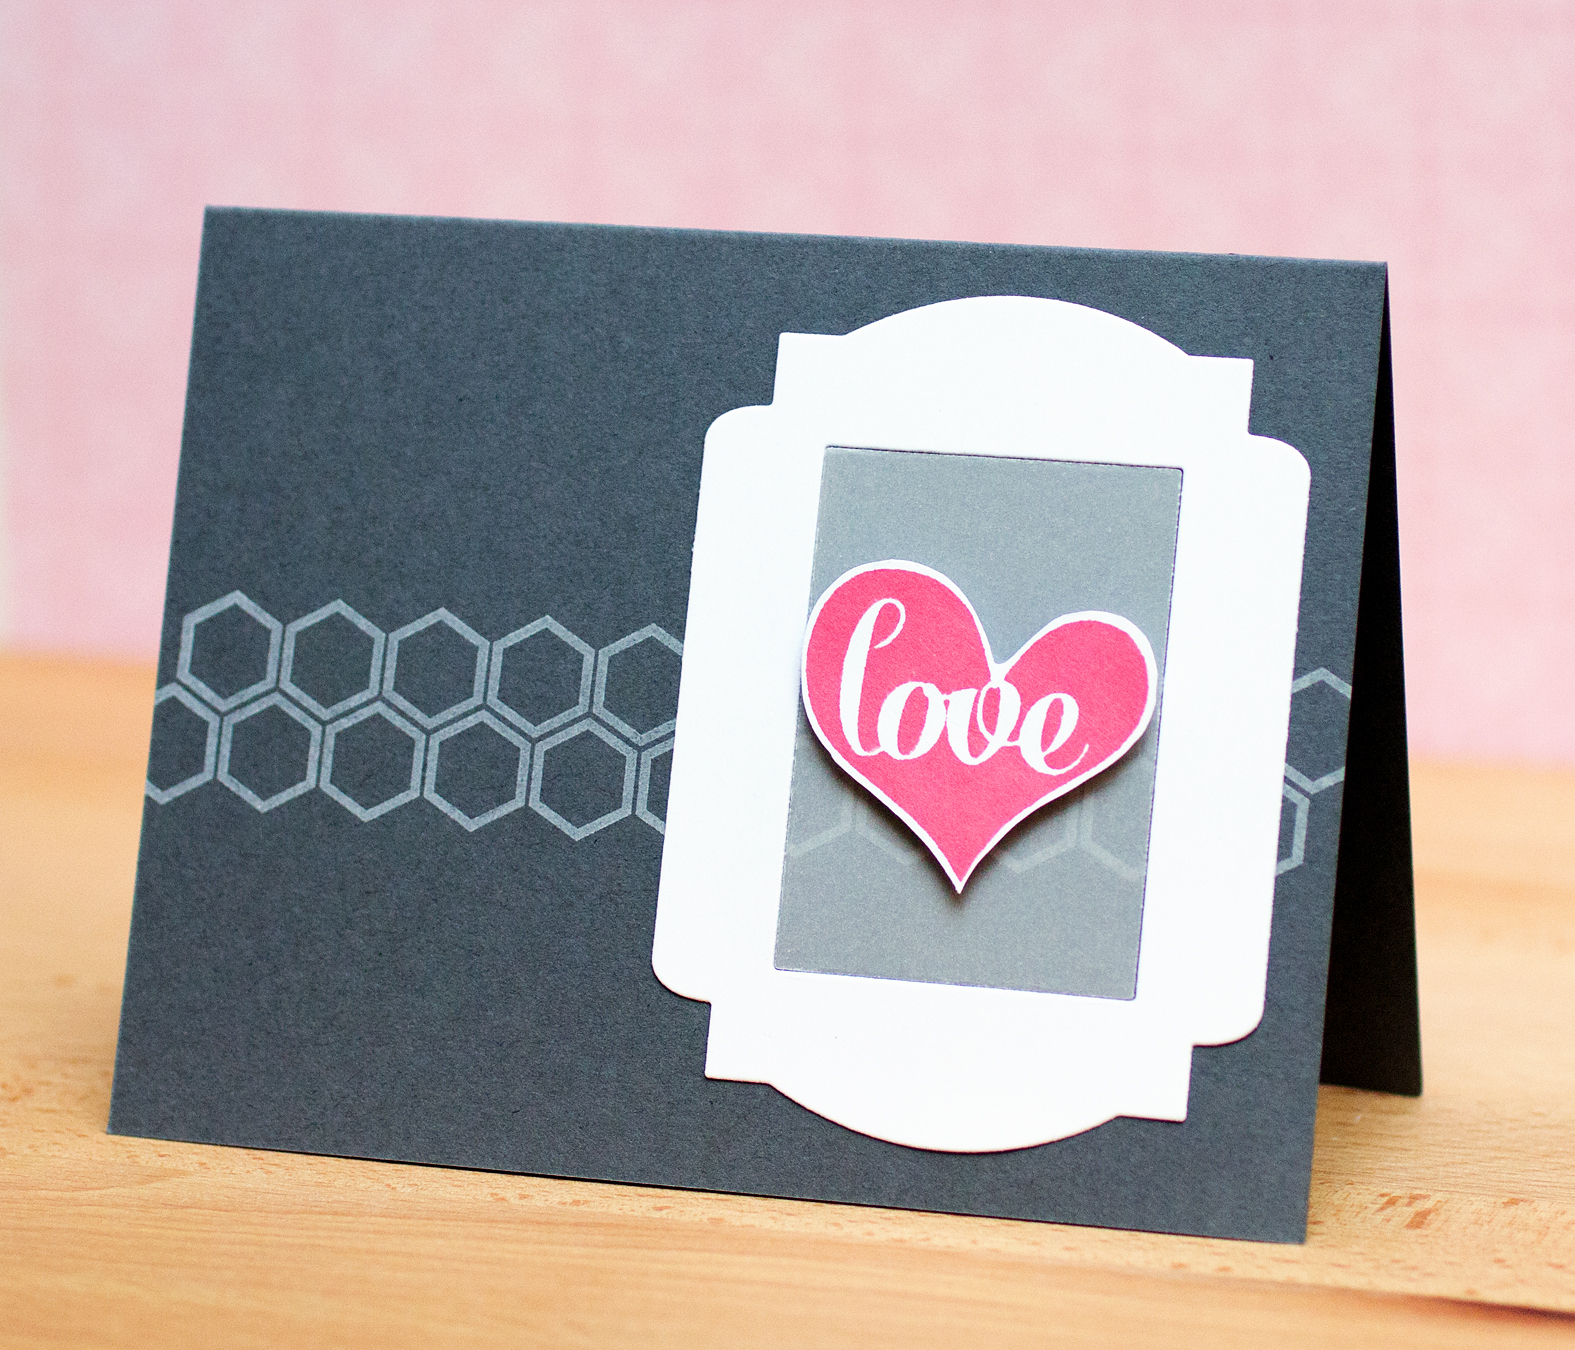
For my first card, I stamped the Geo-Graphic border with white pigment ink on the charcoal card base and added the frame (the die cuts both a frame and an interior piece) to showcase the stamped heart. The vellum helps accentuate the heart.

FramedLove

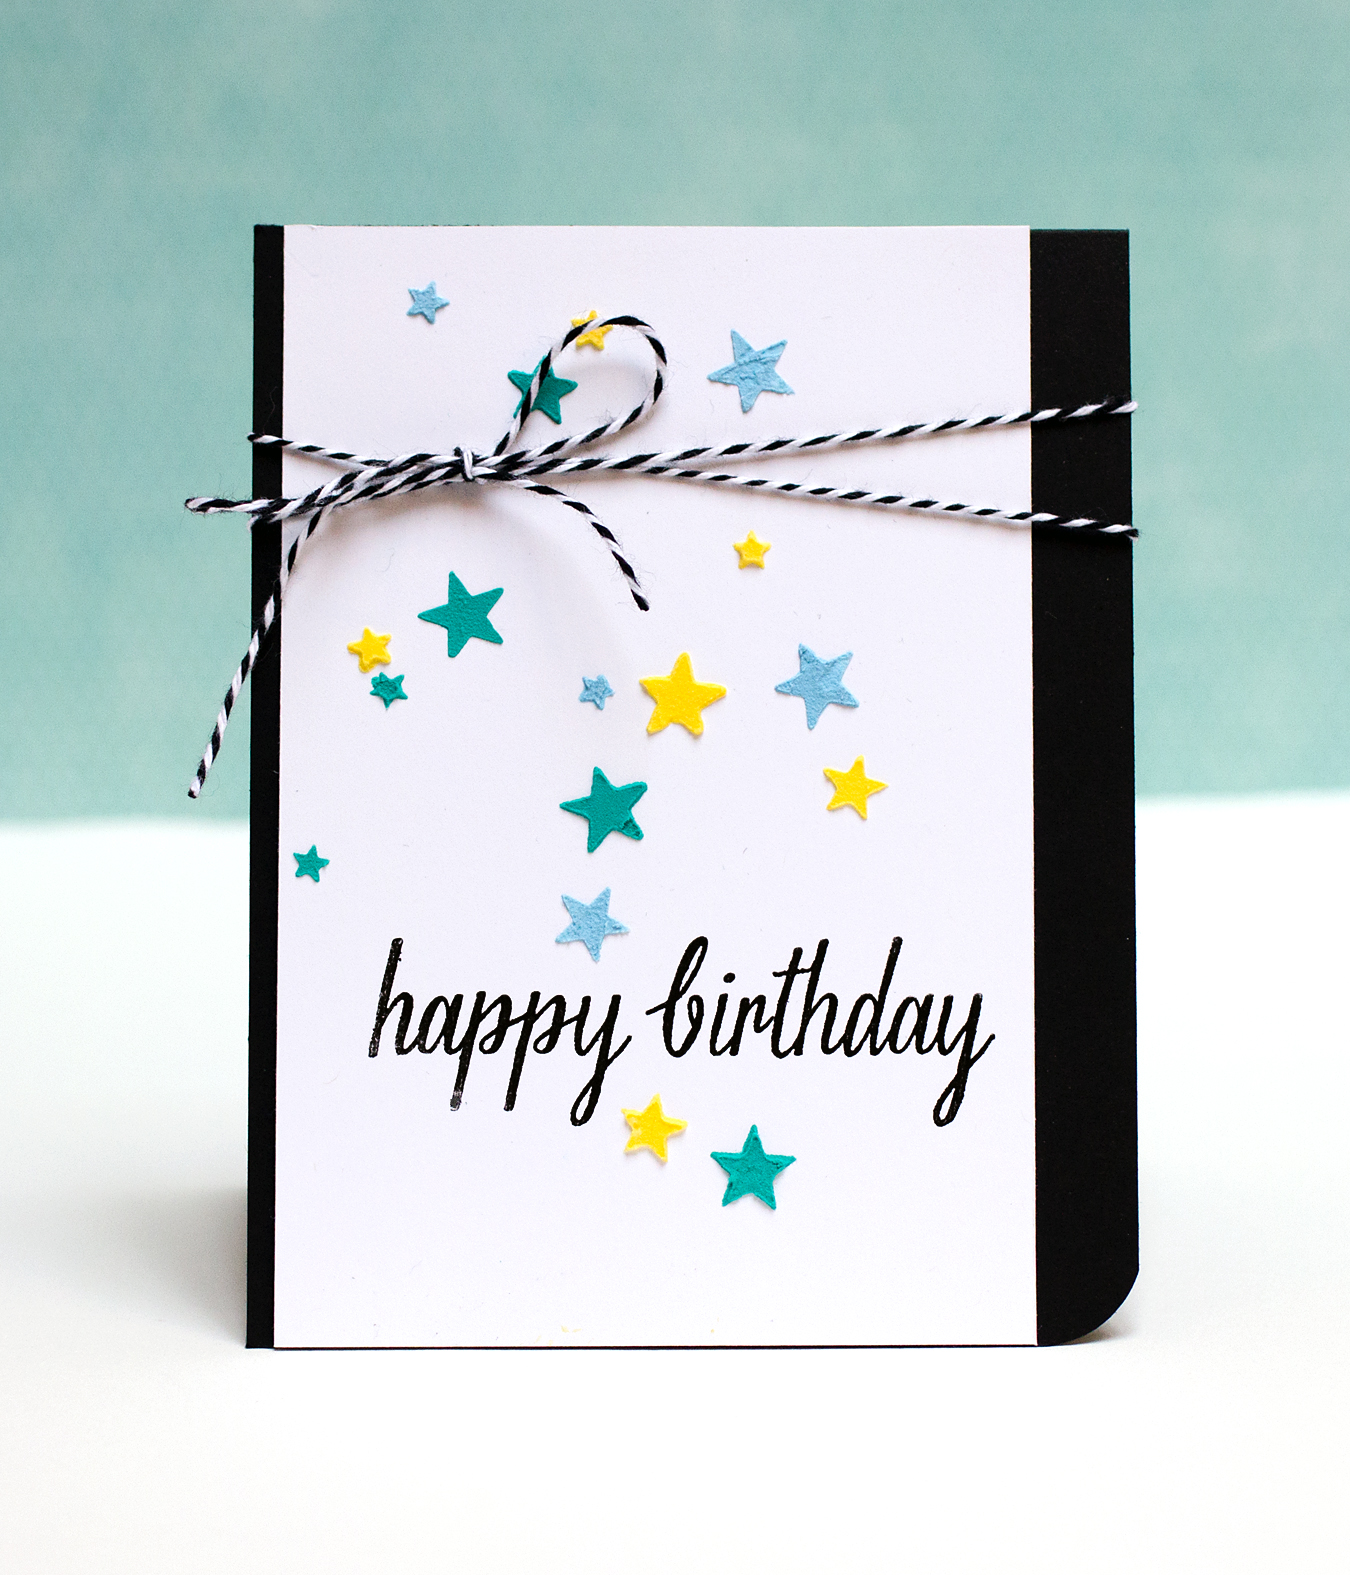
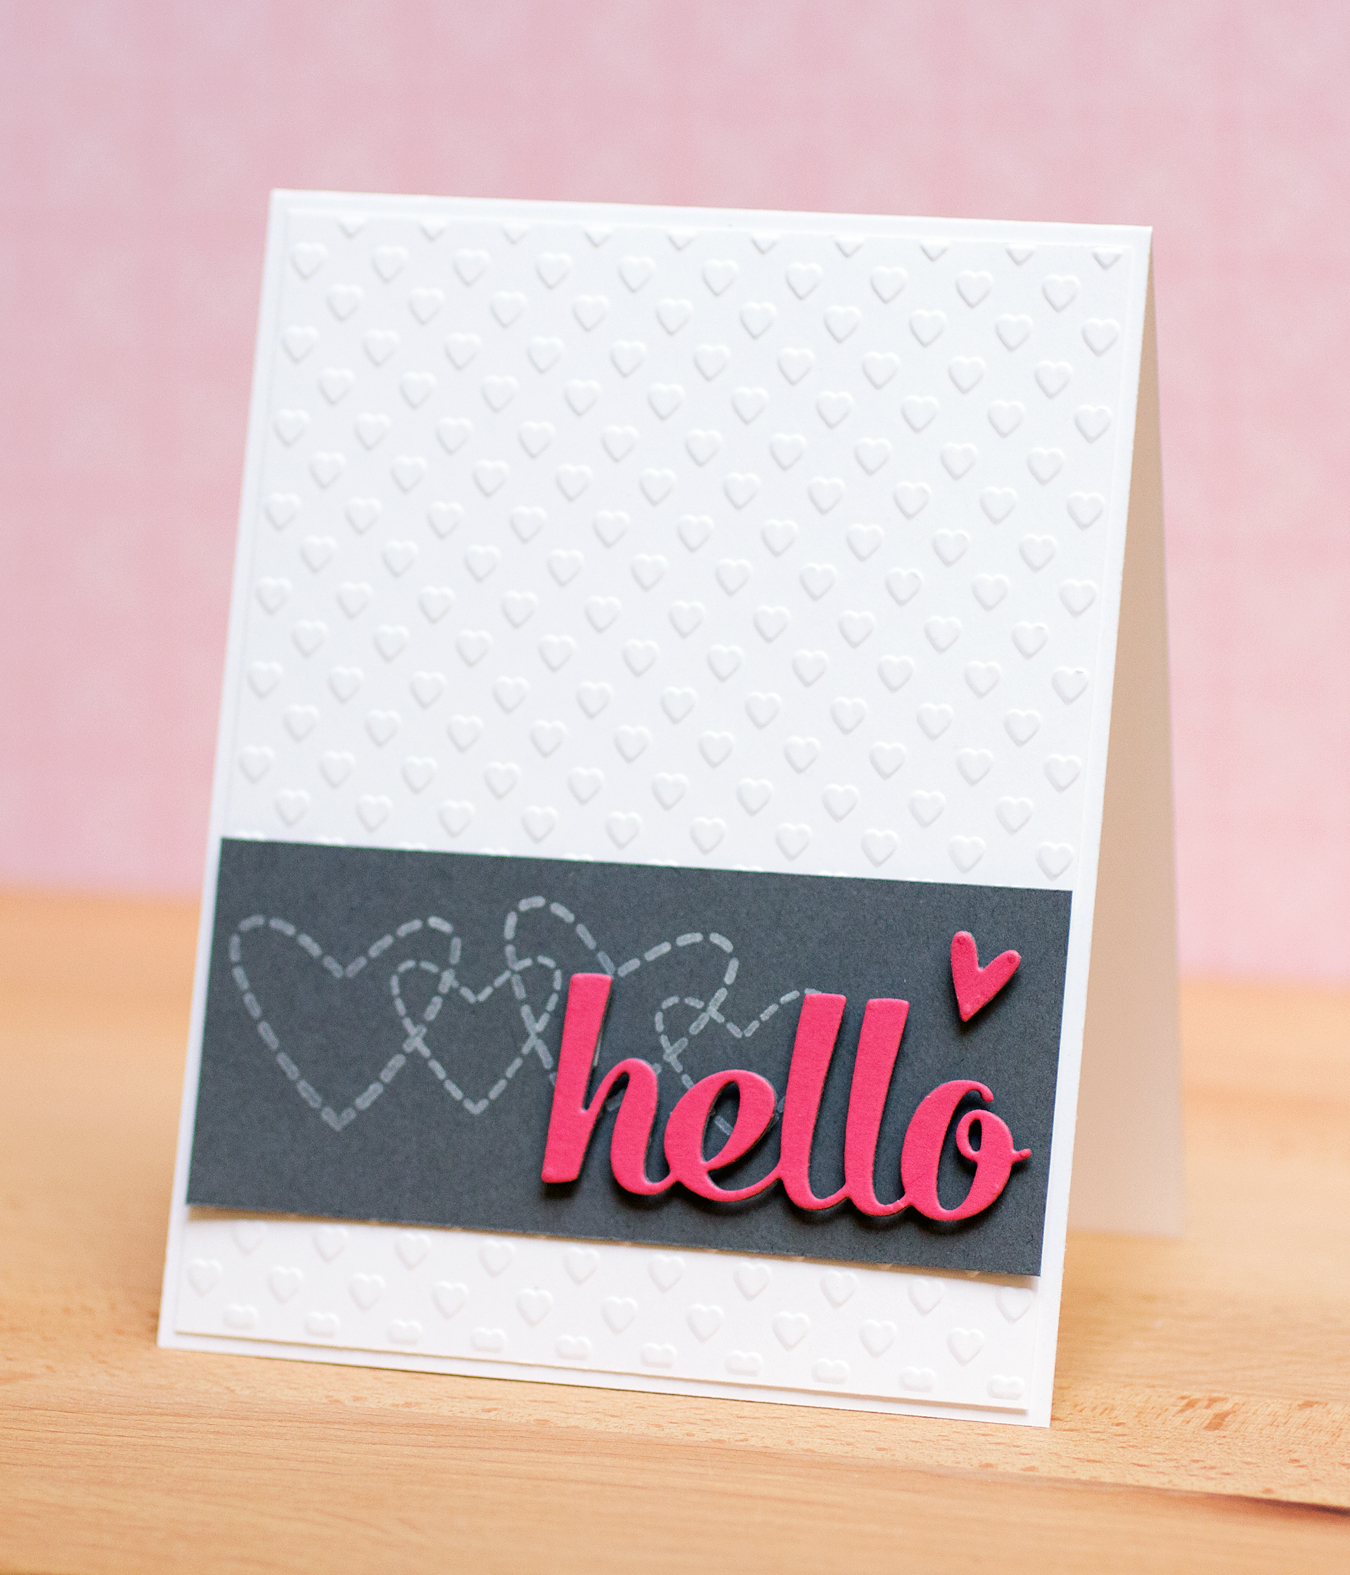
For the second card, I used the “hello” from the Quote tag die cut set – really like the font of this sentiment die, as well as the “love” in the stamped heart above. The Lifestyle Crafts embossing folder leaves a wide border for a 4 1/4″ x 5 1/2″ card (and the hearts aren’t oriented to do a top-folding card) so I trimmed the embossed panel and adhered it to a 4 1/4″ x 5 1/2″ card base.

HelloValentine

There’s a challenge over at the Papers Smooches Sparks site – this week’s theme is “Anything Goes.” I’m entering the second card in the challenge.

Supplies:

Love Struck

Sharing a “just because” Valentine’s Day card today, using some of the recently released Paper Smooches products.

LoveStruck

I stamped and colored the “Love Struck” arrows and cut them out with the companion die set. I colored them with Copics using a blue/pink/red color scheme. Honestly, deciding how to color arrows was the most complicated aspect of making this card!

Supplies:

Penny Black Valentines

Happy Monday, everyone! Today, I’m sharing two cards made with the same design, both using the Penny Black Love Expressions die cut “I Love You” [#51-025].

ValentinesILoveYou1

For my first card, I used a heart-embossed white cardstock. I die cut a heart from the front panel and adhered acetate and vellum to the inside. I adhered the “I Love You” sentiment to the front of the acetate panel with Glossy Accents. I stamped the inside of the card with the Daisy Heart [#4291K] stamp. The vellum softens the appearance of the stamped image so that the sentiment takes center stage.

ValentinesILoveYou2For my second card, I dry-embossed a soft gray cardstock. The inside is stamped with with the Letter Background stamp [#1999L]. Because the pattern of the letters offered more white space on the background, I didn’t add the vellum to the front, only the acetate. I also rounded the corners and added a twine bow for additional color.

Seeing Stars

Yes, I’m still working through the material from the Online Card Classes Stenciled Class. After seeing the results that other classmates got with adding acrylic paint to embossing paste, I wanted to give it a try.

I created a card based on Kristina Werner’s design from Day Two using the techniques – using embossing paste with stencils – from Day Three.

Stenciled Stars

The Claudine Hellmuth acrylic paints have wonderfully vibrancy! I mixed the colors with the paste one at a time, applied the colored paste through the stencil, and let it dry before starting with a new color. I changed up the sentiment on this card from the card Day Two design. Because I didn’t cut the Hero Arts sentiment into two pieces, the white panel is wider than the original design. Just before photographing it, it seemed a tad plain, so I finished off the top with some twine.

Supplies: Hero Arts Enjoy Today stamp set; Heidi Swapp Confetti stencil; Studio 490 embossing paste; Studio acrylic paints

Stenciled: Colored Embossing Paste

I’m still working through the course material from the Online Card Classes Stenciled Class. This card is based partially on a design by Debby Hughes from Day One, as well as on a card of Laura Bassen’s from the Simon Says Stamp Valentine’s Blog Hop.

Stenciled: Colored Embossing Paste

I’ve been wanting to color embossing paste and used two distress inks to color the paste I used on the “Falling Hearts” stencil. Laura used acrylic paints to color her hearts. I like that idea as well, and plan to try it, but didn’t have two shades of pink, and I was set on using pink. Theoretically you could use one pink and mix more (or less) of the embossing paste with it to create a differentshades, but I’m finding that as a “newbie” I don’t have time to mix before applying to the stencil. I particularly like this SSS stencil – you simply lay it over the card and start applying paste. I don’t have to move the stencil around to get a pleasing design.

And there’s little light today here in the Pacific Northwest – dark skies and rain! So my photo is a bit hard to see.

Supplies: Simon Says Stamp Falling Hearts stencil; Hero Arts You’re So Kind stamp set; Studio 490 embossing paste; MFT Fishtail Flags dies; Worn Lipstick and Spun Sugar Distress Inks