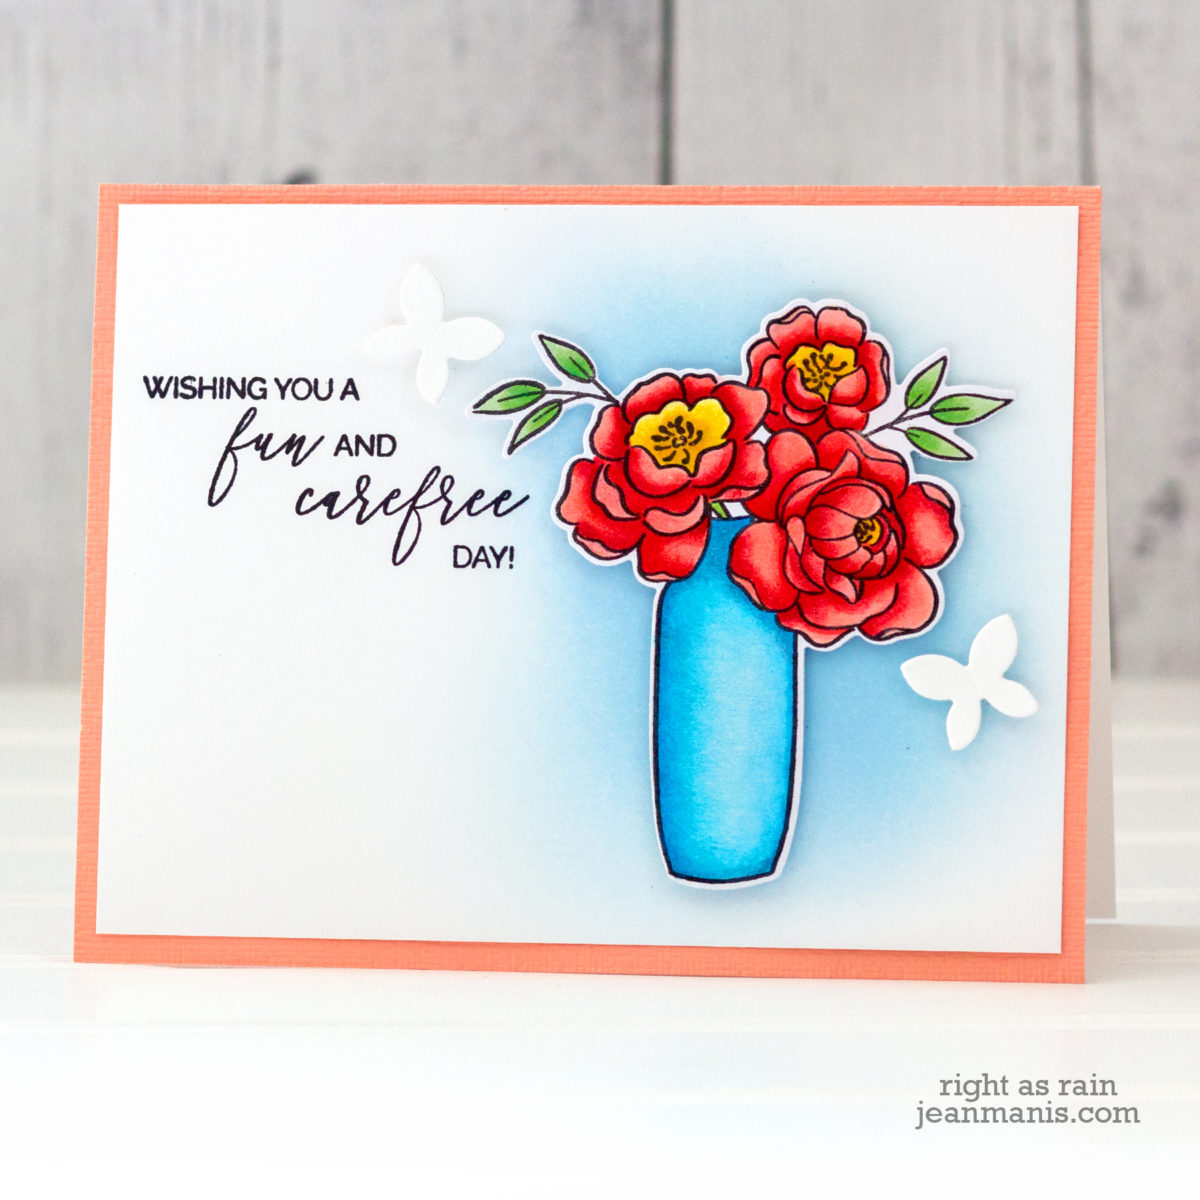
Hello! Wishing you a carefree day – doesn’t that sound blissful? Today I am sharing a CAS, die-cut, garden-themed card created with Penny Black supplies.

- I stamped the 30-700 Carefree Wishes sentiment on to a white cardstock panel.
- I added Summer Sky ink to the background.
- I cut the flowers, foliage, shelf, watering can, tools, pots, and butterfly with the 51-635 Buckets of Flowers, 51-510 A Garden, and the 51-610 Hydrangea die sets.
- I placed the scene on to an orange cardstock base. I tried yellow, blue, and red before deciding that the orange was “just right”!

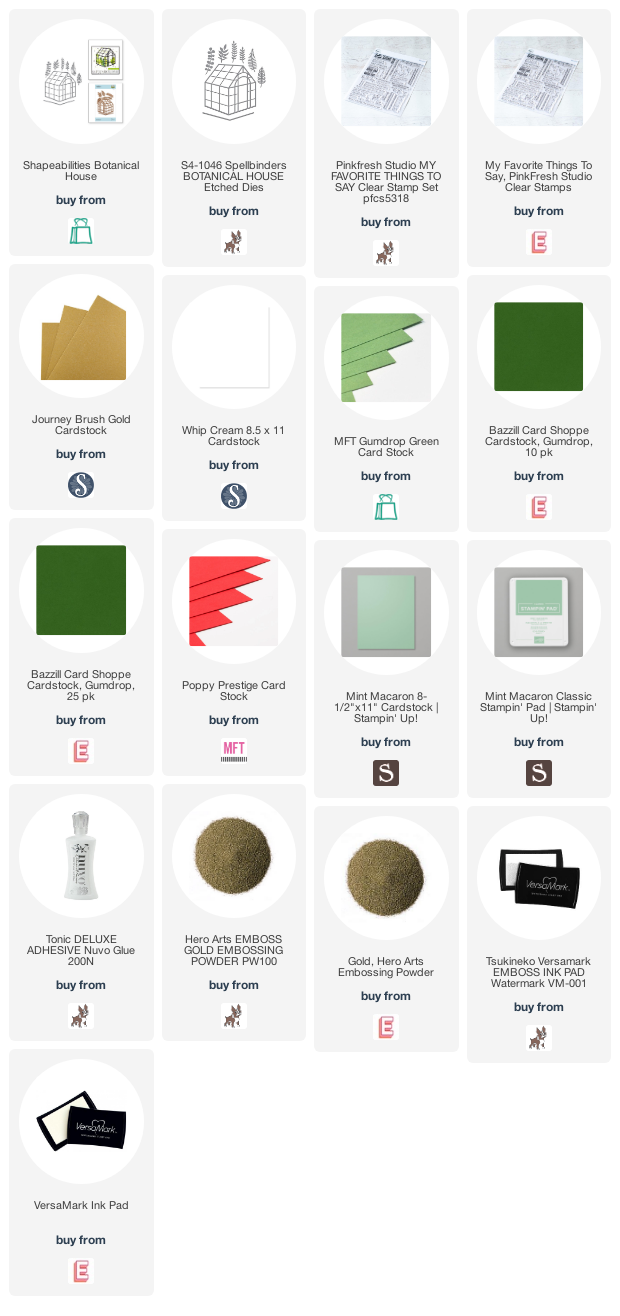
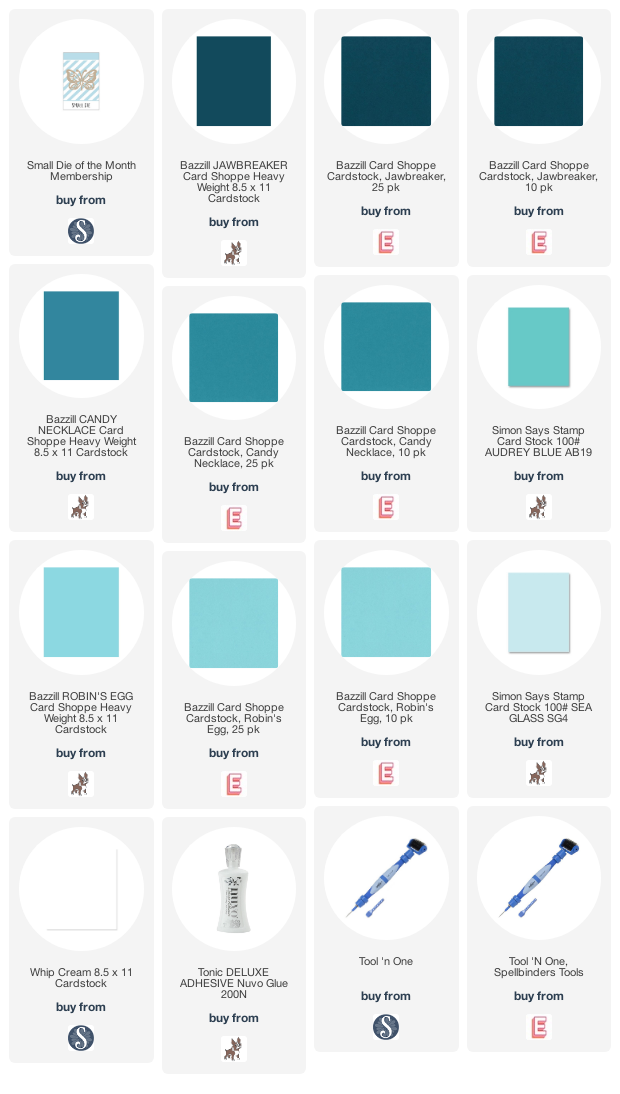
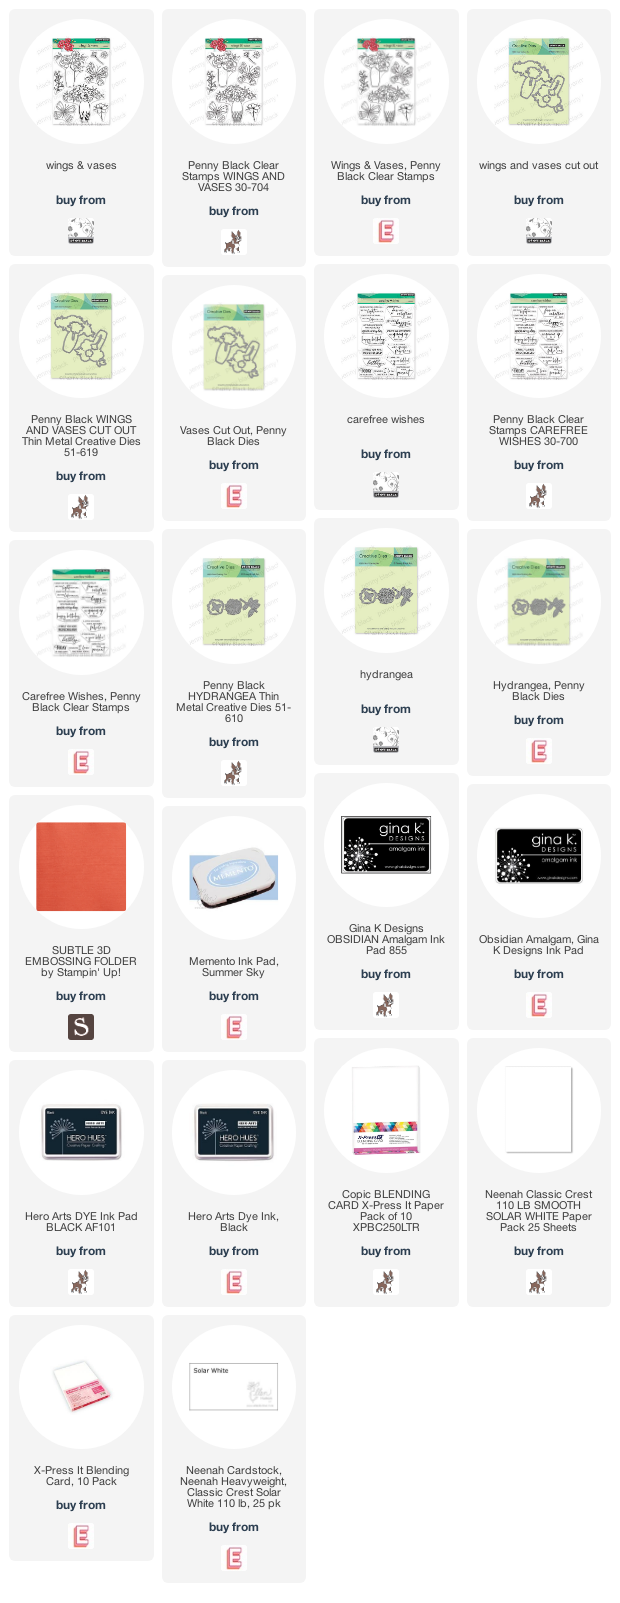
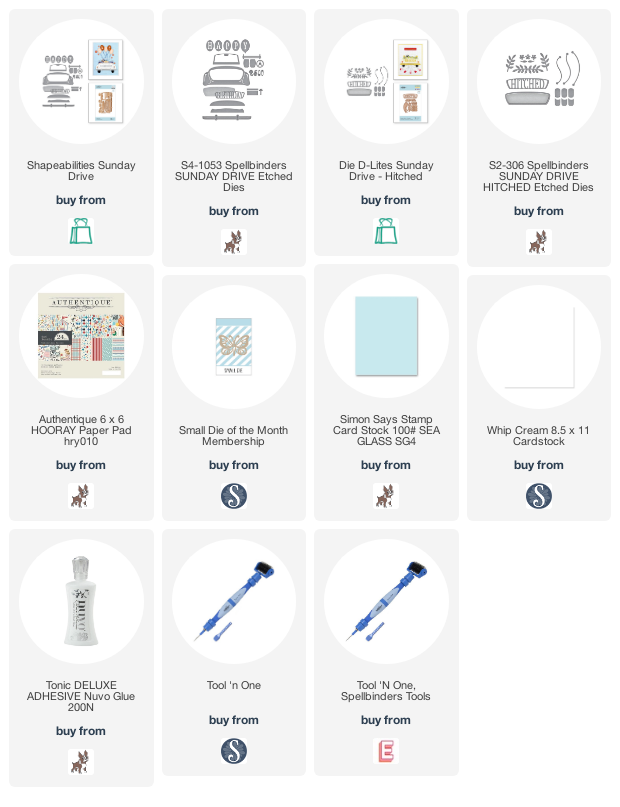
Supplies: