Penny Black – CAS Thank You

Hello! Today, I am sharing a quick-and-easy CAS card featuring Penny Black supplies. I tried a number of different color combinations before settling on this one. I’m a big fan of combining bold colors with black and white.

Penny Black - CAS Thank You

  • I cut the 51-235 Swirled Squares from black cardstock and adhered them to cardstock squares cut from Stampin’ Up Melon Mambo, Bazzill Circus Peanuts, and SU Bermuda Bay. I used spray adhesive to adhere the square frames.
  • I added the squares to a card base measuring 6″ x 3 1/2″ on which I had stamped a sentiment from the 30-281 Flower Sparks set.
  • I cut the butterflies with a die in the 51-132 Flights of Fancy set and added  them to the card with foam adhesive.

Penny Black - CAS Thank You

Thanks for visiting!

Penny Black – You Brighten My Day

Hello! Today I am sharing a CAS friendship card created with Penny Black supplies. I’m in the final stages of packing up my supplies for my move, so this post is brief. What I still have around (but will be packed up in a few minutes) – Distress Oxide inks, white cardstock, and a few stamps and dies (listed at the bottom of the post).

Penny Black - You Brighten My Day

I inked up cardstock with some of my favorite colors: yellow, teal, and a coral/orange. I cut the cardstock with two different butterfly dies, which I added to a panel on which I had stamped the sentiment. I added the butterflies with foam adhesive.

Penny Black - You Brighten My Day

Sentiment: Special Thoughts
Butterfly with holes: Flourish and Butterflies
Other Butterfly: Flights of Fancy

Spellbinders – Tulip Flower Frame

Hello! Today, I am sharing a CAS Thank You card created with the Tulip Flower Frame Card Creator die set designed by Maria Job for Spellbinders. I previously shared cards created with the set in this post.

Spellbinders - Tulip Flower Frame

I specifically wanted to use patterned paper on the card base as this particular “cover plate” die has an ample amount of open space. Once I cut the frame and placed it over the patterned paper, I decided that some of the tulips in the frame should be filled in, which I did with the inlay method.

I heat-embossed a sentiment from the Everyday Script set and cut it with its coordinating die. I cut circles from both red and cream cardstock, which I adhered to the card center. I adhered the sentiment to the circles with foam adhesive.

Spellbinders - Tulip Flower Frame

Thanks so much for dropping by!

Spellbinders Kaleidoscope Trio – June Small Die of the Month Kit

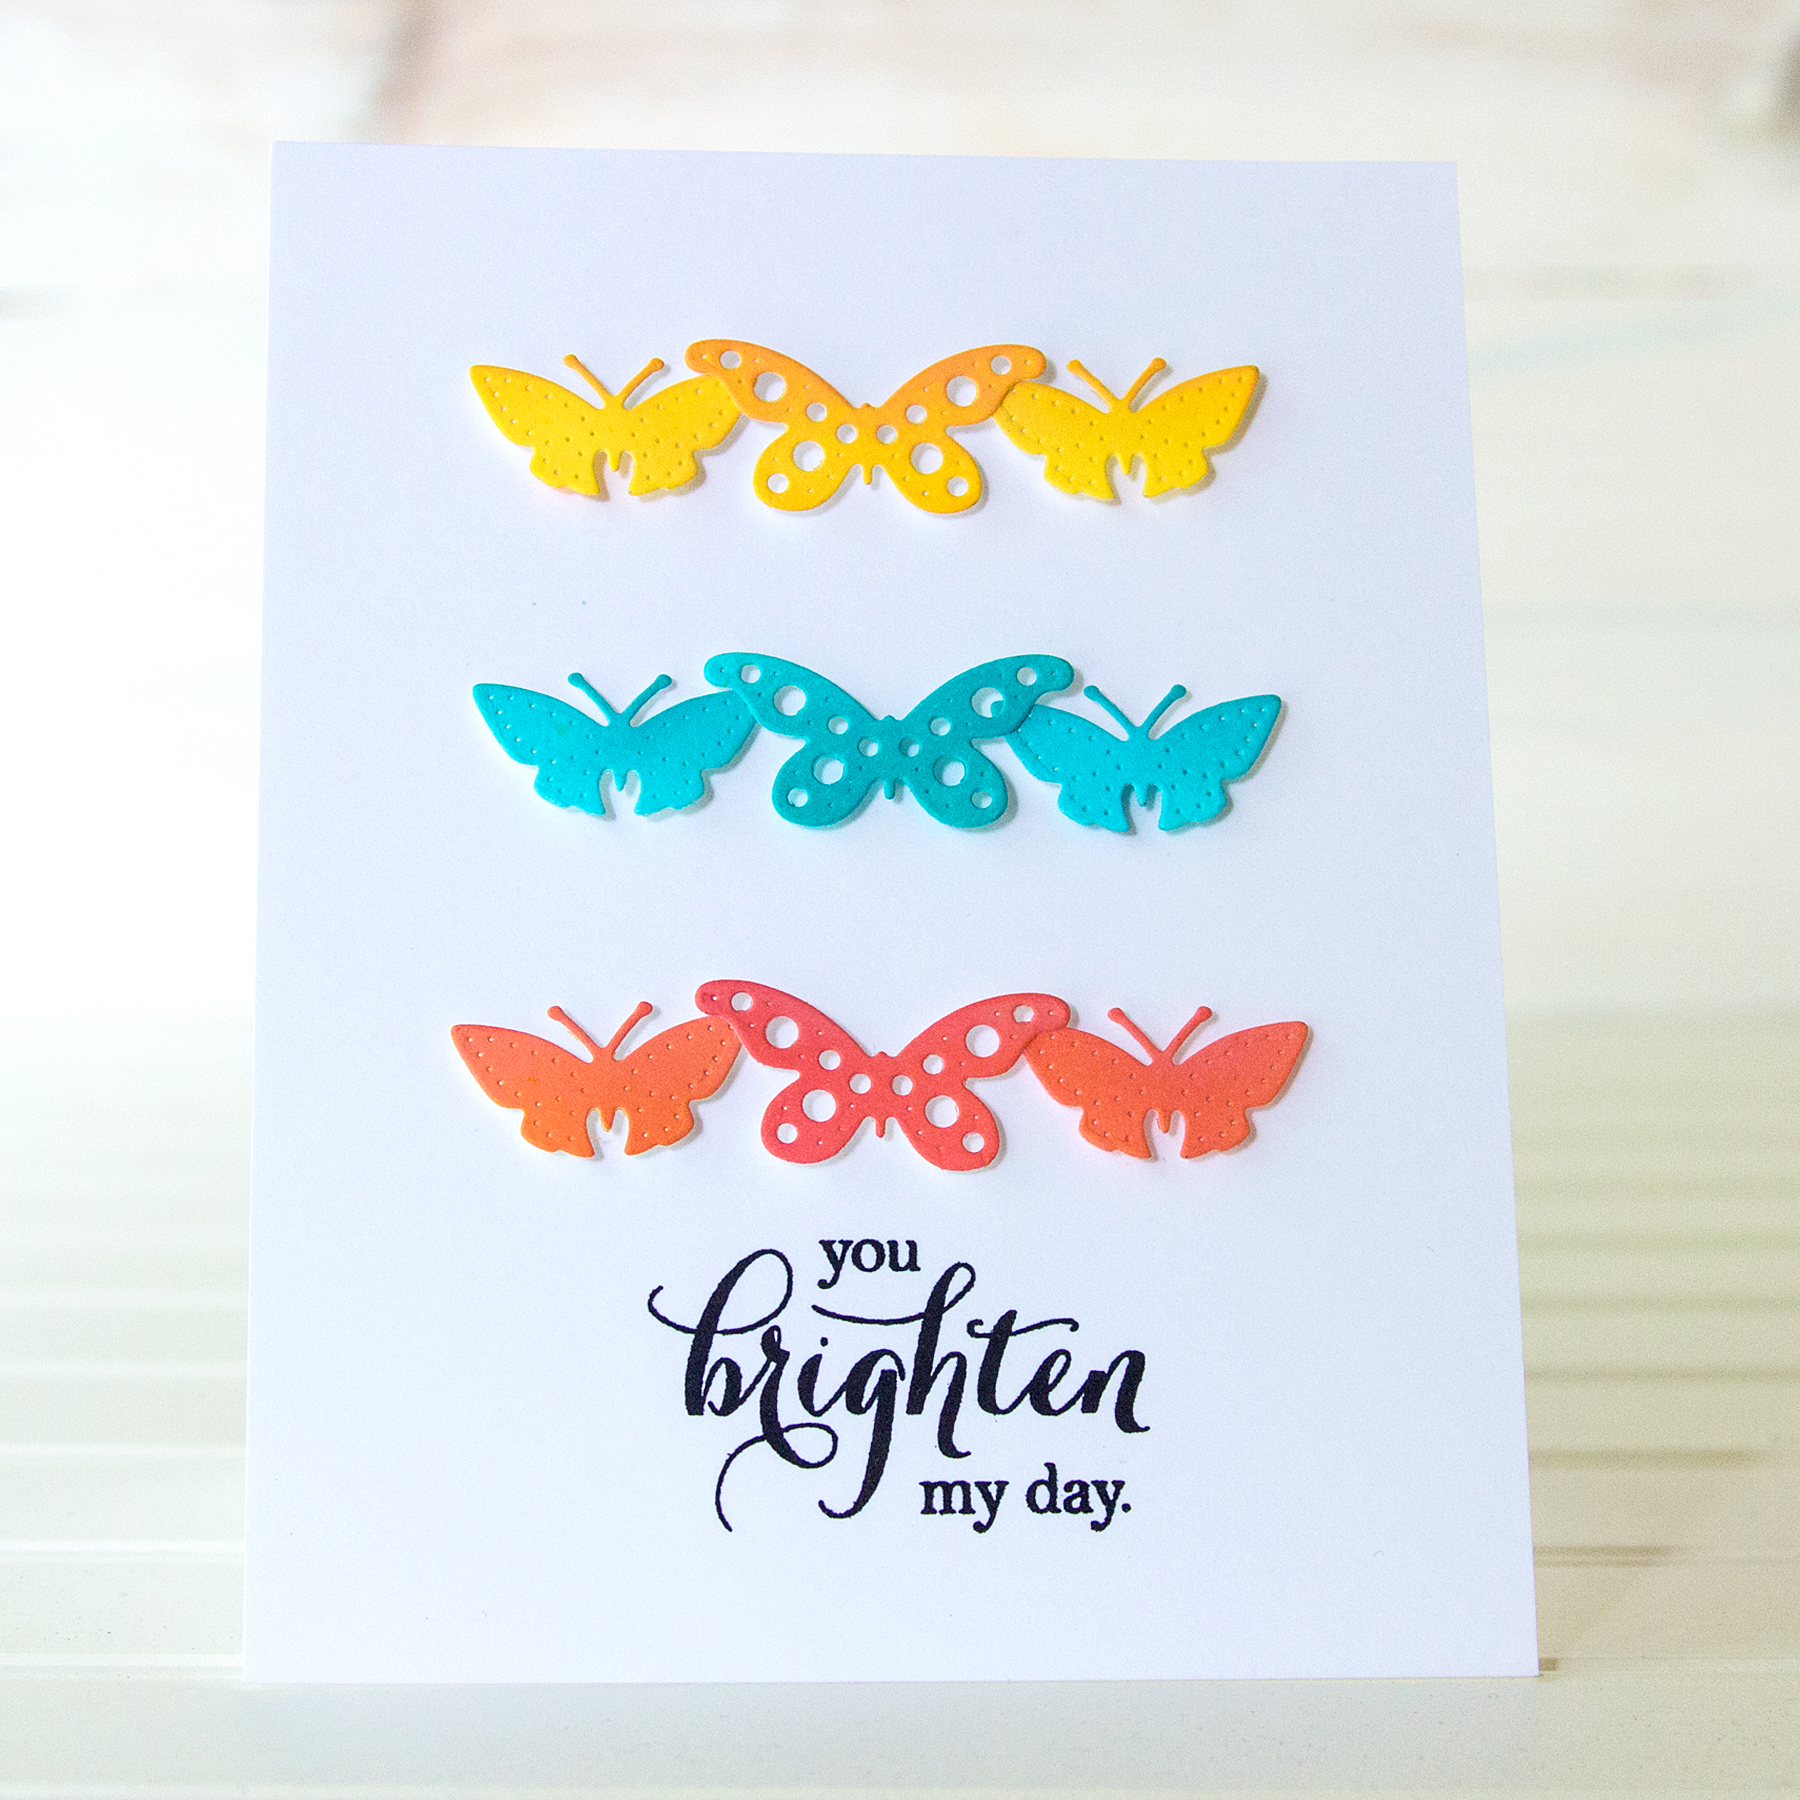
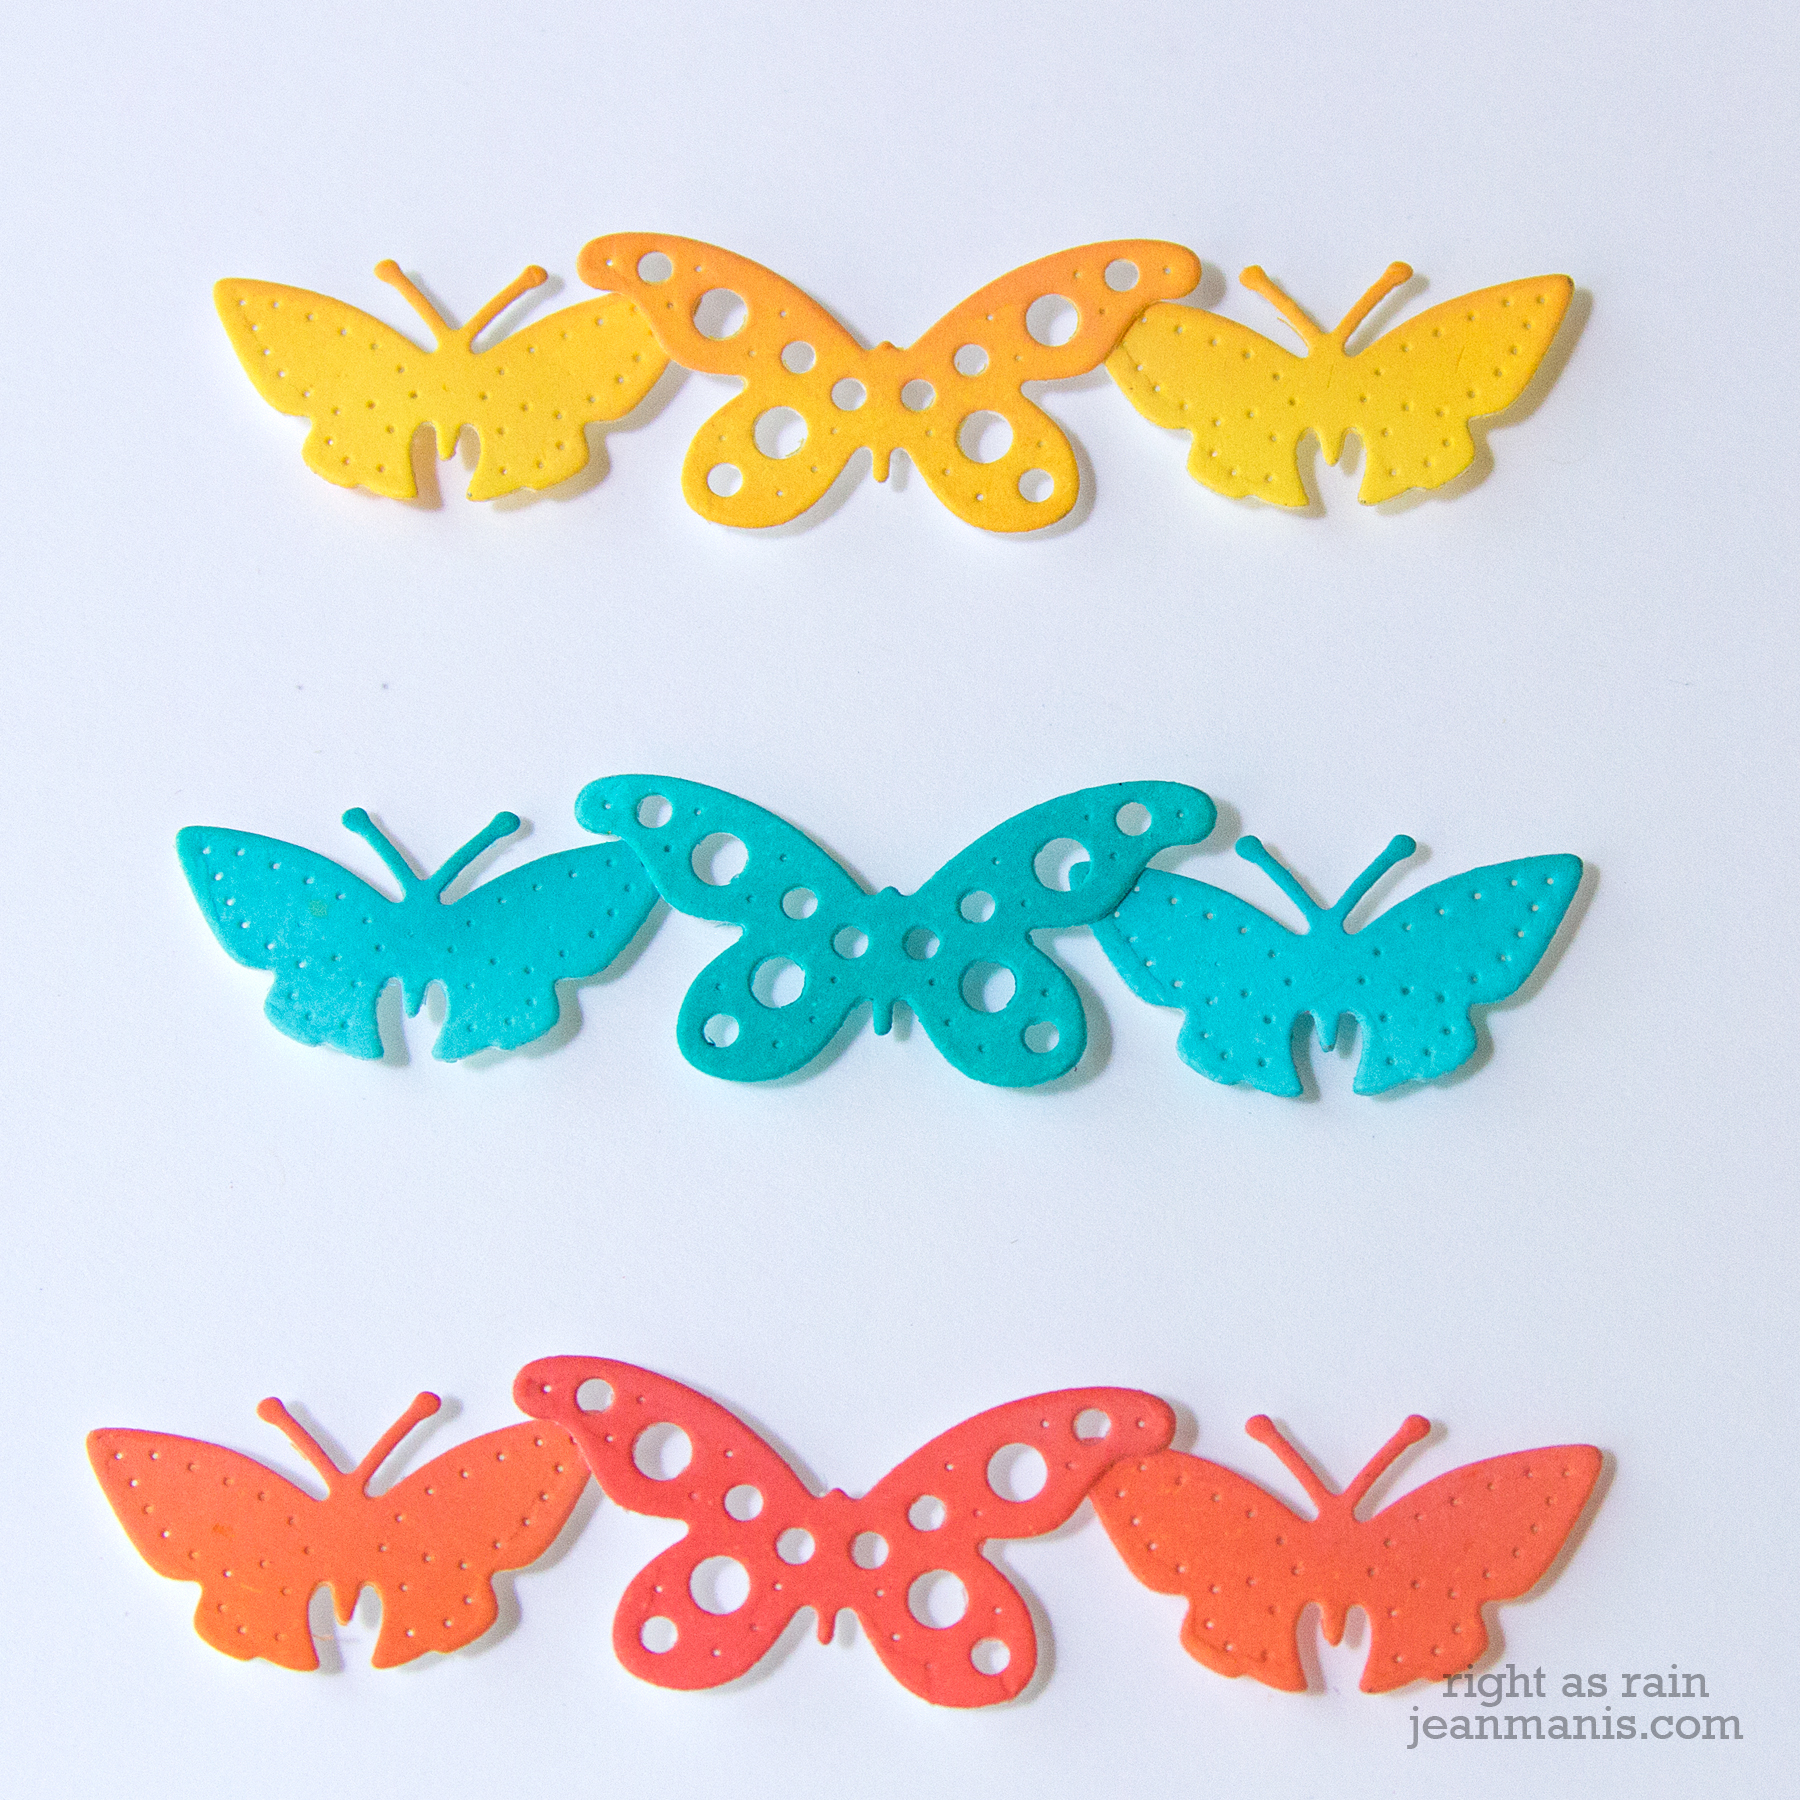
Hello and happy June! Today, I am sharing three CAS projects created with this month’s Spellbinders Small Die of the Month die set “Kaleidoscope Trio” ($12.50 with US shipping included in the cost!). The set includes eleven dies with which to create layered shapes. Let’s take a look!

Spellbinders Kaleidoscope Trio - June Small Die of the Month Kit

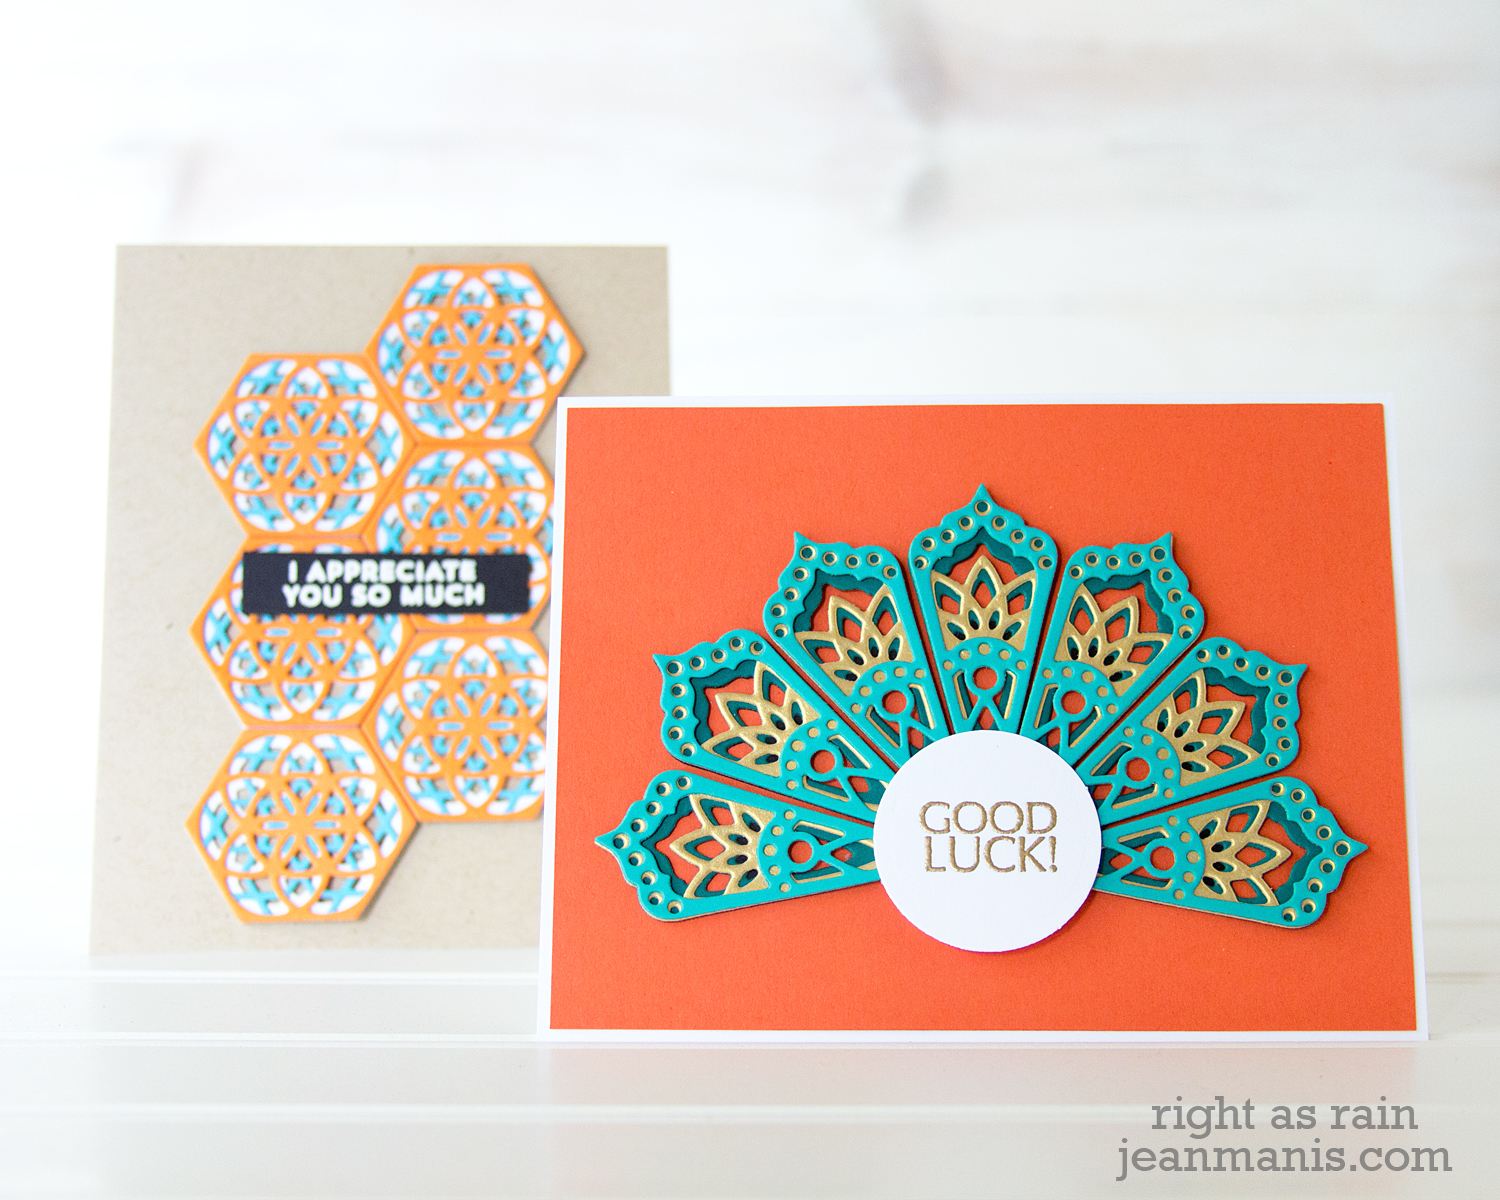
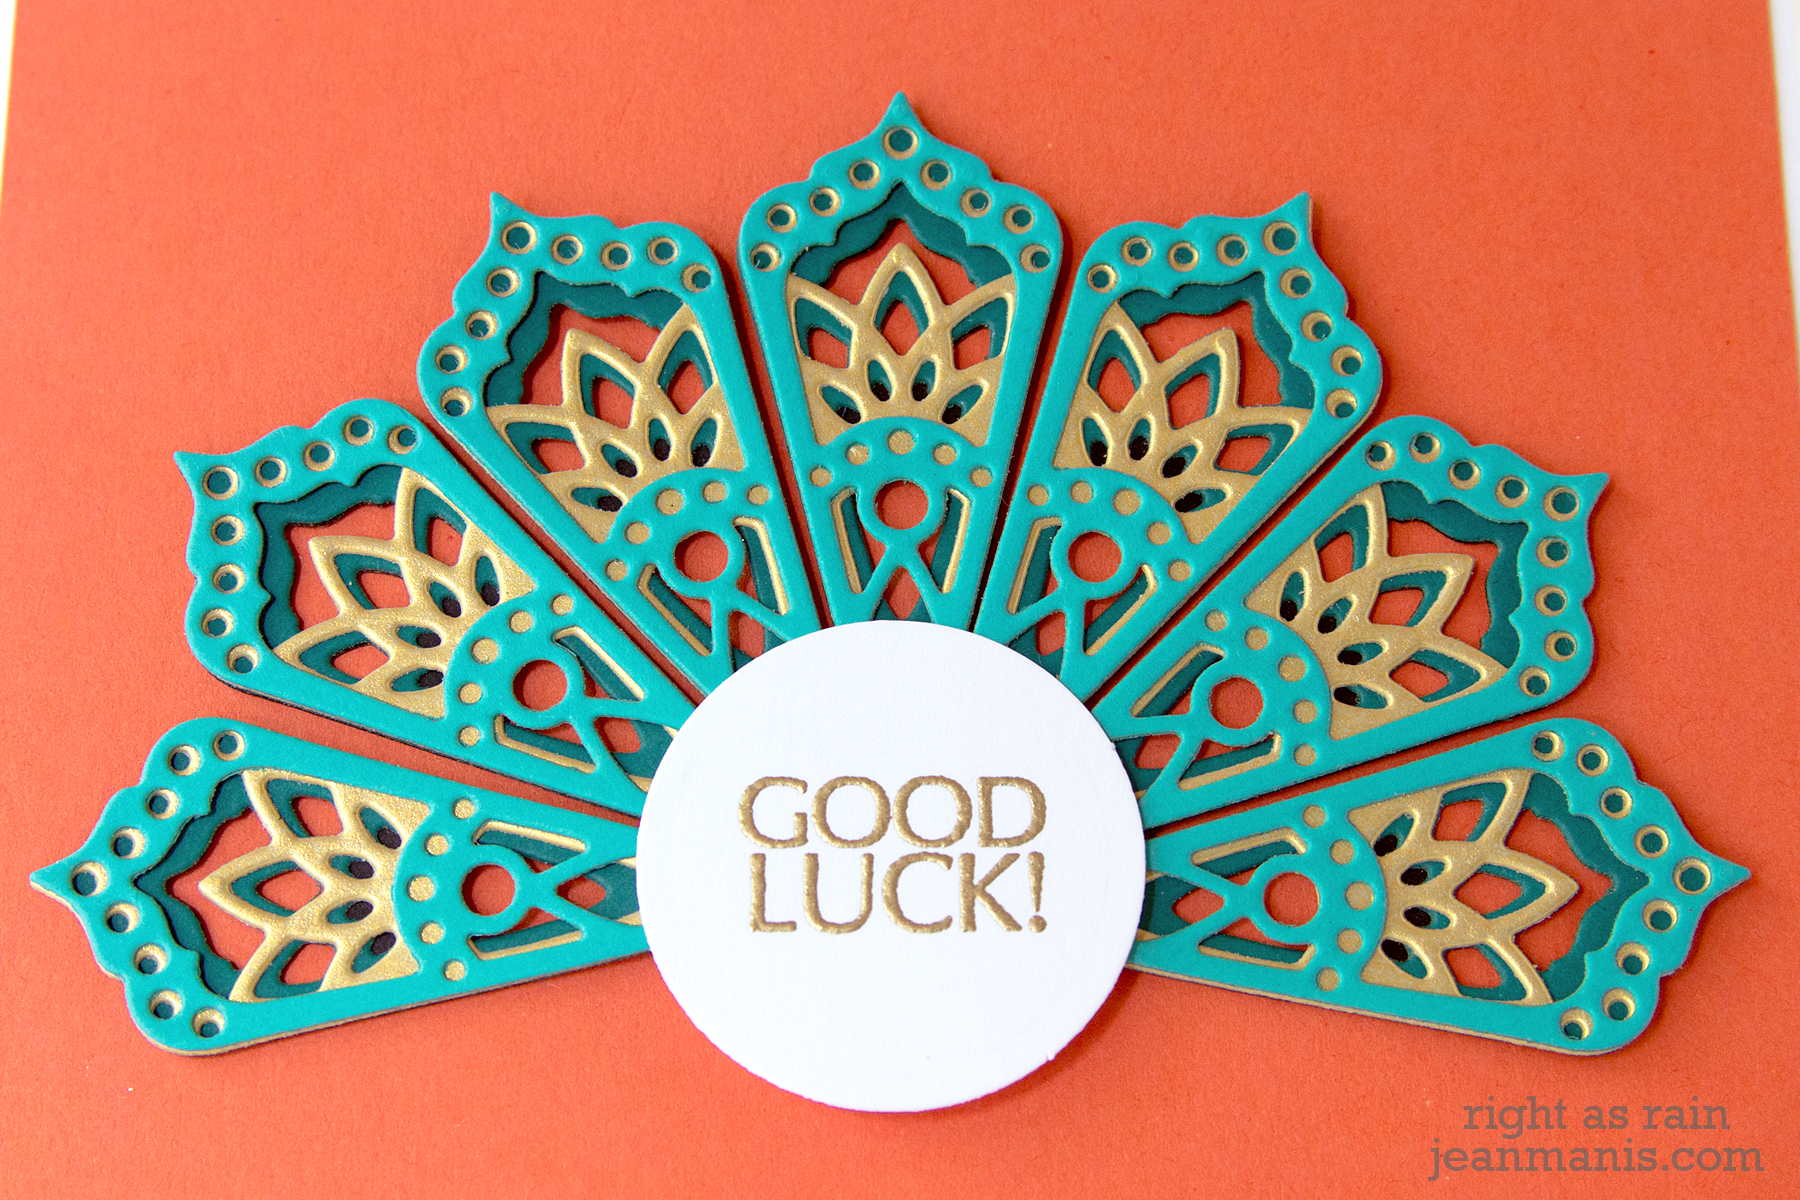
For my first project, I used the fan-shaped layering dies to create an A2-sized “Good Luck” card.

Spellbinders Kaleidoscope Trio - June Small Die of the Month Kit

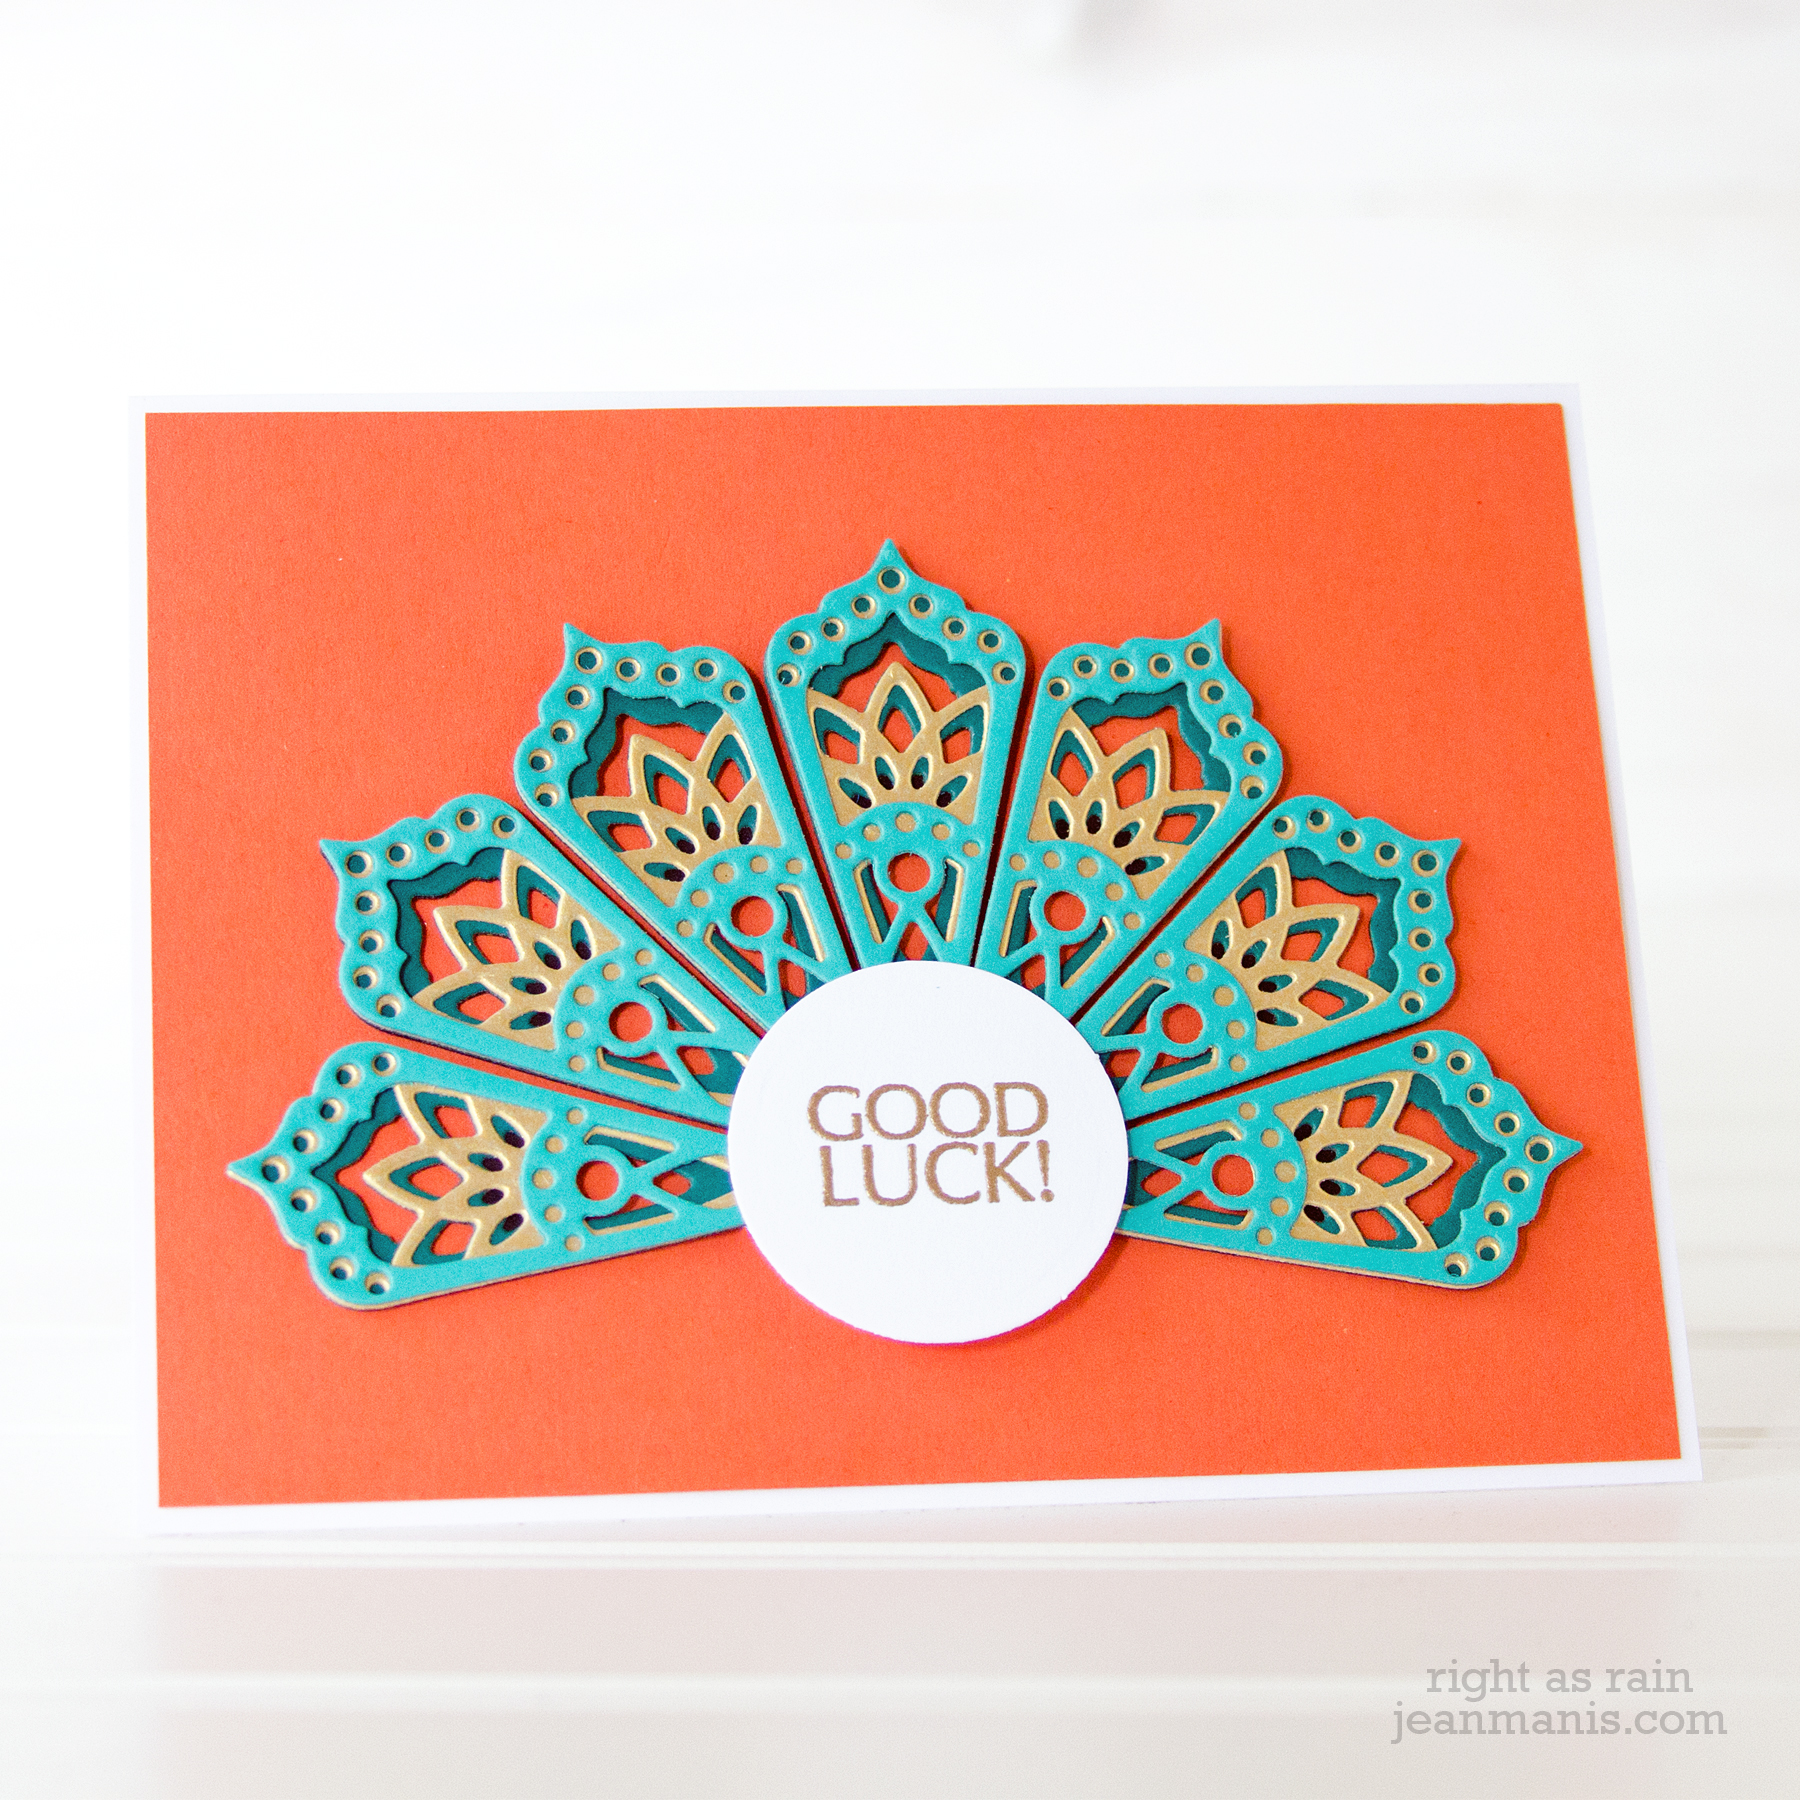
  • I die-cut the fan-shaped layers from cardstock in black (back layer), dark teal, brushed gold, and teal (top layer).
  • I assembled the layers with spray adhesive.
  • I heat-embossed the sentiment in gold and cut the cardstock with a circle die.
  • I attached the fan pieces to the card background, adhering the sentiment on top.

Spellbinders Kaleidoscope Trio - June Small Die of the Month Kit

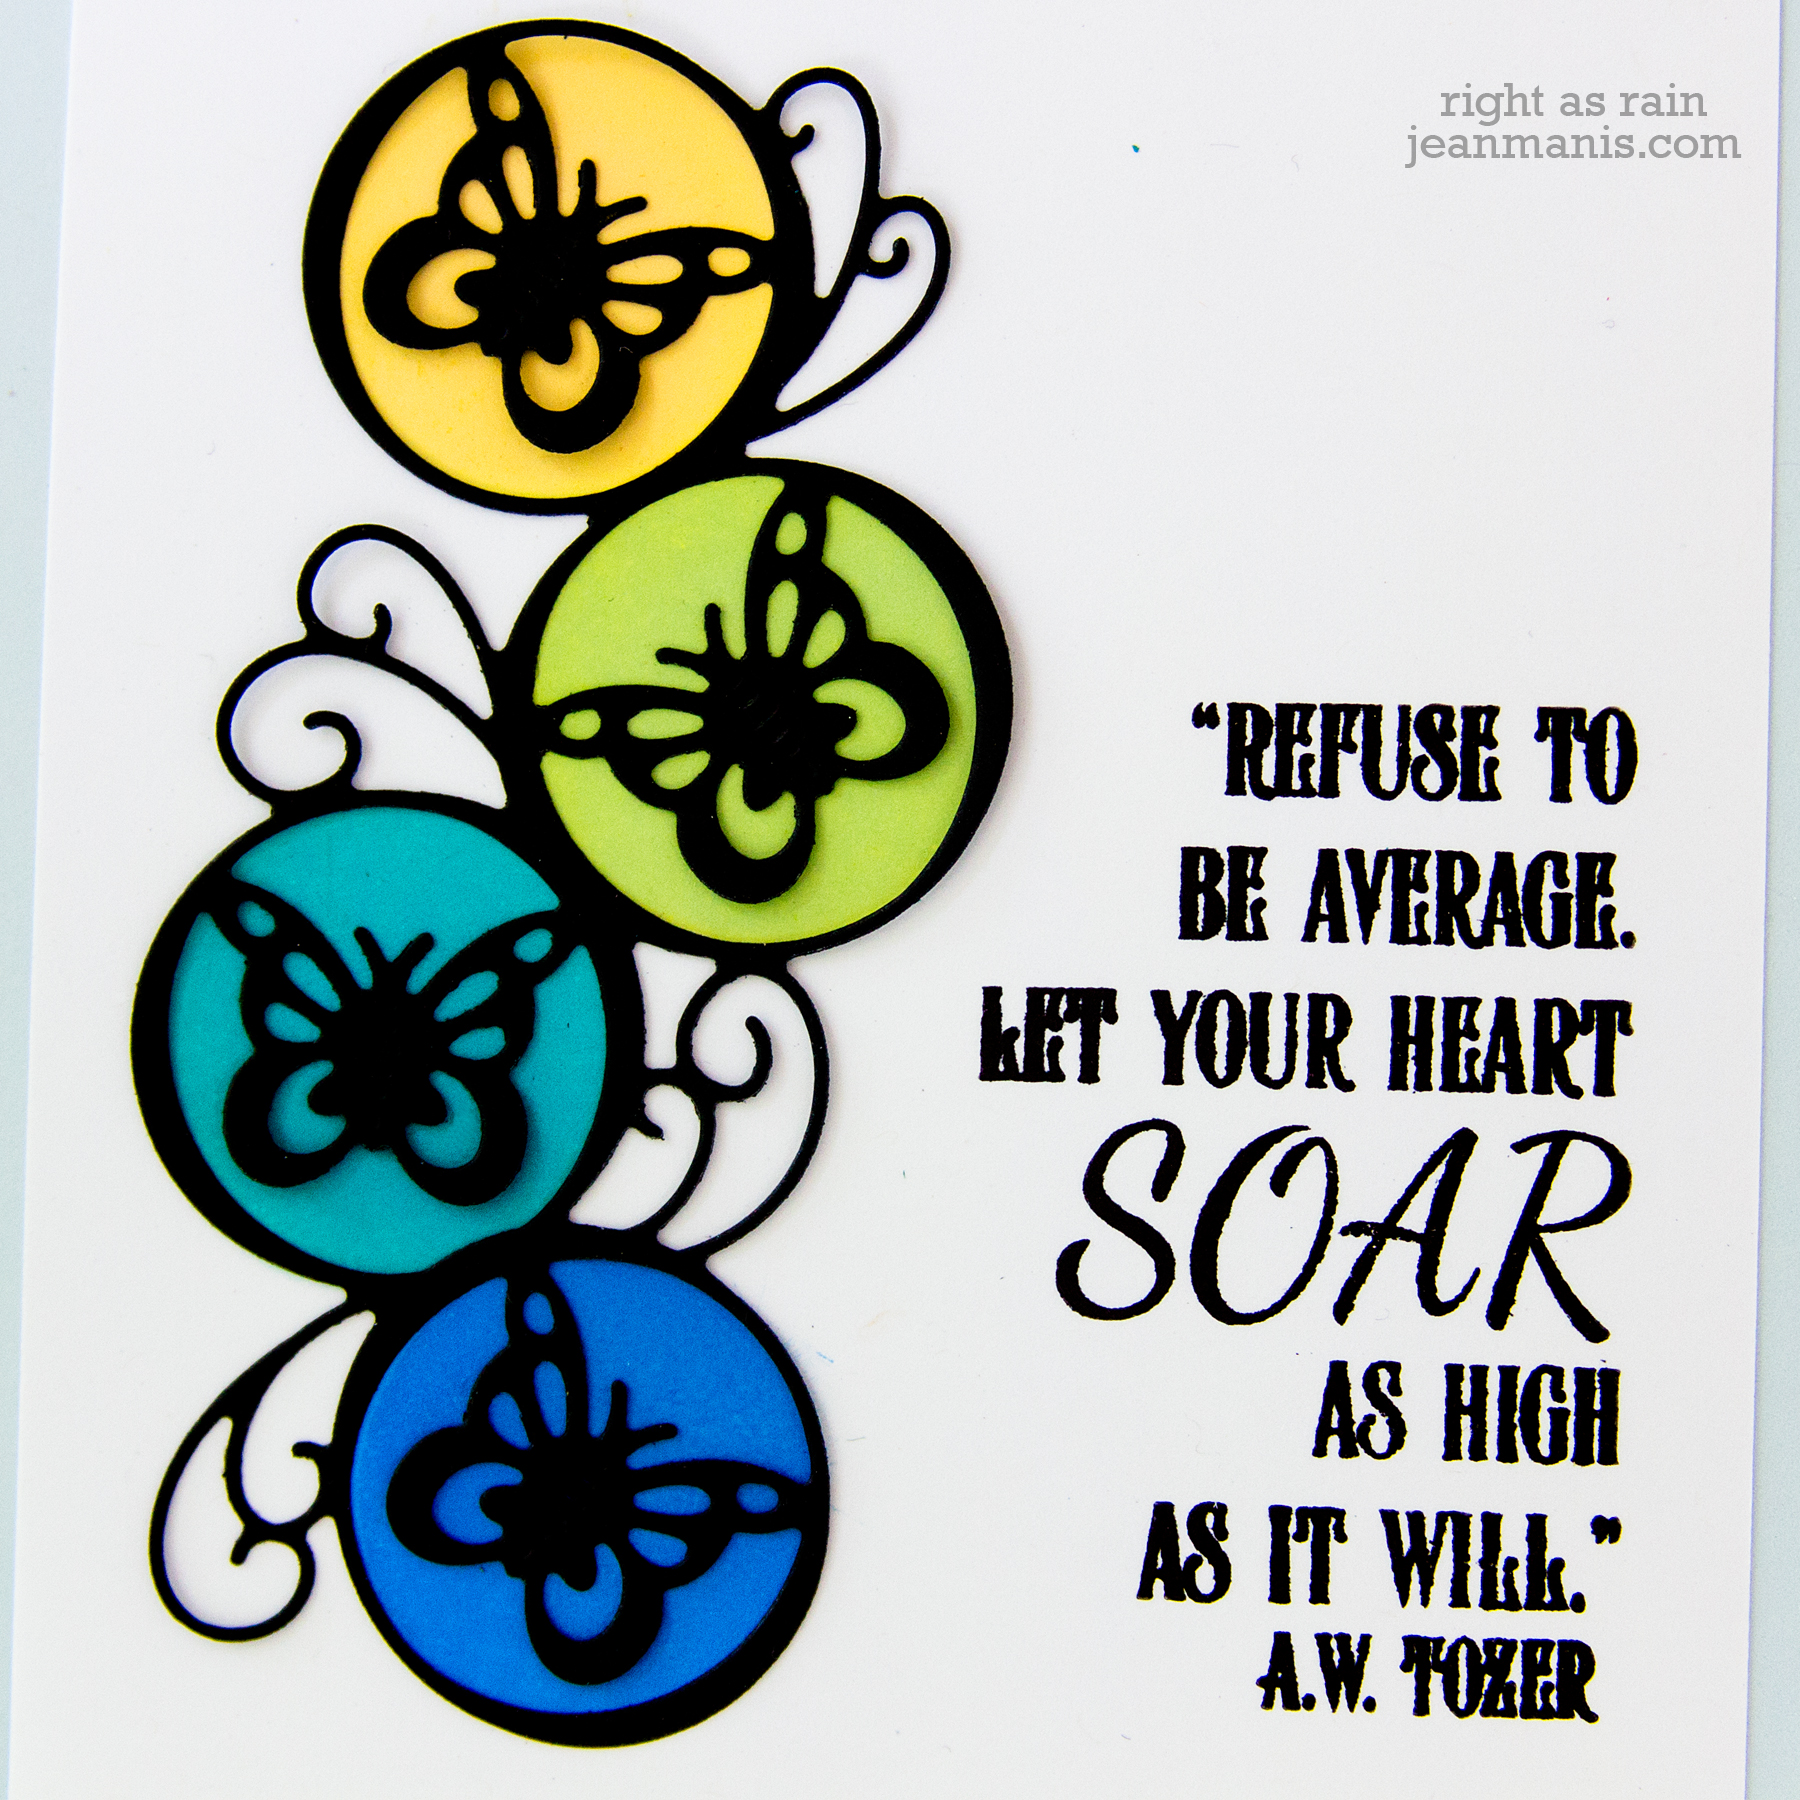
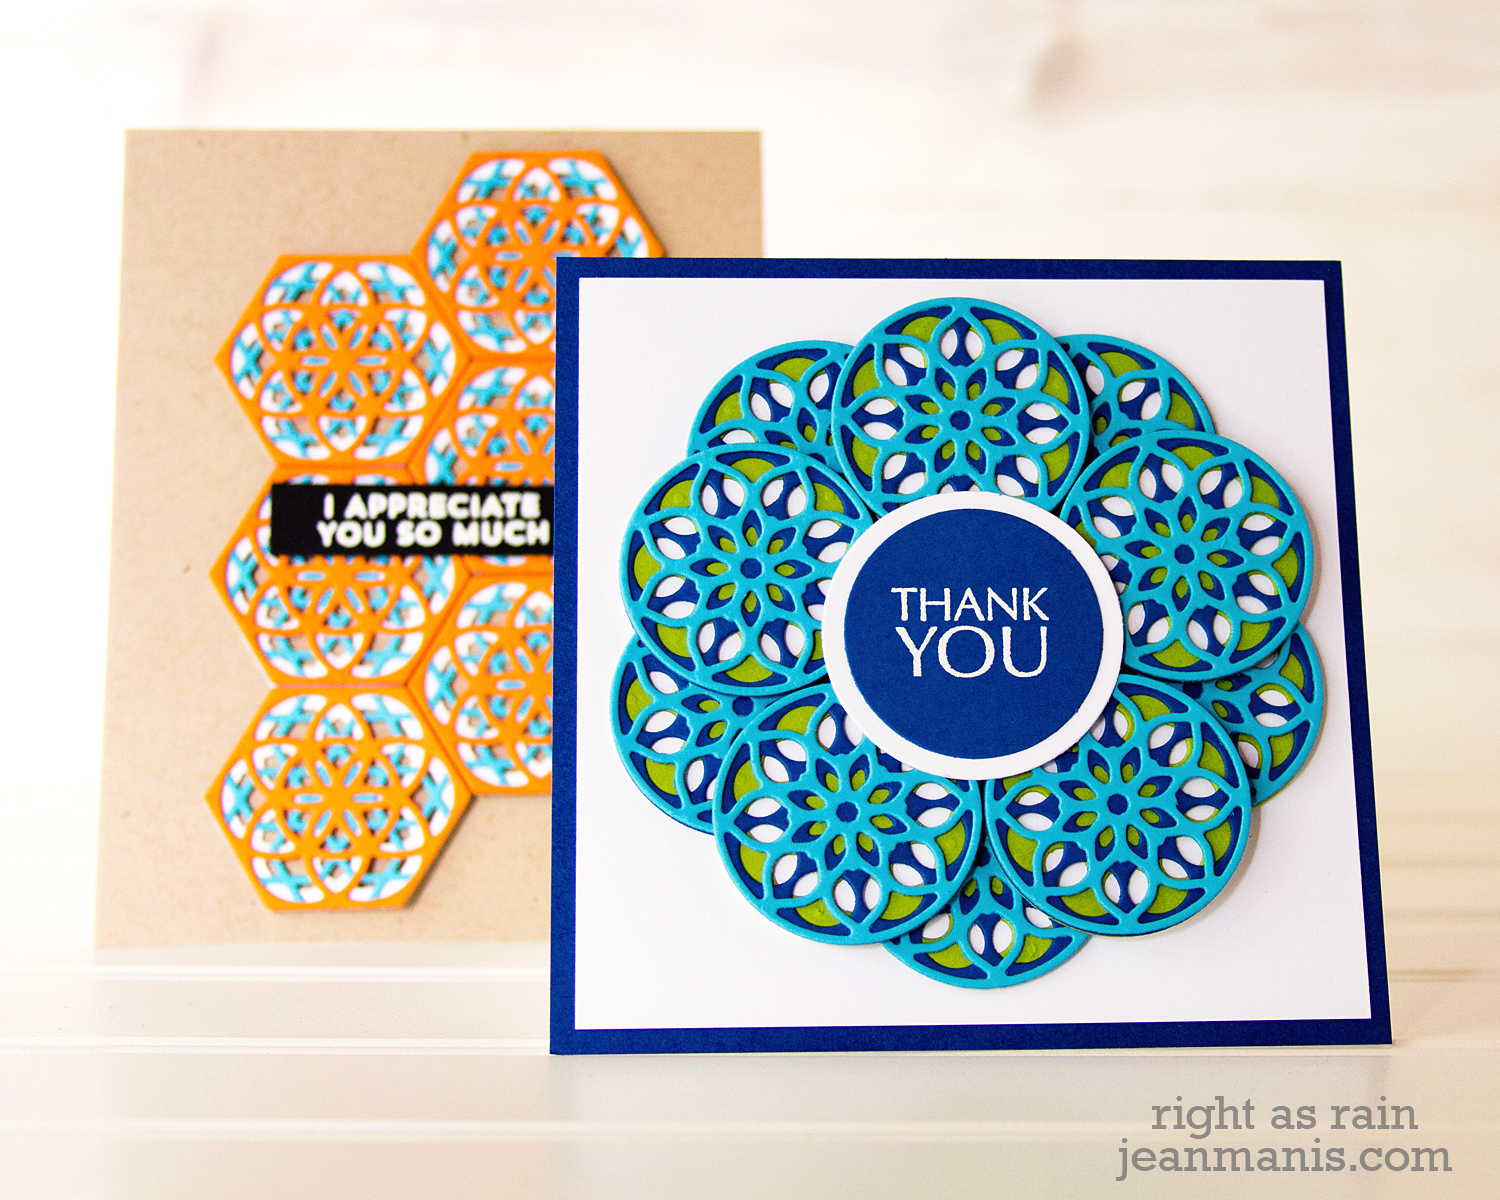
On my second card, measuring 4 1/2″ x 4 1/2″ square, I used the circle dies.

Spellbinders Kaleidoscope Trio - June Small Die of the Month Kit

  • I cut the circles from cardstock in green (back layer), blue, and turquoise (top layer). I also used a circle die to cut a white cardstock circle for the base. (Otherwise the row of assembled circles in the background would be visible through the circles in the front).
  • I assembled the layers with spray adhesive.
  • I attached the rings together.
  • I added a white heat-embossed sentiment which I “framed” with a white circle and attached the two to the center of the “kaleidoscope.”
  • I added the assembly to the card background.

Spellbinders Kaleidoscope Trio - June Small Die of the Month Kit

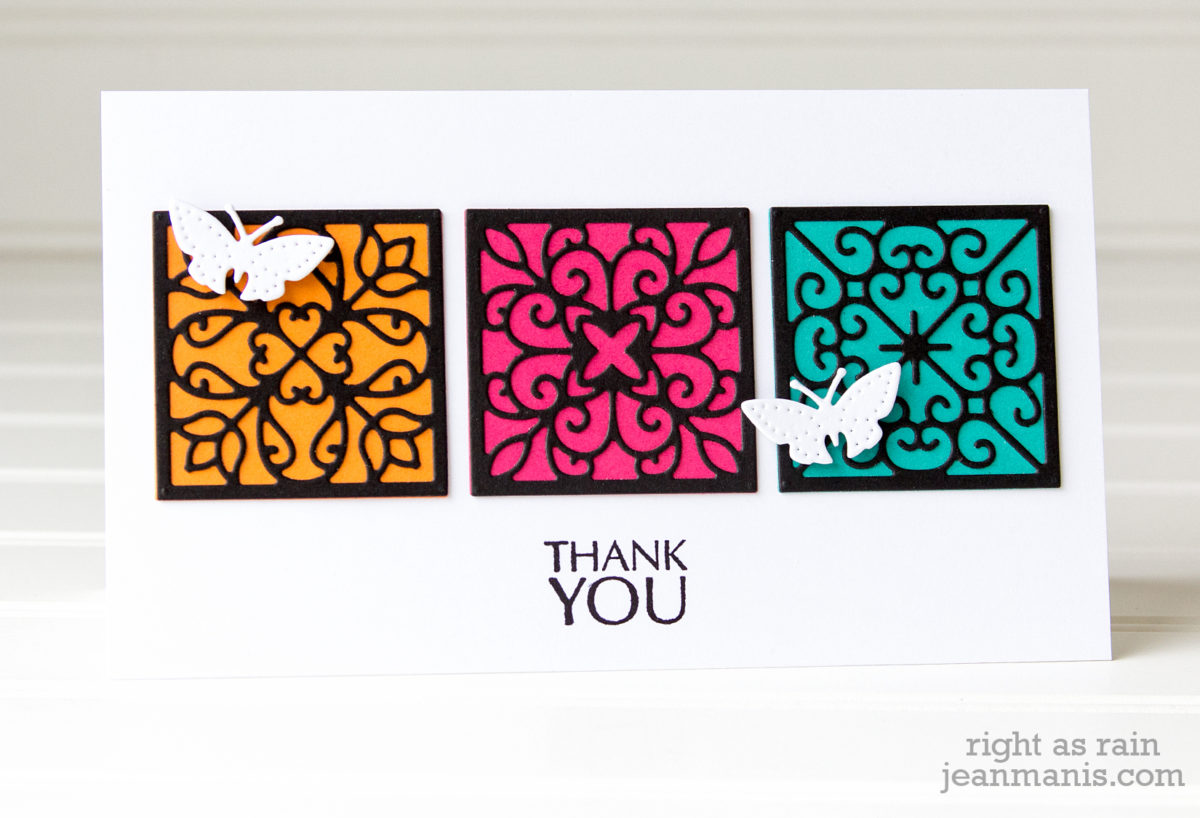
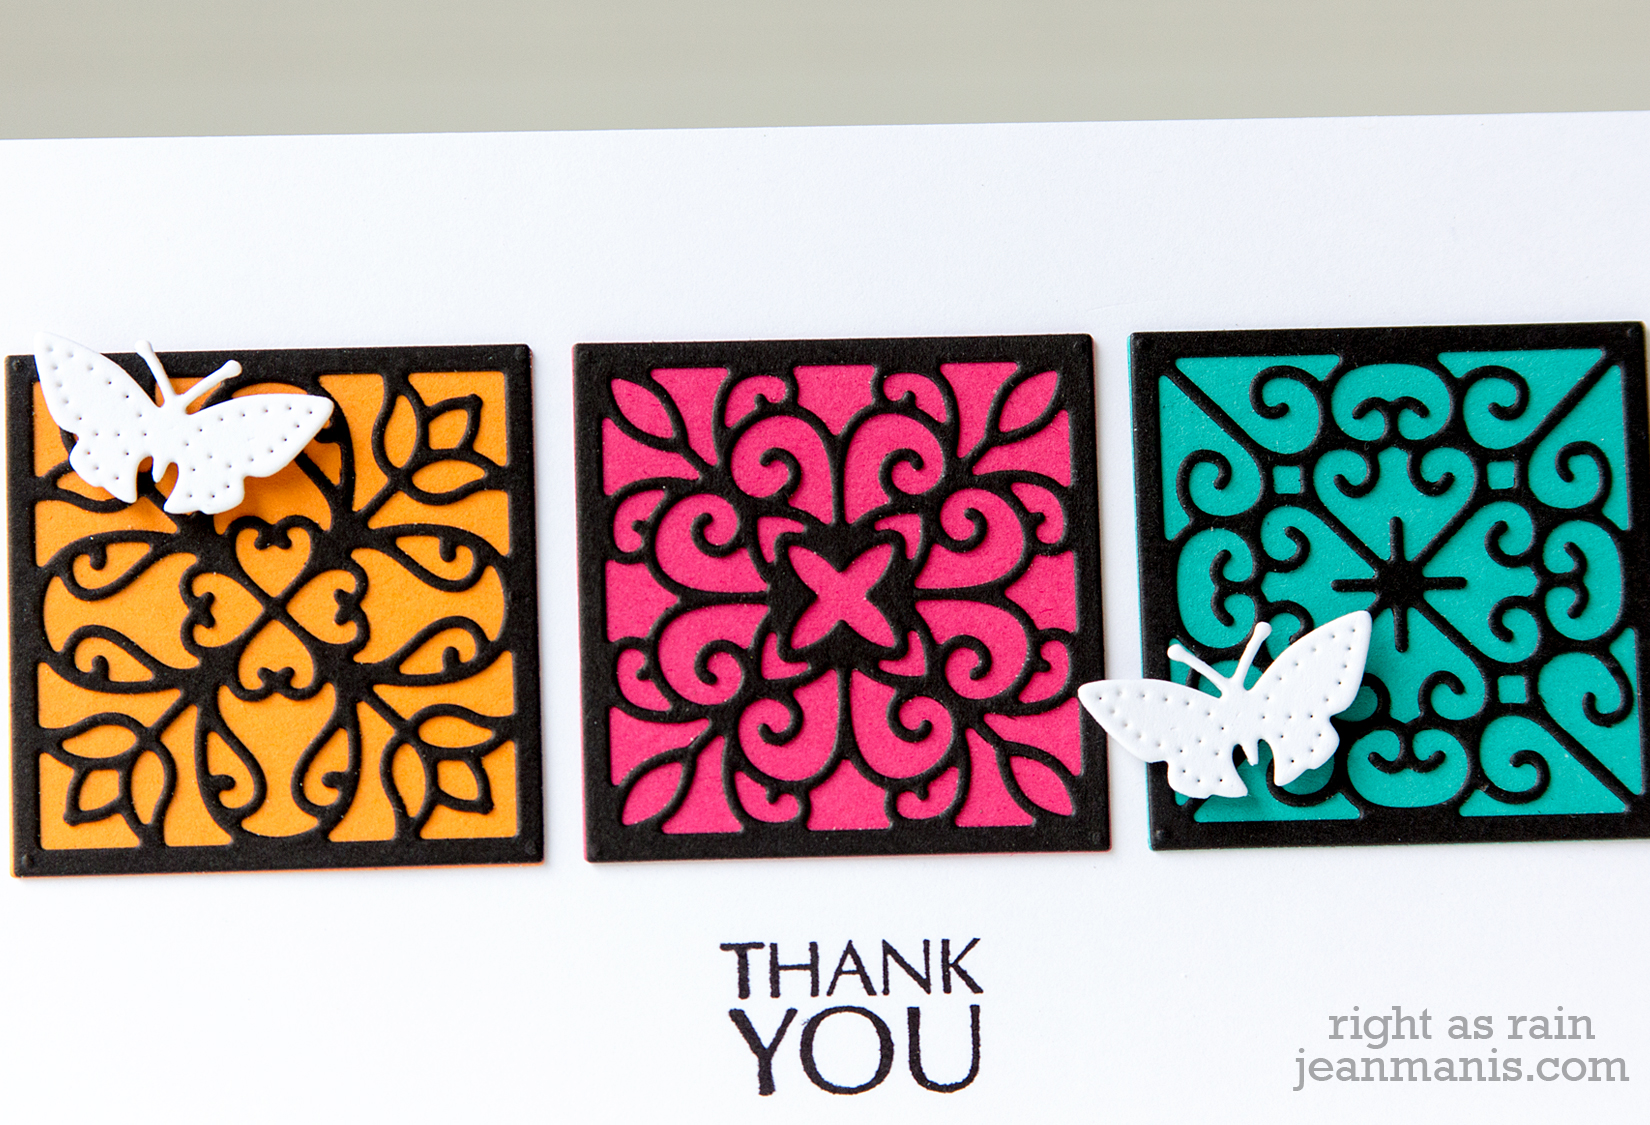
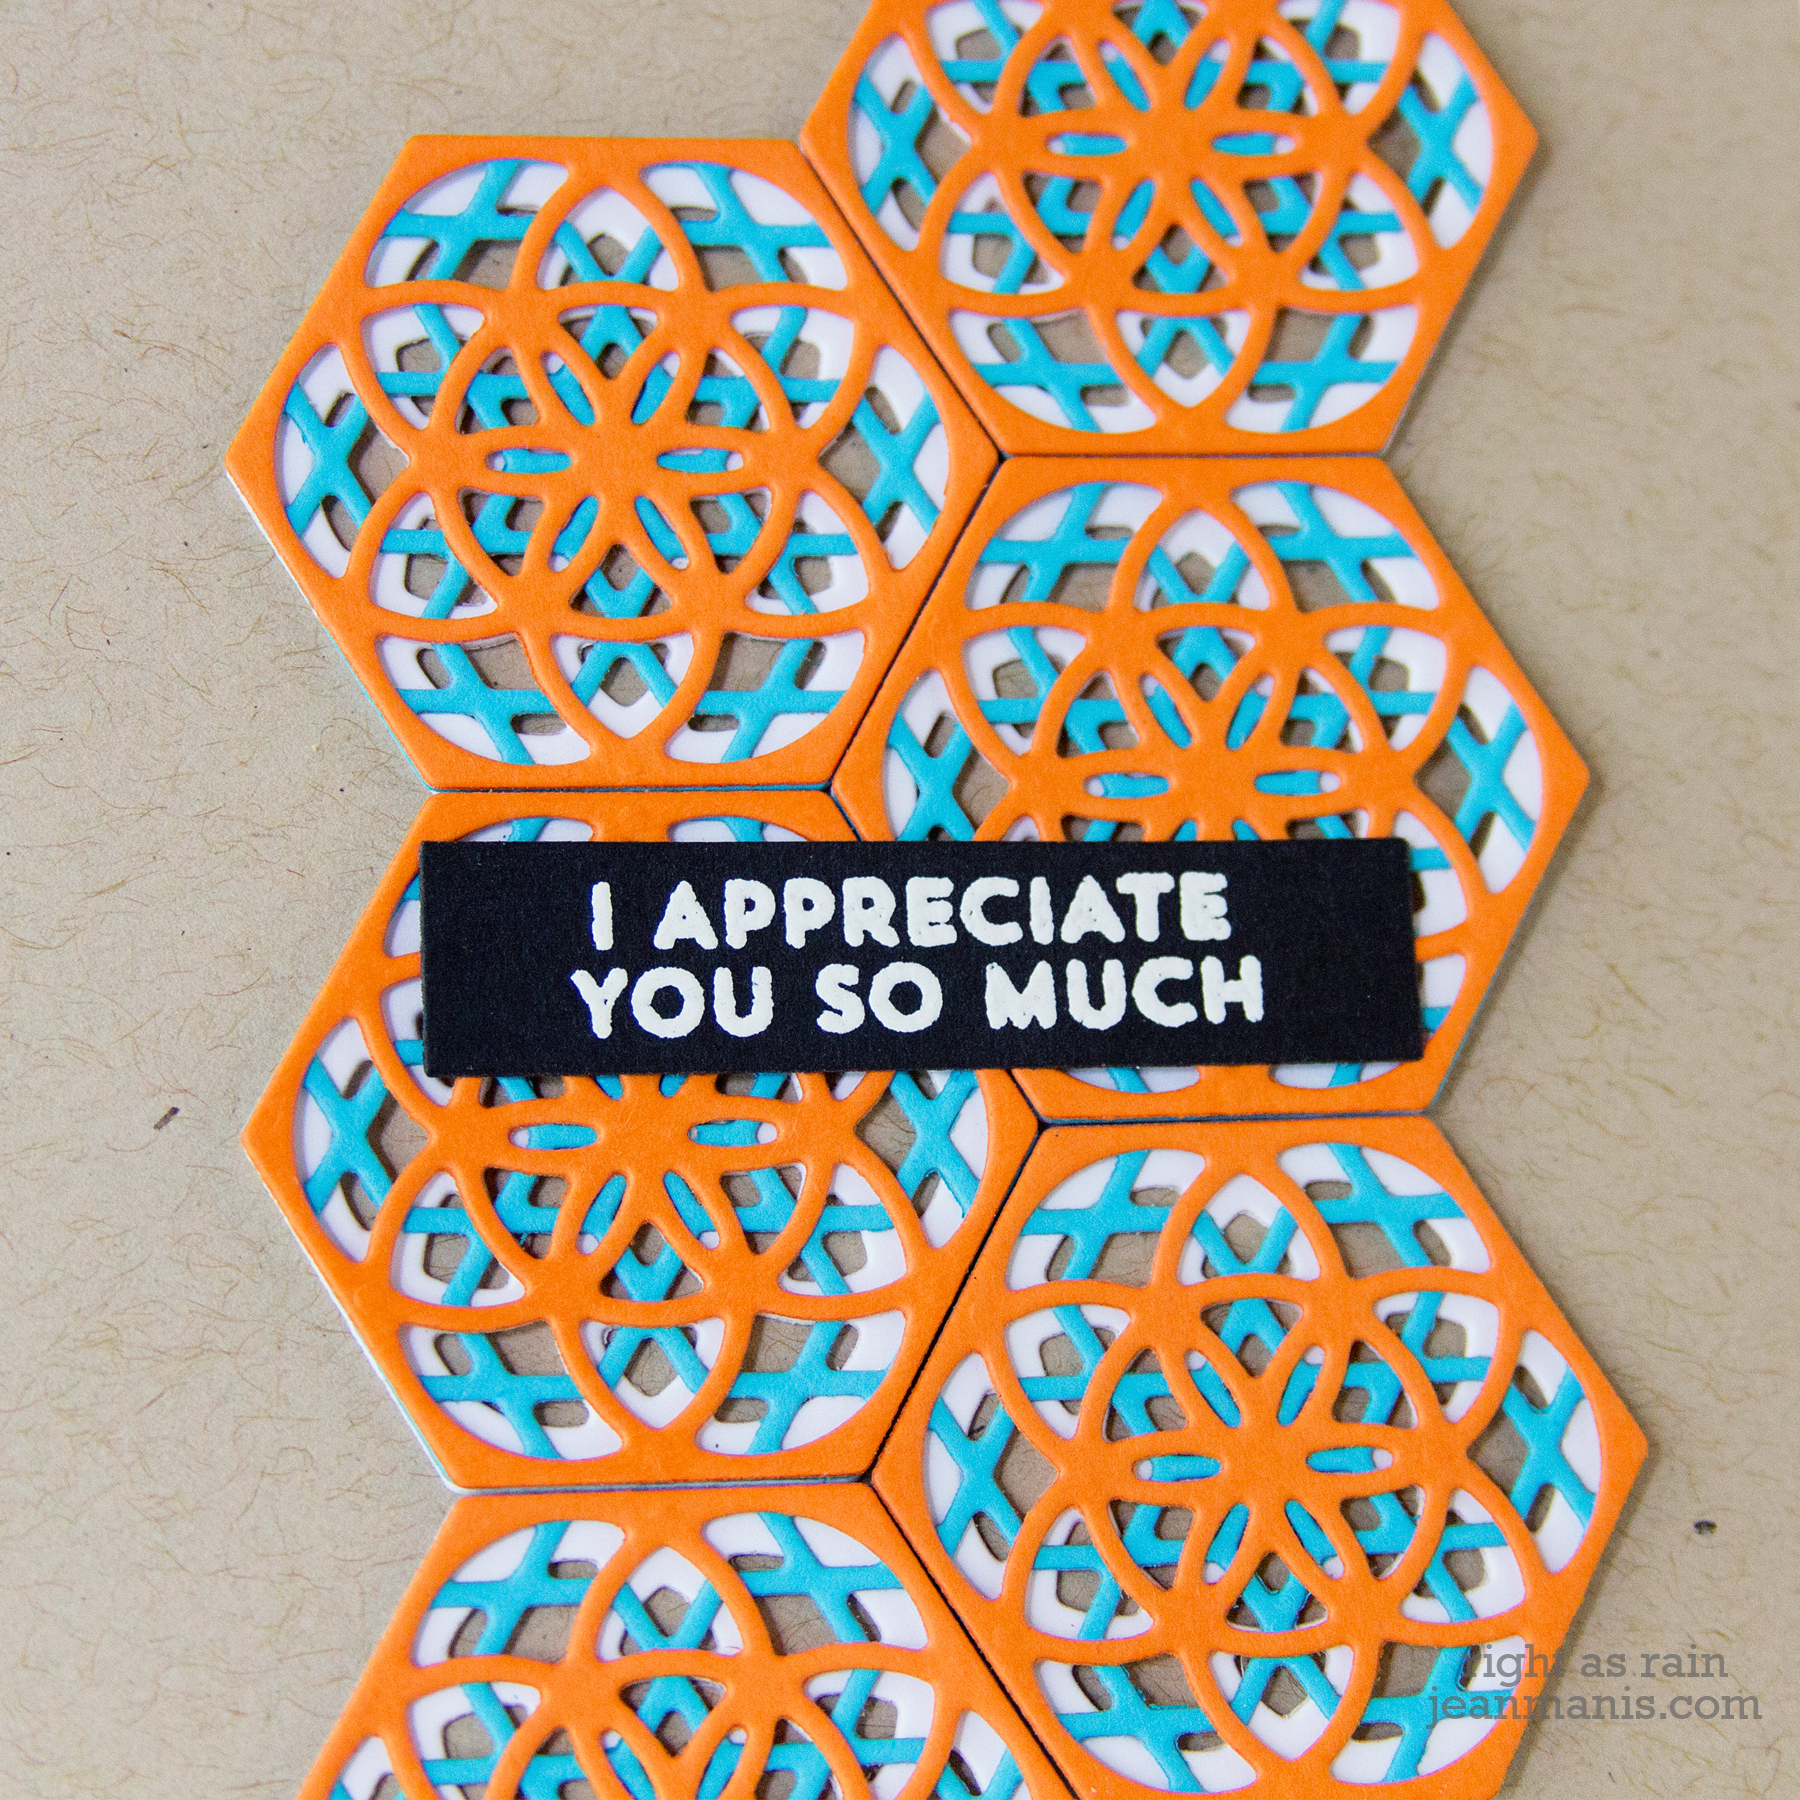
On my last card, I used the hexagon dies.

Spellbinders Kaleidoscope Trio - June Small Die of the Month Kit

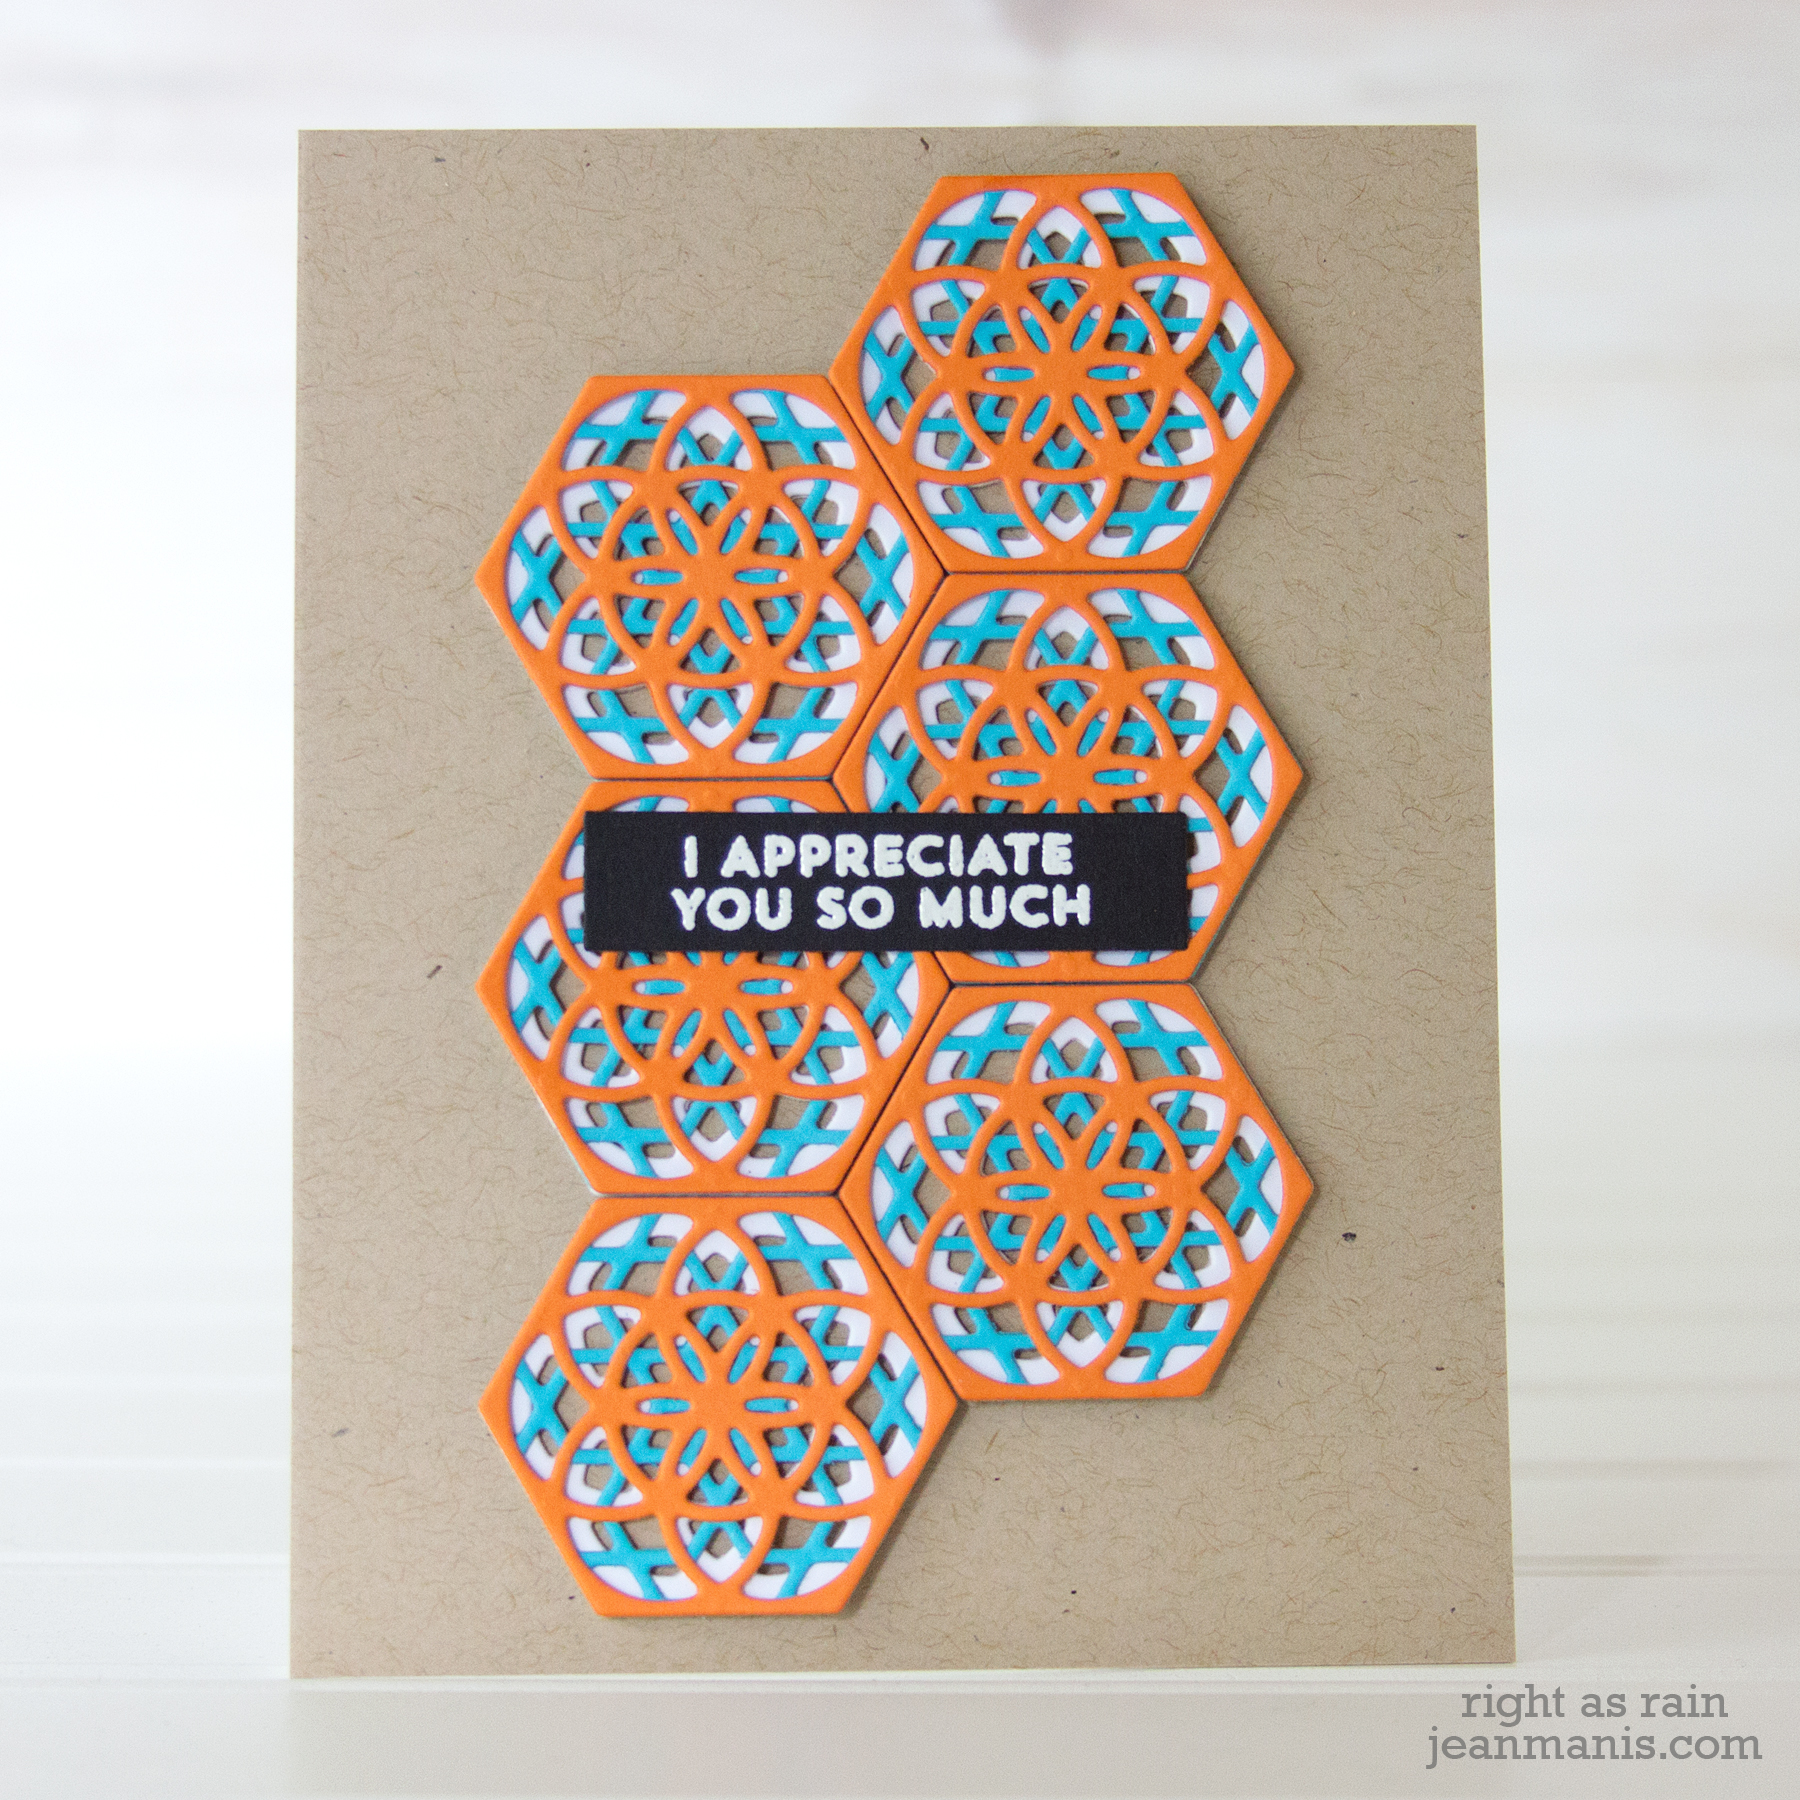
  • I cut the hexagon shapes from cardstock in white (back layer), turquoise, and orange (top layer).
  • I assembled the layers with spray adhesive.
  • I attached the hexagons together with tape on the back.
  • I added the assembly to the kraft card base.
  • I added a heat-embossed sentiment to the top of the hexagons.

Spellbinders Kaleidoscope Trio - June Small Die of the Month Kit

There are lots of options with these dies! Thanks for dropping by!
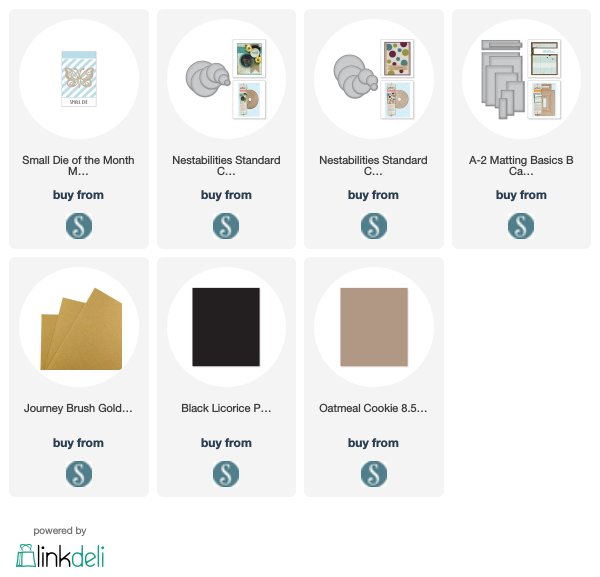
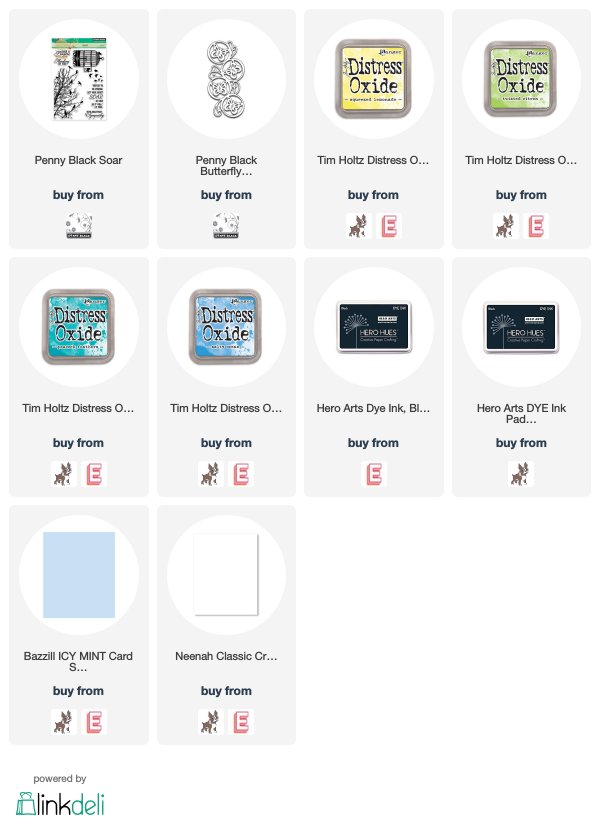
Spellbinders Kaleidoscope Trio - June Small Die of the Month Kit

Supplies:

Penny Black – Let Your Heart Soar

Hello! Today I am sharing a CAS encouragement card created with Penny Black supplies – the Soar stamp set and Butterfly Circles die.

Penny Black - Let Your Heart Soar

  • I die-cut the Butterfly Circles from black cardstock.
  • I stamped the Soar sentiment on to a white cardstock panel.
  • I cut a circle, sized to the size behind the Butterfly Circles, from vellum.
  • Using the Butterfly Circles die-cut as my guide for placement, I sponged Distress Oxide ink through the circle stencil four times.
  • I adhered the die-cut over the sponged ink circles.
  • I adhered the panel to a card base in a pale blue (Bazzill Icy Mint).

Penny Black - Let Your Heart Soar

Hope your day is terrific!

Supplies: