A Cool Yule – Die-cut Penguin

Hello and Merry Christmas! This is my final Christmas card for the season. I have so many more ideas, but between shopping, baking, and so forth, I just don’t have the time to turn those ideas into cards.

For this last card, I am showcasing the recently released Cool Yule die set designed by Tim Holtz, using a design similar to this tag. I am combining some of my favorite cardmaking things: stamped graphic background, die-cutting, stenciling, and heat-embossing.

A Cool Yule - Die-cut Penguin

  • I stamped the Buffalo Plaid Background for the card background.
  • I die-cut the Cool Yule penguin and assembled it with glue. I cut a circle of Woodgrain Vellum (gifted to me by a friend) to which I attached the penguin.
  • I heat-embossed the sentiment and cut it with one of the tag dies in this set and trimmed the bottom a bit, so that the tag would fit better on the card base.
  • I placed another vellum circle (of the same size) on the tag before I applied embossing paste through the Snowed In stencil. The circle worked as a mask. I masked the sentiment area with washi.
  • I finished the tag off with Peppermint twine before attaching it to the card base.

A Cool Yule - Die-cut Penguin

Thanks so much for visiting!

Supplies:
Simon Says Stamp – Wrap It Up Challenge Tag

Hello! I couldn’t resist playing along with the Simon Says Stamp challenge with a CAS tag in one of my favorite color combinations – kraft, white, and red – using my favorite papercrafting techniques – diecutting, heat-embossing, and stenciling! The challenge features holiday wrapping projects created with Tim Holtz products. I used Tim Holtz dies, stamps, and stencils on my project.  Let’s take a look.

Tim Holtz - SSS Wrap It Up Challenge Tag

    • I started by die-cutting the Santa and Snow Globe with the Tiny Snowglobes set.
    • I assembled the Santa with Nuvo glue. I used a toothpick to apply the glue.
    • I heat-embossed the Festive Overlay sentiment with Red Geranium embossing powder on the Lawn Fawn Kraft cardstock.
    • I cut the cardstock with one of the tag dies in the Tag Collection set.
    • I added embossing paste through the Dot Fade stencil to the globe to simulate snow.
    • While the embossing paste dried, I sponged white pigment ink through the Pine stencil, which is included in the Mini Stencil Set 32.
    • I finished off the tag with Lawn Fawn Peppermint twine (an absolute favorite of mine).

Tim Holtz - SSS Wrap It Up Challenge Tag

Supplies:
Spellbinders Fun Stampers Journey Holiday Tag

Hello! Today I am sharing a holiday tag combining products from Spellbinders and Fun Stampers Journey. Let’s take a look.

Spellbinders Fun Stampers Journey Holiday Tag

  • I heat-embossed the FSJ Vintage Notes Stamp on Black Licorice cardstock with gold embossing powder.
  • I cut the background with the Shortie Tags die.
  • I heat-embossed the Charming Tag Sentiment with gold embossing powder on Whip Cream cardstock and cut it with a rectangle in the Matting Basics B set. I adhered the sentiment to the bottom of the tag.
  • I cut the ornaments in the Charming Boughs set from Whip Cream cardstock, the ornament tops from Brush Gold cardstock, and two ornament fronts from Cranberry Bliss and one from Noble Fir.
  • I assembled the ornaments with liquid adhesive.
  • I added gold twine to the ornaments and to the top of the tag. I adhered the ornaments to the tag with foam adhesive.

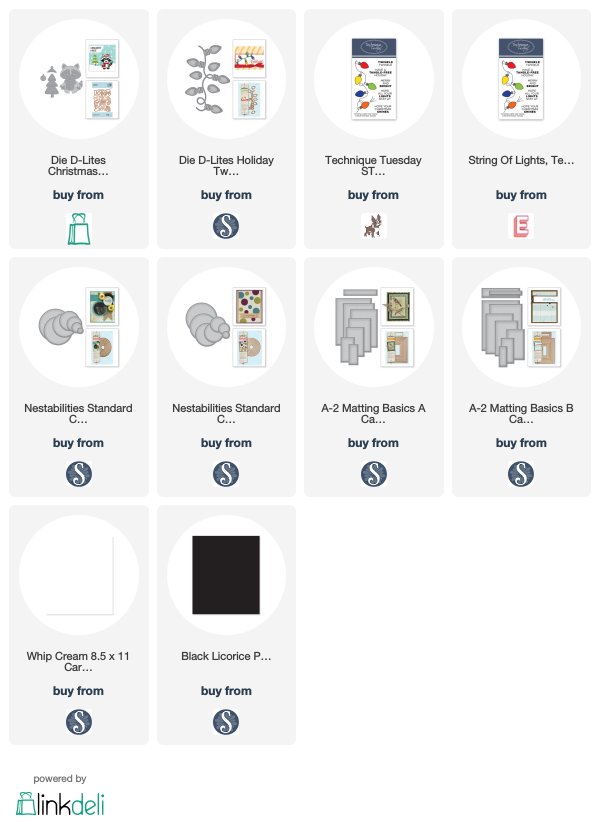
Spellbinders Fun Stampers Journey Holiday TagSupplies:
Hello Bluebird – Die-Cut Wreath

Hello! I am back with a second project using the Hello Bluebird Holly and Pine Die. (You can see the first card I created with this die set here.) On this CAS holiday card, I created a wreath with the pine boughs in the set, to which I added some freshly fallen snow. This card features some of my favorite things – die-cuts, heat-embossing, and a stamped background.

Hello Bluebird - Die-Cut Wreath

  • I stamped the card background with the TE Buffalo Plaid Background stamp in Love Letter ink.
  • I heat-embossed one of my favorite sentiments (from the now-retired Hero Arts Operation Write Home Winter Wishes set) on to white cardstock which I cut with a circle die.
  • I die-cut the pine boughs from Lawn Fawn Noble Fir cardstock and heat-embossed them with Hero Arts White Puff embossing powder.
  • I arranged the boughs around the die-cut circle. I then used the Press ‘N’ Seal method to lift off the boughs and adhered them to the sentiment circle with Nuvo glue.
  • I cut the bow from TE Foil Cardstock.
  • I cut the holly berries from Candy Apple cardstock and the pine cones from Lawn Fawn Chocolate Bar (one side of this cardstock has a subtle texture).

Hello Bluebird - Die-Cut WreathSupplies:

Spellbinders December Card Kit – Winter Wishes

Hello! Today, I am sharing cards created with the Spellbinders December 2018 Card Kit. This kit is jam-packed with dies, stamps, embellishments, patterned paper, cardstock, card bases, and envelopes. Use the kit to create Christmas cards, as well as, cards for the New Year and early winter months. The color palette is fantastic and the patterned papers coordinate beautifully!

Spellbinders December 2018 Card Kit

First up, let’s look at the cards I created with the polar bear die contained in the set.

Spellbinders December 2018 Card Kit

  • To begin, I die-cut and embossed the bear using white cardstock included in the kit.
  • I die-cut the scarf from copper foil included with the kit.
  • I heat-embossed snow from the kit’s stamp set with white embossing powder on black cardstock contained in the kit, which I then cut with a Spellbinders circle die.
  • I combined the copper foil and two of the kit’s patterned papers for the card background.
  • I heat-embossed a sentiment from the kit’s stamp set with copper embossing powder, and cut it with a Spellbinders circle die.

Spellbinders December 2018 Card Kit

For my next card, I combined a die-cut sentiment with the polar bear.

Spellbinders December 2018 Card Kit

  •  I die-cut and embossed the bear using cardstock included in the kit (this bear is cut from a cream colored cardstock so that it will stand out on the card base, which is white).
  • I die-cut the scarf from light-blue cardstock included in the kit.
  • I die-cut the sentiment from copper foil. I also die-cut the sentiment from white cardstock, and adhered the two layers together to create additional depth.
  • I die-cut the snowflakes from the same cardstock as the scarf.
  • I ran a strip of the included glitter washi tape along the bottom of the card base to create a ground.

Spellbinders December 2018 Card Kit

I also created two cards using just the Card Kit Extras. These took only a few minutes to make!

Spellbinders December 2018 Card Kit

Spellbinders December 2018 Card Kit

On my final card, I combined die-cut flowers and greenery, die-cut snowflakes, and a sentiment created with the set’s alpha letters. To spotlight the die-cut flowers and foliage, I cut light-gray patterned paper with a Spellbinders circle die, and again from vellum in the next size larger.

Spellbinders December 2018 Card Kit

You can find more information about this kit on the Spellbinders blog.

Supplies: