Holiday Card Camp Day 3

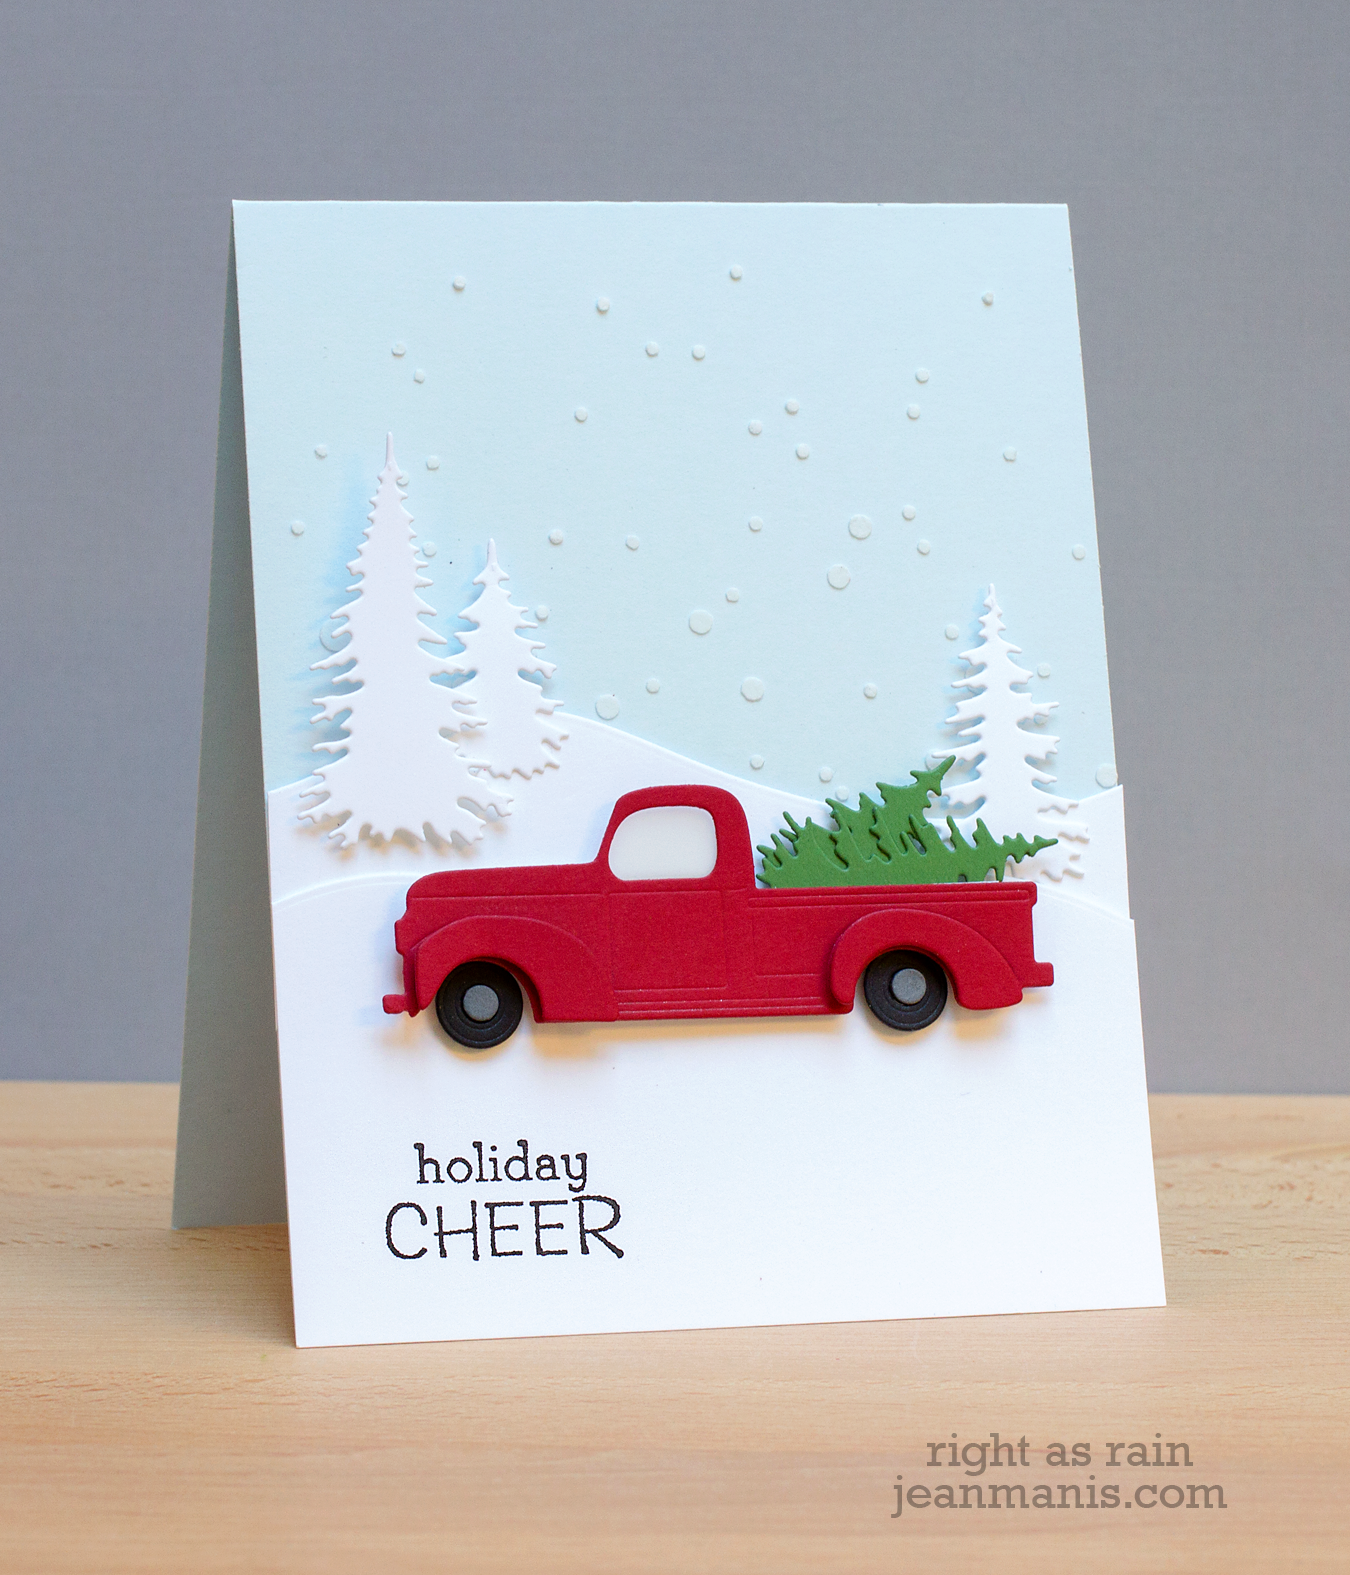
The focus of today’s Online Card Classes Holiday Workshop lesson was Clean and Simple Holiday Cards. For my first card, I followed one shown by Shari Carroll.

Holiday Card Camp Day 3

Shari used a repeating sentiment from Lawn Fawn, which was adorable. I looked through my stash and found a sentiment from a Technique Tuesday set that would work, although it wasn’t repeating. Because of the sentiment’s length, I ended up making the card 4 1/2″ wide, to provide white space on the side and bottom. I added some “snowflakes” with embossing paste in the sky.

Holiday Card Camp Day 3

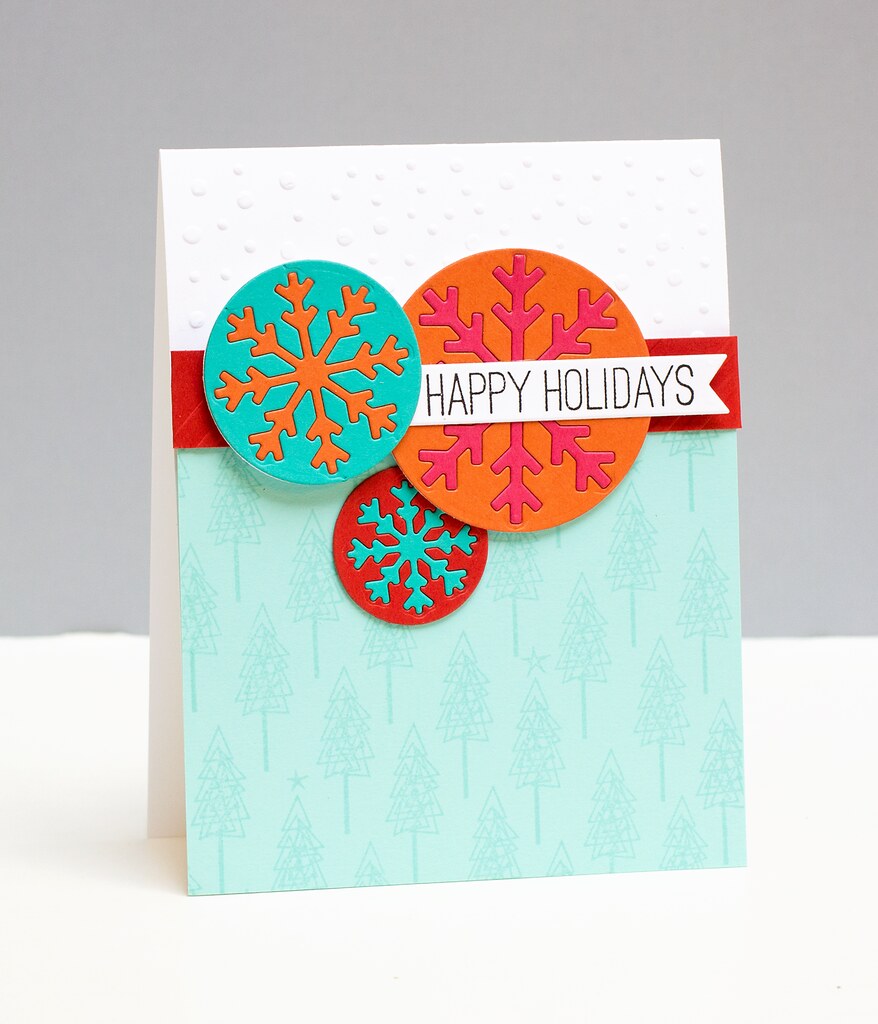
For the second card, I made some modifications to an idea shown by Cristina Kowalczyk. I masked off a triangular area and colored in select parts of the Tim Holtz Dot Fade stencil with Copics to form a Christmas Tree. I wasn’t thrilled with the way the tree sides looked, they were raggedy, so I cut it out with the larger tree die cut from the Sizzix “Holiday Cheer” set. I silver heat embossed a sentiment from the Hero Arts “Naughty or Nice” set – really like the fonts in this set!

Tim Holtz November Tags

Since taking the Online Card Classes Tim Holtz Creative Chemistry 102 class, I am continuing to play with the techniques. For this month’s 12 Tags of 2013, Tim Holtz demonstrated the chalkboard technique we covered in class. I’m sharing two tags using this technique.

Tim Holtz November TagsFor the first tag, I stamped the sentiment and fun retro snowflakes onto the tag. The Santa was silver embossed, cut with the matching Sizzix die, and added to the tag with dimensional adhesive. I finished the tag off with tinsel twine, trimmings, and a Christmas Muse Token.

Tim Holtz November Tags

For the second tag, I stamped the blueprint onto the black tag with Versamark, and again on Ranger watercolor paper with Archival ink. I colored the toy soldier with a variety of distress inks, both from the pads and from markers. I prefer to scribble onto my craft sheet and lift the ink off with a water brush, rather than put the ink directly on the paper. I added some Seasonal Chitchat that I distressed around the edges with Black Soot distress ink. For the top and bottom of the tag, I dry embossed red Core’dination cardstock with the Candy Stripes folder to which I’d applied Distress Embossing Ink in the way that Tim shows in this post. I heat set white embossing powder and then distressed it lightly with a sanding block.

Olive, the Other Reindeer

I enjoy picture books, especially holiday ones! For whatever reason, when Olive, the Other Reindeer was published, it escaped my attention. But the title came up repeatedly on a recent search of “best holiday children’s books,” so I checked it out of the library to read it!

The book’s premise is that Olive hears “All of the other reindeer” and thinks they’re saying her name. I immediately thought of making a card when I saw the image of Olive hanging by a cord from Santa’s sleigh.

Olive, the Other Reindeer

I decided that one of the dogs in the Lawn Fawn set would be Olive (taking some artistic license!). Naturally I turned to the Impression Obsession Santa die for Santa and the reindeer. I heat embossed the Lawn Fawn sentiment on the card base, masked it, and then stamped the Hero Arts background stamp in white pigment ink.

Supplies: ColorBox white pigment ink; Doodlebug twine

Holiday Card Camp Day 2

Today I’m sharing a card based on the one shown by Debby Hughes in the Online Card Classes Holiday Workshop. The focus of today’s lesson is die cuts.

Holiday Card Camp Day 2

I made a few substitutions using what I had. For the snowy background, I used a Heidi Swapp stencil to apply the embossing paste. I didn’t like the look of my hand-cut snow slopes, and don’t have the die that Debby used, so I used the MFT dies. (These dies are used time and again for my winter projects!) I heat embossed the Hero Arts sentiment with silver embossing powder.

Light is scarce here at this time of year, so I better get started on another card!

Supplies:

Penny Black Holly-day Card

Today, I’m sharing an easy-to-put-together holiday card using the Penny Black Holly Berries die [51-019].

Penny Black Holly-day Card

I cut two holly sprigs out of a textured green cardstock and positioned them on the card base in a pleasing manner. I cut a few pieces off of the top sprig in order to give room for my heat-embossed sentiment from the Season’s Wishes set [30-201]. Before adhering the holly branches to the card base, I added Christmas Red Stickles for the berries.

While I kept with traditional Christmas colors, it would be fun to try other color combinations!