Spellbinders May 2021 Large Die Kit Club

Hello crafty friends! Happy May (one of my favorite months of the year)! I’m delighted to share a card created with the Spellbinders May 2021 Large Die of the Month – “Stitched Card Front, Border & Flower.” With the seven-piece set, you can create beautiful cards incorporating needlework (or not!).

Spellbinders May 2021 Large Die Kit Club

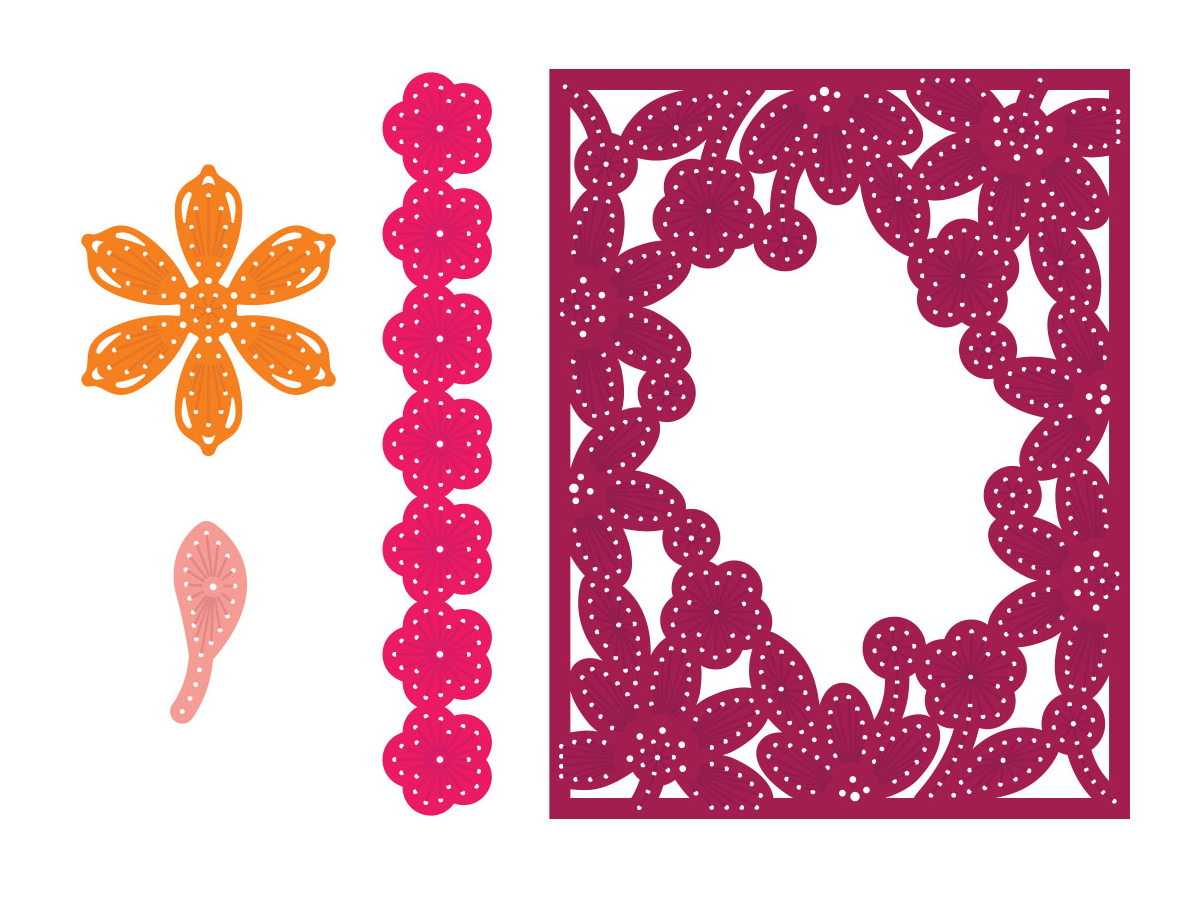
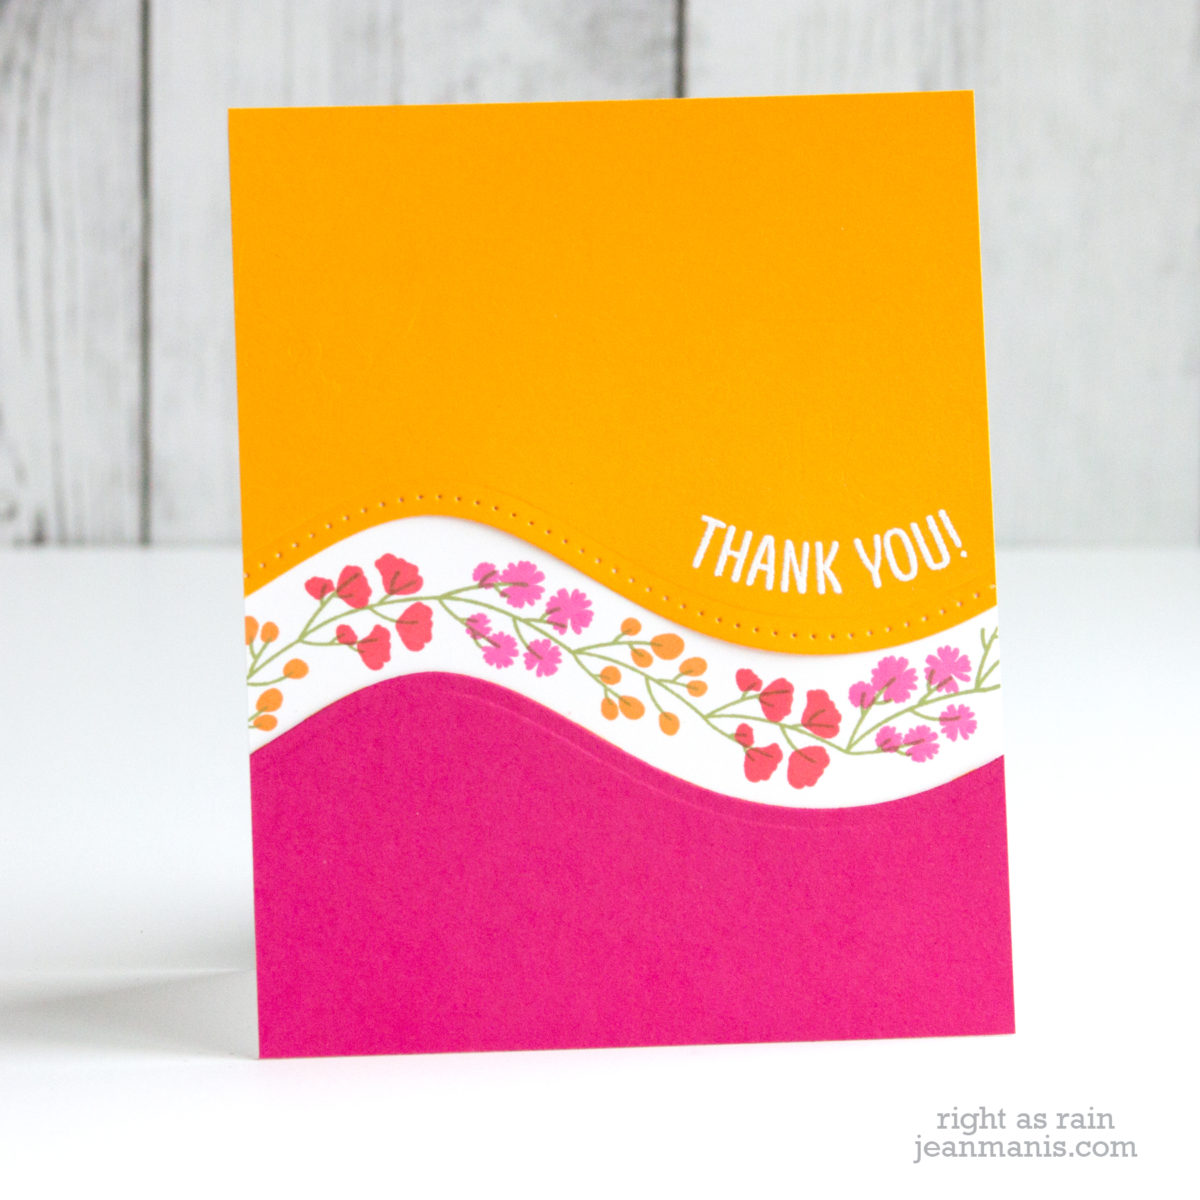
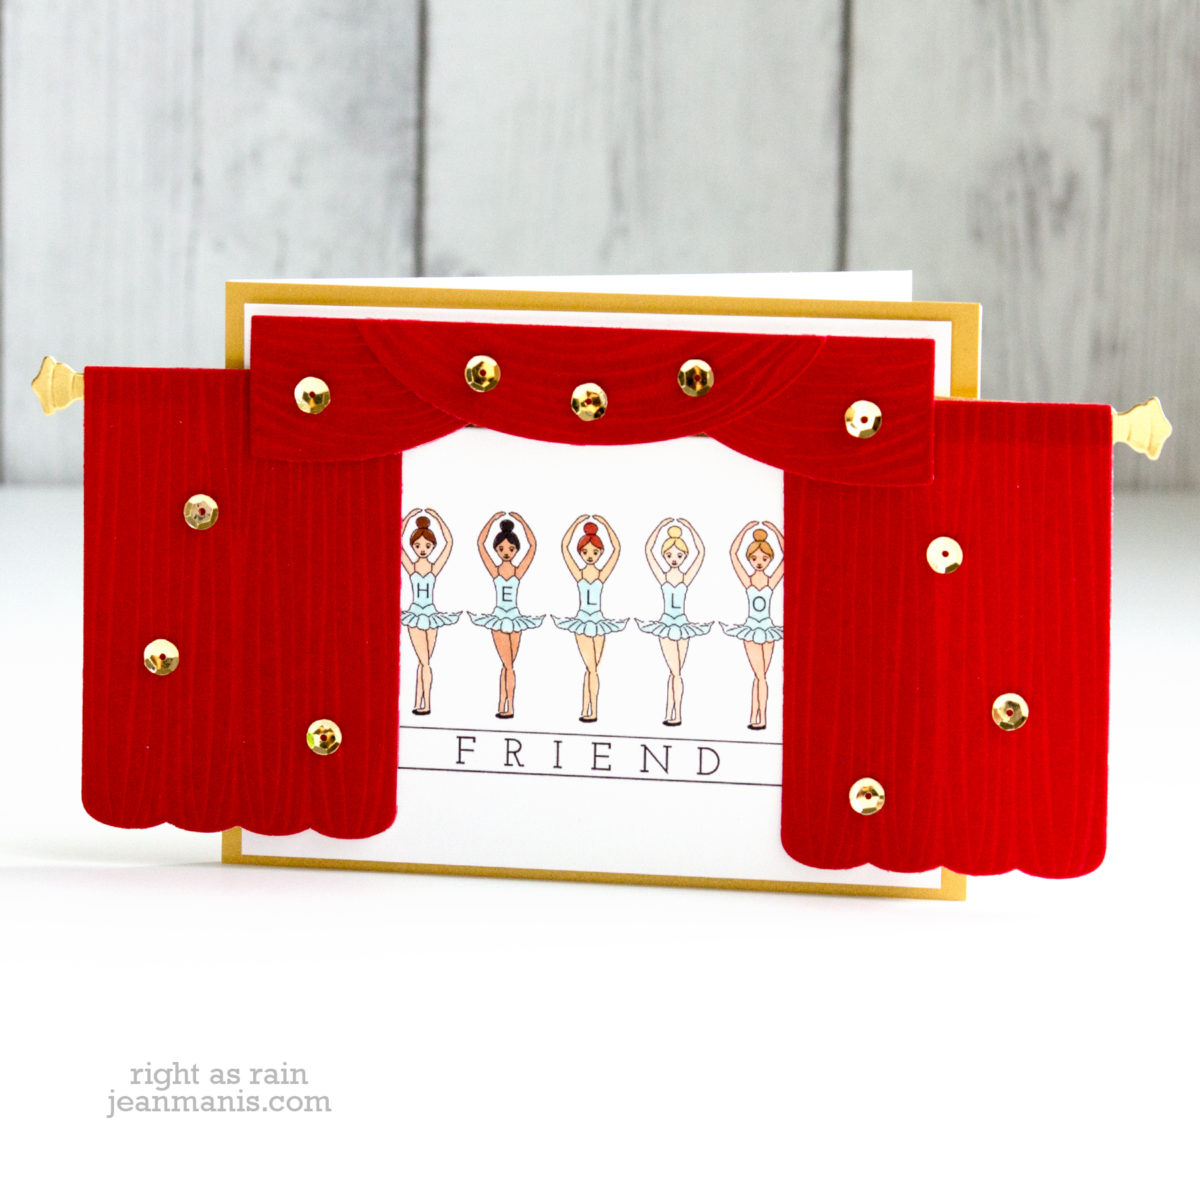
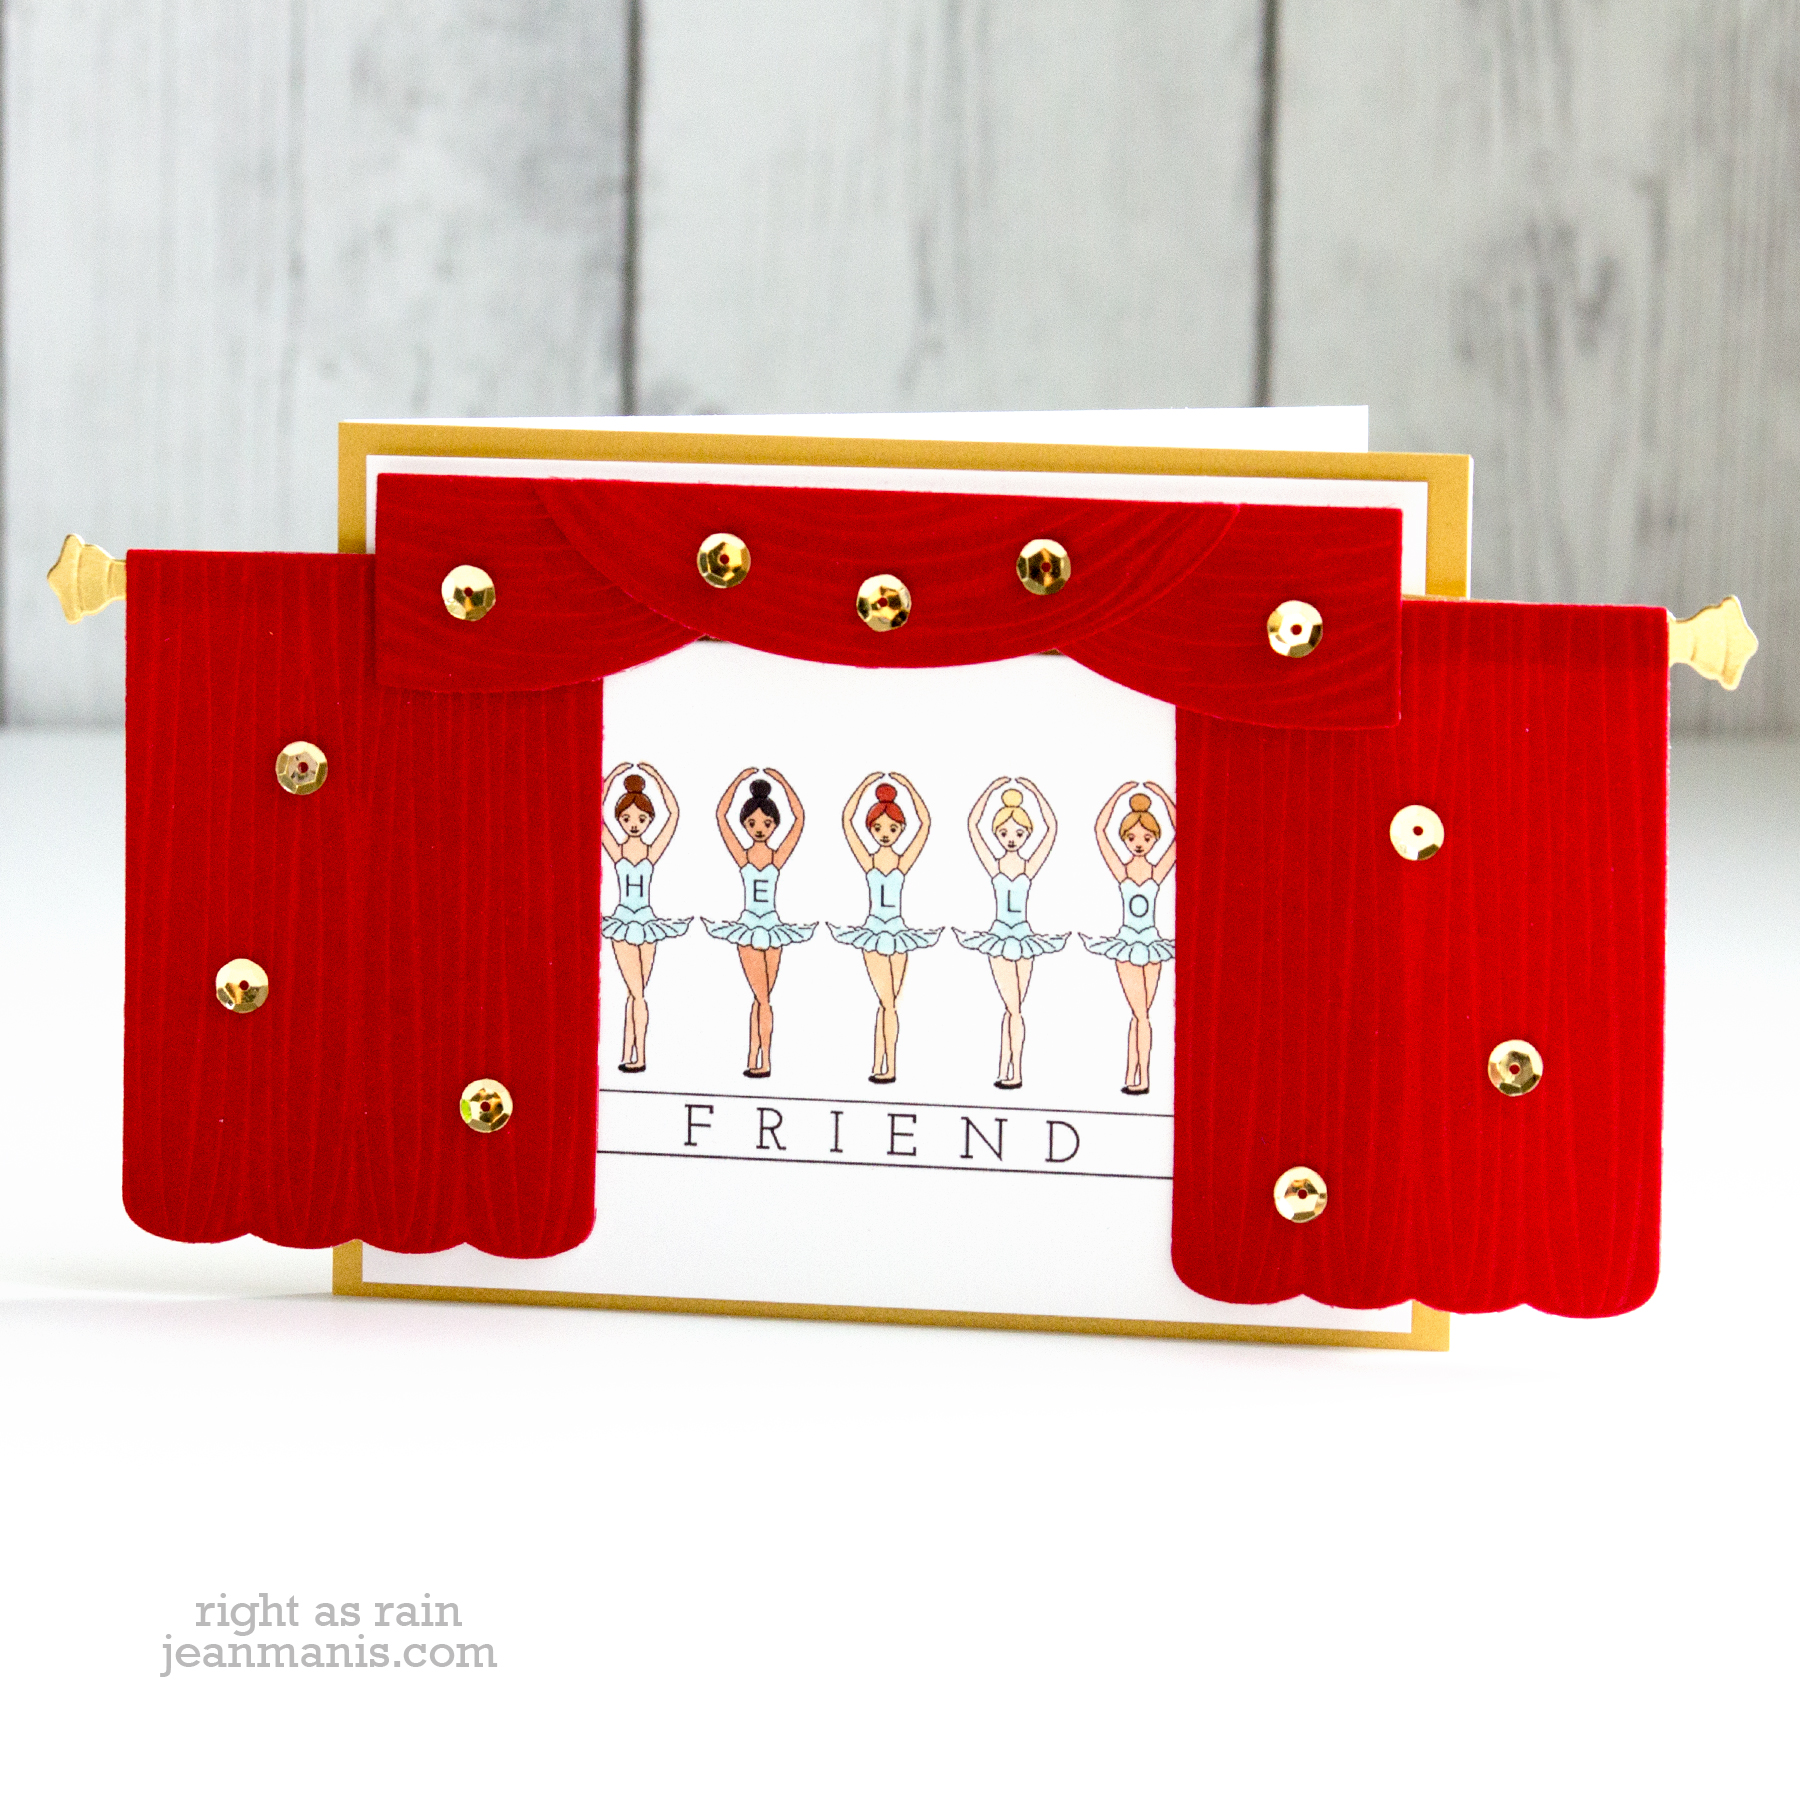
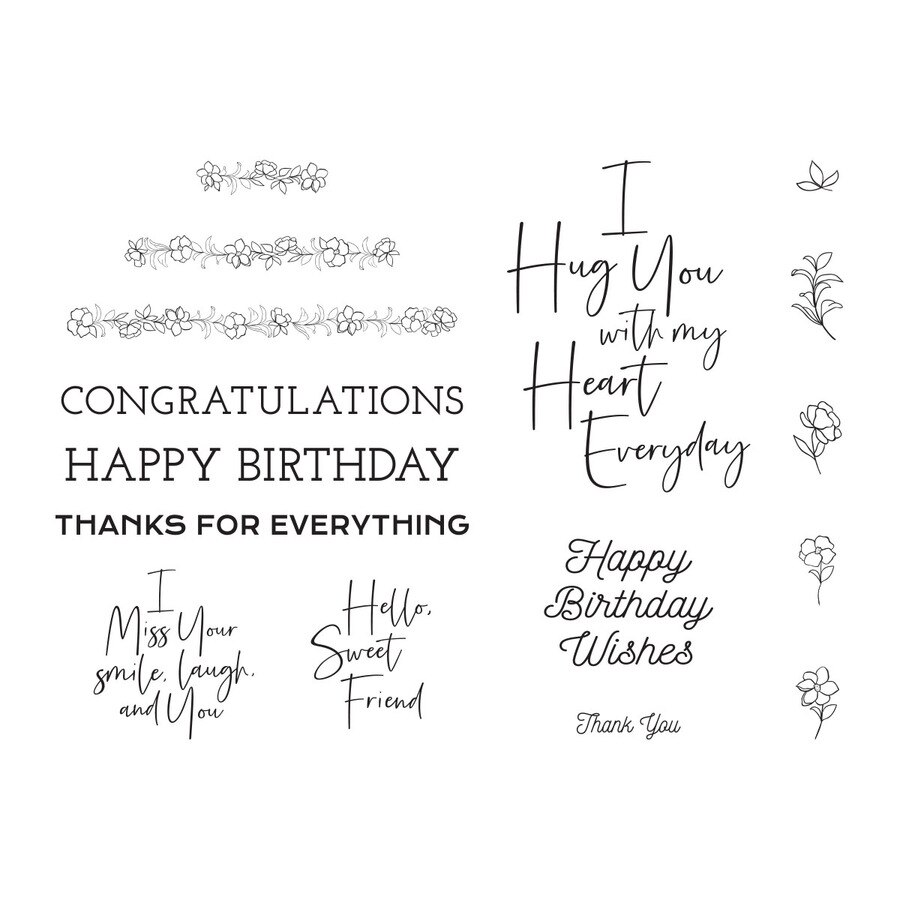
With the large card front die, and the A2-size die to cut the edges, I created a friendship card featuring a sentiment from this month’s Clear Stamp of the Month Club – “Borders & Sentiments.”

Spellbinders May 2021 Large Die Kit Club

Spellbinders May 2021 Clear Stamp Kit Club

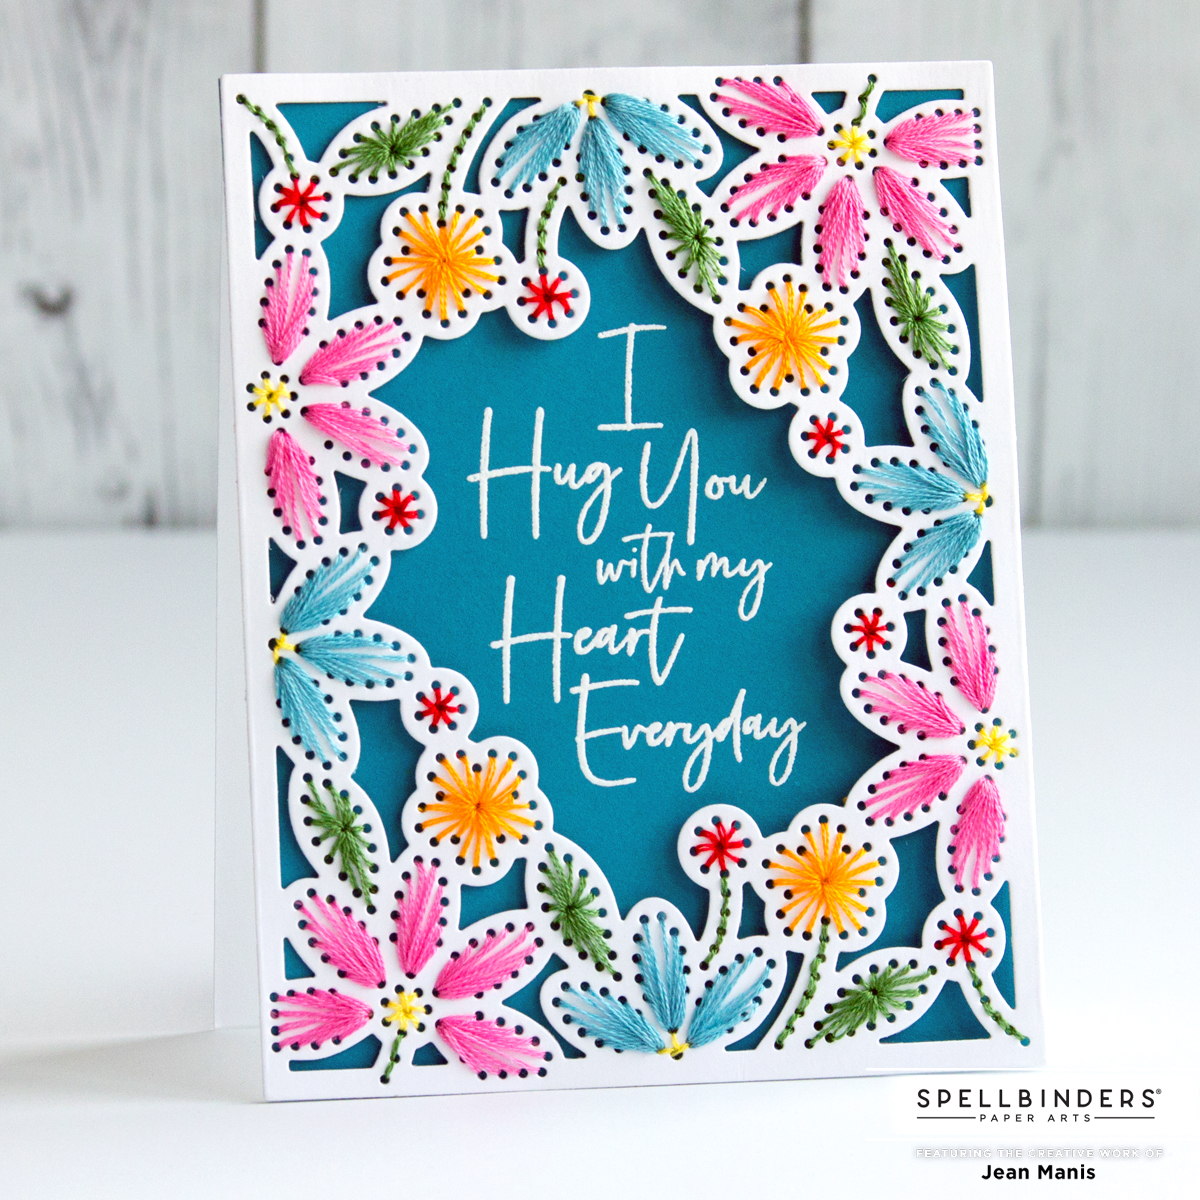
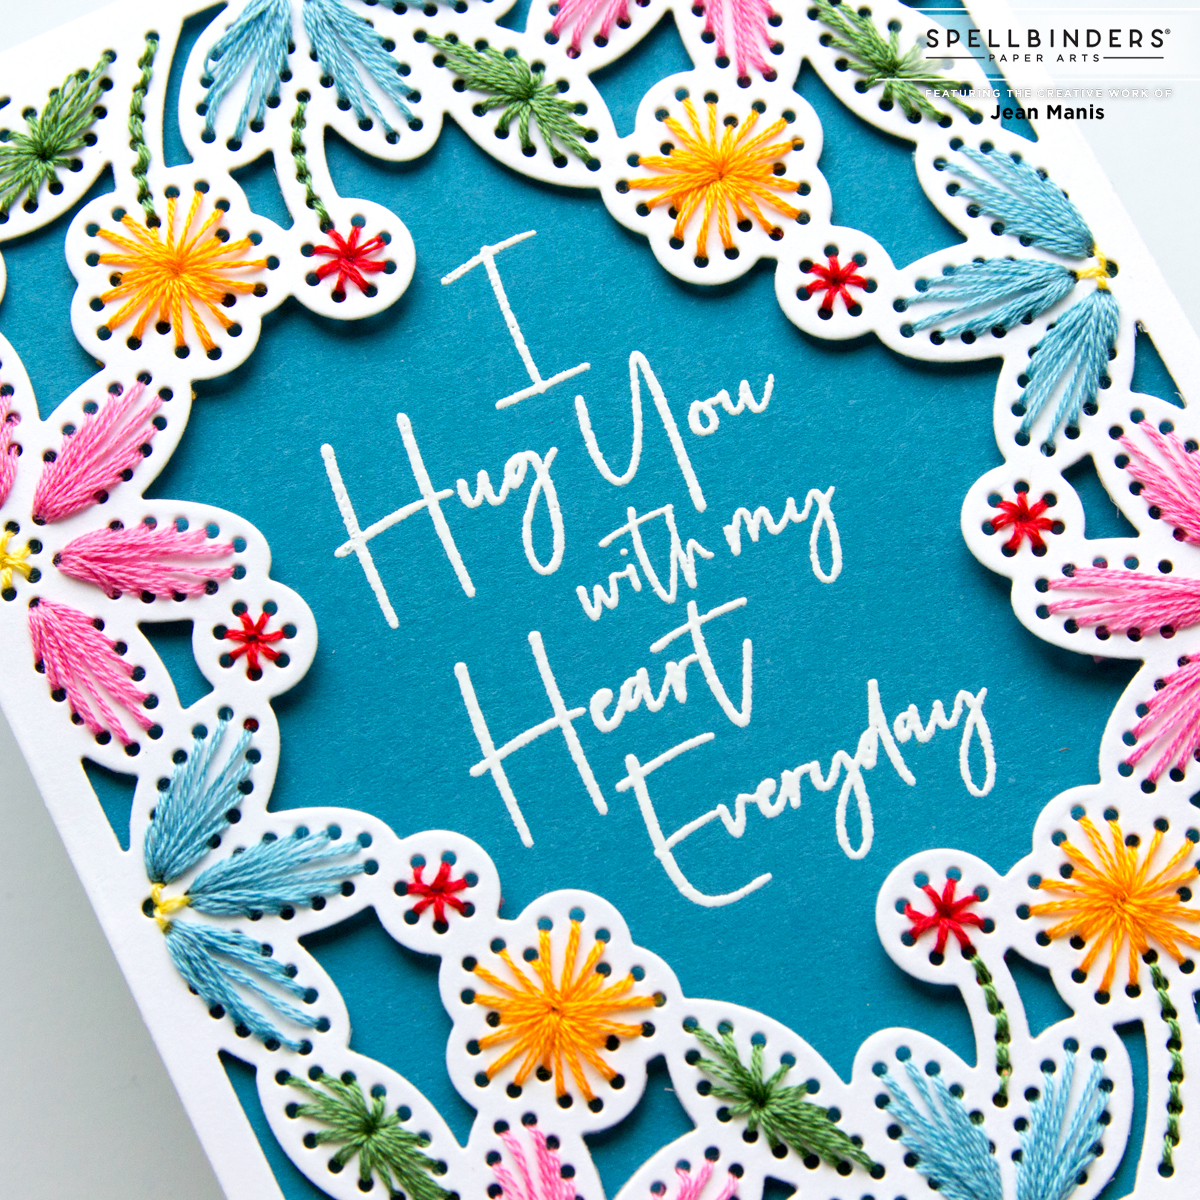
  • To begin, I die-cut the panel from Snowdrift cardstock .
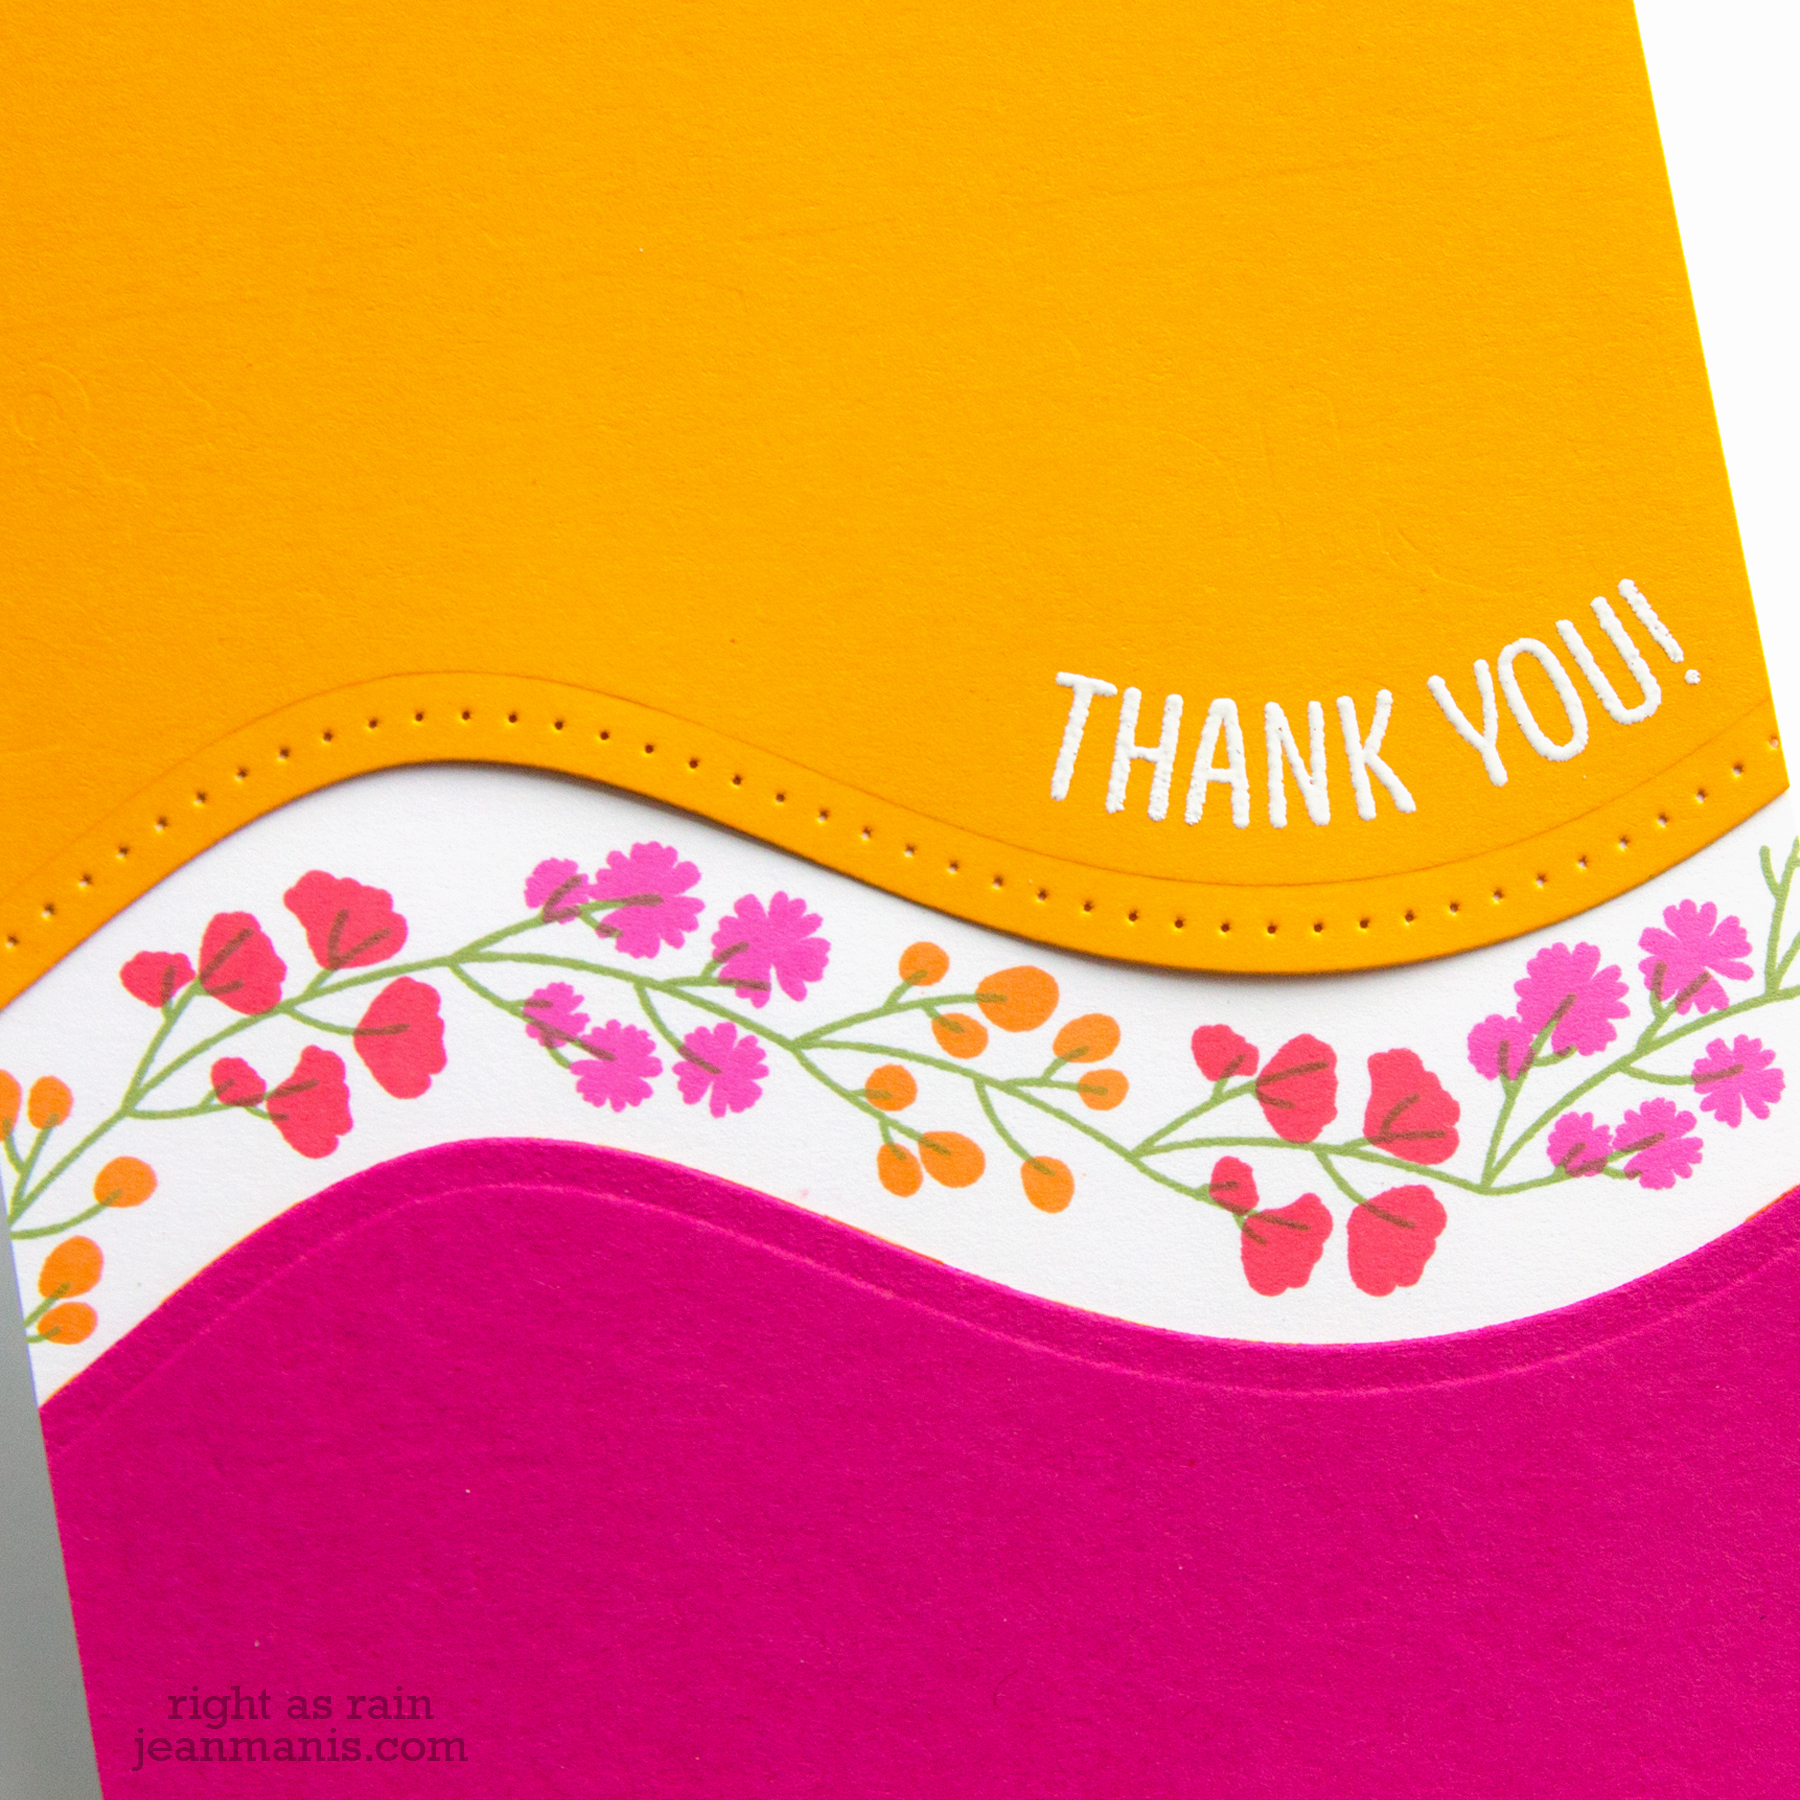
  • I used DMC floss to stitch the flowers in the following colors: 972 (green), 726 (yellow), 597 (blue) 349 (red), and 603 (pink). I glued the ends of the threads to the back of the frame.
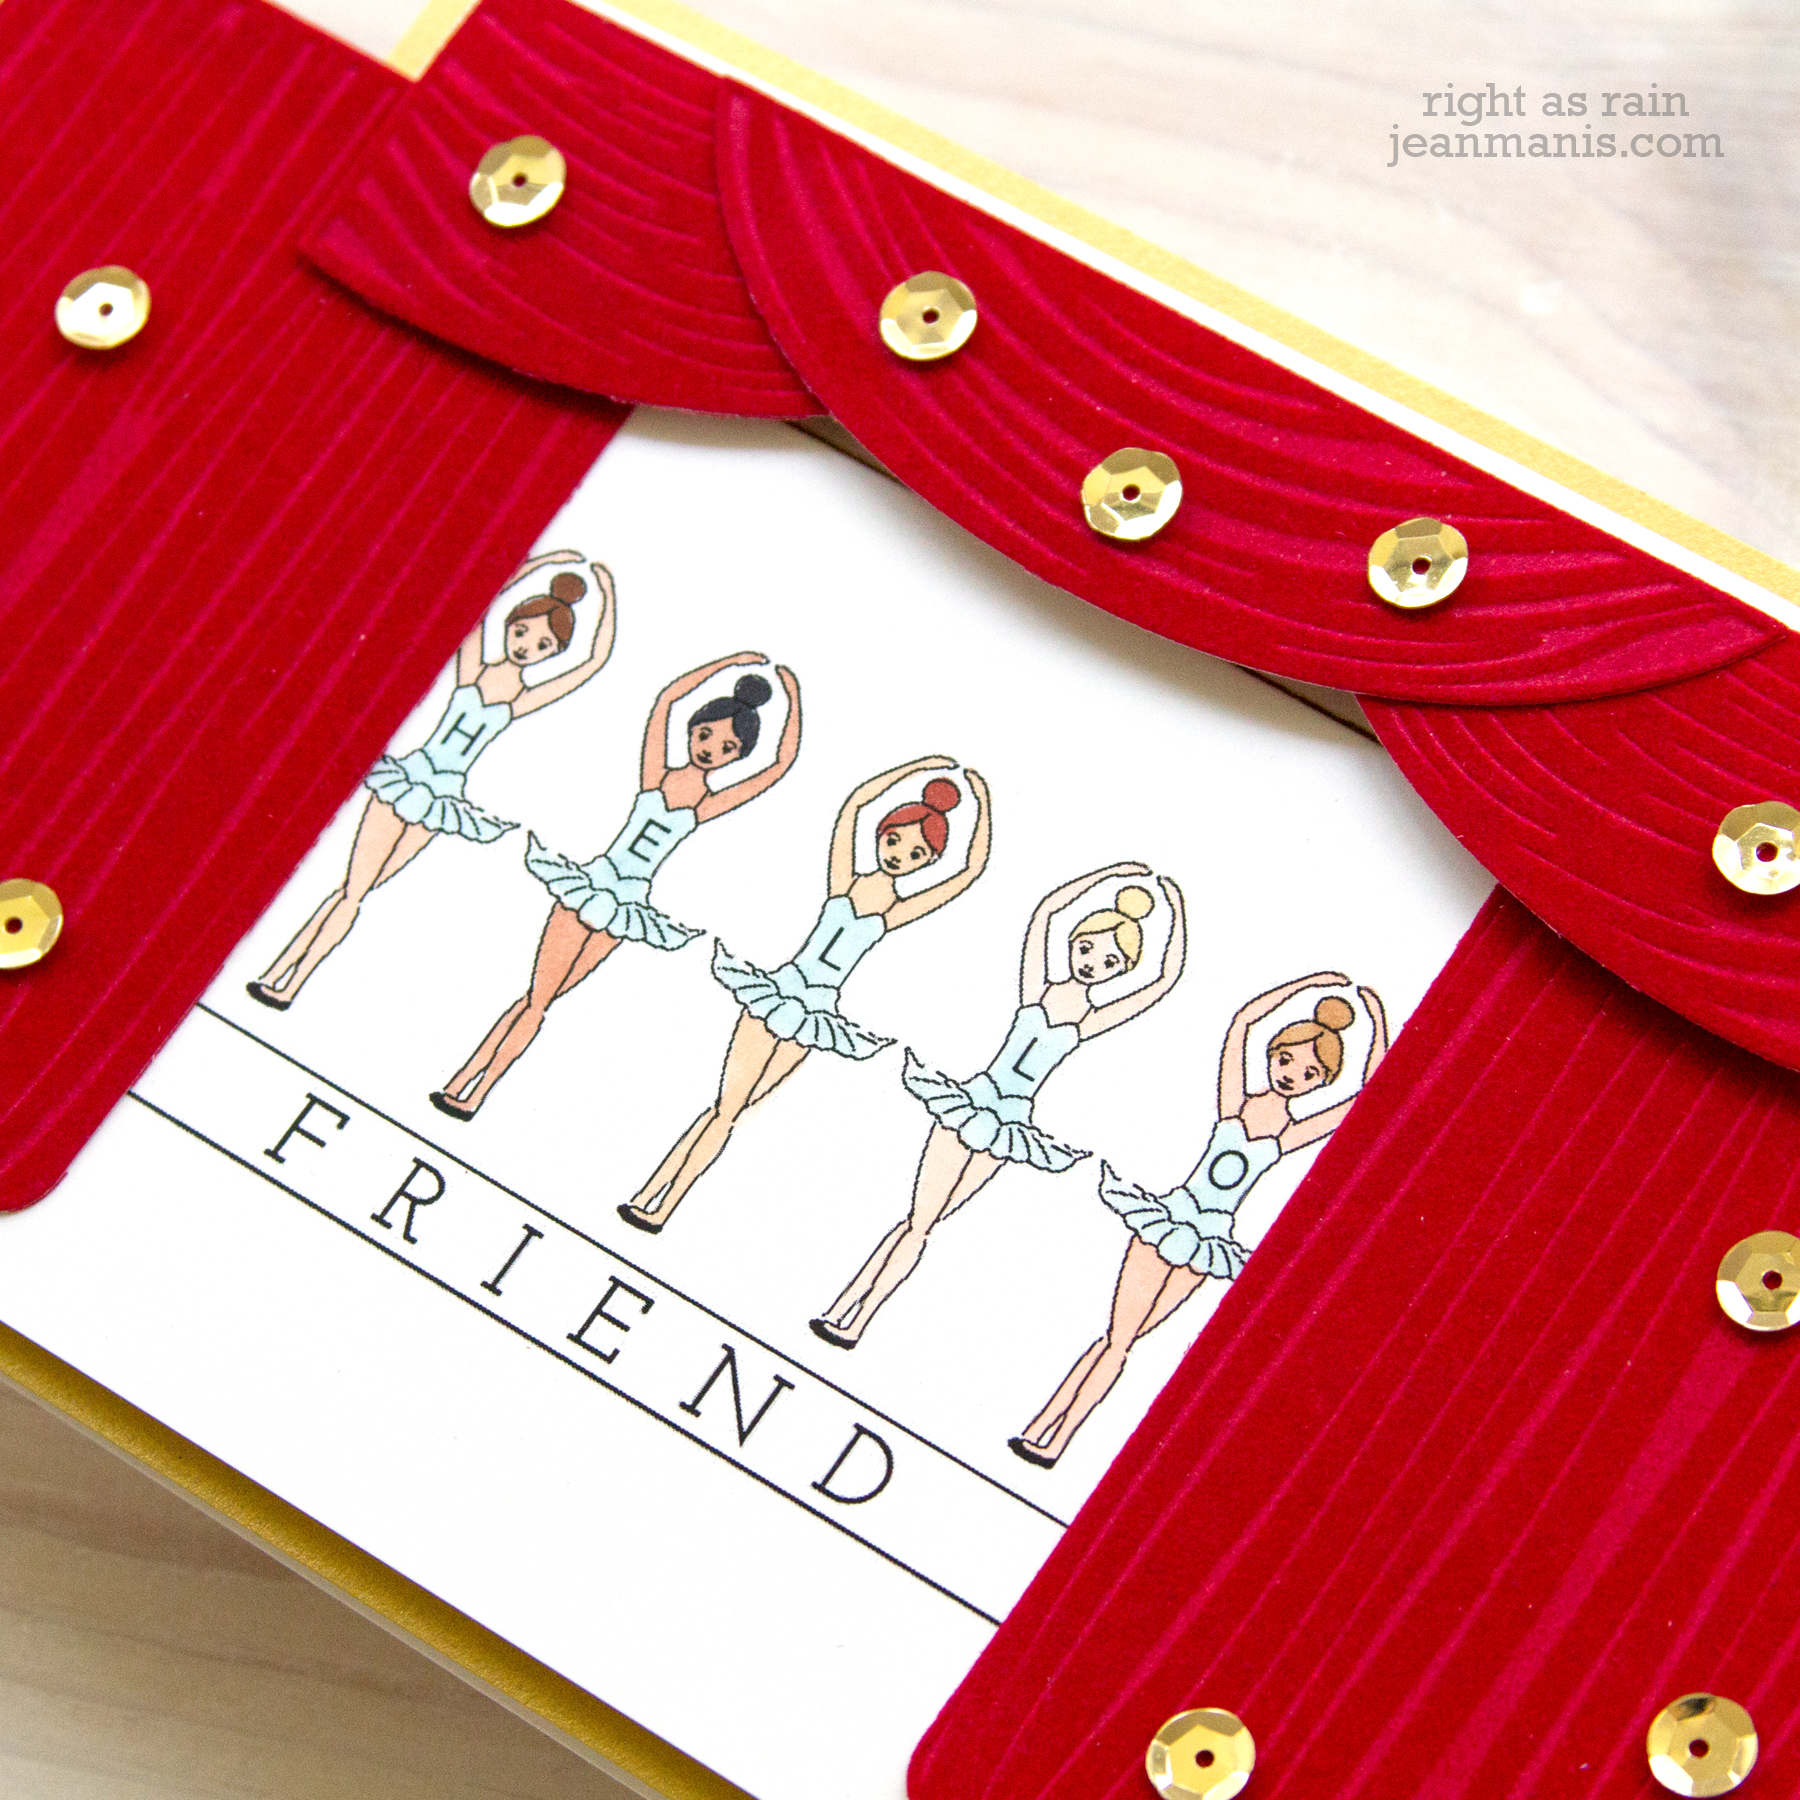
  • I heat-embossed the Clear Stamp of the Month Club sentiment in white on dark teal cardstock.
  • I trimmed the heat-embossed panel, attached it to a card base, and adhered the stitched frame to the top.

Spellbinders May 2021 Large Die Kit Club

I stitched the panel using blunt tapestry needles sized 20 and 22. I generally use a 24 on 14-count Aida for cross-stitching. I chose as large as a needle that would fit through the holes.

As I stitched, I was reminded of the embroidery I did as a teen. I still have the eyeglass case that I made for my grandmother. This set would be great for friends to share or for a grandmother-granddaughter activity. You can die-cut the pieces now to stitch at a future date.

Be sure to visit the product page to see more inspiration.
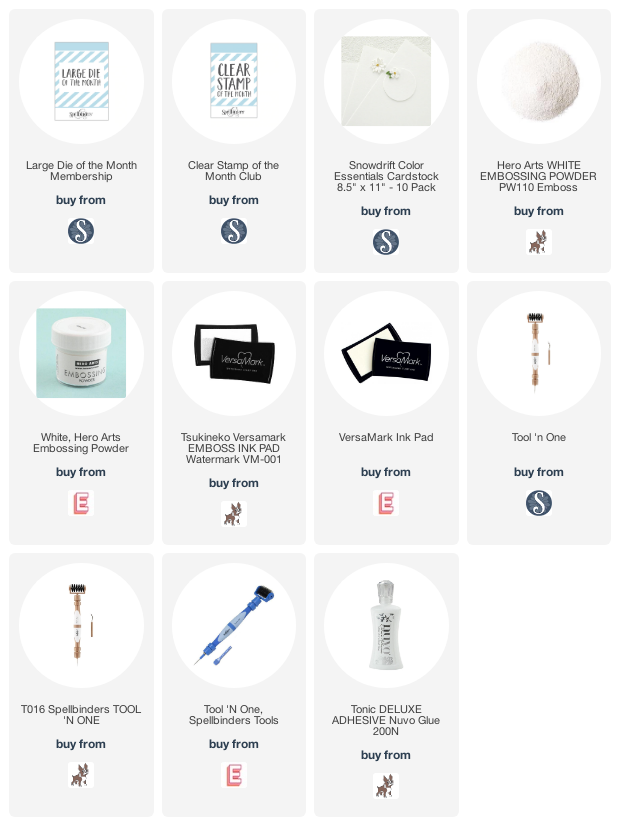
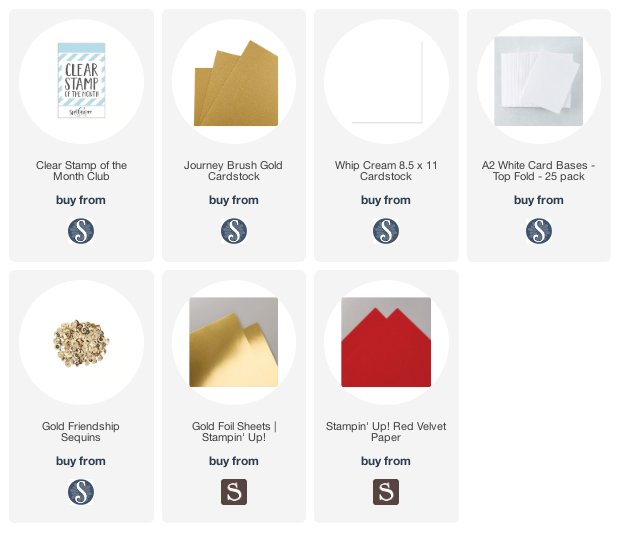
Supplies:

Spellbinders April 2021 Clear Stamp Kit Club

Hello! Today I am sharing a brightly-colored, thank you card created with this month’s Clear Stamp of the Month Club at Spellbinders – “Around the Bend.”

Spellbinders April 2021 Clear Stamp Kit Club

I used the stamp set along with this month’s Large Die of the Month – “Universal Curved Border Set.”

Spellbinders April 2021 Clear Stamp Kit Club

  • I cut the orange and pink cardstock panels at the same time with a die in the Large Die of the Month set.
  • I heat-embossed the sentiment on the orange cardstock panel.
  • I stamped the vine and flowers on a white cardstock panel.
  • I adhered the orange and pink panels to the stamped panel and trimmed the sides.

Spellbinders April 2021 Clear Stamp Kit Club

Supplies:

Spellbinders March 2021 Clear Stamp Kit Club

Hello! Today I am sharing a special Easter-themed card created with this month’s Clear Stamp of the Month Club at Spellbinders – “Wonderful Spring.”

Spellbinders March 2021 Clear Stamp Kit Club

I combined one of the set’s bunny images with die-cut flowers and greenery.

Spellbinders March 2021 Clear Stamp Kit Club

  • With the Florets embossing folder, I dry-embossed soft blue cardstock for the card background.
  • I cut the greenery using several die sets from cardstock, colored with Distress Inks, and vellum.
  • I stamped the bunny on watercolor paper and colored him with Distress ink. Once dry, I fussy-cut the image.
  • I stamped the sentiment on yellow cardstock and cut with an Essential Ovals die.
  • I die-cut another oval from white cardstock and adhered it to the back of the yellow frame.
  • I added the frame assembly to the dry-embossed background. I adhered the bunny with foam adhesive and glued the florals and greenery around the oval.

Spellbinders March 2021 Clear Stamp Kit Club

Supplies:

Spellbinders December 2020 Clear Stamp Club

Hello! Today I am sharing a special friendship card created with this month’s Clear Stamp of the Month Club – “Ballerina Sentiments”along with the Large Die of the Month kit – “Look Behind the Curtain” – at Spellbinders. (I shared a card using the Large Die of the Month kit here.)

Spellbinders December 2020 Clear Stamp Club

Spellbinders December 2020 Clear Stamp Club

  • I stamped the row of ballerinas with “Hello” and  “Friend” on a Whip Cream cardstock panel.
  • I Copic-colored the ballerinas before diecutting the top of the panel with the curtain slot.
  • I cut the curtain pieces from red velvet cardstock and the rods from gold foil.
  • I added the Whip Cream panel to a Brush Gold card base and added the curtain assembly.
  • Once everything was in place, I embellished the curtains with gold sequins.

Here’s a view of the card with the curtain panels closed:

Spellbinders December 2020 Clear Stamp Club

Spellbinders December 2020 Clear Stamp Club

Supplies: