Hello! Are you ready for spring? I sure am! Today, I am delighted to share two spring-themed gatefold cards created with the February Small Die of the Month “Spring Flutter” from Spellbinders. Let’s take a look!
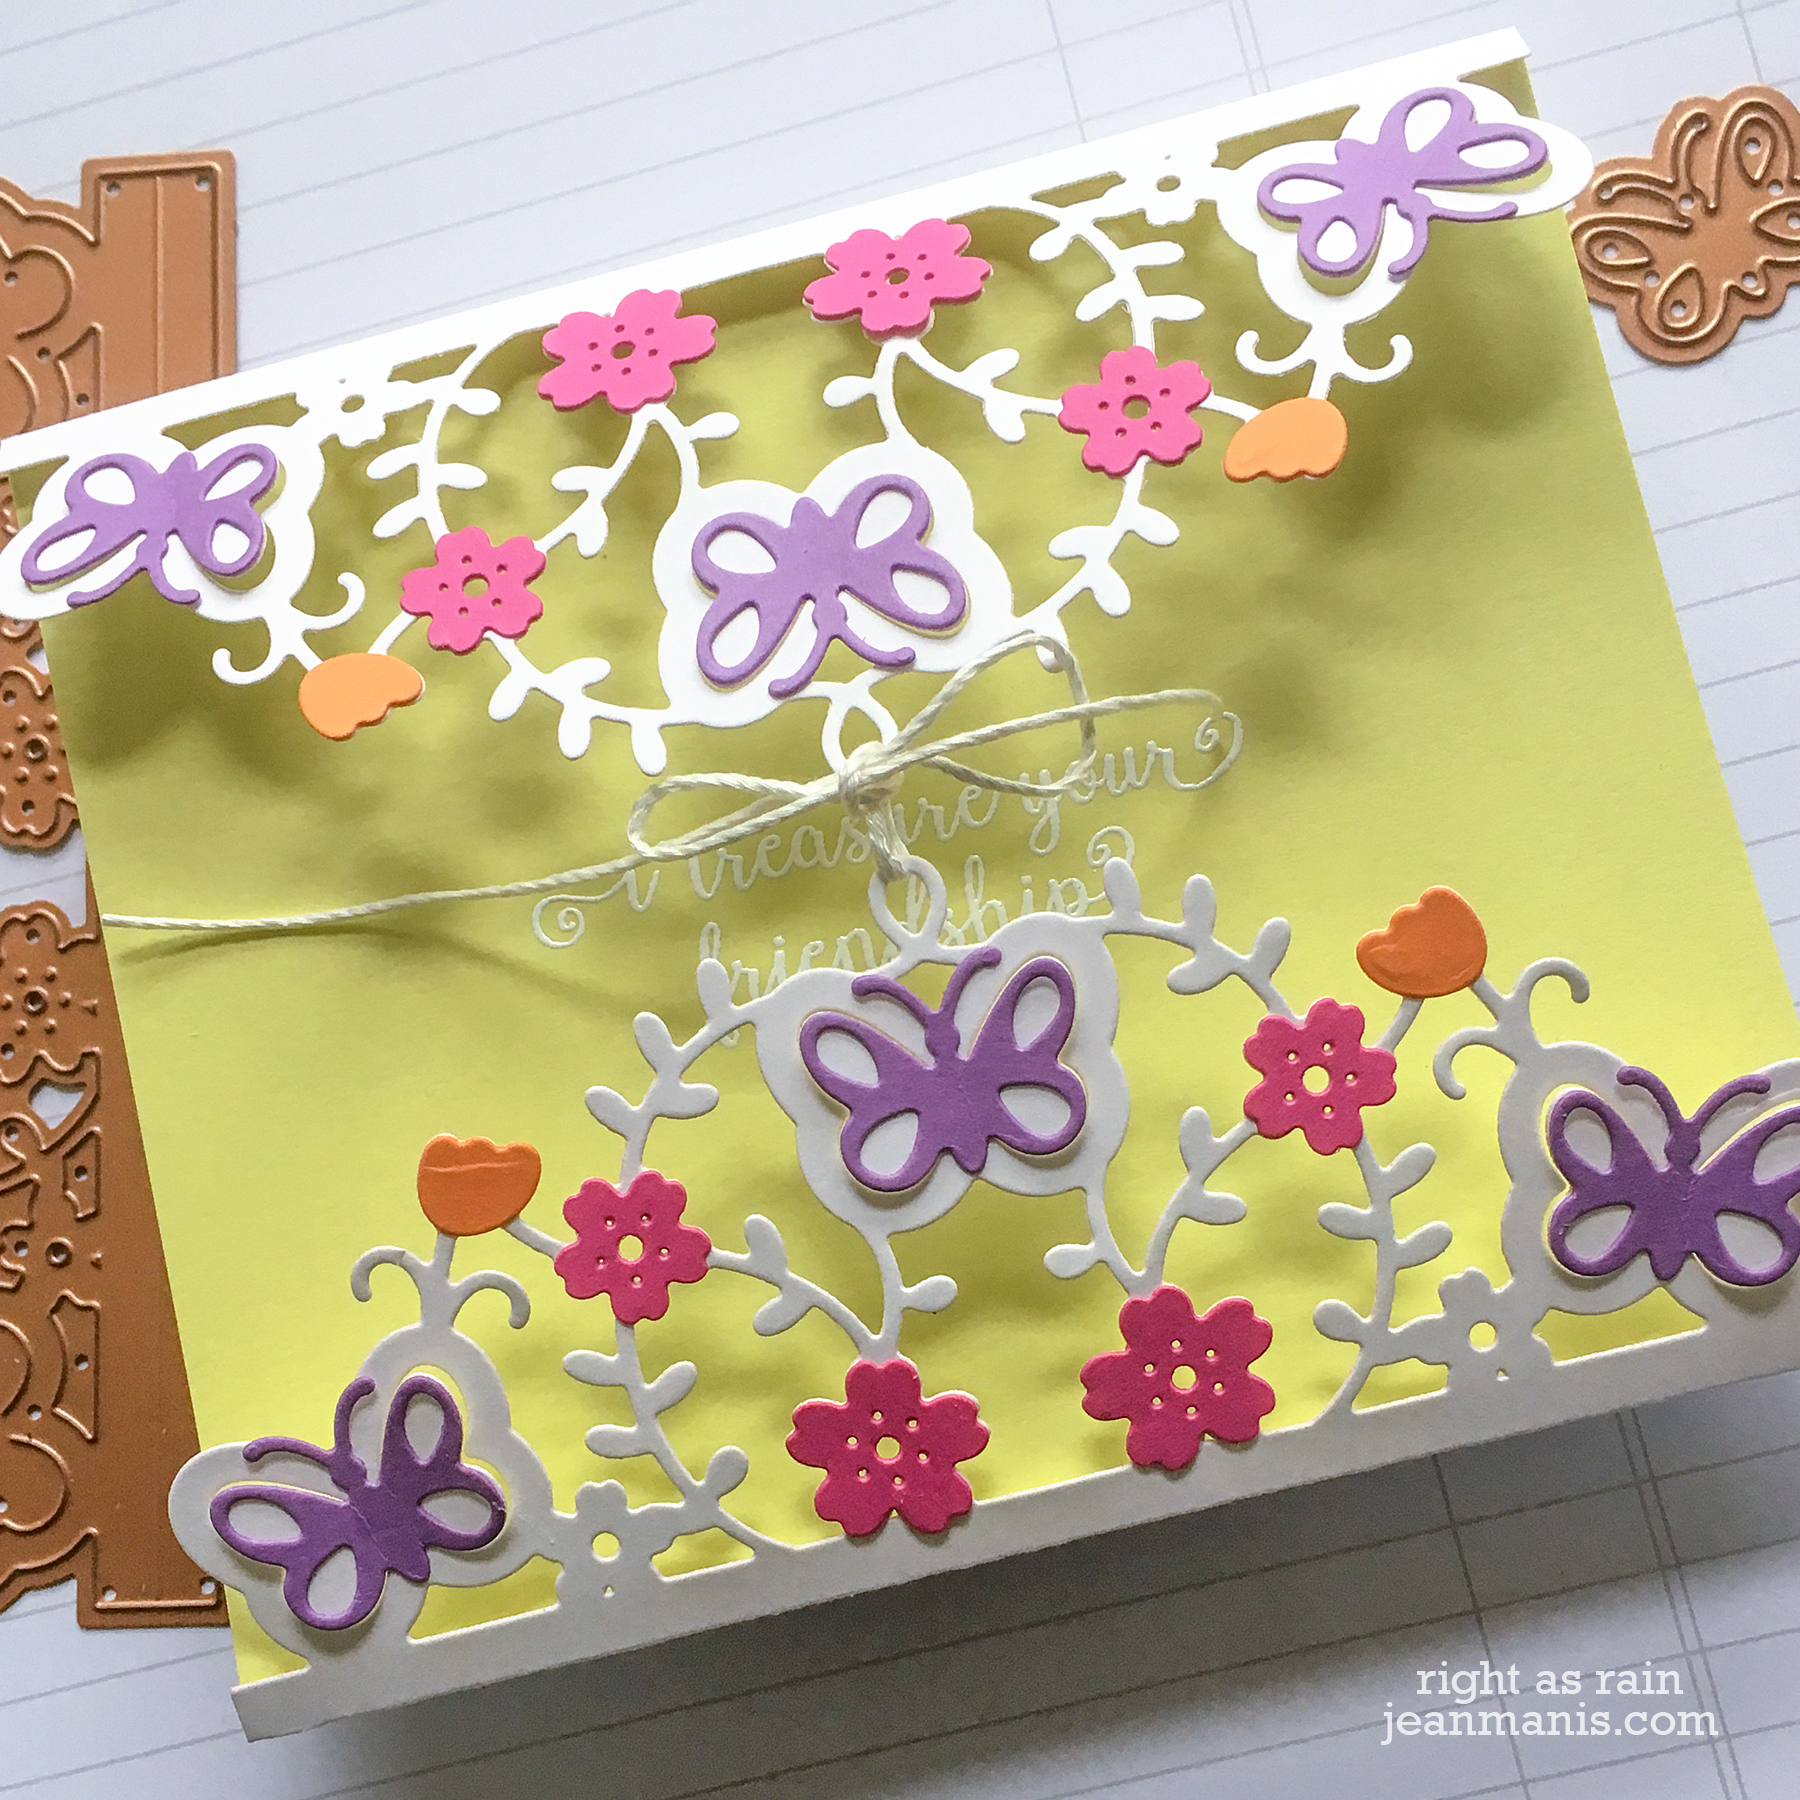
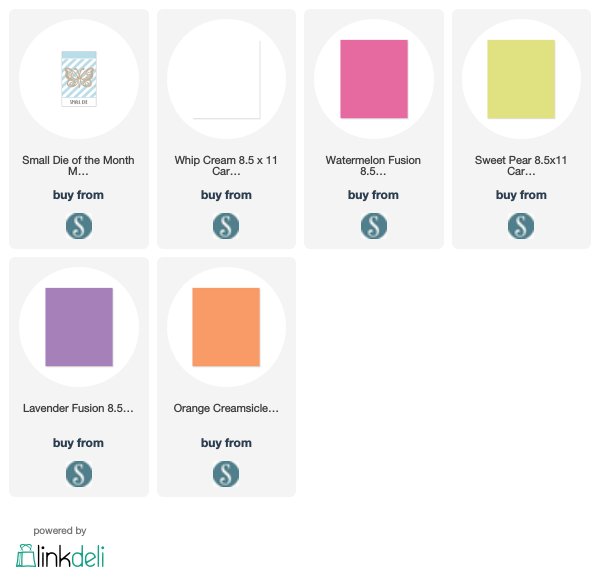
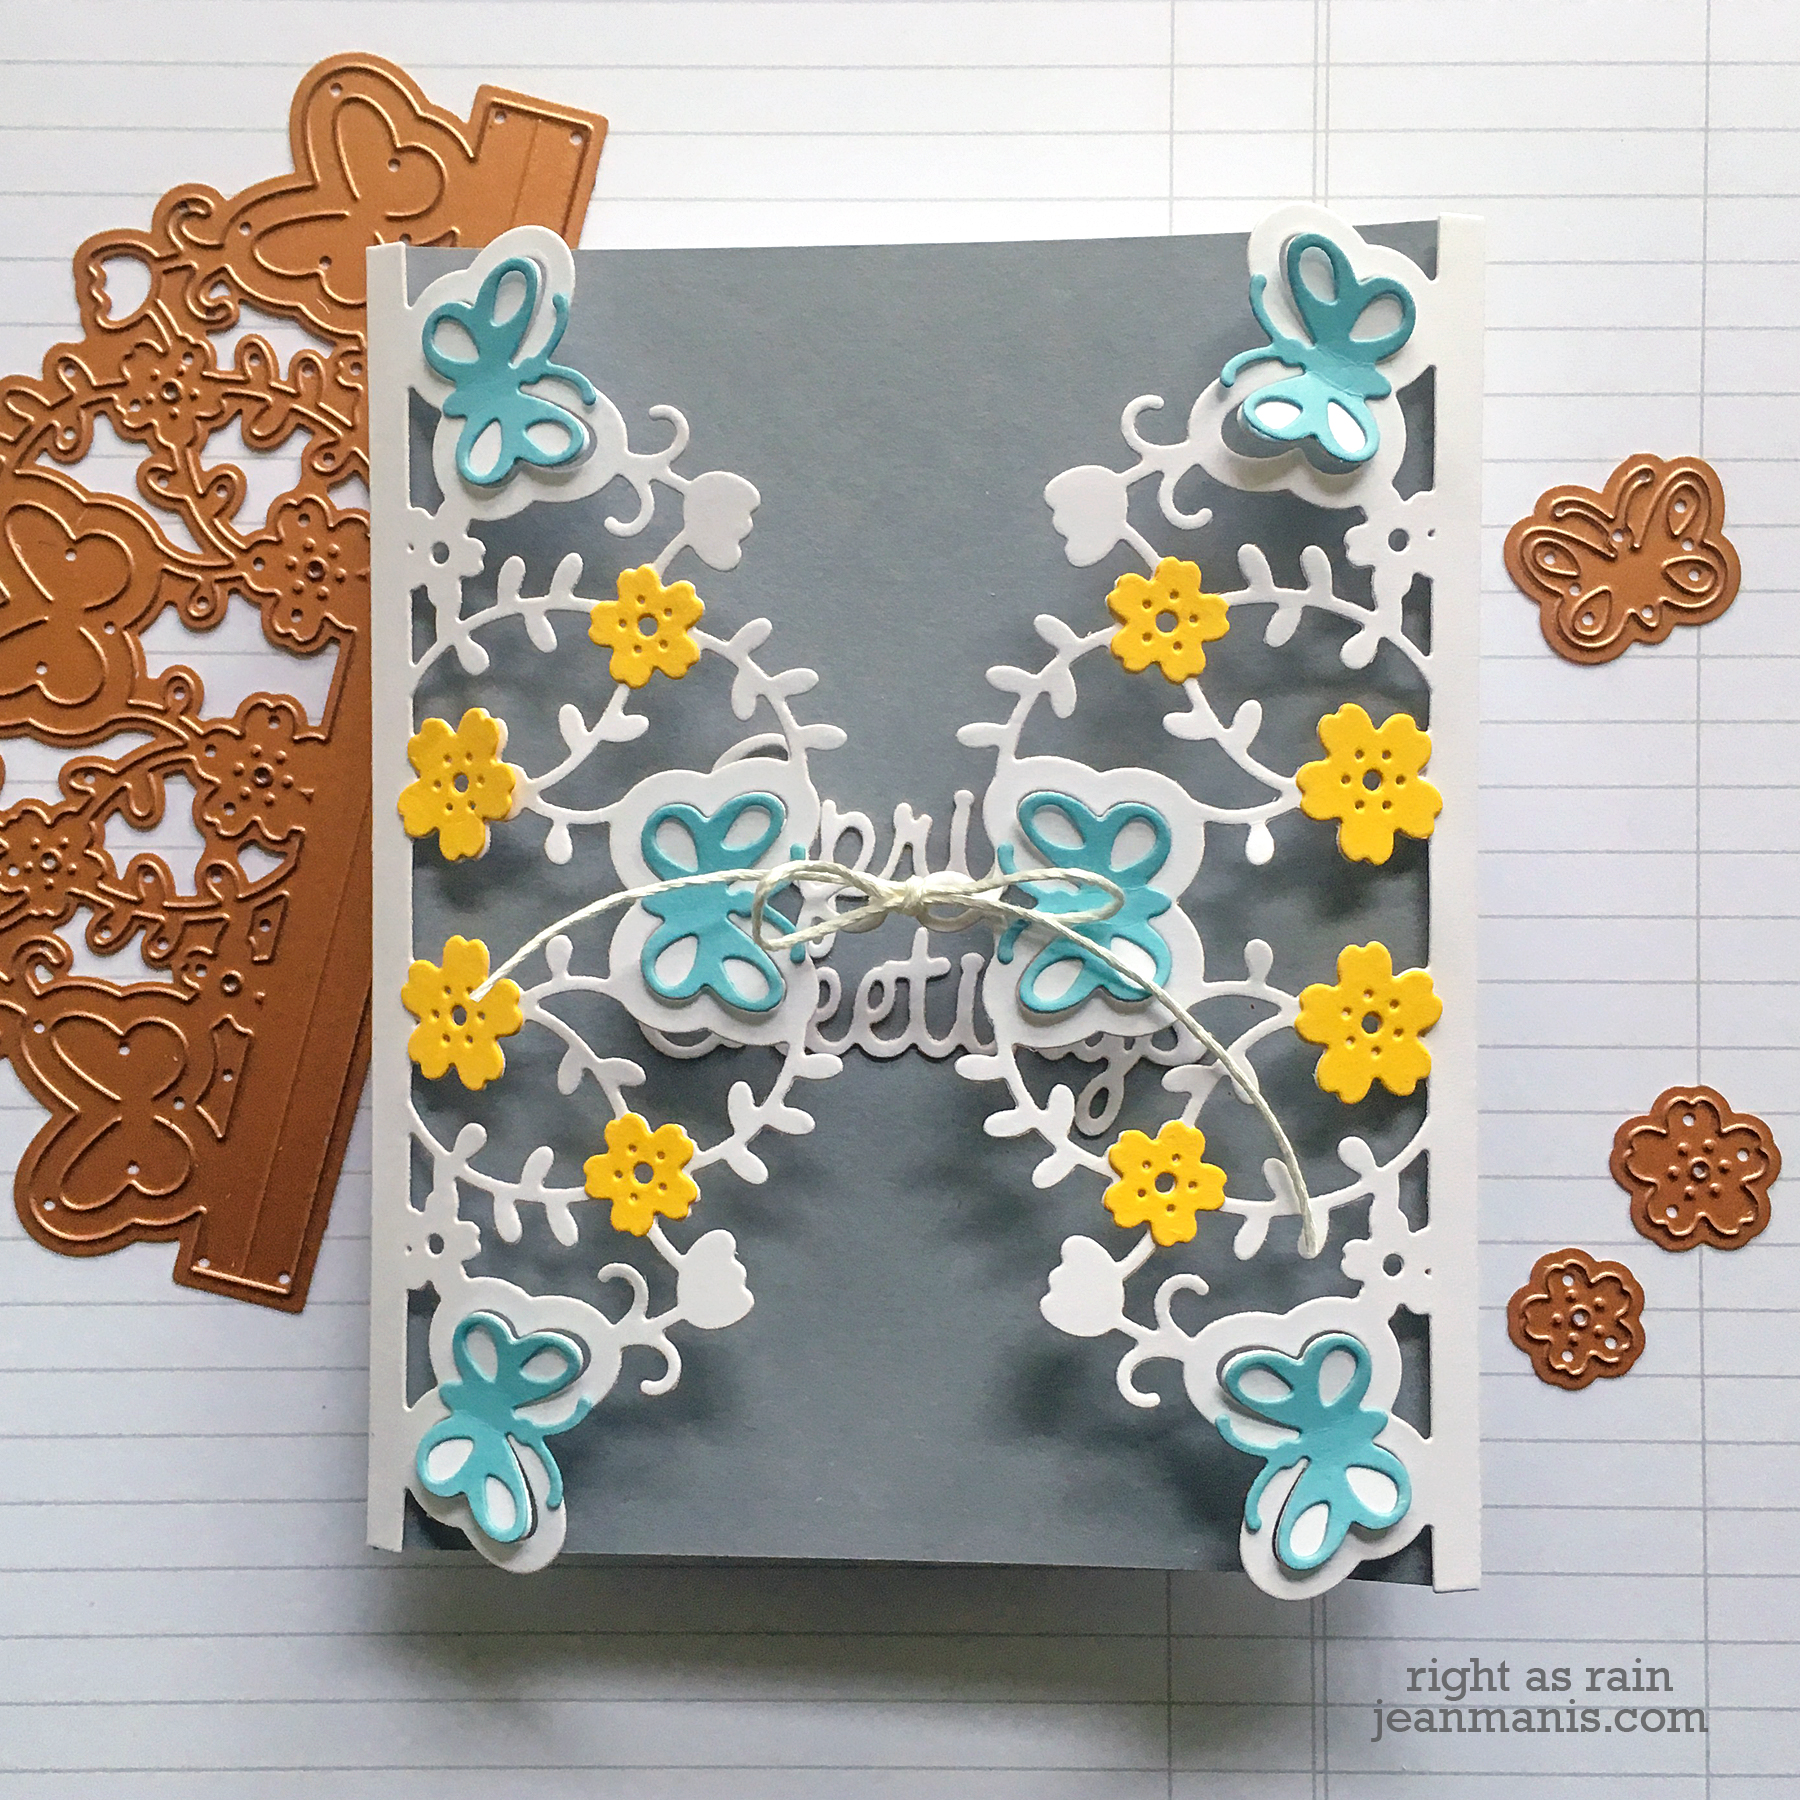
- I cut the gatefold panel twice from Whip Cream cardstock. I scored the pieces on the fold line and adhered them to the back of a Sweet Pear cardstock panel, on which I had heat-embossed the sentiment. The Sweet Pear panel was trimmed to 4 1/2″ x 5 1/2″ before I adhered the gatefold panels.
- I adhered the assembly to a card base and then added the die-cut butterflies and floral pieces, cut from Watermelon Fusion, Orange Creamsicle, and Lavender Fusion cardstock.
- To finish, I tied twine through the loops to close the gate.
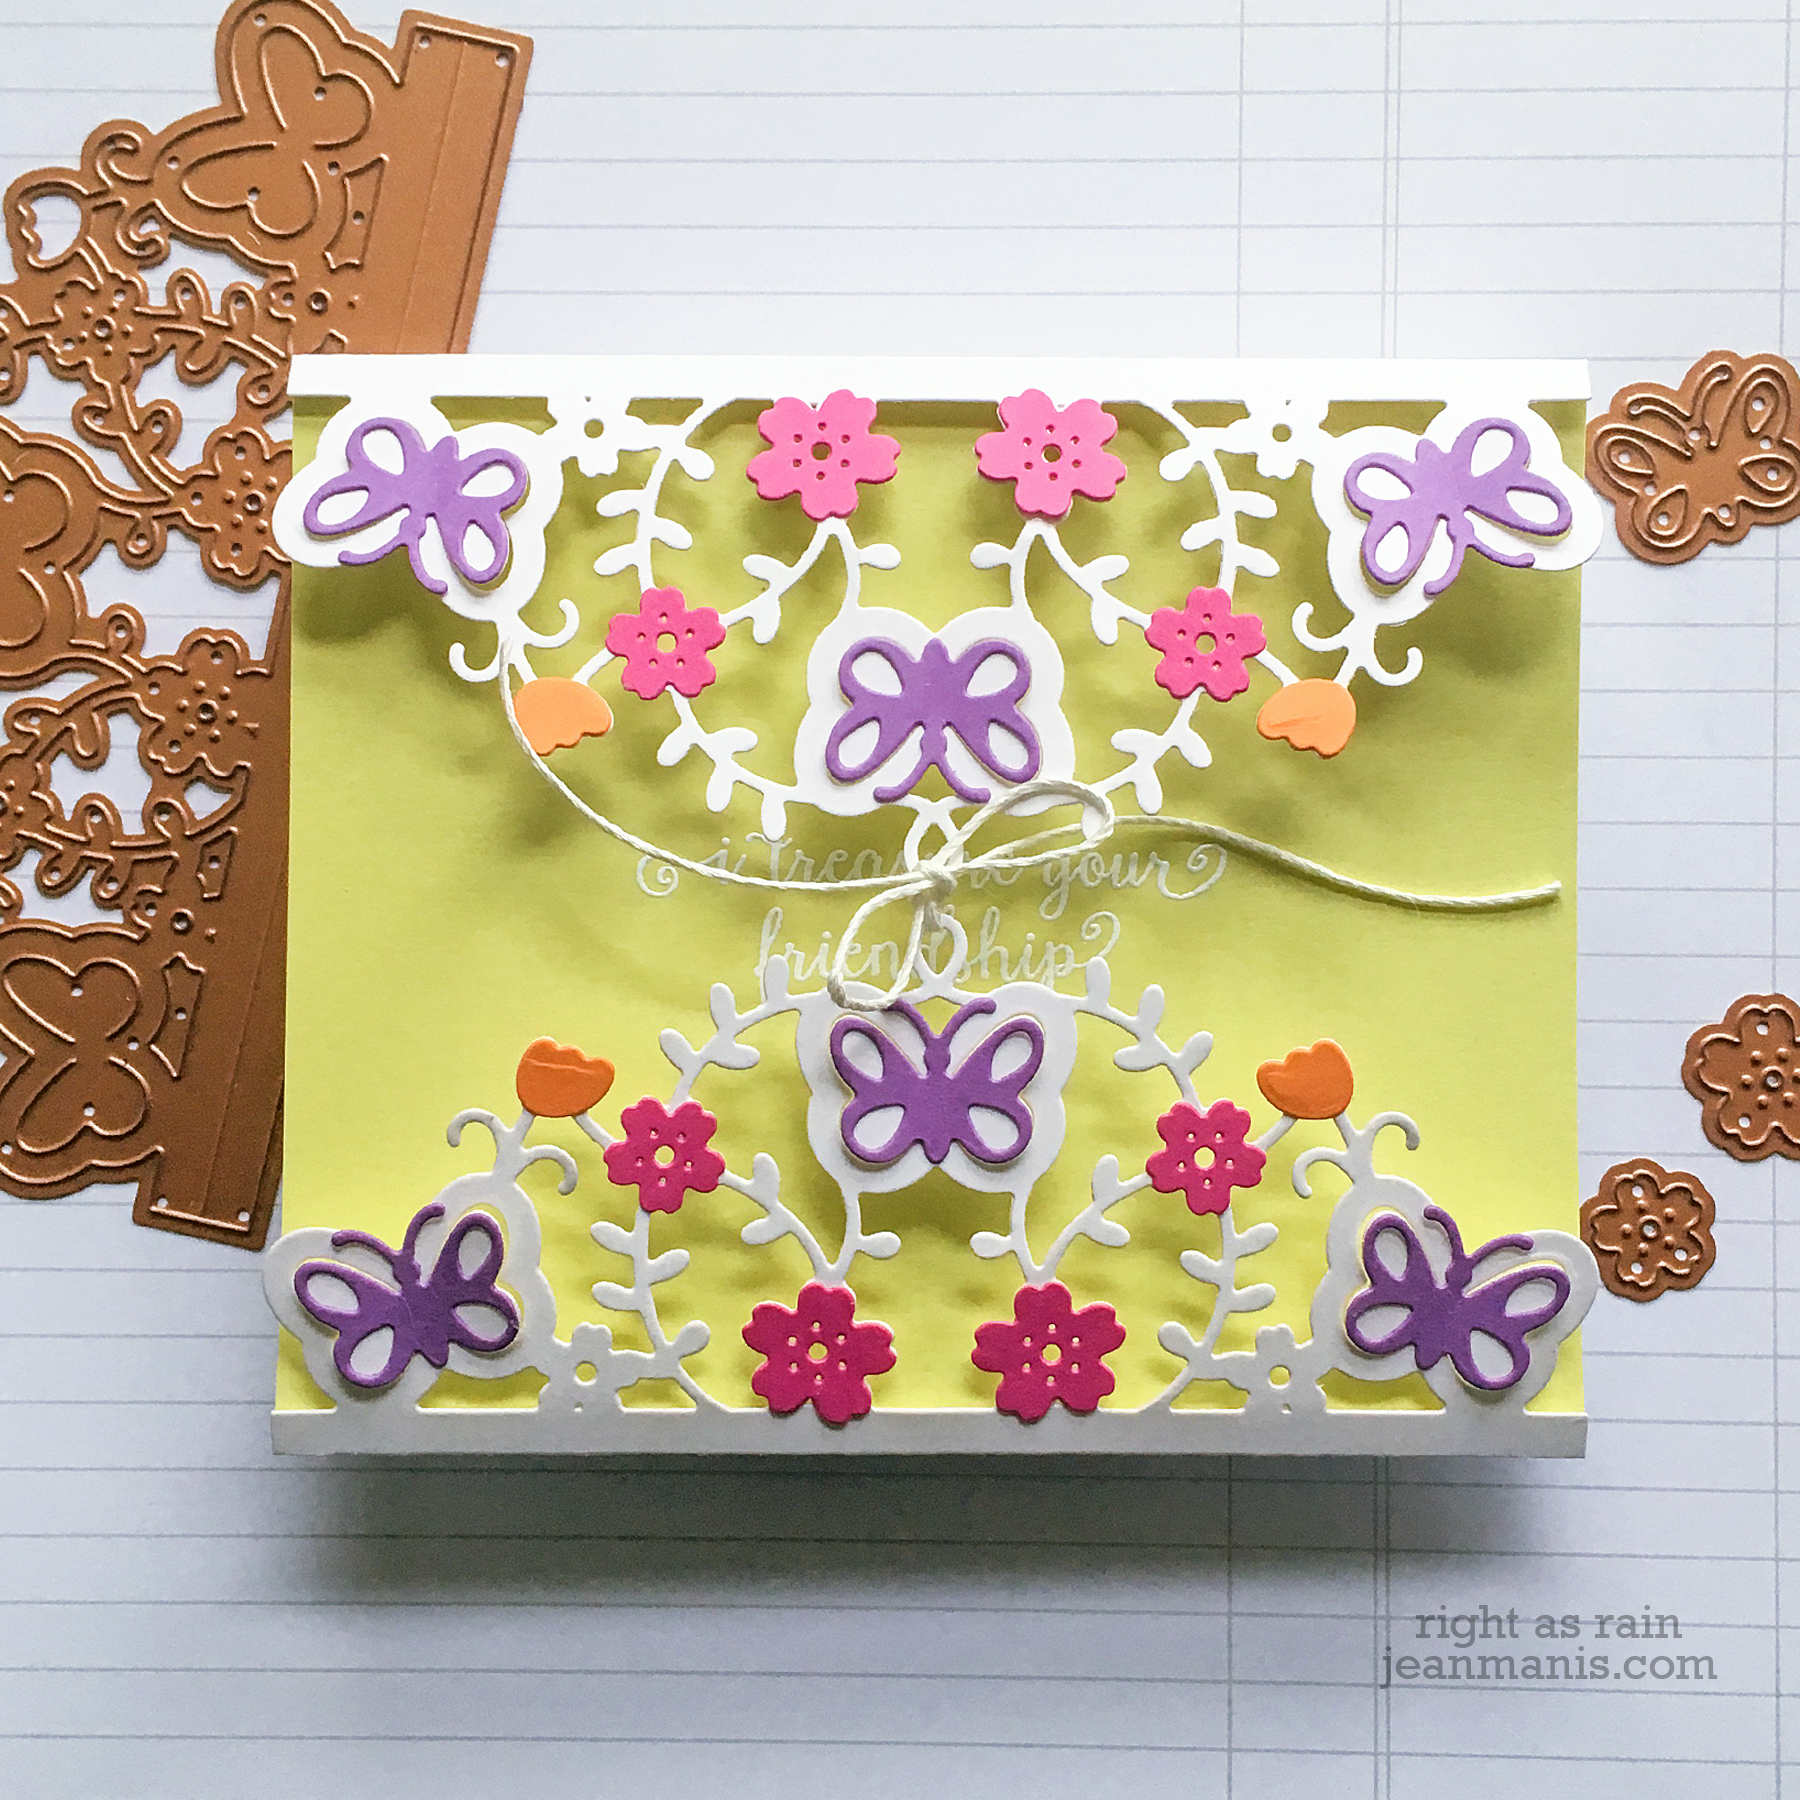
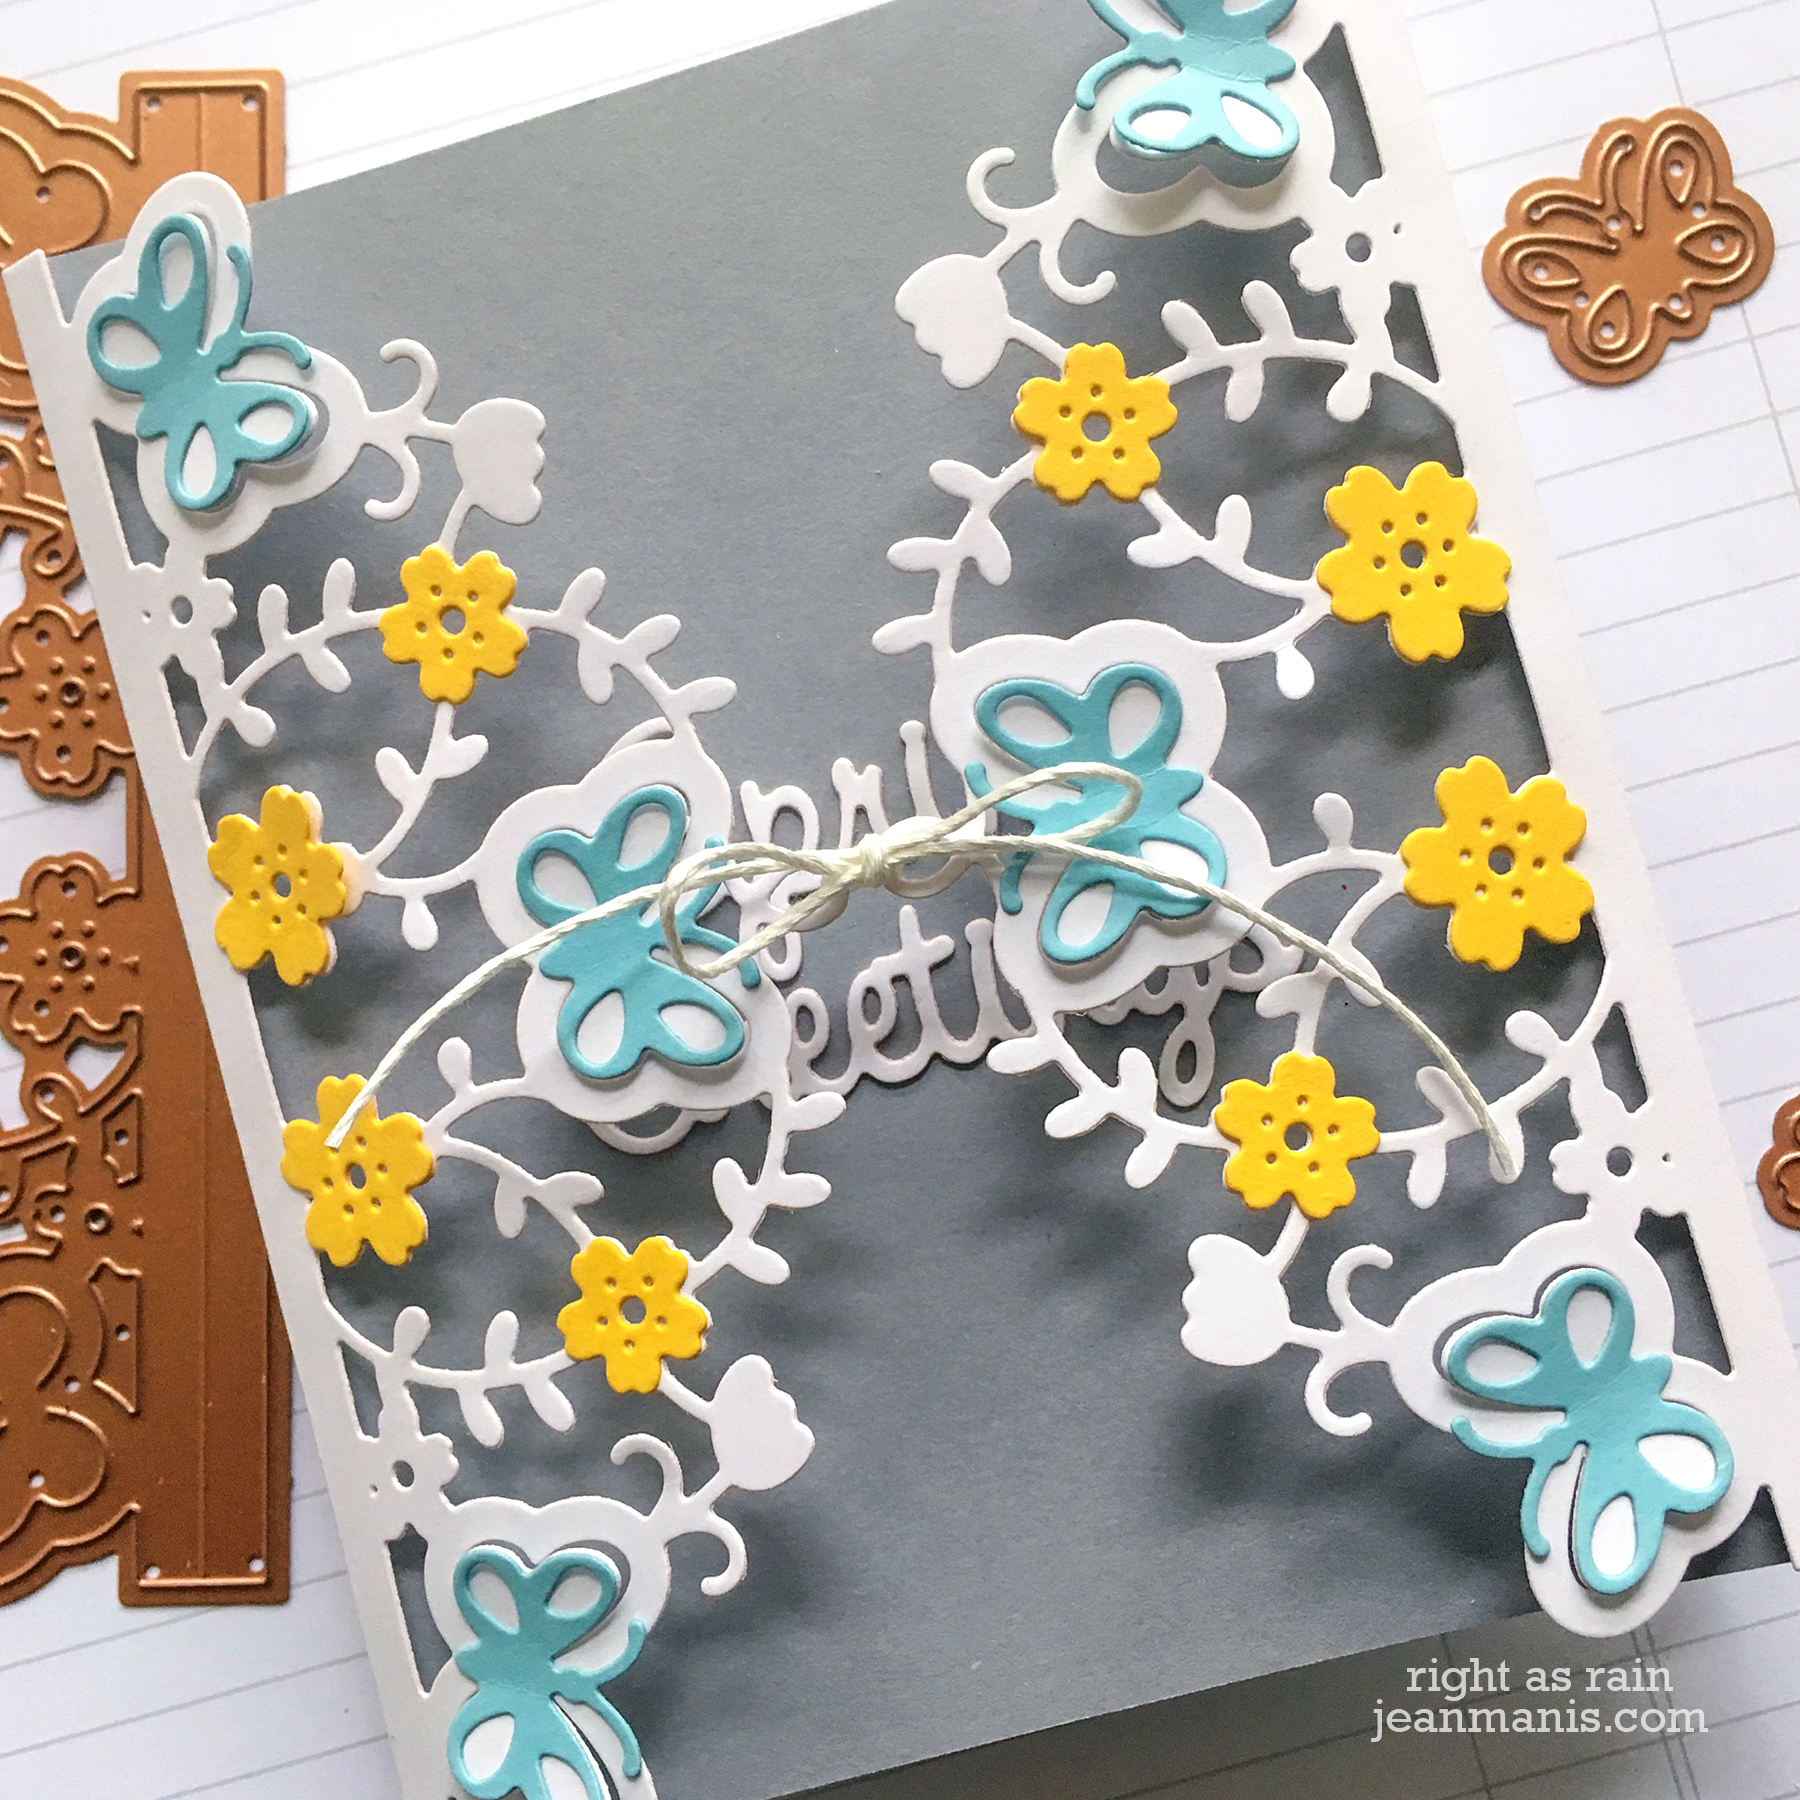
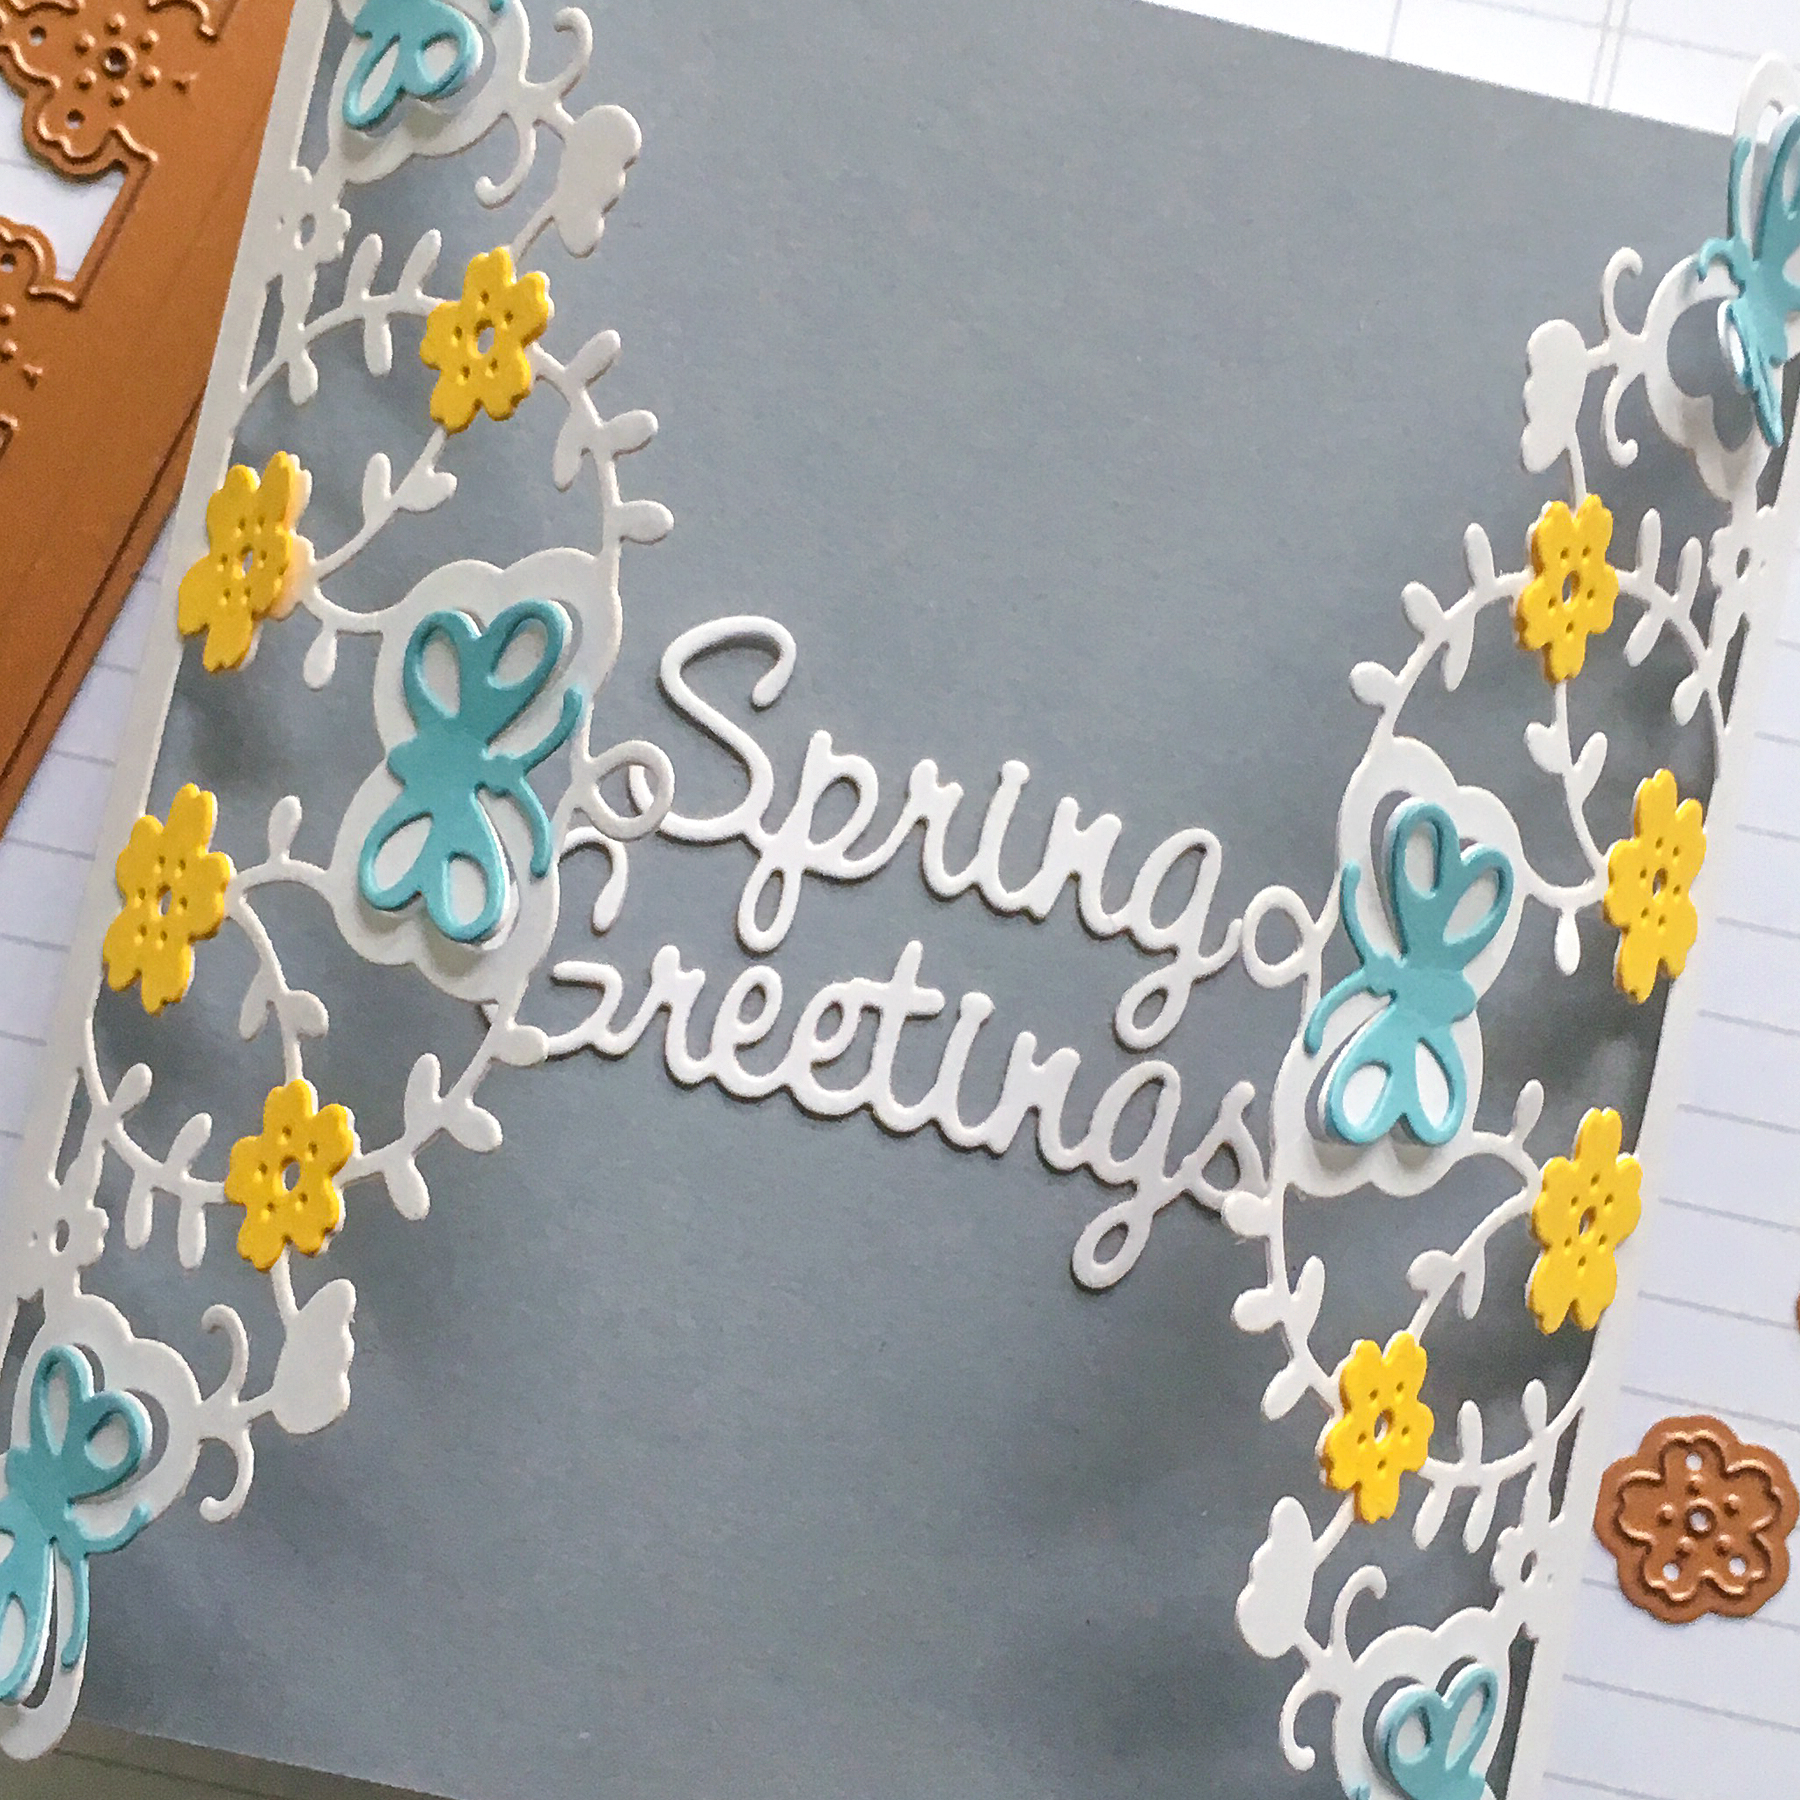
I created the second card in a similar manner to the first simply switching up the colors (this time more subdued) and the orientation (portrait vs. landscape). Additionally, I adhered the Spring Greetings sentiment, cut with the dies included in the set, inside the gatefold panels. I cut the sentiment twice for extra depth.
I have never made a gatefold card before, and I was pleasantly surprised at how easily the cards came together. There are so many variations possible with this set! You can forgo cutting the extra pieces, for example, and just use the panels or you can add even more color using the dies for foliage.
Looking for more inspiration? Head over to the Spellbinders blog.
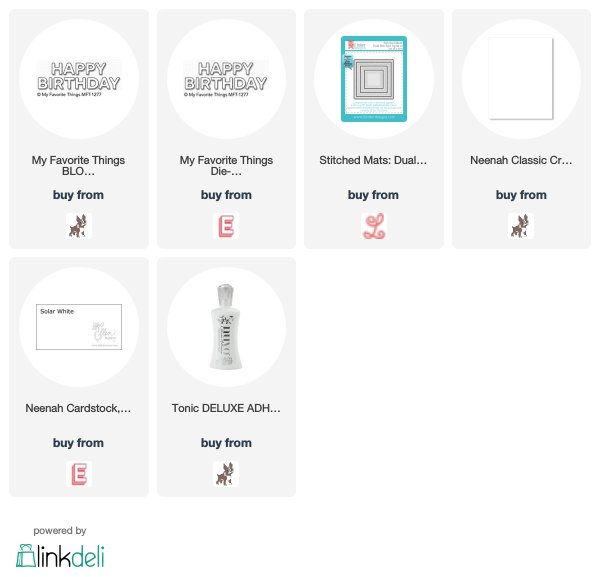
Supplies: