Hello! Welcome to the Taylored Expressions December 2017 Release! All of the products that we have been sharing this week are now available in the TE store!
Before you head off to shop, I have two more CAS Valentines to share!

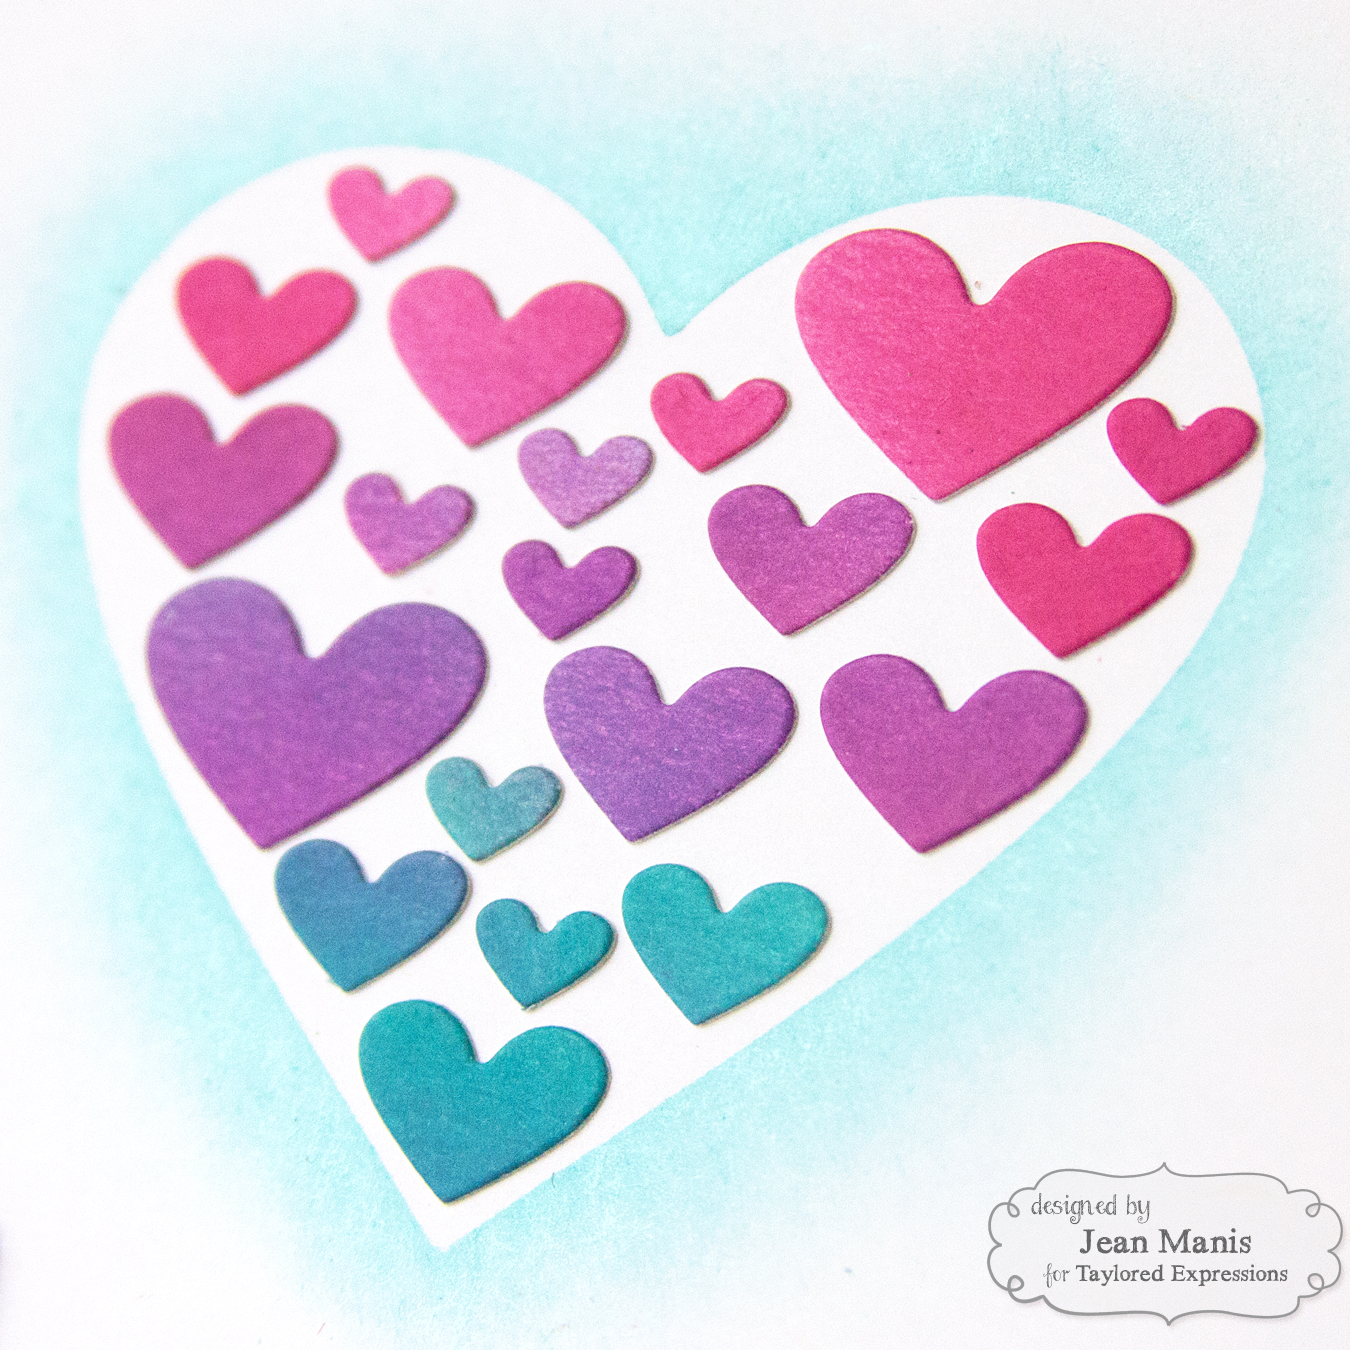
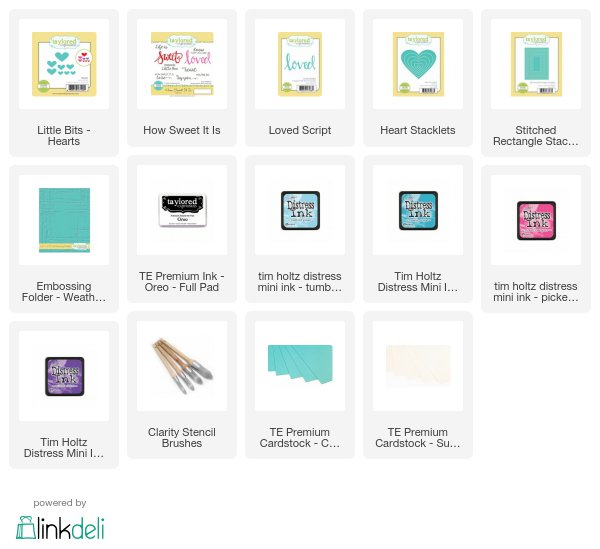
To begin, I colored Sugar Cube cardstock with Peacock Feathers, Picked Raspberry and Wilted Violet inks and cut the colored cardstock with the Little Bits – Hearts die several times. Next, I stamped a Sugar Cube cardstock panel with the How Sweet It Is sentiment. I created a mask from masking paper, cut with a die in the Heart Stacklets set, positioning it above the stamped sentiment. I used one of the Clarity Stencil Brushes to apply the Tumbled Glass ink on the outside of the mask. I then removed the mask and added the die-cut hearts. To finish the sentiment, I added the die-cut Loved sentiment.
Supplies:
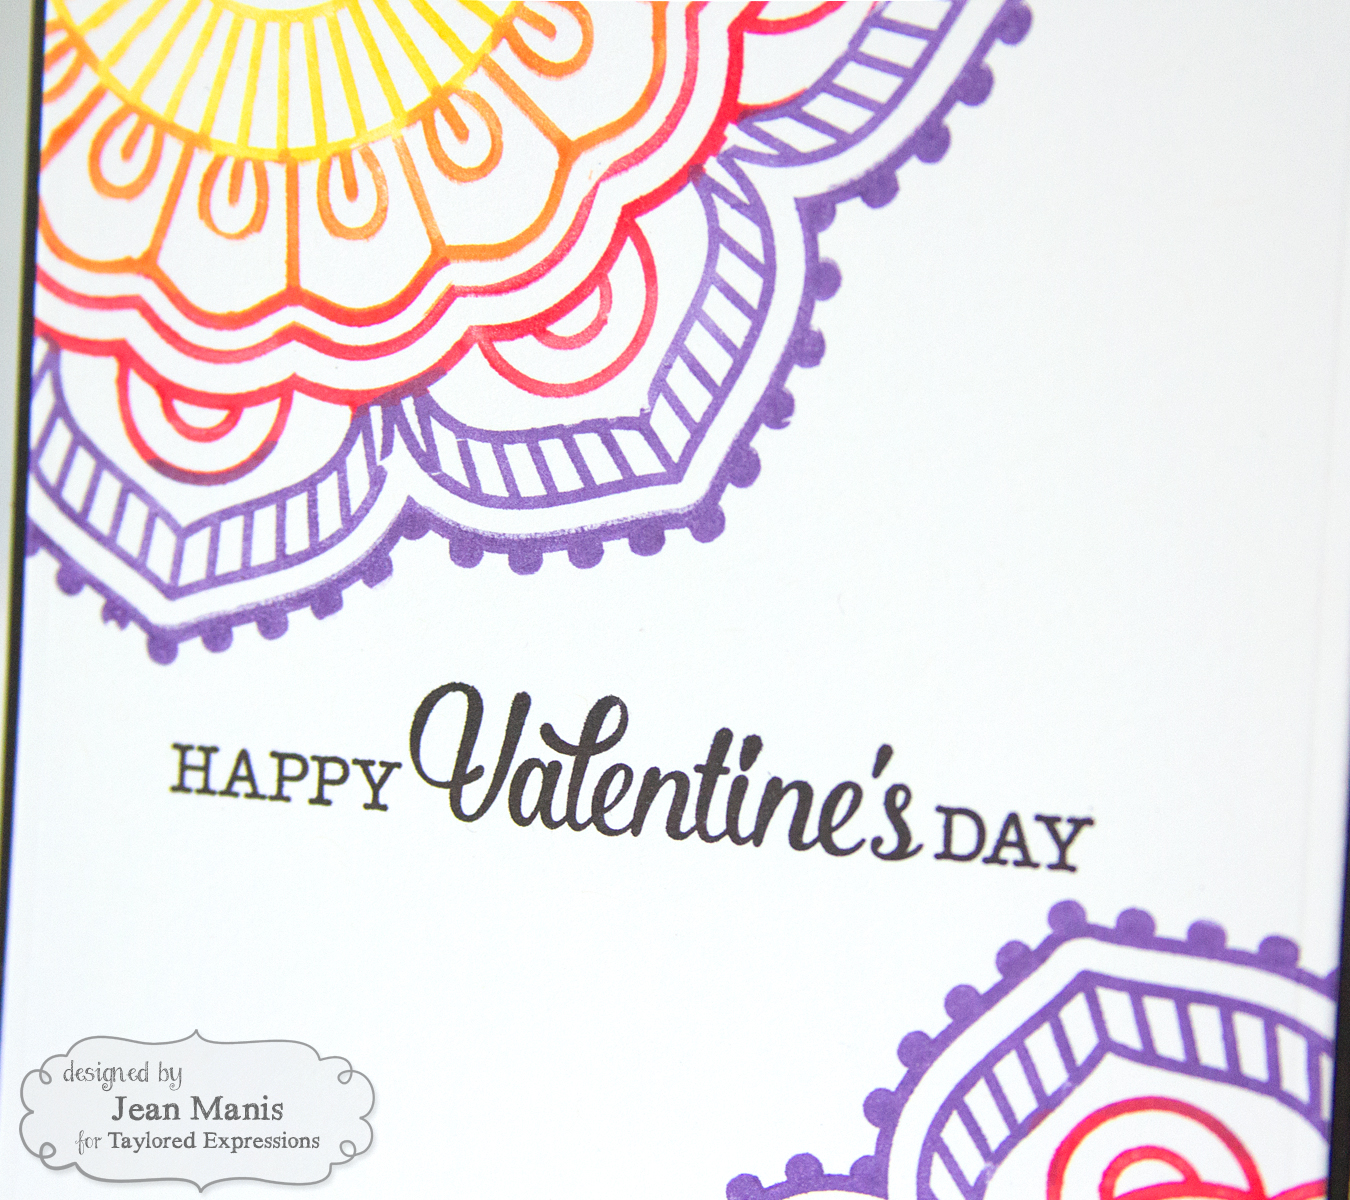
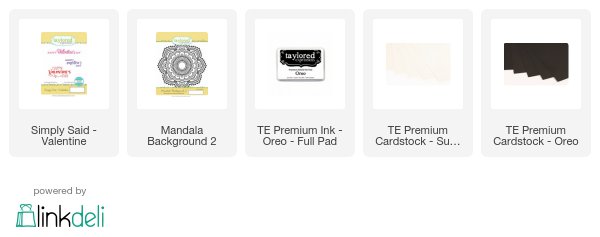
My second projects showcases the Mandala Background 2 stamp paired with one of the sentiments in the Simply Said – Valentine stamp set on a CAS Valentine’s Day card.
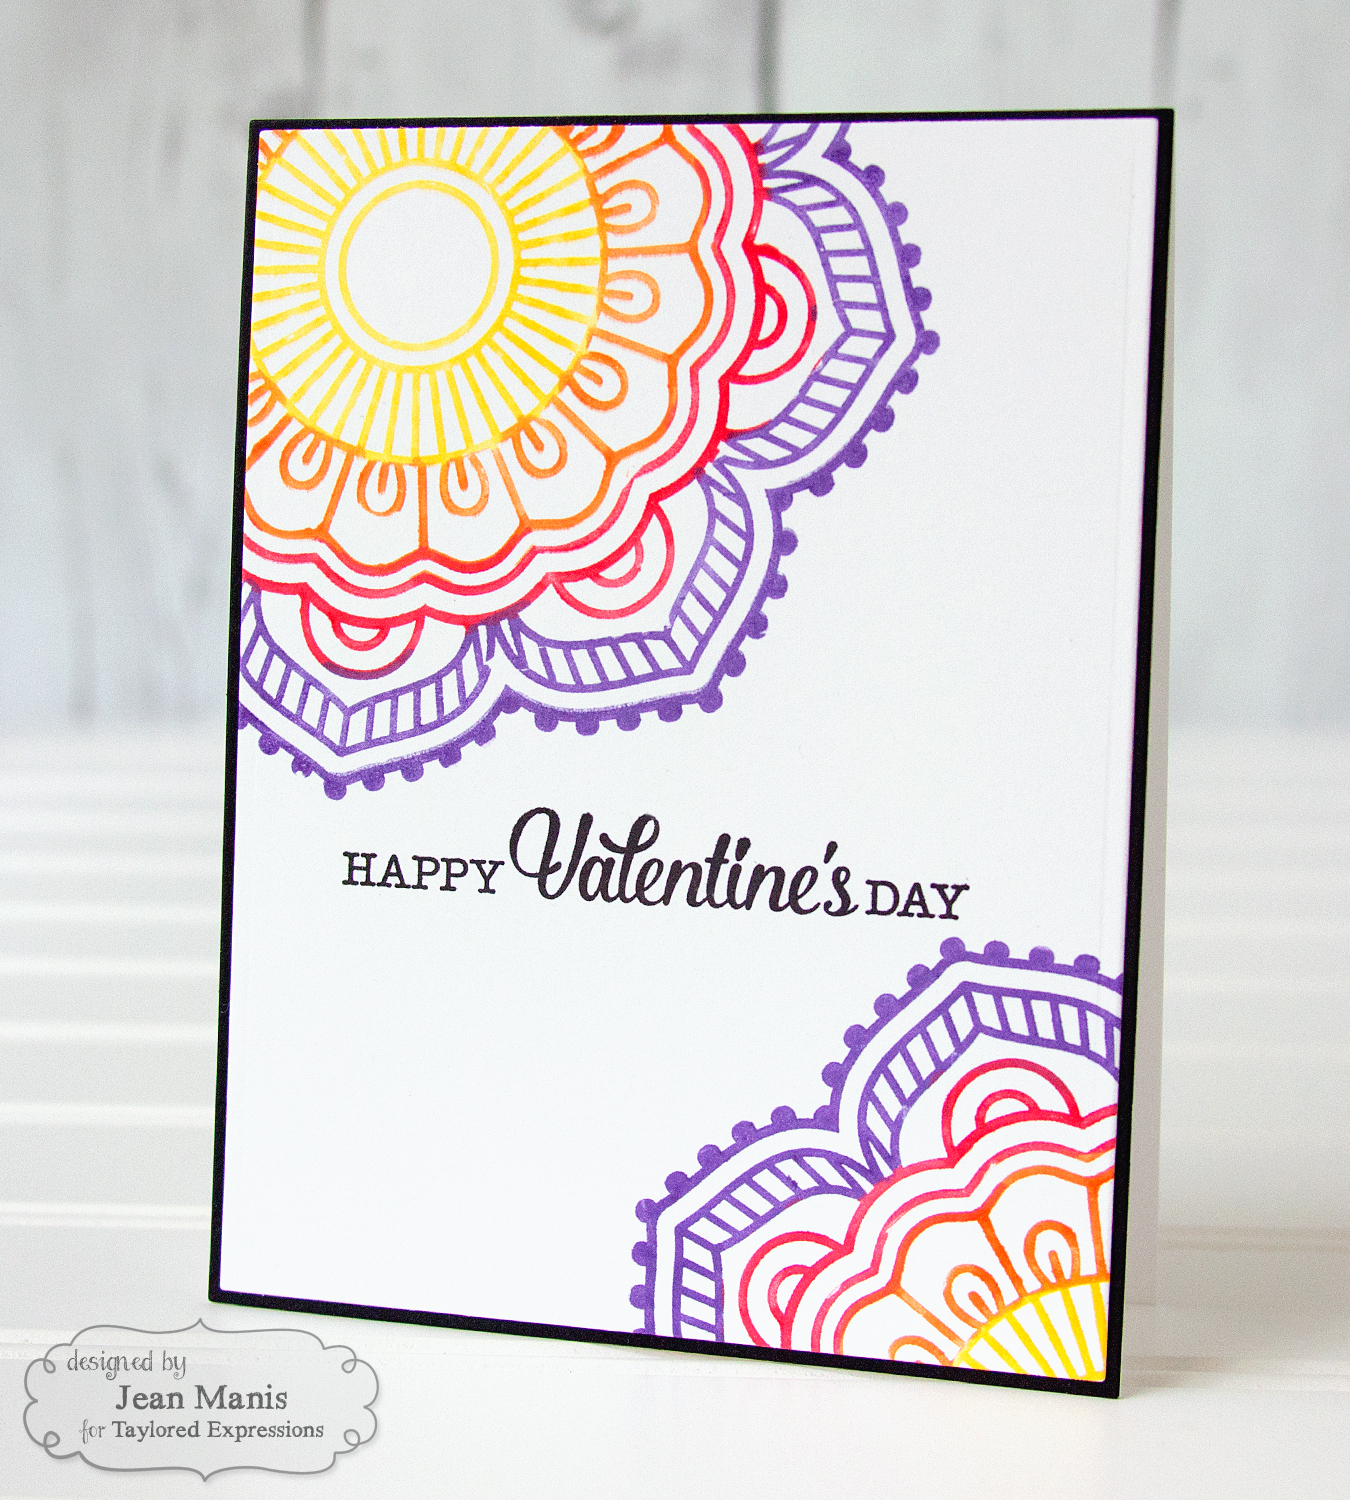
To begin, I stamped the Simply Said – Valentine sentiment in Oreo ink on Sugar Cube cardstock. I then stamped the Mandala Background 2 stamp by coloring it with ink markers in two of the corners, varying how much of the stamp I showed. I colored sections of the background stamp one at a time with ink markers in yellow, orange, red and purple.
Supplies:
Thanks so much for stopping by! To see more projects with the new release and new product information, head over to the TE Blog for a complete list of the participating designers!


 I have already started to envision using the airplane someway in a Valentine’s Day card.