Looking for my Ellen Hutson Mix-It-Up Challenge post? It’s here.
Welcome to the Taylored Expressions April 2016 Release! All of the products that we have been sharing this week are now available in the TE store, HERE!
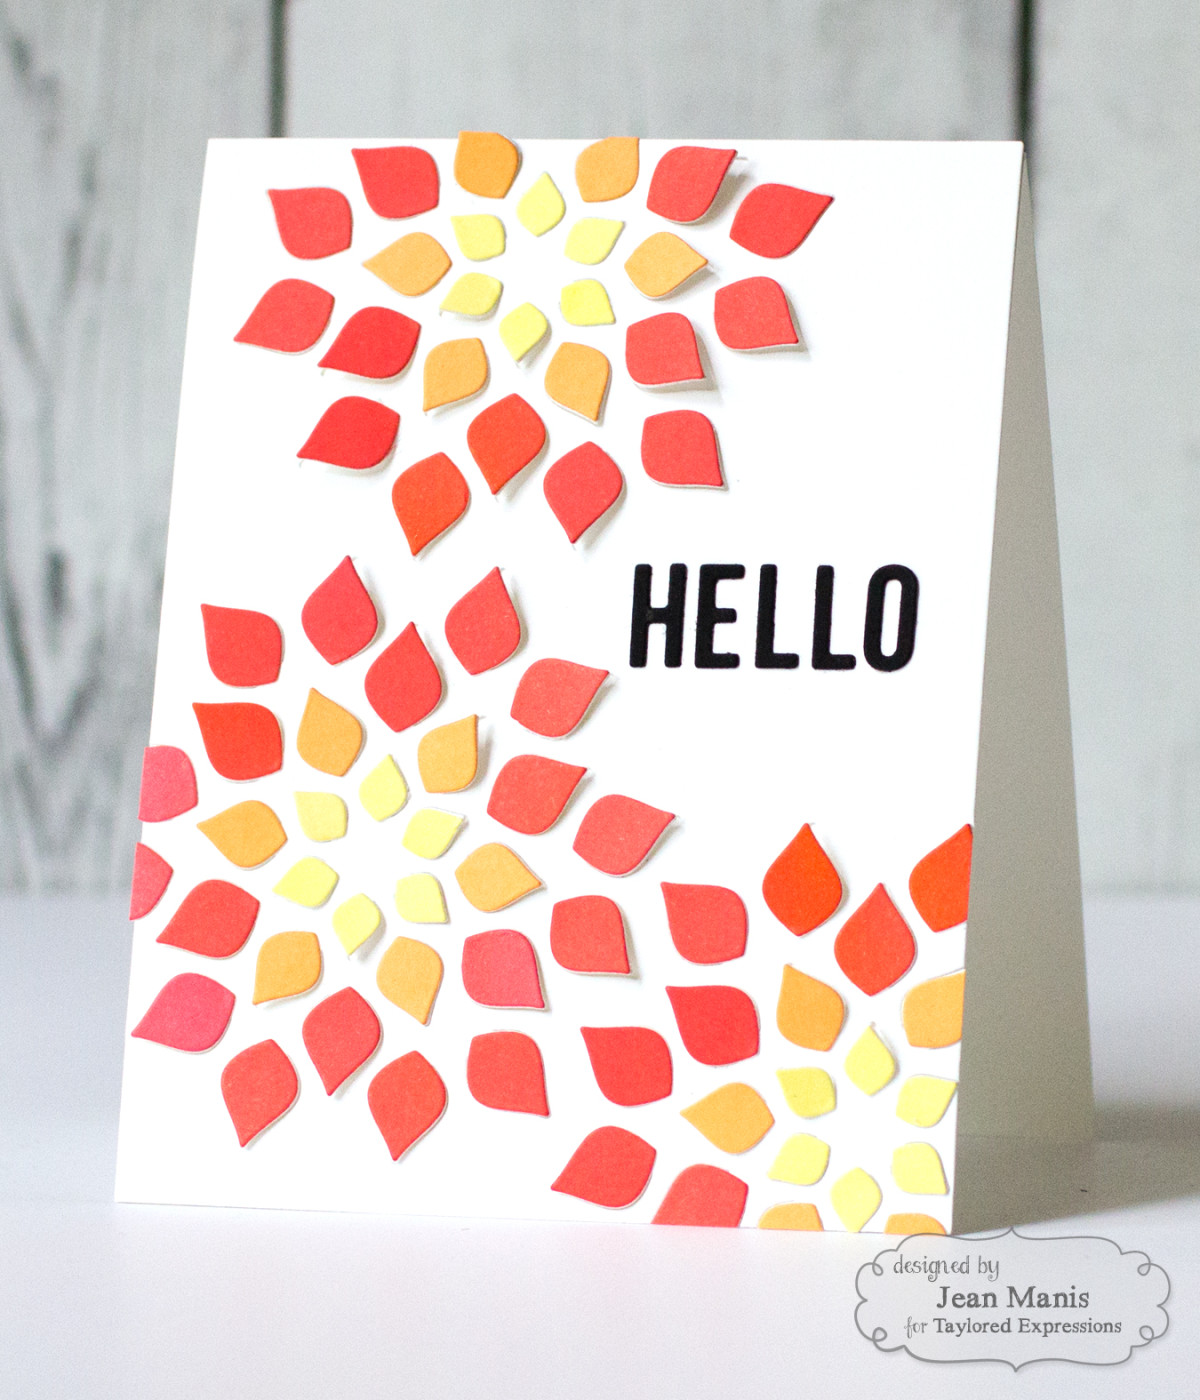
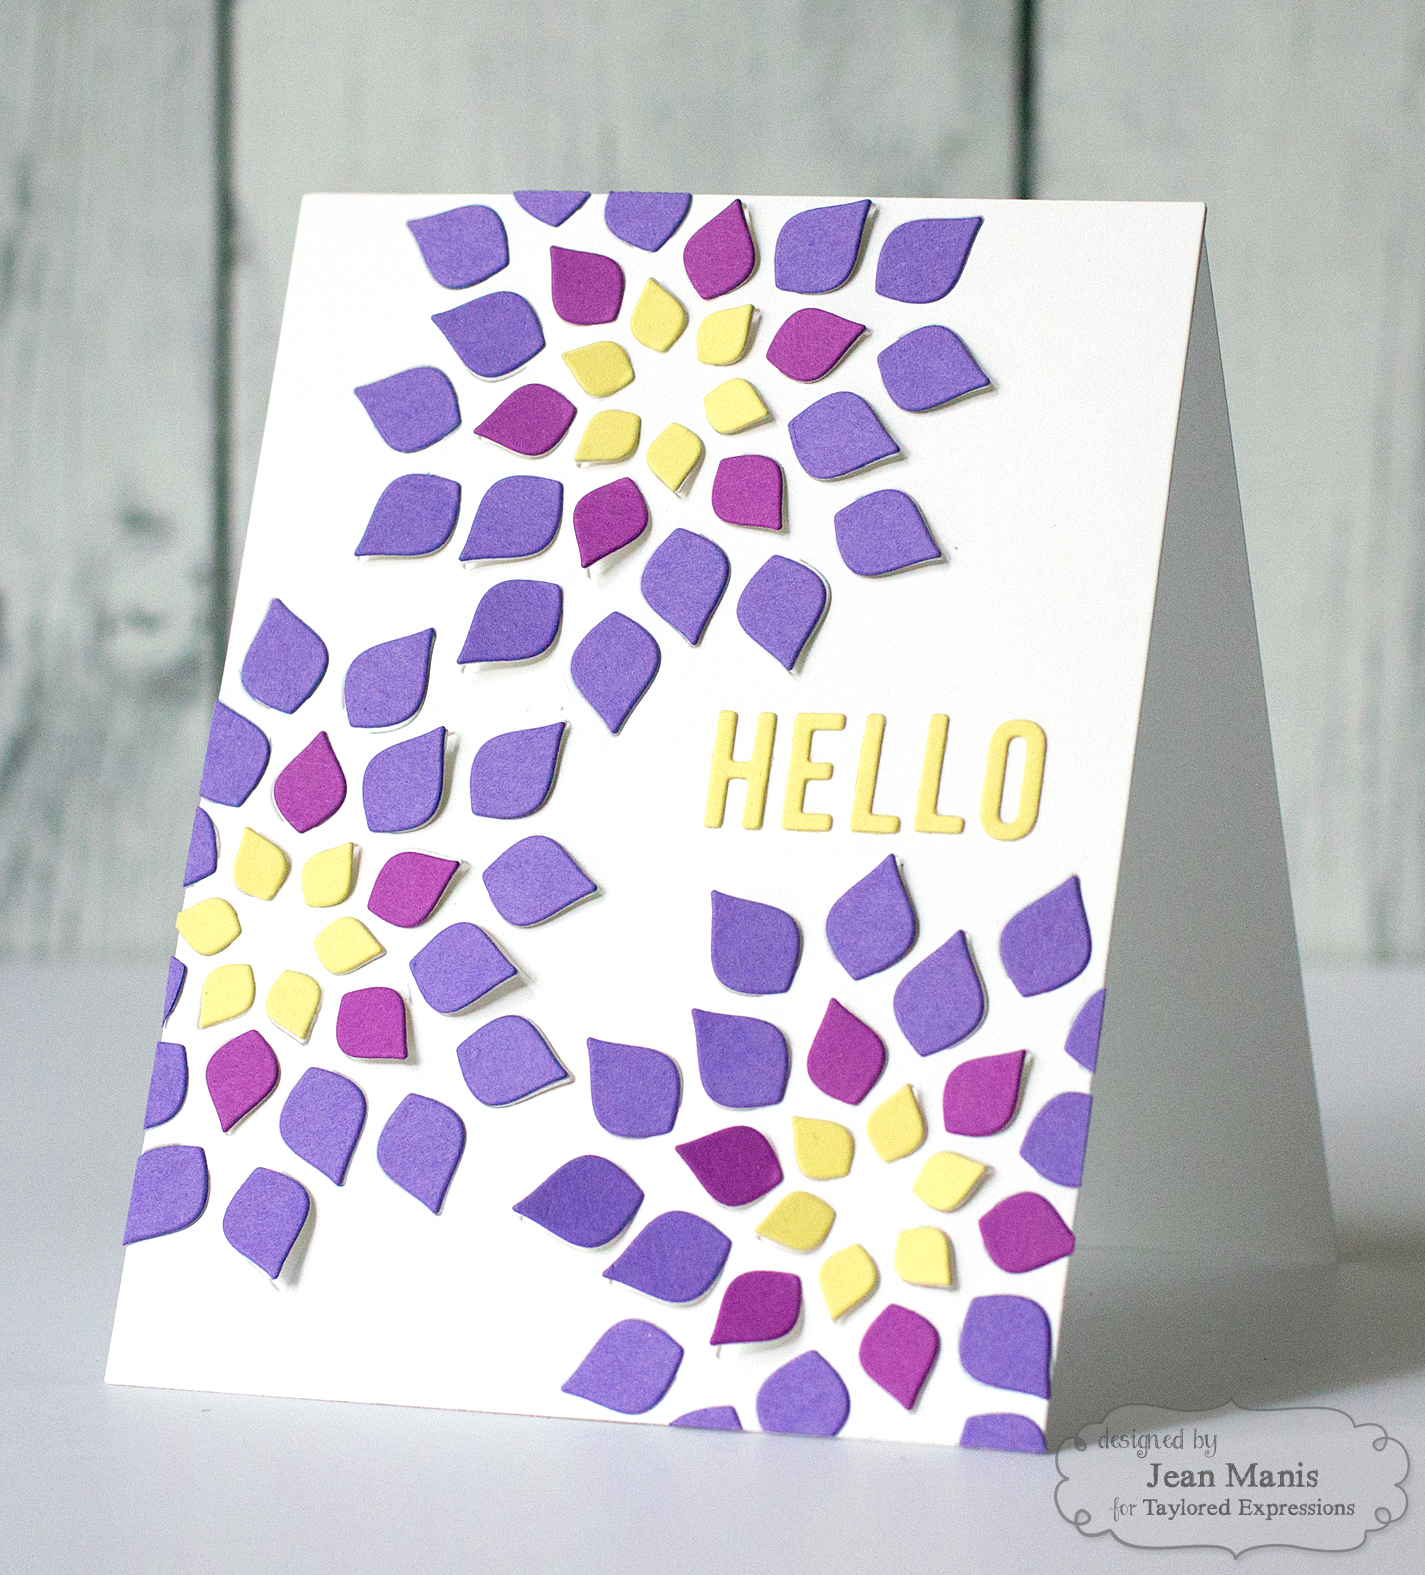
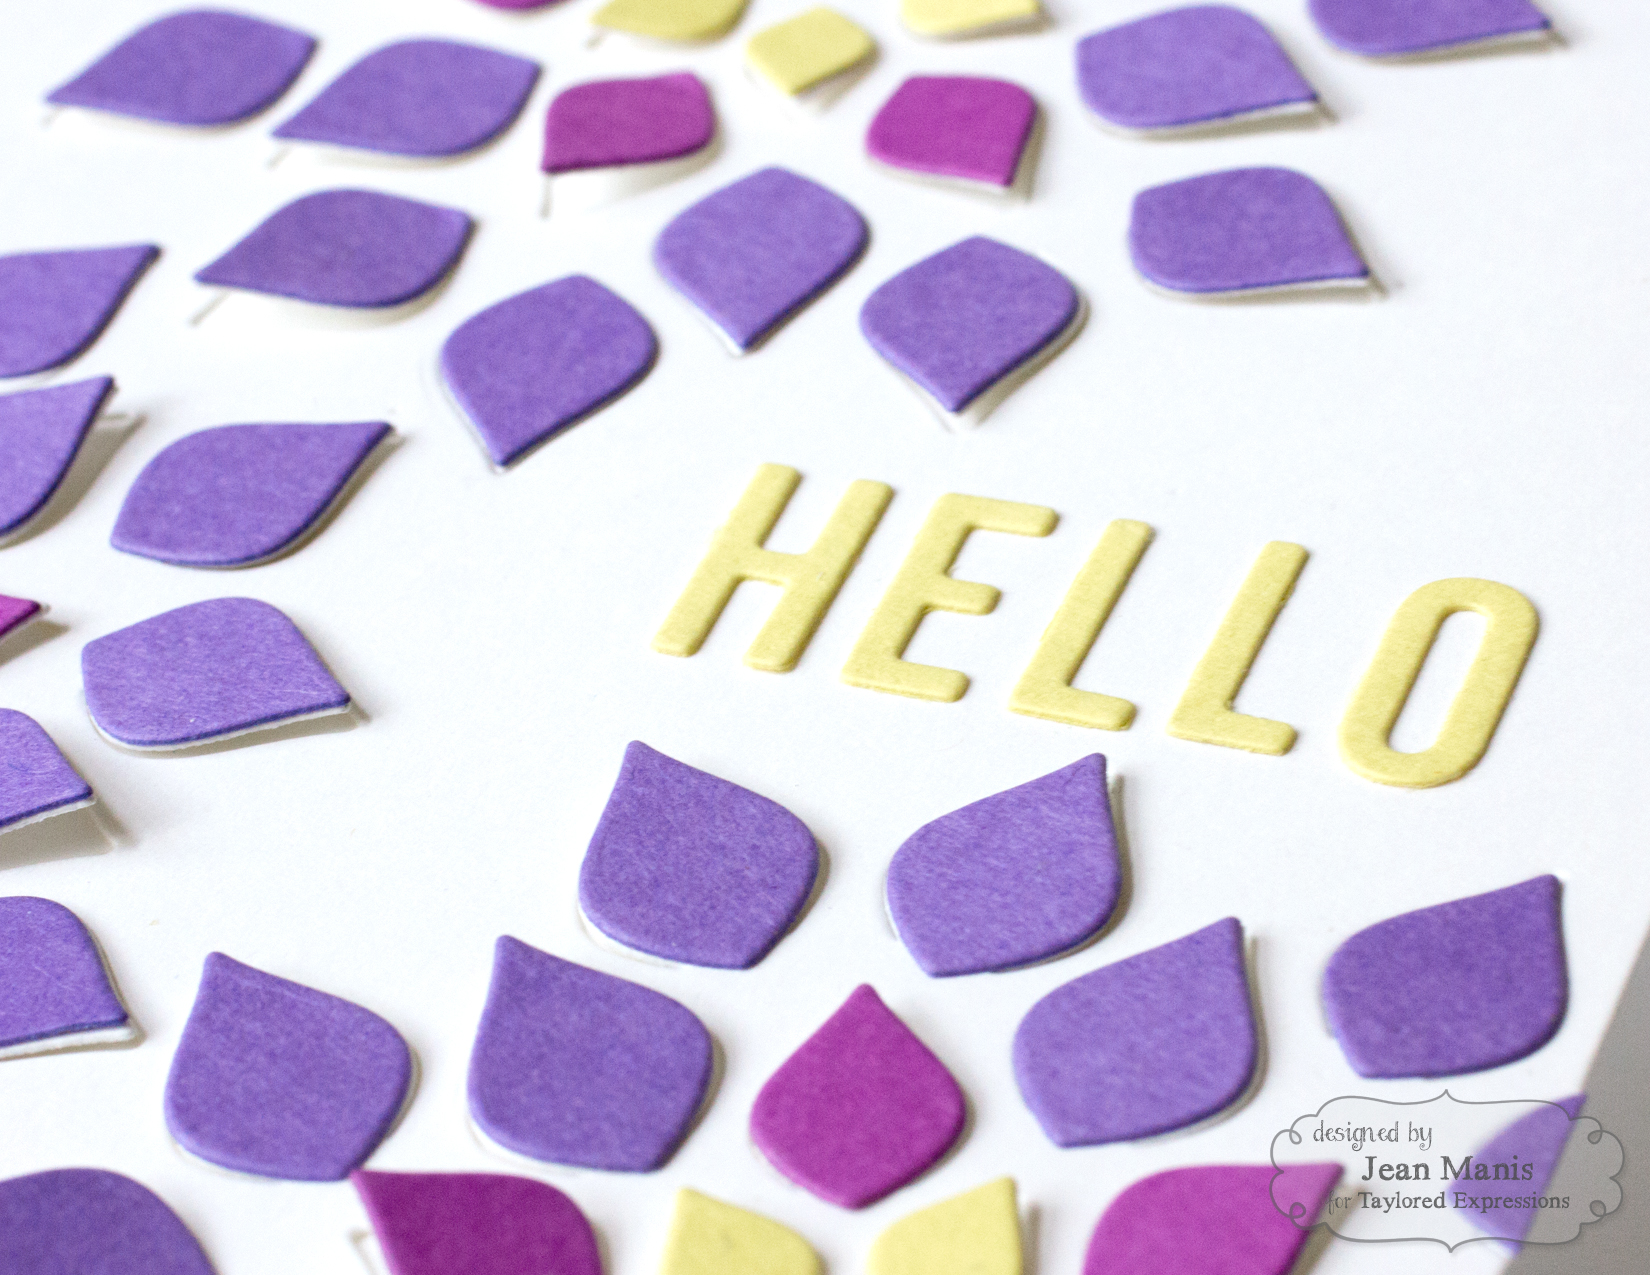
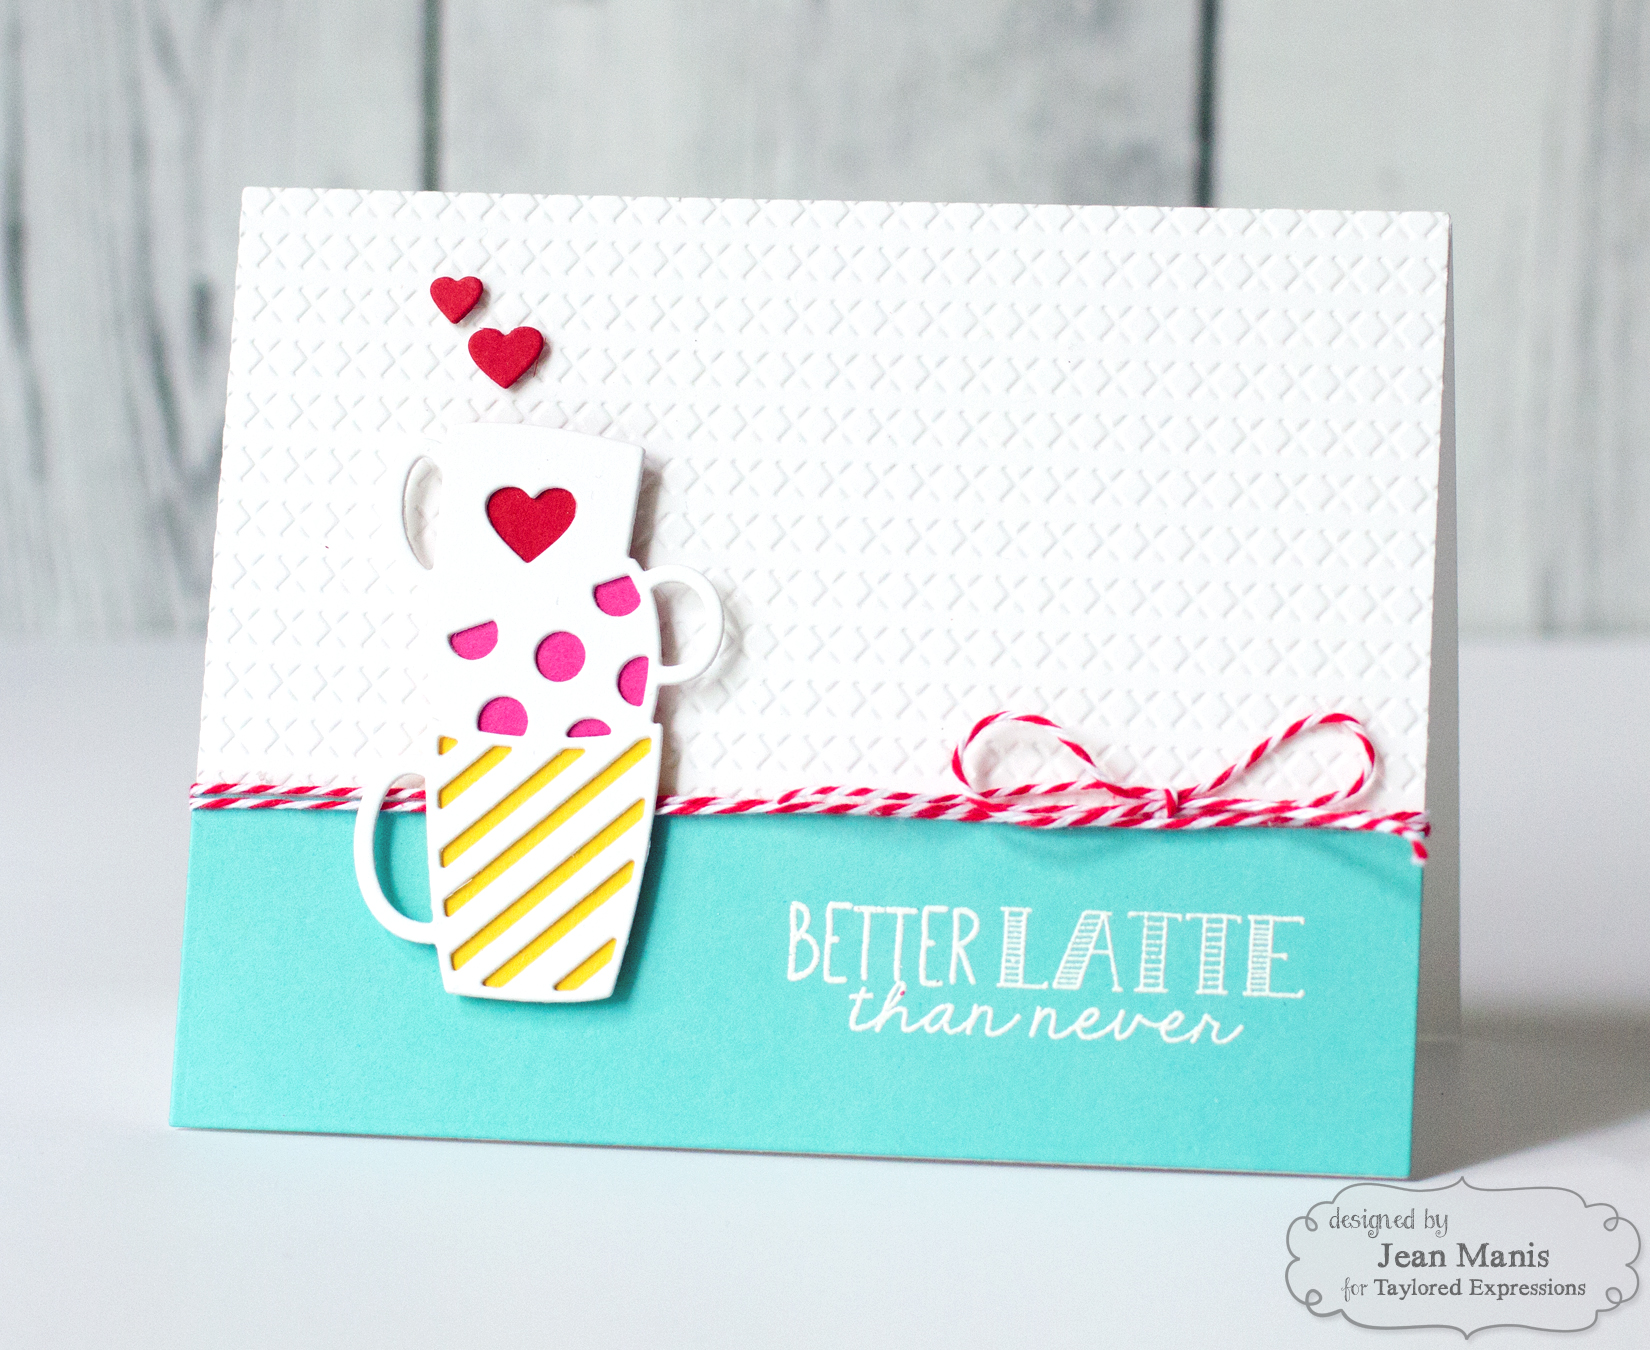
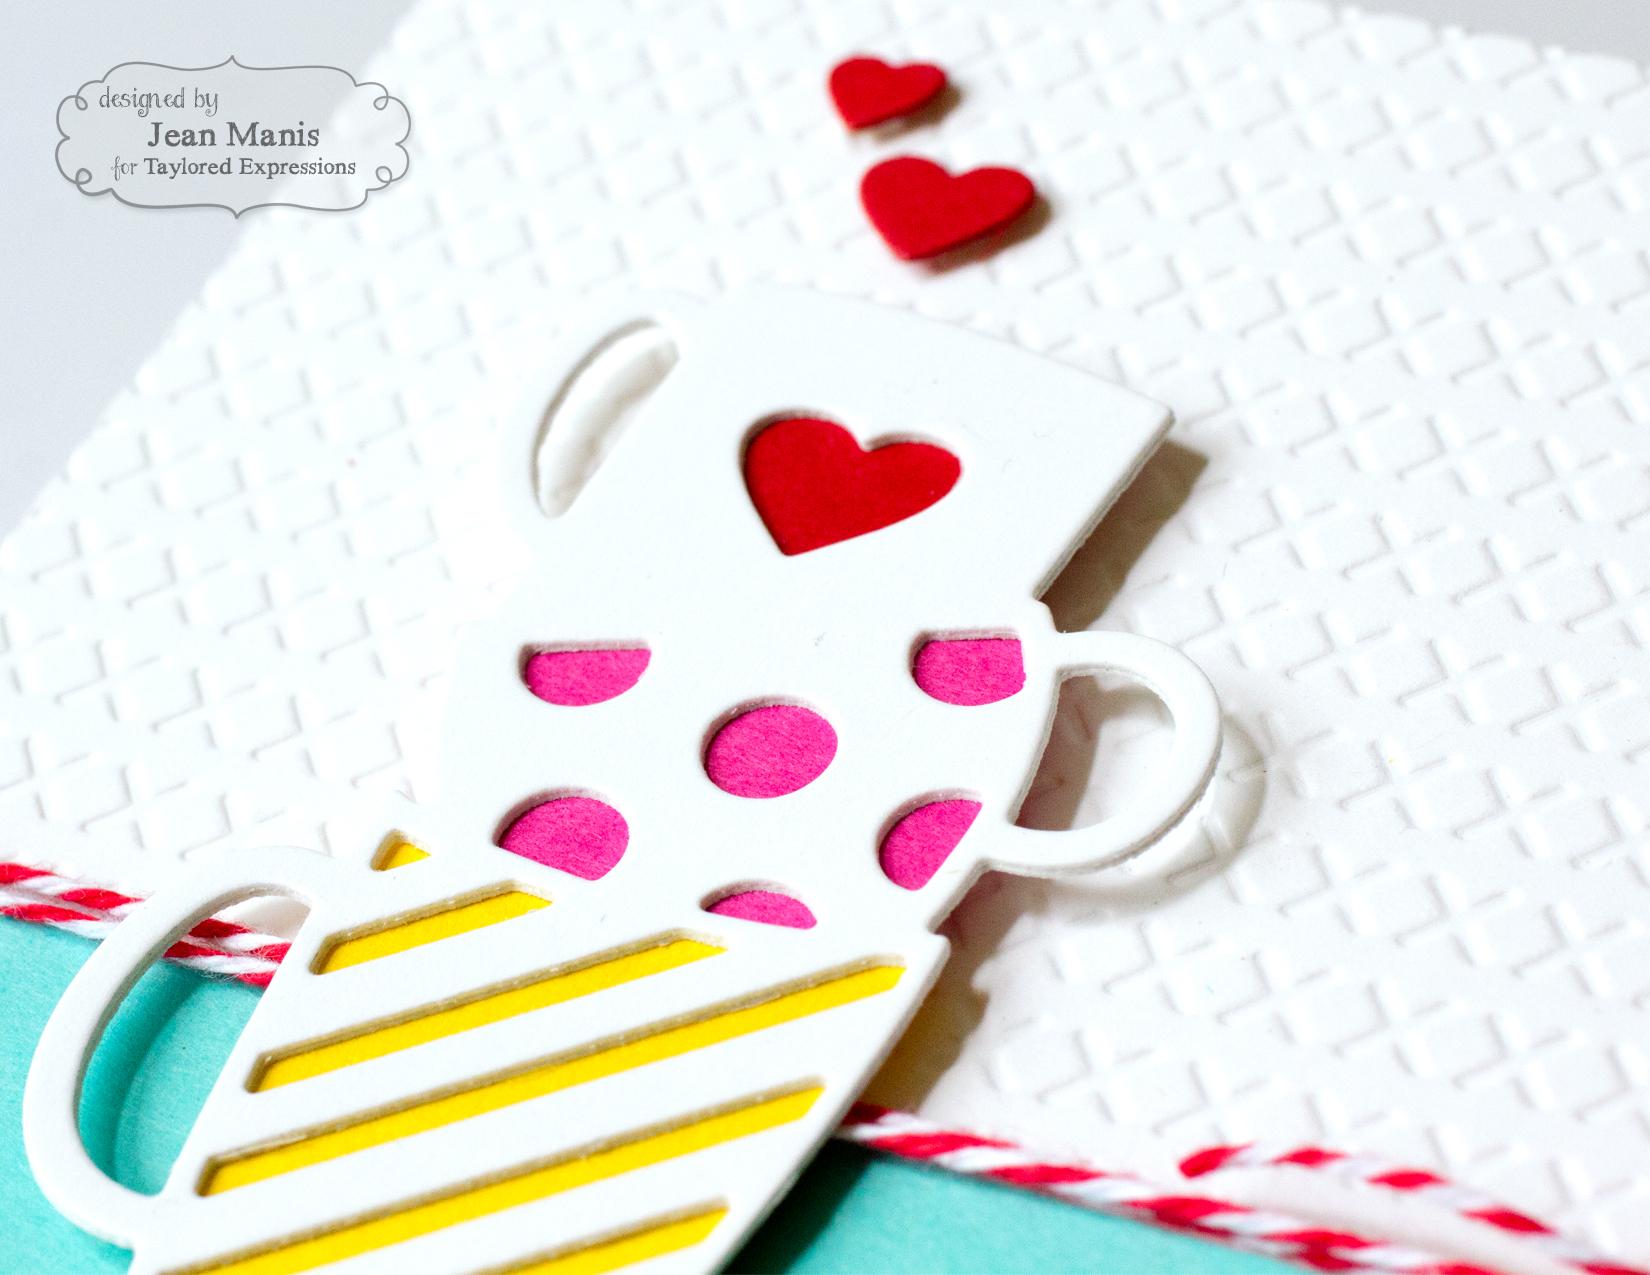
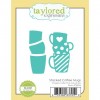
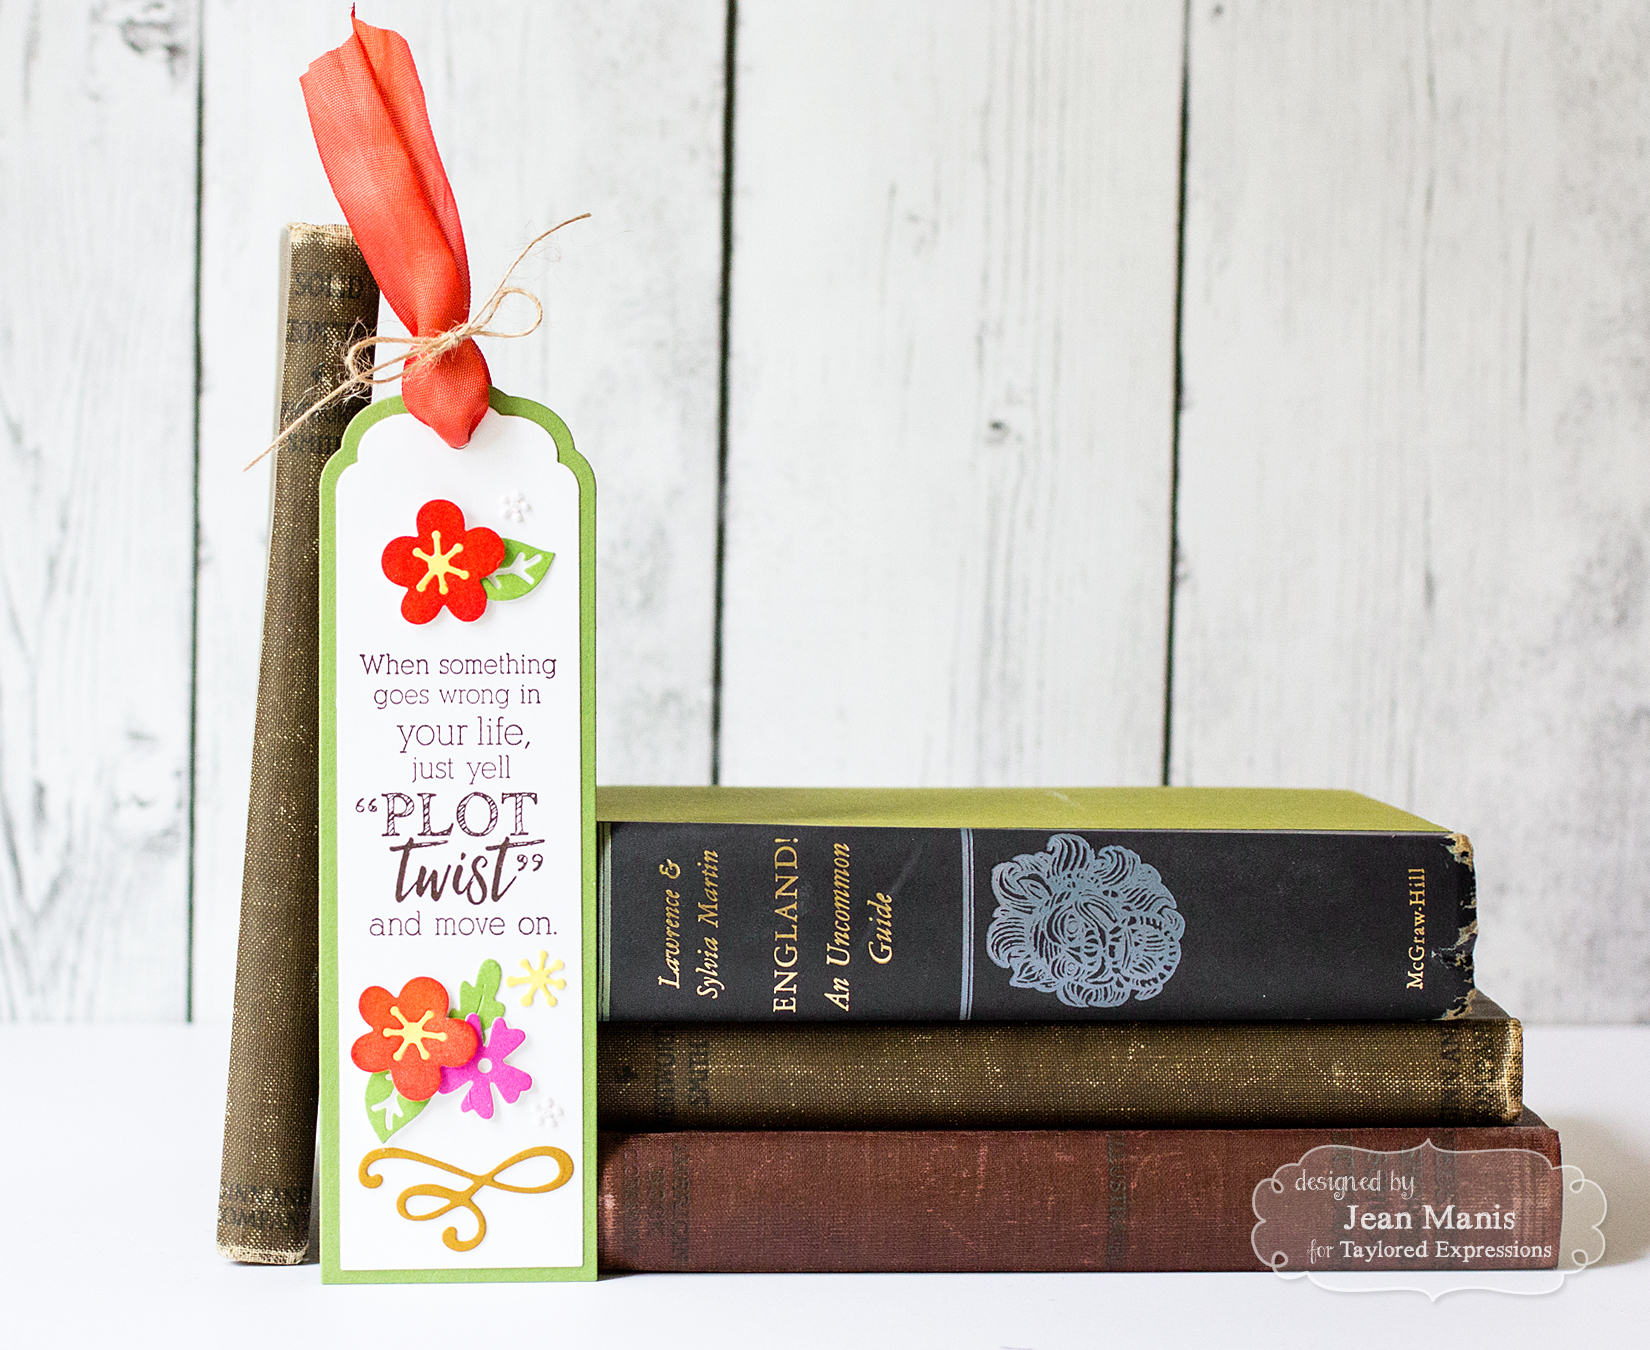
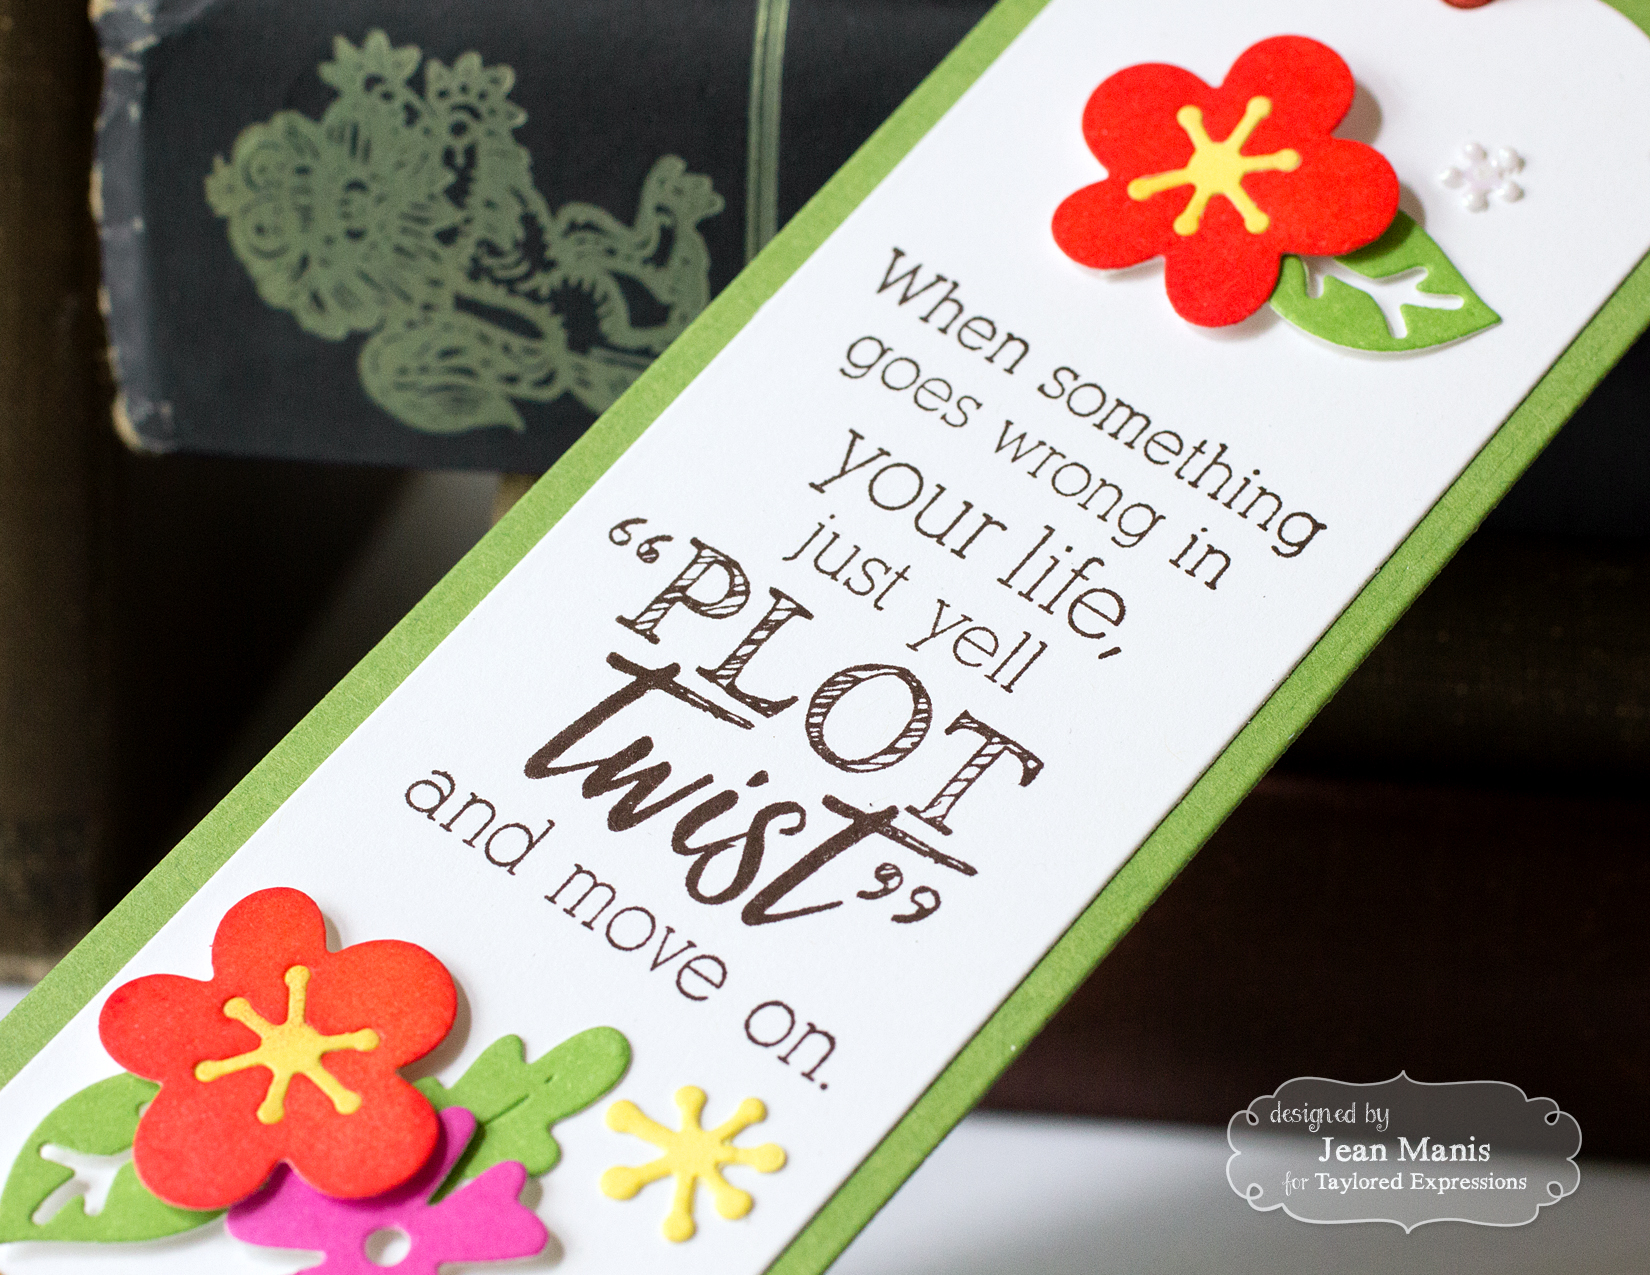
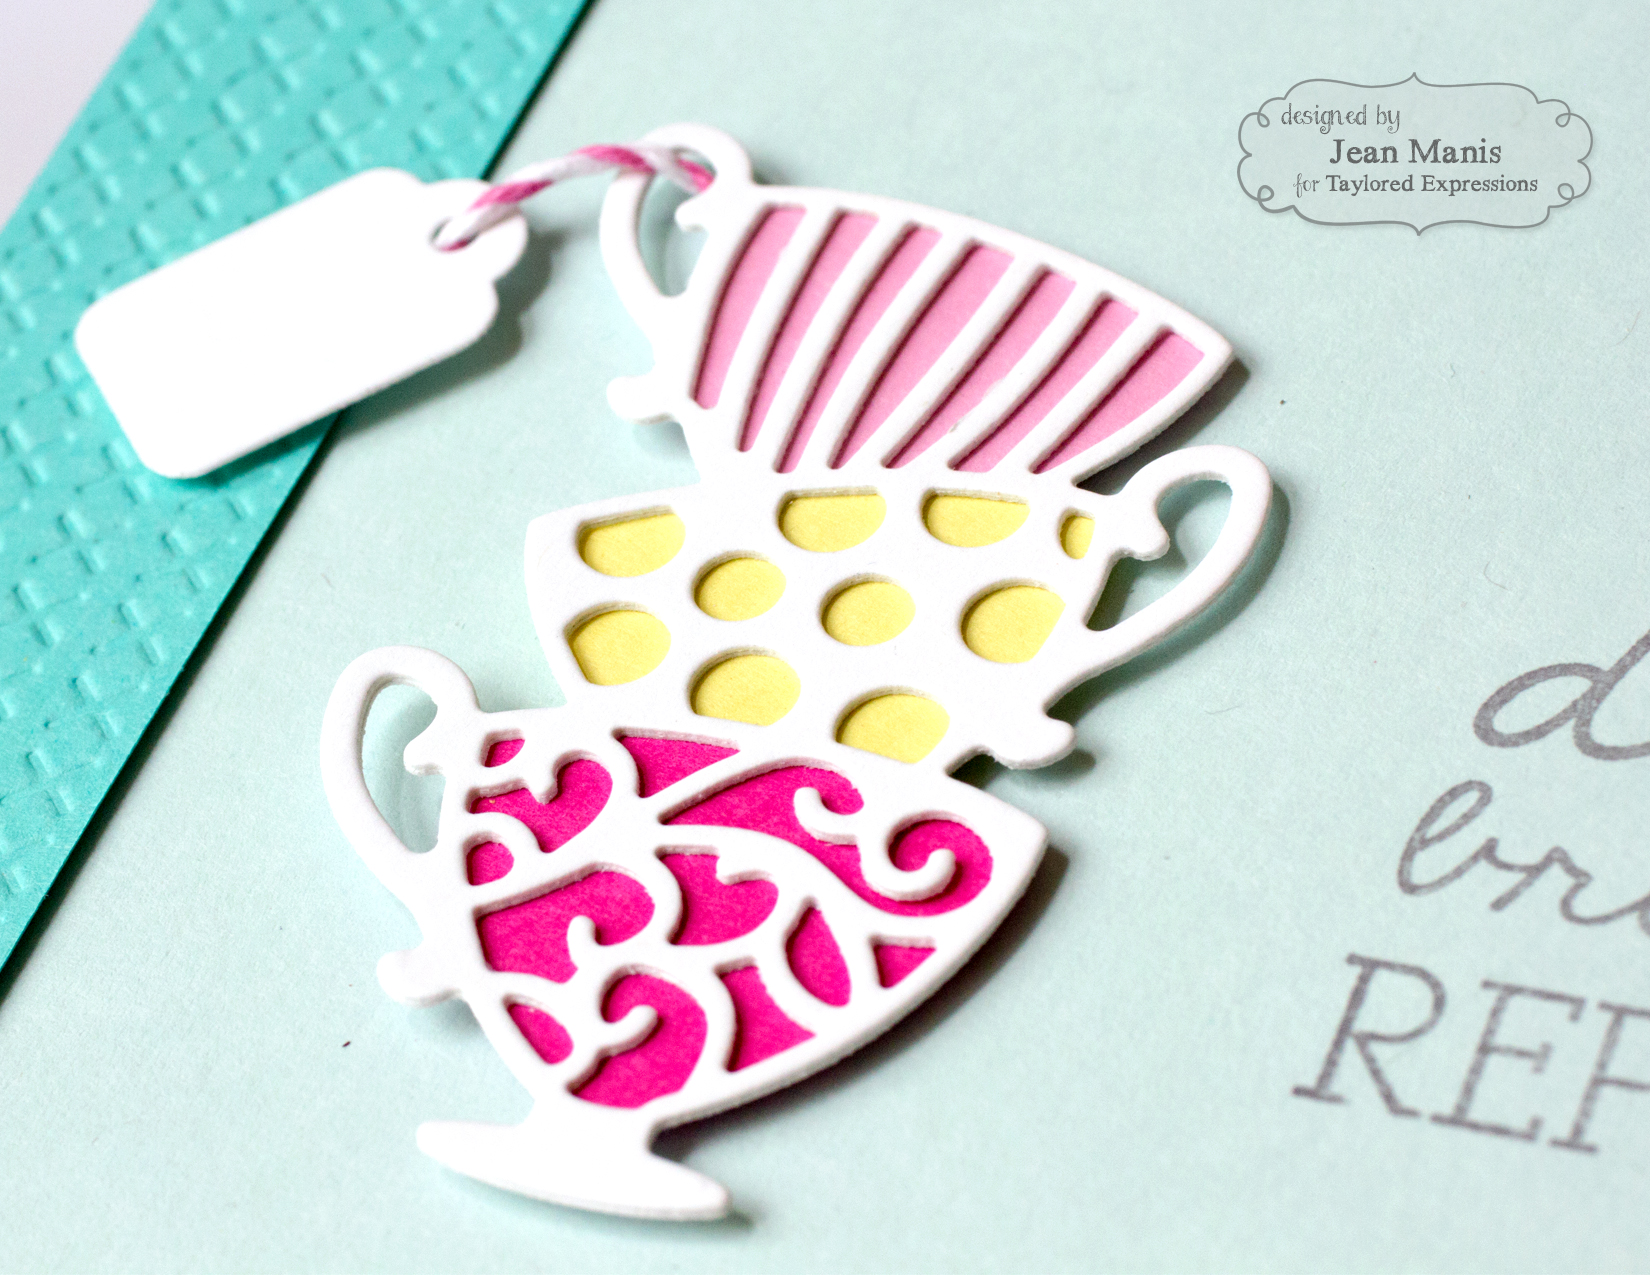
Before you head off to shop, I have one more project to show you! My CAS card showcases the Stacked Teacups die.
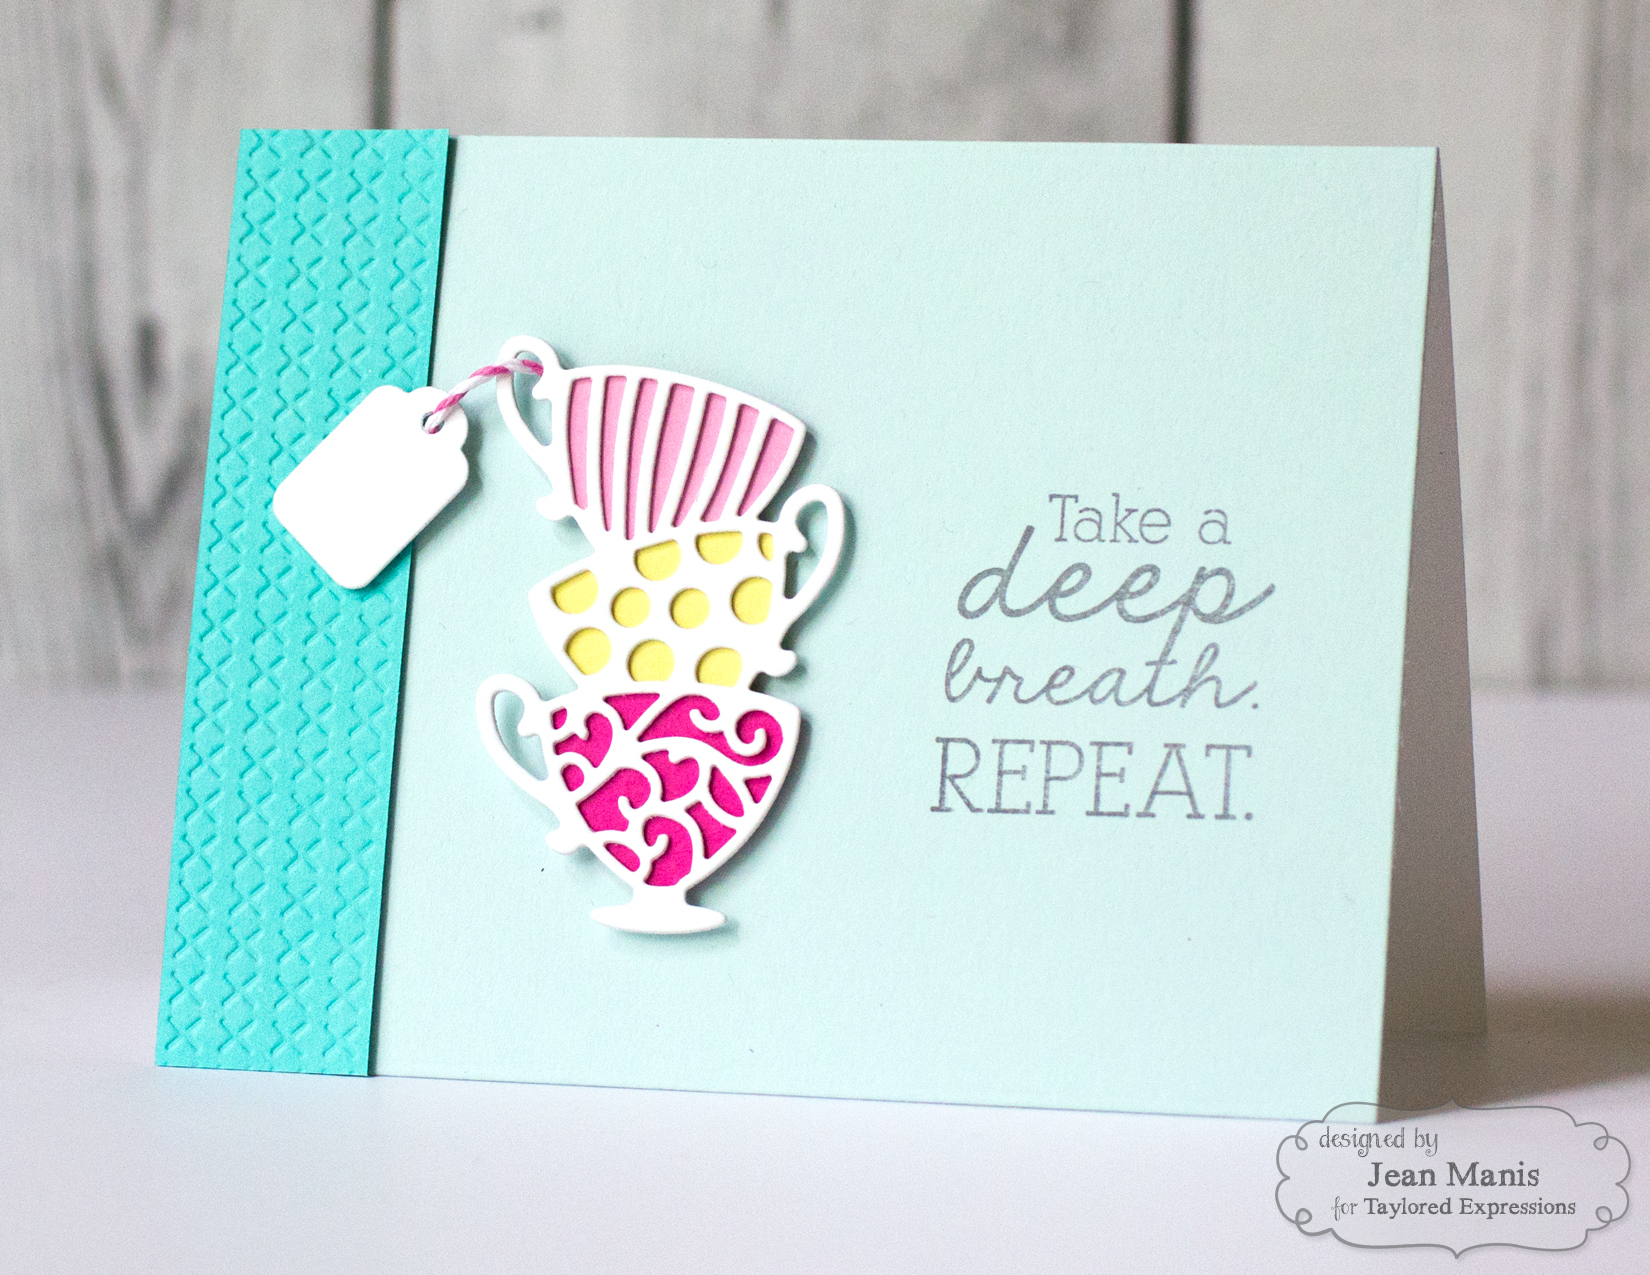
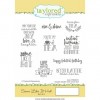
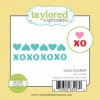
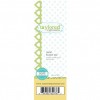
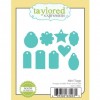
I cut the tea cup stack twice and adhered the die cuts together with liquid adhesive, backing them with their separate die cuts. I added a sentiment from Plot Twist (this set has so many fabulous sentiments!). I used the Mini Tags set to cut a tea bag tag (I cut the tag and then shifted the die to cut the tag down a bit). I used the Cross Stitch embossing folder to deboss a strip to finish off the card.
Thanks so much for stopping by! If you’d like to see more projects and new product information, head over to the TE Blog for a complete blog roll of our participating designers!
Supplies:
 |
 |
 |
 |
 |
 |
 |
 |
 |
 |
 |
 |