Today, I’m sharing a friendship card that could be sent for a variety of occasions. It’s crafted using a recently released Penny Black stamp set and a die cut.
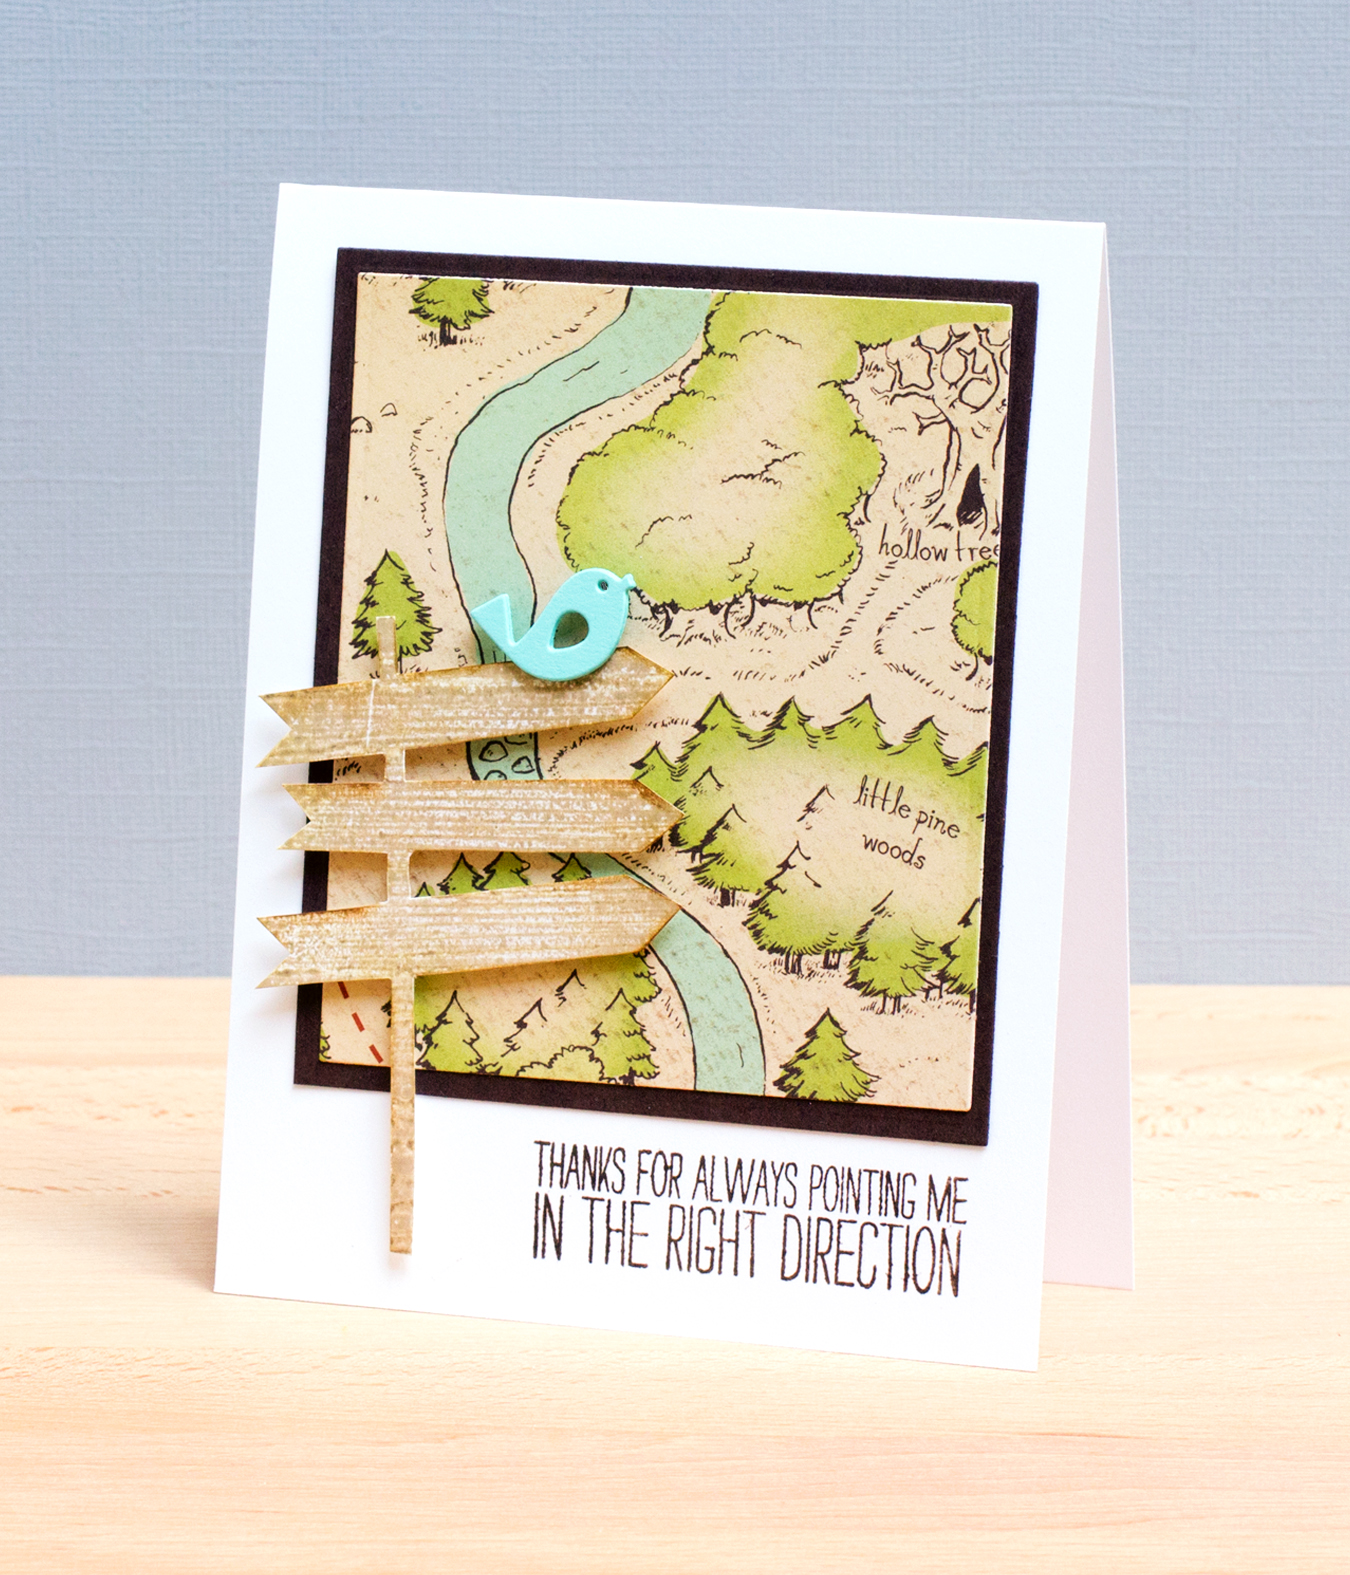
To begin, I inked the sign post from the …Lost Without You [#30-248] stamp set and stamped it into the woodgrain stamp from the Inspiring [#40-113] set, which I had inked with a darker ink color. I then stamped it onto kraft cardstock. I fussy cut the stamped sign post and added distress ink to the edges. The sentiment is also from the …Lost Without You set. To finish off the card, and to tie in the colors from the patterned paper, I cut a bird with one of the Tweet Things [ #51-050] dies.