Mama Elephant Photo Challenge

I couldn’t resist entering the Mama Elephant Challenge this month. The photo inspiration is yummy with pinks, silver, white and jewels.

ME-Challenge

MEPhotoInspiration

I paired the adorable monkey from “Up and Away” with die cuts from “Party Kit.” I covered the white clouds, cut with “Landscape Trio,” with vellum to soften their look. I stamped the monkey, sentiment, and heart with Versamark and heat-embossed using silver powder.

Supplies:


Gray and Pink Valentines

Ever since the beginning of the year, I’ve been thinking a lot about color. I really like gray and pink together. I like gray and red together as well, but while playing with some Paper Smooches stamps and die cuts for Valentine’s Day cards, I preferred the pink to the red.

For my first card, I stamped the Geo-Graphic border with white pigment ink on the charcoal card base and added the frame (the die cuts both a frame and an interior piece) to showcase the stamped heart. The vellum helps accentuate the heart.

FramedLove

For the second card, I used the “hello” from the Quote tag die cut set – really like the font of this sentiment die, as well as the “love” in the stamped heart above. The Lifestyle Crafts embossing folder leaves a wide border for a 4 1/4″ x 5 1/2″ card (and the hearts aren’t oriented to do a top-folding card) so I trimmed the embossed panel and adhered it to a 4 1/4″ x 5 1/2″ card base.

HelloValentine

There’s a challenge over at the Papers Smooches Sparks site – this week’s theme is “Anything Goes.” I’m entering the second card in the challenge.

Supplies:

Love Struck

Sharing a “just because” Valentine’s Day card today, using some of the recently released Paper Smooches products.

LoveStruck

I stamped and colored the “Love Struck” arrows and cut them out with the companion die set. I colored them with Copics using a blue/pink/red color scheme. Honestly, deciding how to color arrows was the most complicated aspect of making this card!

Supplies:

Penny Black Valentines

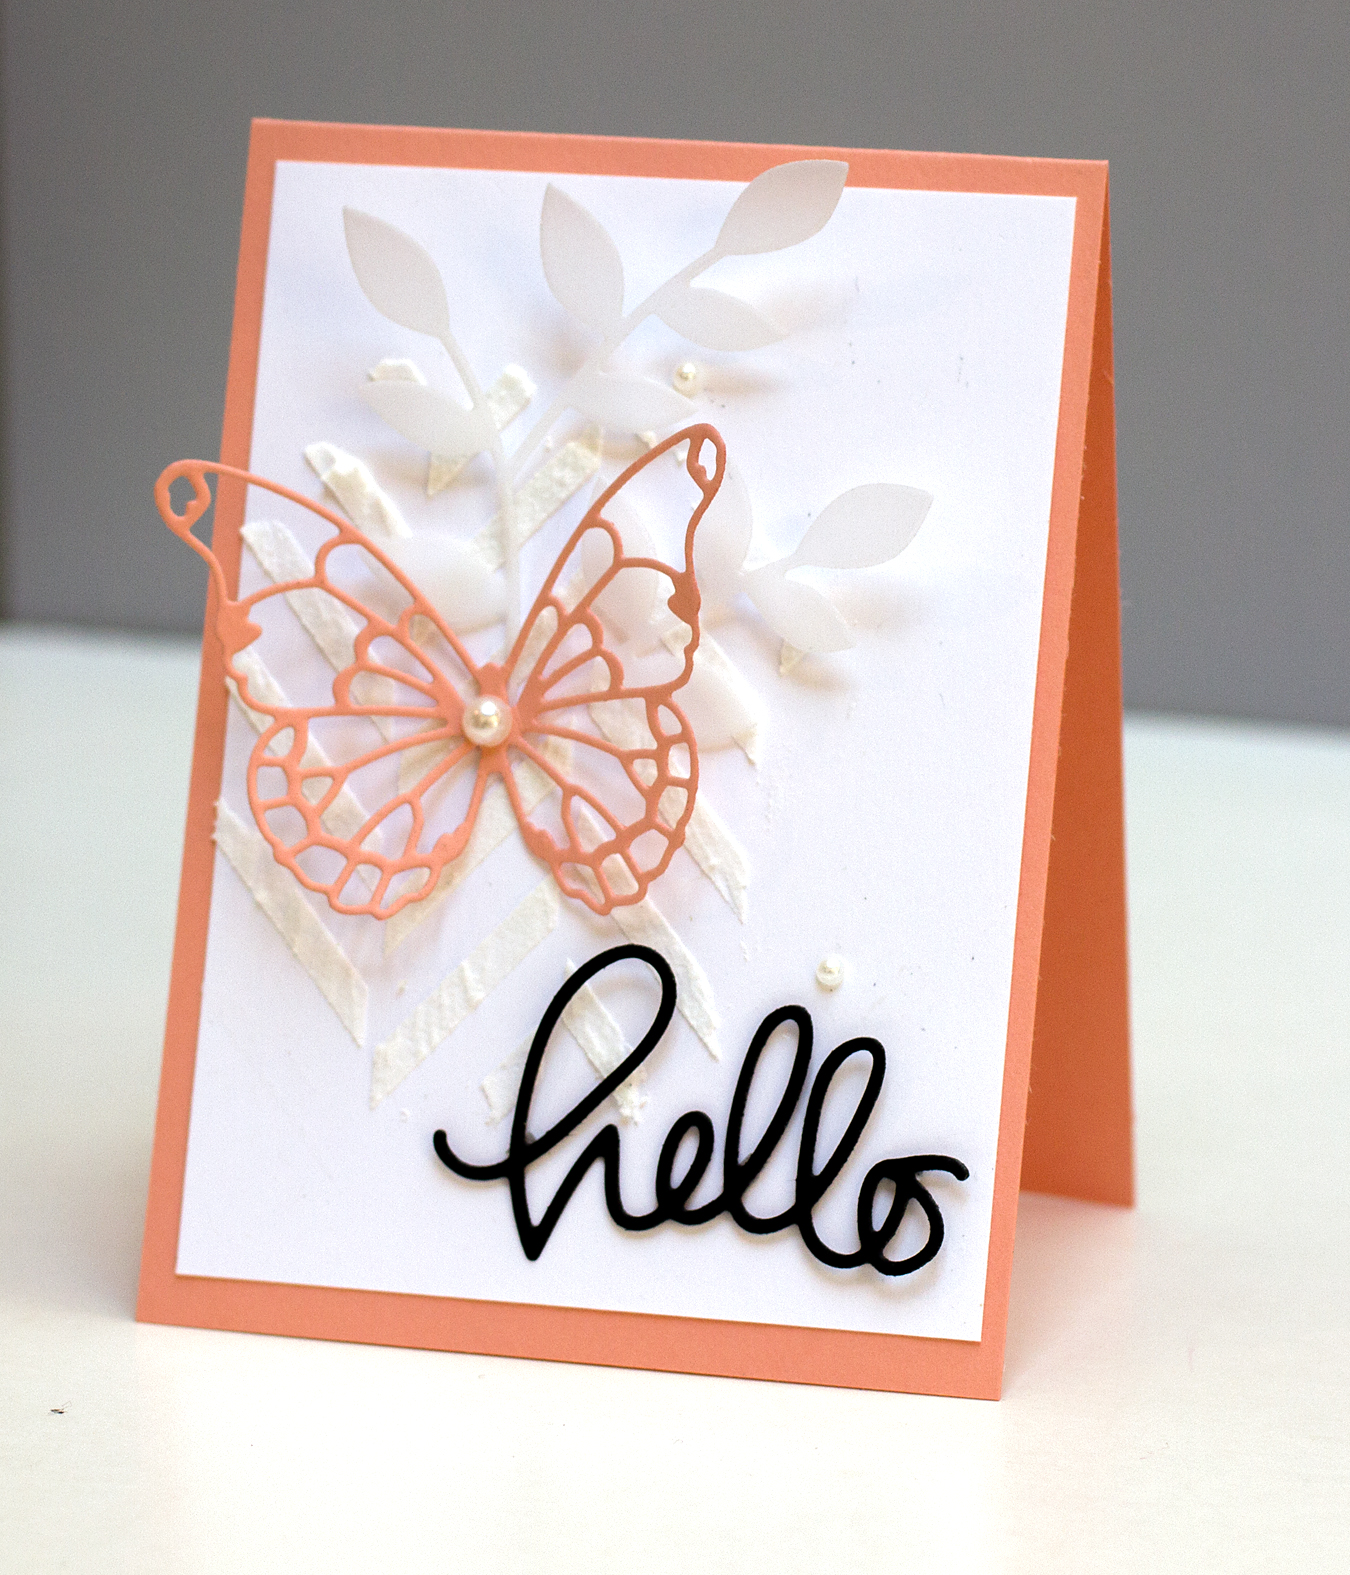
Happy Monday, everyone! Today, I’m sharing two cards made with the same design, both using the Penny Black Love Expressions die cut “I Love You” [#51-025].

ValentinesILoveYou1

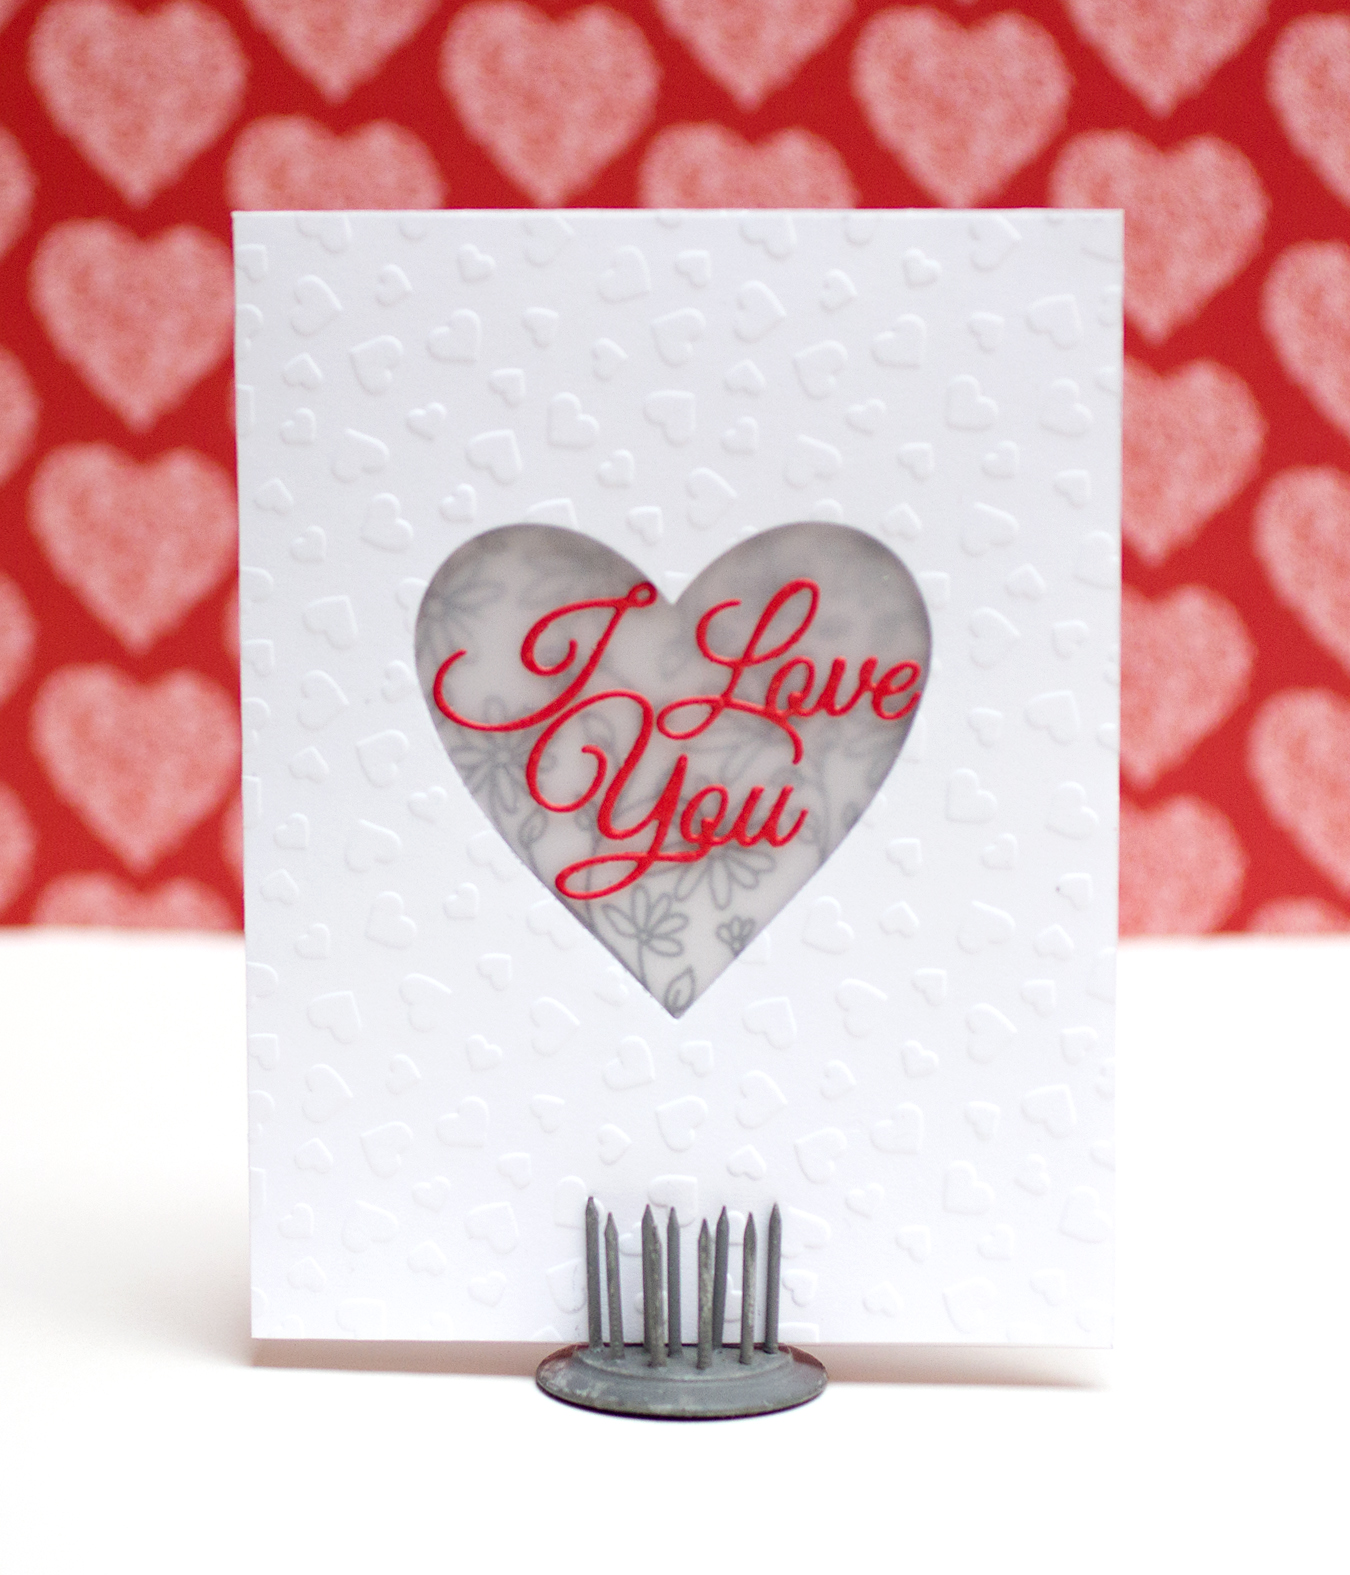
For my first card, I used a heart-embossed white cardstock. I die cut a heart from the front panel and adhered acetate and vellum to the inside. I adhered the “I Love You” sentiment to the front of the acetate panel with Glossy Accents. I stamped the inside of the card with the Daisy Heart [#4291K] stamp. The vellum softens the appearance of the stamped image so that the sentiment takes center stage.

ValentinesILoveYou2
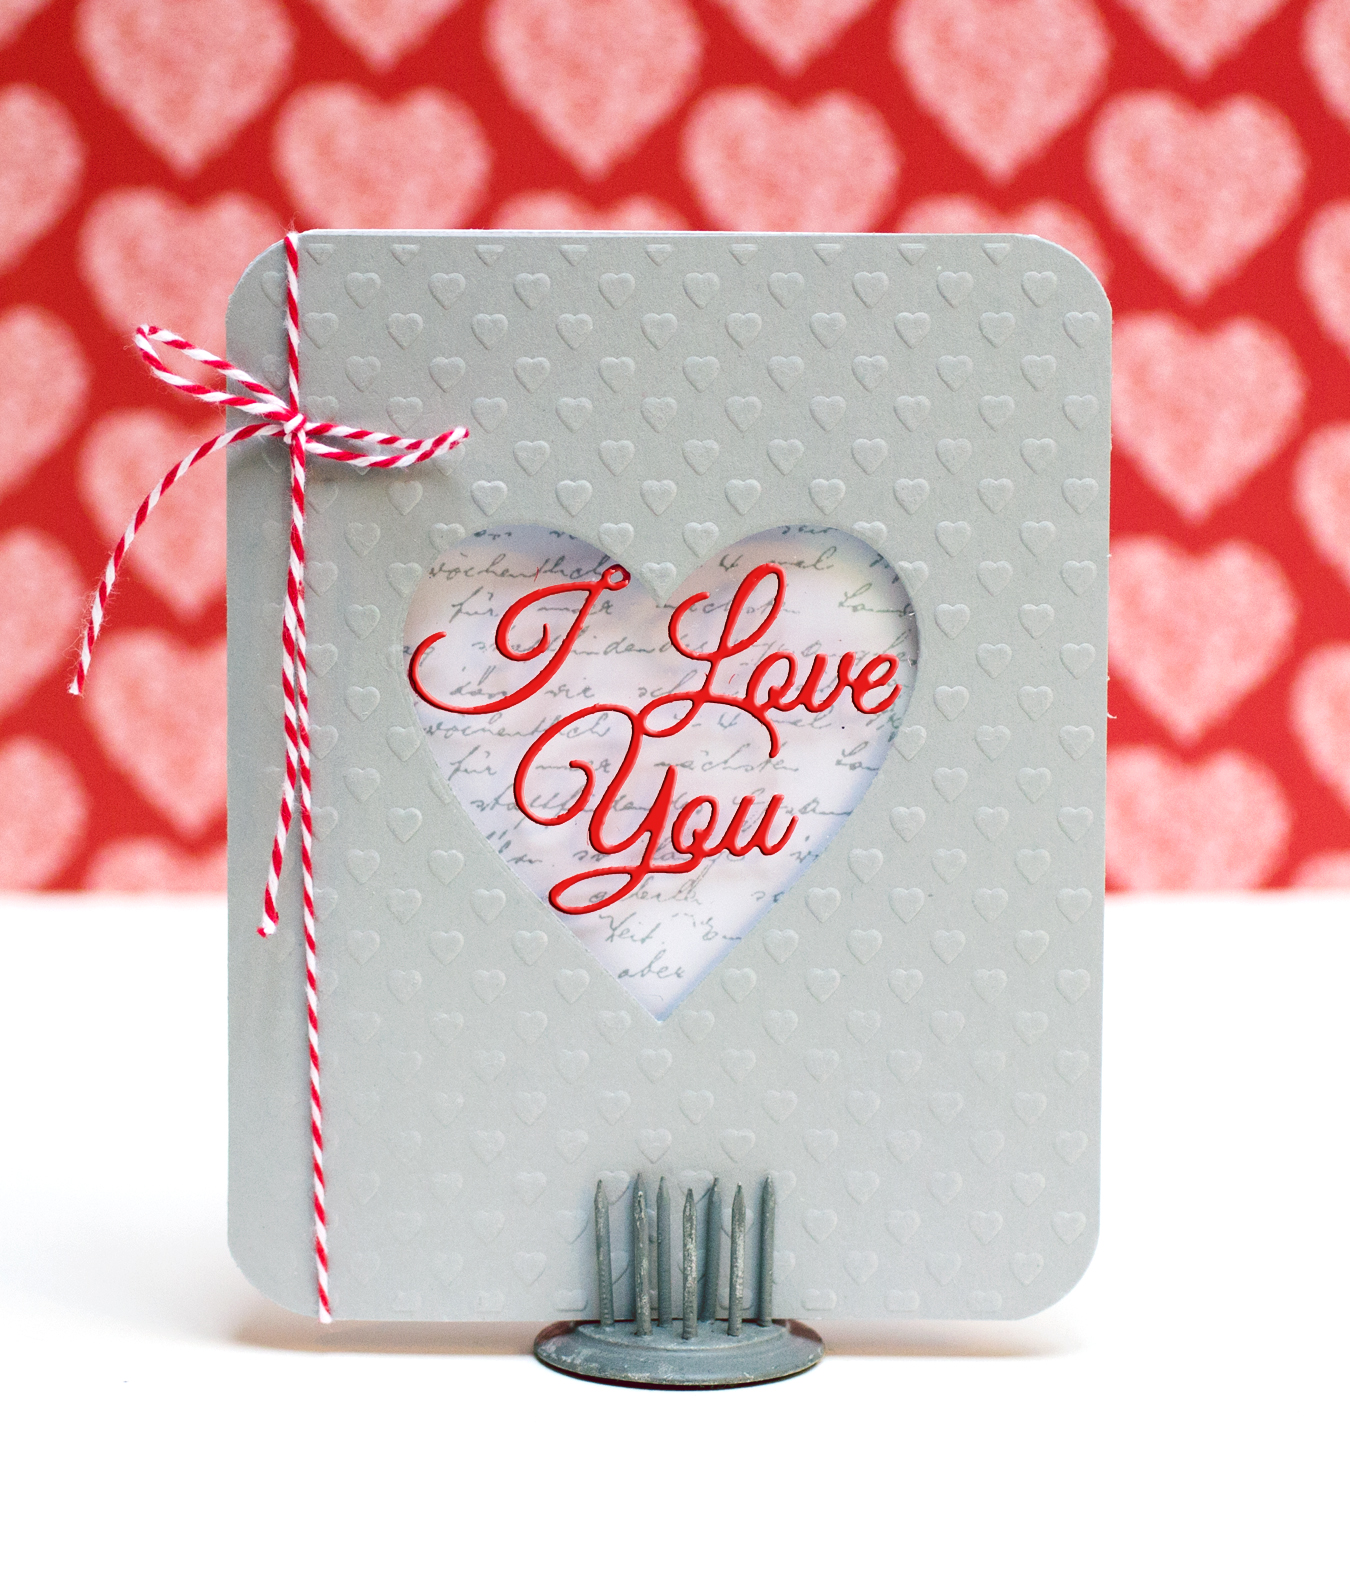
For my second card, I dry-embossed a soft gray cardstock. The inside is stamped with with the Letter Background stamp [#1999L]. Because the pattern of the letters offered more white space on the background, I didn’t add the vellum to the front, only the acetate. I also rounded the corners and added a twine bow for additional color.

OCC Stenciled: Day Three

Today’s lesson in the Online Card Classes Stenciled Class focused on using embossing pastes with stencils. I followed one of the cards shown by Debby Hughes.

OCC Stenciled: Day Three

I made several modifications and simplifications on my card. For one, I didn’t use any mist on the card panel like Debby did. I can see how doing so would lend a little more softness and color. Instead I used a colored  card base rather than white. I used vellum, die cut with the Poppystamps Lorelai Leaf, as a substitute for one of the elements Debby used. The “hello” die cut is from Simon Says Stamp. The butterfly is cut with the Memory Box Vivienne Butterfly die cut. Like Debby, I used white embossing paste with the Hero Arts Tweed Pattern stencil.

This class is going by quickly! Right now my goal is to make a card each day and in the next several weeks I’ll revisit the techniques and designs.