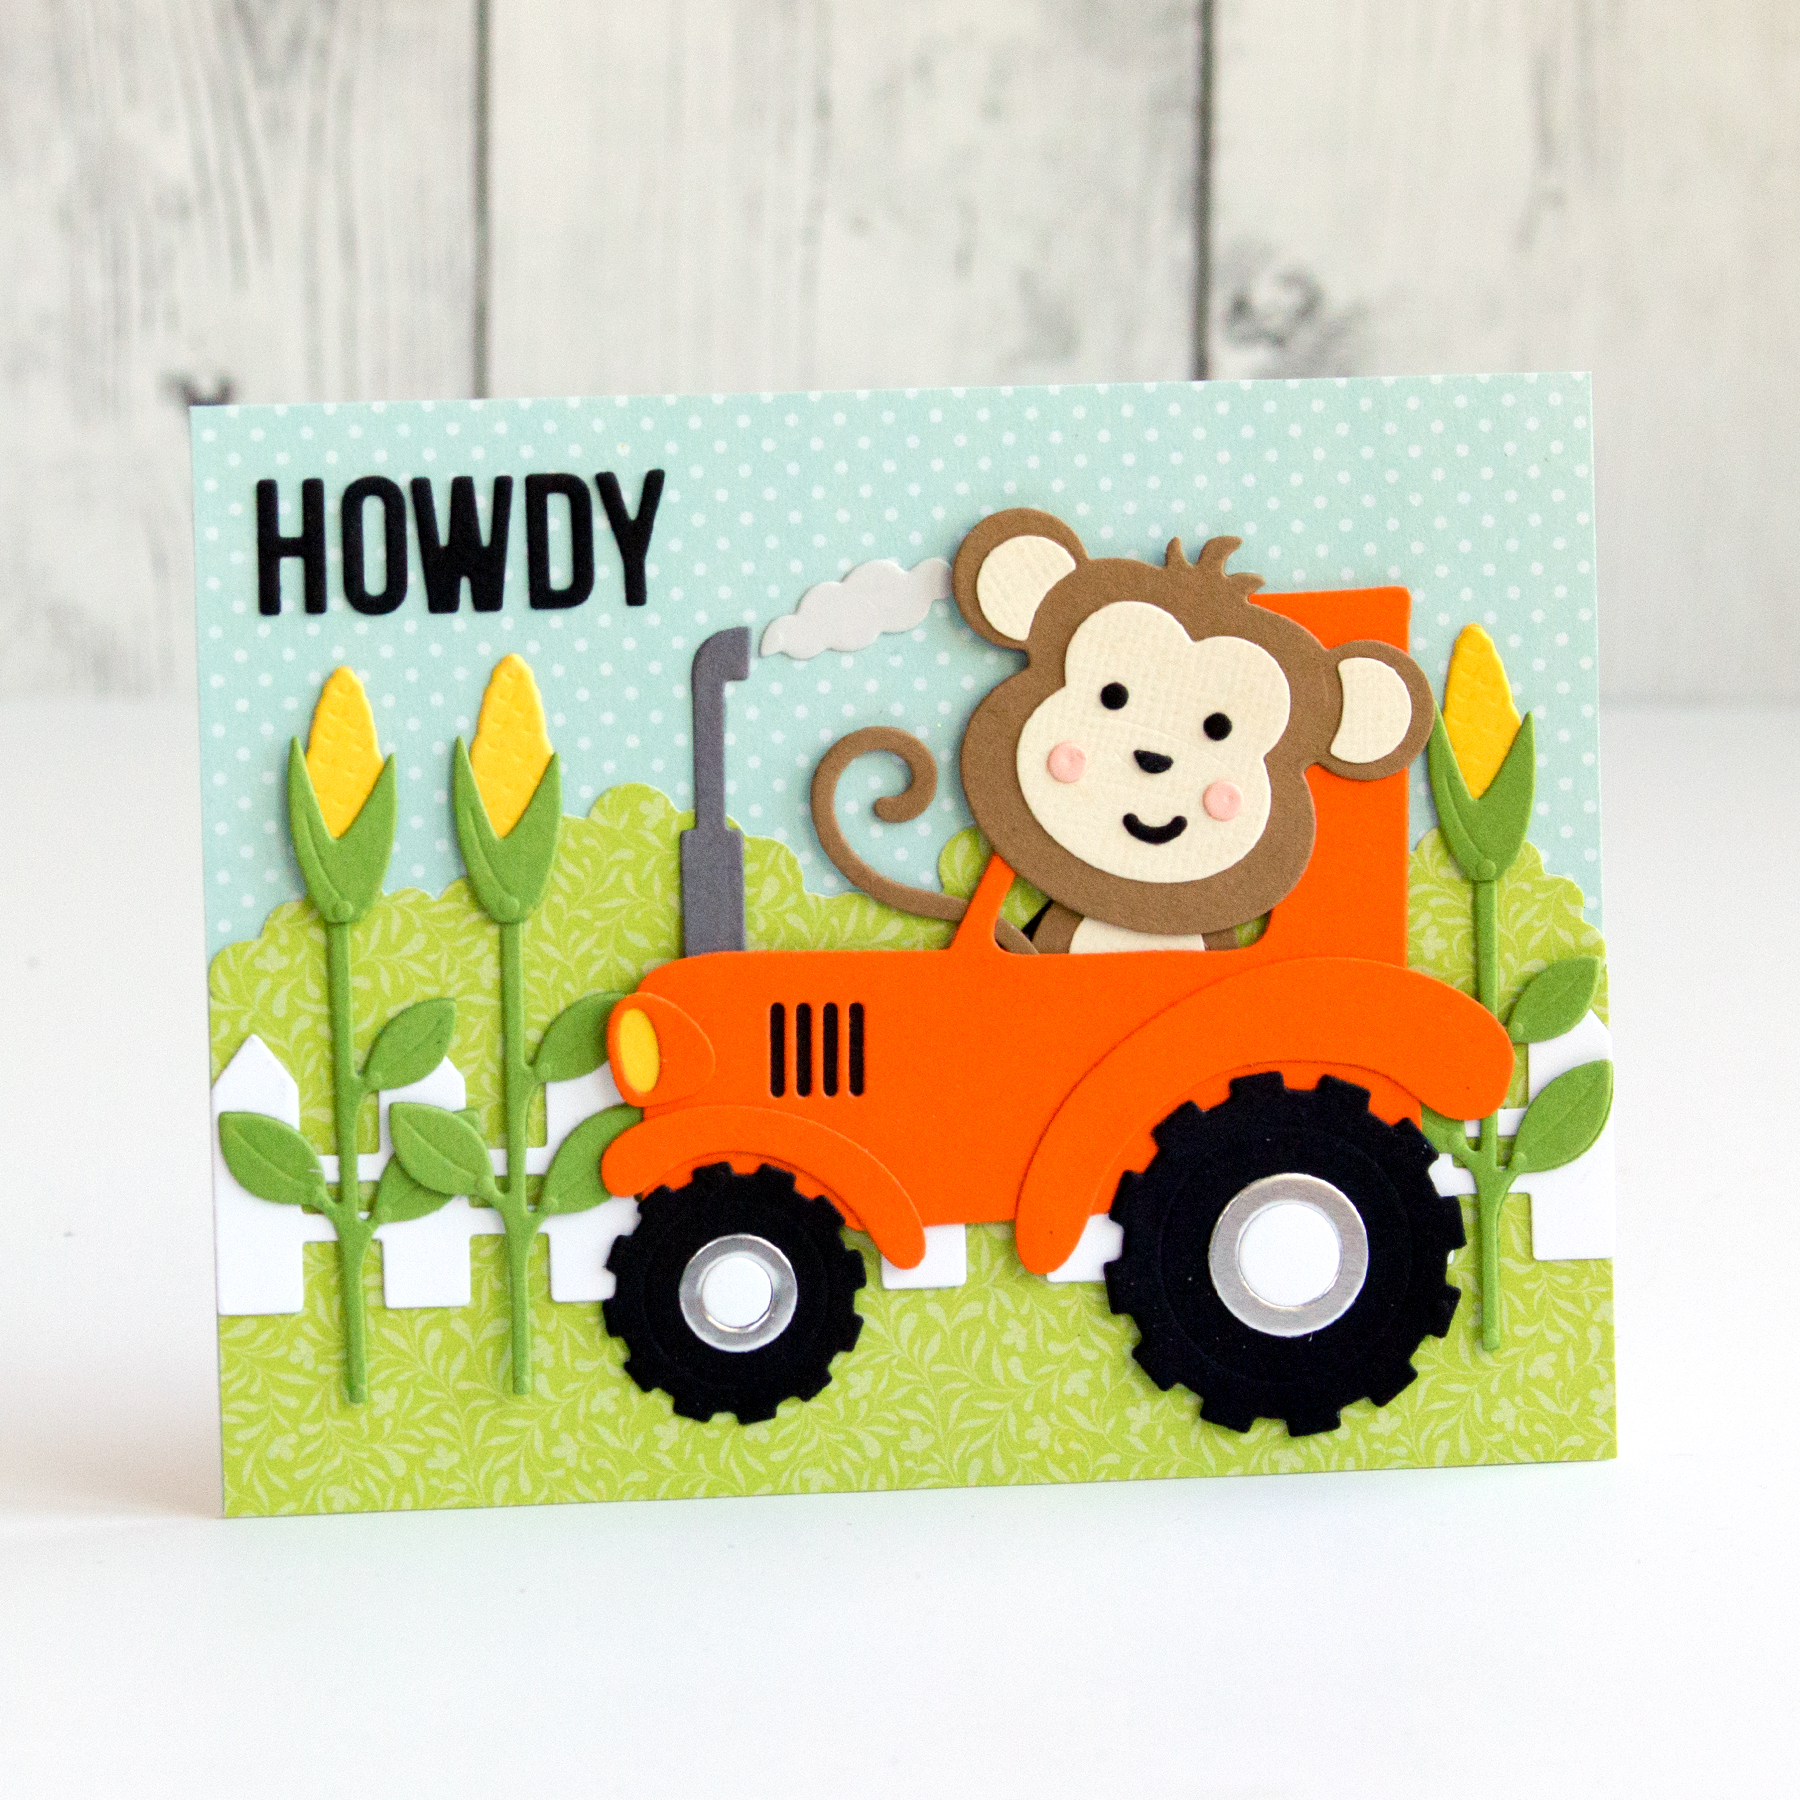
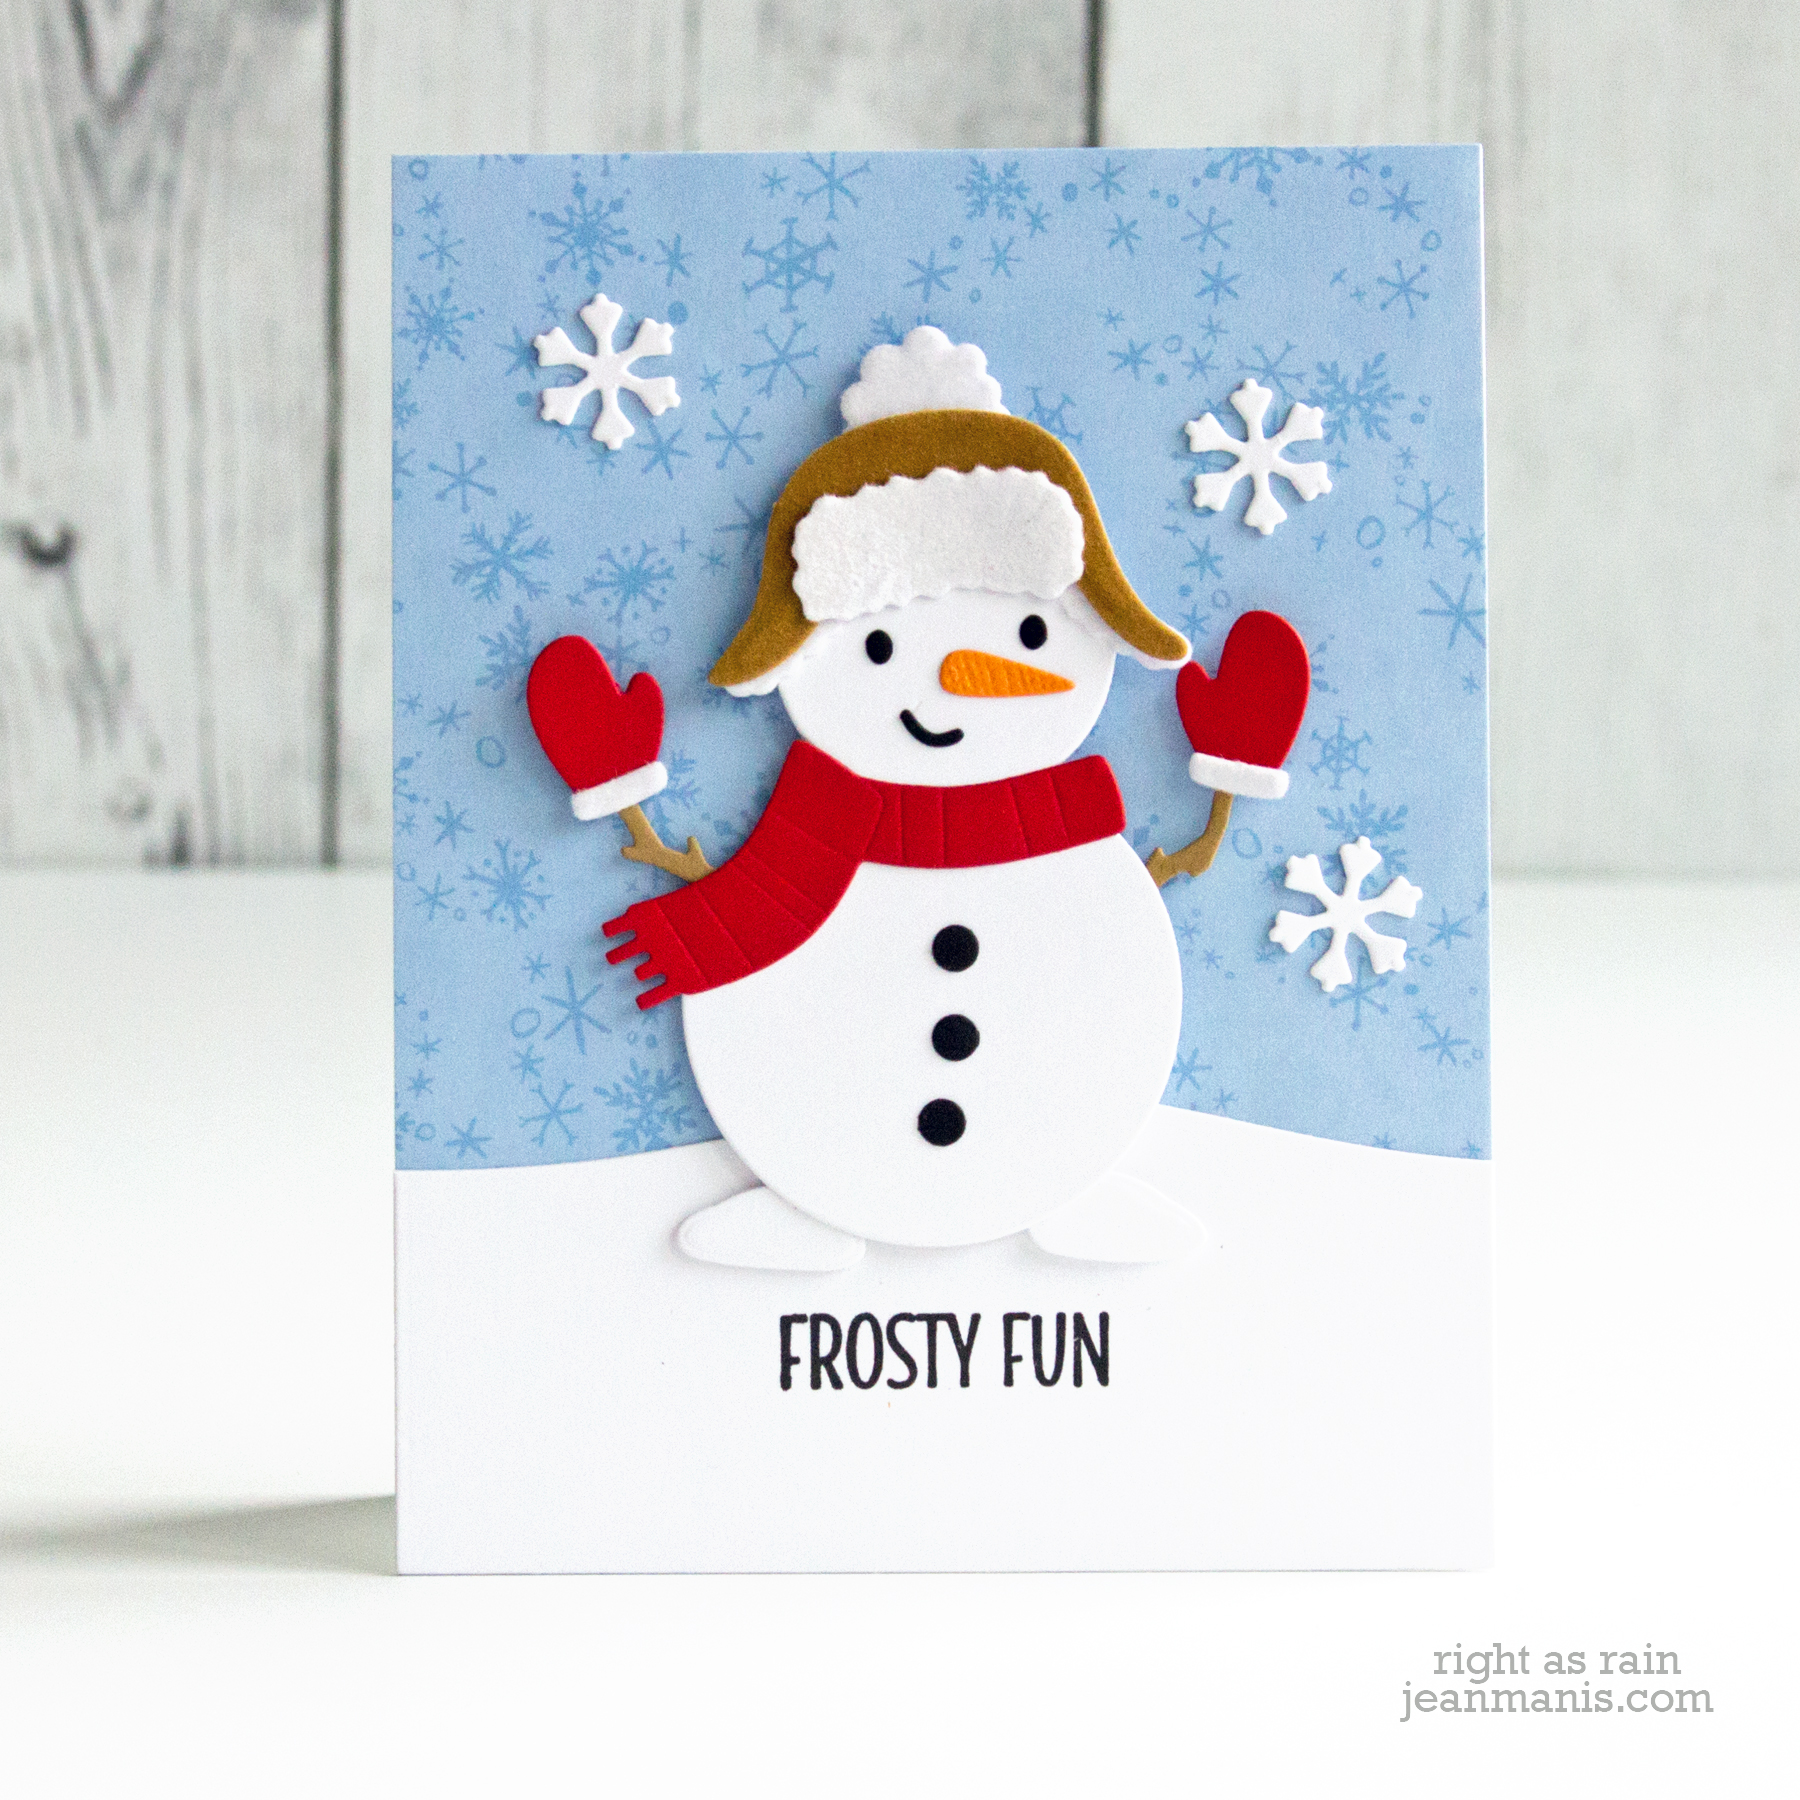
Hello! Today I am sharing a CAS, winter-themed, Valentine created with Elizabeth Craft Designs die sets.

- I cut the Peek-A-Boo frame and inlaid the letters.
- I cut and assembled the Jack Frost snowman, accessorizing him with a hat cut with dies in the Winter Accessories set.
- I tucked the snowman into the frame and backed it with light blue cardstock.
- I added the assembly to a patterned paper card base.
- I embellished the scene with snowflakes cut with the Penguin die set.

I have previously used the Jack Frost snowman here and the Peek-A-Boo frame on a card here.
Supplies:


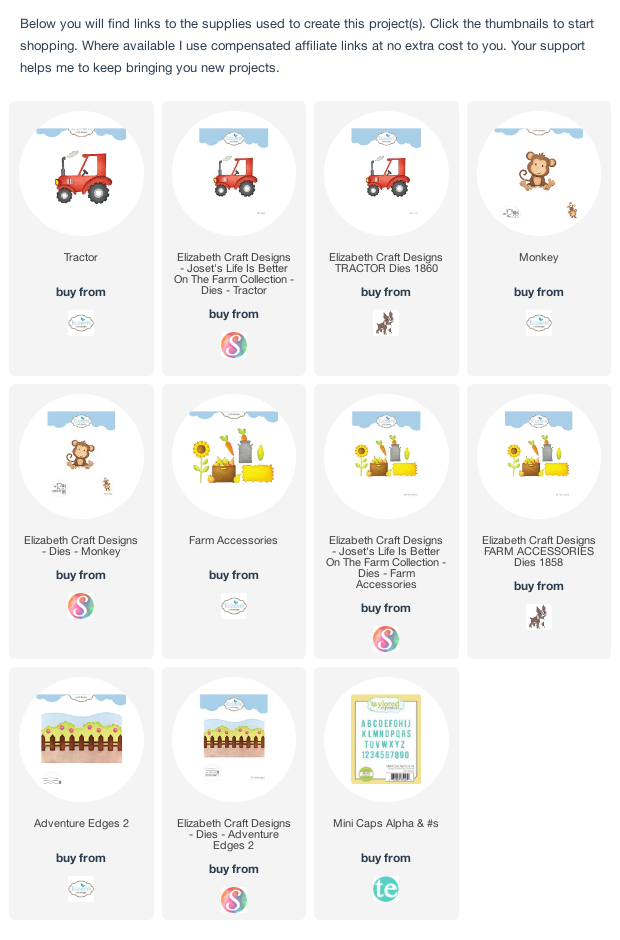

 Supplies: