Spellbinders July Clubs Blog Hop

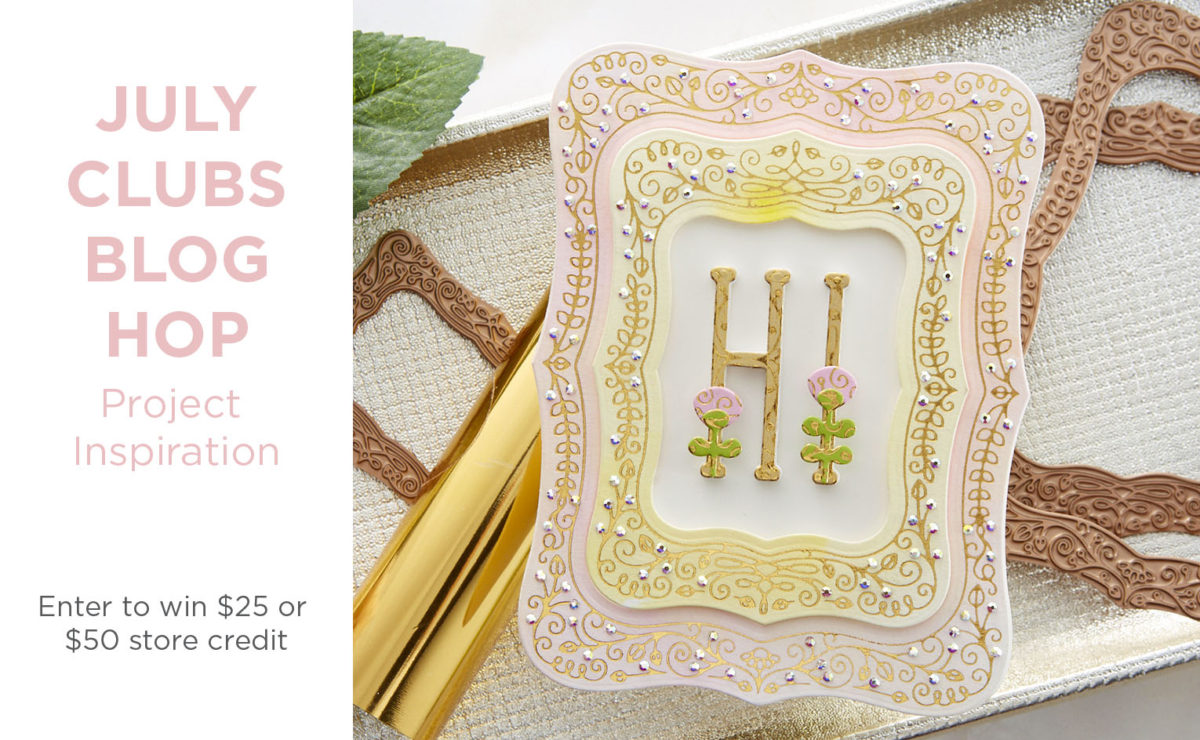
Hello! Today, I am delighted to be participating in a blog hop along with other papercrafters sharing projects created with the Spellbinders July 2020 Club Subscriptions. You should have reached me from the blog of Joy Baldwin. (The entire list of participants is included at the end of my post.) For the hop, I created two cards showcasing the July Small Die of the Month kit from Spellbinders – “Ornamental Floral Card Creator.” I shared two other cards created with this set in this post.

Spellbinders July Clubs Blog Hop

To celebrate this release, Spellbinders is giving away a $50 gift certificate to three blog readers – selected from the comments on the Spellbinders blog. Hop along for additional chances to win. Giveaway closes on Sunday, July 26th, 11:59 pm EDT. The winner will be announced in the blog hop post the following Tuesday. The winner is responsible for shipping cost, duties and taxes.

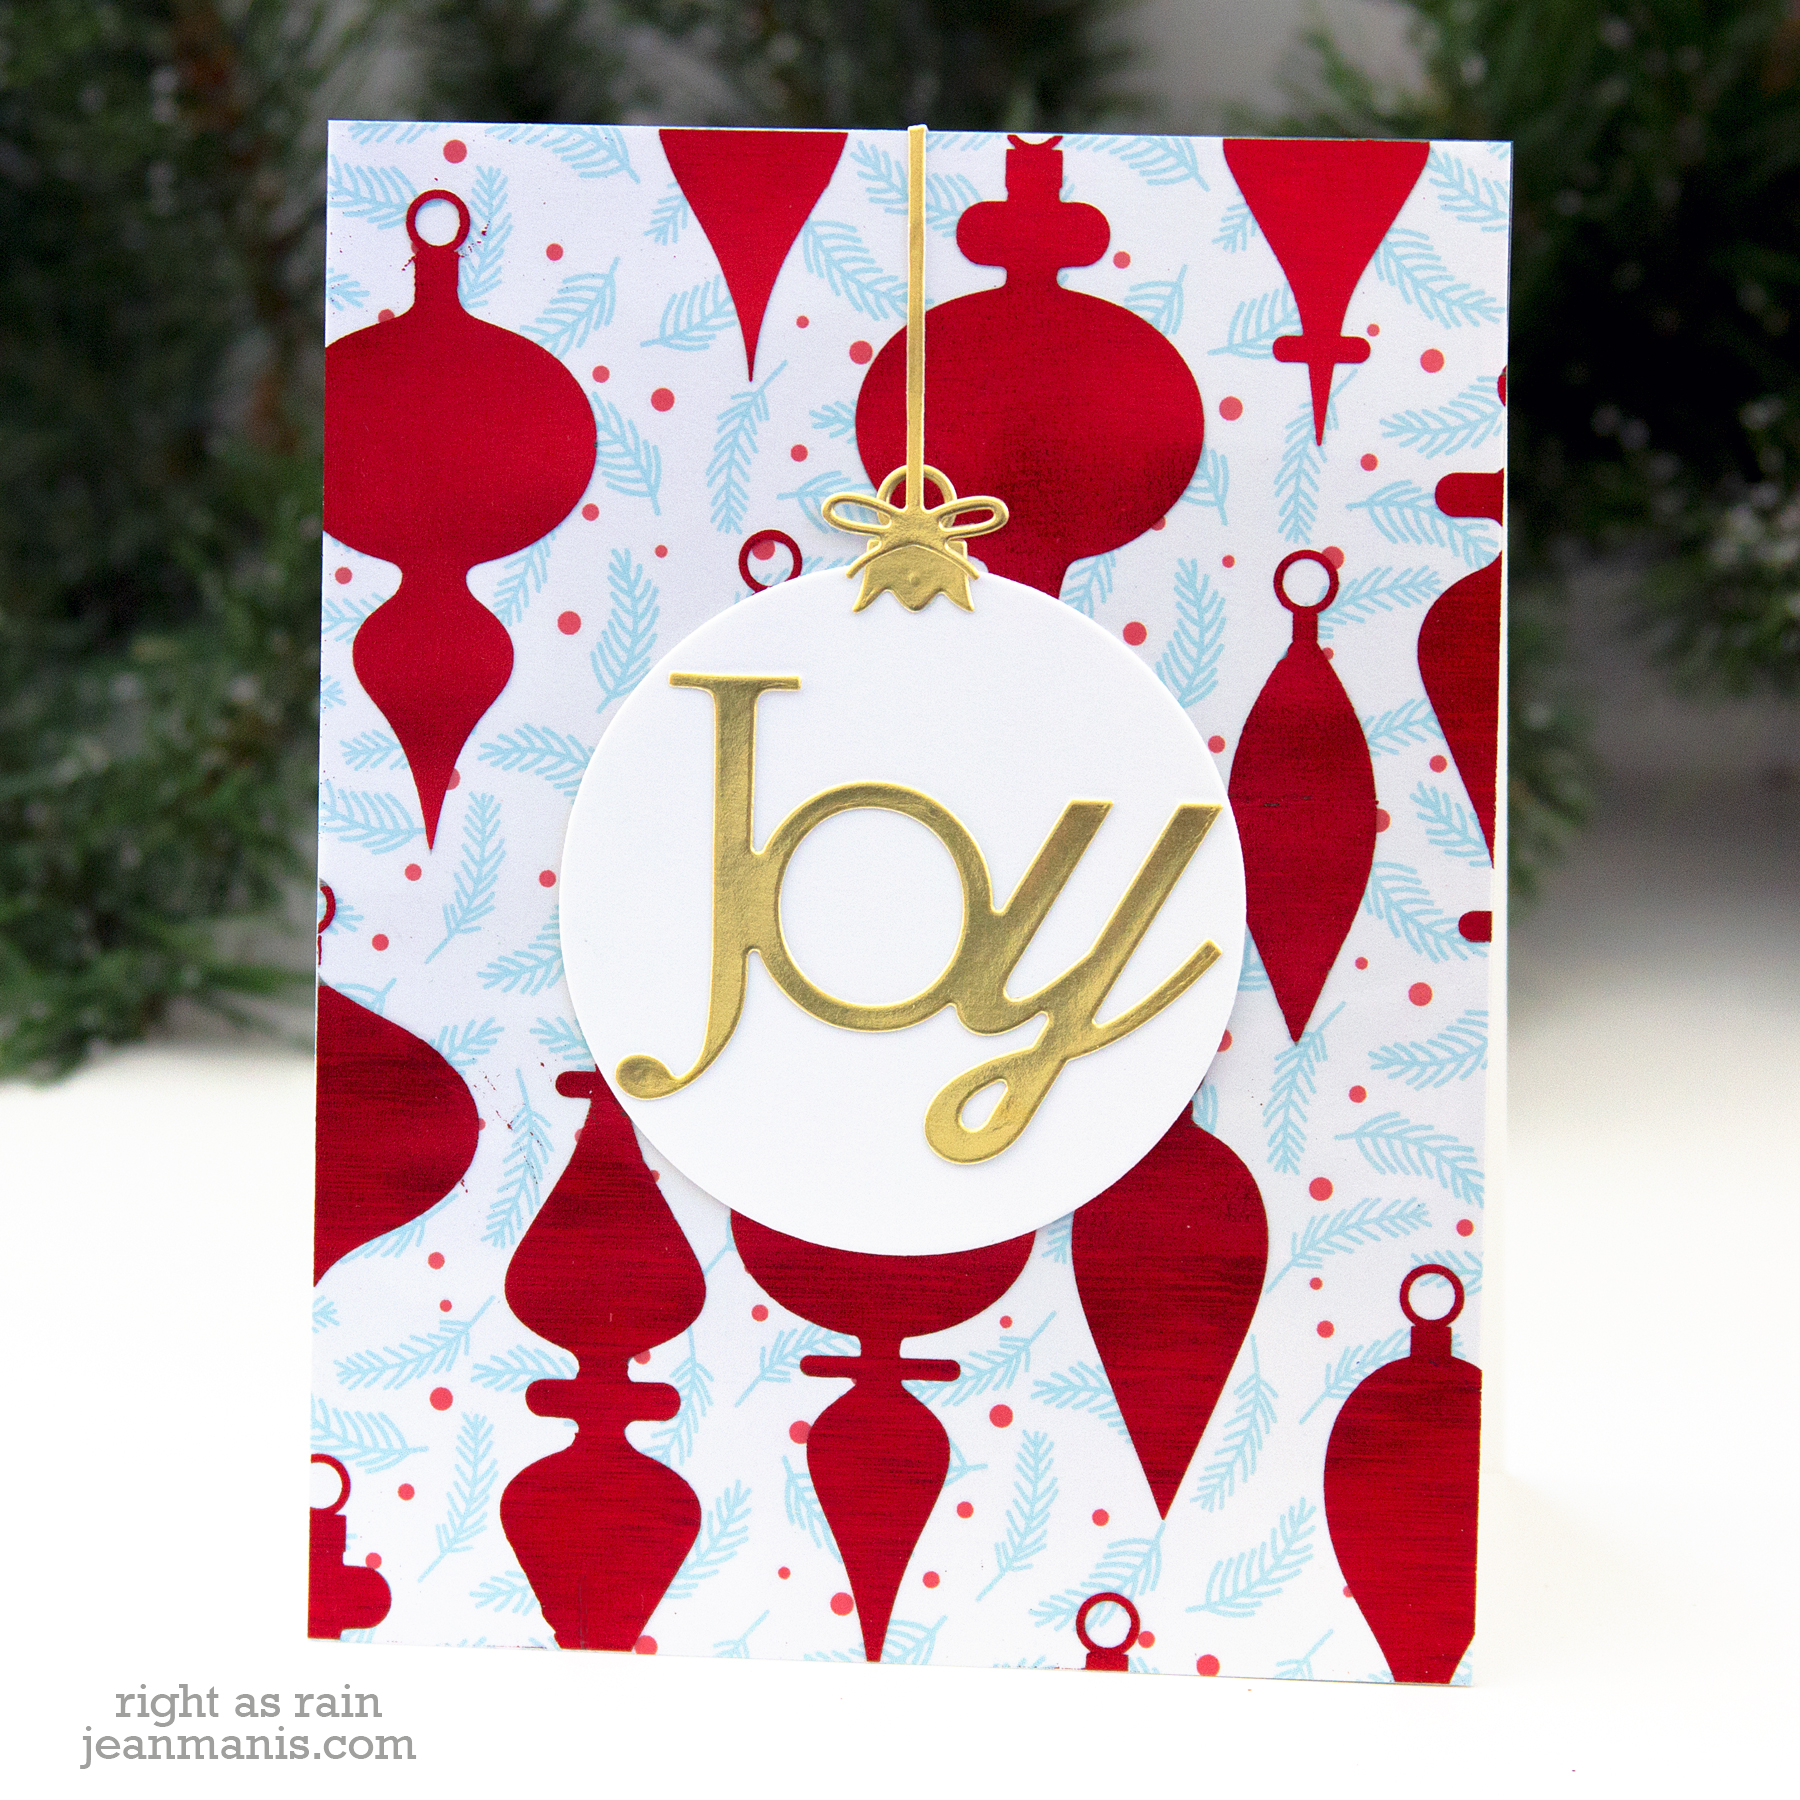
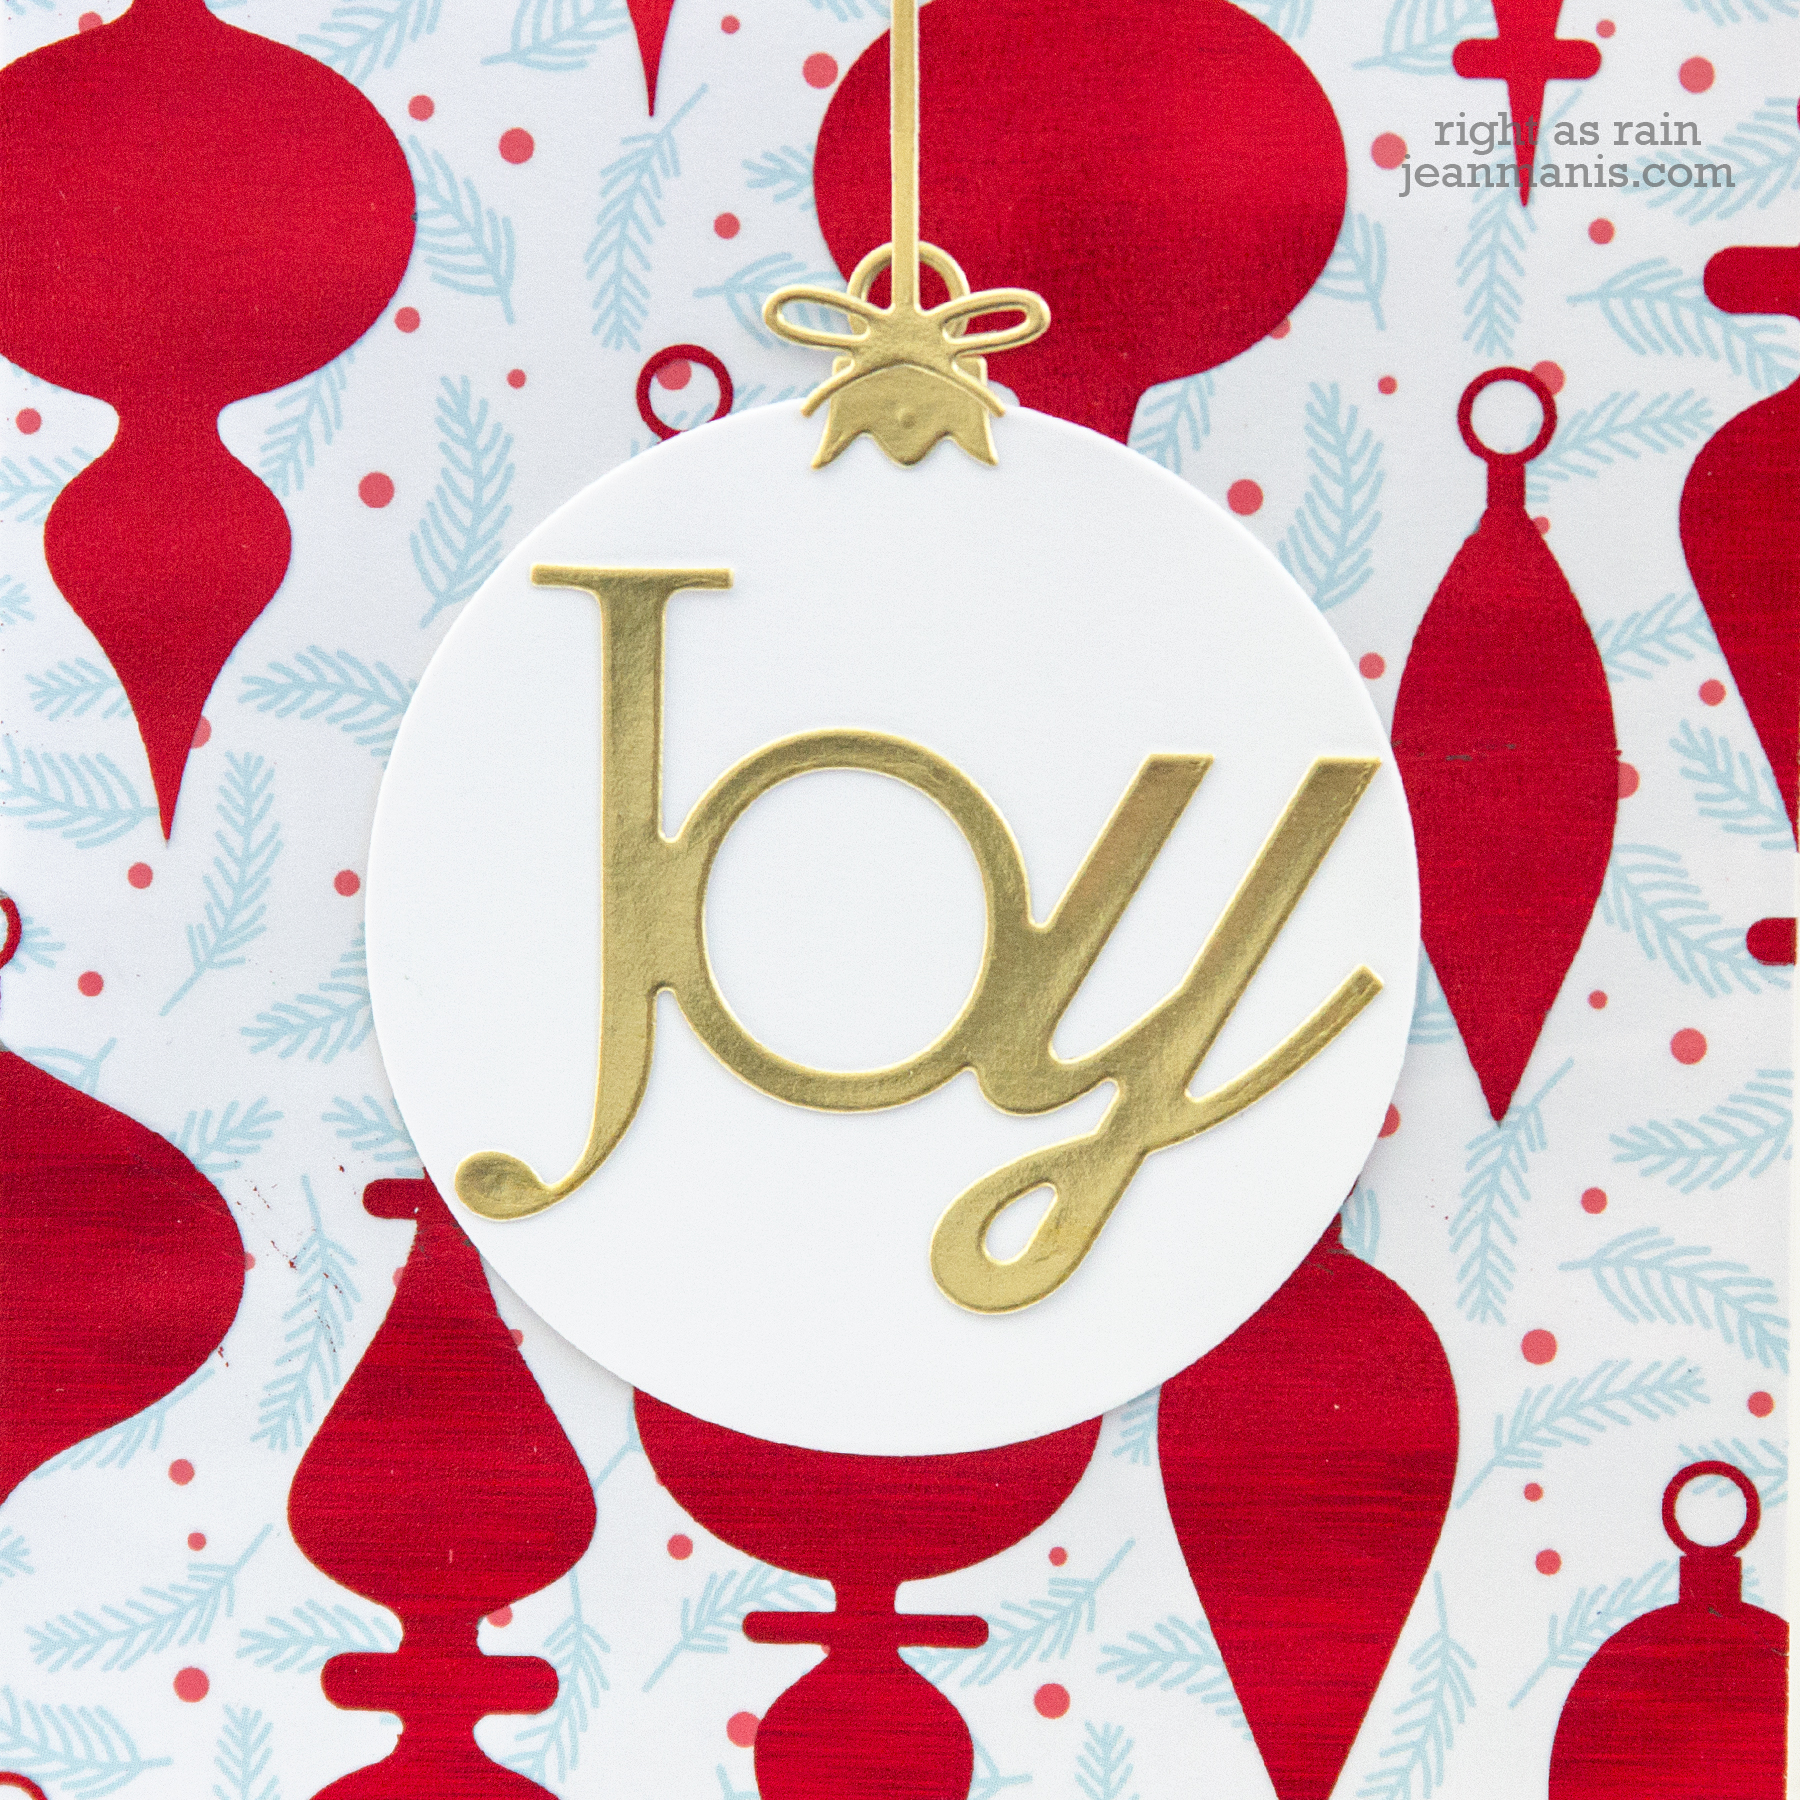
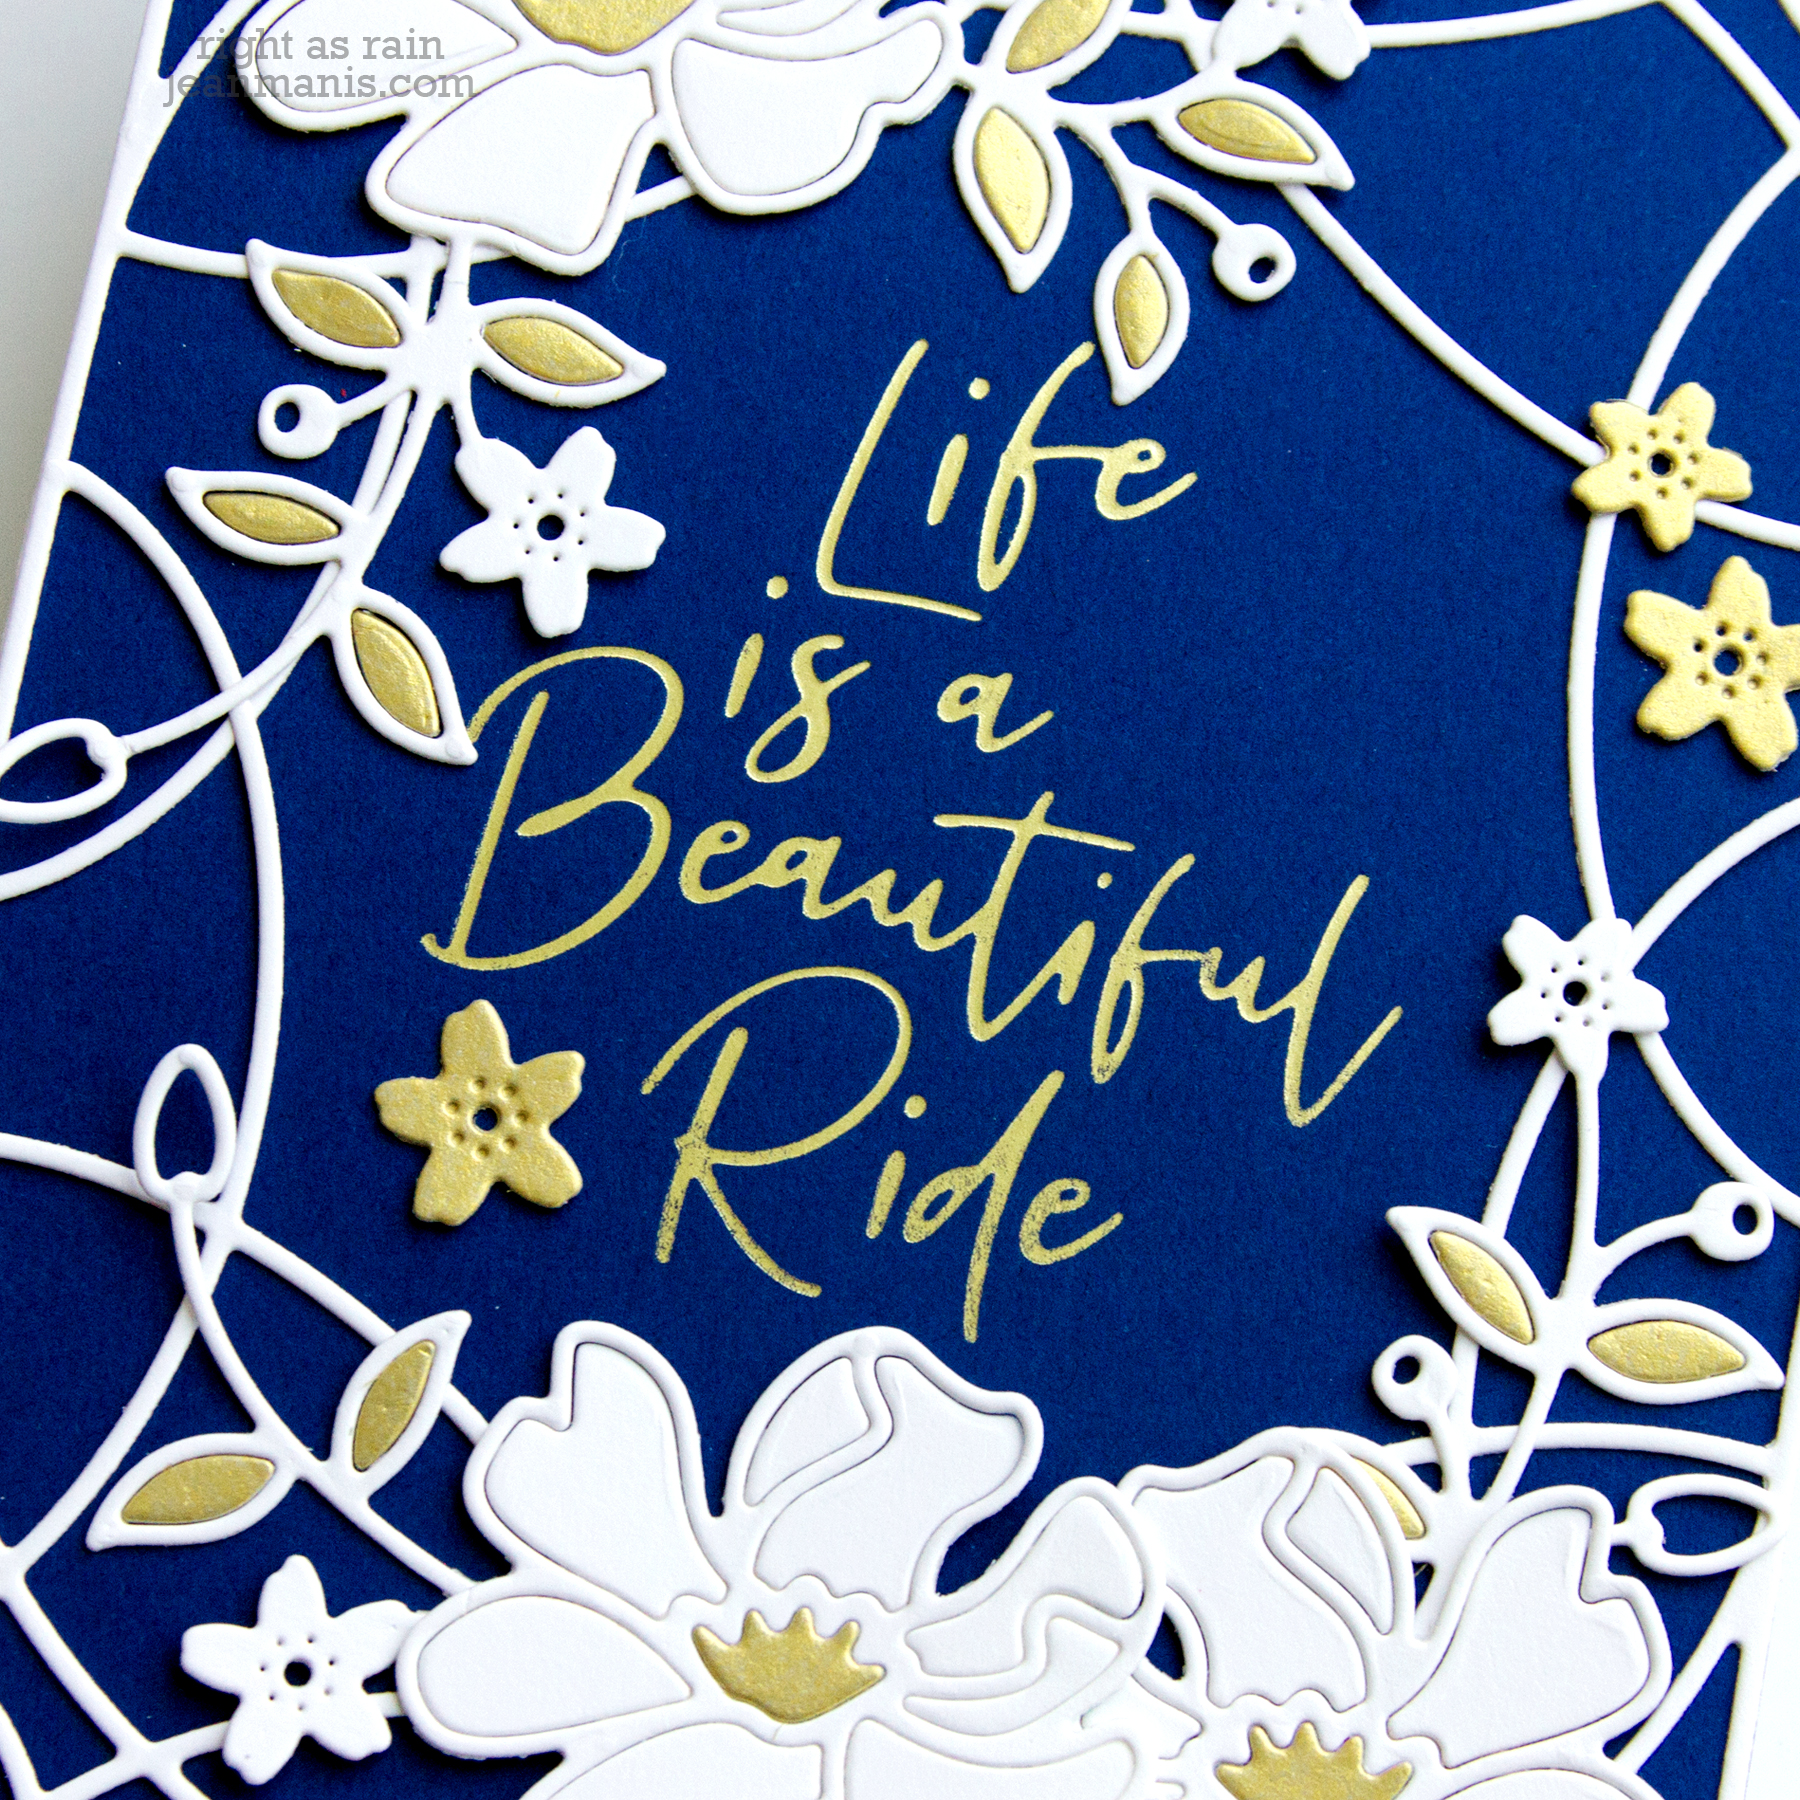
My cards are similar in design; both combine the Small Die of the Month set with foiled sentiments from the Stylish Script Collection. On the first card, I foiled the Beautiful Ride sentiment and surrounded it with a frame, blossoms, foliage, and small flowers cut with the Small Die of the Month set.

Spellbinders July Clubs Blog Hop

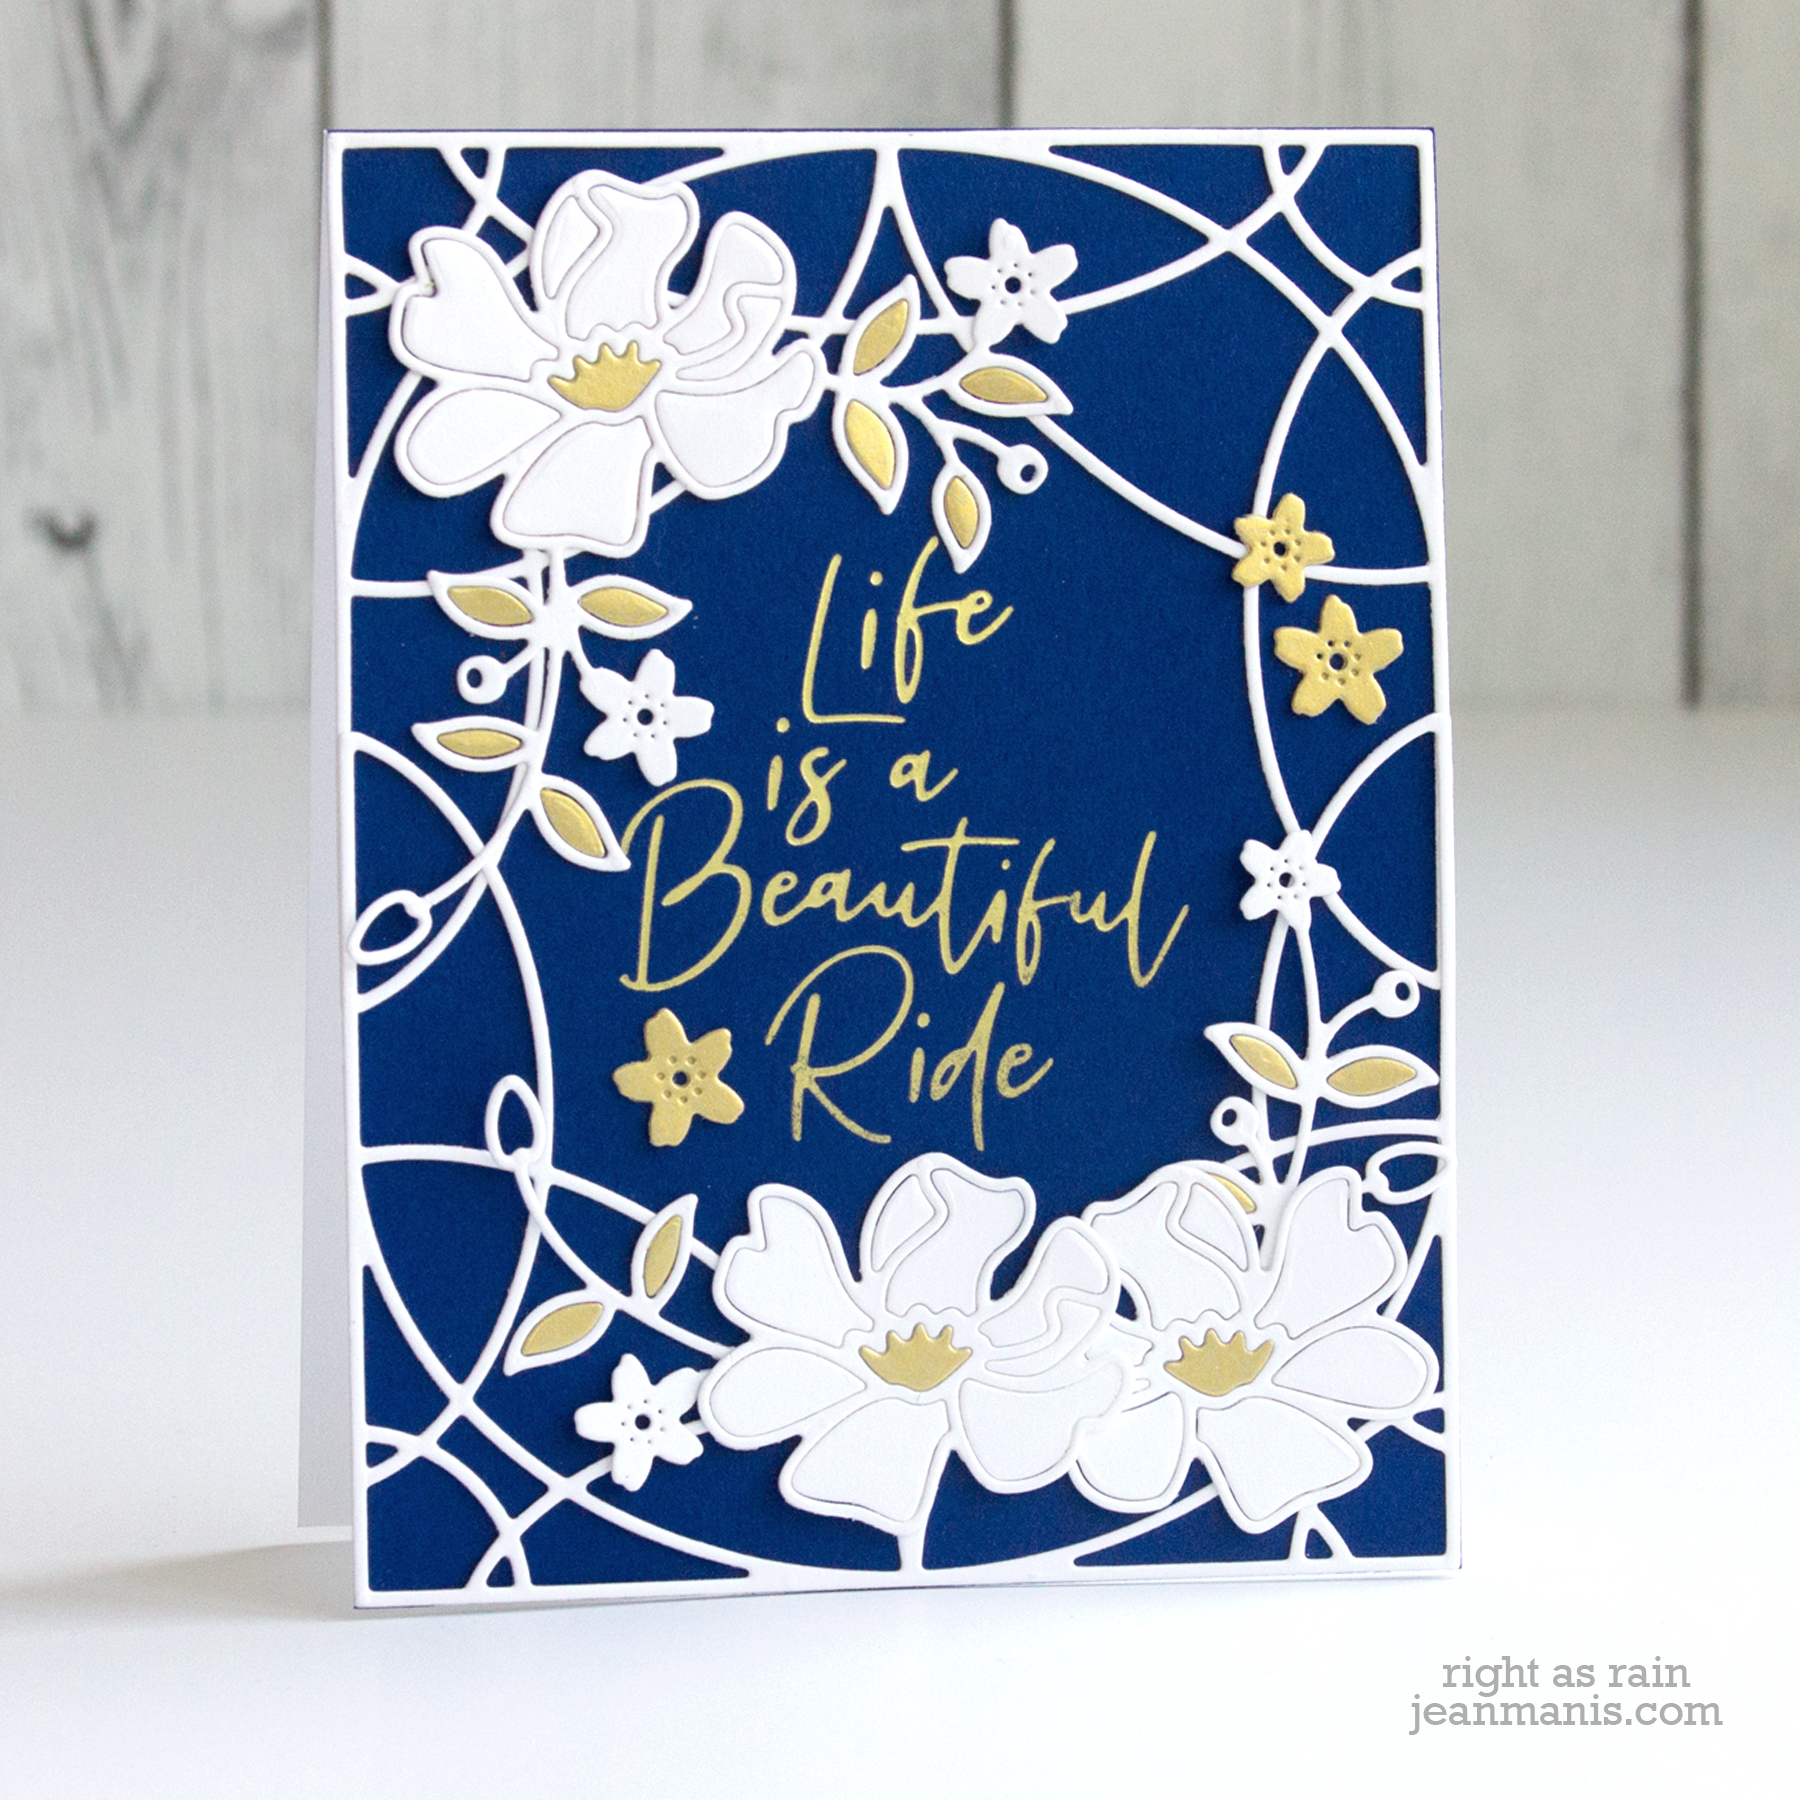
Because the petals are the same color as the flower’s outline, inlaying the petals was easy. I simply added tape on the back when I first cut the shape. I glued the foliage pieces before adding leaves cut from Brush Gold.

Spellbinders July Clubs Blog Hop
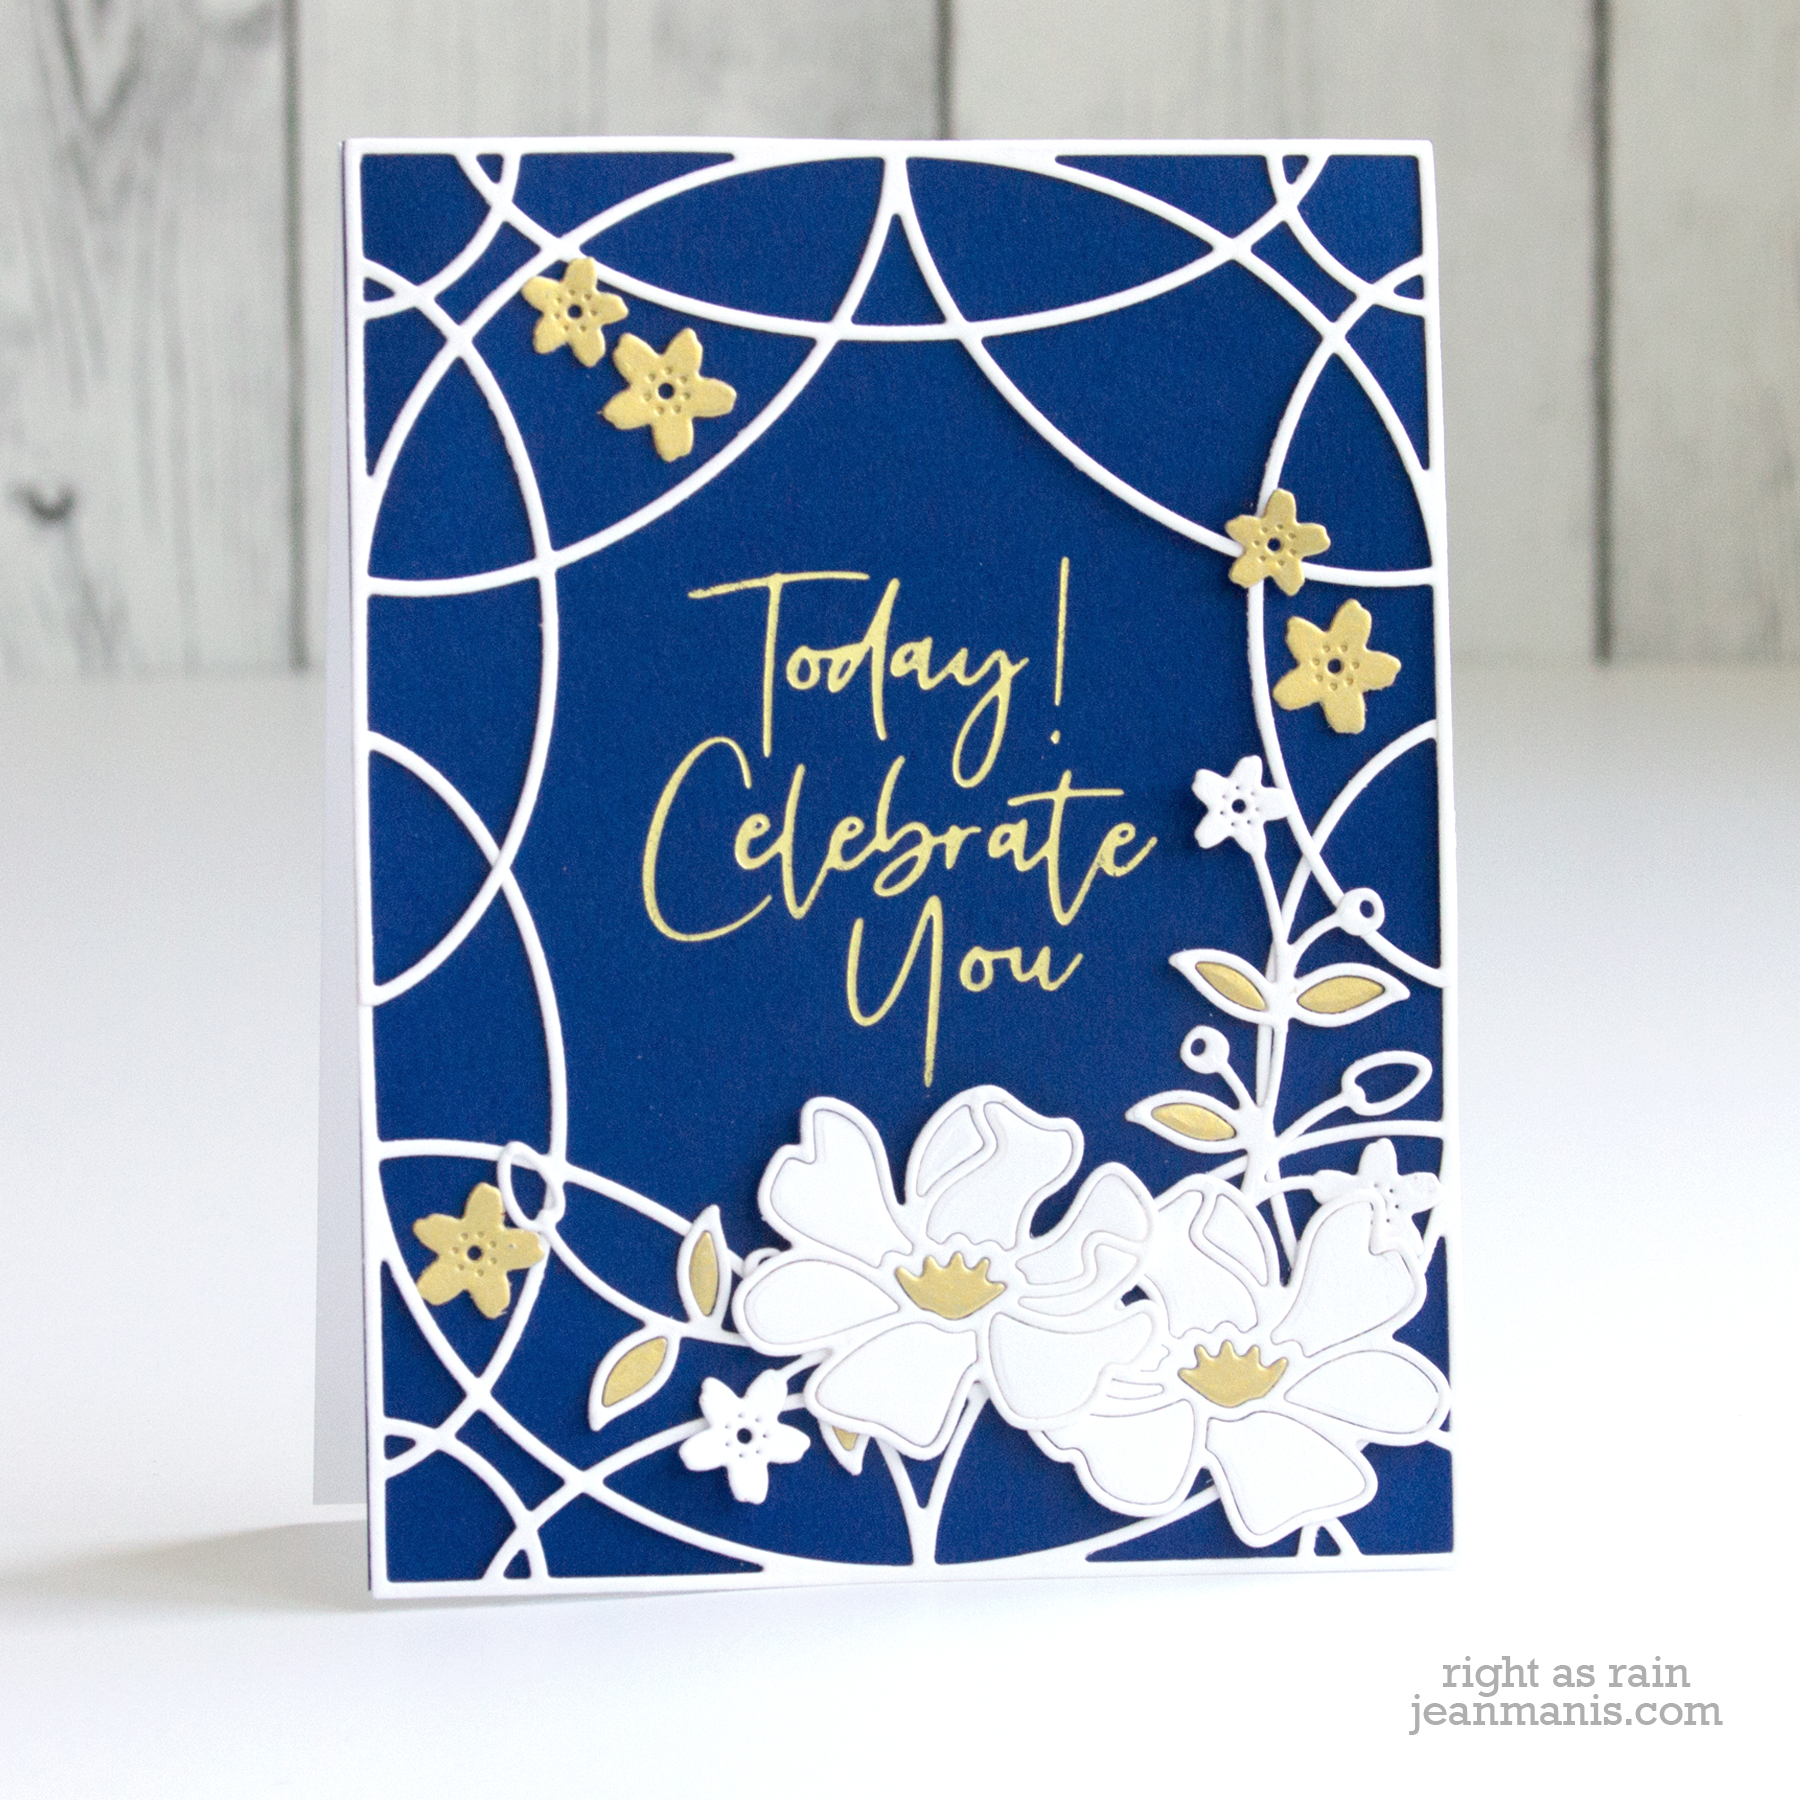
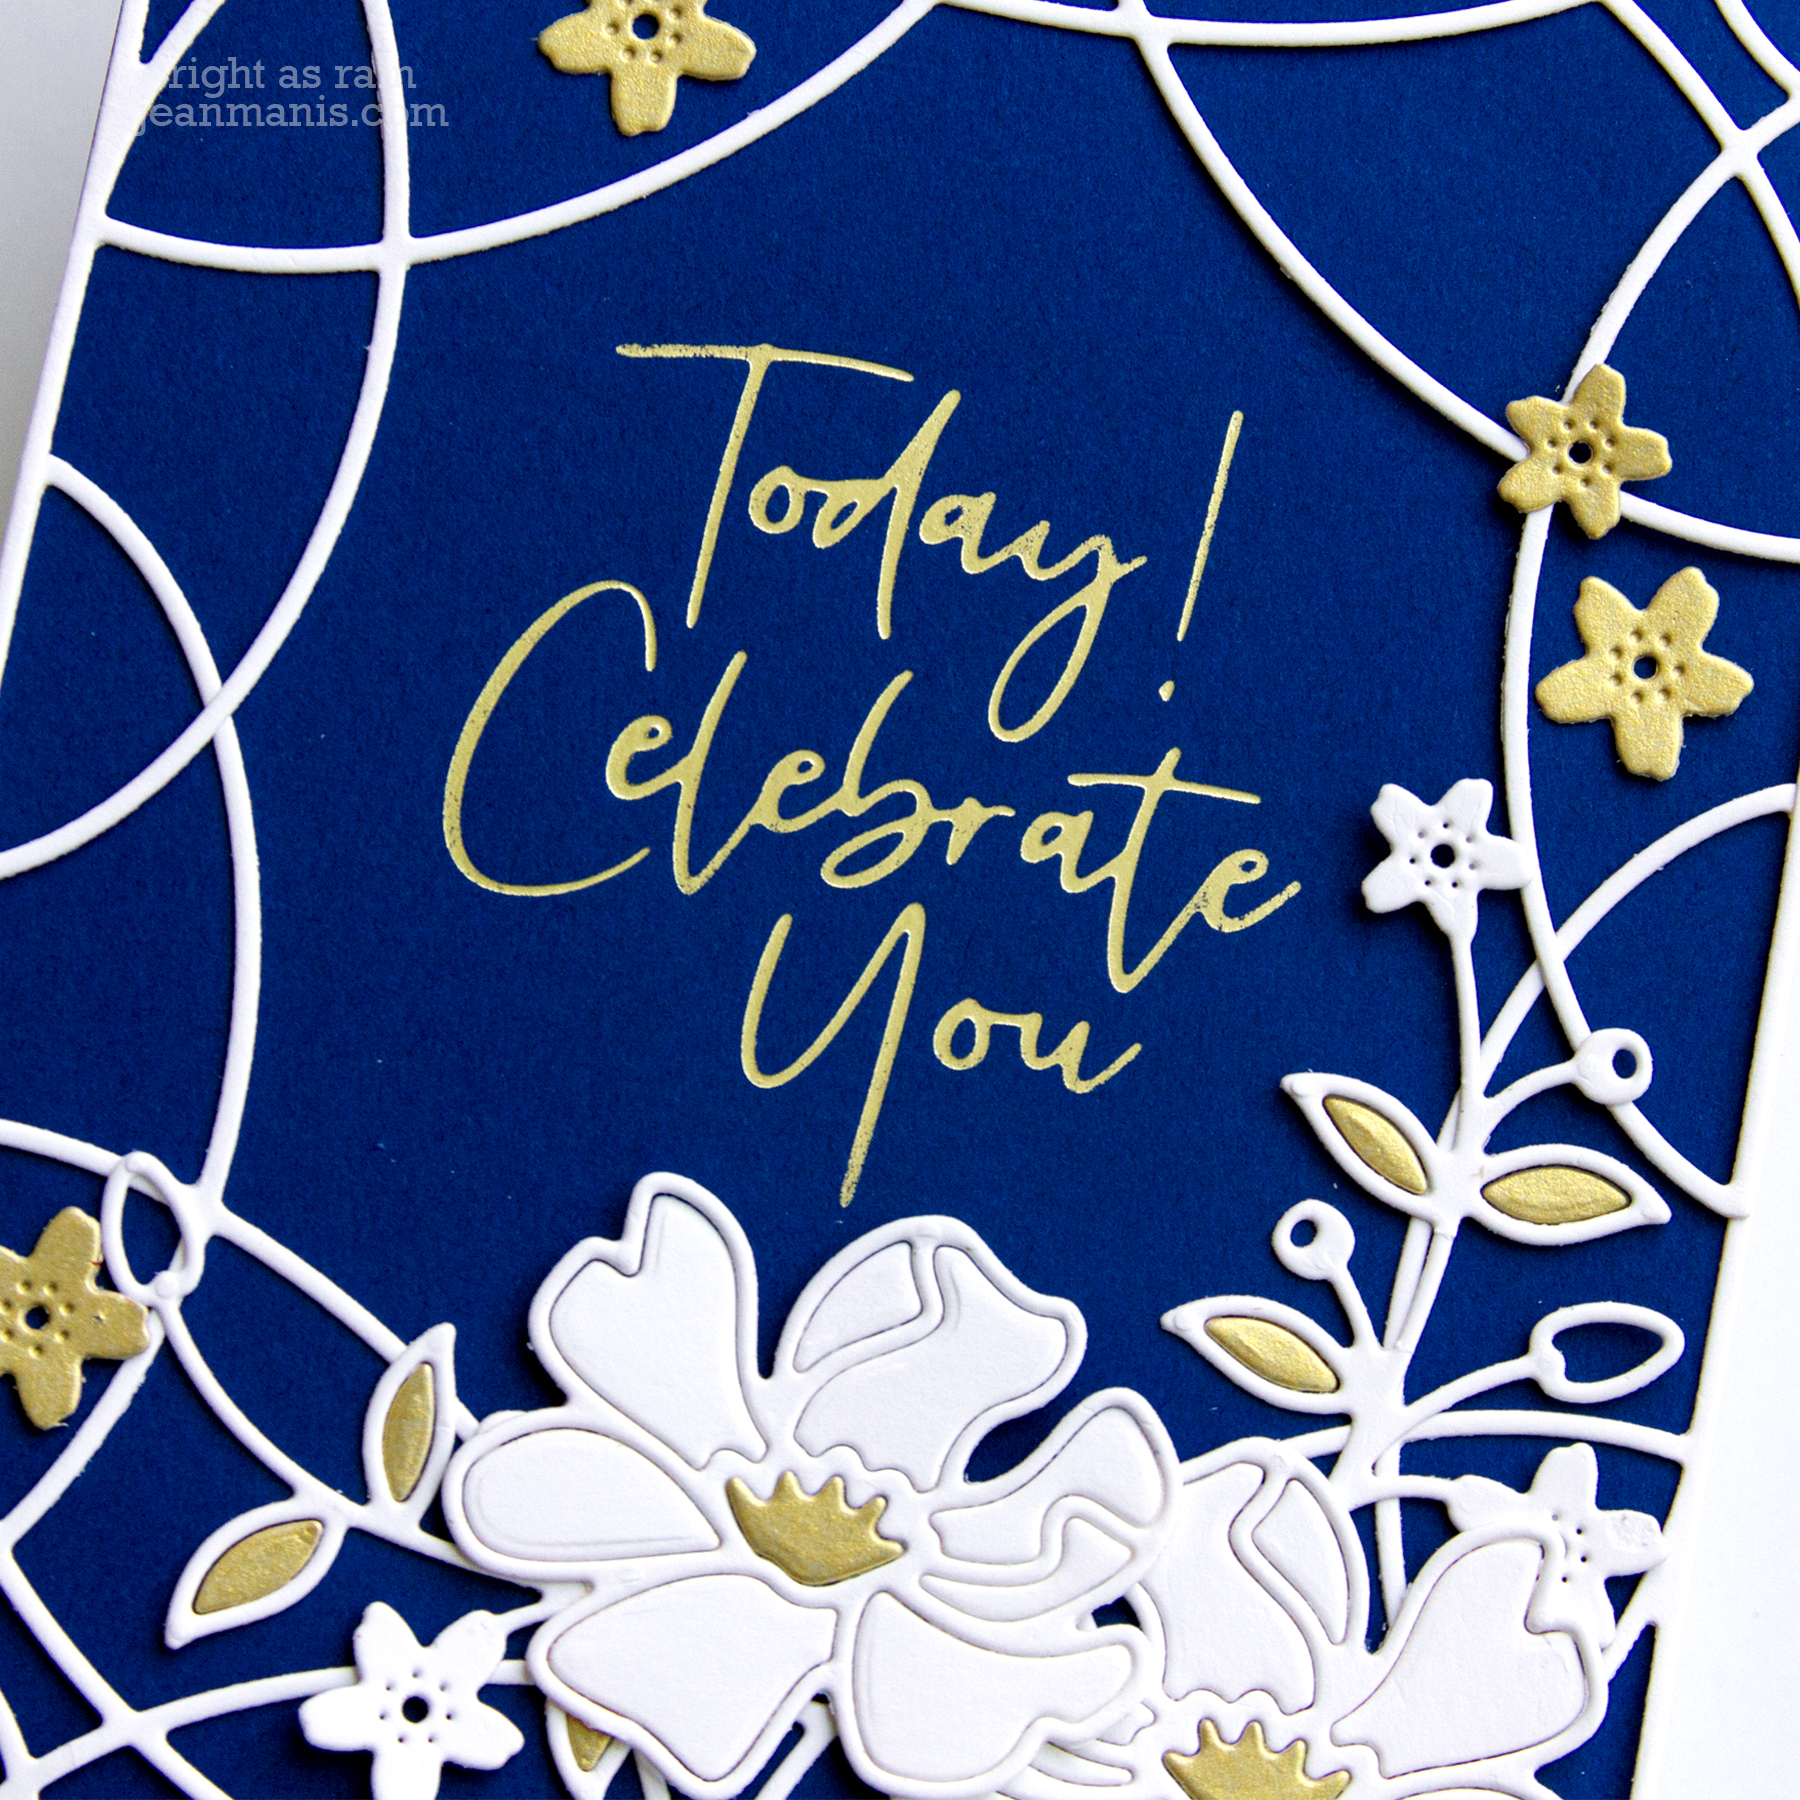
On my second card, I foiled a sentiment from the For You set. This time, I simplified the floral clusters (eliminating the one in the upper-left corner) and added more small flowers cut from Brush Gold.

Spellbinders July Clubs Blog Hop

Spellbinders July Clubs Blog Hop

Thanks for stopping by! The next stop on the hop is the blog of Virginia Lu. Scroll for the list of participants.
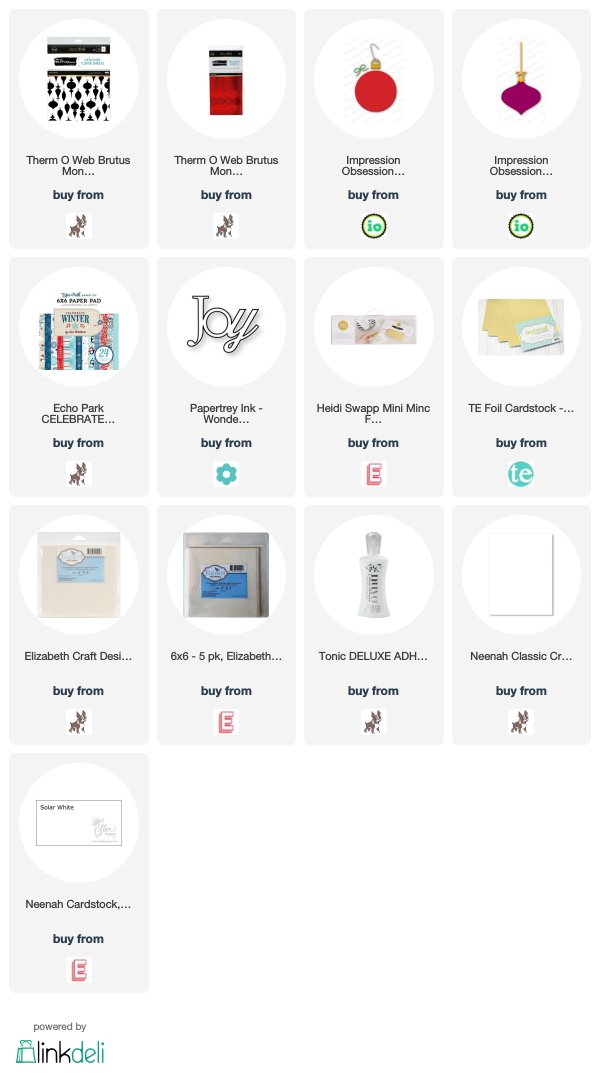
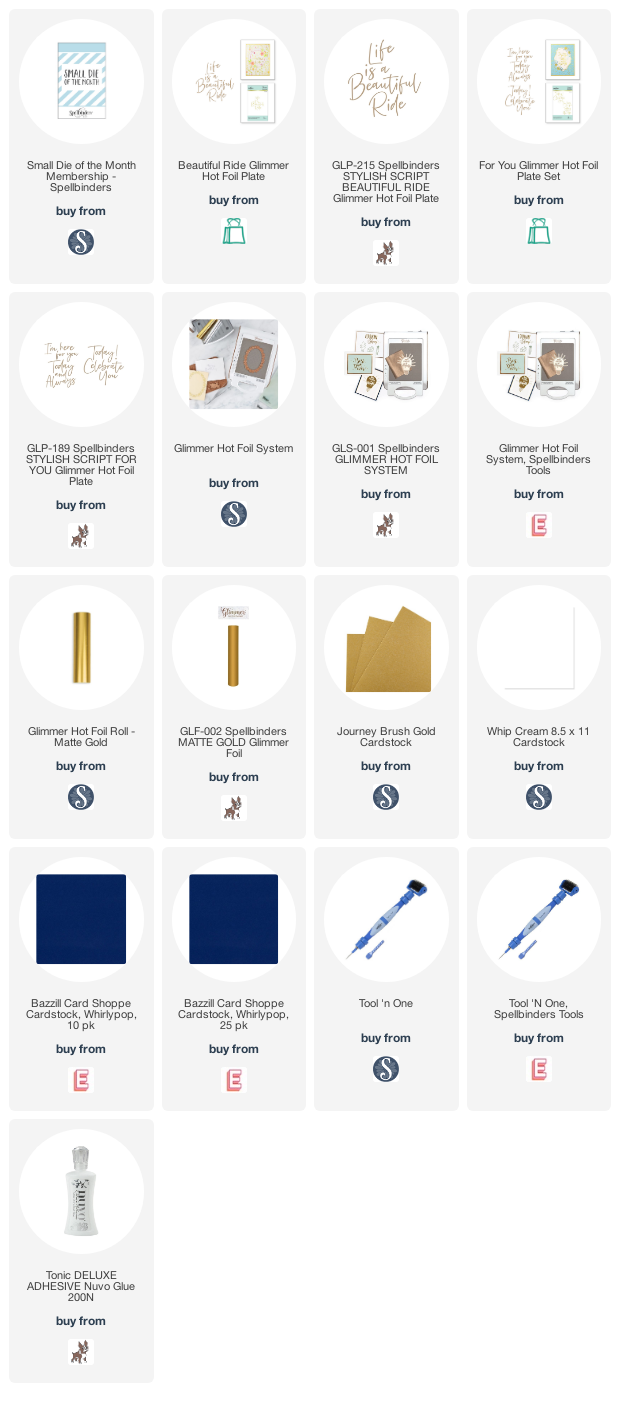
Supplies:

Blog Hop List:
Spellbinders Blog
Nichol Spohr
Tina Smith
Carrie Rhoades
Bibi Cameron
Kathy Clement
Alicia Havranek
Jill Hilliard
Laurie Willison
Joy Baldwin
Jean Manis
Virginia Lu
Ilina Crouse
Varada Sharma
Hussena Calcuttawala
Jeanne Jachna
Gemma Campbell

Spellbinders Foiled Nautical Thank You

Hello! Today I am sharing a CAS card showcasing a foiled sentiment from the Spellbinders Stylish Script Collection.

Spellbinders Foiled Nautical Thank You

I paired the foiled Thank You sentiment with ovals cut using dies in the Elegant Twist Ovals set. I previously shared a card created with this same die set here.

To create a nautical-themed Thank You:

  • Foil the sentiment on Whip Cream cardstock in Gold.
  • Cut the Elegant Twist Ovals frames from Brush Gold cardstock.
  • With dies in the set, cut an oval from Whip Cream cardstock; adhere to the back of the larger gold twist oval.
  • With a die in the set, cut the foiled sentiment cardstock; adhere the smaller gold twist oval on top.
  • Add the ovals to a card base covered with Carta Bella paper; add nautical stickers (Paper House Productions “At the Beach”) for embellishment.

Note: the card is slightly larger than A2.

Spellbinders Foiled Nautical Thank You

Supplies:

Newton’s Nook Argyle Stencil – Three Versions

Hello! I recently had some time to play with the Argyle stencil set from Newton’s Nook. I am sharing three CAS holiday cards created with the stencil set, which includes two stencils – one to make the diamonds and another to create the stitching. On the three cards, the diamonds are identical (inked with red and green). The stitching is achieved with three different products – gold ink, gold gel, and gold-foiled (using transfer gel).

Since my focus was to experiment with the different products for the stitching, I kept the design of the focal point the same – an ornament (combining two Impression Obsession die sets, now retired) with the PTI “Joy” word die. I used this same focal point recently on this card.

On the first card, I inked the diamonds with red and green inks. The stitching was inked with Color Box gold metallic ink. The sentiment was cut from Red Flock and added to the white ornament, with brushed gold ornament hanger and cord.

Newton's Nook Argyle Stencil Gold Inked

On the second card, I inked the diamonds just as before. I then cut the panel to A2-size before applying gold gel paste. Once dry, I added the ornament with brushed gold sentiment, hanger, and cord.

Newton's Nook Argyle Stencil - Gold Gel

On the third card, I inked the diamonds just as before. I then cut the panel to A2-size before applying the Transfer Gel. Once dry, I ran the panel through my Minc with Gold Foil. I added the ornament with shiny gold sentiment, hanger, and cord.

Newton's Nook Argyle Stencil - Gold Foiled

The version with the gold ink stitching is easiest to create (little dry time) and the results are the most subtle. The version with the gold gel paste is subtle, but less so than the inked version. I’ve used other gold embossing pastes before; I really liked the ease of this product’s application and the results. The third version required an additional step, that of running the panel through the laminator. That being said, the results are the most noticeable.

I really like having the time to explore products as I’ve done with these three cards.

Thanks so much for visiting!

Supplies:

Deco Foil Ornament Card

Hello. Today I am sharing a CAS Christmas-card created with a foil product I’ve never used before – the Ornamental Deco Foil Toner Sheets. The package includes toner sheets on white cardstock and clear sheets. This card uses the clear sheet.

Deco Foil Ornament Card

  • I laminated the sheet (which I cut to an A2-size) with the Red Static foil.
  • I applied the foiled sheet to patterned paper by applying tape runner to the backs of the foiled ornaments.
  • I added a die-cut sentiment (PTI) which I attached to an ornament cut with Impression Obsession dies (Round and Vintage); I used the body of the one and the hanger and bow from the other.

Deco Foil Ornament Card

This would be an easy card to mass produce.

Supplies:

Good Vibes – Foiled Stencil Cards

Hello! Today I am sharing two CAS cards created with the Simon Says Stamp Jazz Dance stencil and the Summertime die.

Good Vibes - Foiled Stencil Cards

To begin, I applied Deco Foil Gel through the Jazz Dance stencil on white cardstock. Once dried, I ran the panel through the Minc with a Rainbow Foil sheet. For the second card base, I ran a piece of Toner Sheet and the leftover foil sheet (with the negative image from the stencil) through the Minc.

Good Vibes - Foiled Stencil Cards

To create the Summertime sentiment panels, I first cut the Summertime die from white cardstock. I also used the die to cut the frame and letters from a Toner Sheet. I foiled the letters with Lime Foil and the frame with Rainbow Foil. I then inlaid the lime foil letters into the white frame and the white letters into the rainbow frame.

Supplies: