Spellbinders Fun Stampers Journey Buzzworthy Collection

Hello! Today I am sharing three cards showcasing products in the FSJ Buzzworthy Collection at Spellbinders. The products in the collection work for any number of occasions.

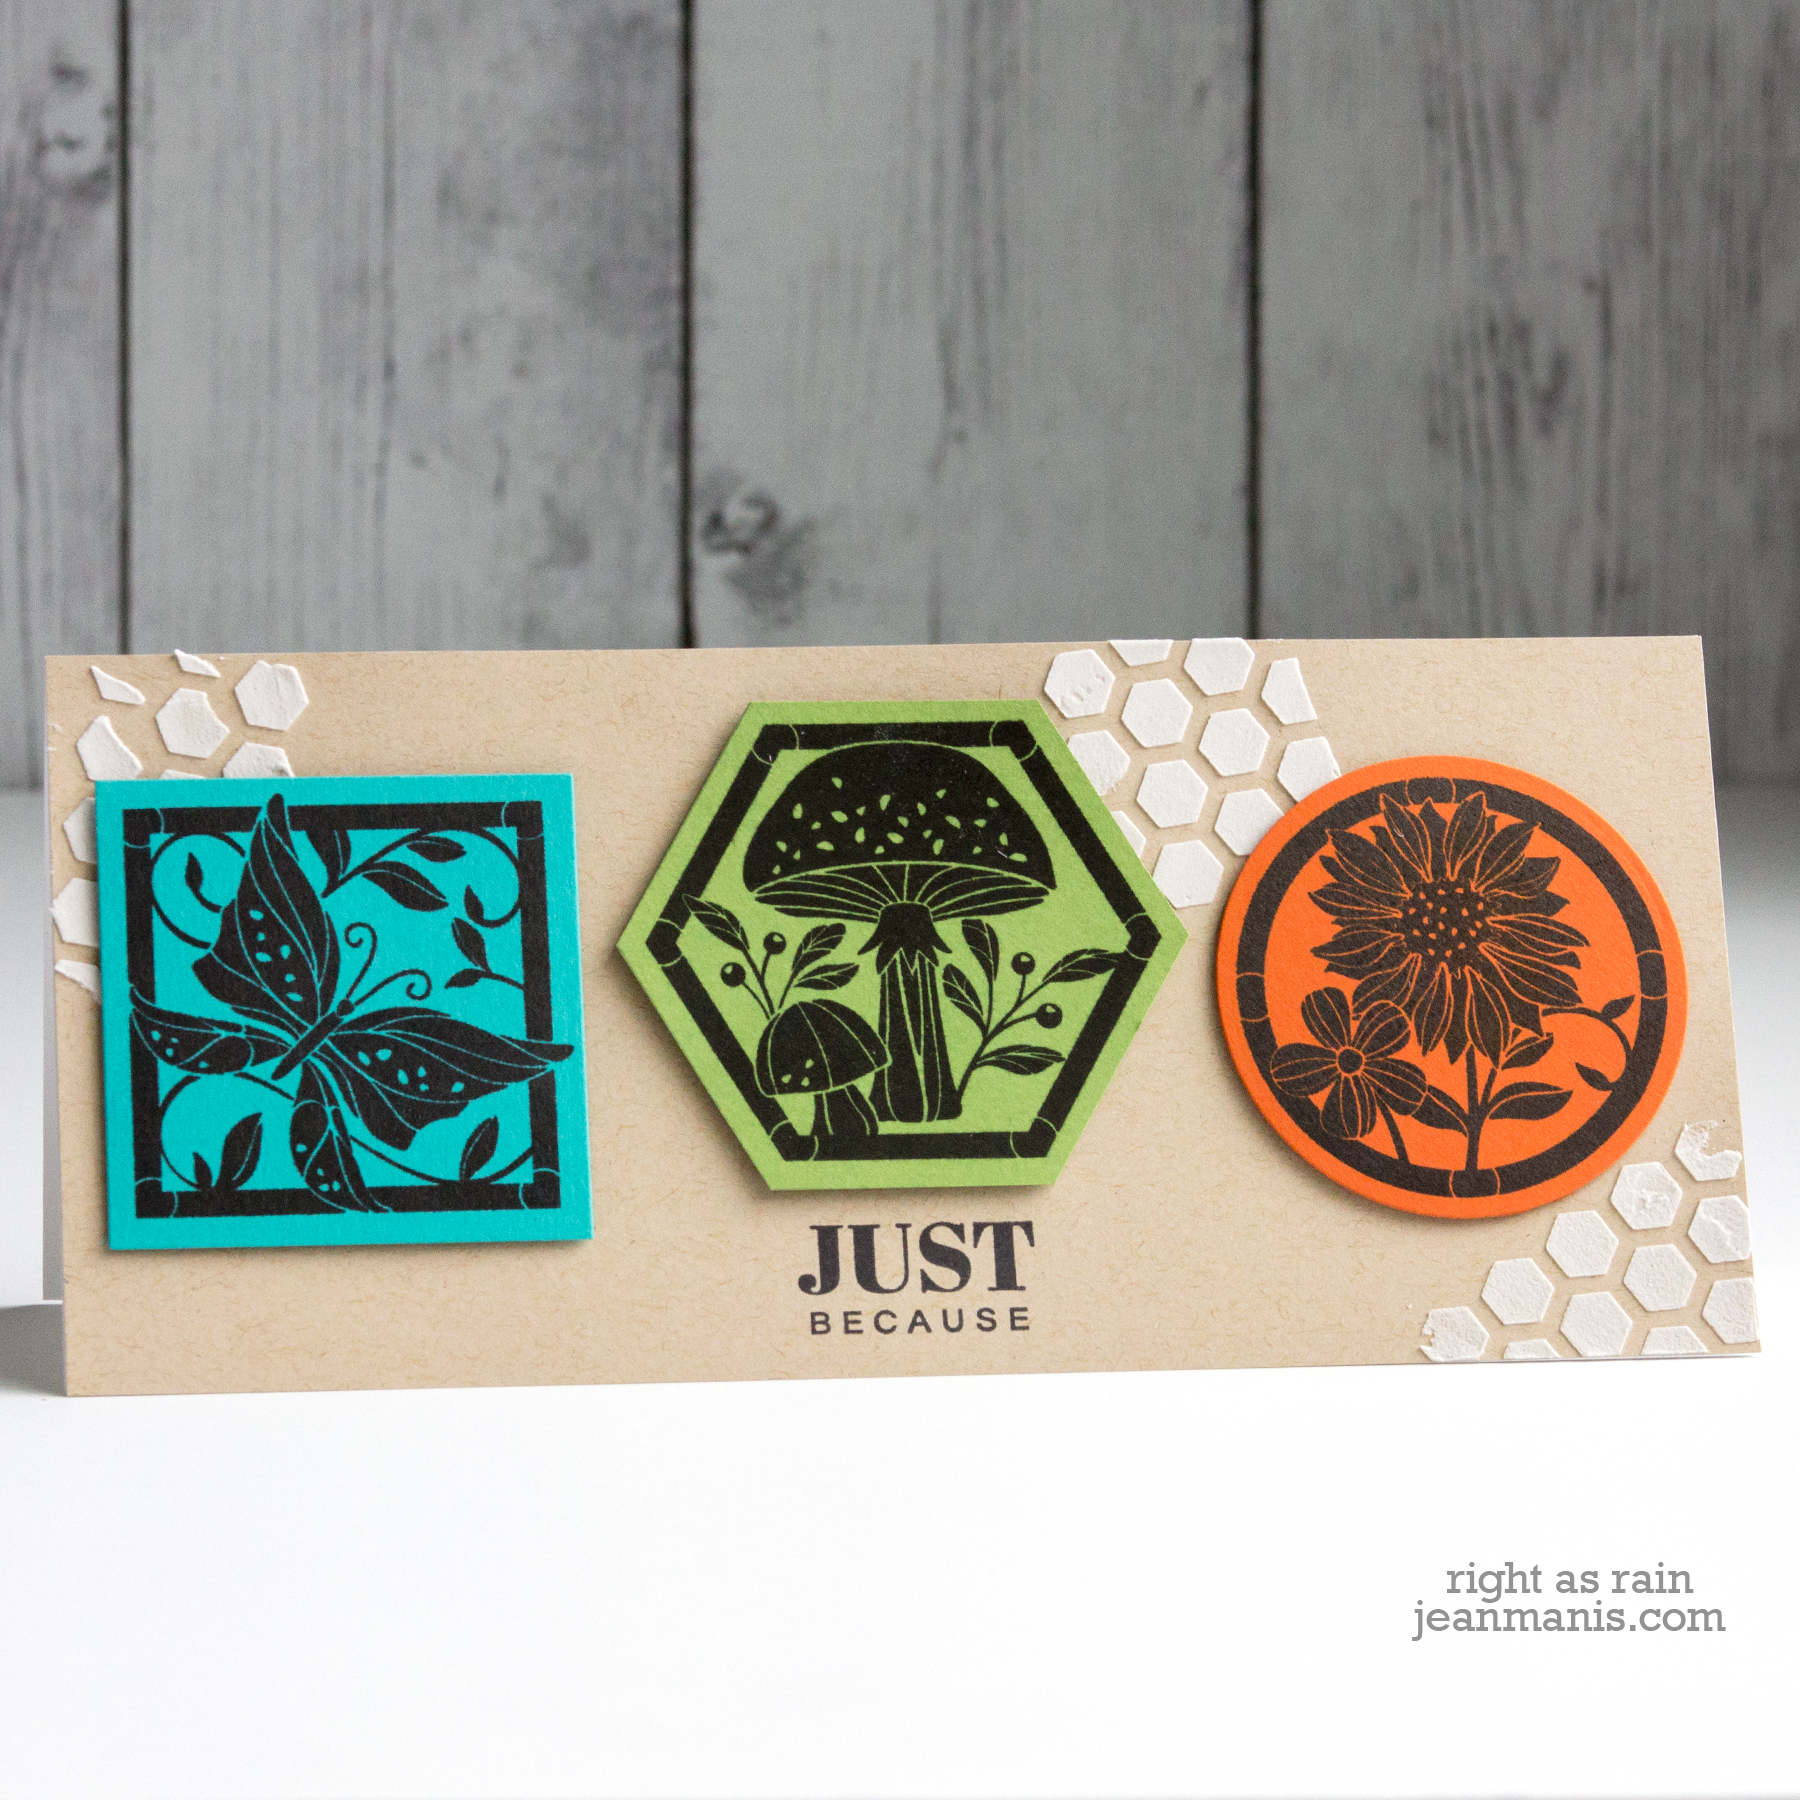
My first card (a XL slimline measuring 9″ wide by 4″ tall!) features all three images in the Block Prints set.

Spellbinders Fun Stampers Journey Buzzworthy Collection

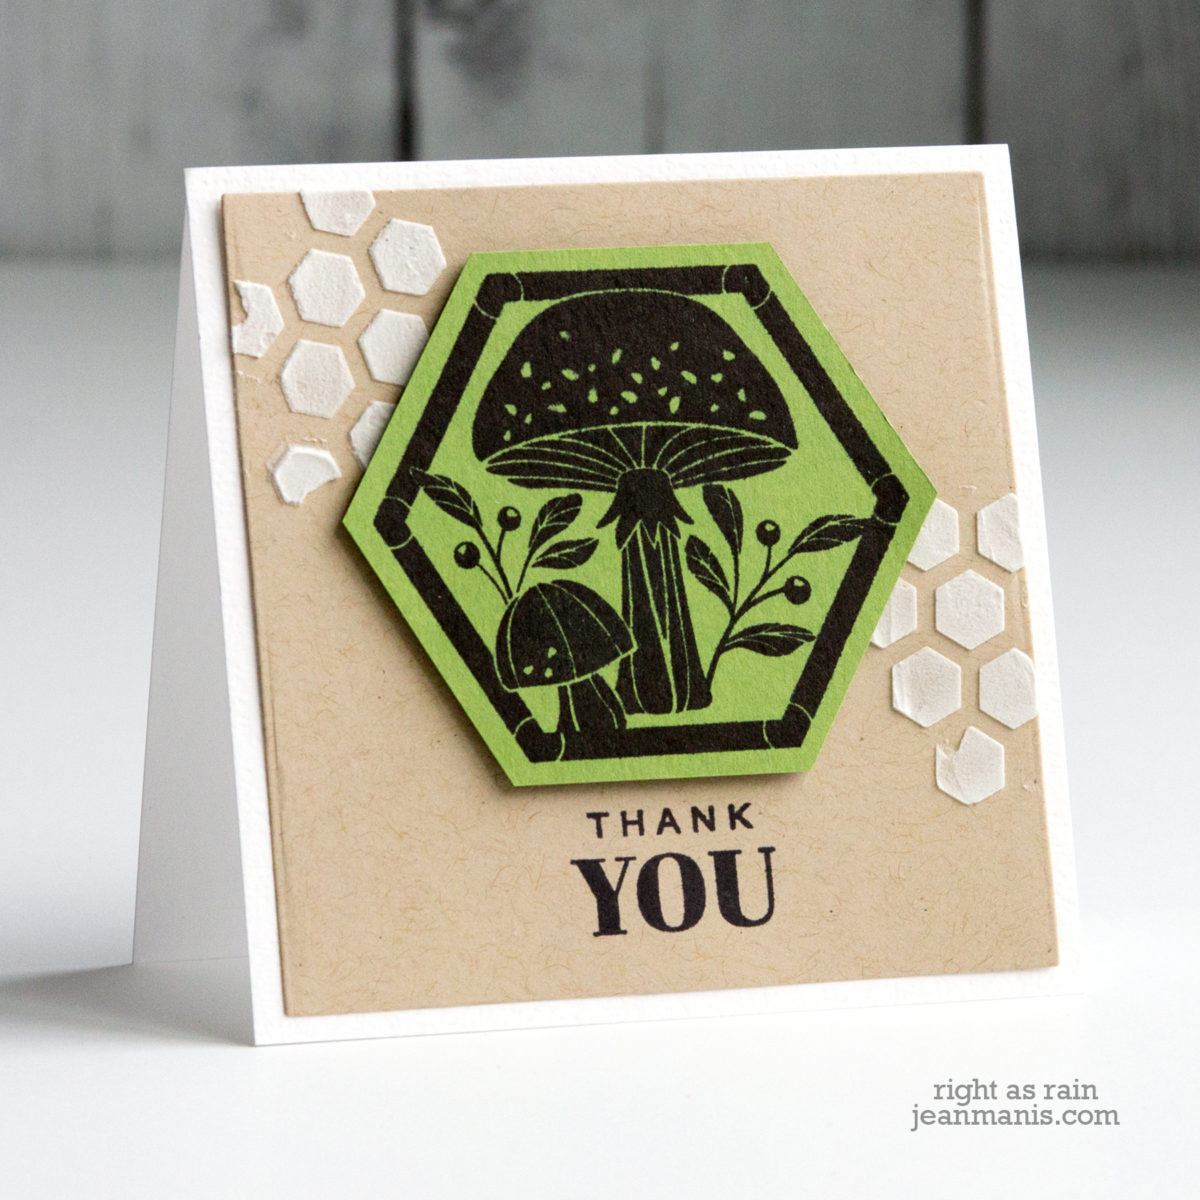
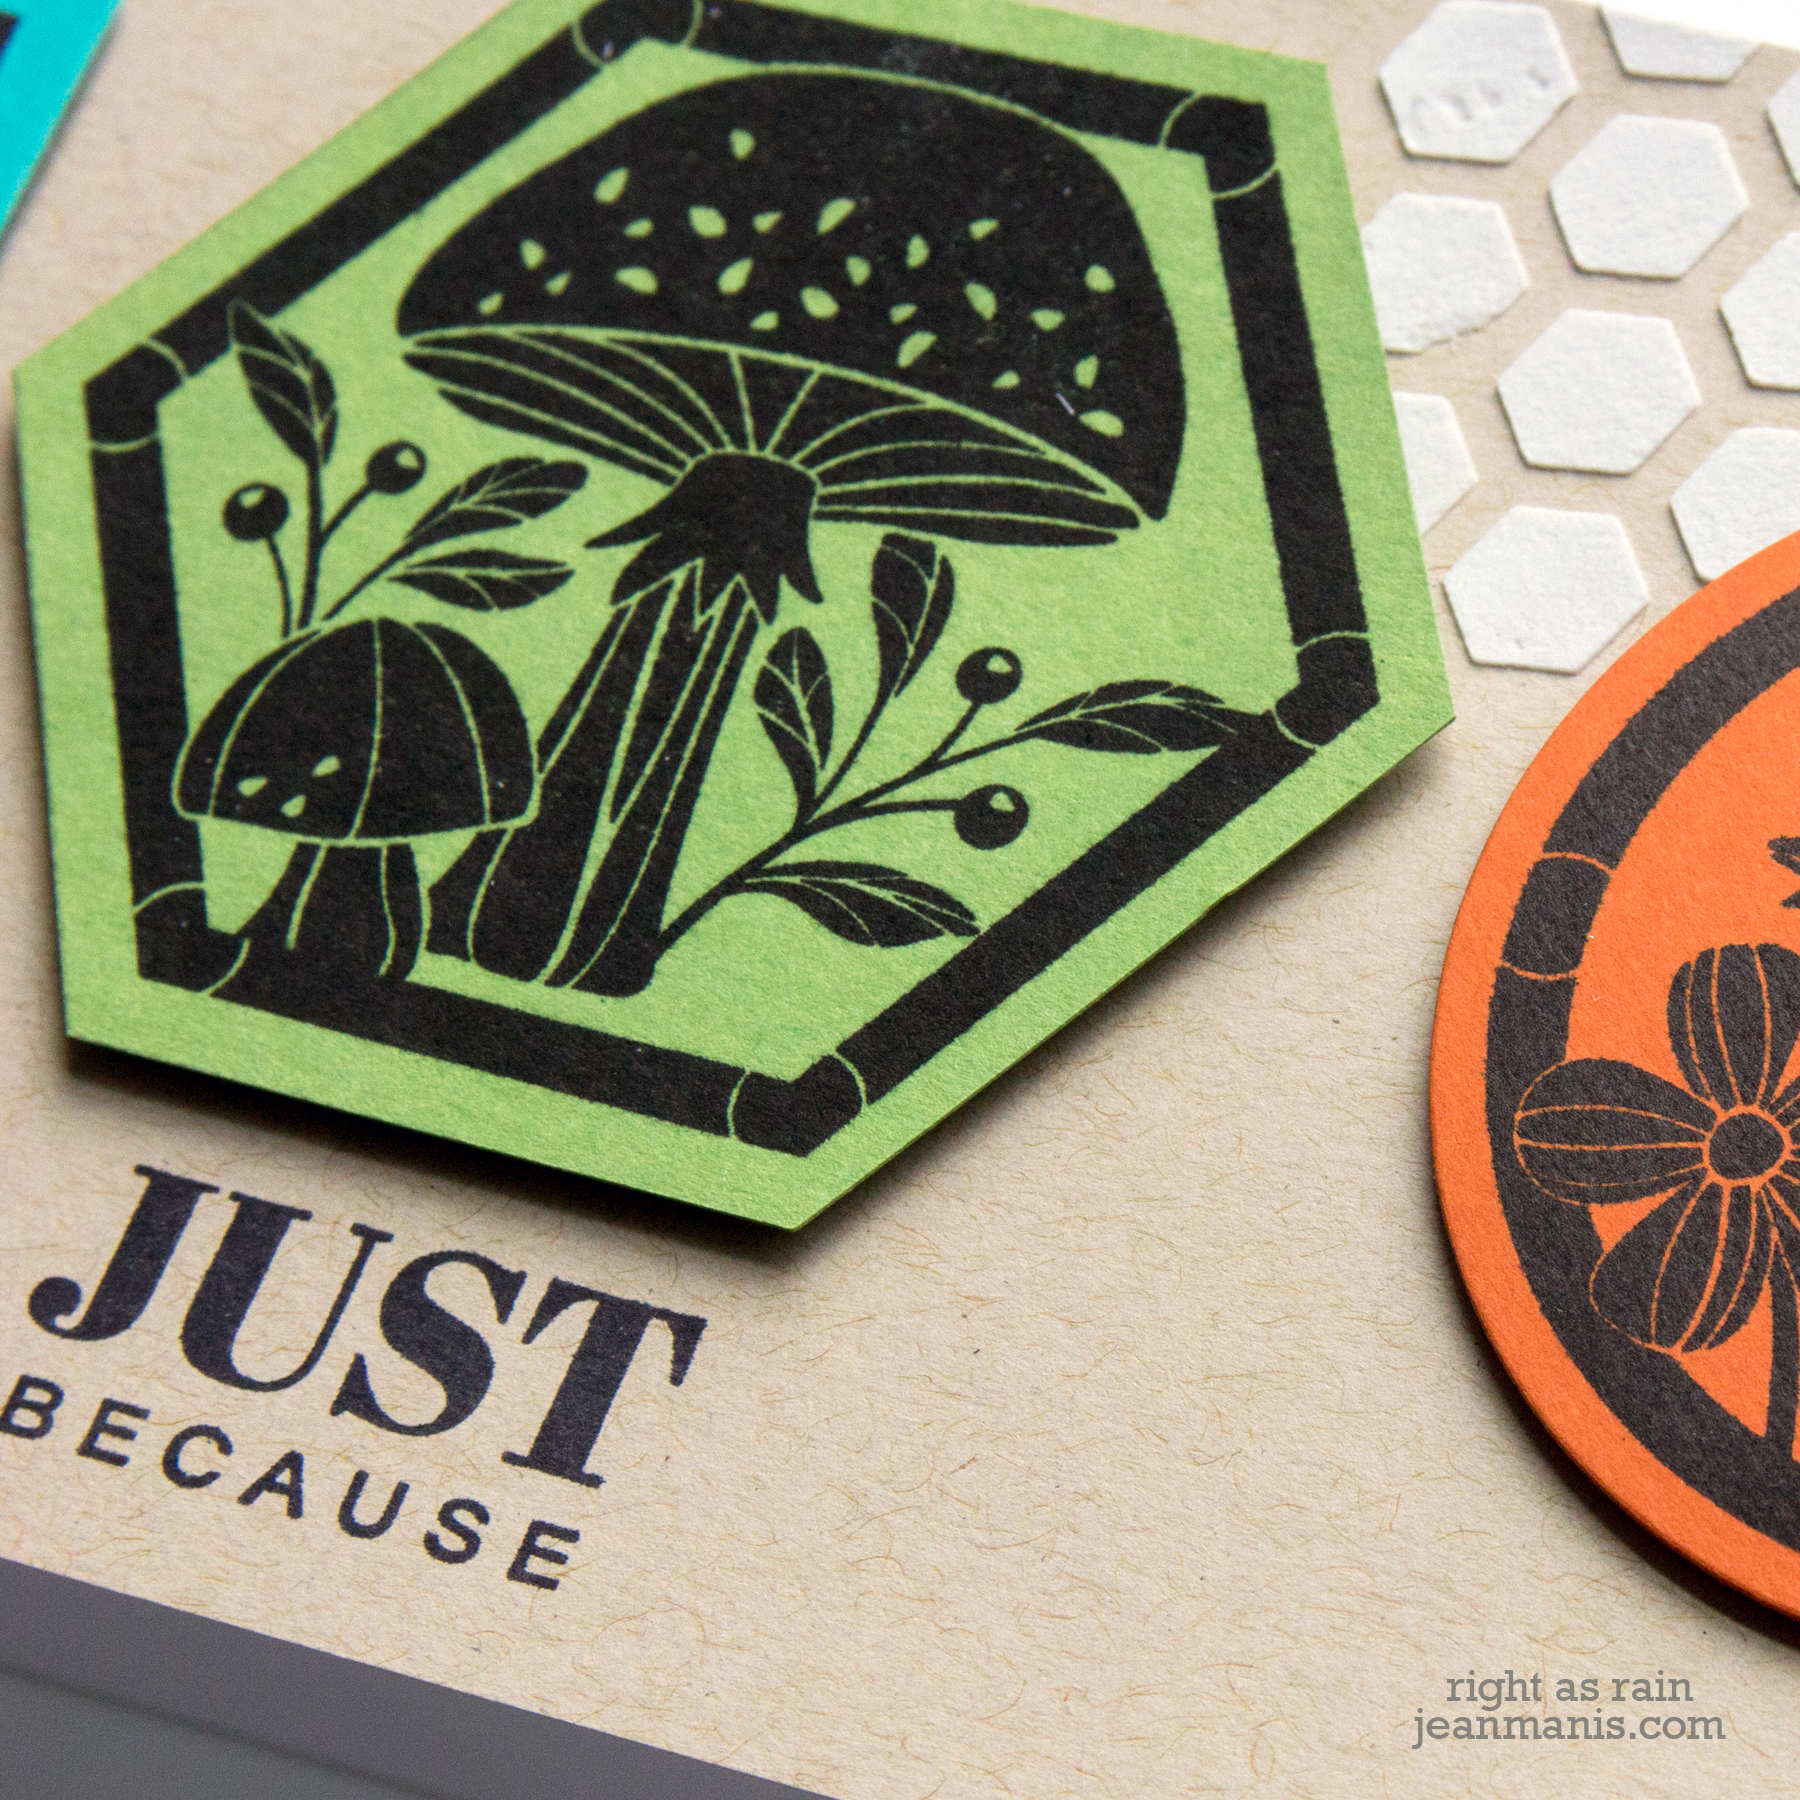
  • I stamped the images on colored cardstock and cut them out. I used a square die on the square, a circle die on the circle, and cut the hexagon with a paper trimmer.
  • I stamped the sentiment on to the card base.
  • I added embossing paste with the Honeycomb stencil.
  • Once dry, I added the stamped images with dimensional foam.

Spellbinders Fun Stampers Journey Buzzworthy Collection

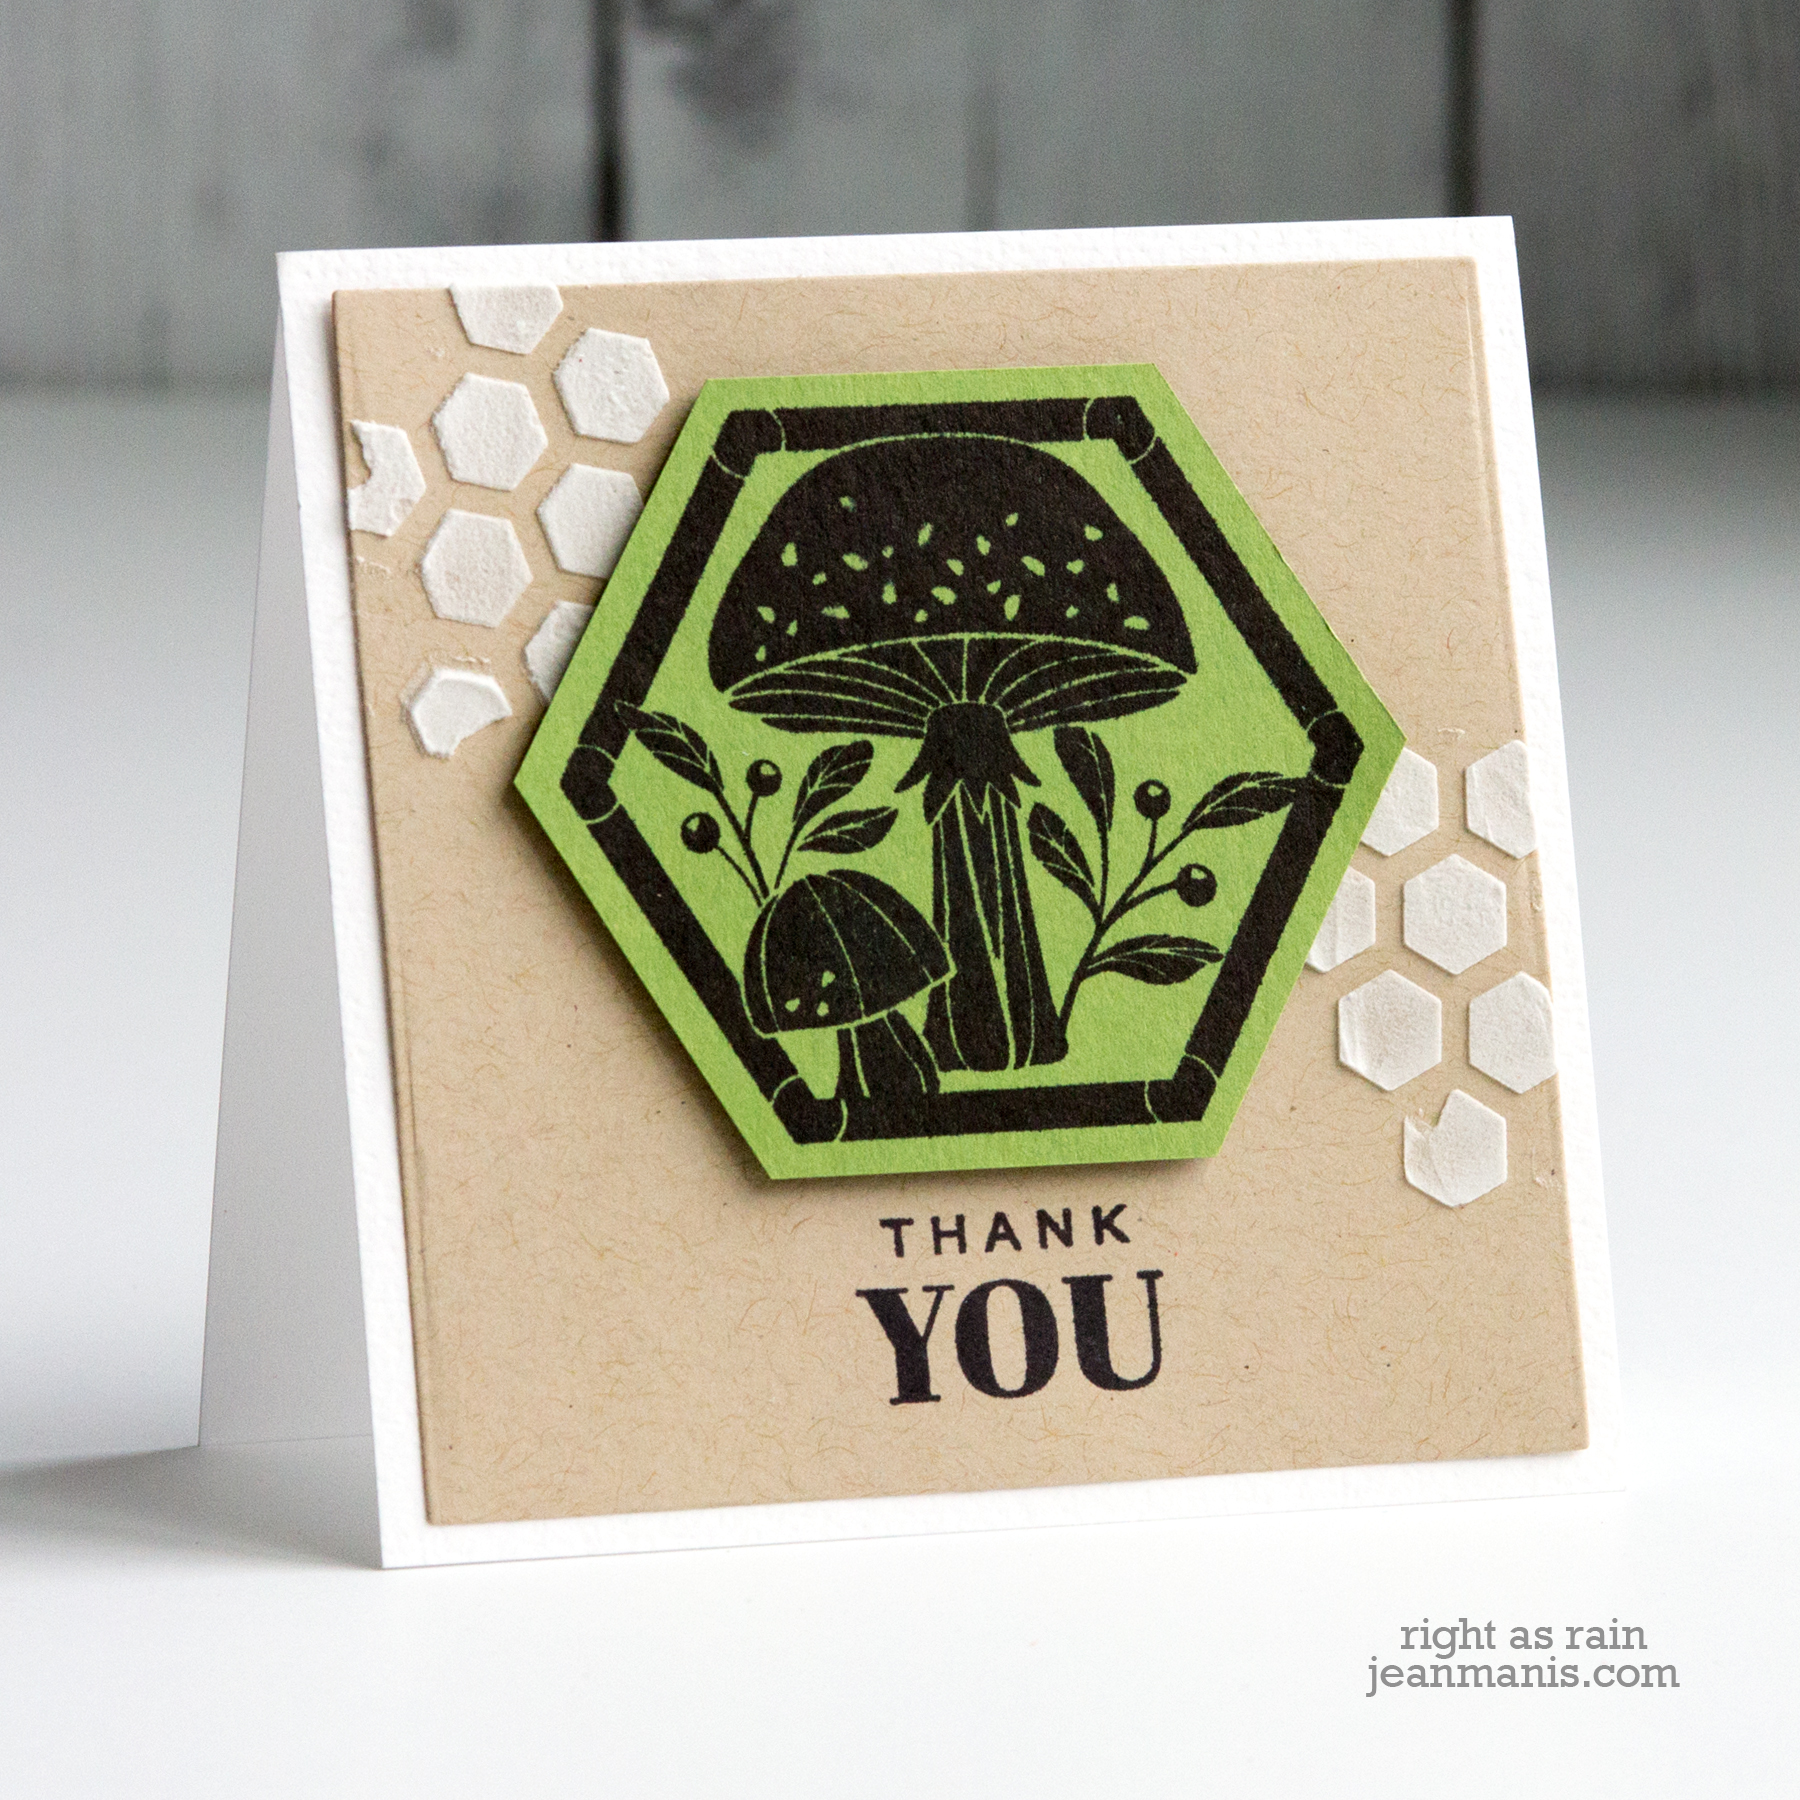
To illustrate how the images can be used separately on cards, I created a 4 1/4″ square card in a similar fashion to the larger card (using a different sentiment in the set). I added the 4″ Oatmeal Cookie cardstock, on which I had applied embossing paste as before, to a white cardstock base.

Spellbinders Fun Stampers Journey Buzzworthy Collection

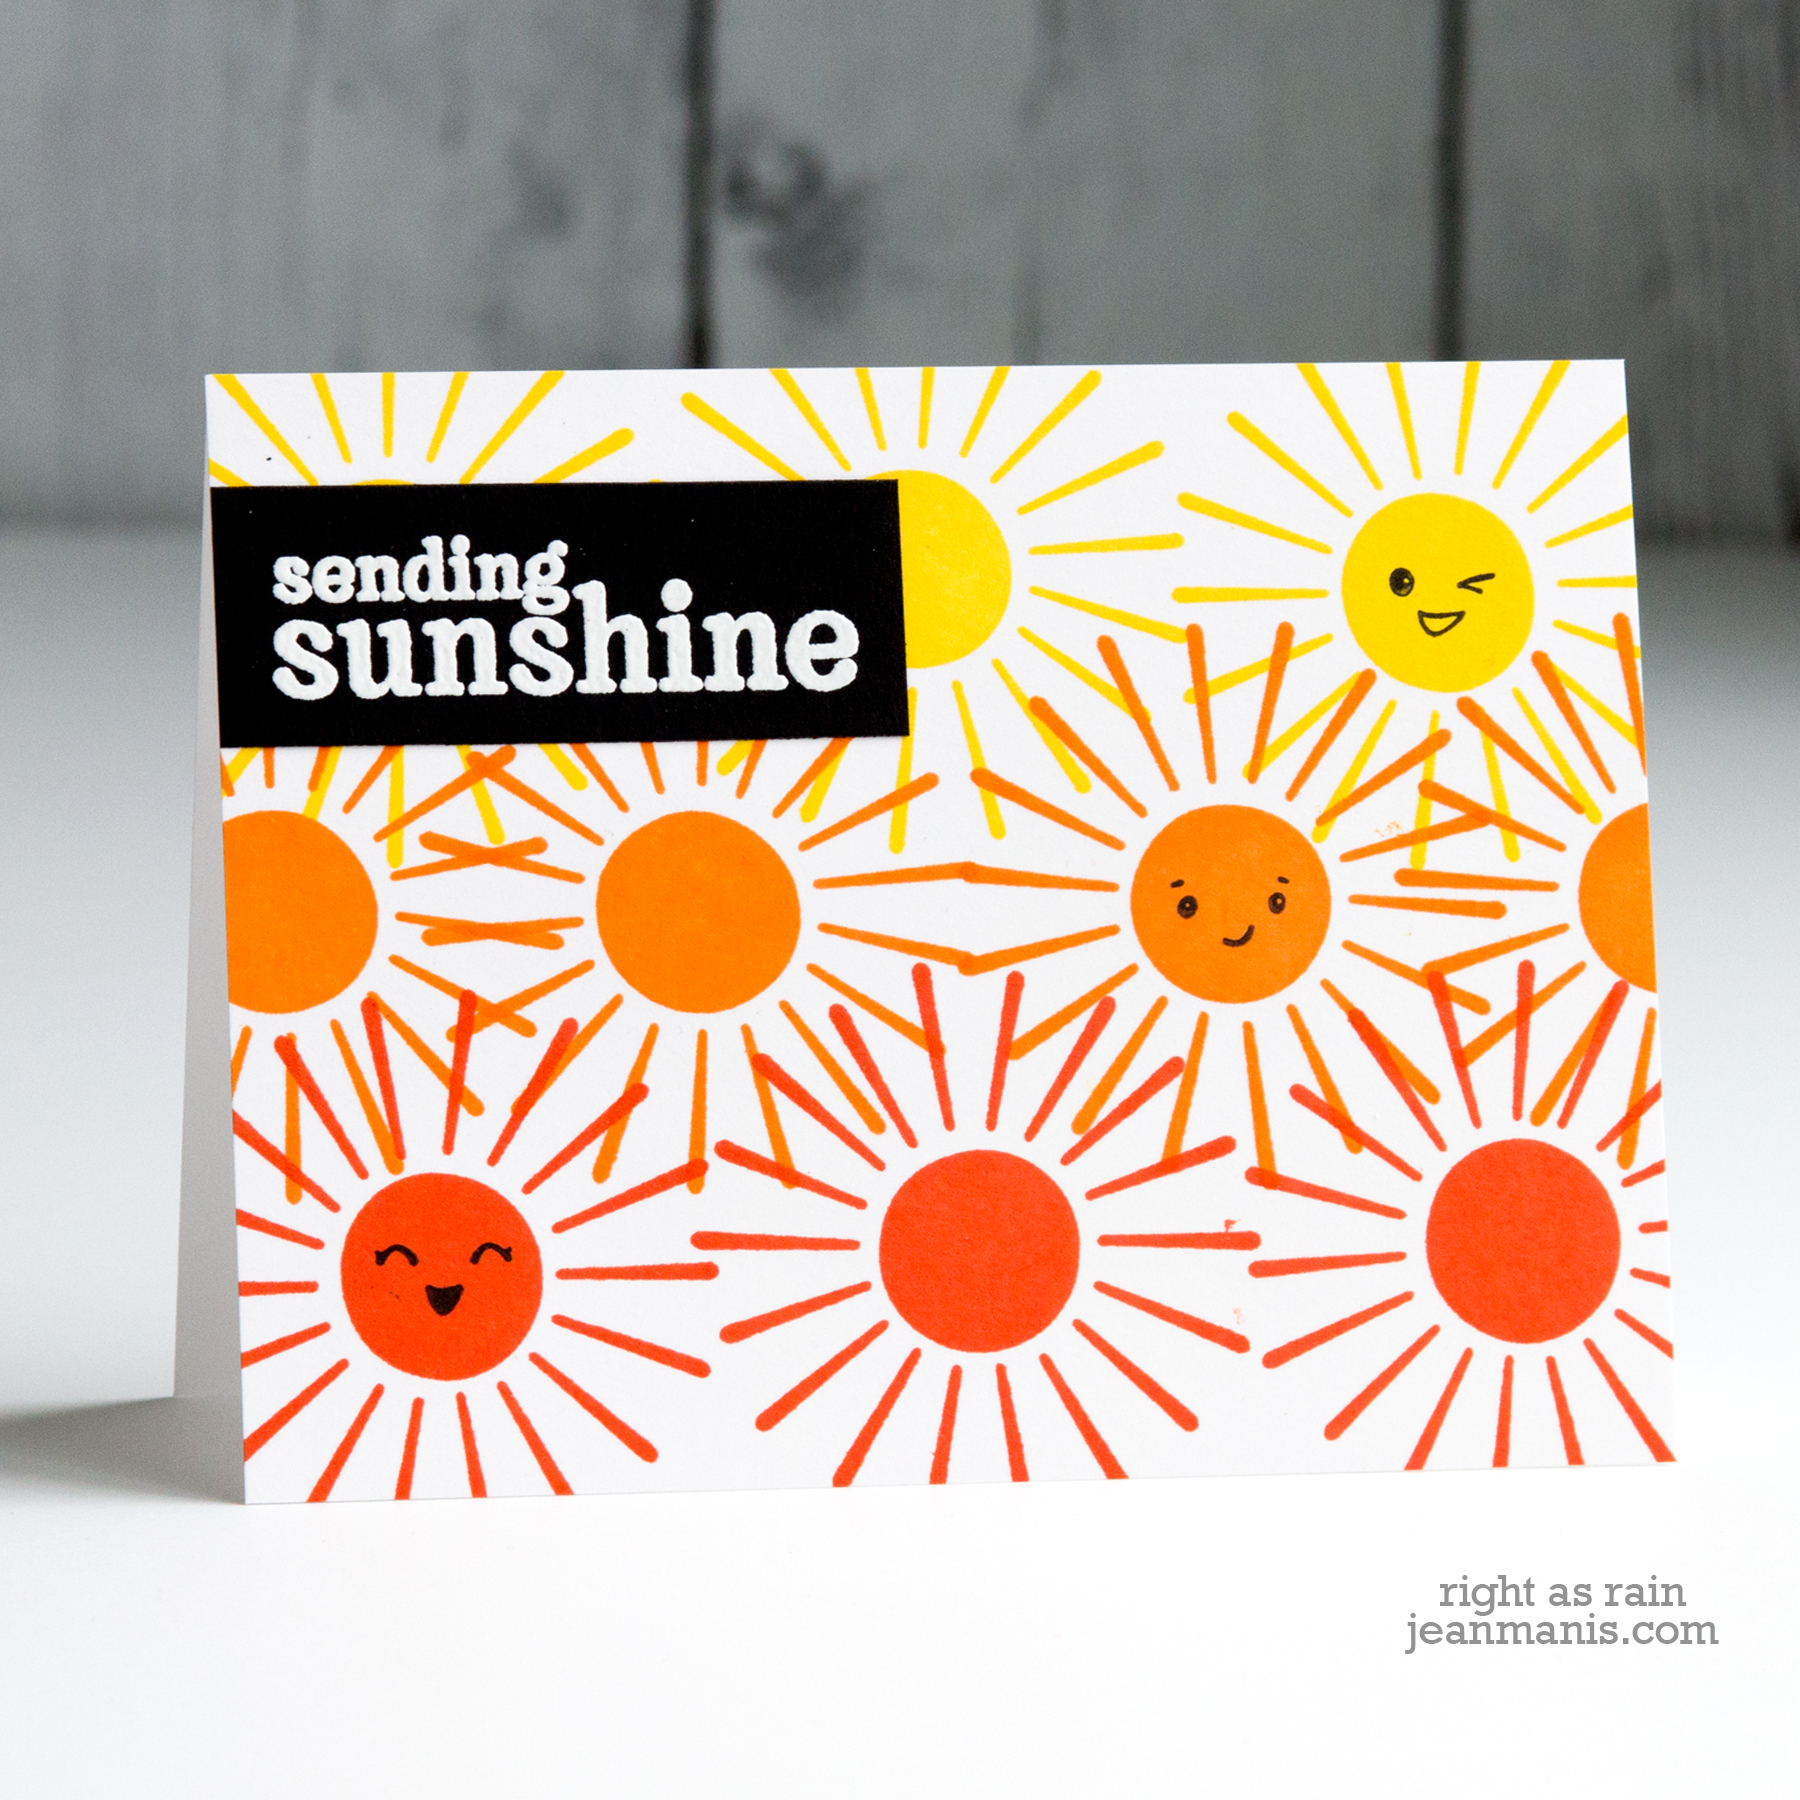
My third card showcases the Trip Around the Sun stamp set.

Spellbinders Fun Stampers Journey Buzzworthy Collection

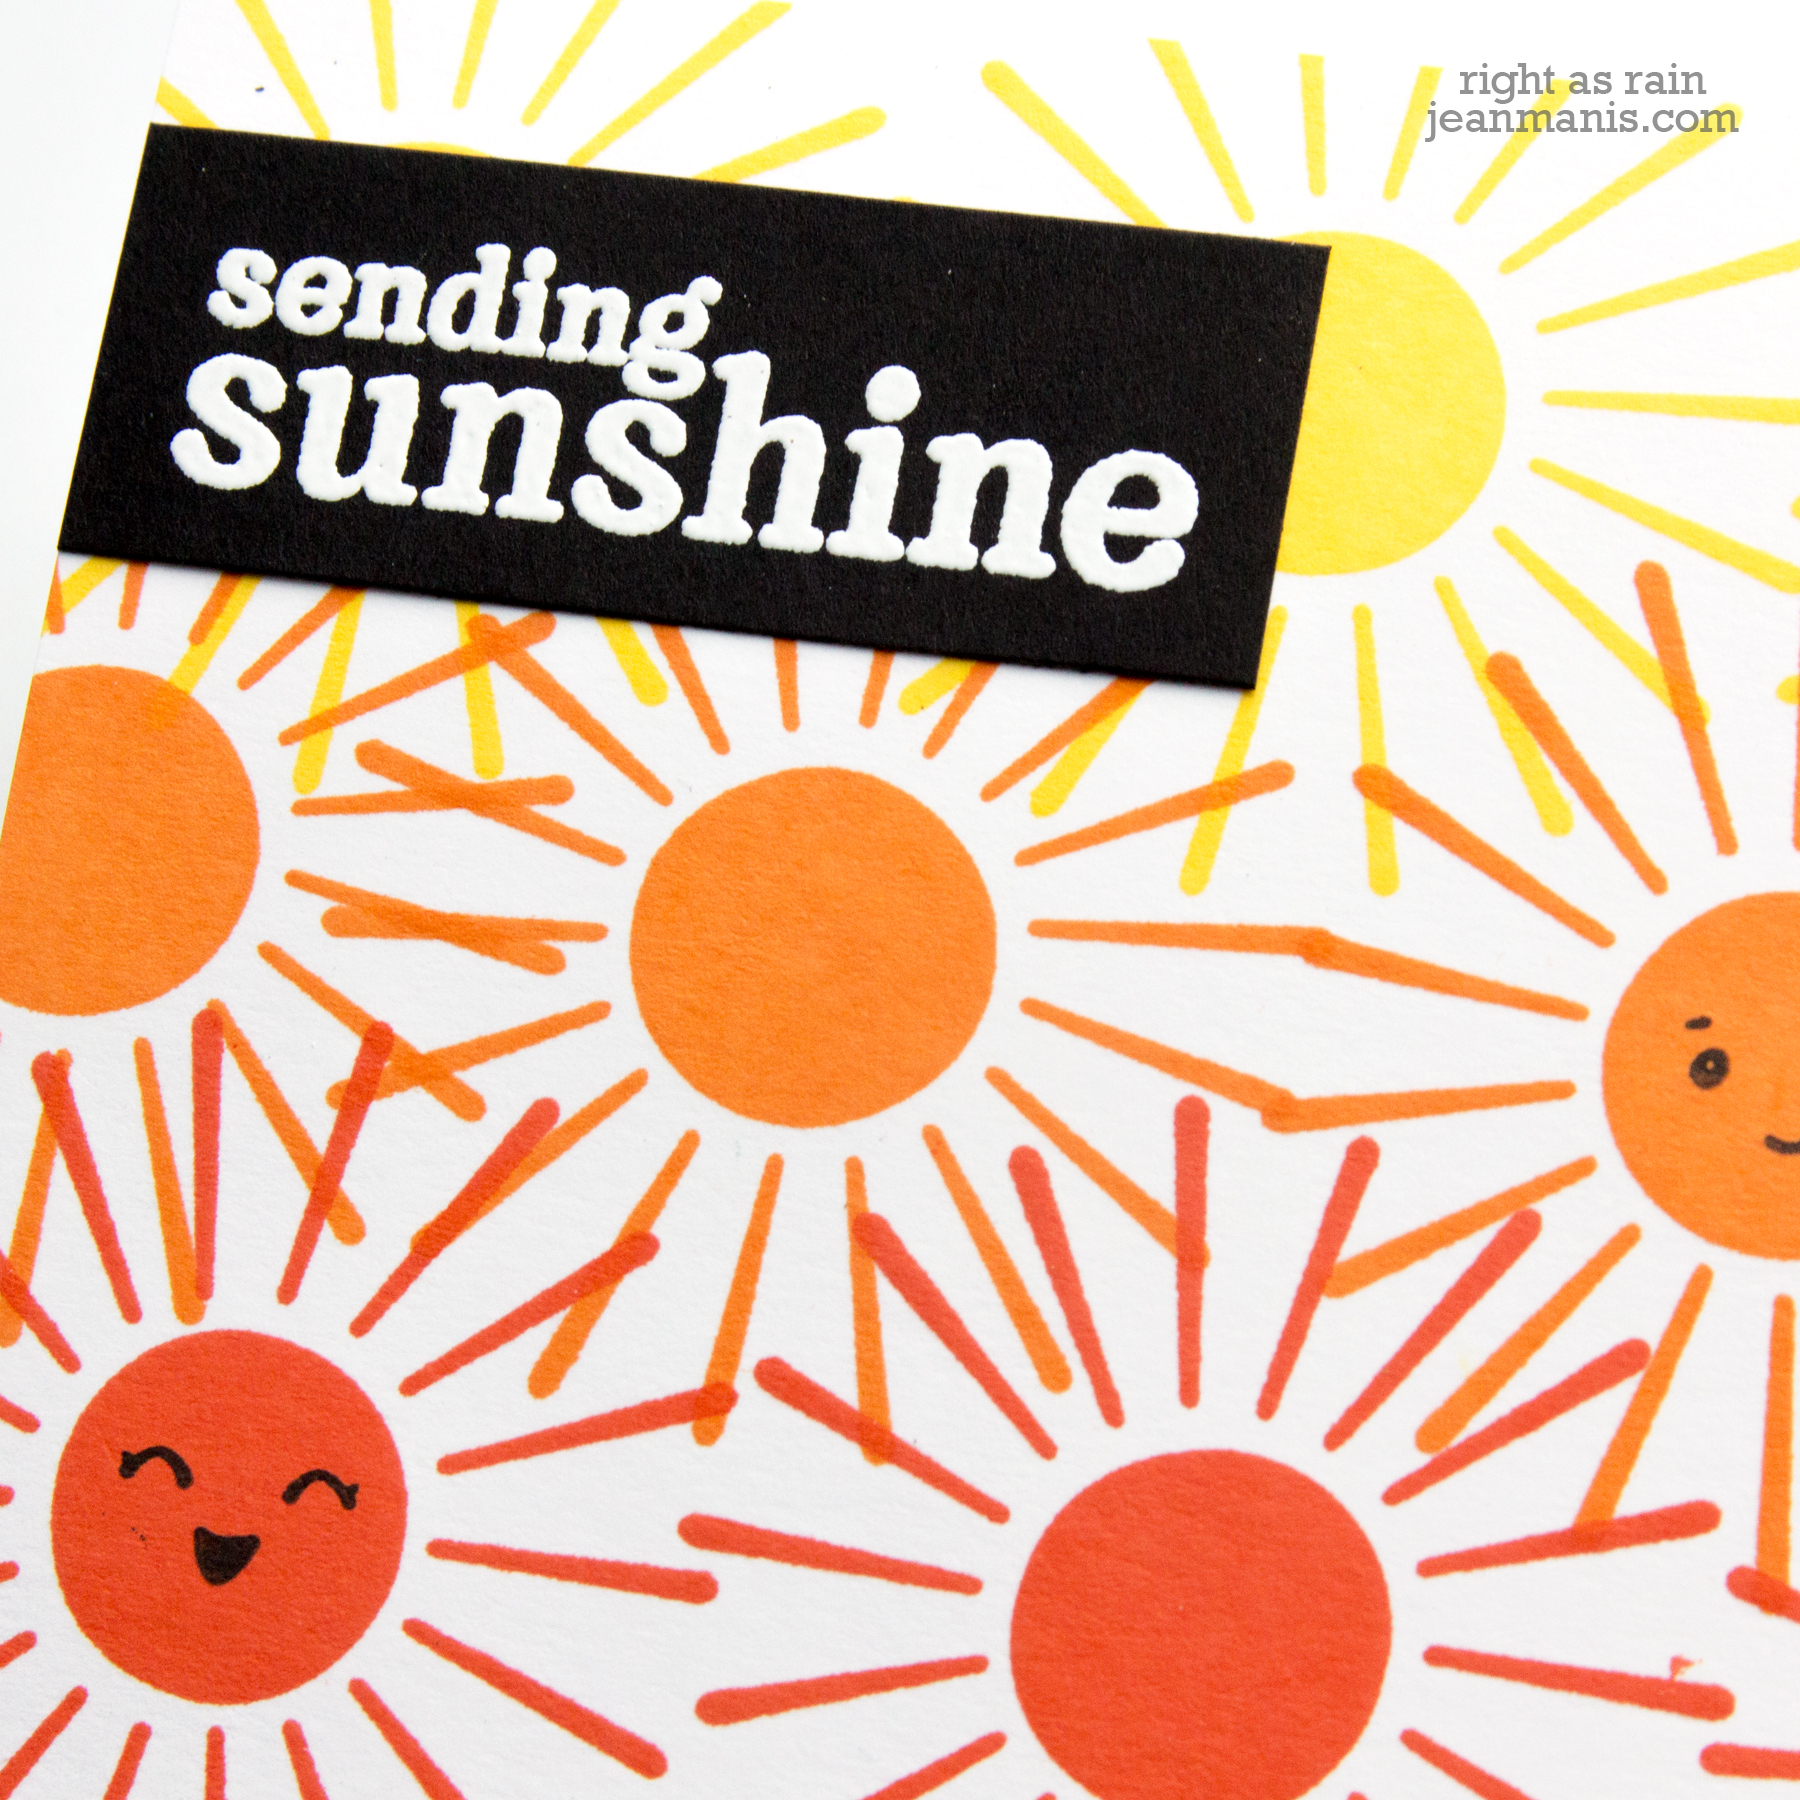
  • I stamped one of the sun images included in the set repeatedly, using three ink colors, on a Whip Cream card base.
  • I added the sun faces with black ink.
  • I heat-embossed the bold sentiment.

Spellbinders Fun Stampers Journey Buzzworthy Collection

Supply List:

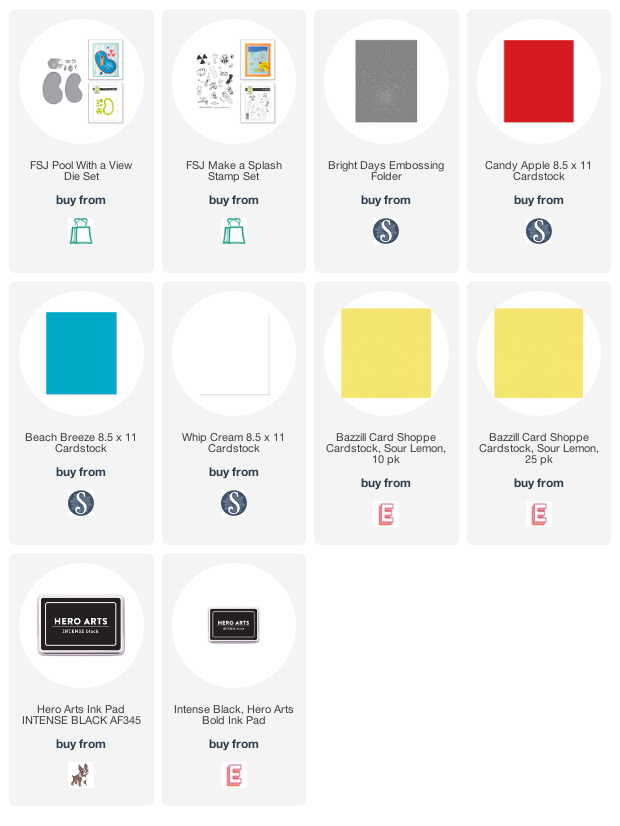
Spellbinders/FSJ – Make a Splash

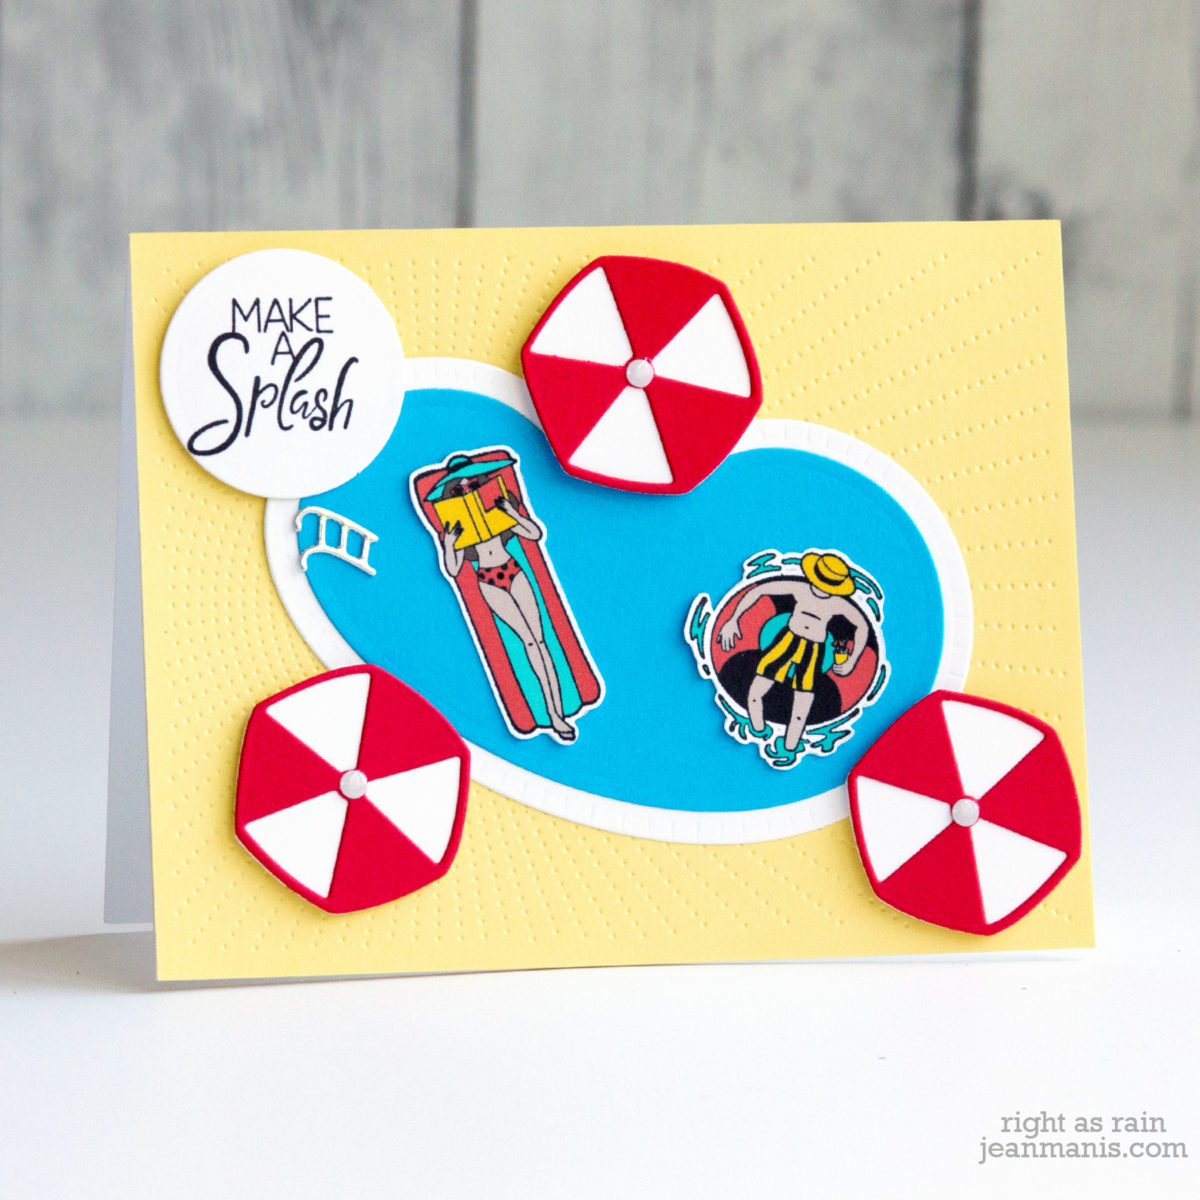
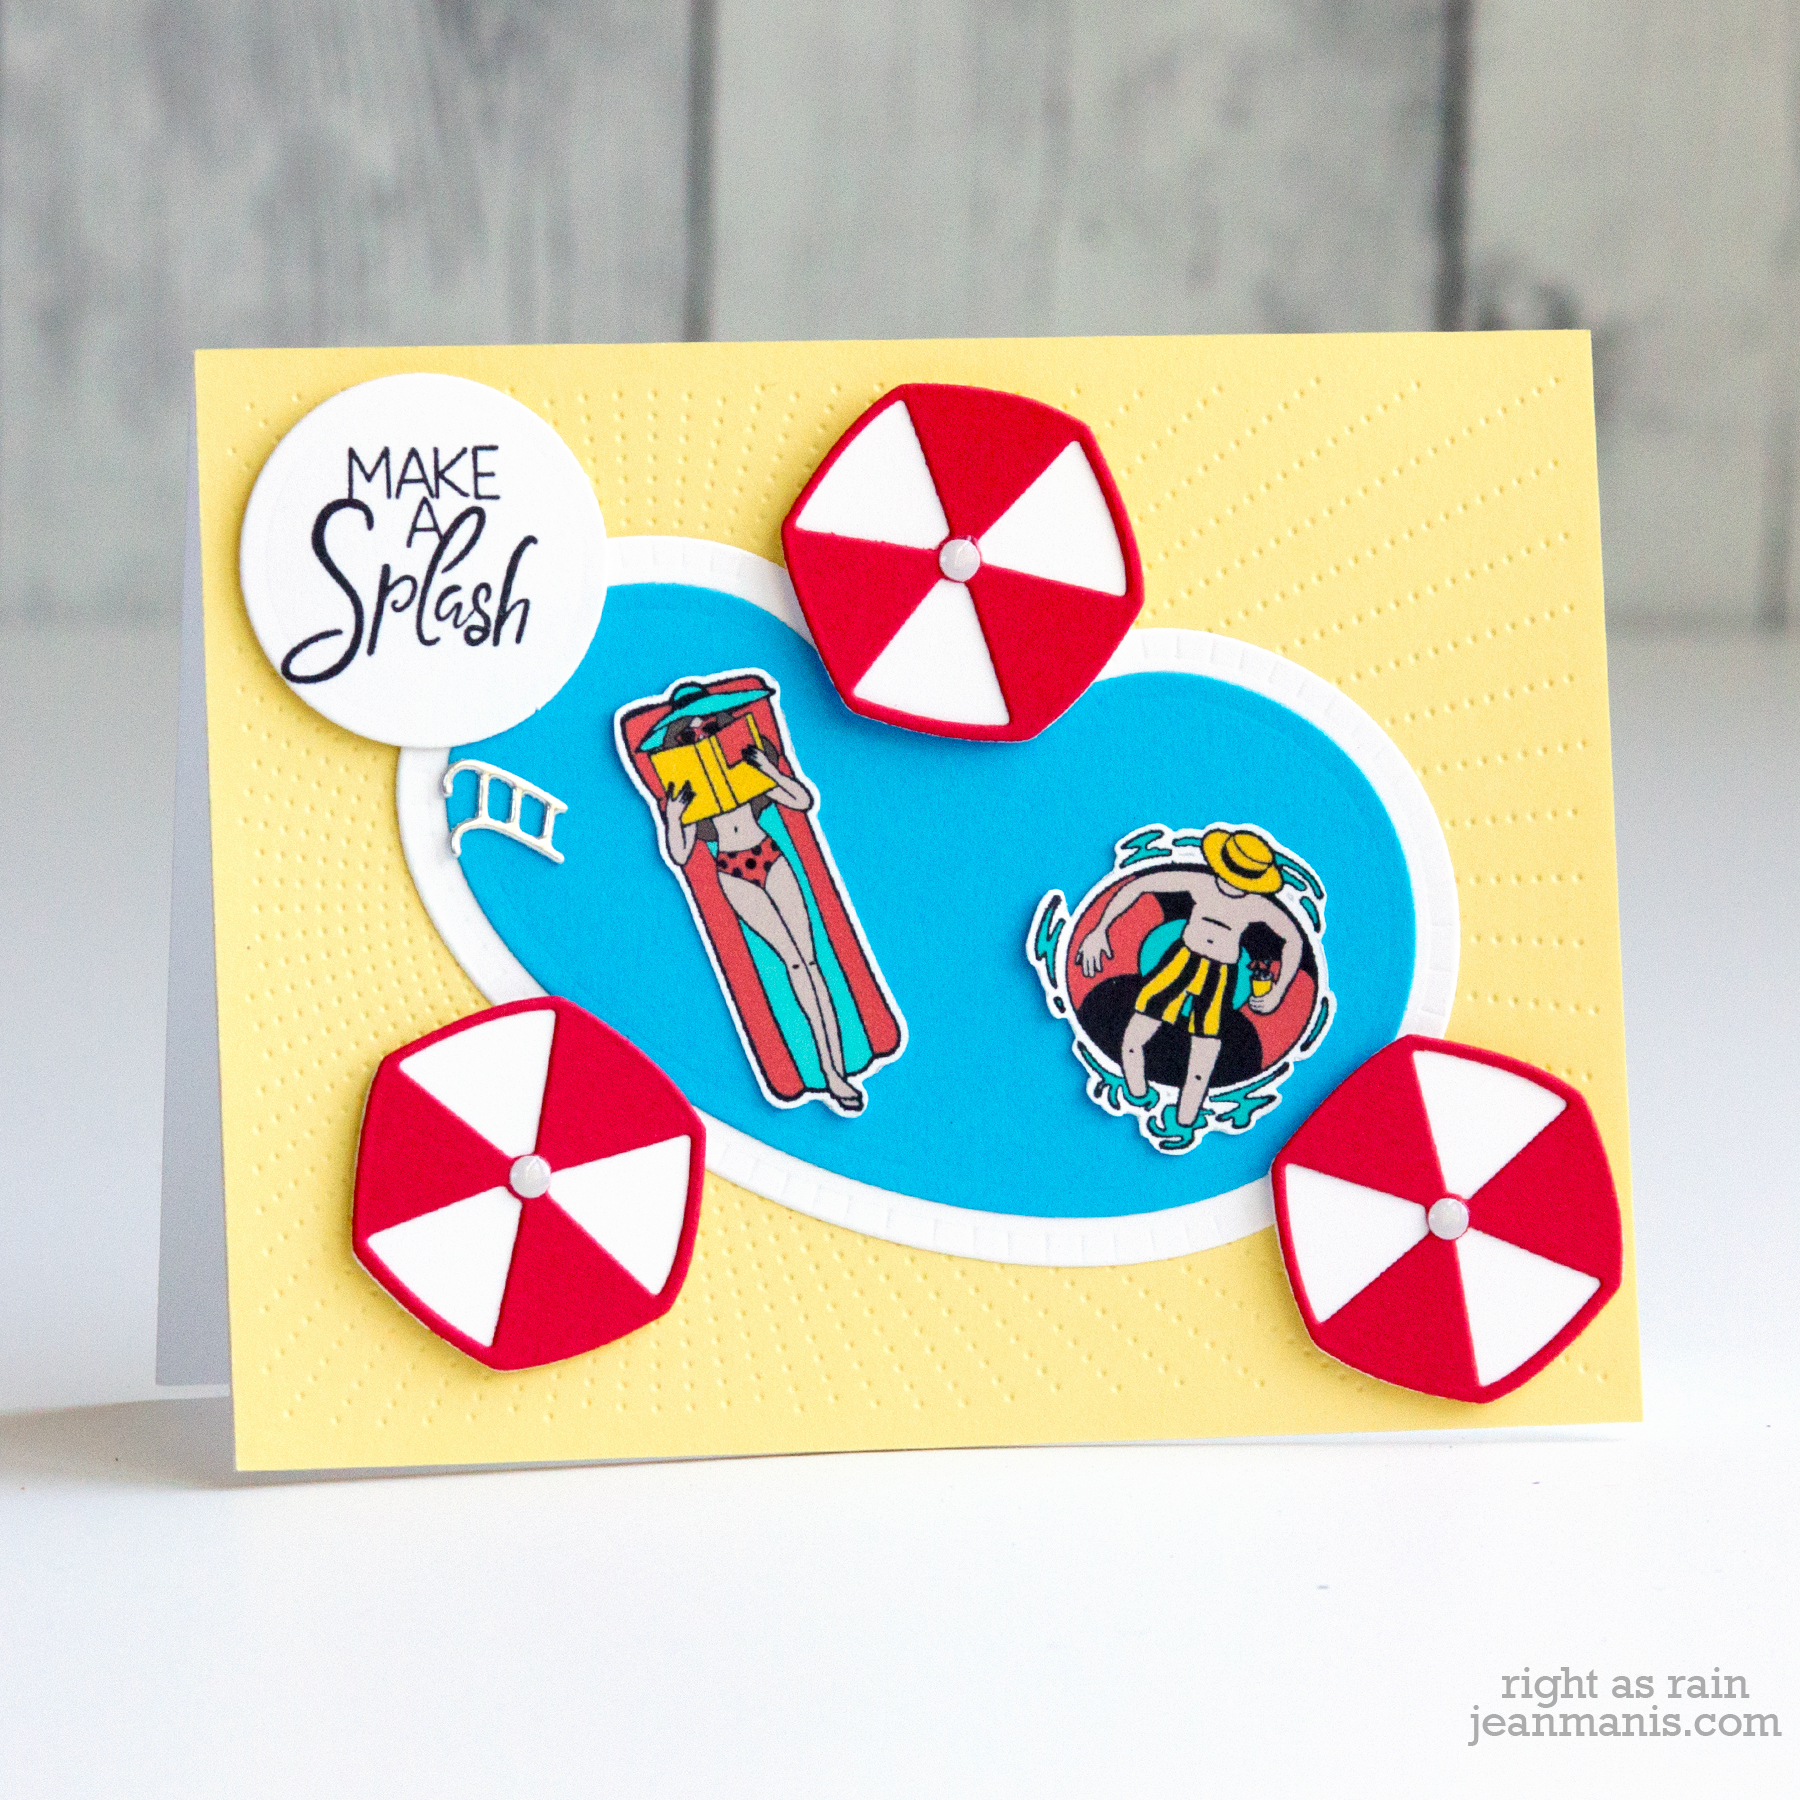
Hello! Today I’m sharing a card in which I envision a summer day at the pool (let’s imagine a post-pandemic day!) with new products from Spellbinders/FSJ. Growing up, I spent many a carefree, summer day at our local pool.

Spellbinders/FSJ - Make a Splash

  • I die-cut the pool, pool ladder, and umbrellas with dies in the Pool With a View set. I added enamel dots to the tops of the umbrellas.
  • I stamped, colored, and fussy-cut two images from the Make a Splash set.
  • I stamped the Make a Splash sentiment and cut it with a circle die.
  • I dry-embossed the card background with the Bright Days folder.
  • I added the pieces to the scene with dot and foam adhesive.

Scroll past the Supplies for information about a sale at Spellbinders.

Supplies:

Spellbinders is having a sale on past club kits through Sunday 7/19/2020. This sale is ONLY available to active club members. You must first join the club to access the savings. This exclusive sale features select Past Club Kits with additional  savings up to 50% added at checkout. Use the code “JULY” for 10% off the first month for new club subscriptions.

Santa at the Window

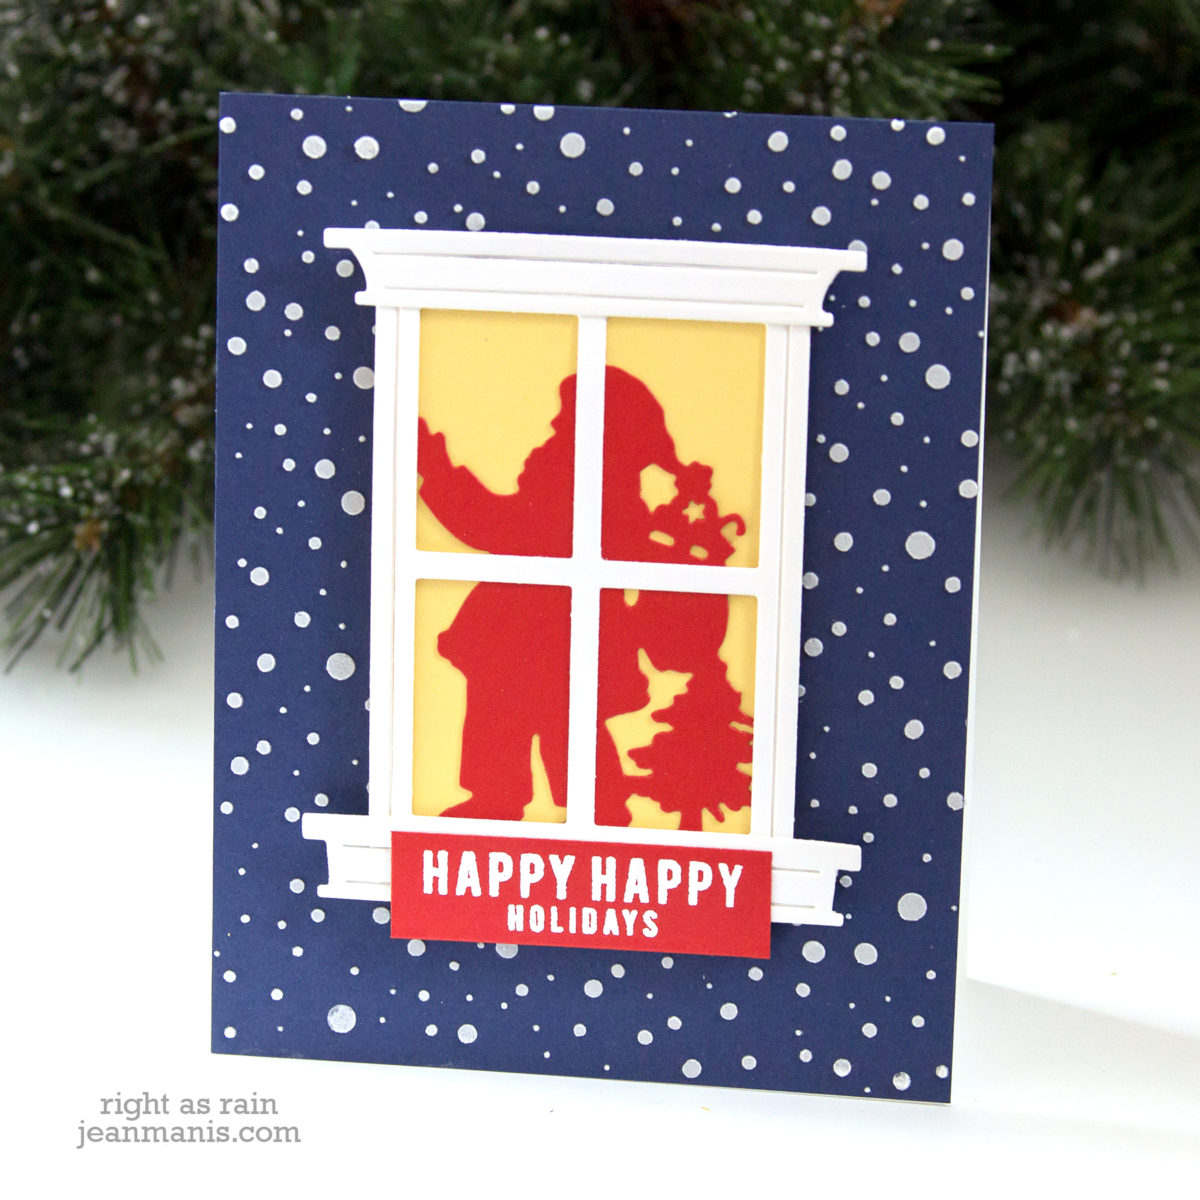
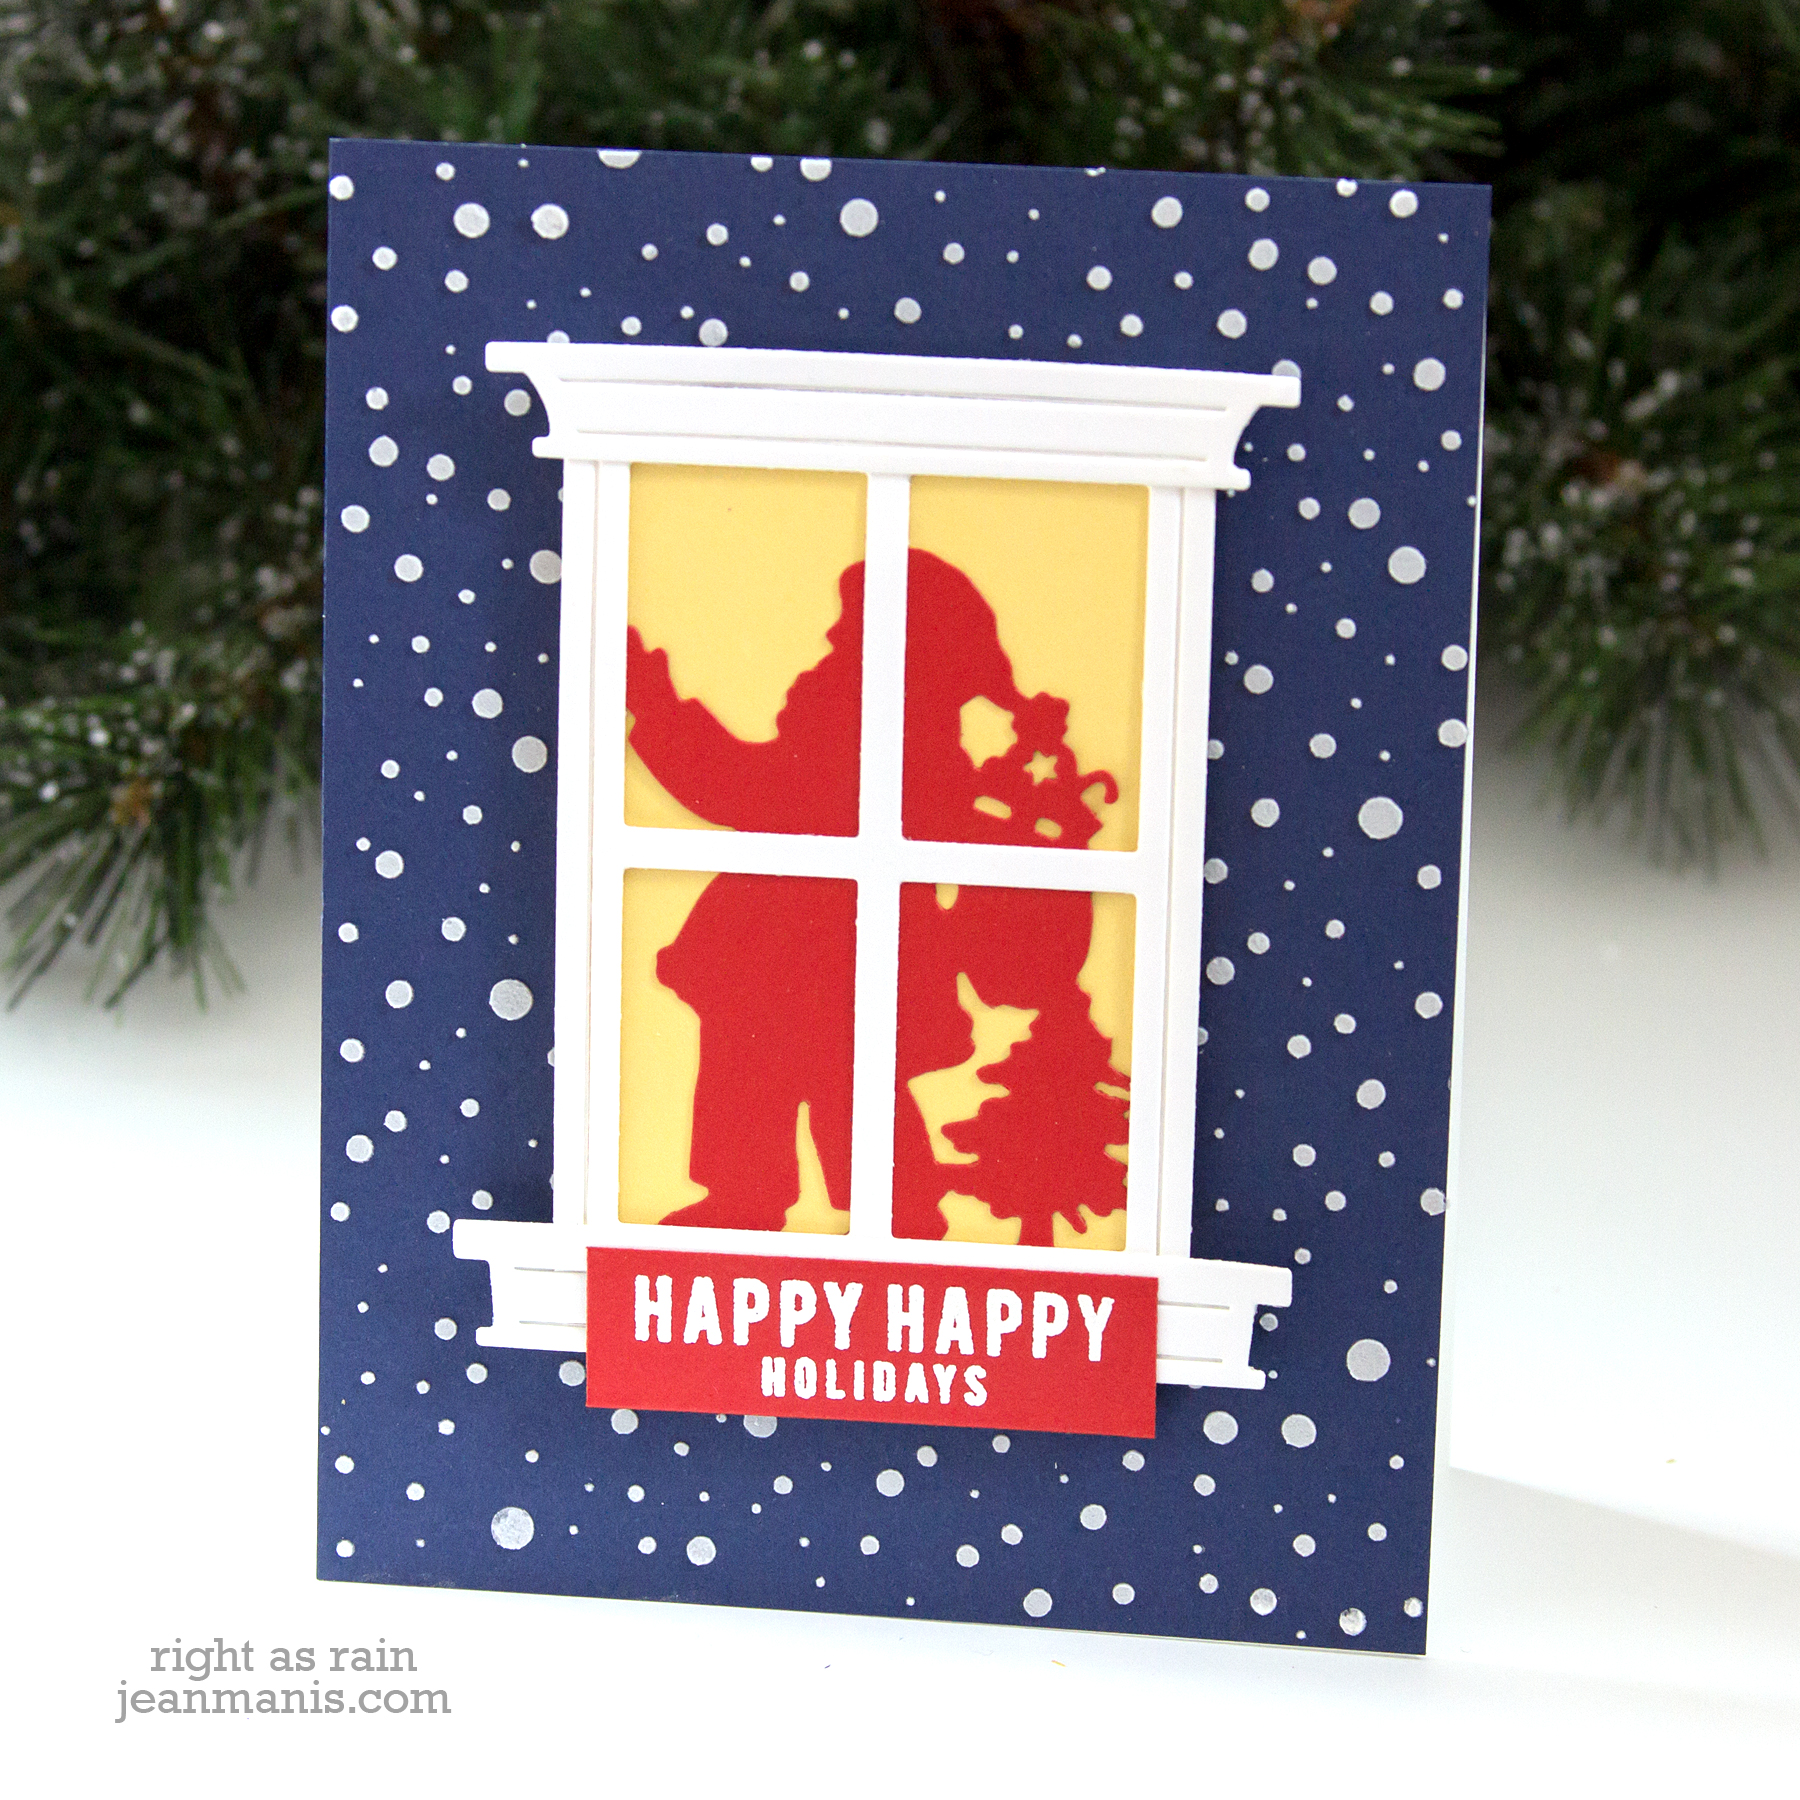
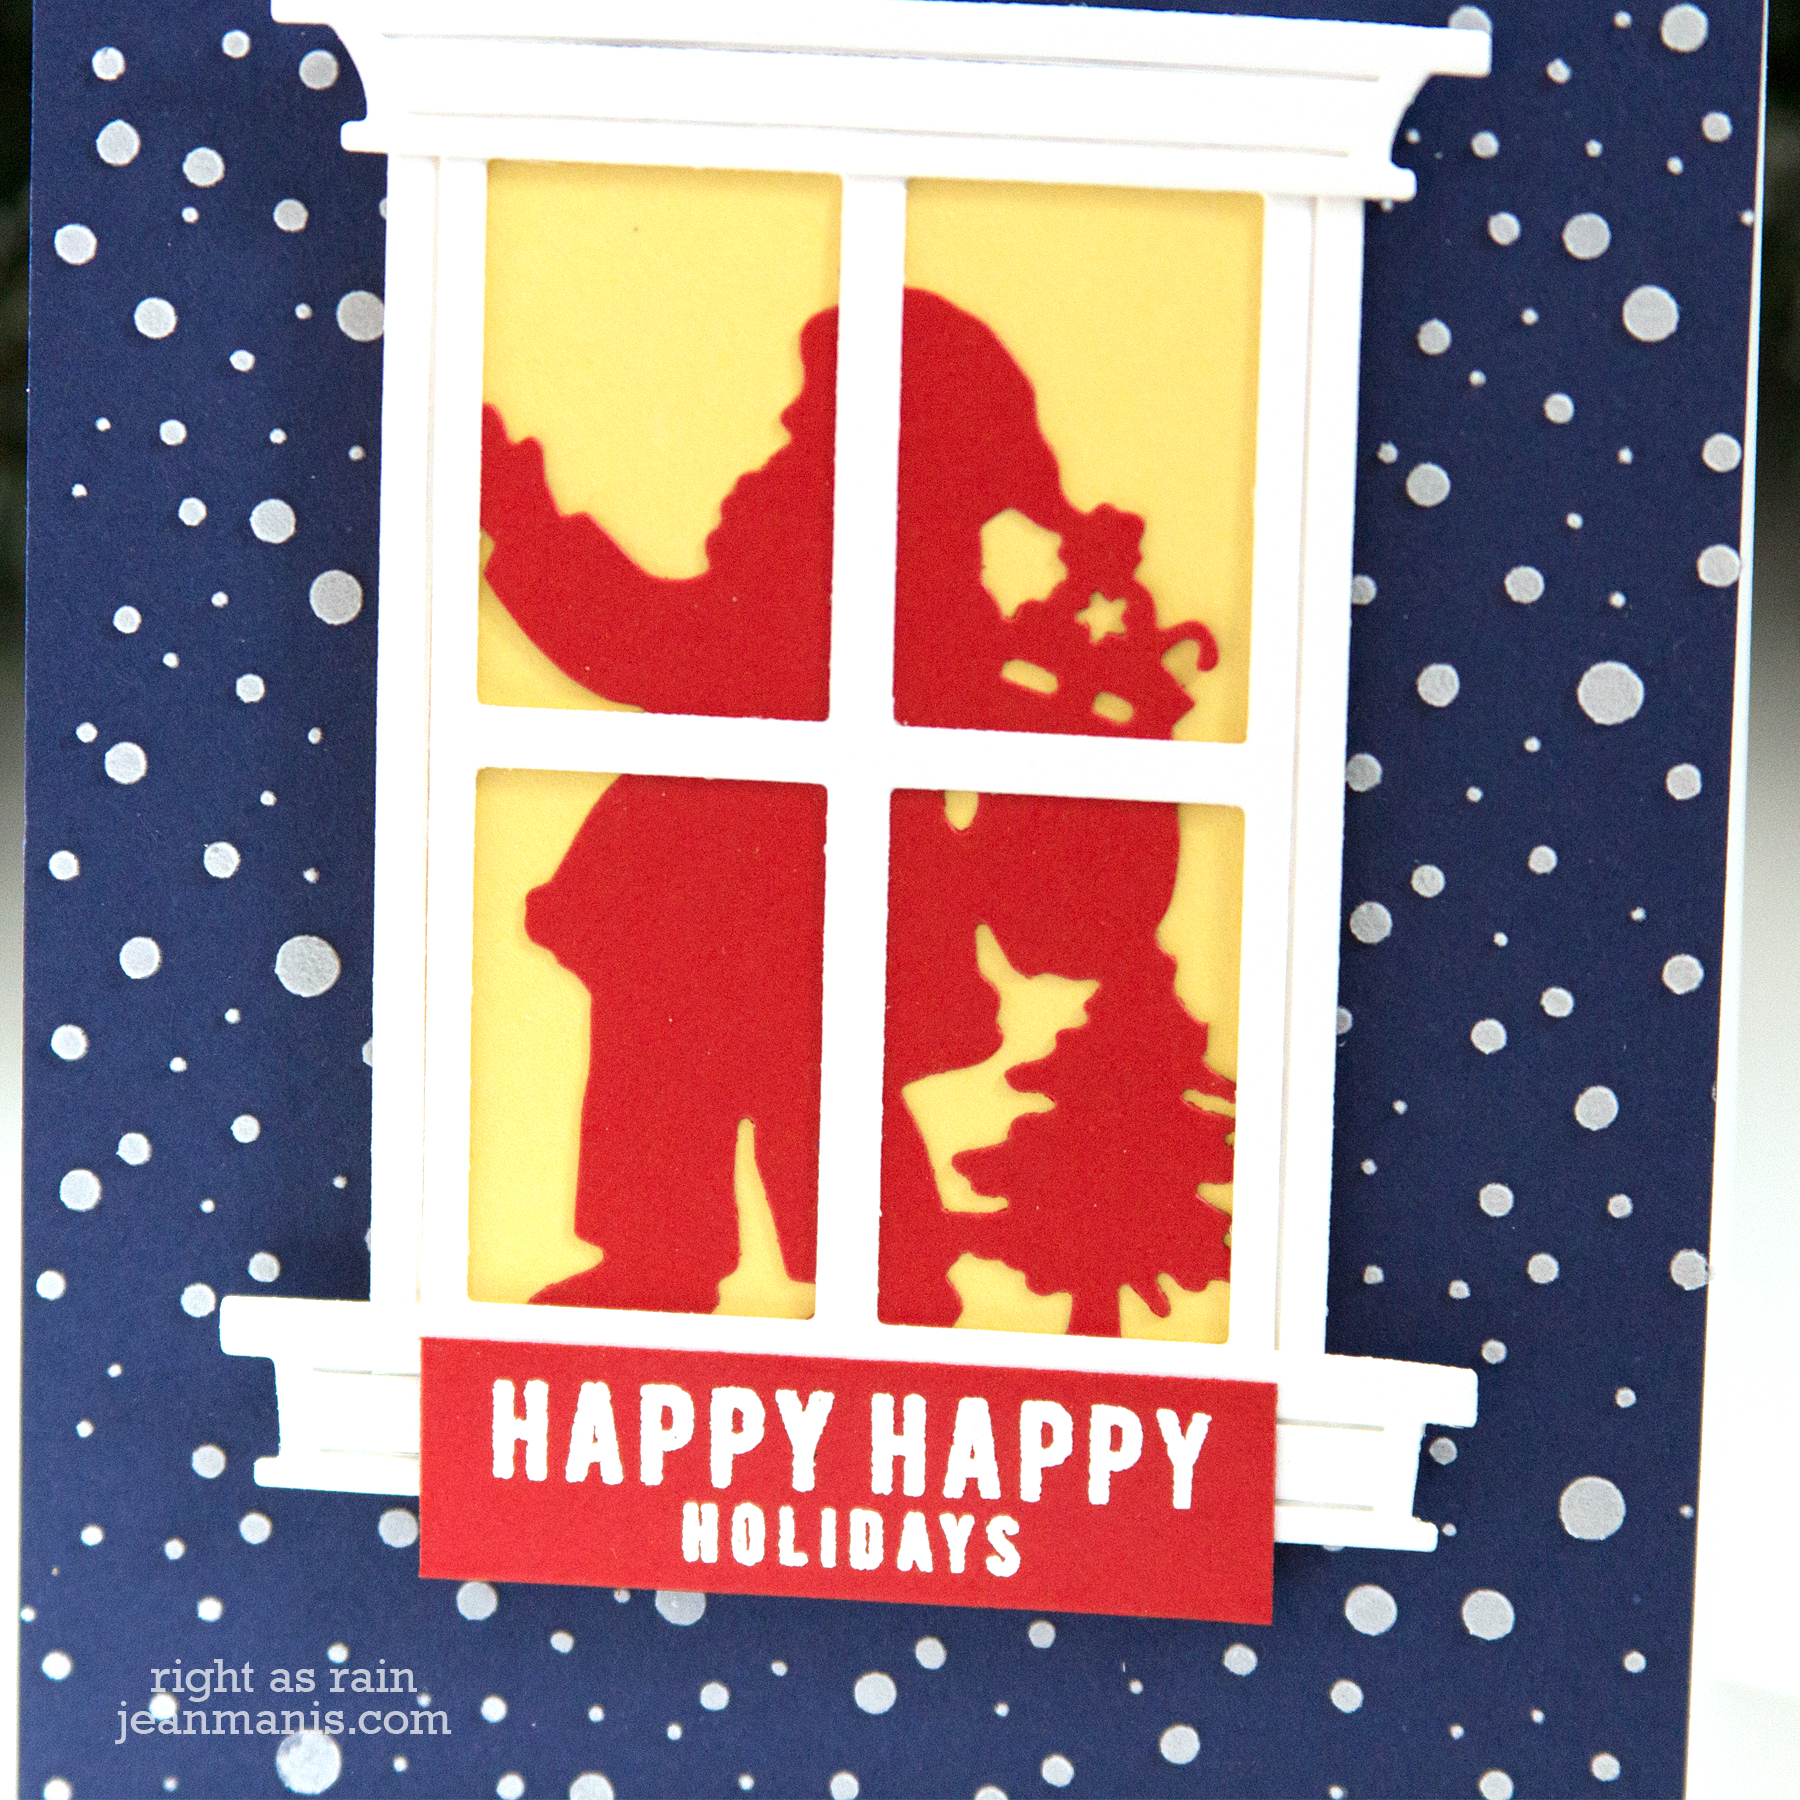
Hello! I recently commented on how much I like cards with windows – today I am sharing a CAS Christmas card with Santa at the window!

Santa at the Window

  • I cut the window pieces with the Window View die set.
  • I cut Santa with the Santa Parade die and positioned him behind the window.
  • I backed the window with soft yellow cardstock.
  • I heat-embossed a sentiment from the now-retired Hero Arts Holiday Animals stamp set.
  • I added embossing paste to the dark blue base through the Carta Bella Snowed In stencil.

Santa at the Window

I originally had the window assembly on a green dry-embossed (pine bough motif) panel, and it just wasn’t quite whimsical or fun enough. I’m so glad I swapped that panel out for the dark blue with snow. Another idea would be to apply the Transfer Gel product through the stencil and run the panel through the Minc with white flock (something I’m just now thinking about).

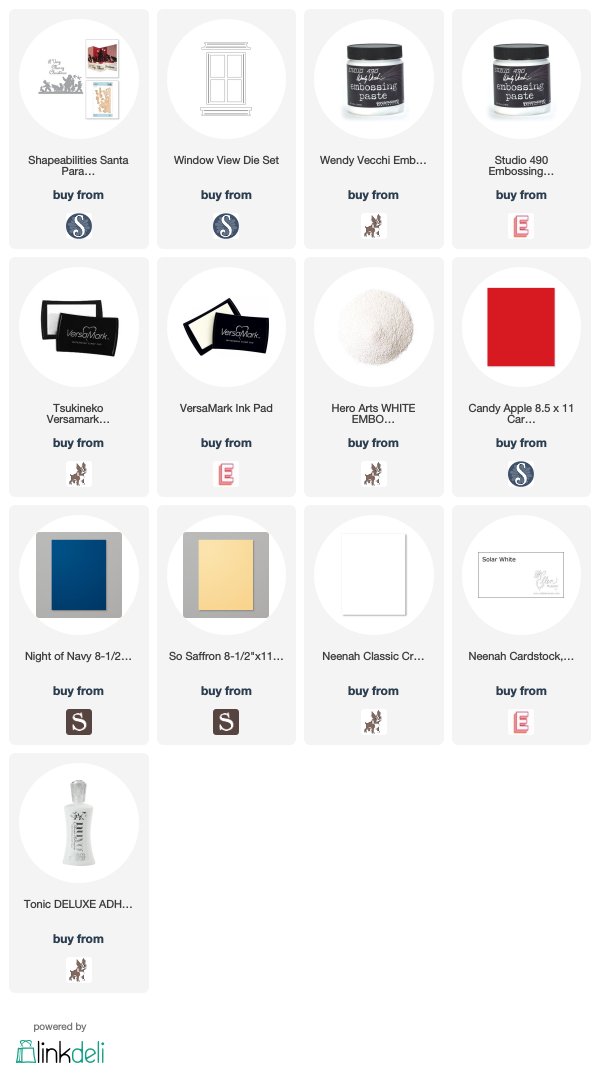
Supplies:

Spellbinders Holiday 2019 Release – Blog Hop + Giveaway

Hello crafty friends! I am delighted to be participating in a blog hop celebrating the Spellbinders Holiday 2019 Release! You should have reached me from the blog of Wanda Guess. I’ve included a full list of participants at the end of my post.
Spellbinders Holiday 2019 Blog Hop

To celebrate this release, Spellbinders is giving away a $50 gift certificate to one lucky blog reader – selected from the comments across all of the blogs in the hop. Giveaway closes on Sunday, August 25th 11:59 pm EDT. The winner will be announced in the blog hop post the following Monday. The winner is responsible for shipping cost, duties, and taxes.

I’m sharing projects created with three die sets in the new collection. Let’s take a look.

My first project showcases the Christmas Bandit die set. I’ve set the bandit into a snow-covered scene.
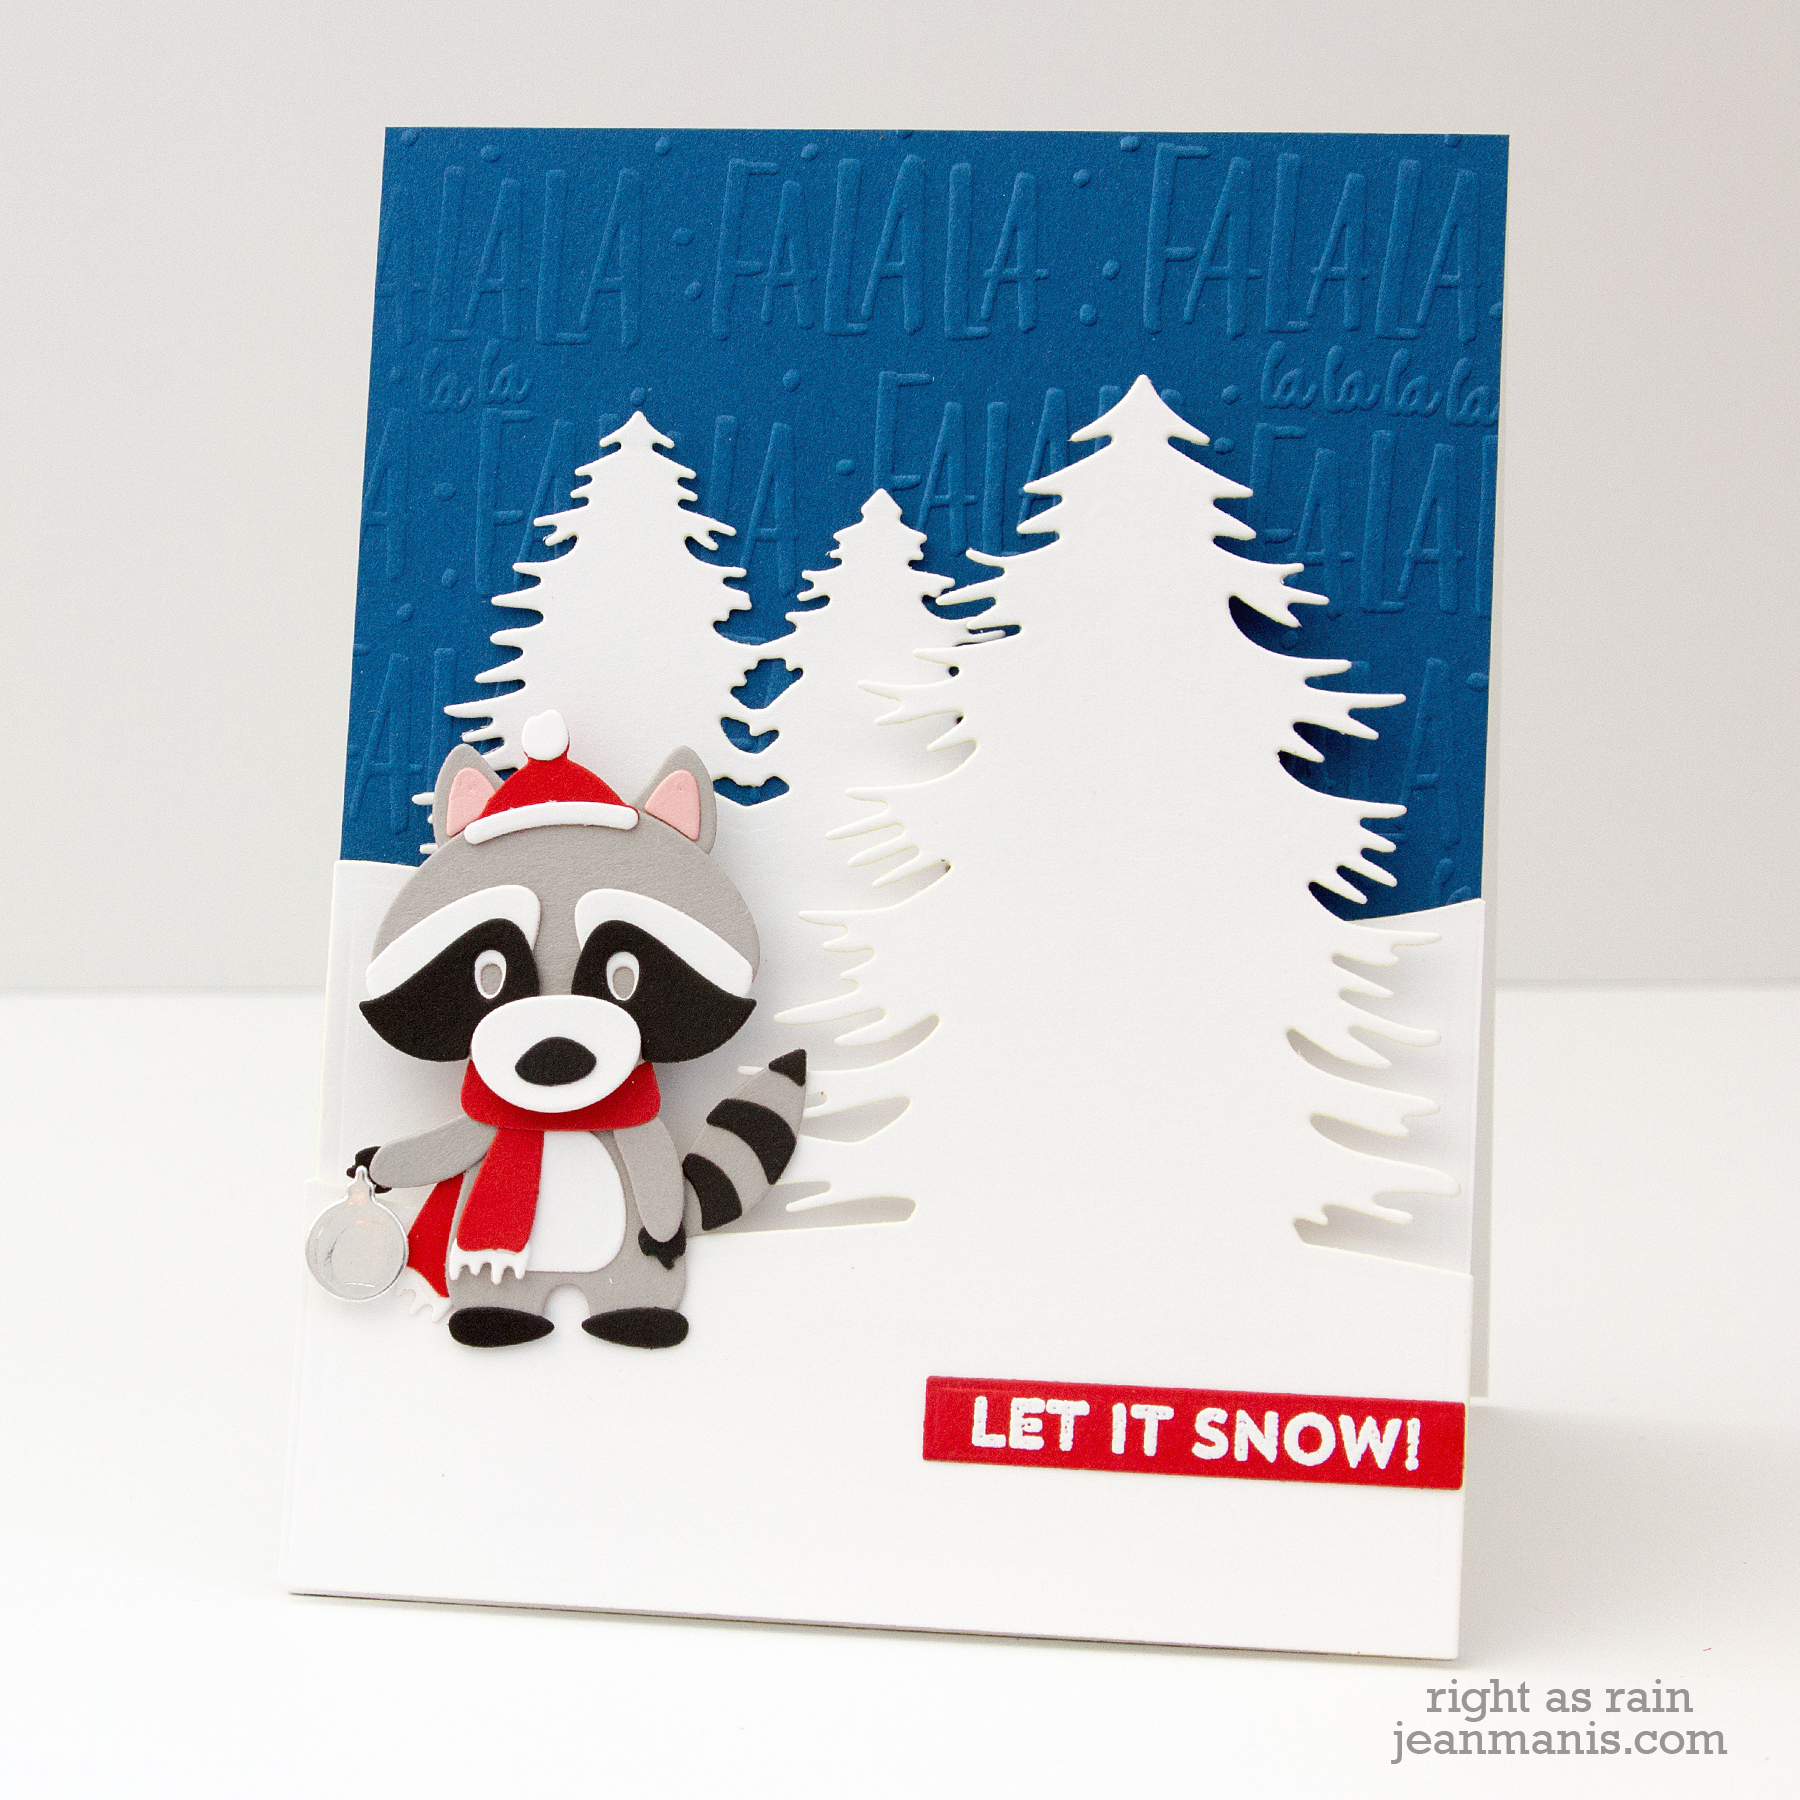
Spellbinders Holiday 2019 Release - Christmas Bandit

  • I used the Winter Hills die set to create a snowy backdrop. (I trimmed off the edges of the panels; the die set was designed to create a layered tri-fold card.)
  • For the background, I dry-embossed the background with the FaLaLa folder.
  • I cut and assembled the bandit and added him to the scene with foam adhesive. The heat-embossed sentiment reinforces the theme and adds additional color.
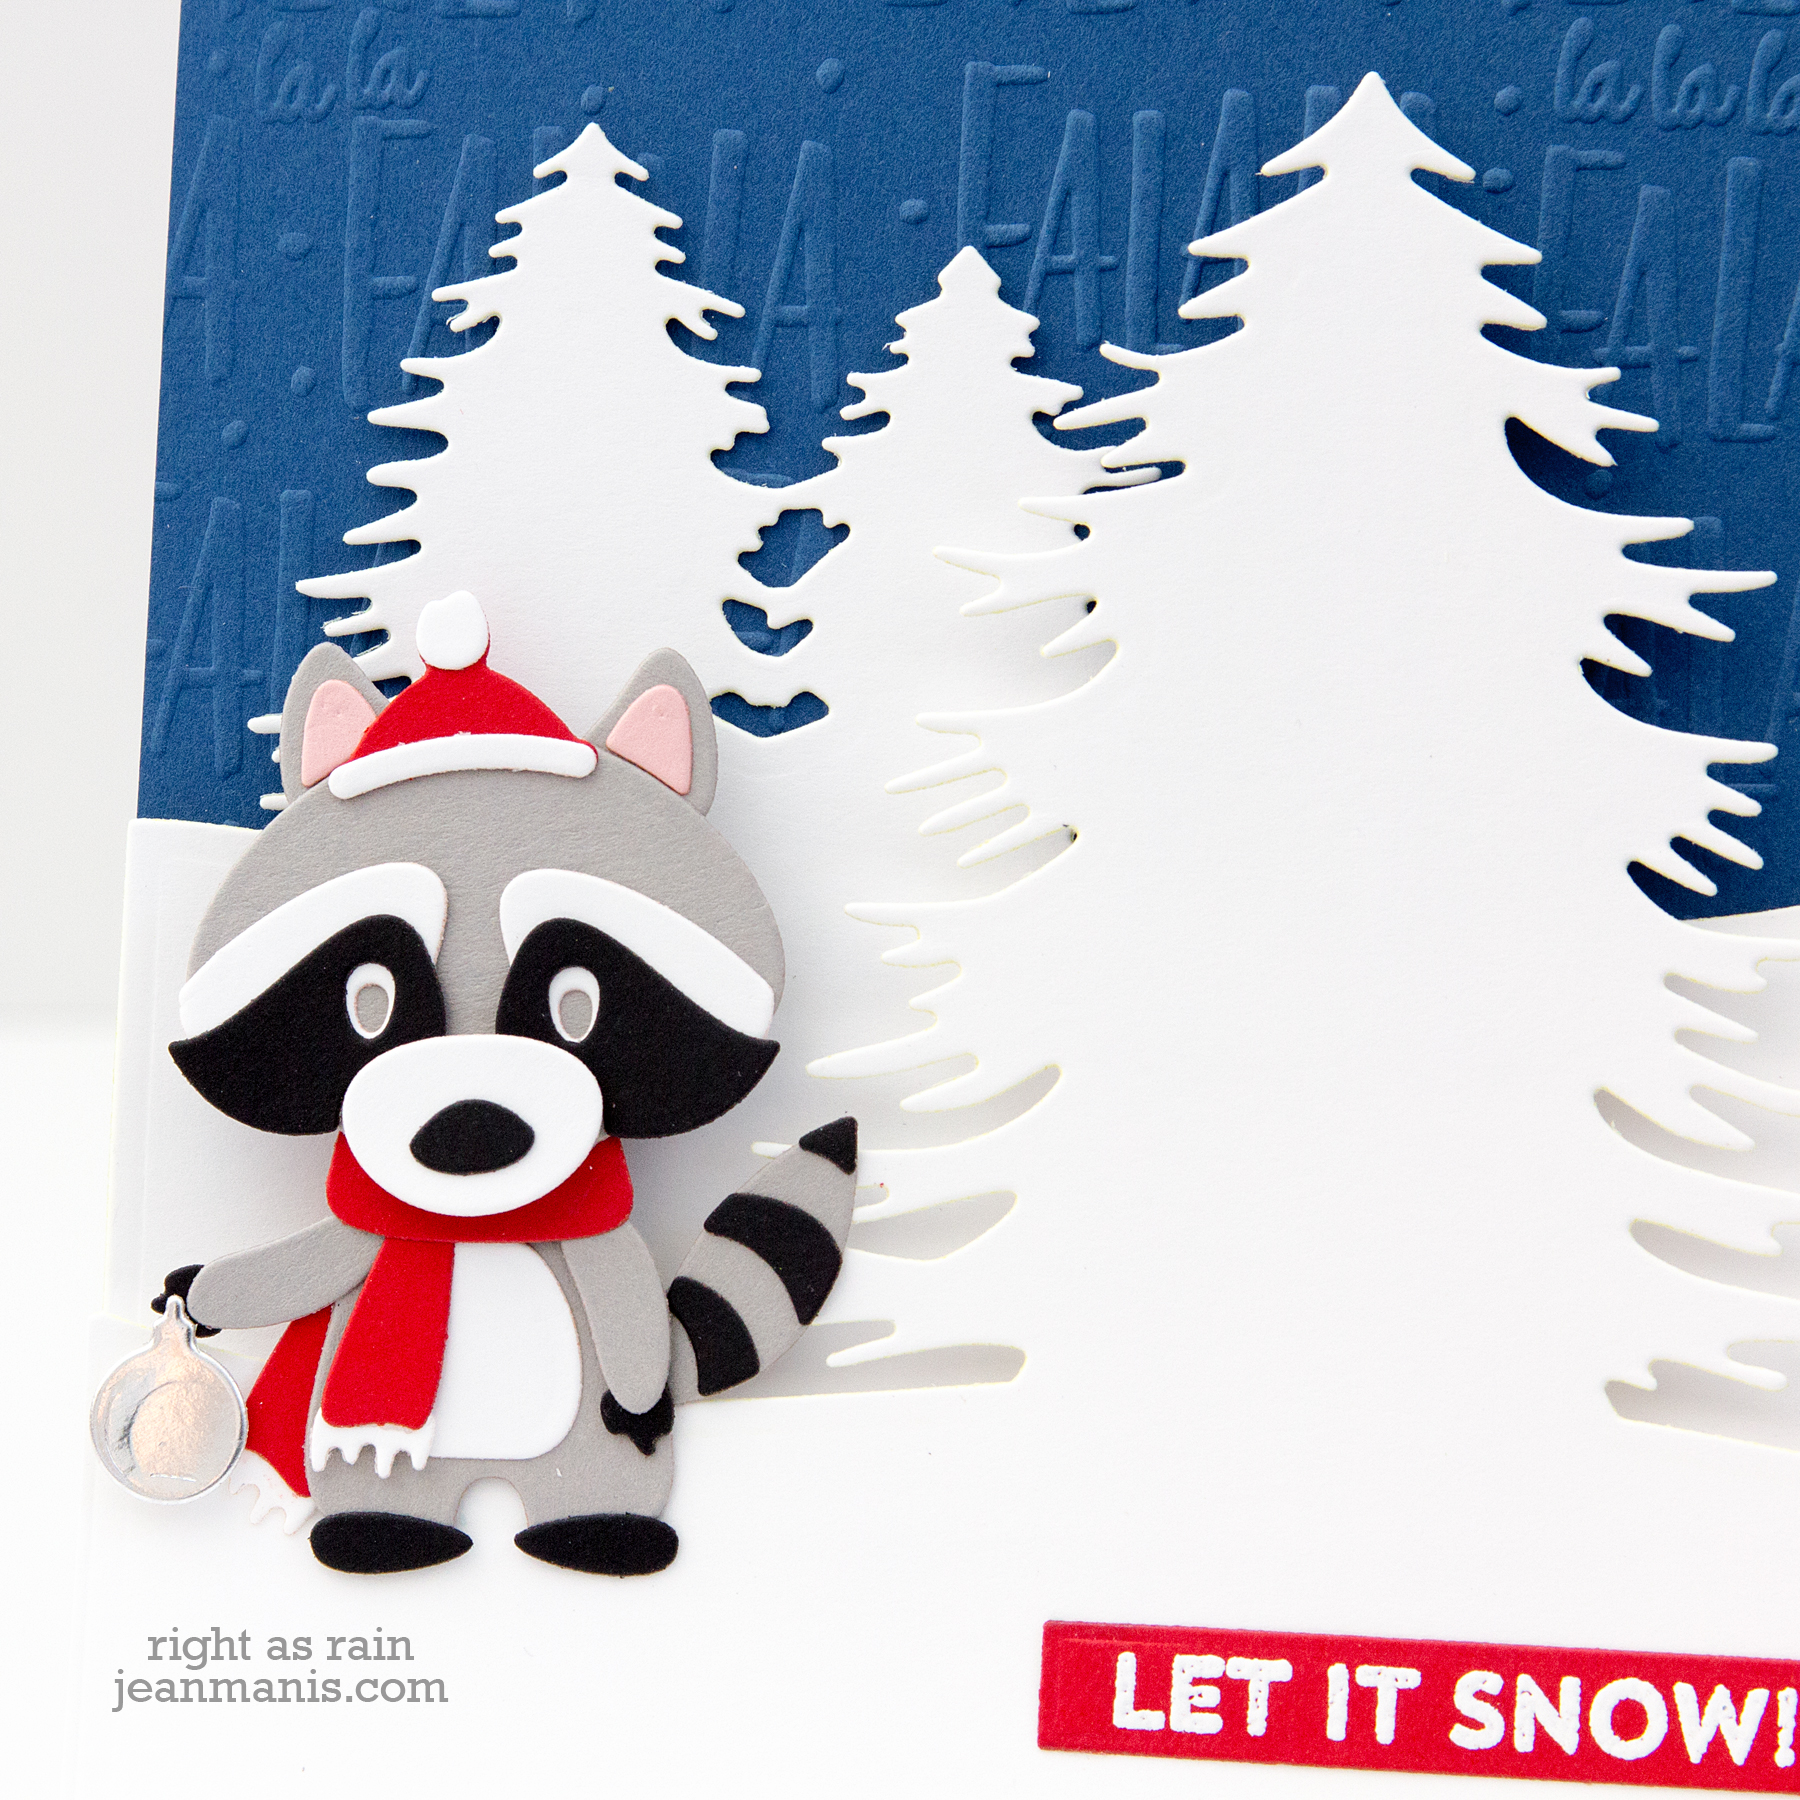
Spellbinders Holiday 2019 Release - Christmas Bandit

One of the great things about this collection is there’s something for everyone. Case in point, the Laurel & Bows Cut and Emboss folder.
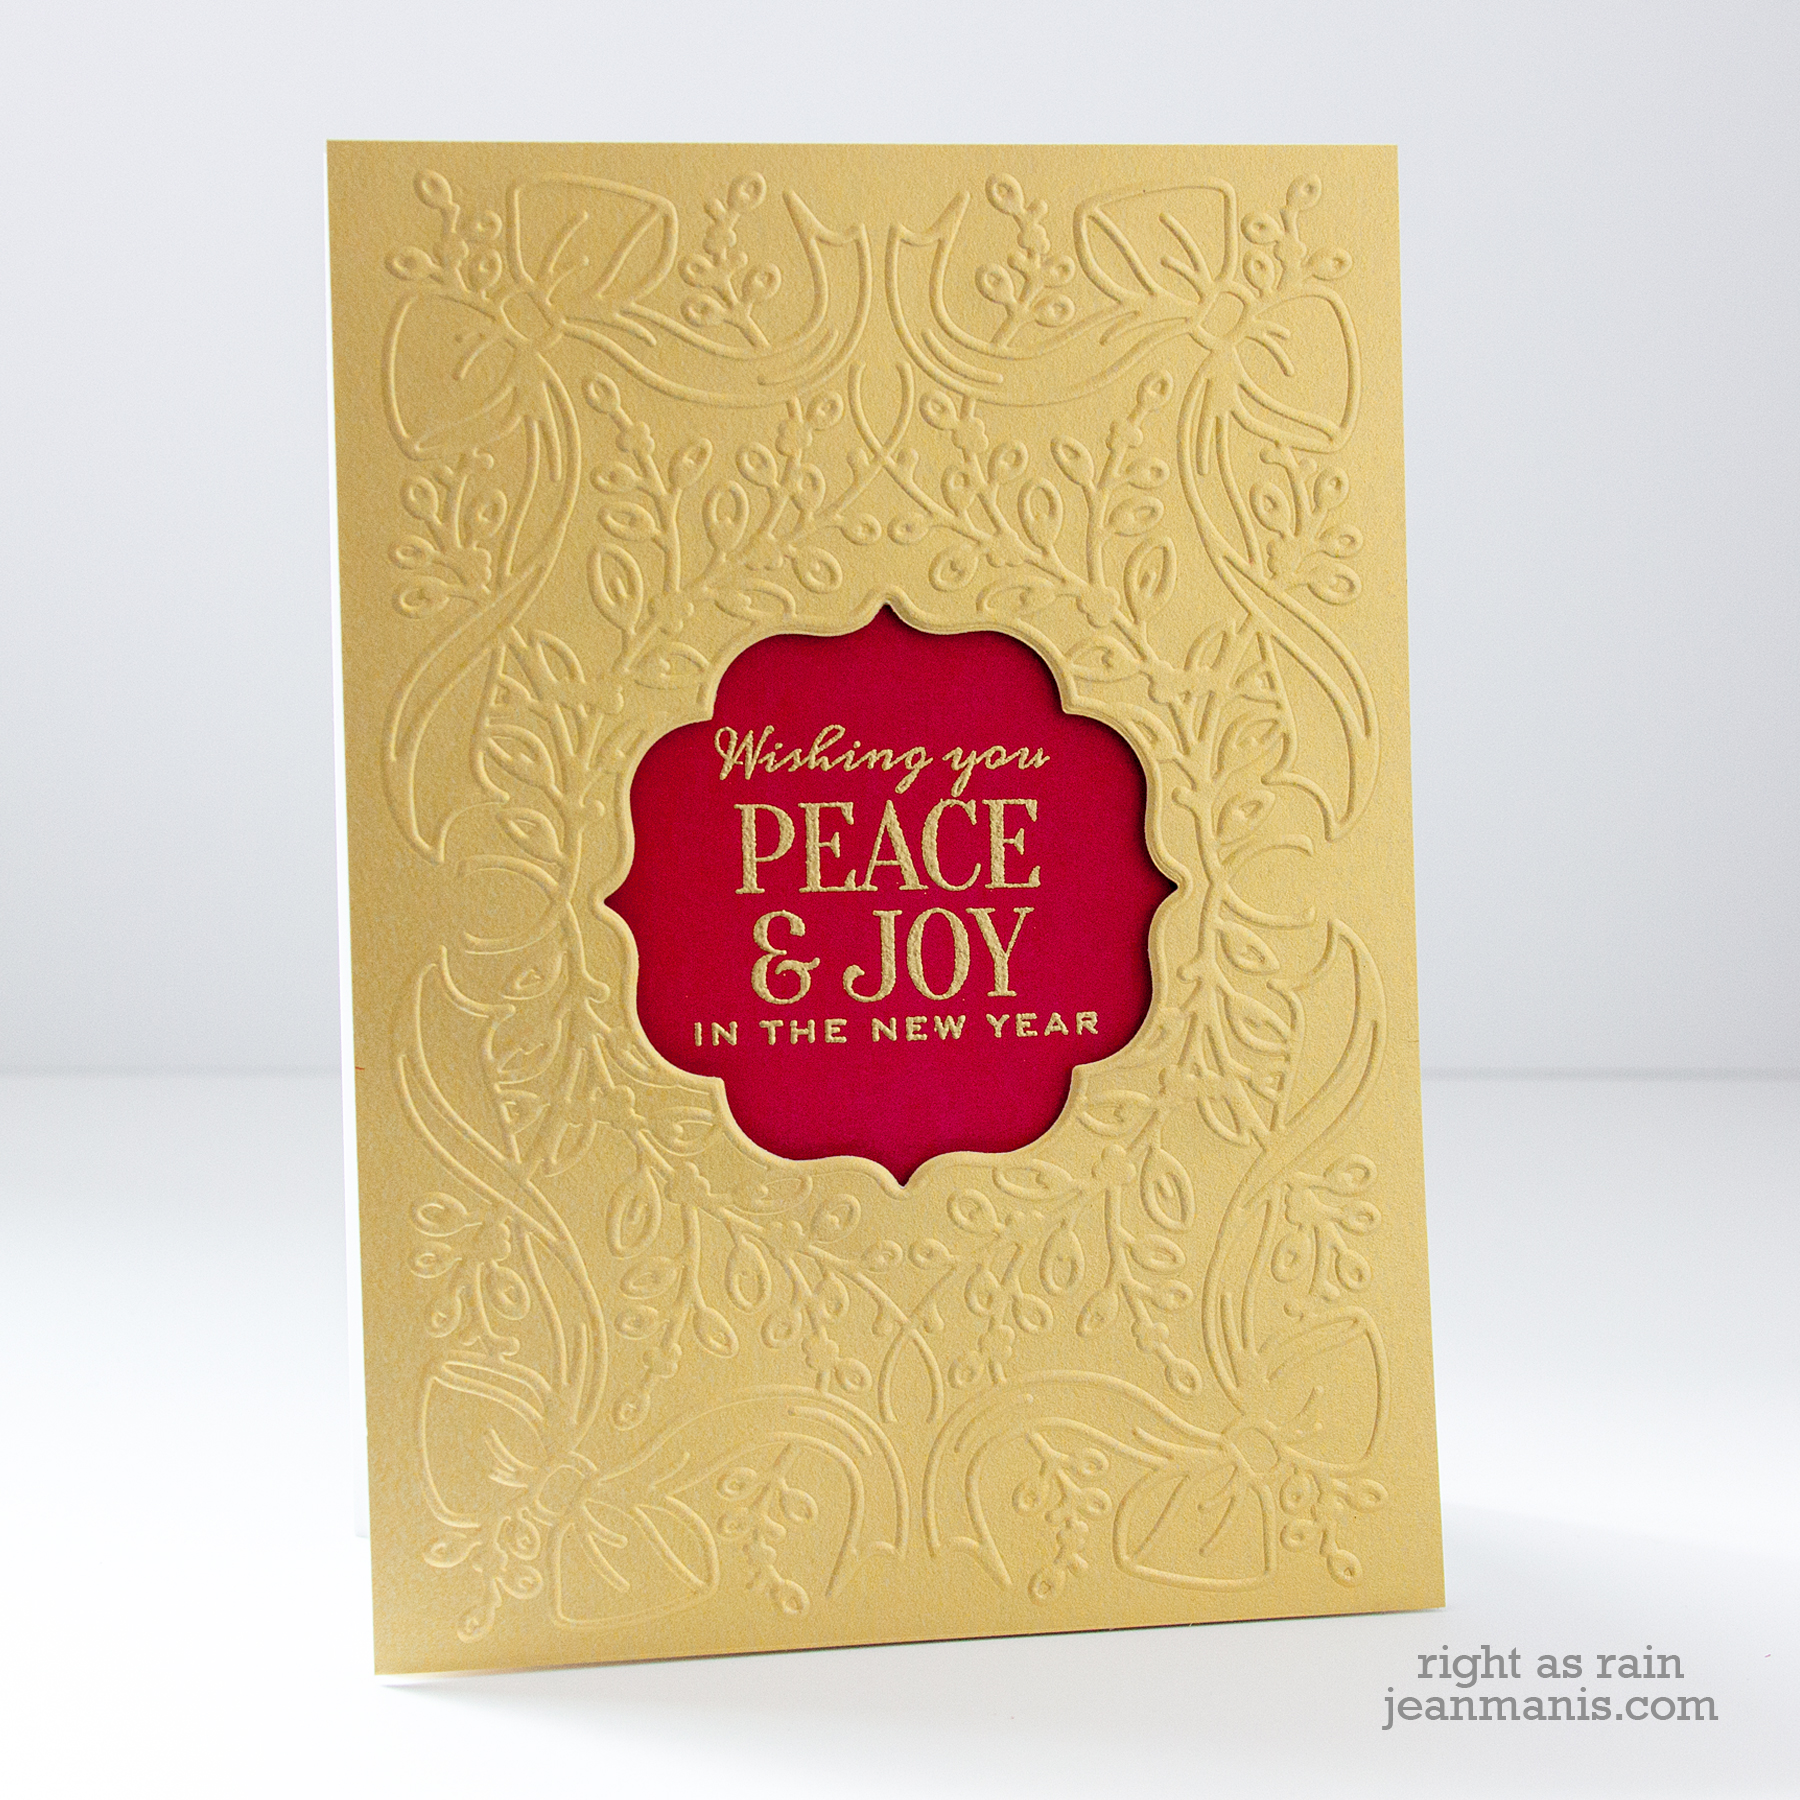
Spellbinders Holiday 2019 Release - Laurel & Bows Cut and Emboss

  • I cut and embossed Brush Gold cardstock with the Laurel & Bows Cut and Emboss folder.
  • I heat-embossed the sentiment with gold embossing powder on Cranberry Bliss cardstock. I attached the panel to the back of the dry-embossed panel with foam adhesive.
  • I adhered the assembly to a card base. The card measures 5″ x 7″.
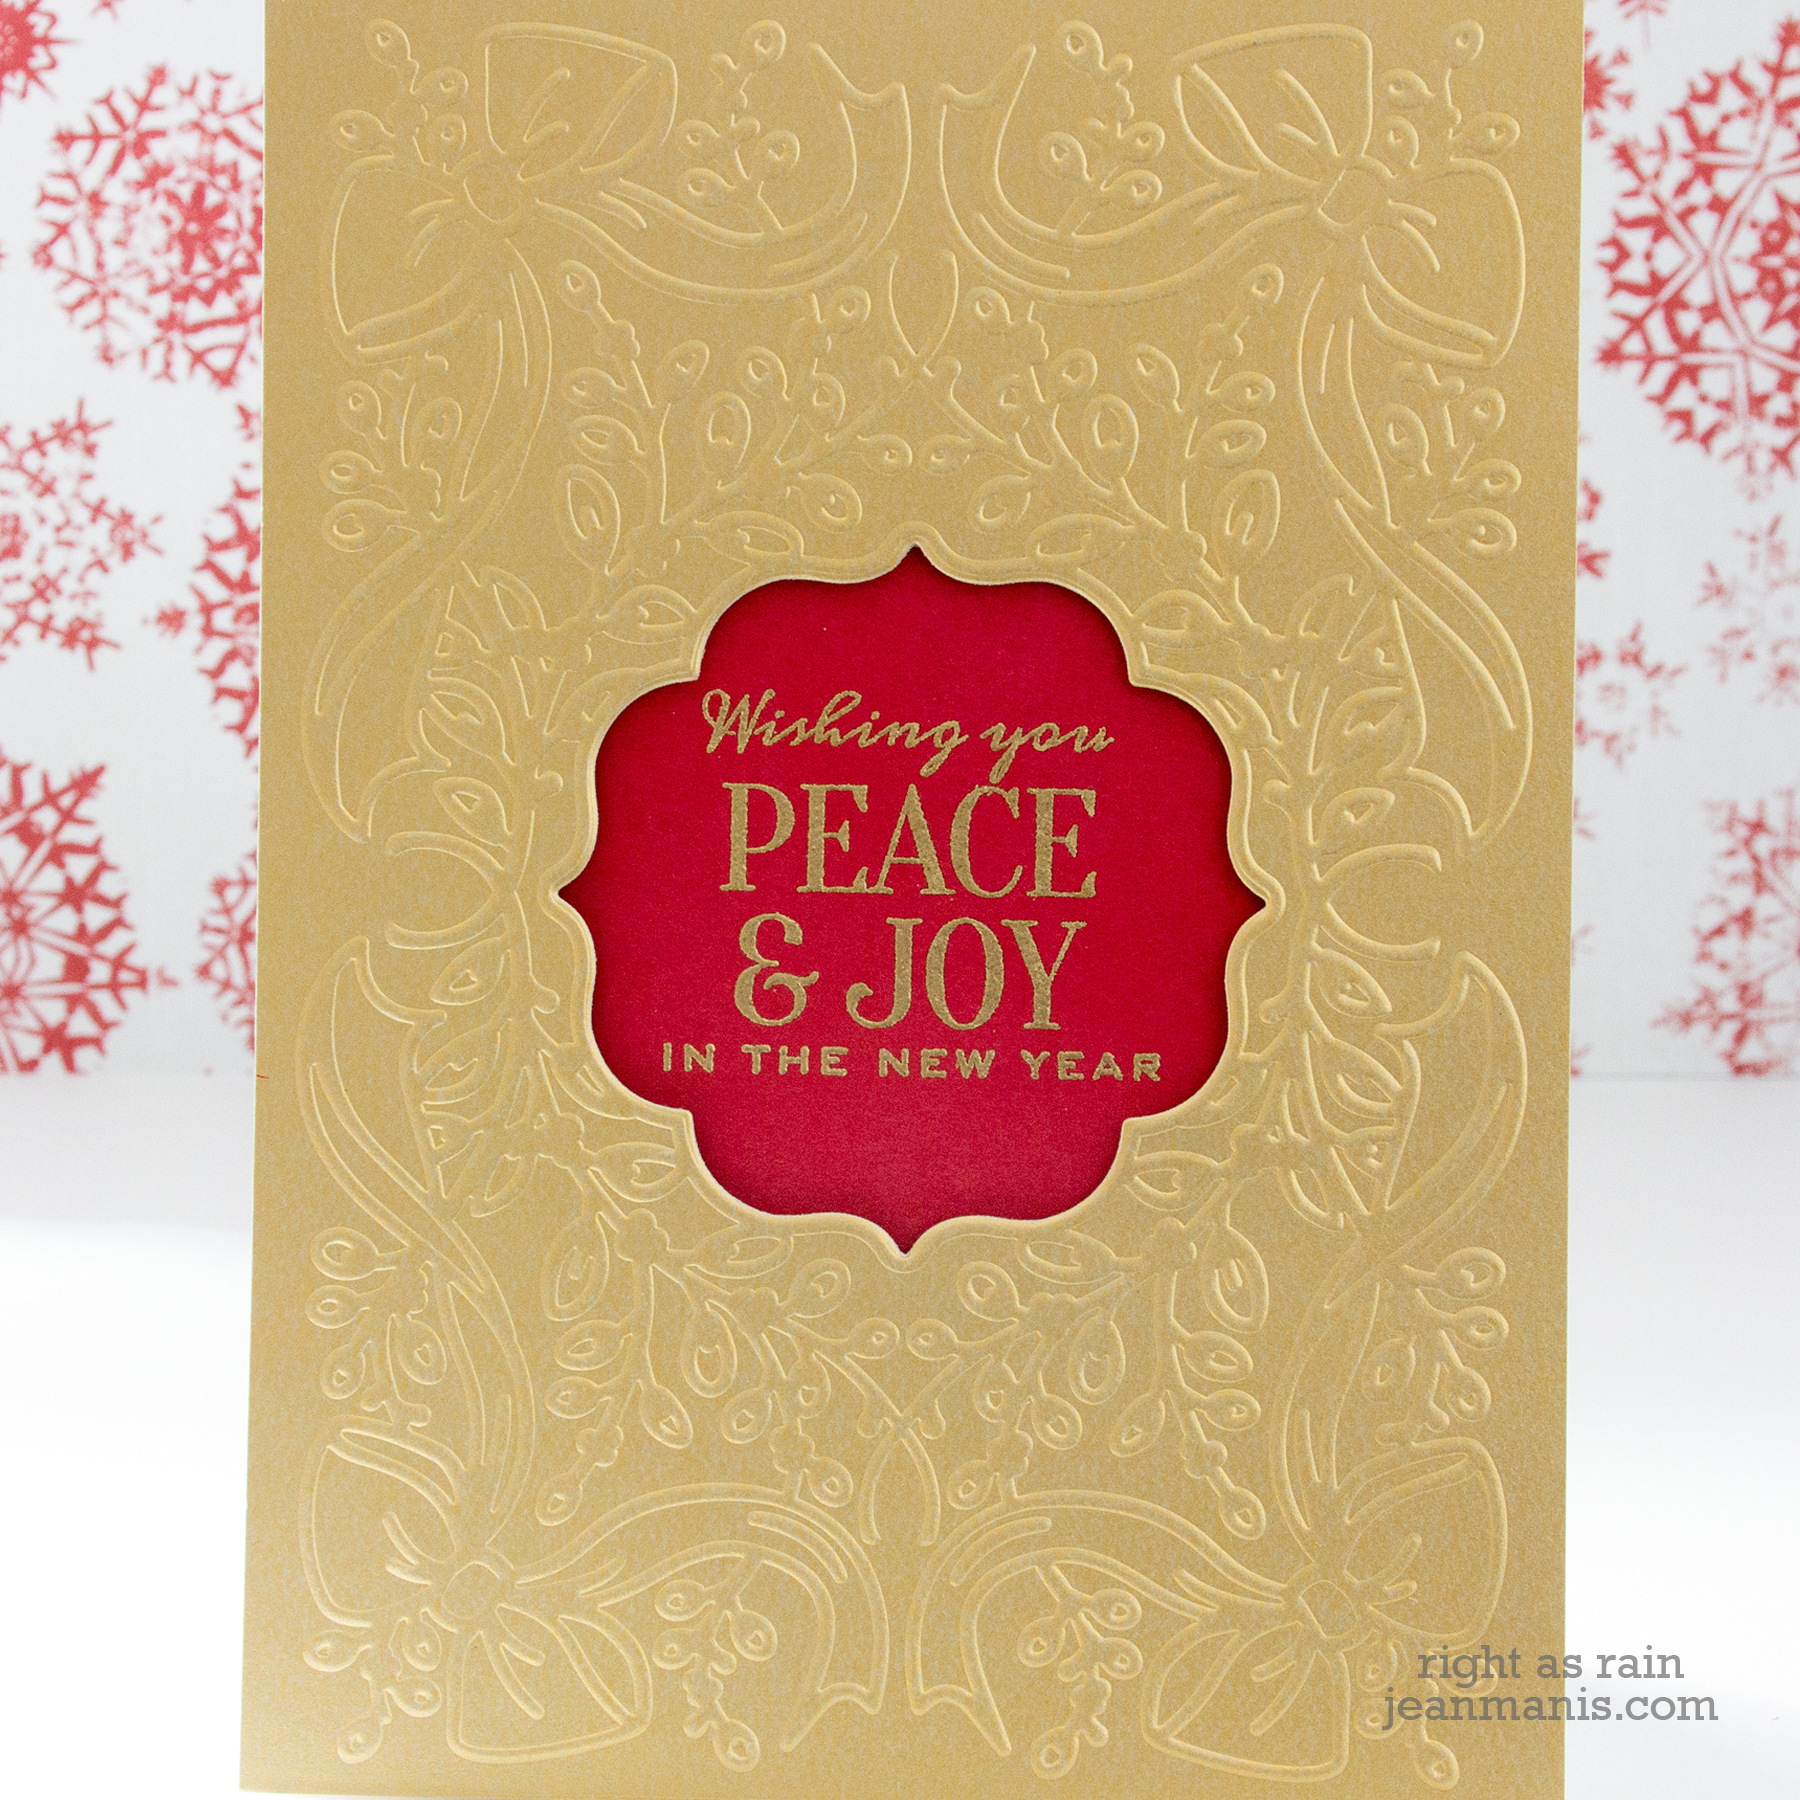
Spellbinders Holiday 2019 Release - Laurel & Bows Cut and Emboss

Quick, easy, and elegant – perfect for mass production!

My final projects use the Shapeabilities Joy die set. There are so many options available with this set! And again, the set is completely adaptable to one’s own style. My projects reflect my CAS style.
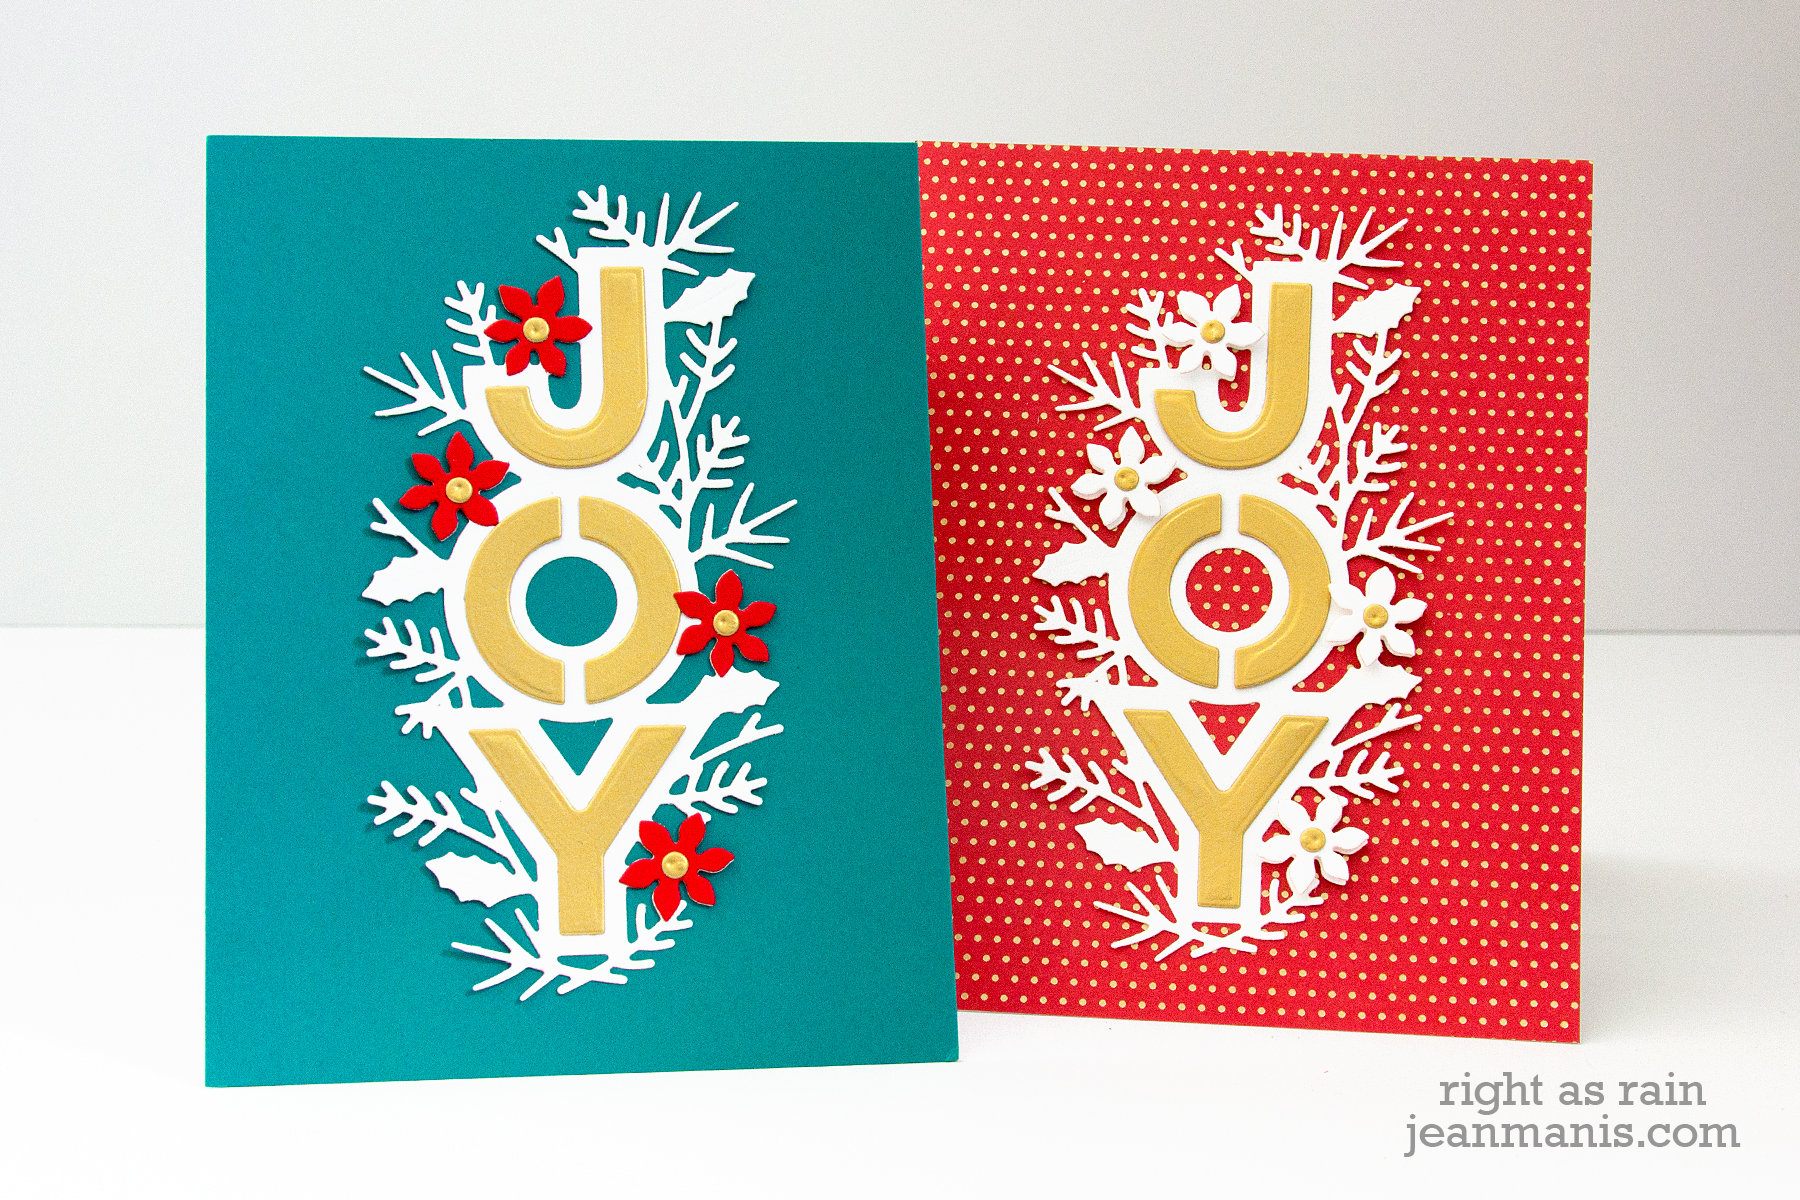
Spellbinders Holiday 2019 Release - Shapeabilities Joy

I created card backgrounds from teal solid cardstock, patterned red paper, and green solid cardstock. For all three cards, I cut the poinsettia blooms with the included die and added them to the JOY back panel with foam adhesive. The back panel for the letters does not cut the center of the “O” but the die set includes a die with which to do so.

For the holidays, I like to add metallic accents. For the teal and red background cards, I cut the letters from Brush Gold cardstock. I cut the flower centers on all of the cards from the gold cardstock.
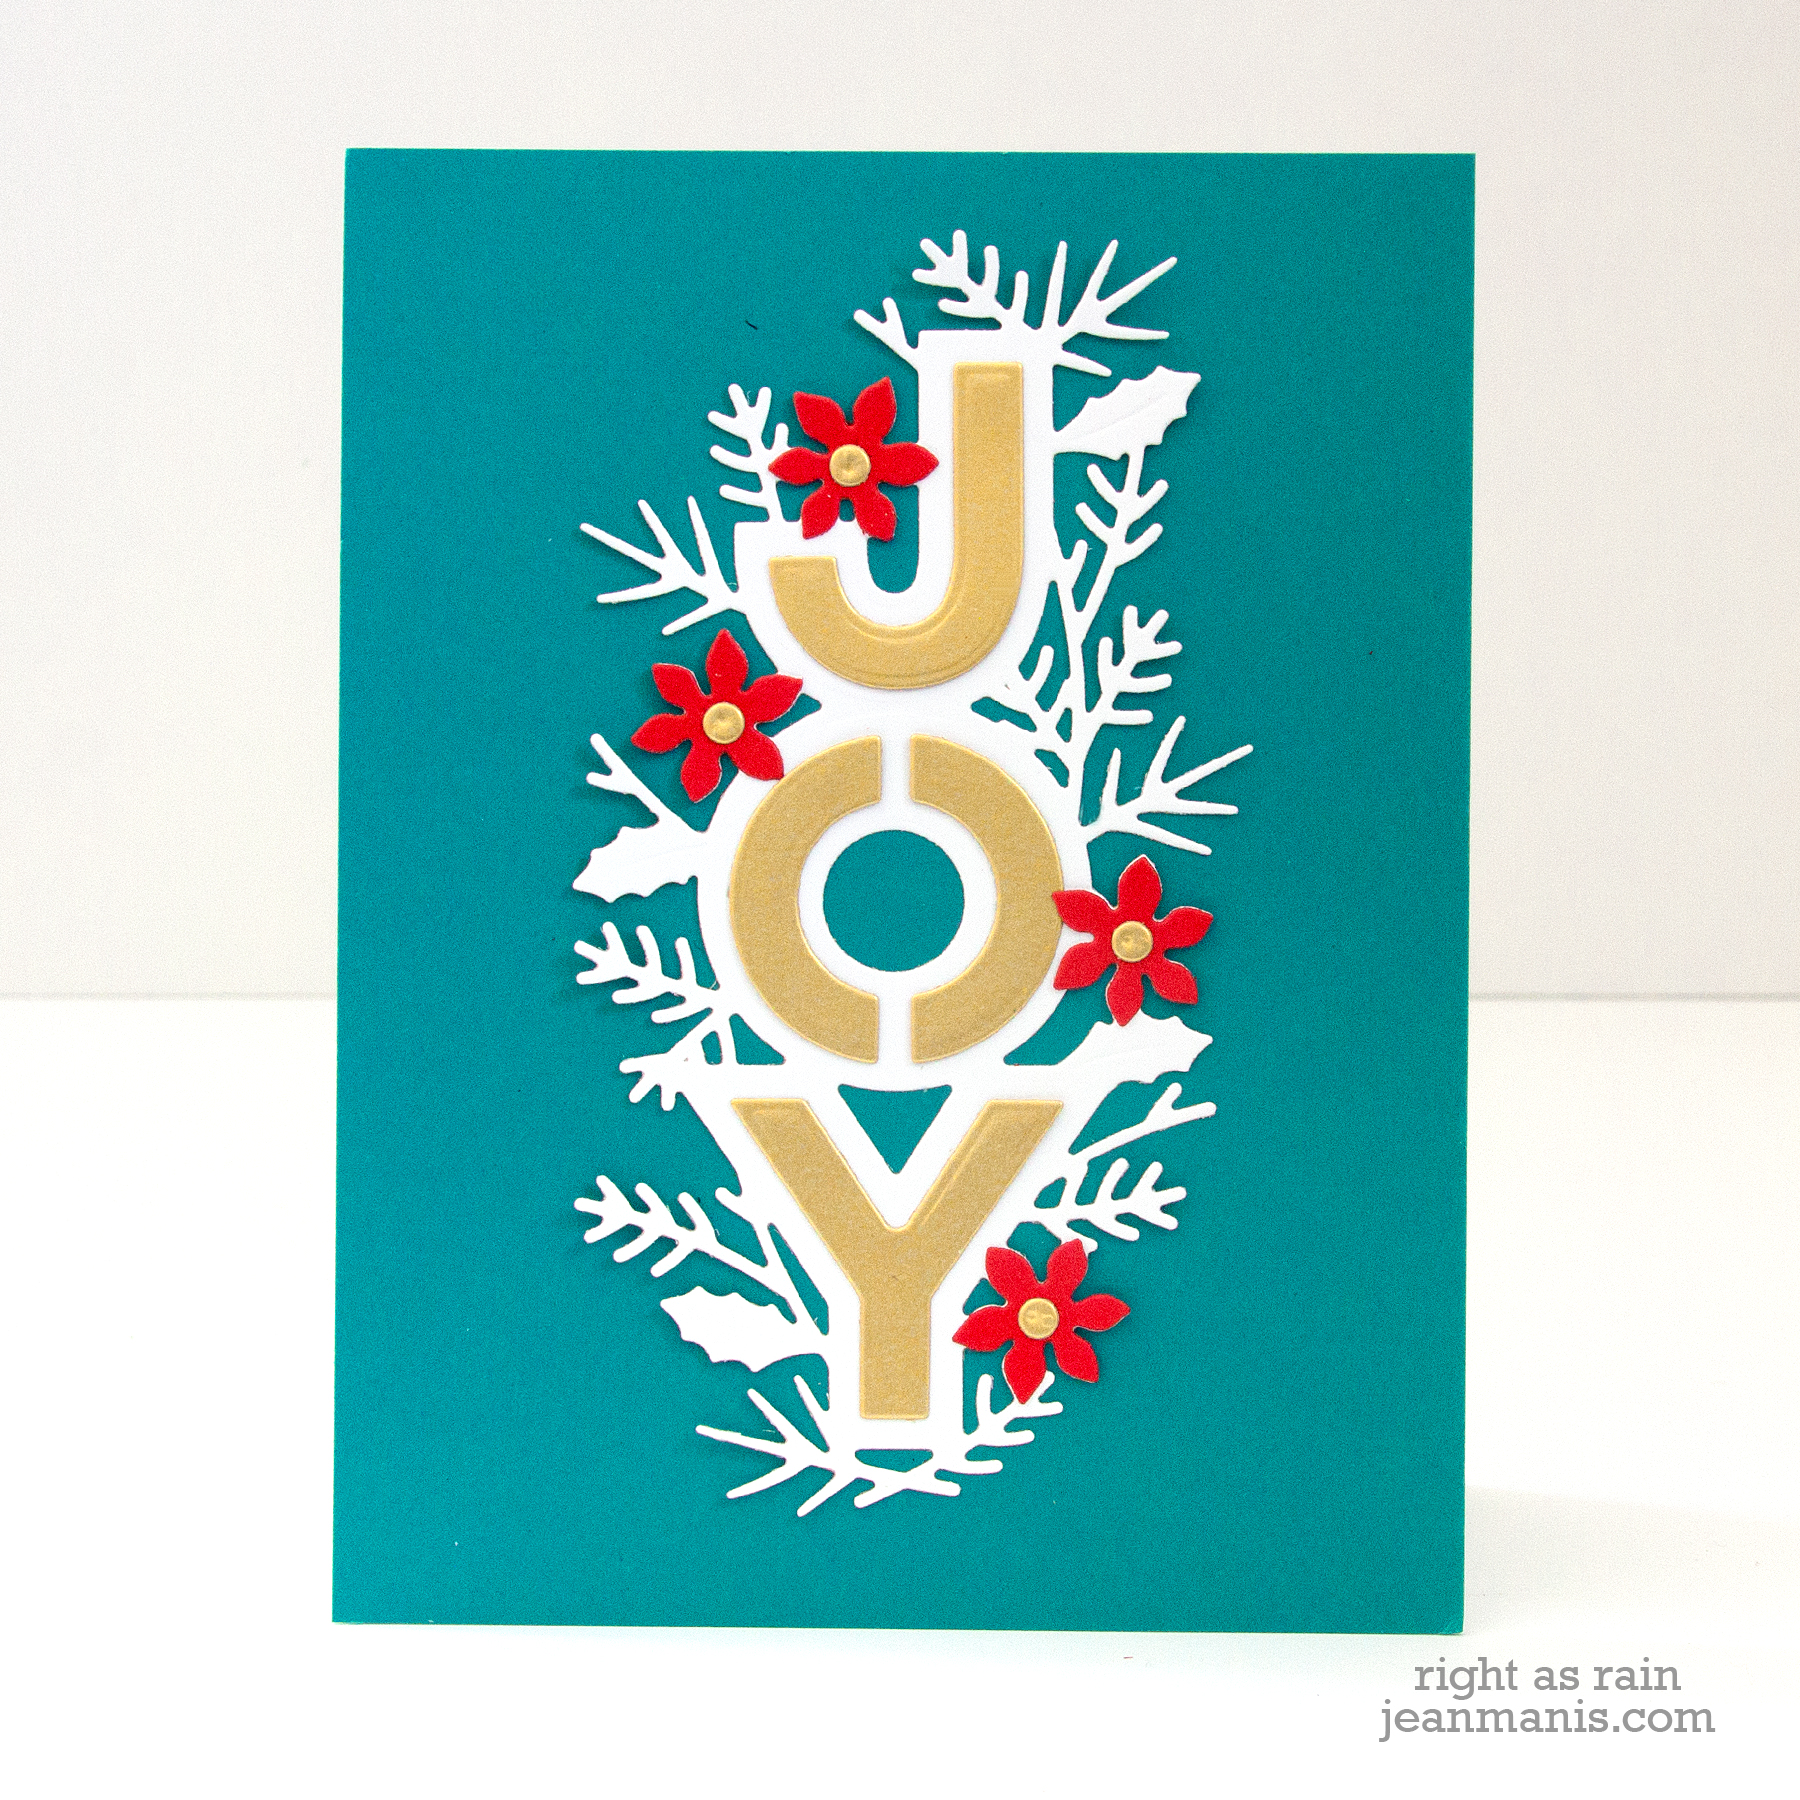
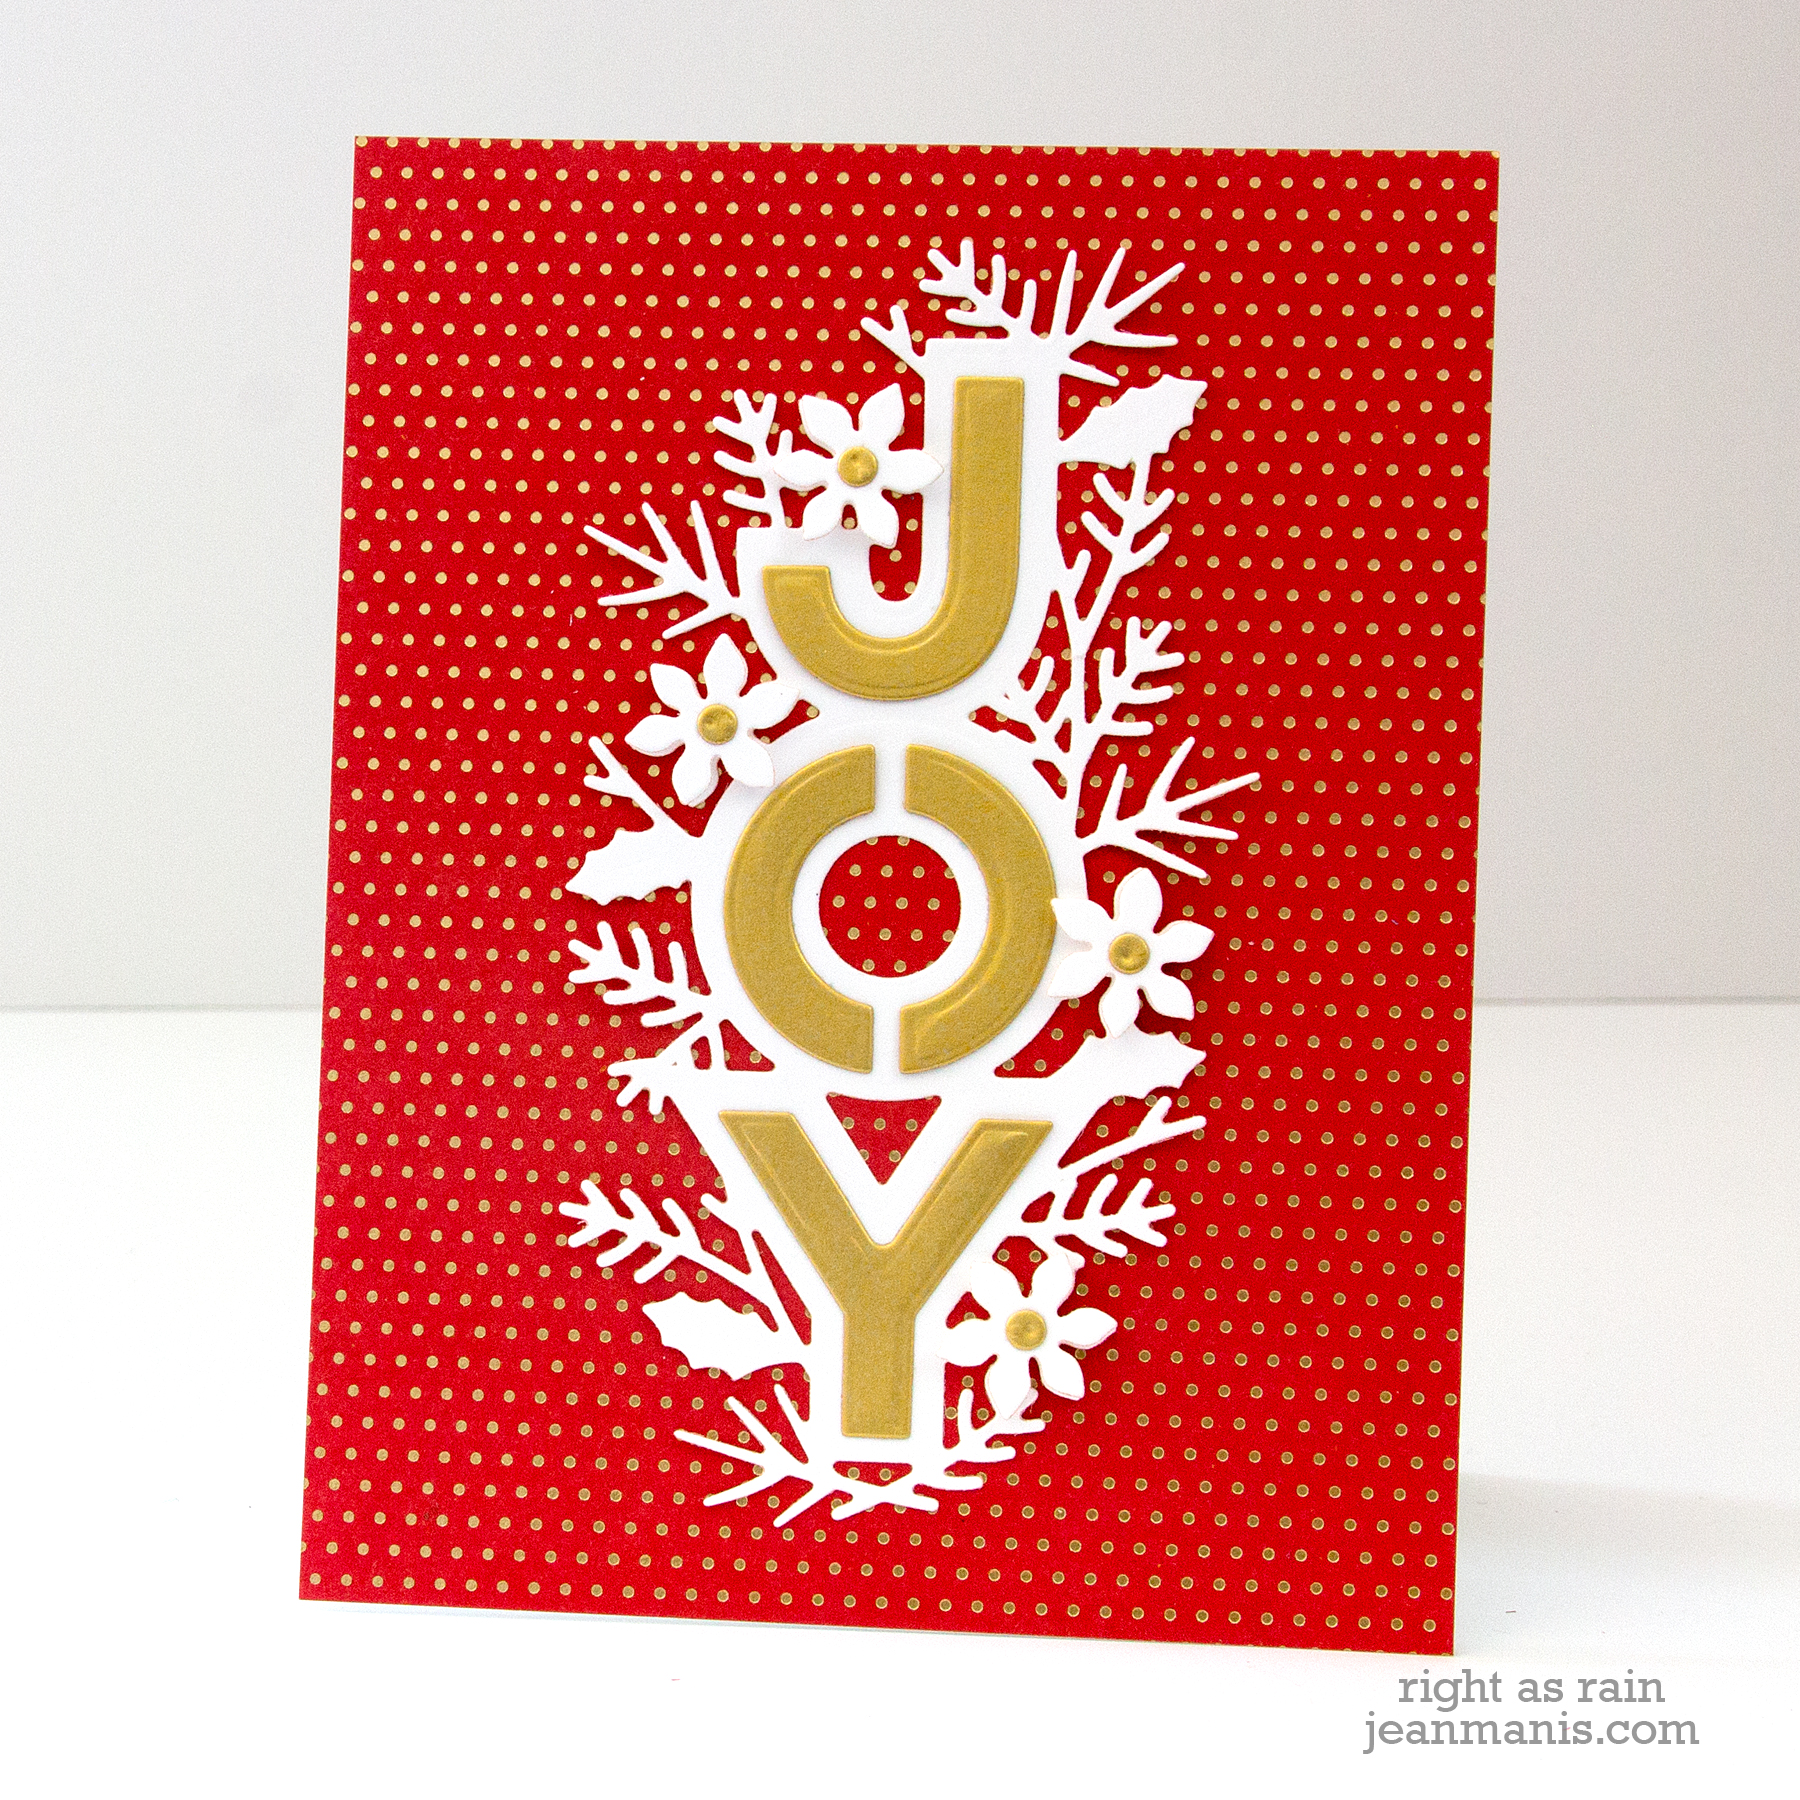
Spellbinders Holiday 2019 Release - Shapeabilities Joy

Spellbinders Holiday 2019 Release - Shapeabilities Joy

Spellbinders Holiday 2019 Release - Shapeabilities Joy

There really is no limit to the possibilities with this set! I could have cut the greenery pieces, dry-embossed the card base, used glitter or shiny cardstock for the letters, …. You get the idea!

Now it’s time to head to the blog of Keeway Tsao. The entire blog hop list is included at the end of the post. Thanks for stopping by!

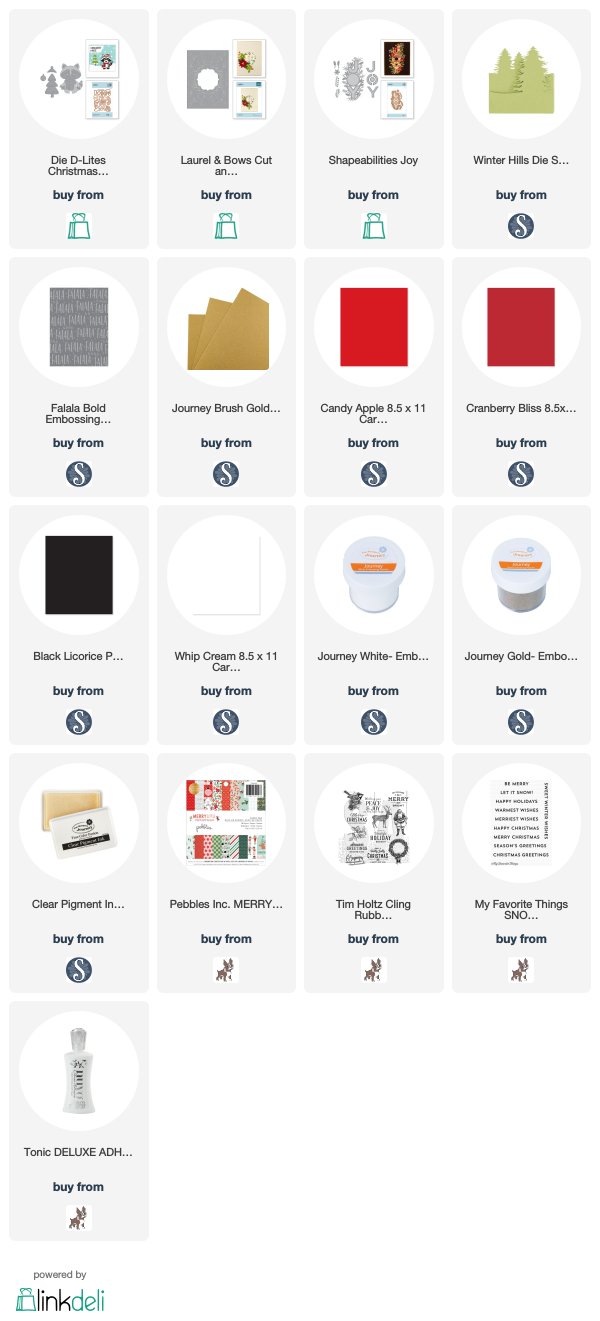
Supplies:
Blog Hop List:

Spellbinders
Jennifer Mcguire
Debby Hughes
Yana Smakula
Nichol Spohr
Wanda Guess
Jean Manis
Keeway Tsao
Svitlana Shayevich
Mindy Eggen
Marie Heiderscheit
Zsoka Marko
Laurie Willison
Karin Åkesdotter
Nina-Marie Trapani
Mindy Baxter
Amy Rysavy
Betty Wright
Daniel West
Amanda Korotkova
Mayline Jung
Varada Sharma
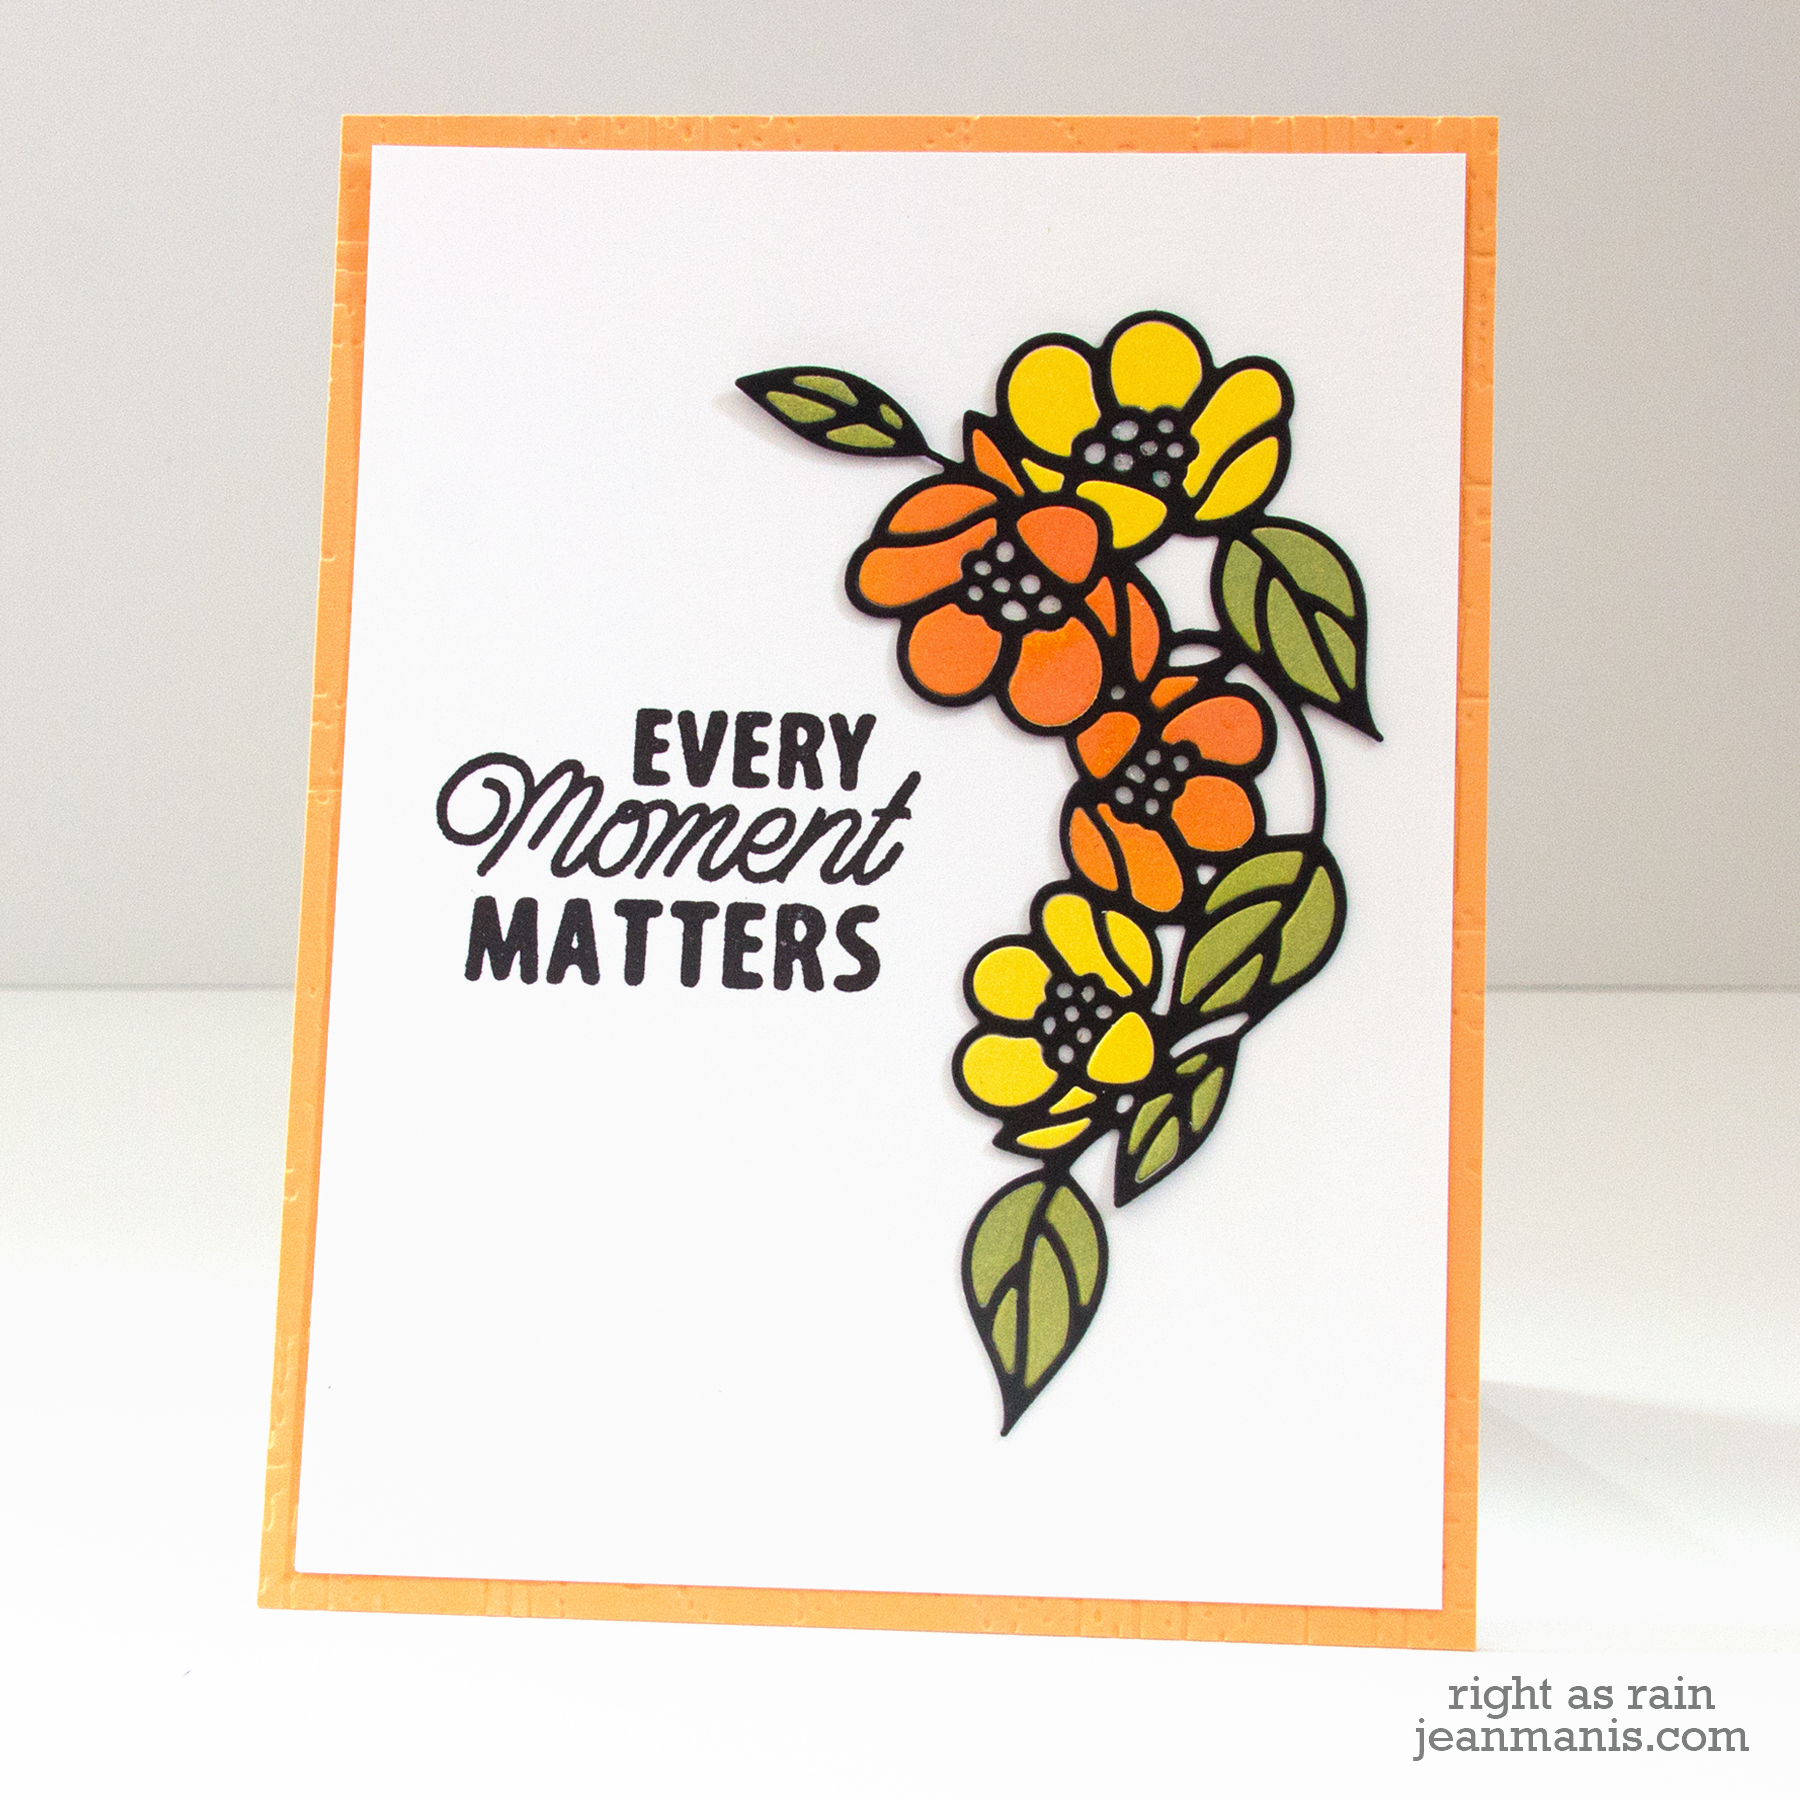
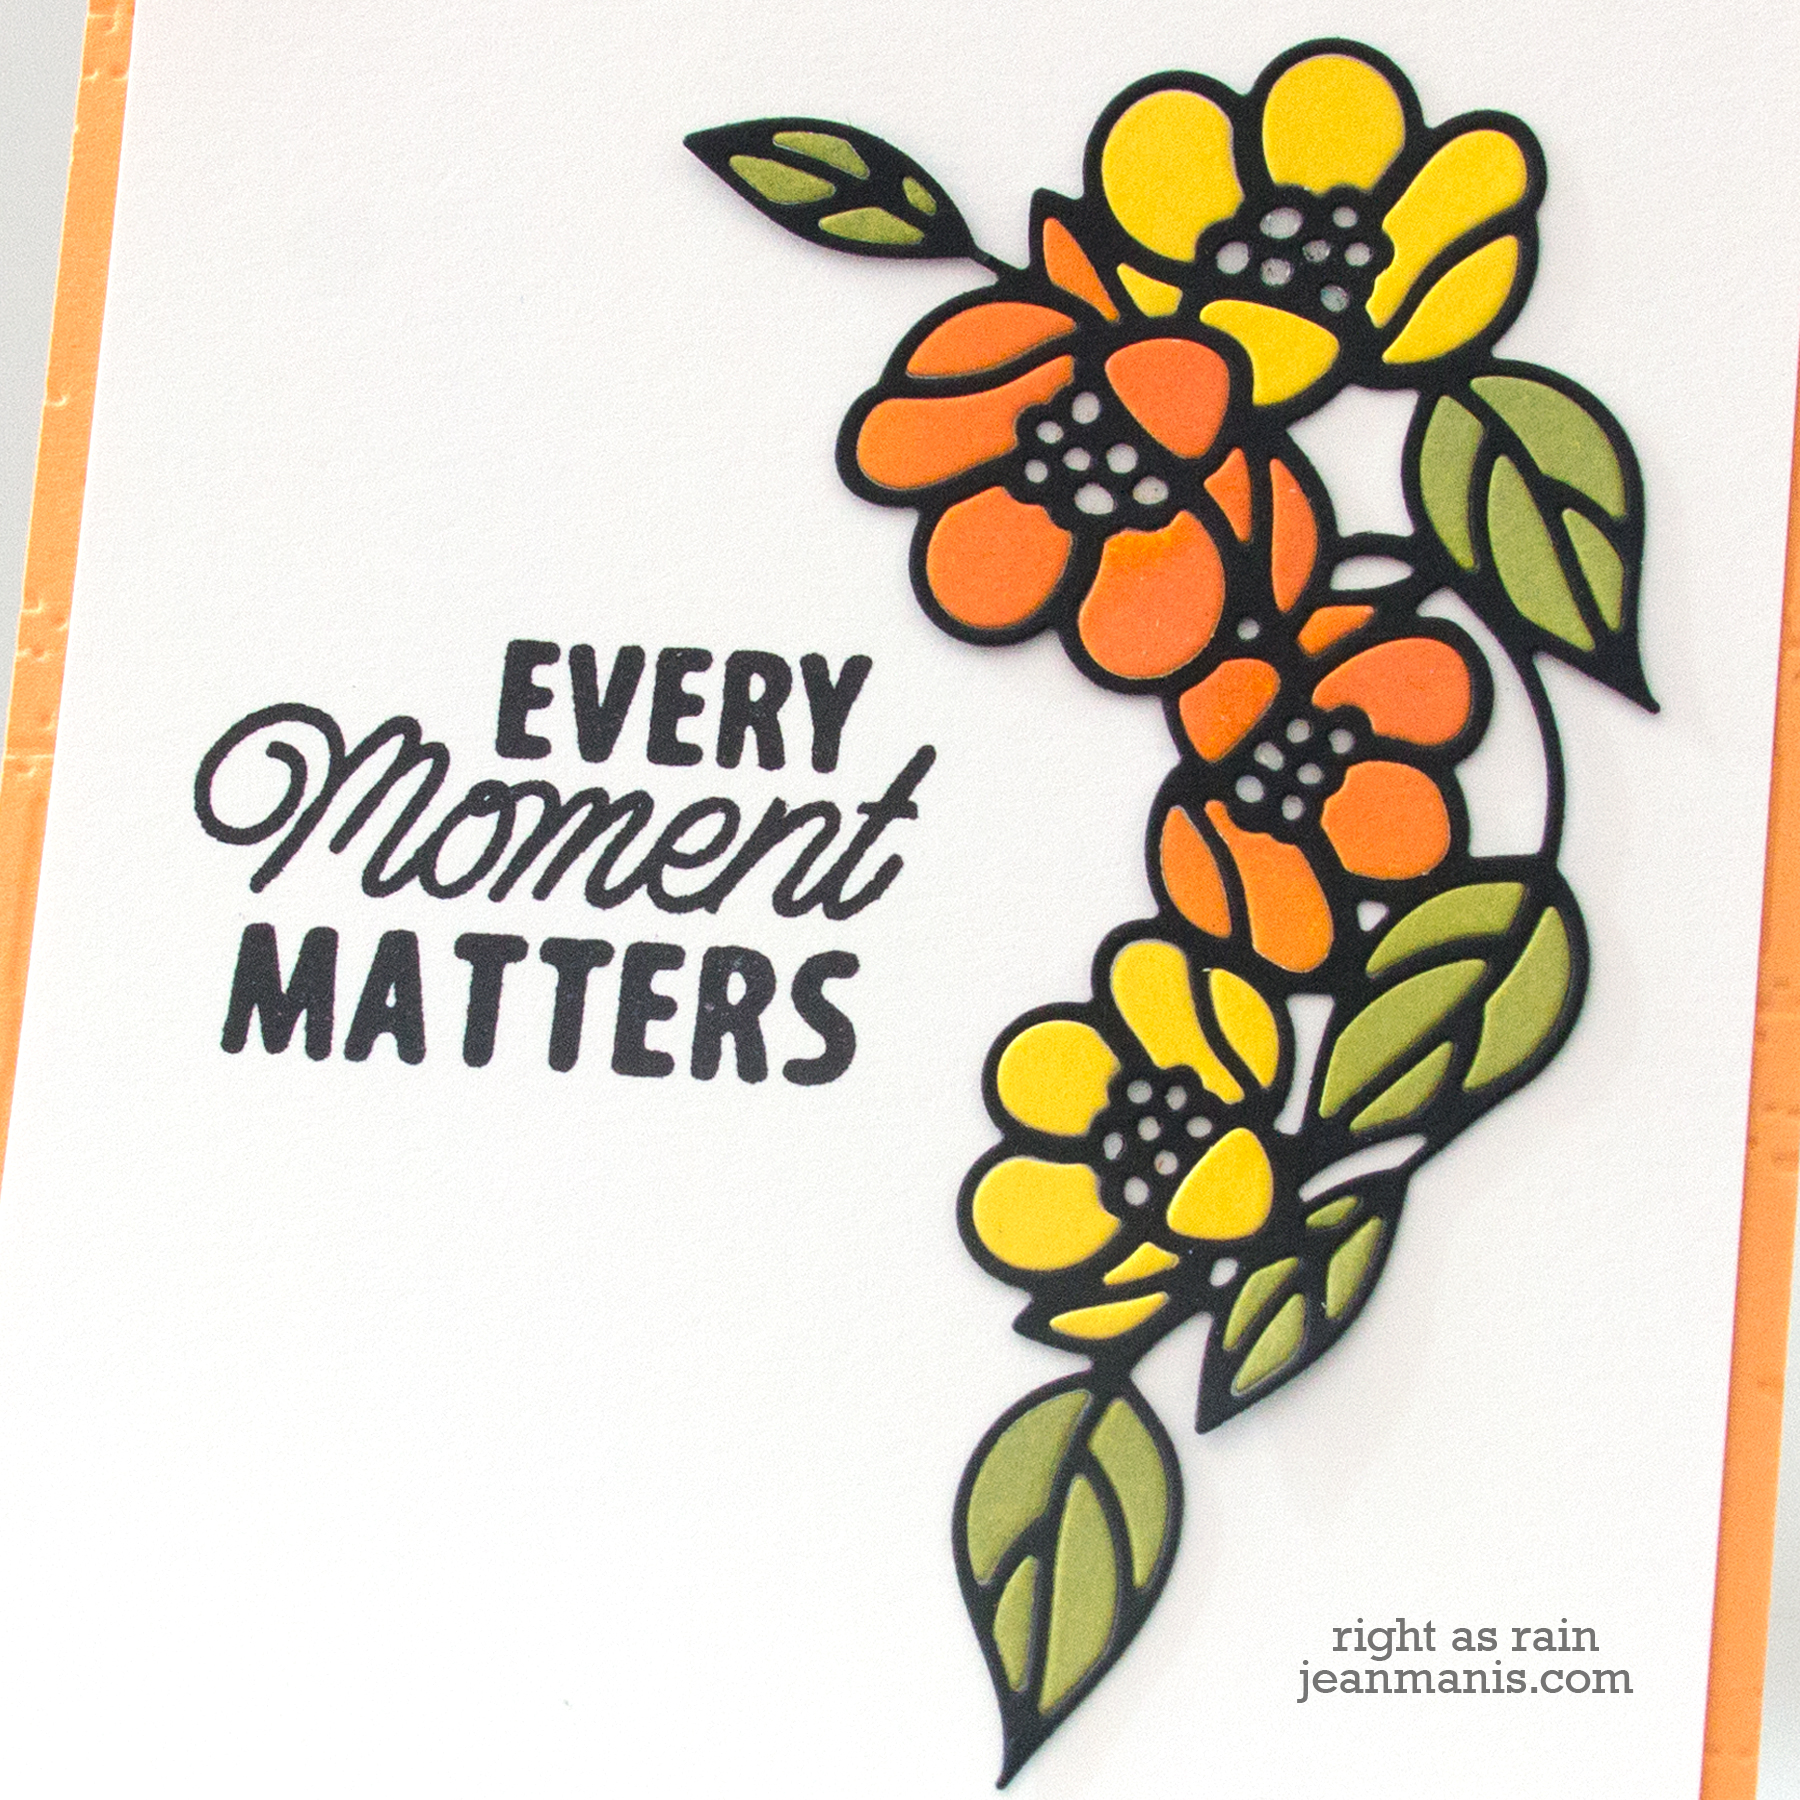
Simon Says Stamp – Flower Cluster Die

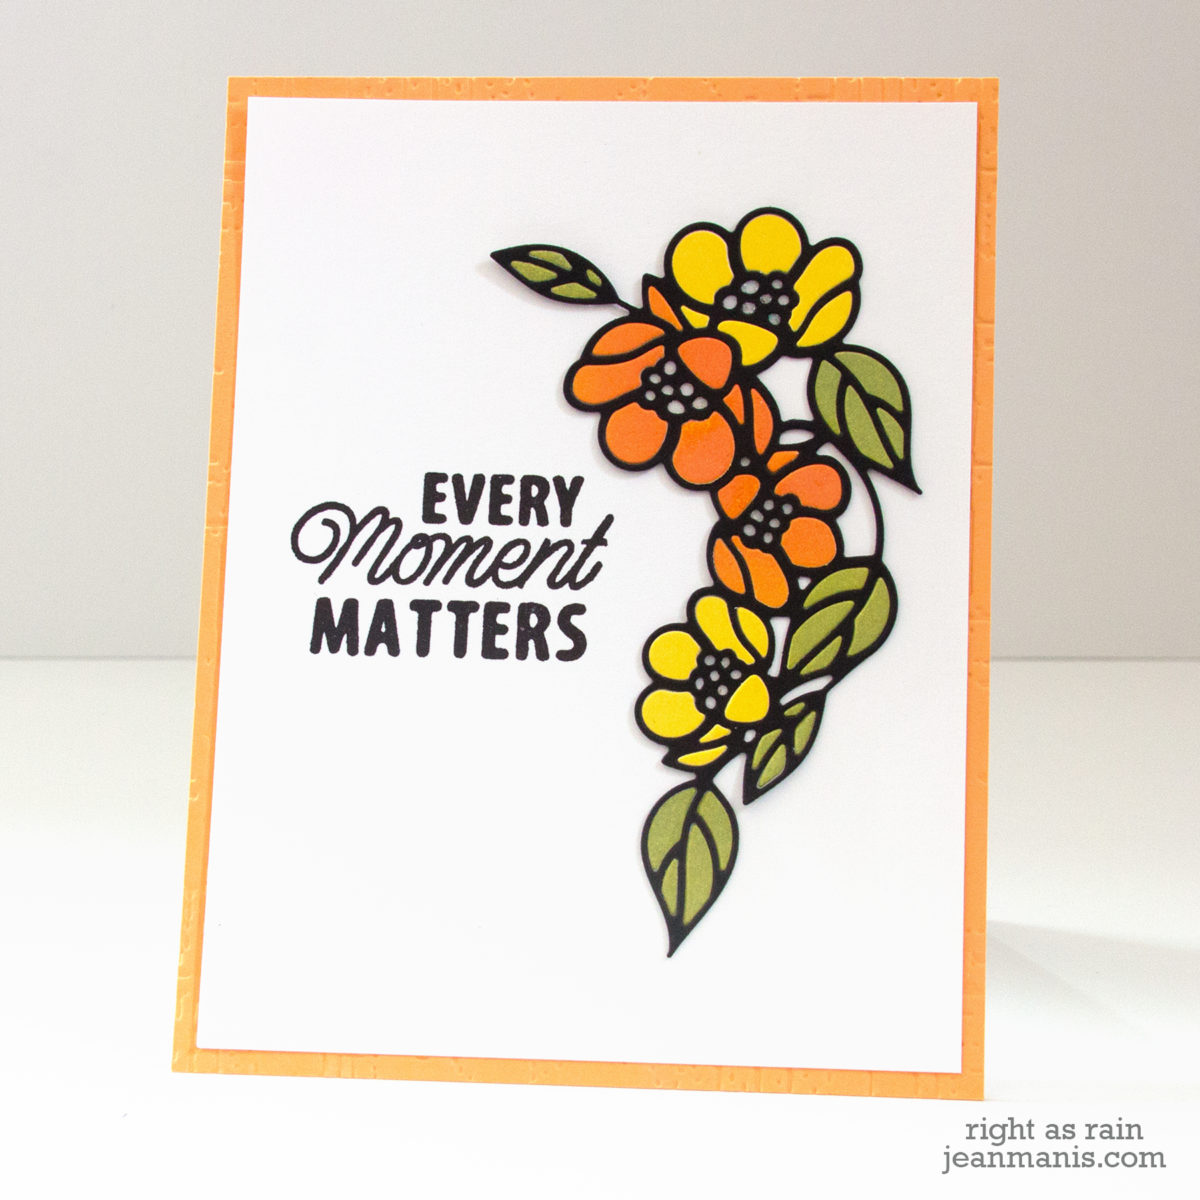
Hello! Today I am sharing a “just because” card featuring the Simon Says Stamp Flower Cluster die. I shared a card with this same die (also using the inlaid technique) in this post.

Simon Says Stamp - Flower Cluster Die

  • I cut the outline from black cardstock.
  • I colored white cardstock with a variety of Distress Oxide  inks. I cut the colored cardstock with the die and inlaid the pieces into the frame. I placed tape across the back of the frame to hold the pieces.
  • I stamped the Every Moment sentiment on a 4″ x 5 1/4″ panel.
  • I added the assembled cluster to the sentiment panel and the panel to the card base, which I dry-embossed with a subtle texture.

Simon Says Stamp - Flower Cluster Die

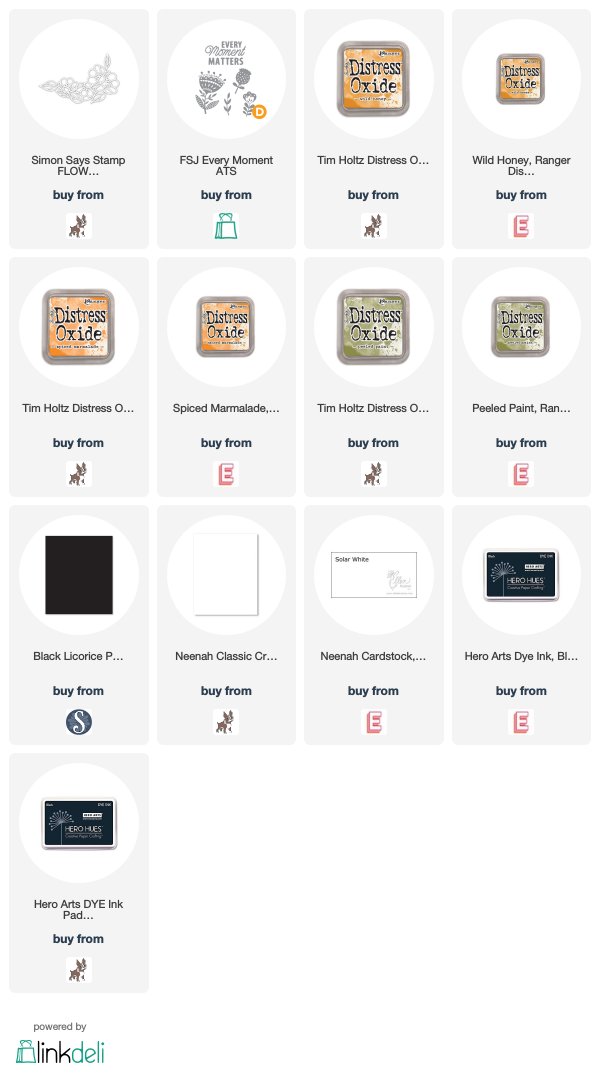
Supplies: