Spellbinders Becca Feeken Holiday 2019 – Blog Hop + Giveaway

Giveaway is now closed.

Hello! I am delighted to be part of the Spellbinders Holiday 2019 Blog Hop showcasing products by Becca Feeken. My projects showcase products from 3D Holiday Vignettes. You should have reached me from the blog of Amy Rysavy. I’ve included a full list of participants at the end of my post.
Spellbinders Becca Feeken Holiday 2019 - Blog Hop

As part of the blog hop, Spellbinders is giving away a $50 gift certificate to one lucky blog reader to be selected from the comments across all of the blogs in the hop. Giveaway closes on Sunday, September 1st, 11:59 pm EDT. The winner will be announced in the blog hop post the following Tuesday. The winner is responsible for shipping cost, duties and taxes.

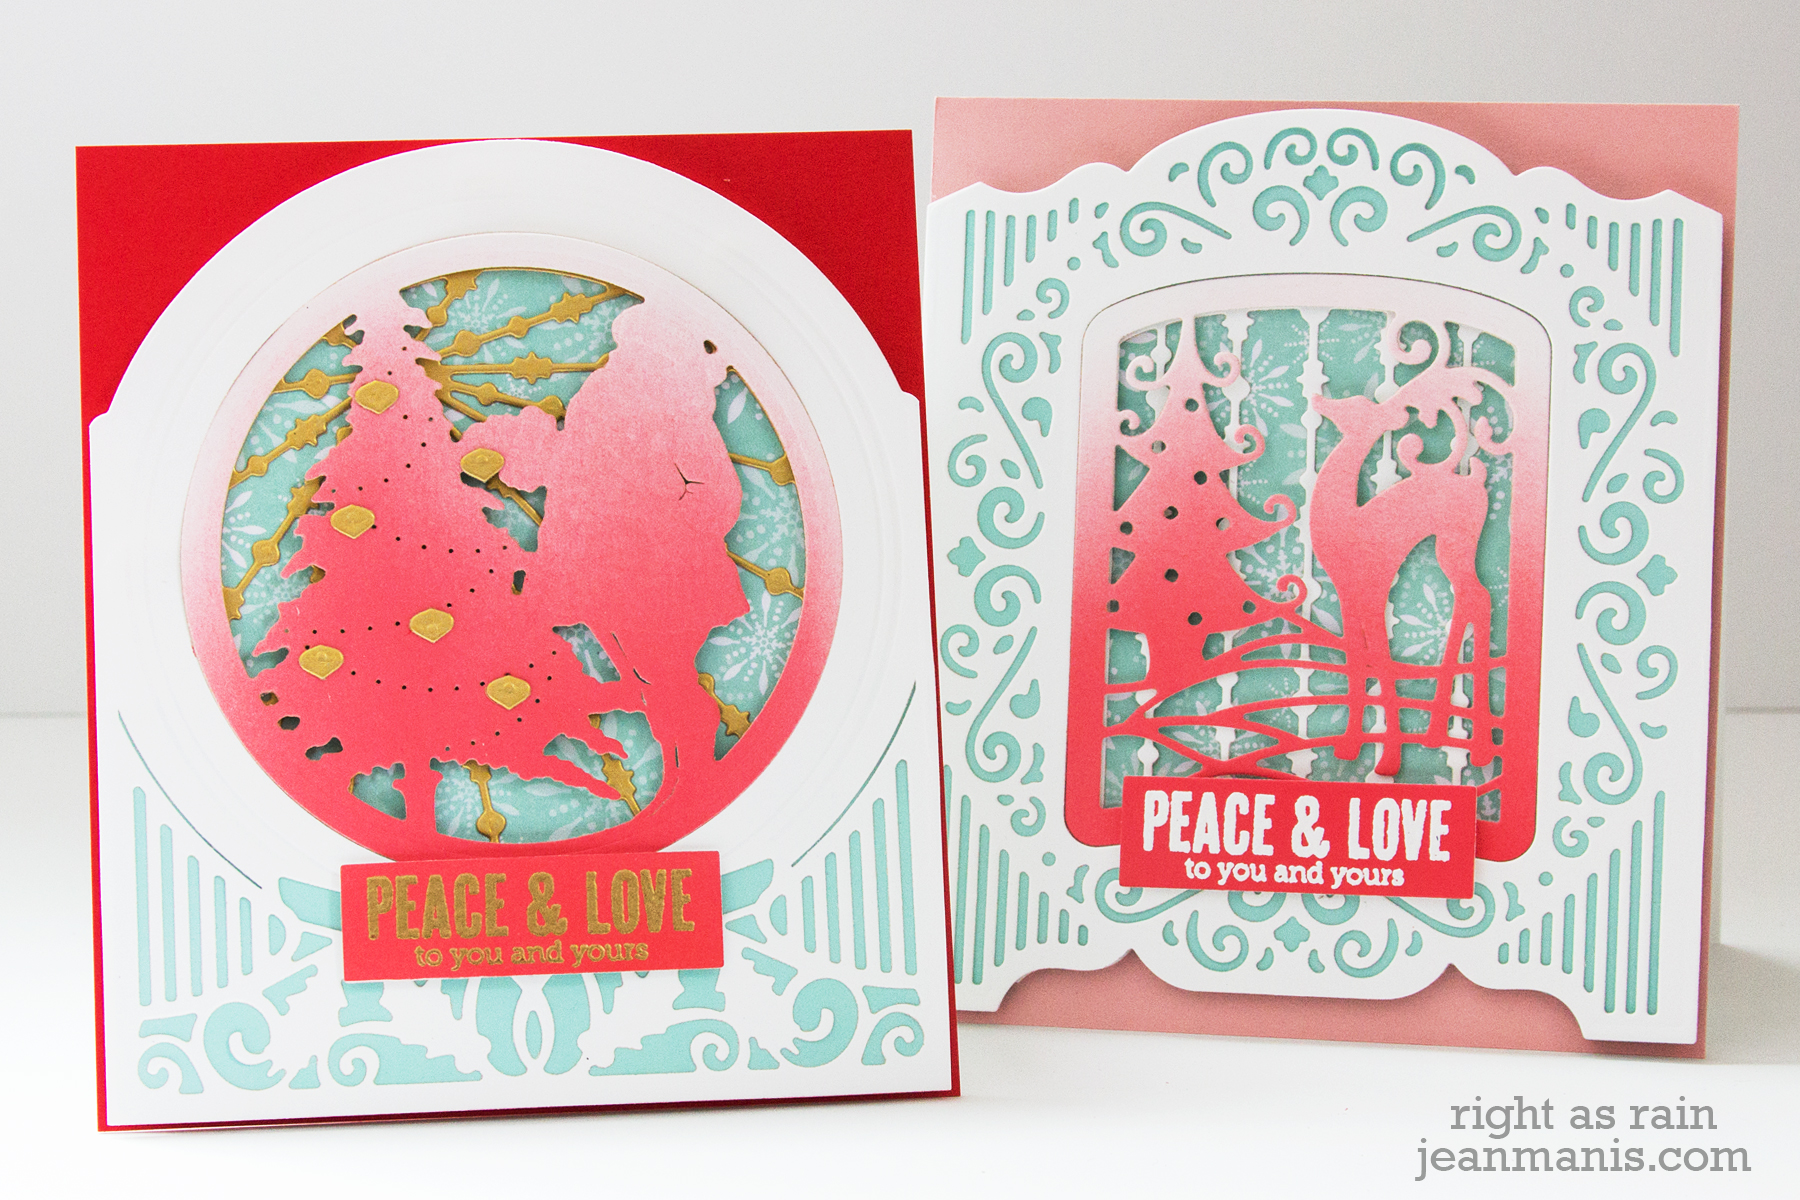
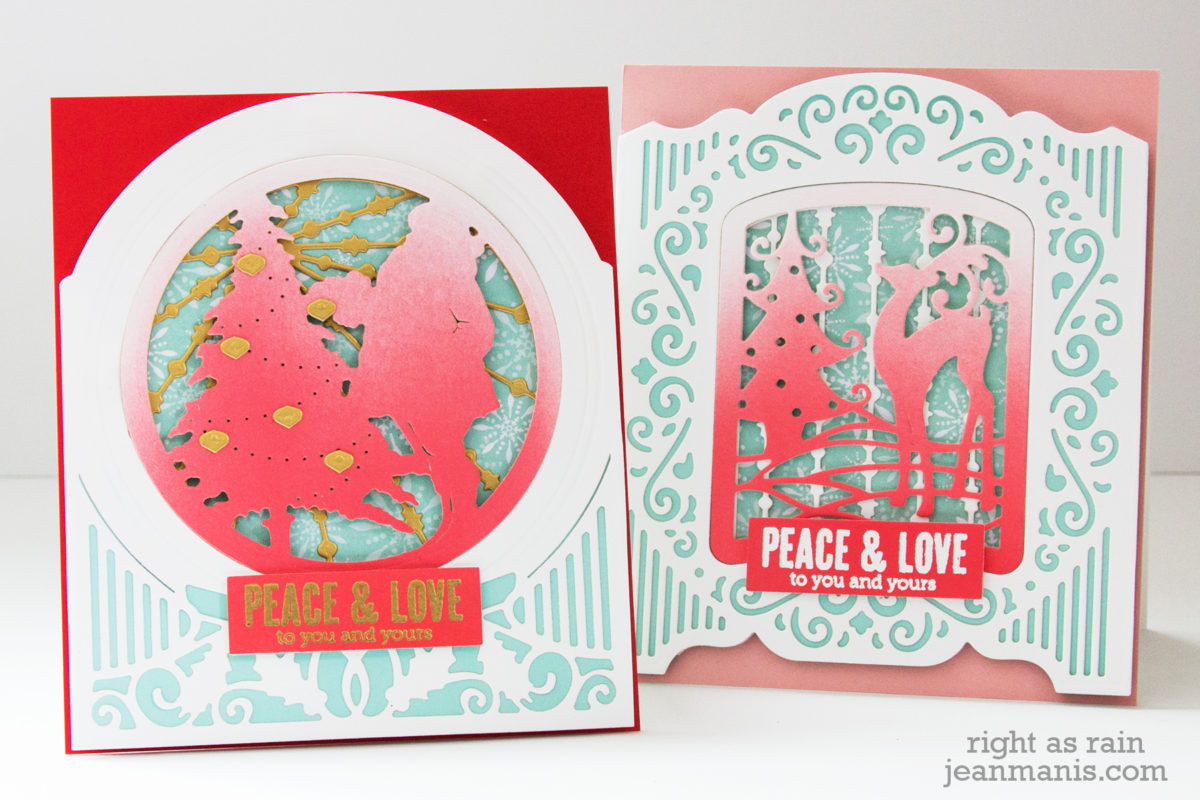
My cards use similar designs and the same color scheme. The cards measure 4 1/2″ wide by 5 1/4″ tall. The Becca Feeken dies do all of the heavy lifting in these projects – their detail is just amazing!
Spellbinders Becca Feeken Holiday 2019

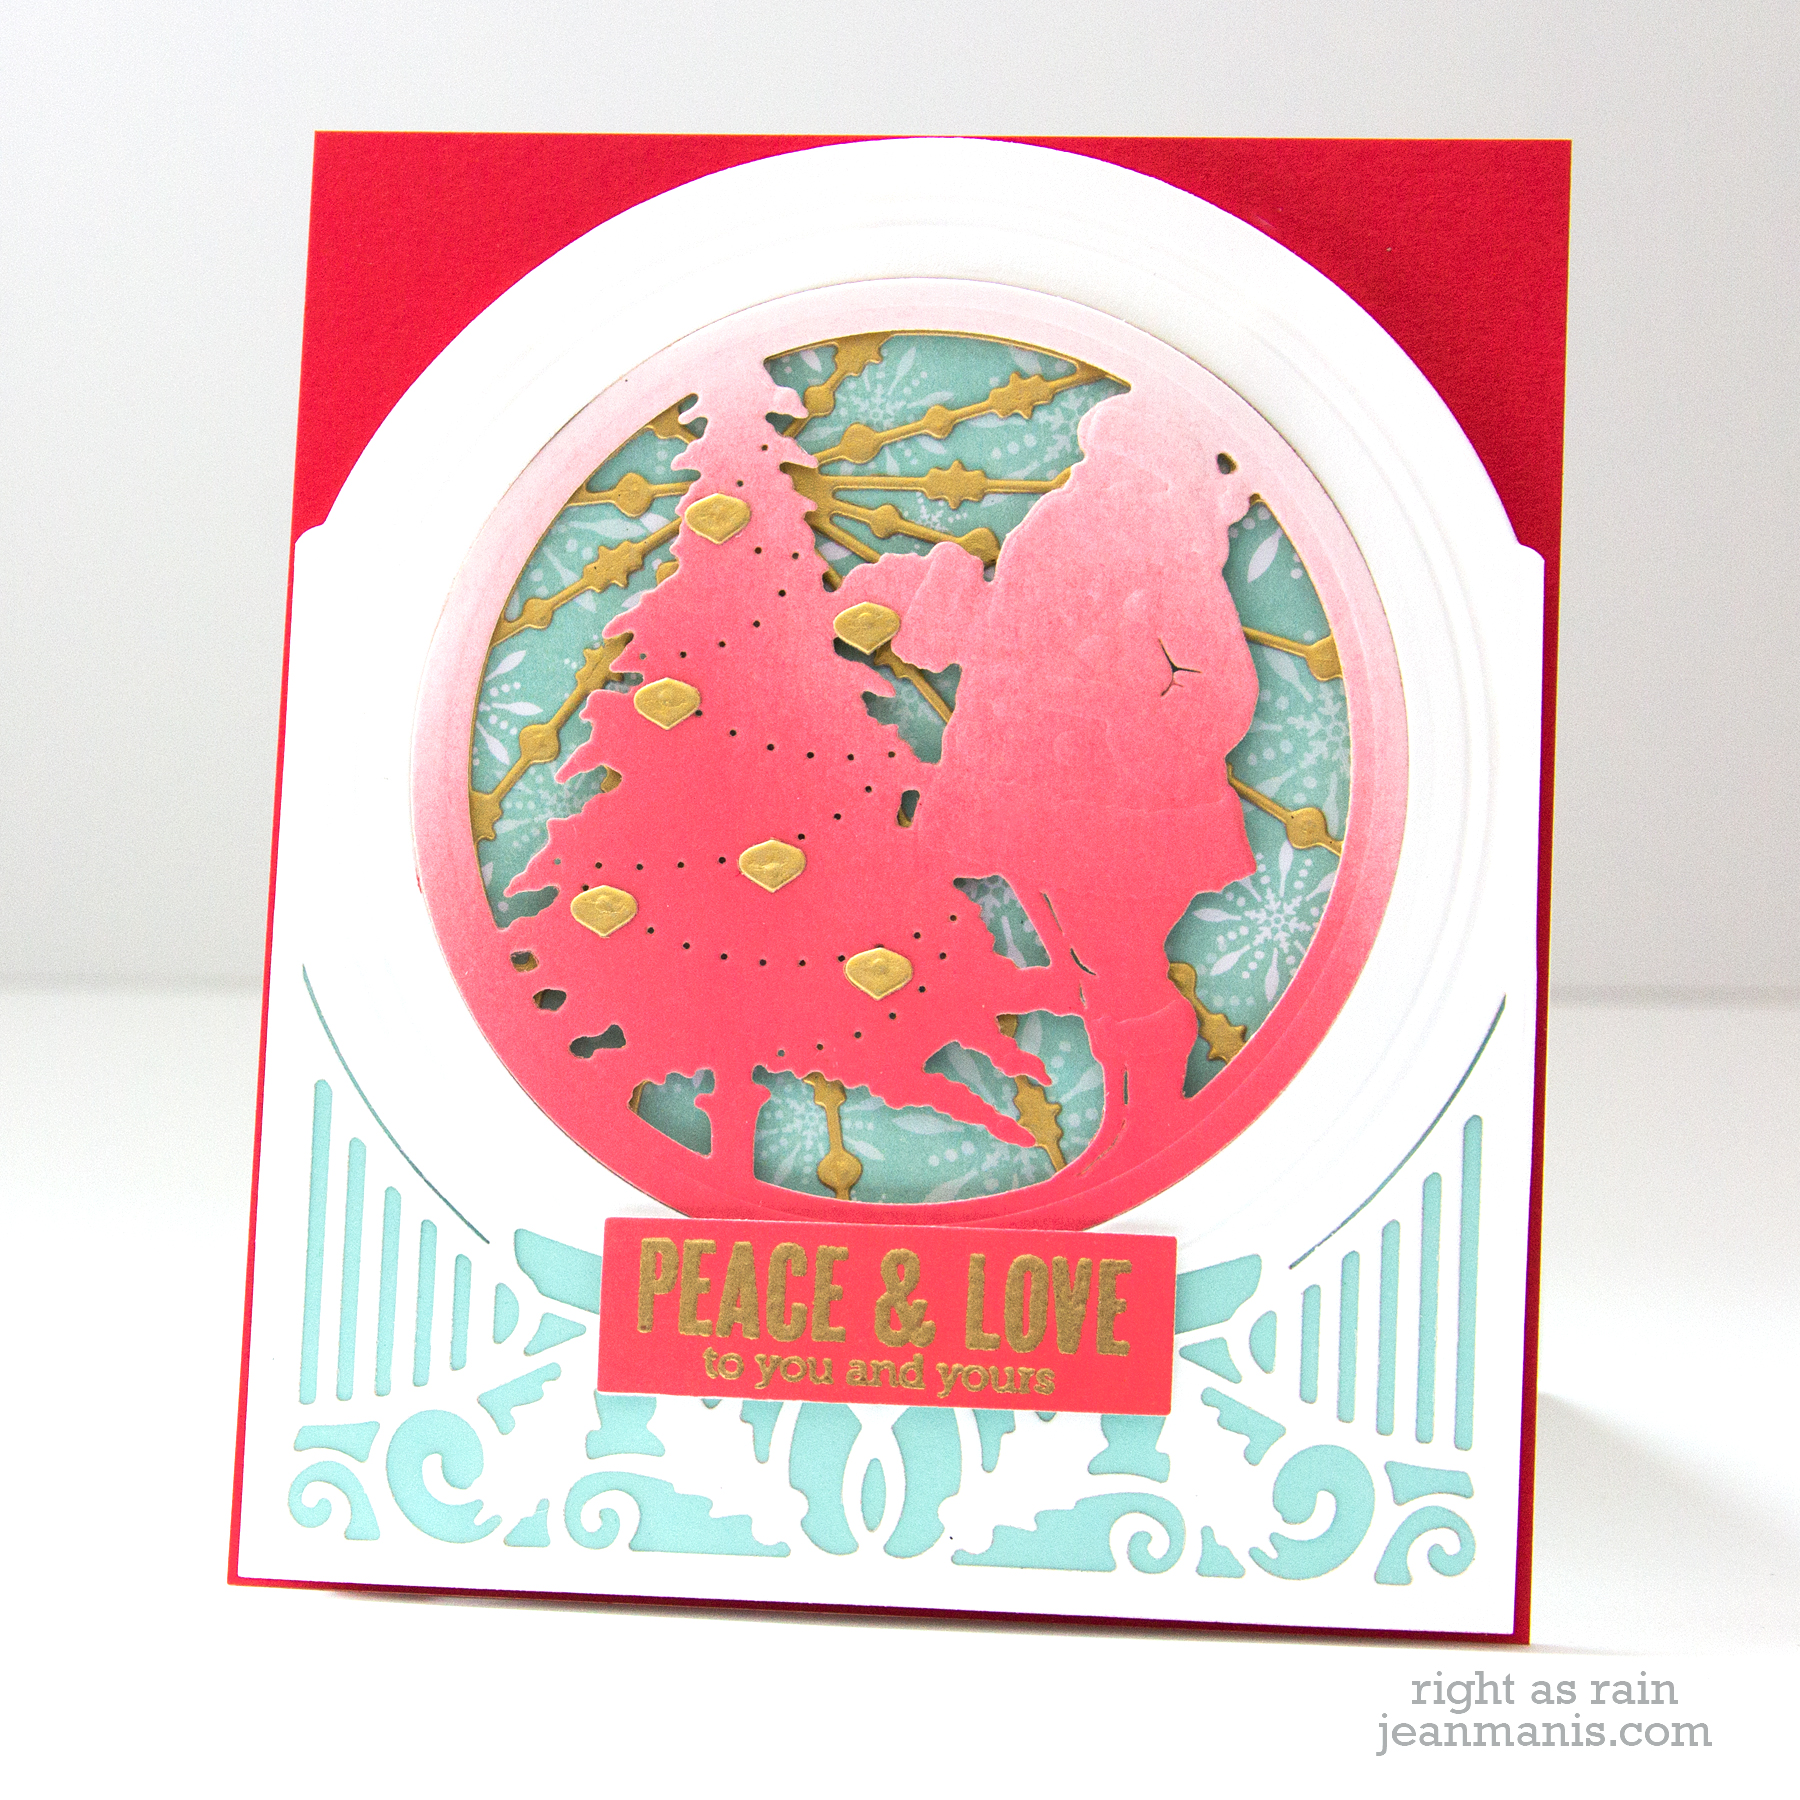
On my first card I’ve paired the Santa Claus set with the Grand Snow Globe.
Spellbinders Becca Feeken Holiday 2019

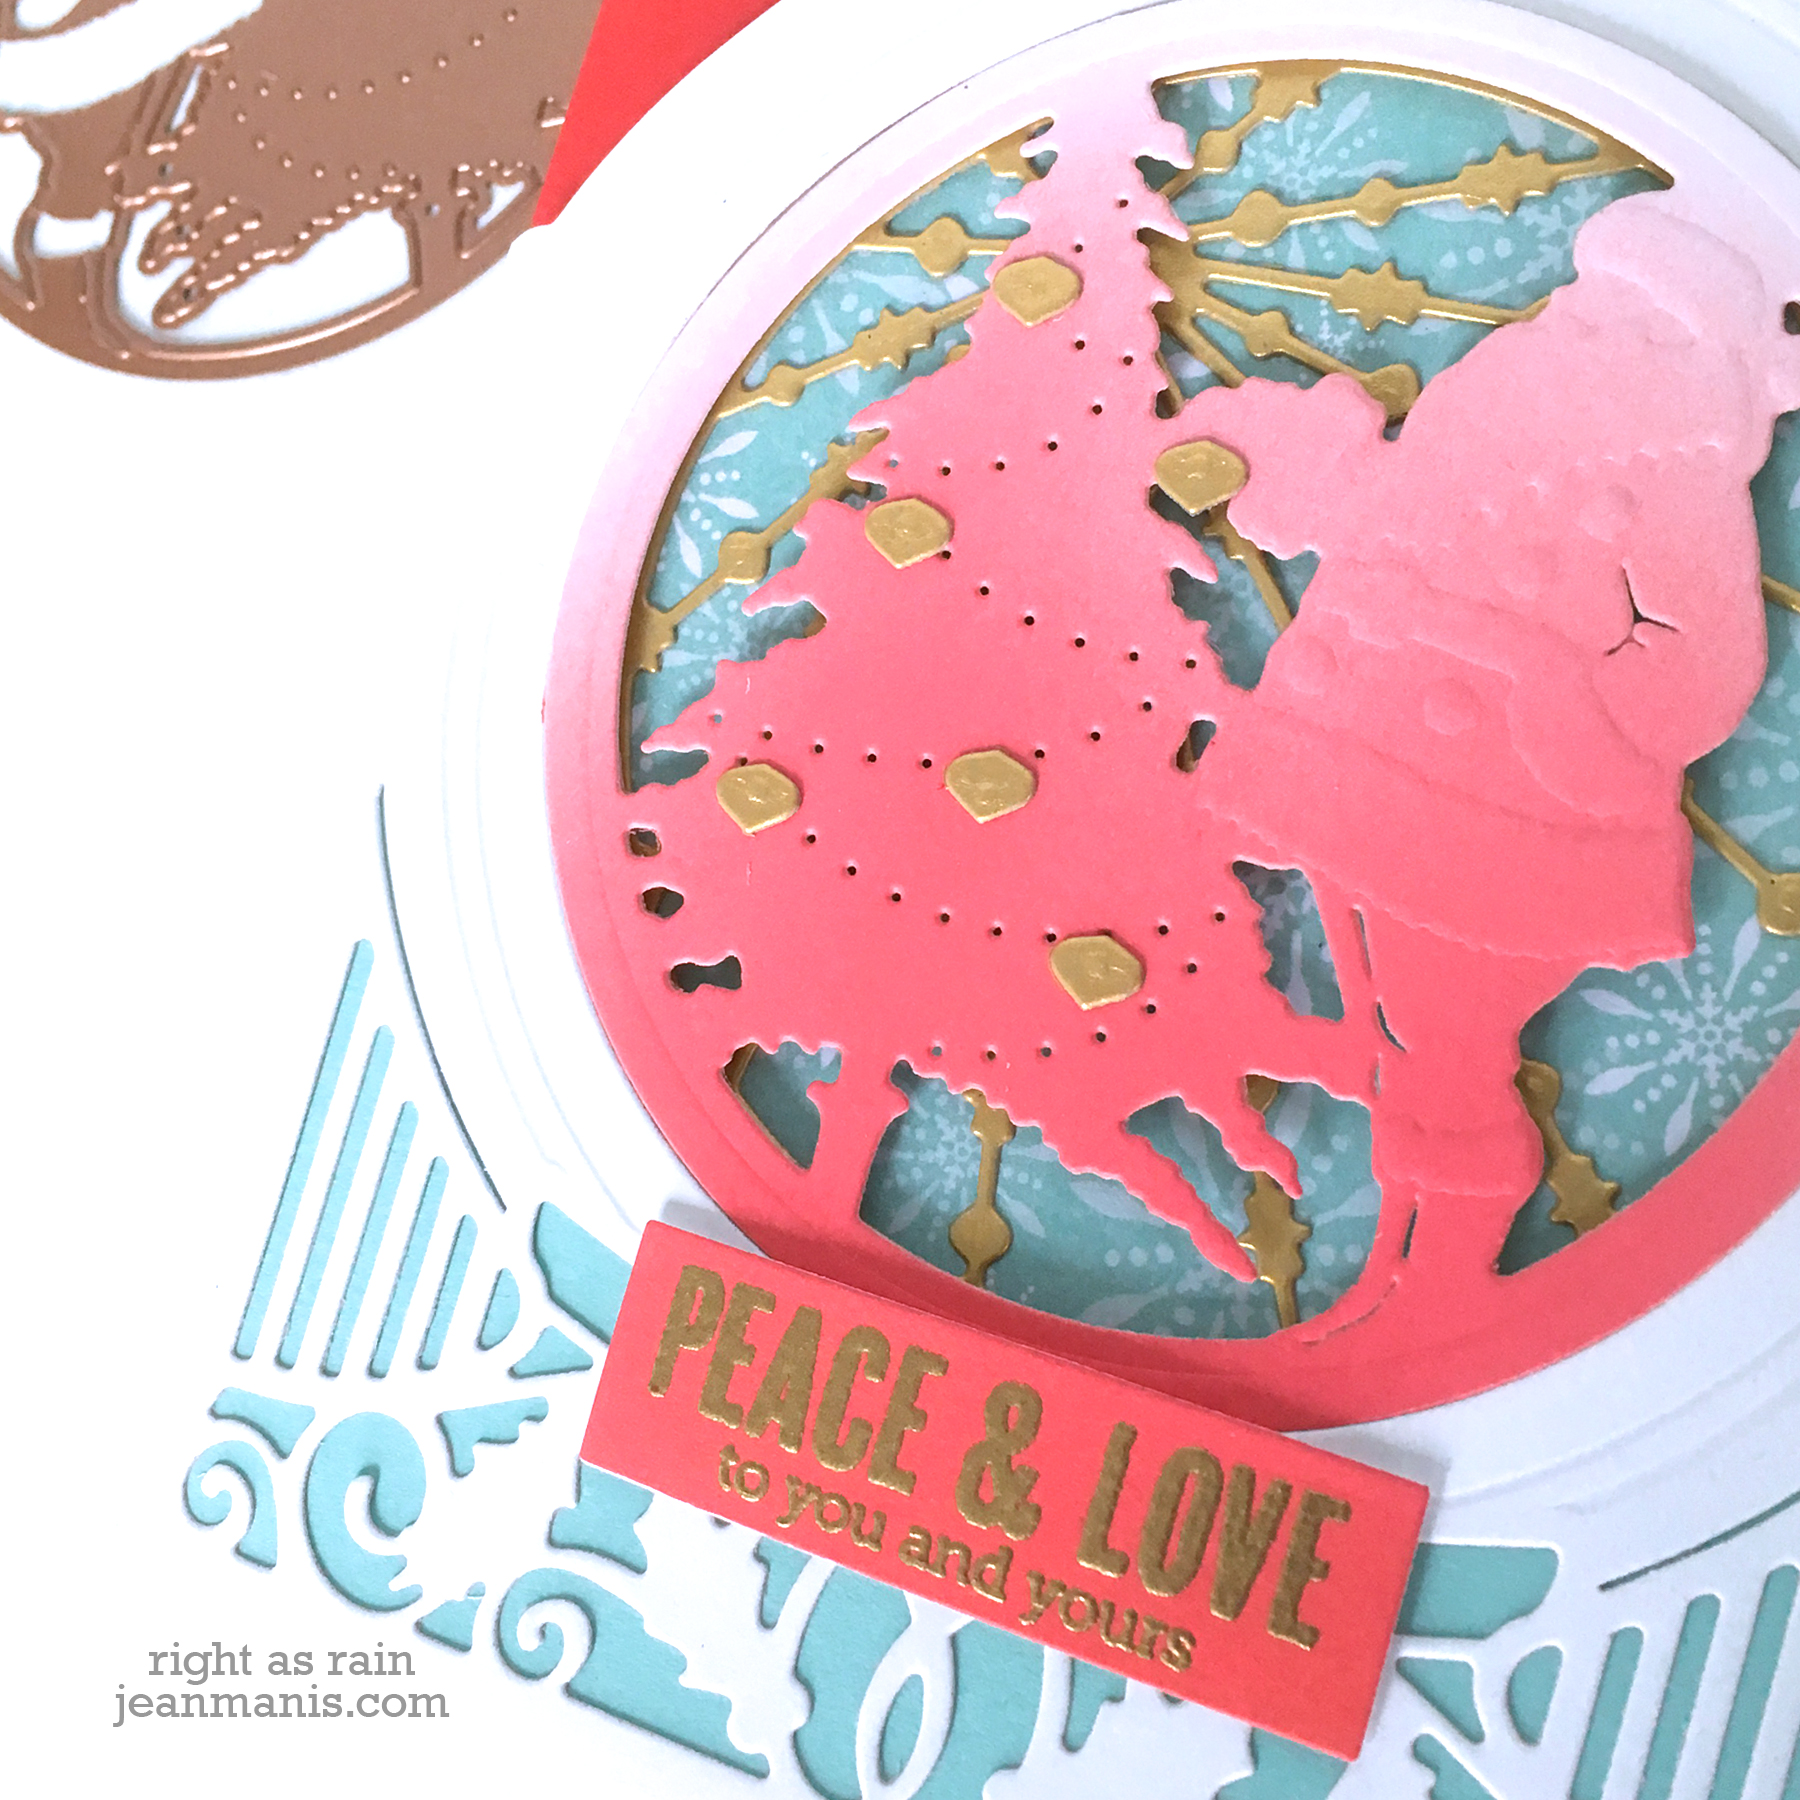
I cut the Grand Snow Globe frame from Whip Cream cardstock and backed it with light blue cardstock. I used the Grand Snow Globe pieces as a frame for my card, rather than to create a 3-D object; I trimmed the tabs from the sides.

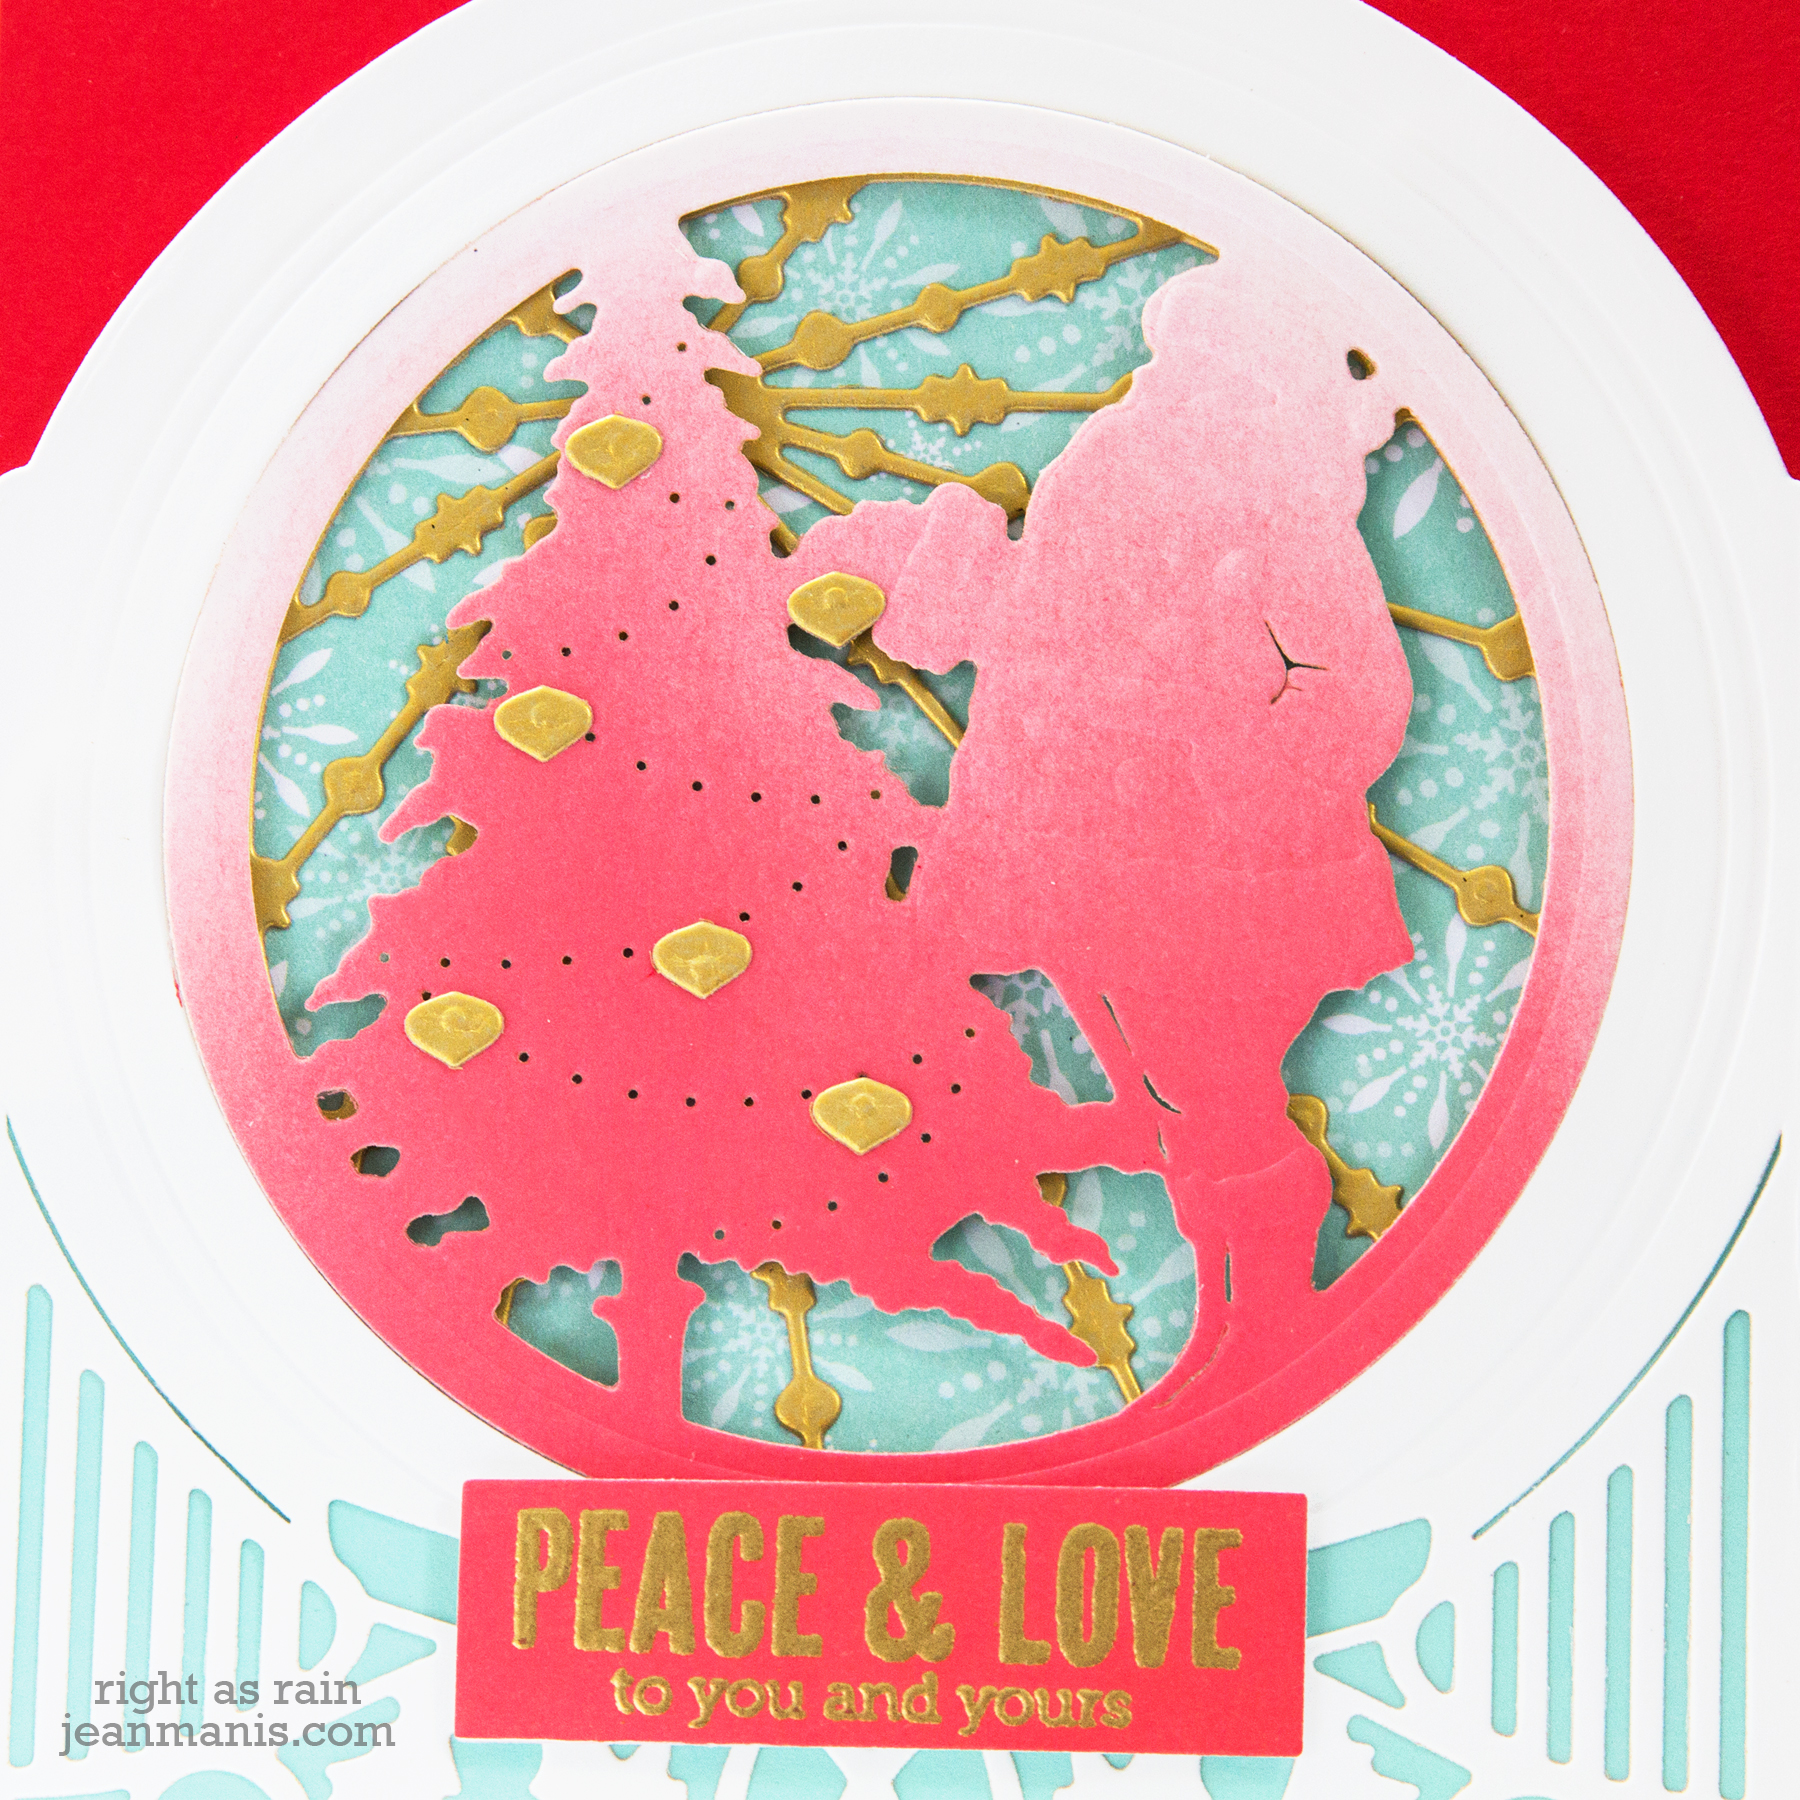
I cut the front panel of the Santa Claus from Whip Cream cardstock to which I had applied Festive Berries Distress Oxide Ink.

I cut the star garland and ornaments from Brush Gold cardstock.
Spellbinders Becca Feeken Holiday 2019

I heat-embossed with gold powder a sentiment on to cardstock colored with Festive Berries Distress Oxide Ink.

I placed the Santa piece into the Grand Snow Globe opening and taped it from behind.

I added the star garland piece to patterned paper, which I cut with the circle die in the set, and adhered them to a back panel.

I adhered the front panel to the back with foam adhesive and added the entire assembly to a card base. I then added the ornaments and sentiment.
Spellbinders Becca Feeken Holiday 2019

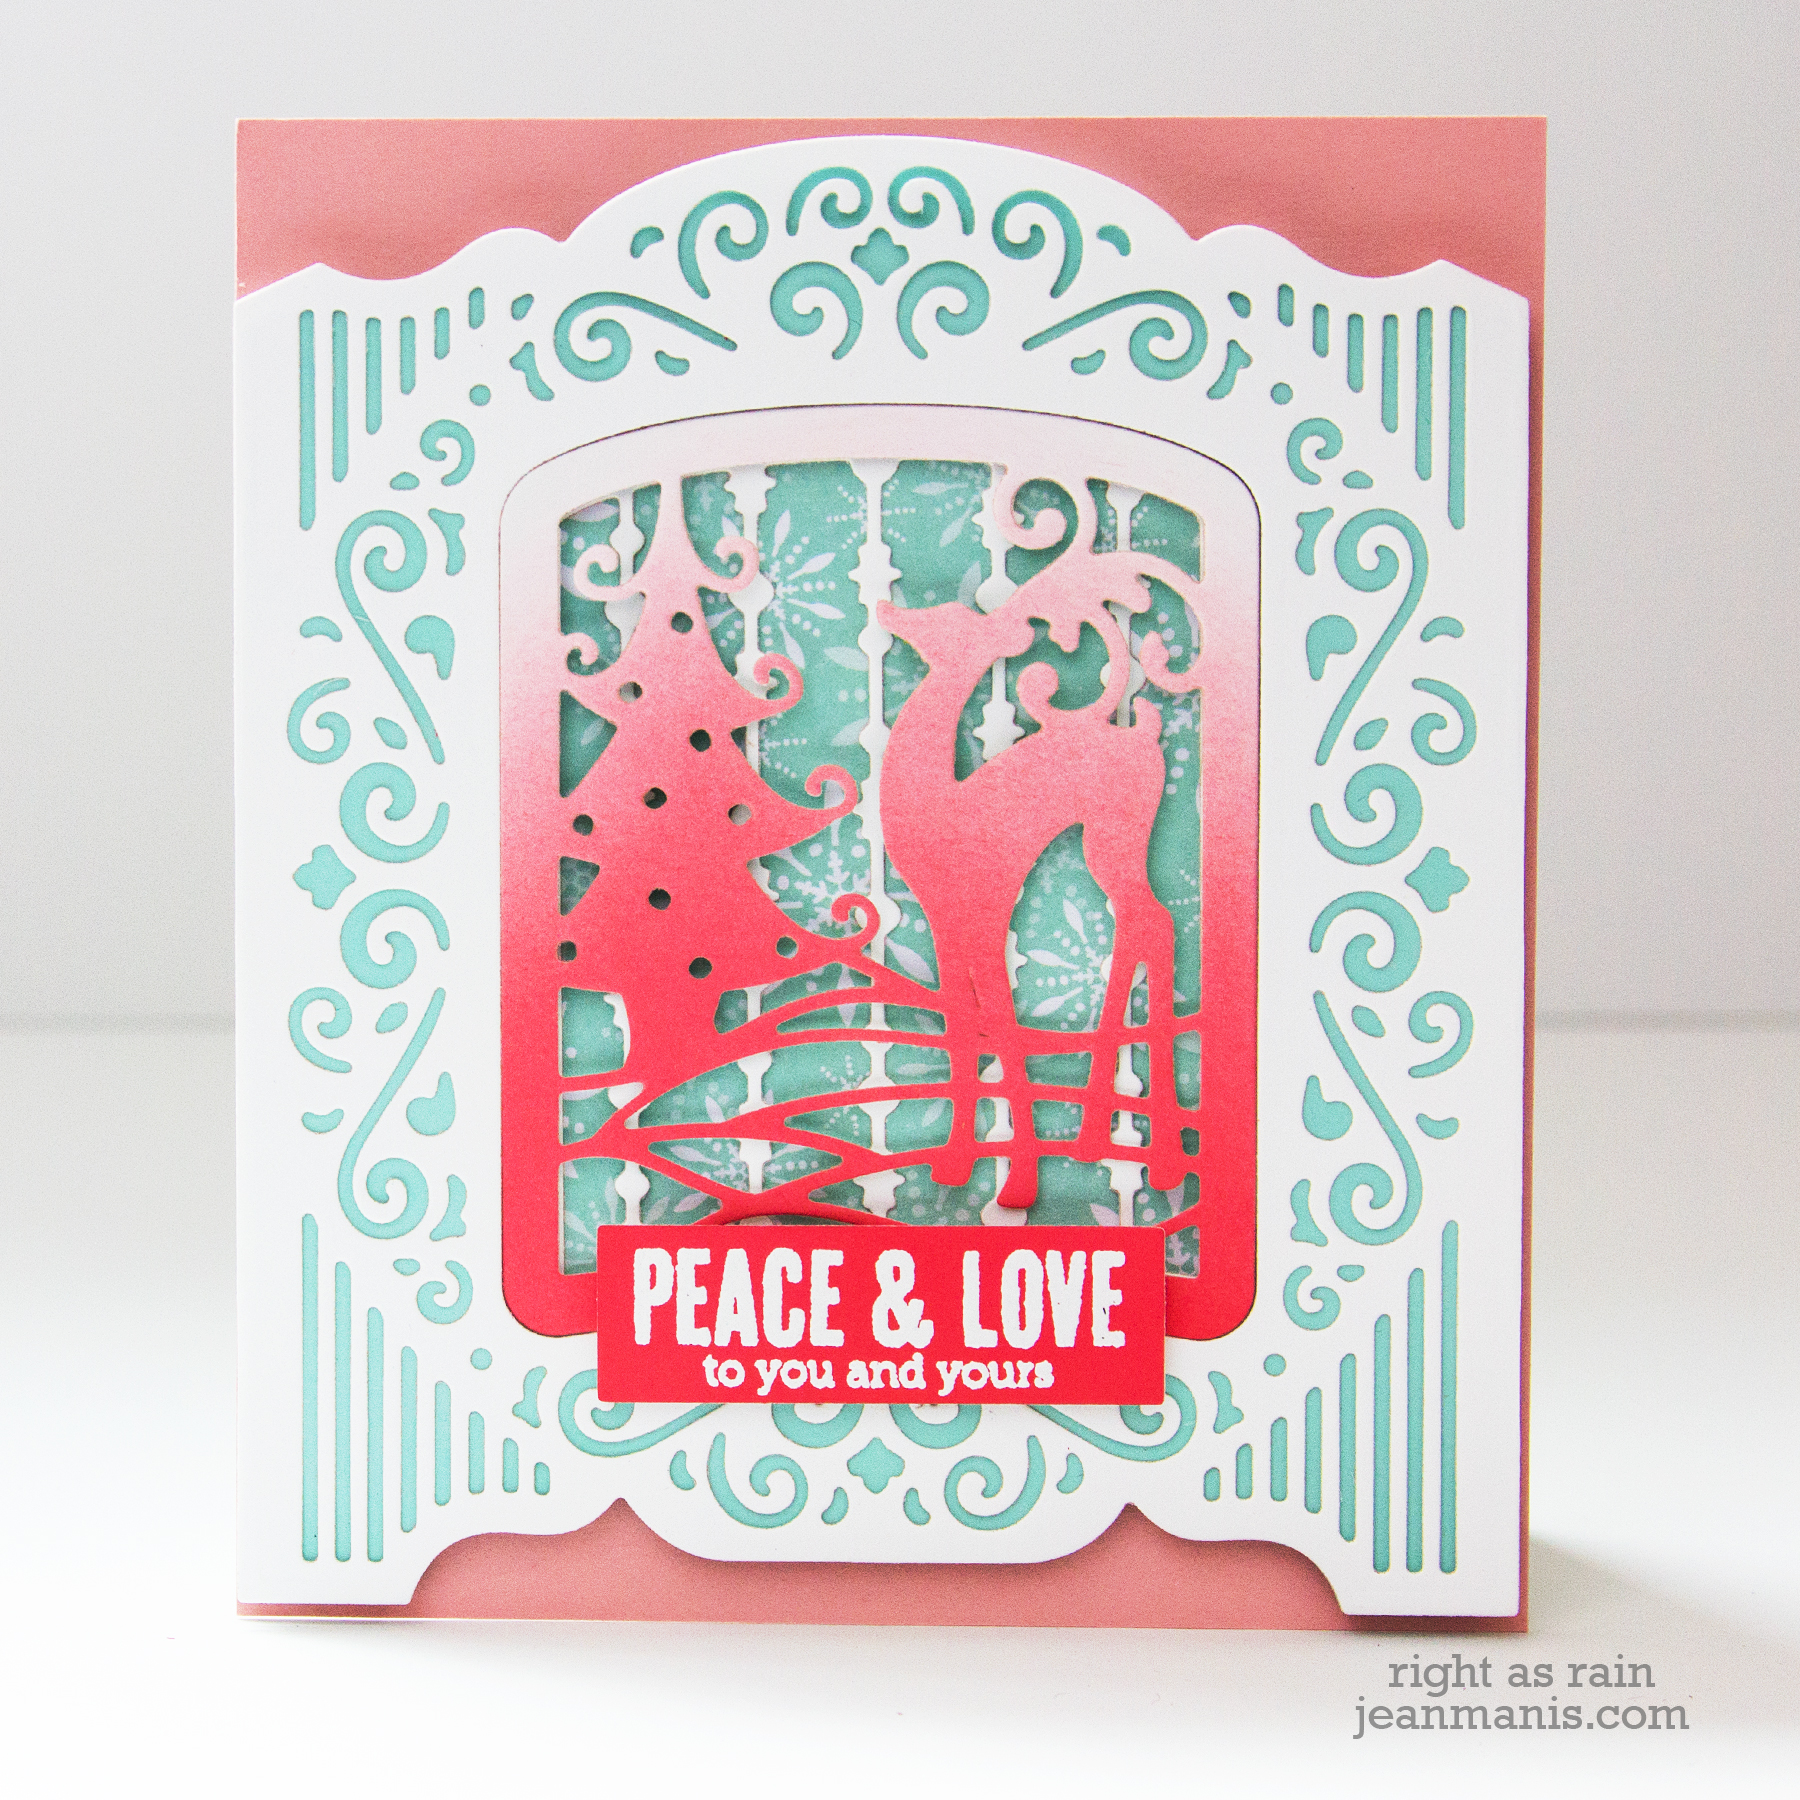
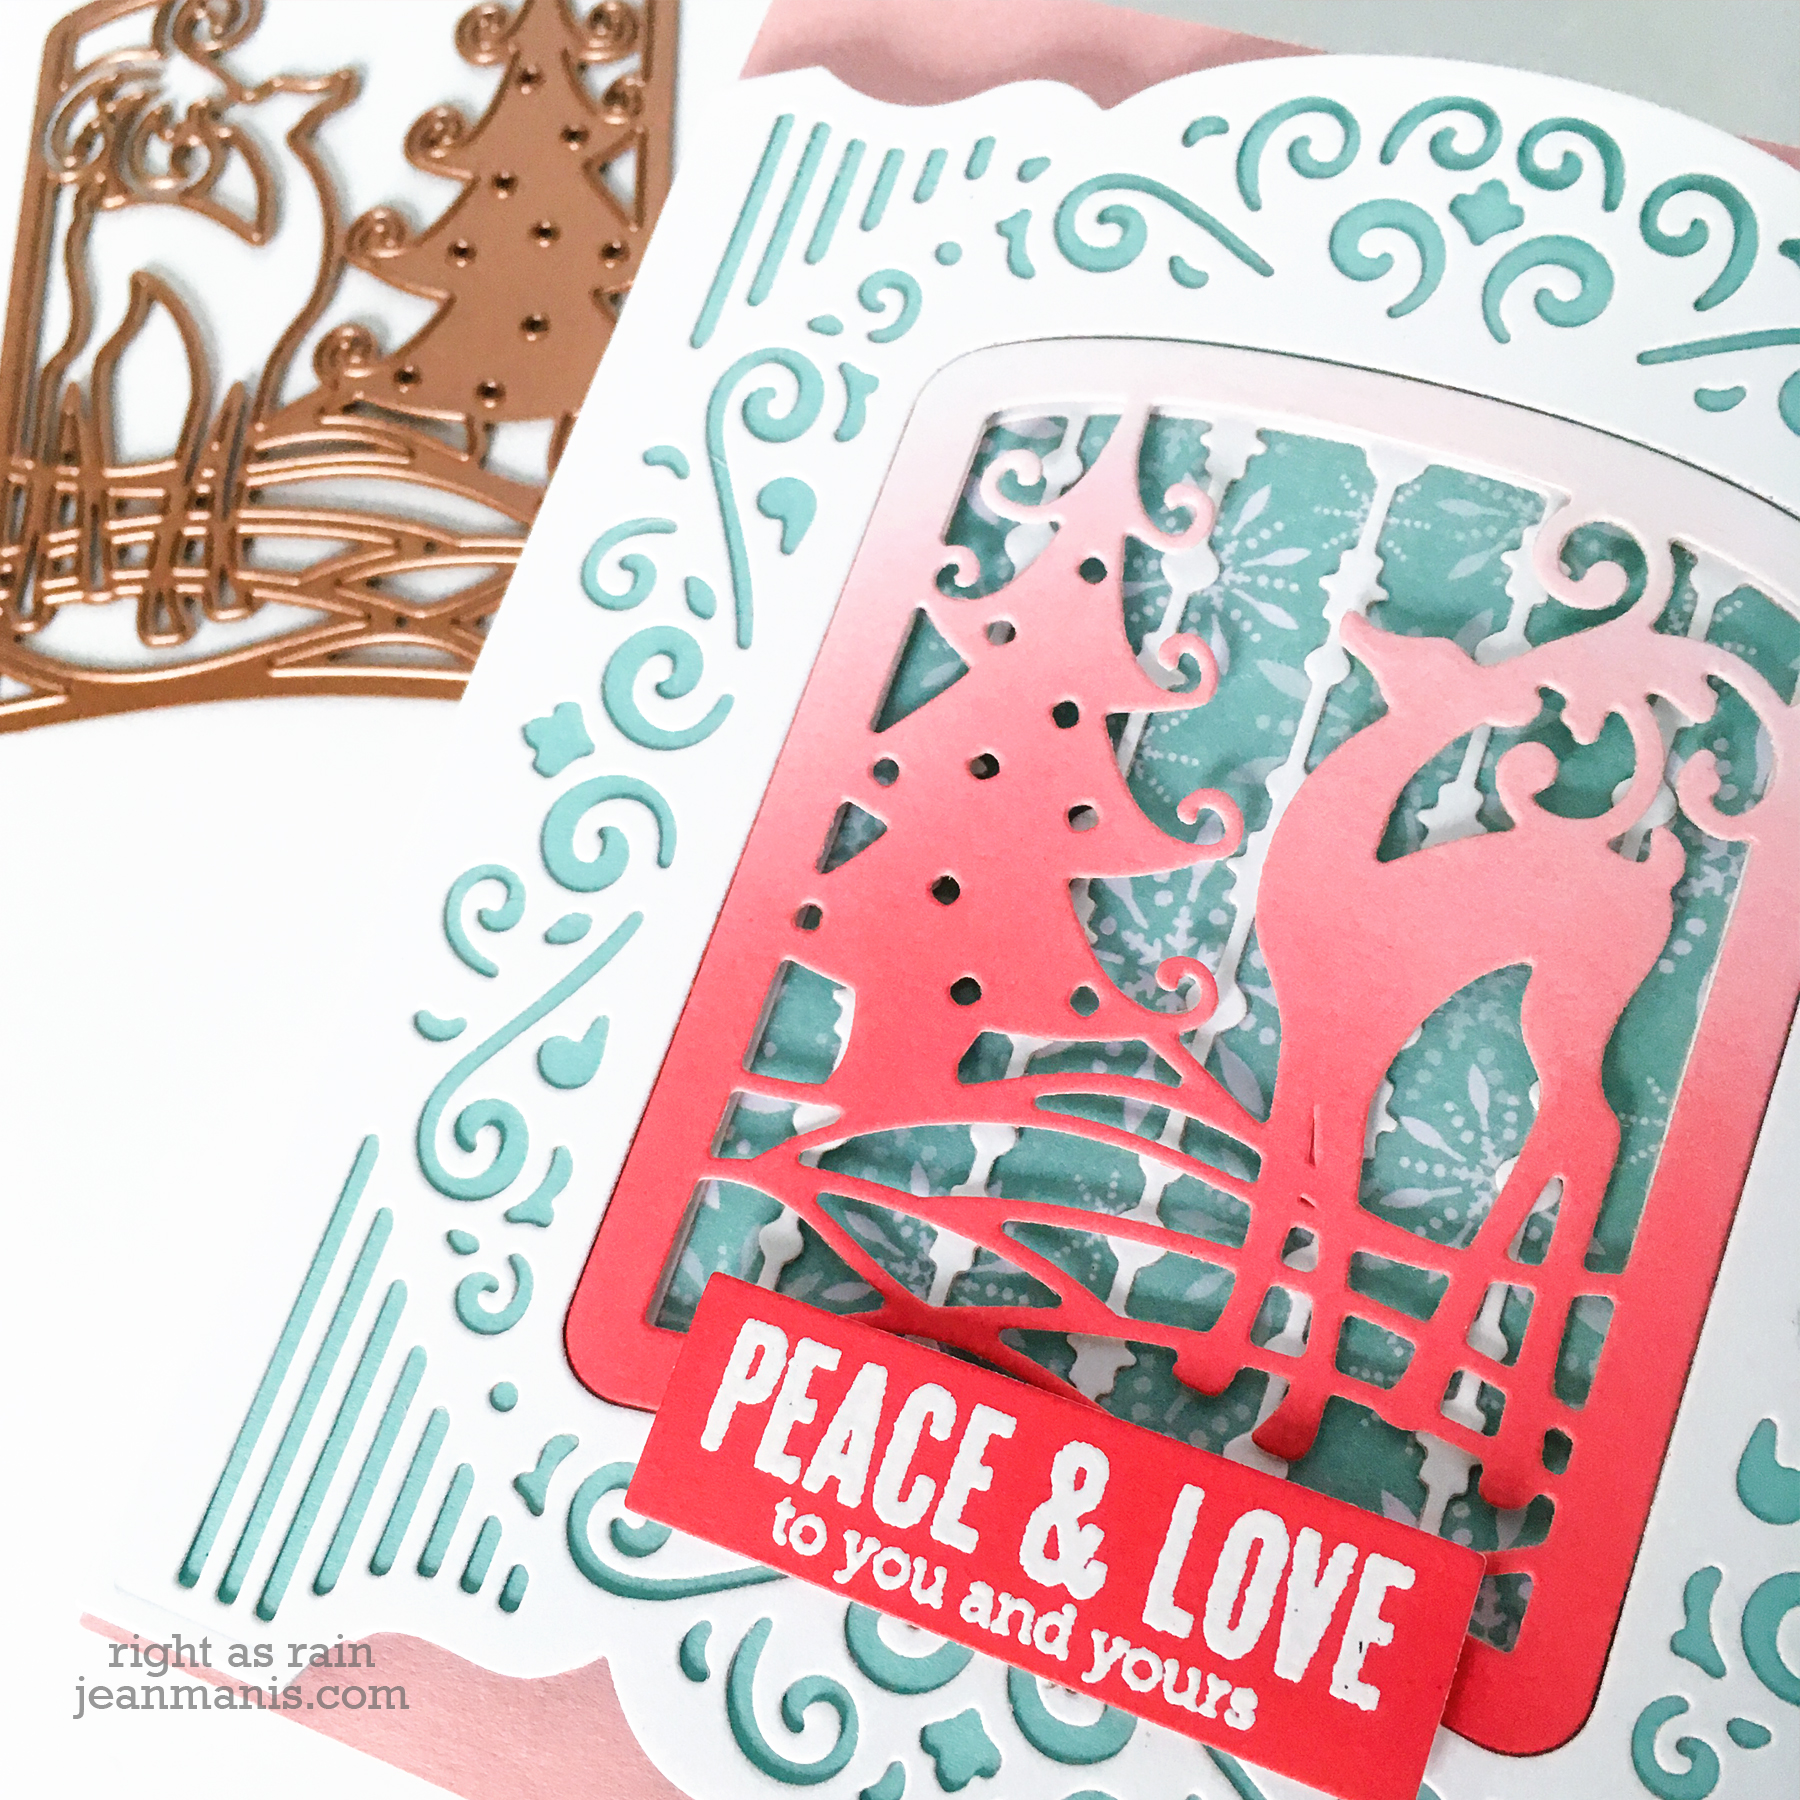
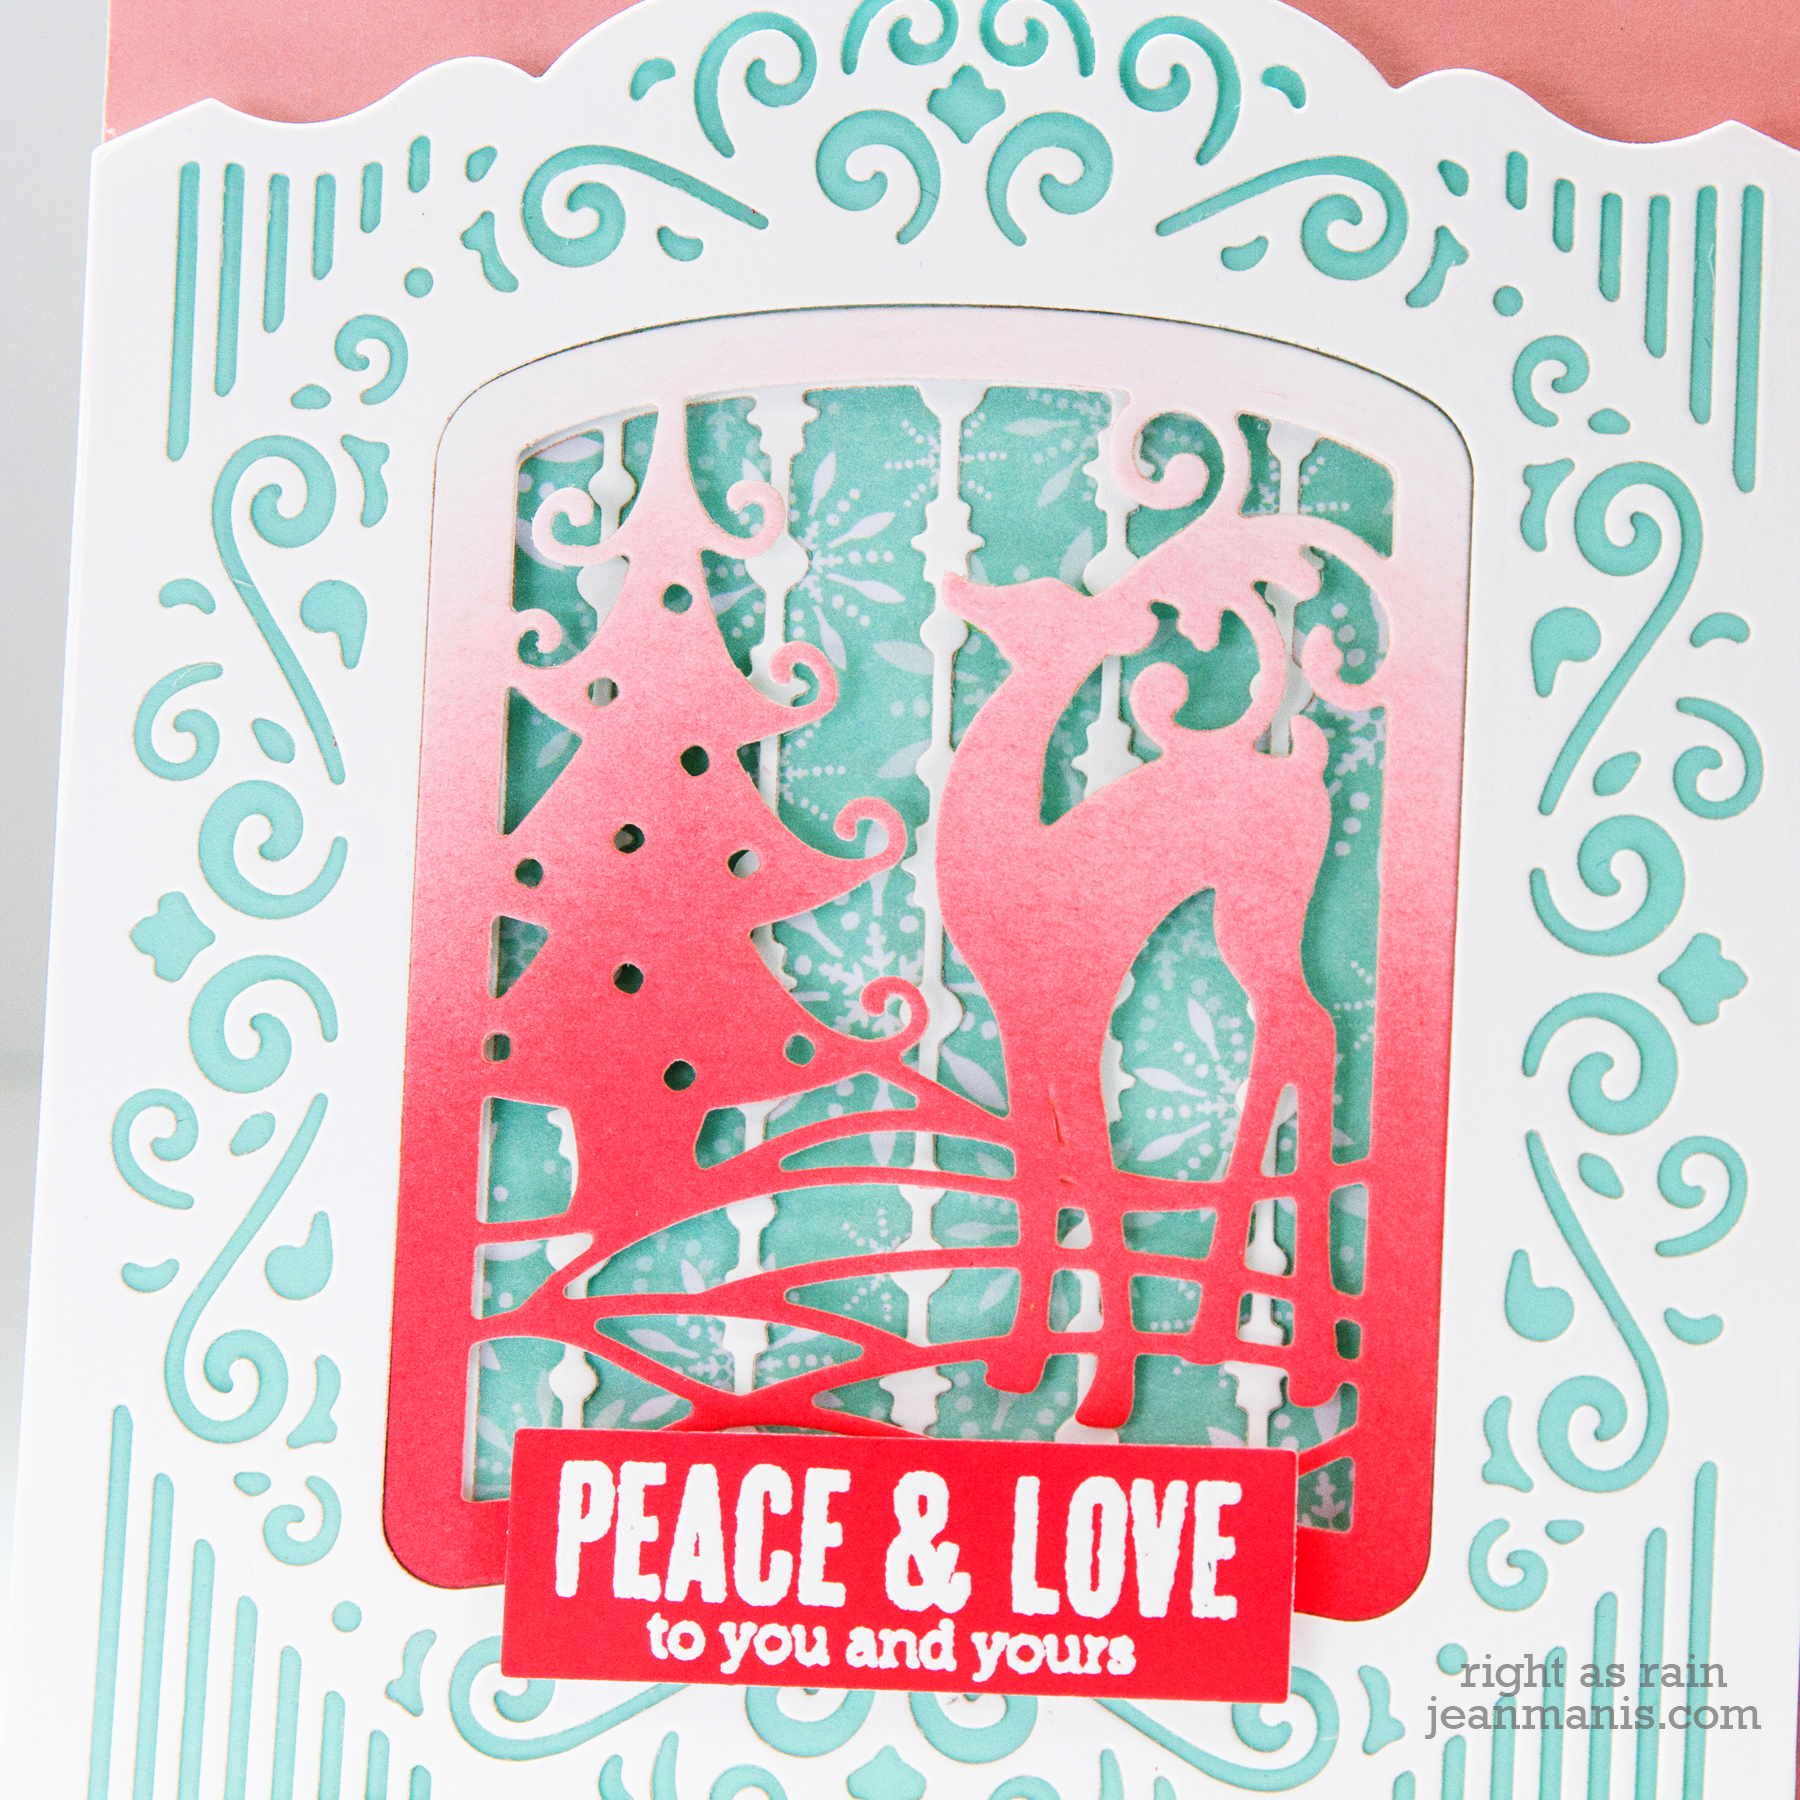
My second card pairs Reindeer Prance with the Grand Holiday Cabinet.
Spellbinders Becca Feeken Holiday 2019

I cut the Grand Holiday Cabinet from Whip Cream cardstock and backed it with light blue cardstock (cut with the outline die in the set). I used the Grand Holiday Cabinet pieces as a frame for the card; I trimmed off the tabs that are used if making a 3-D object.

I cut the front panel of the Reindeer Prance from Whip Cream cardstock to which I had applied Festive Berries Distress Oxide Ink.
Spellbinders Becca Feeken Holiday 2019

I heat-embossed with white powder a sentiment on to cardstock colored with Festive Berries Distress Oxide Ink.

I placed the Reindeer front piece into the Grand Holiday Cabinet opening and taped it from behind.

I added the snow/icicle/star garland piece to patterned paper, which I cut with the circle die in the set, and adhered them to a back panel.

I adhered the front panel to the back with foam adhesive and added the entire assembly to a card base. I then added the sentiment.
Spellbinders Becca Feeken Holiday 2019

Thanks so much for dropping by! The next stop on the hop is the blog of Varada Sharma. I’ve included the entire list of blog hop participants at the end of the post.

Supplies:

Blog Hop Participants:
Spellbinders
Becca Feeken
Hussena Calcuttawala
Bibi Cameron
Amy Rysavy
Jean Manis
Varada Sharma
Pam Sparks
Melody Rupple
Karin Åkesdotter</a

Spellbinders Die D-Lites – Santa + Snowman

Hello and Ho, Ho, Ho! Today, I am sharing tags featuring Spellbinders Holiday Die D-Lites. I have used the Santa die set on one and the Snowman set on the other! Spellbinders has generously provided me with a Santa die set and Snowman die set to giveaway to one reader (US addresses only please). I have details on the giveaway at the end of the post.

Spellbinders Die D-Lites - Santa

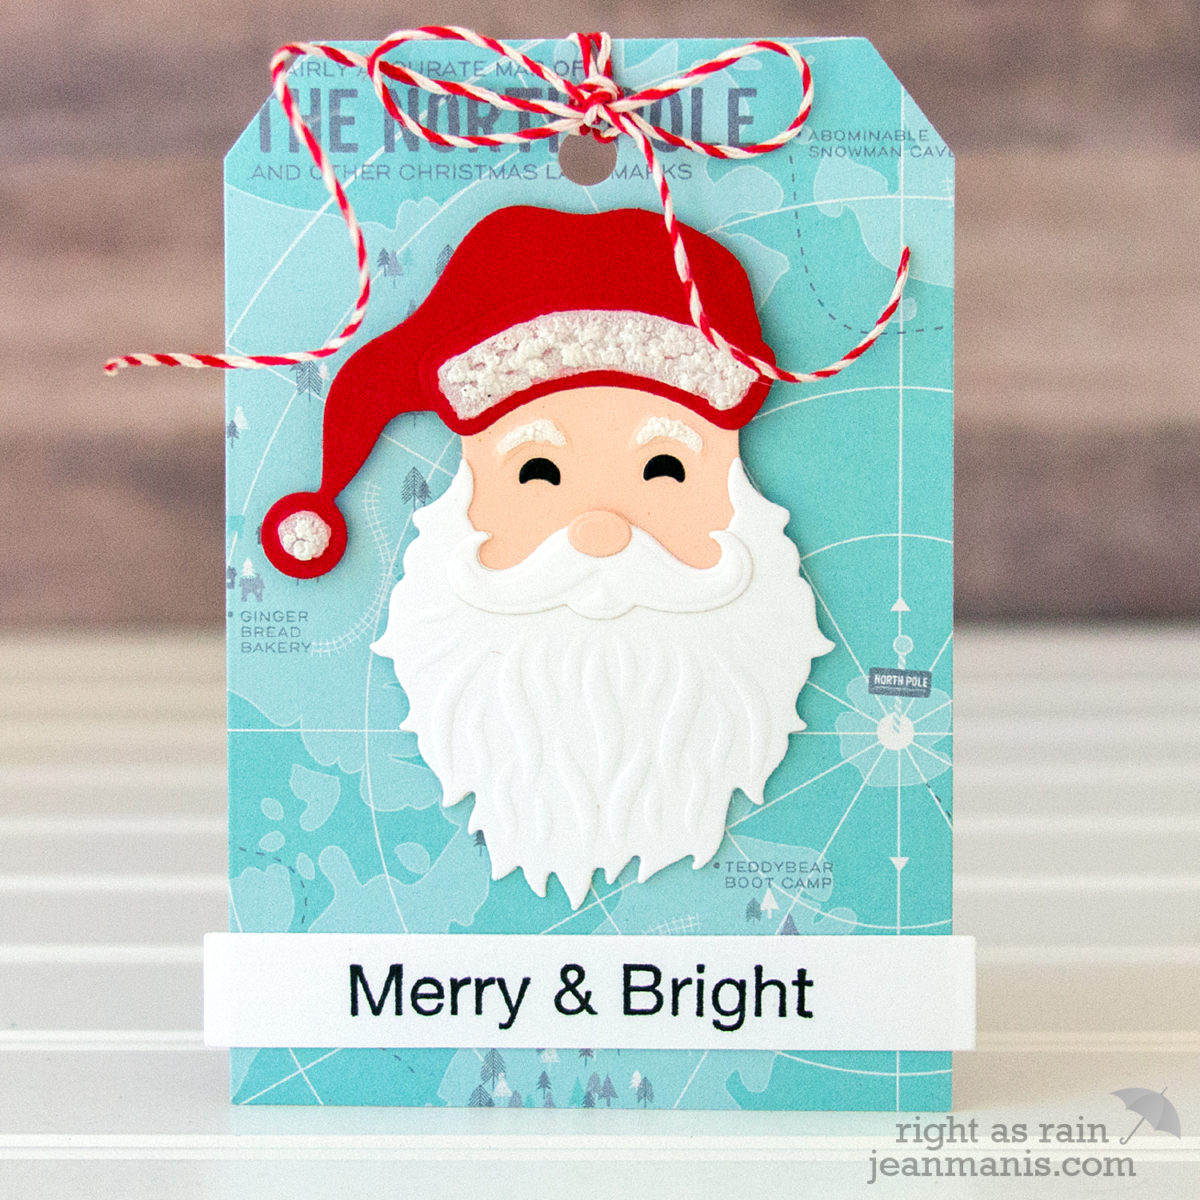
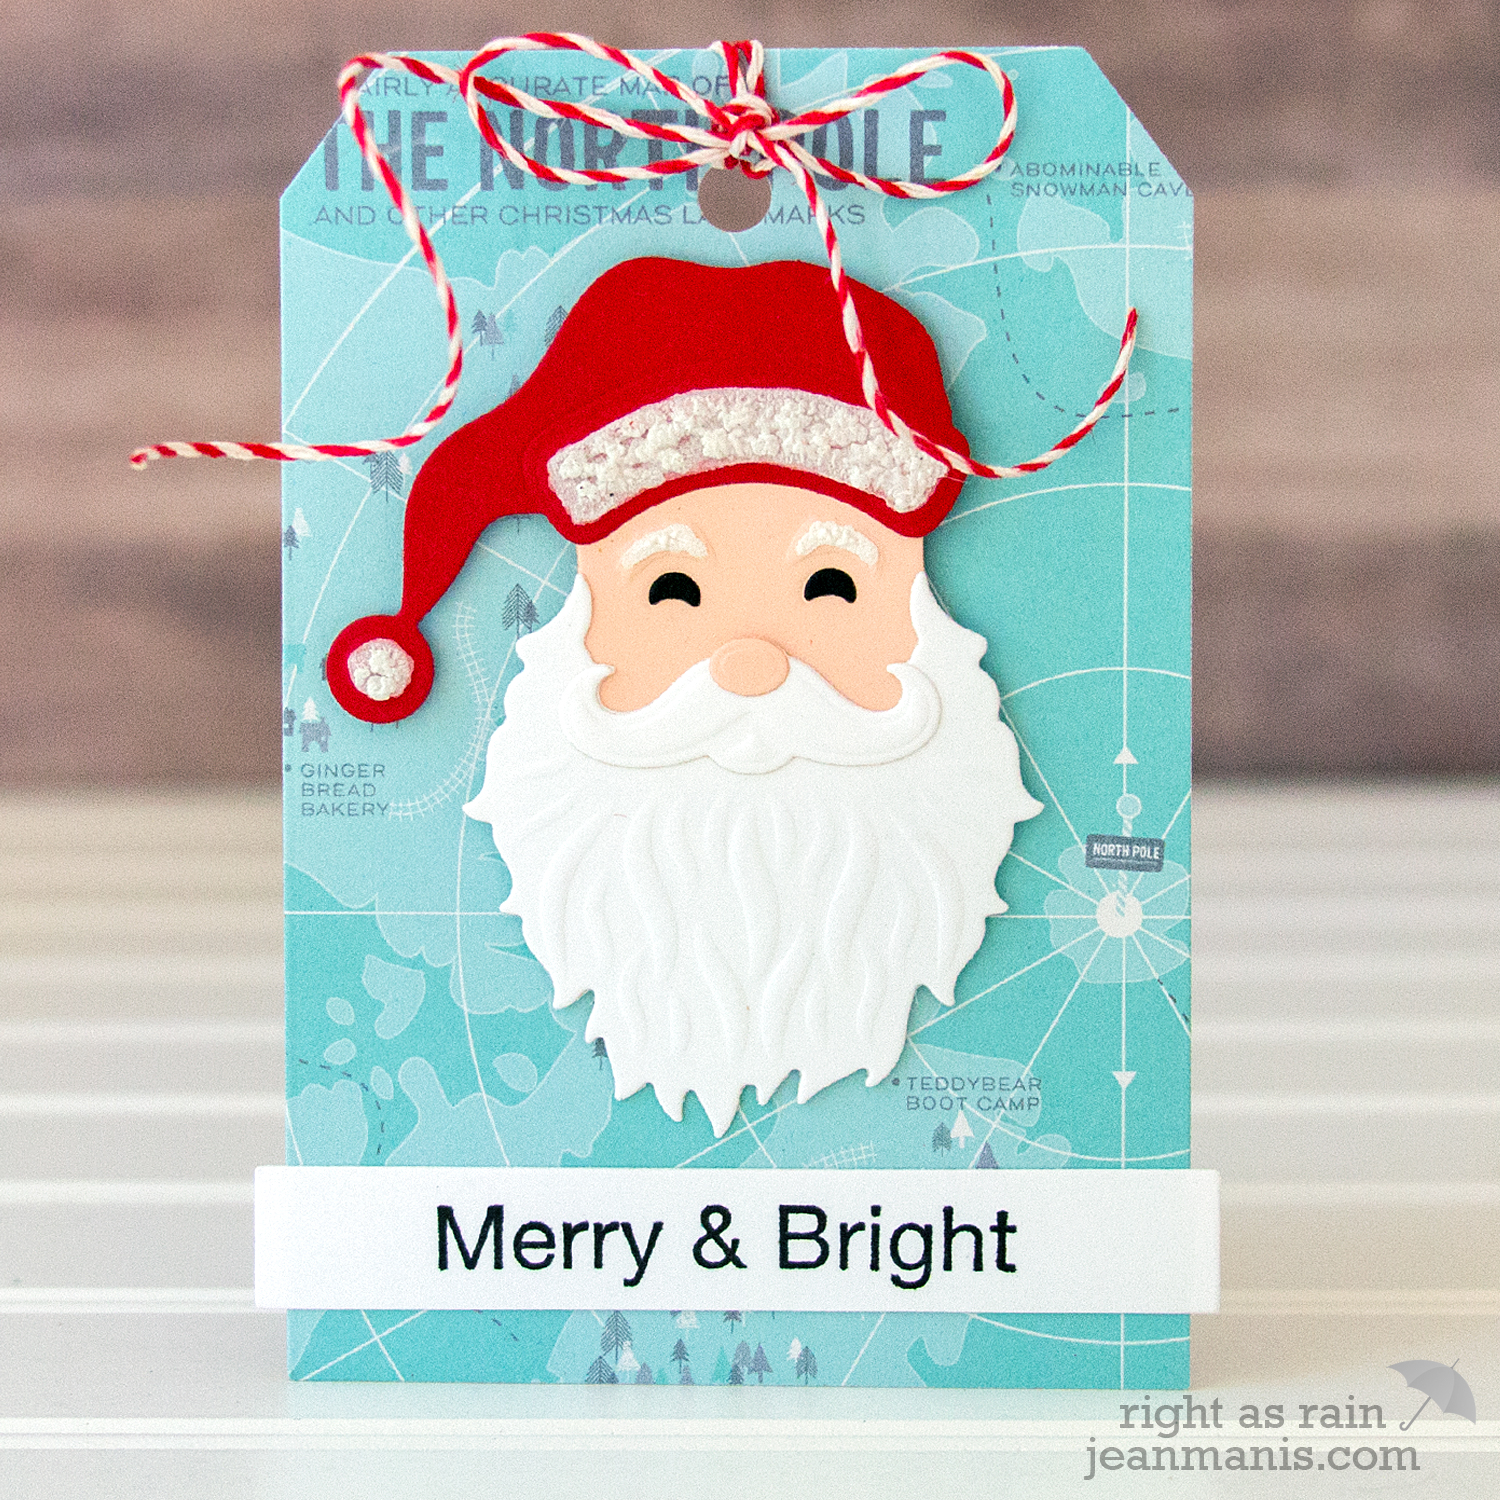
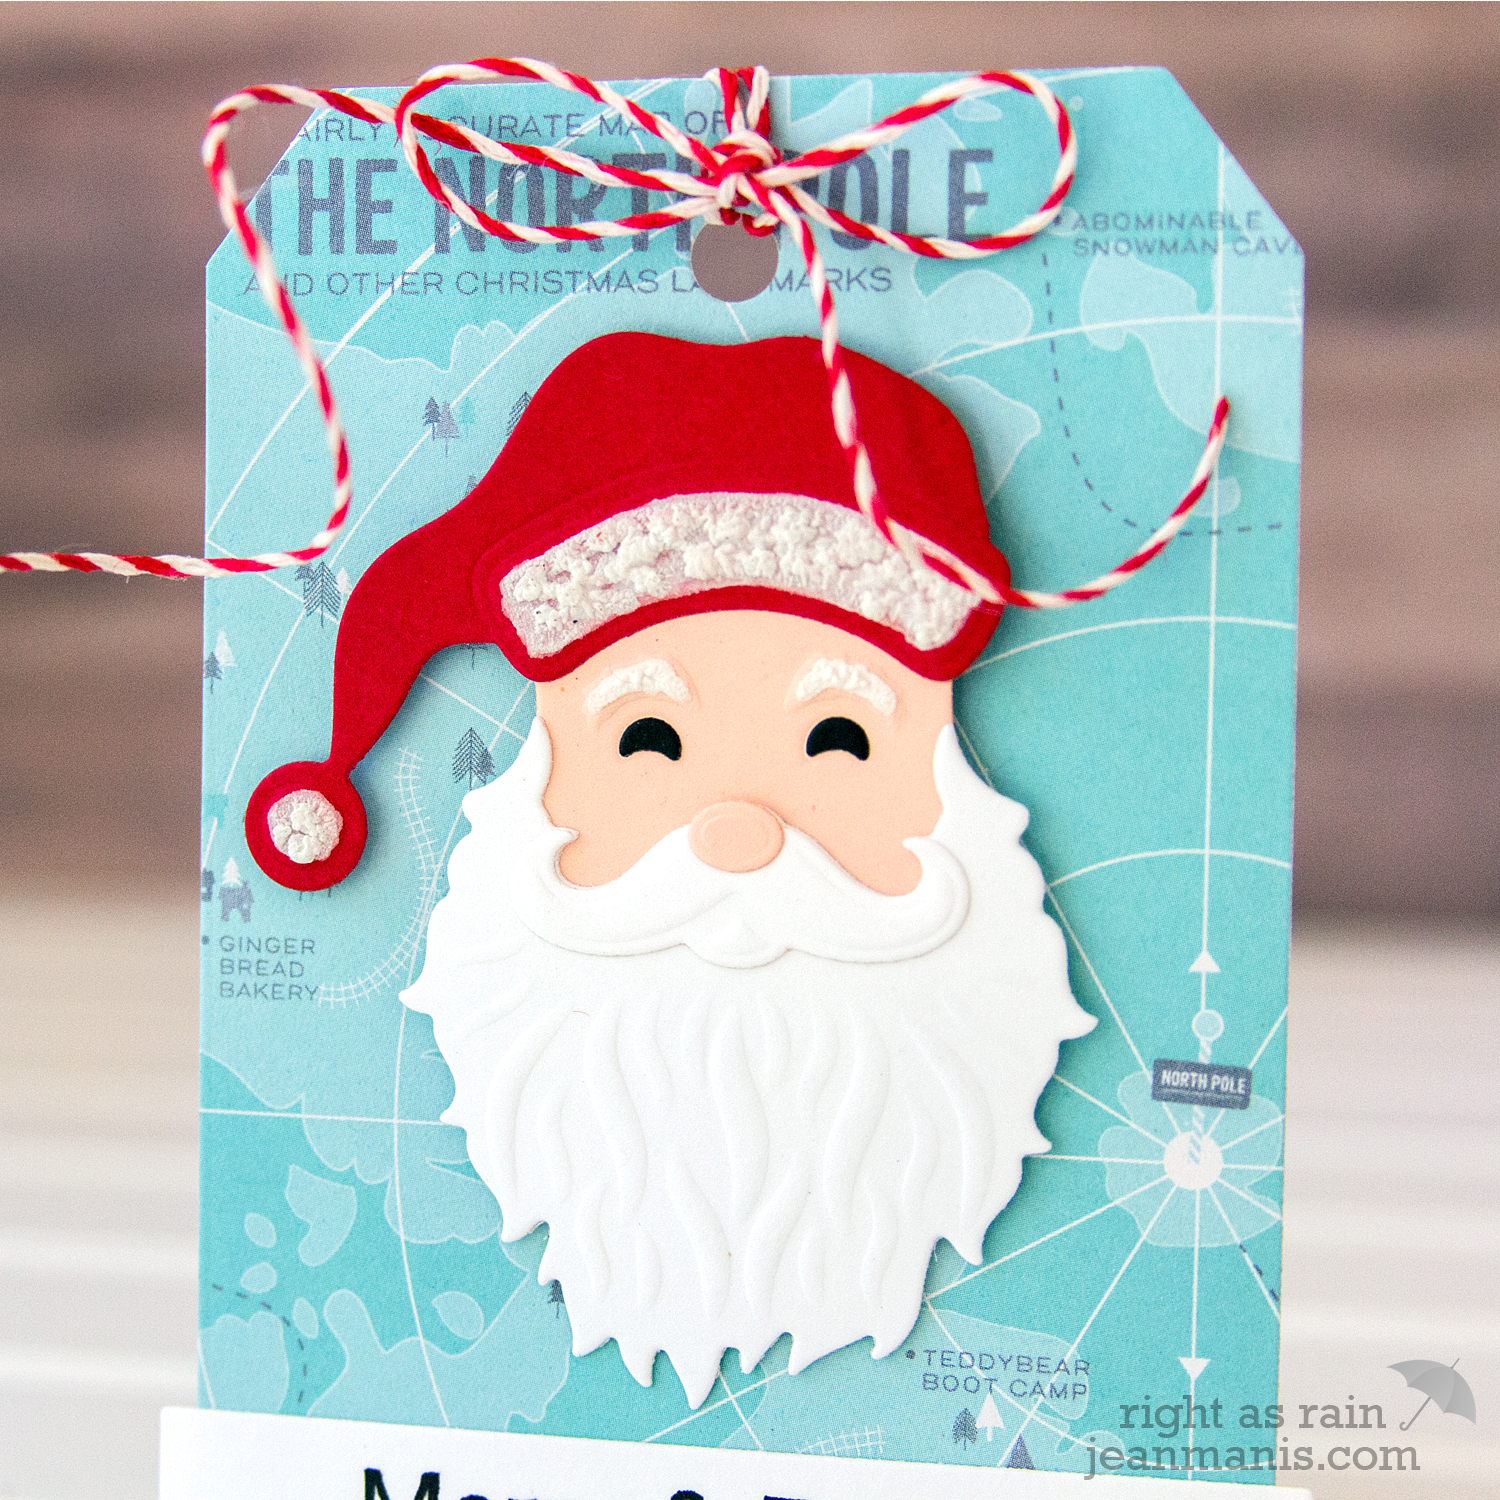
On the Santa, the hat, the beard, the face, and the mustache were cut and embossed. I cut his hat from red cardstock and used a snow marker to add the white fur. Similarly, I cut his face from peach cardstock and used the snow marker to add his eyebrows.

Spellbinders Die D-Lites - Santa

There are lots of options on how to craft these sets. For example, I have seen examples where the hat and the face are cut from white cardstock and colored with Copic markers (in which case the fur pieces are left uncolored as are his eyebrows).

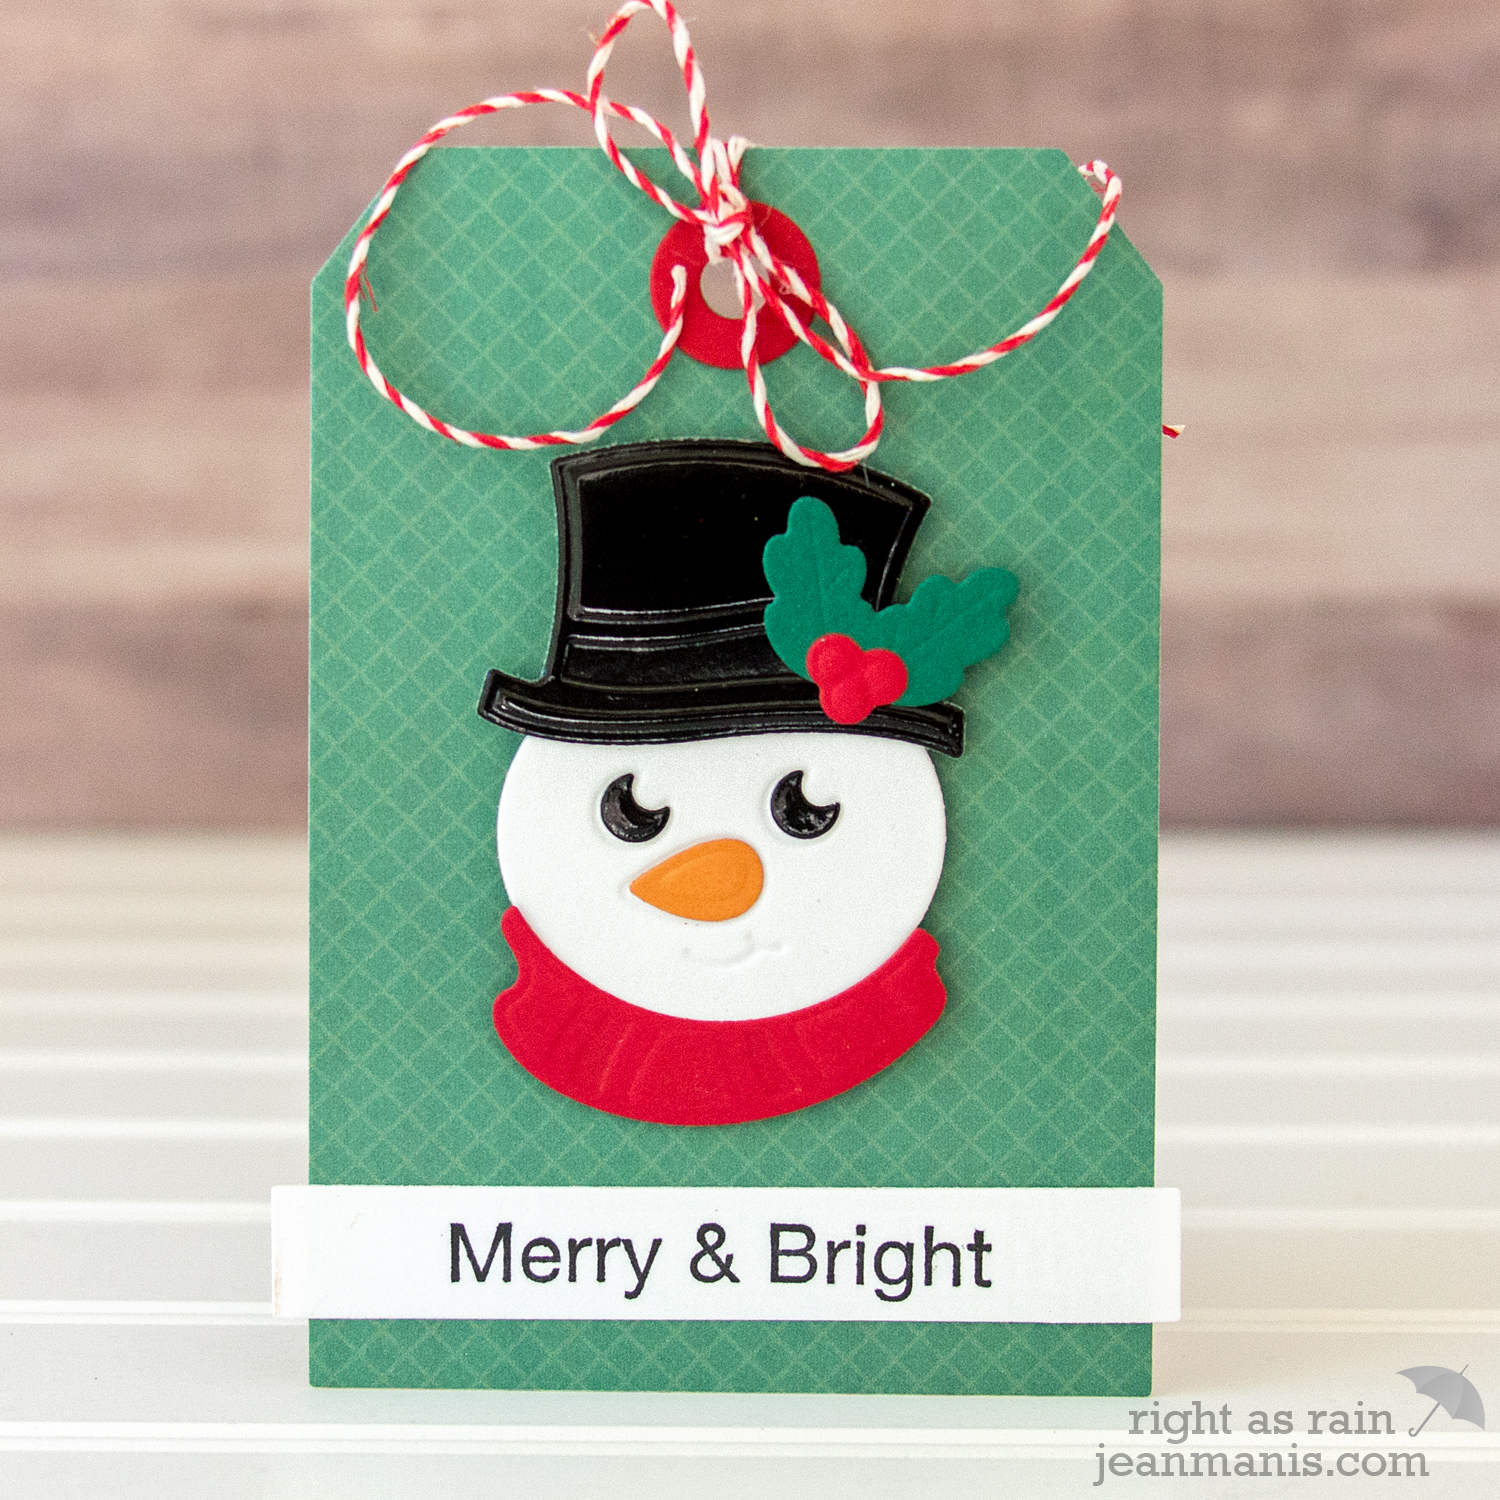
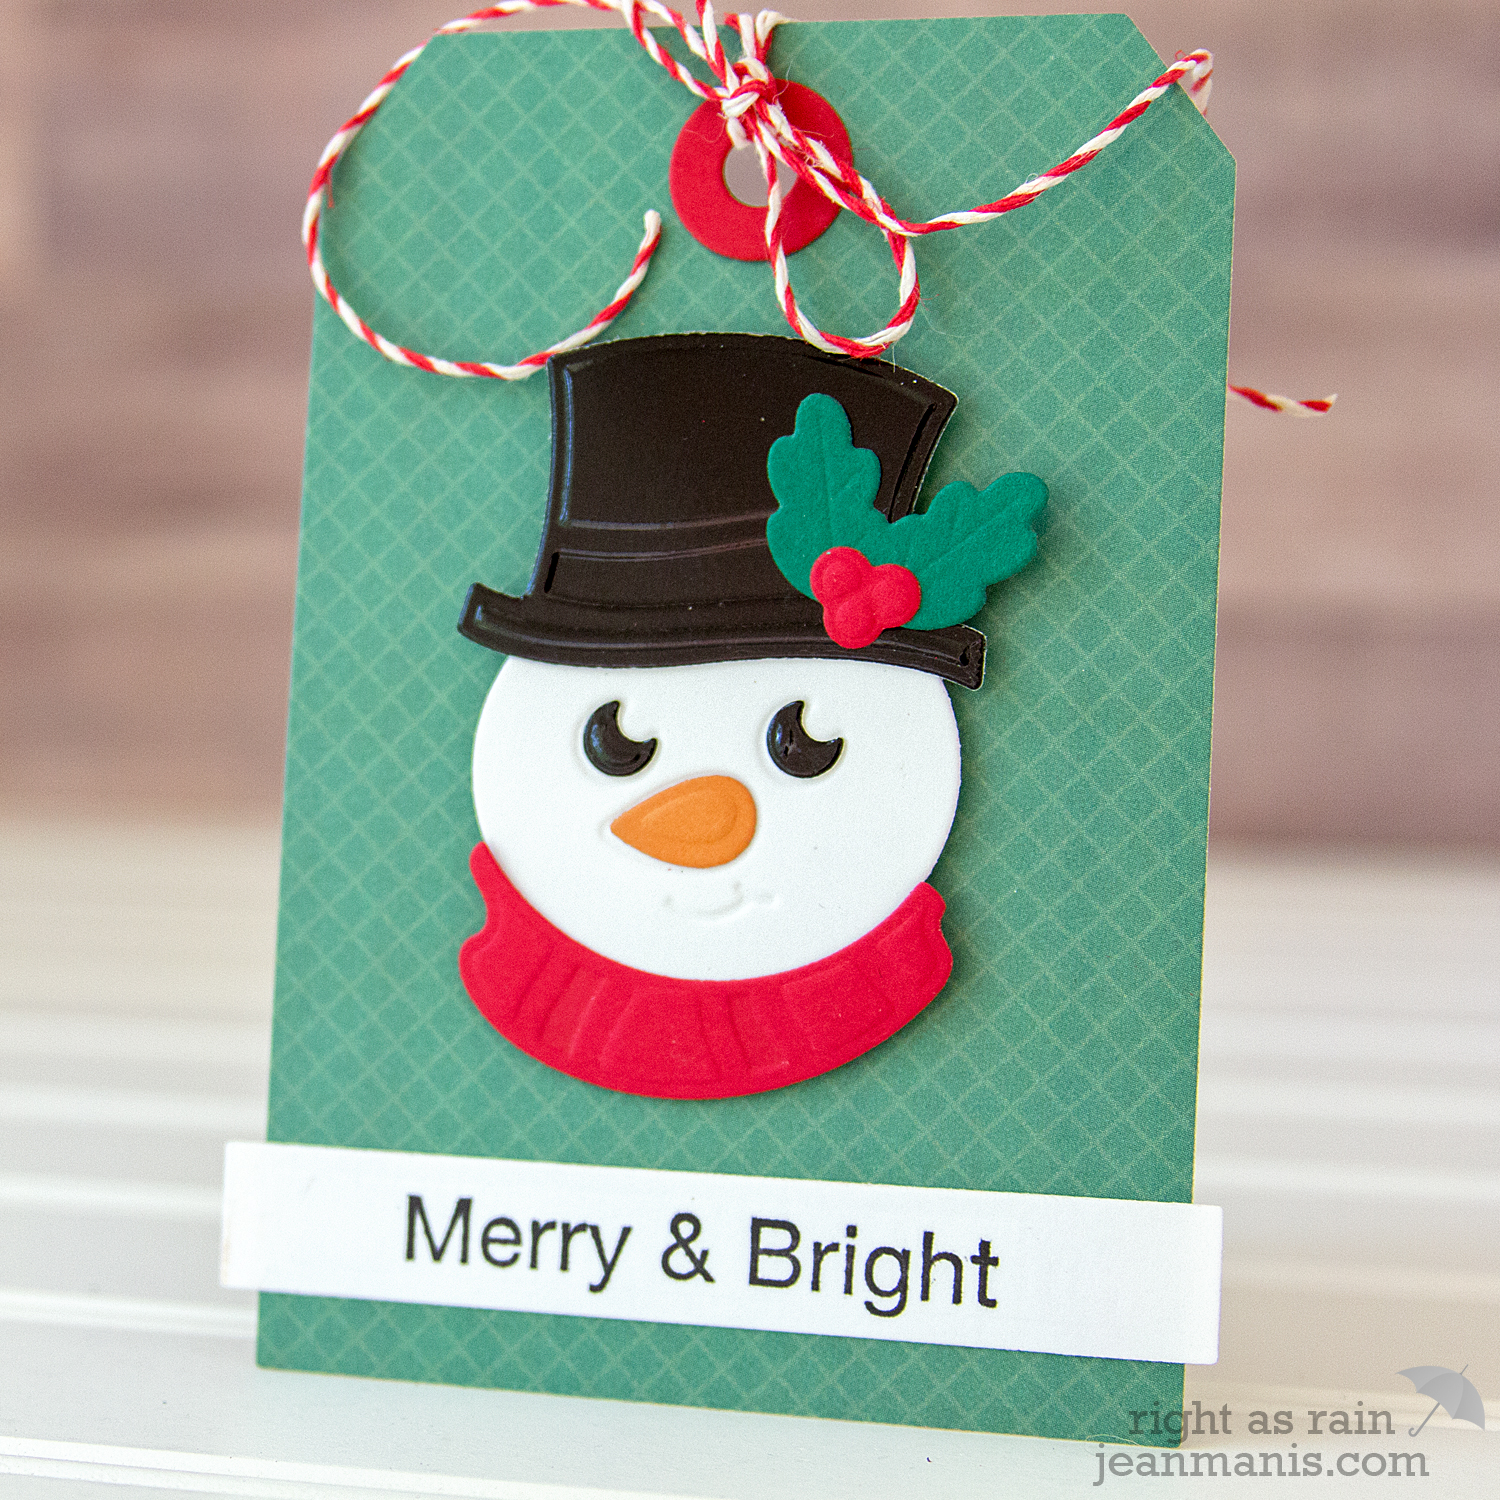
Spellbinders Die D-Lites - Snowman

For the Snowman, I cut and embossed the hat, the face, the holly leaves and berries, and the scarf. I cut the hat and eyes from a black foil.

Spellbinders Die D-Lites - Snowman

Using the die in the Happy Grams set, I cut patterned paper to create the tag bases. On both tags, I used a sentiment from the Charming Tag Sentiments set, which I cut with a die in the A-2 Matting Basics B set.

Now to the giveaway! I like all sorts of Christmas decorating styles and color combinations – whimsical, rustic/farmhouse, traditional, … and have decorated over the years in a number of different styles. To enter the giveaway (US addresses only please), simply comment on this post telling me your favorite Christmas decorating style by Thursday, October 25, 9 PM PDT. I’ll contact the winner on Friday, October 26.

Supplies:

Building a Snow Man – Taylored Expressions Oct 2016 Sneak Peeks

Today it’s all about snow! Yes, it’s only October, but it’s not too soon to start holiday-themed cards! Welcome to Day 1 of the Taylored Expressions October Sneak Peeks. This release is packed with supplies guaranteed to put you in the holiday mood. I’m sharing two cards and a giveaway opportunity (you’ll have to scroll to the end to learn more about that!). Mark your calendar – October products will be released Thursday, October 6 @ 7 AM PST!

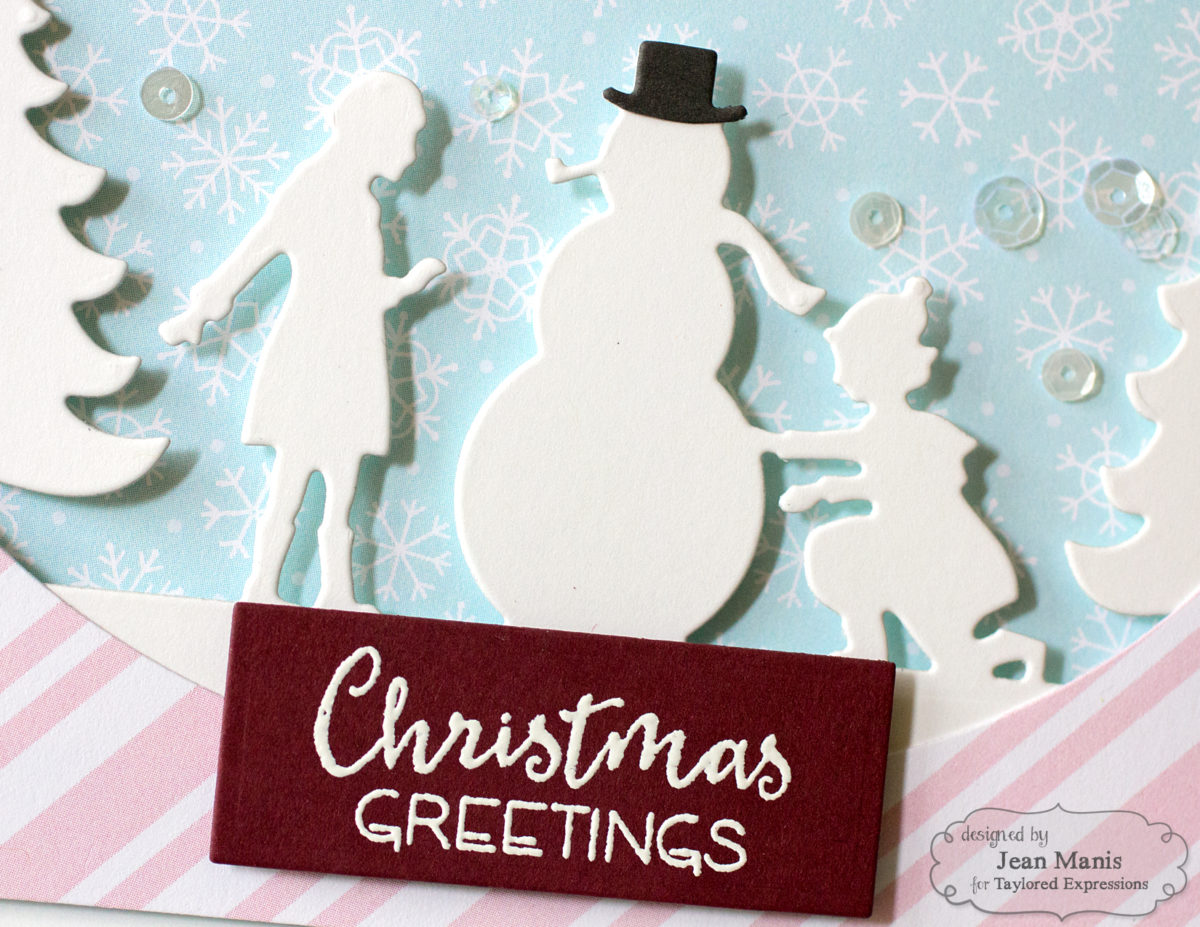
I first want to show you a winter-themed scene created with the Do You Wanna Build a Snowman? die.

Taylored Expressions October 2016 Release

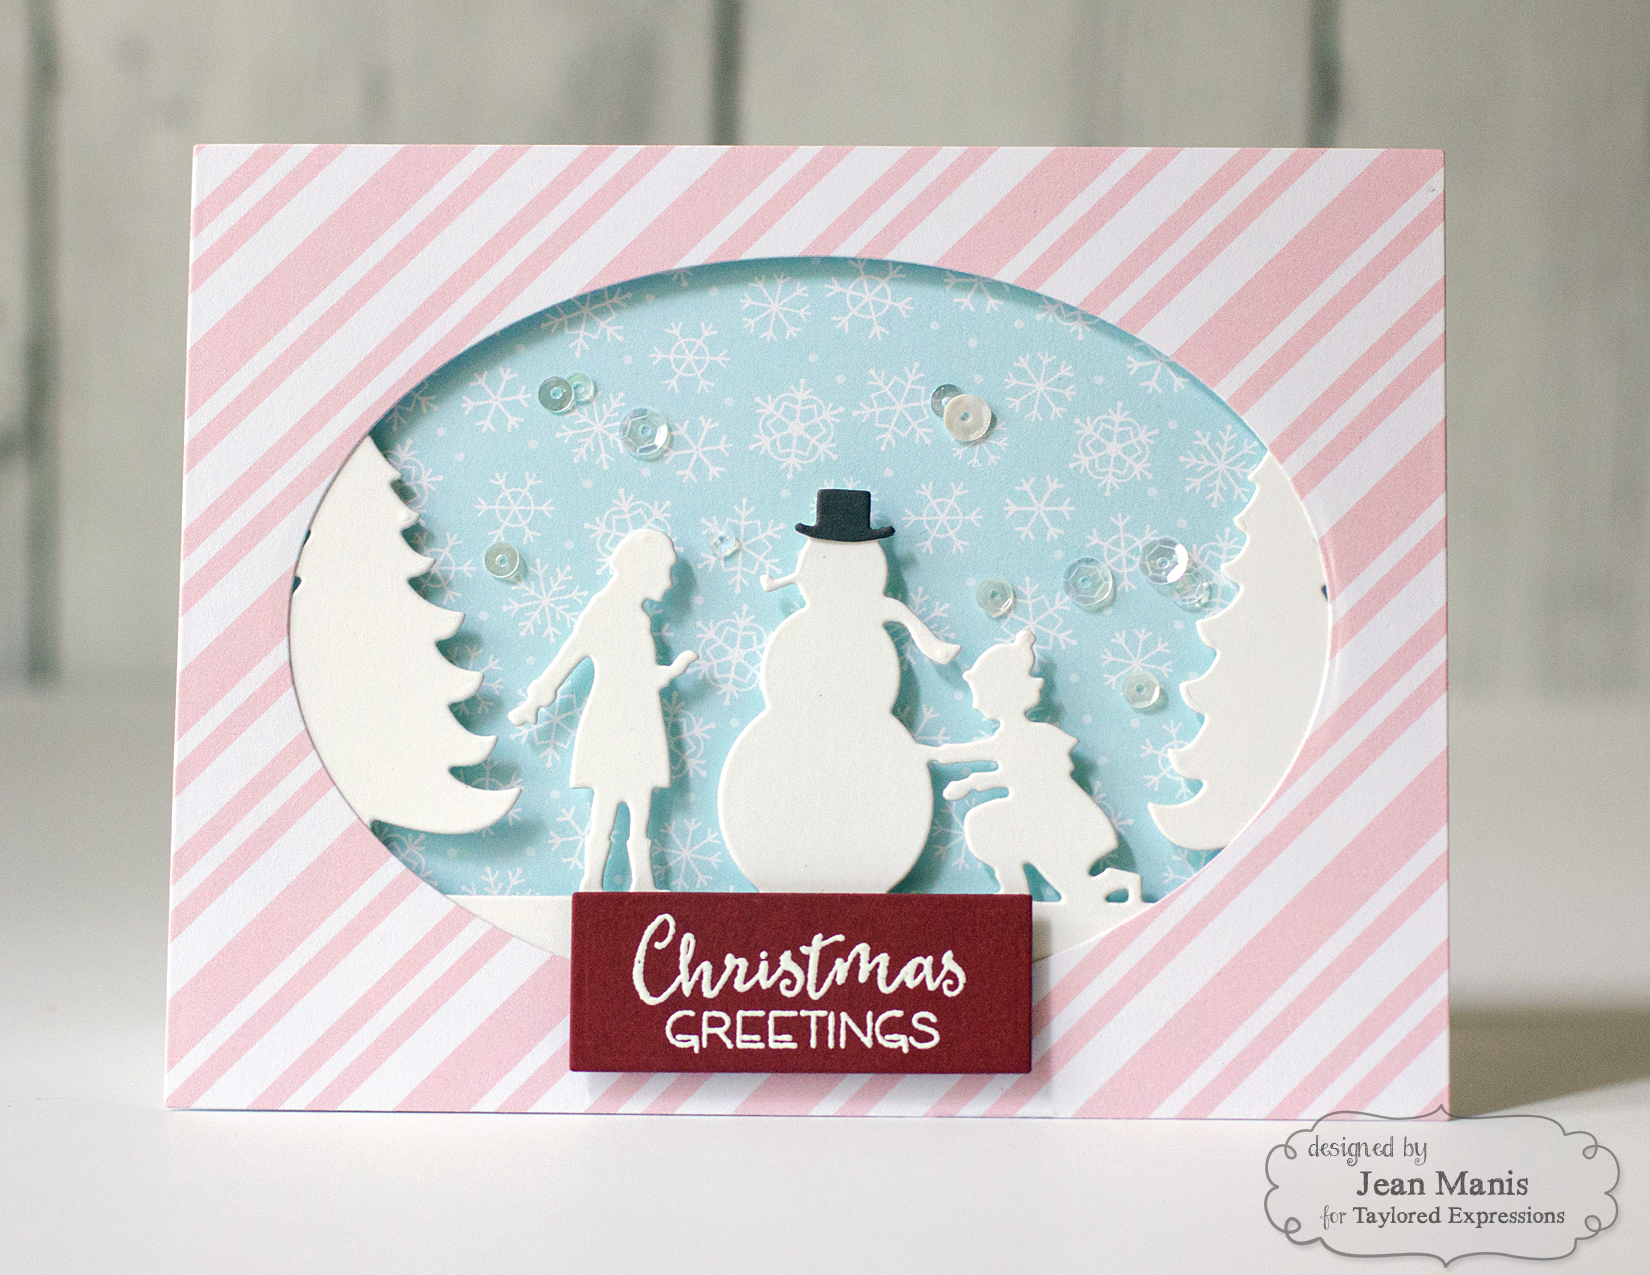
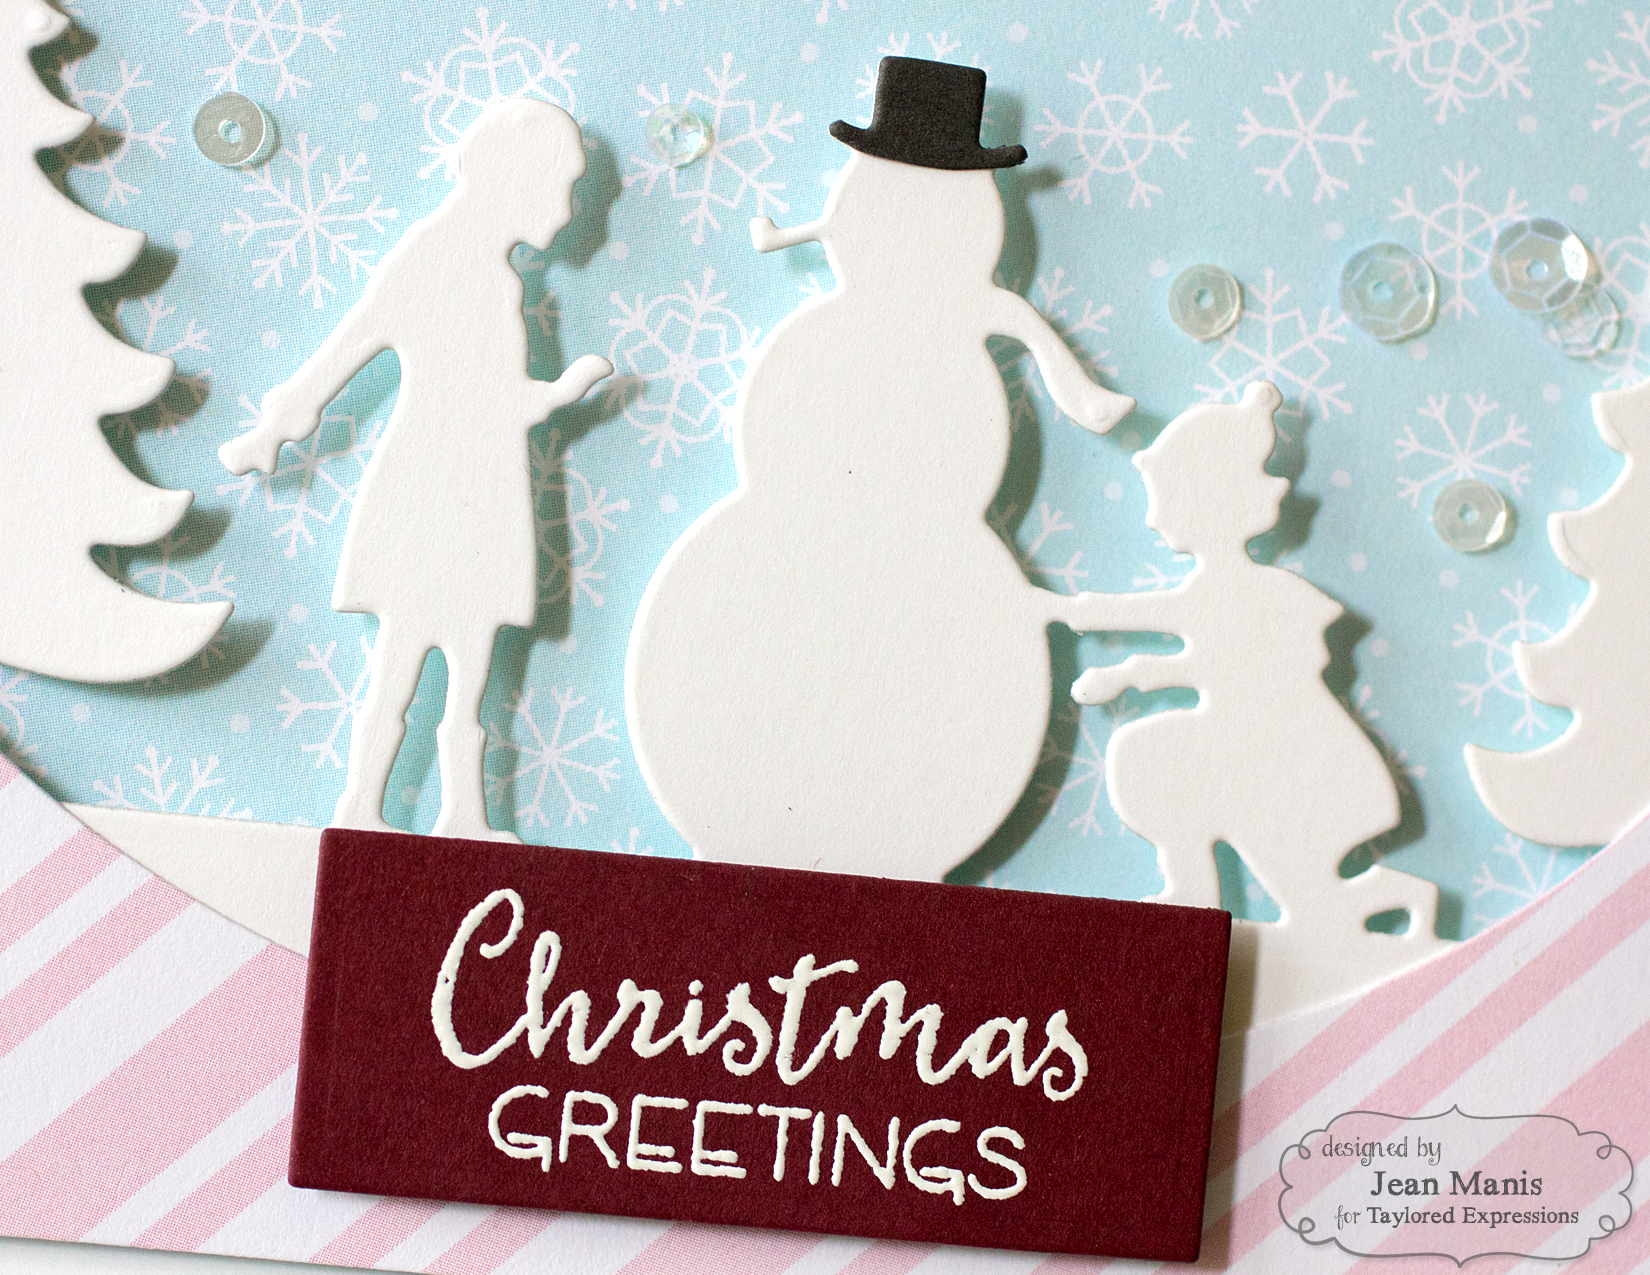
I placed the Do You Wanna Build a Snowmansilhouette into an oval frame, cut with a die in the Stitched Oval Stacklets set from paper in the TE 6×6 Paper Pack – Playful Patterns – Holiday. The patterned paper background is from the same paper pack. For visual interest, I adhered TE Sequins – Snow Flurries to the background and added a top hat for the snowman, (cut with the Do You Wanna Build a Snowmansilhouette and trimmed). The heat-embossed sentiment is from the Ornamental set. This isn’t my usual color palette, but there is something about these colors that feels nostalgic to me, which I feel suits the silhouette scene.

Taylored Expressions October 2016 Release

Supplies (items in bold will be released October 6):

My second project showcases the Snowman Shaker die set. This guy is such a ham!

I created the background with the Snow Day Background stamped with TE Premium White Pigment Ink. I cut the snowman from both cardstock (it is a metallic white included in the TE Premium Cardstock – Metallic Neutrals set) and foam, sandwiching a piece of Clear Plastic Sheets between the cardstock and foam into which I put the TE Sequins – Snow Flurries. To finish off the card, I added a heat-embossed sentiment from Ornamental.


Supplies (items in bold will be released October 6):

About that giveaway I mentioned earlier – I’m giving away 100 Taylored Expressions Crafty Points which can be applied to your next purchase from the TE Web Store! To enter, simply leave a comment below telling me: Which do you prefer for your holiday tree decorating – White lights or multi-colored lights? Deadline is 9PM PDT on Wed, October 5, 2016.
BTW, if you aren’t already a Crafty Points Member, it’s free and easy to join. Just visit THIS PAGE to start earning and saving today!

But wait…there’s more! Taylored Expressions is celebrating Release Week with some fabulous giveaways! Visit the TE Blog to answer Taylor’s Question of the Day for a chance to win a prize from the latest release! And it just so happens that Taylor is asking the same question that I did!

TEReleaseWeekQuestion

Thanks for visiting! Head on over to the TE Blog to see more projects and product information, as well as a complete list of participating designers!