Spellbinders | Sentiments for Everyday Glimmer Plates

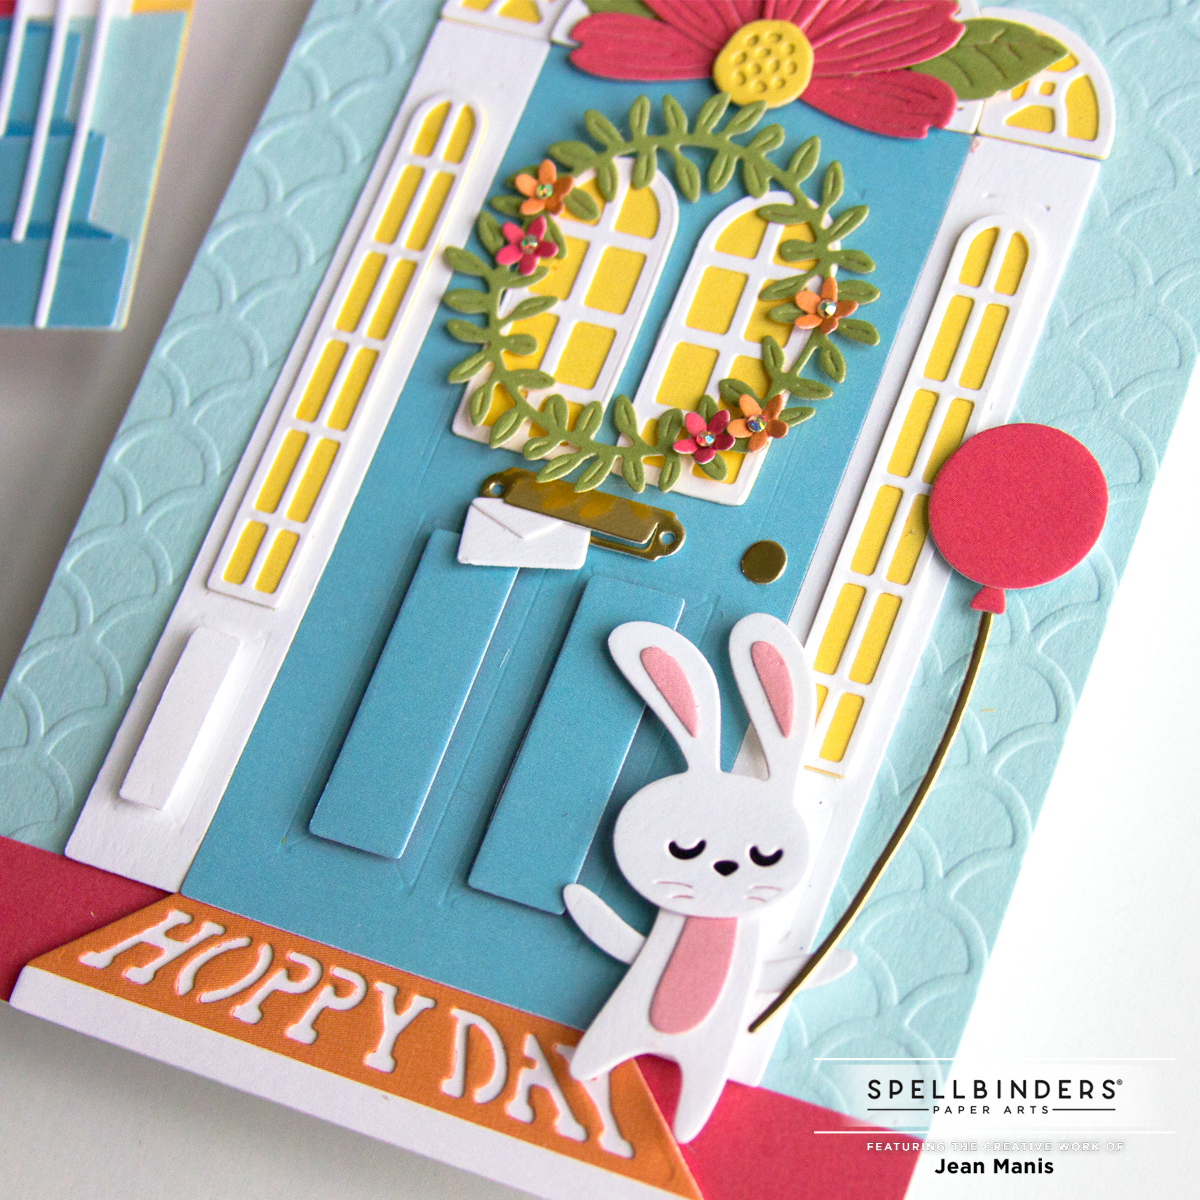
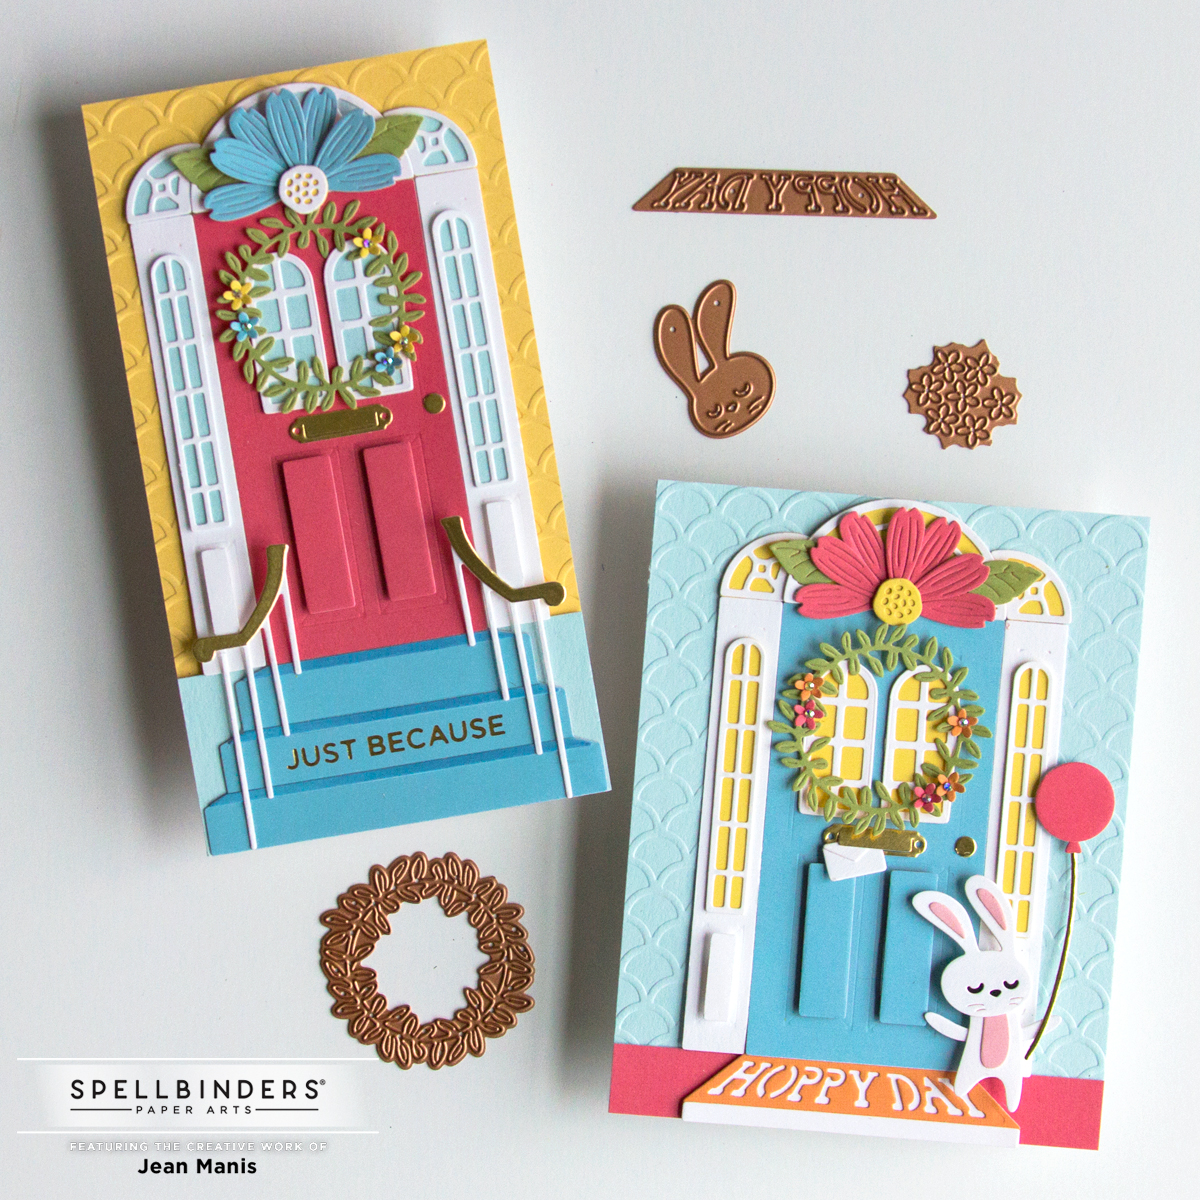
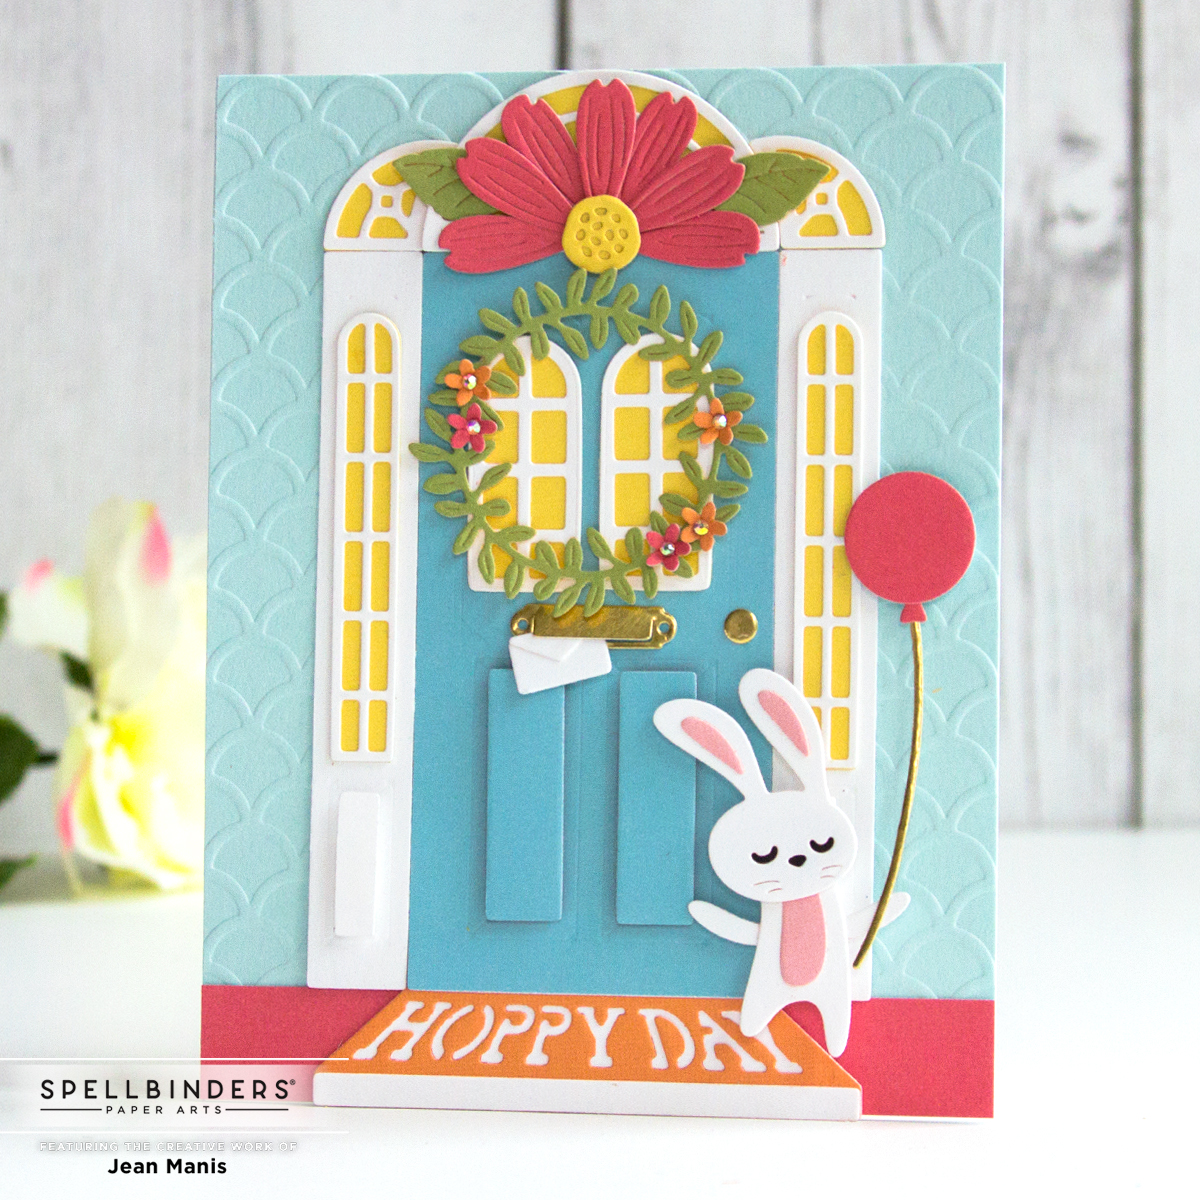
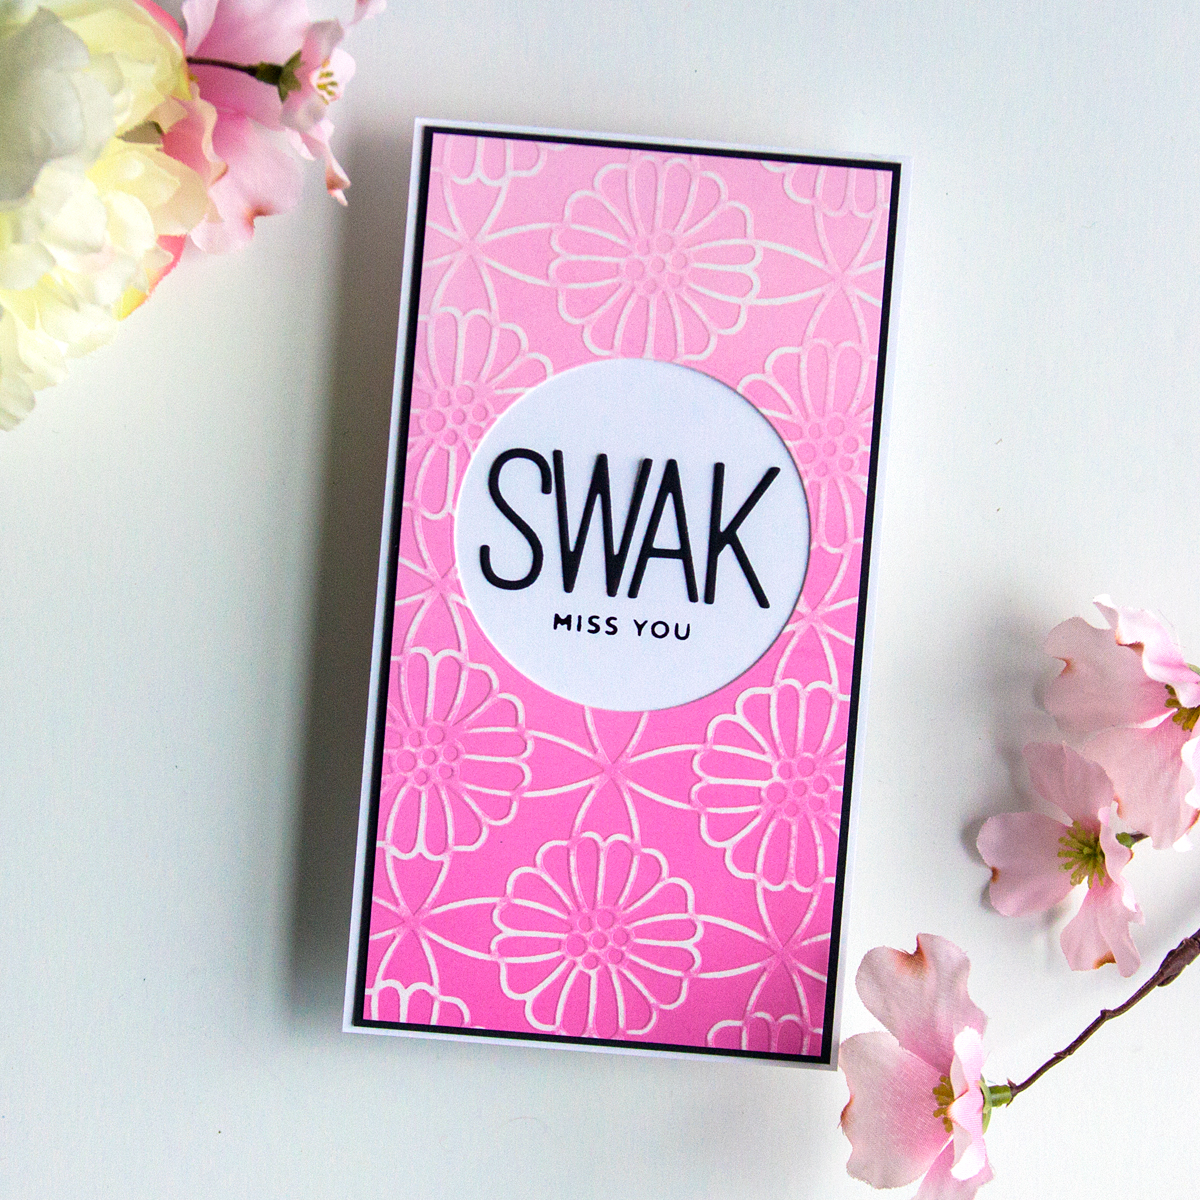
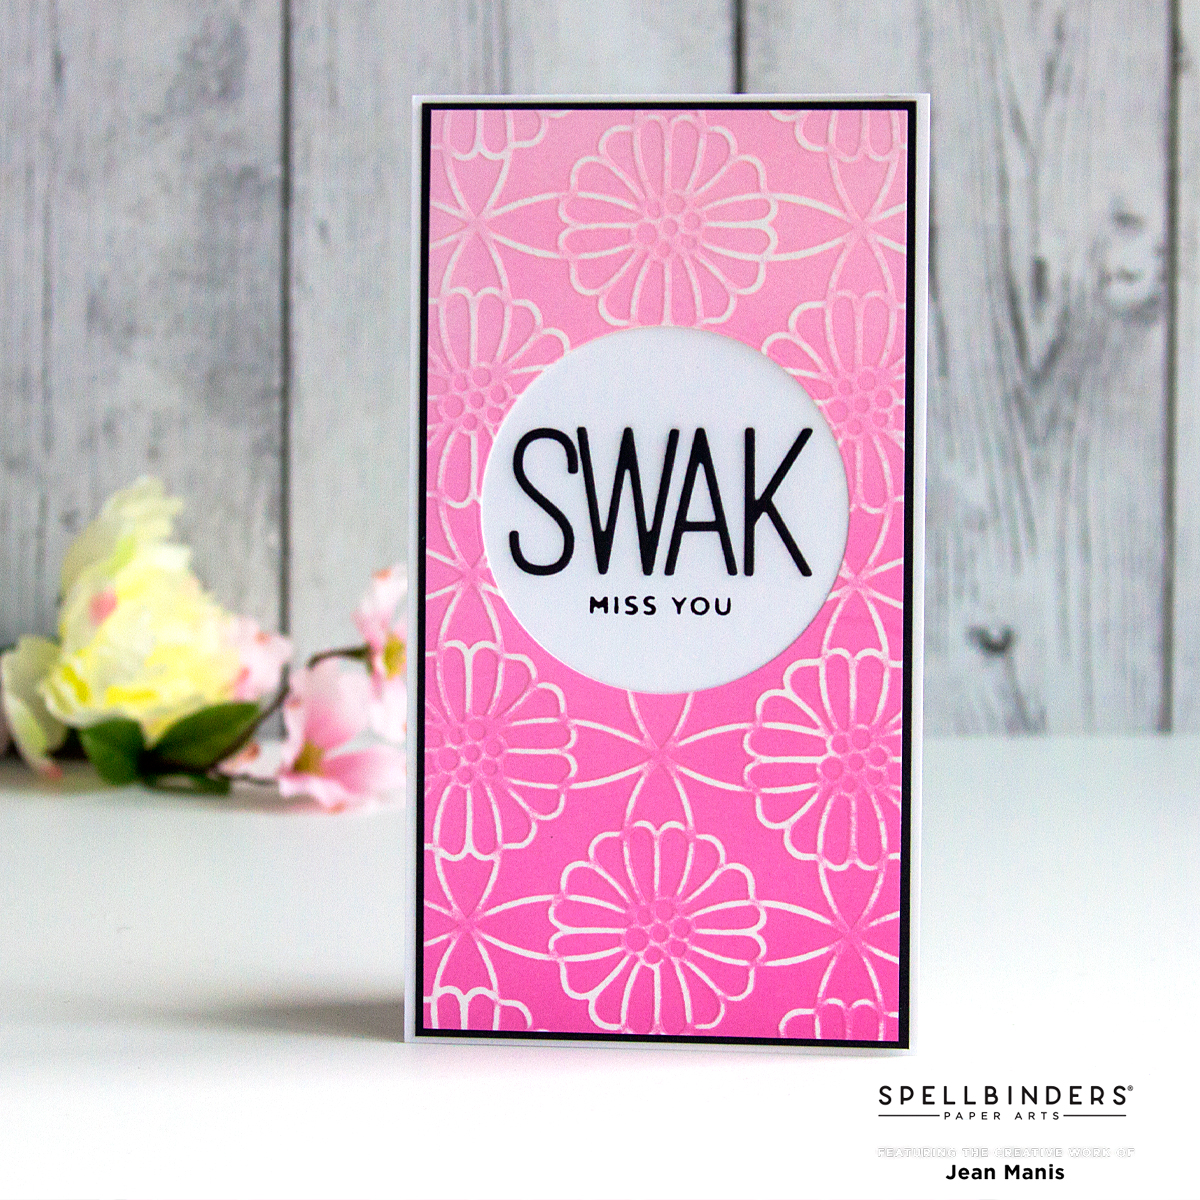
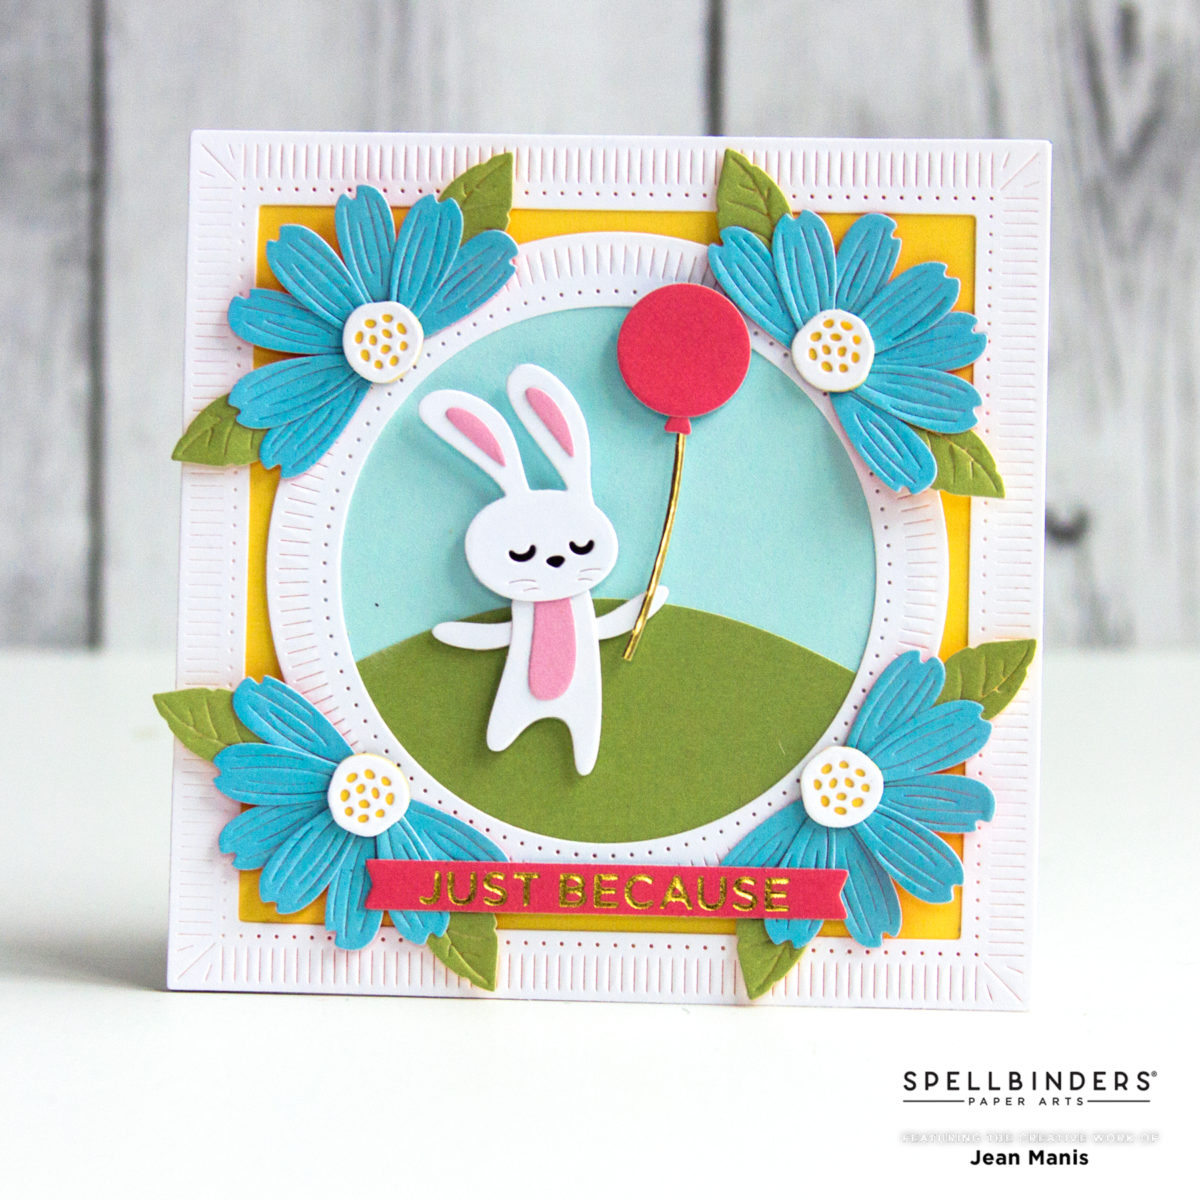
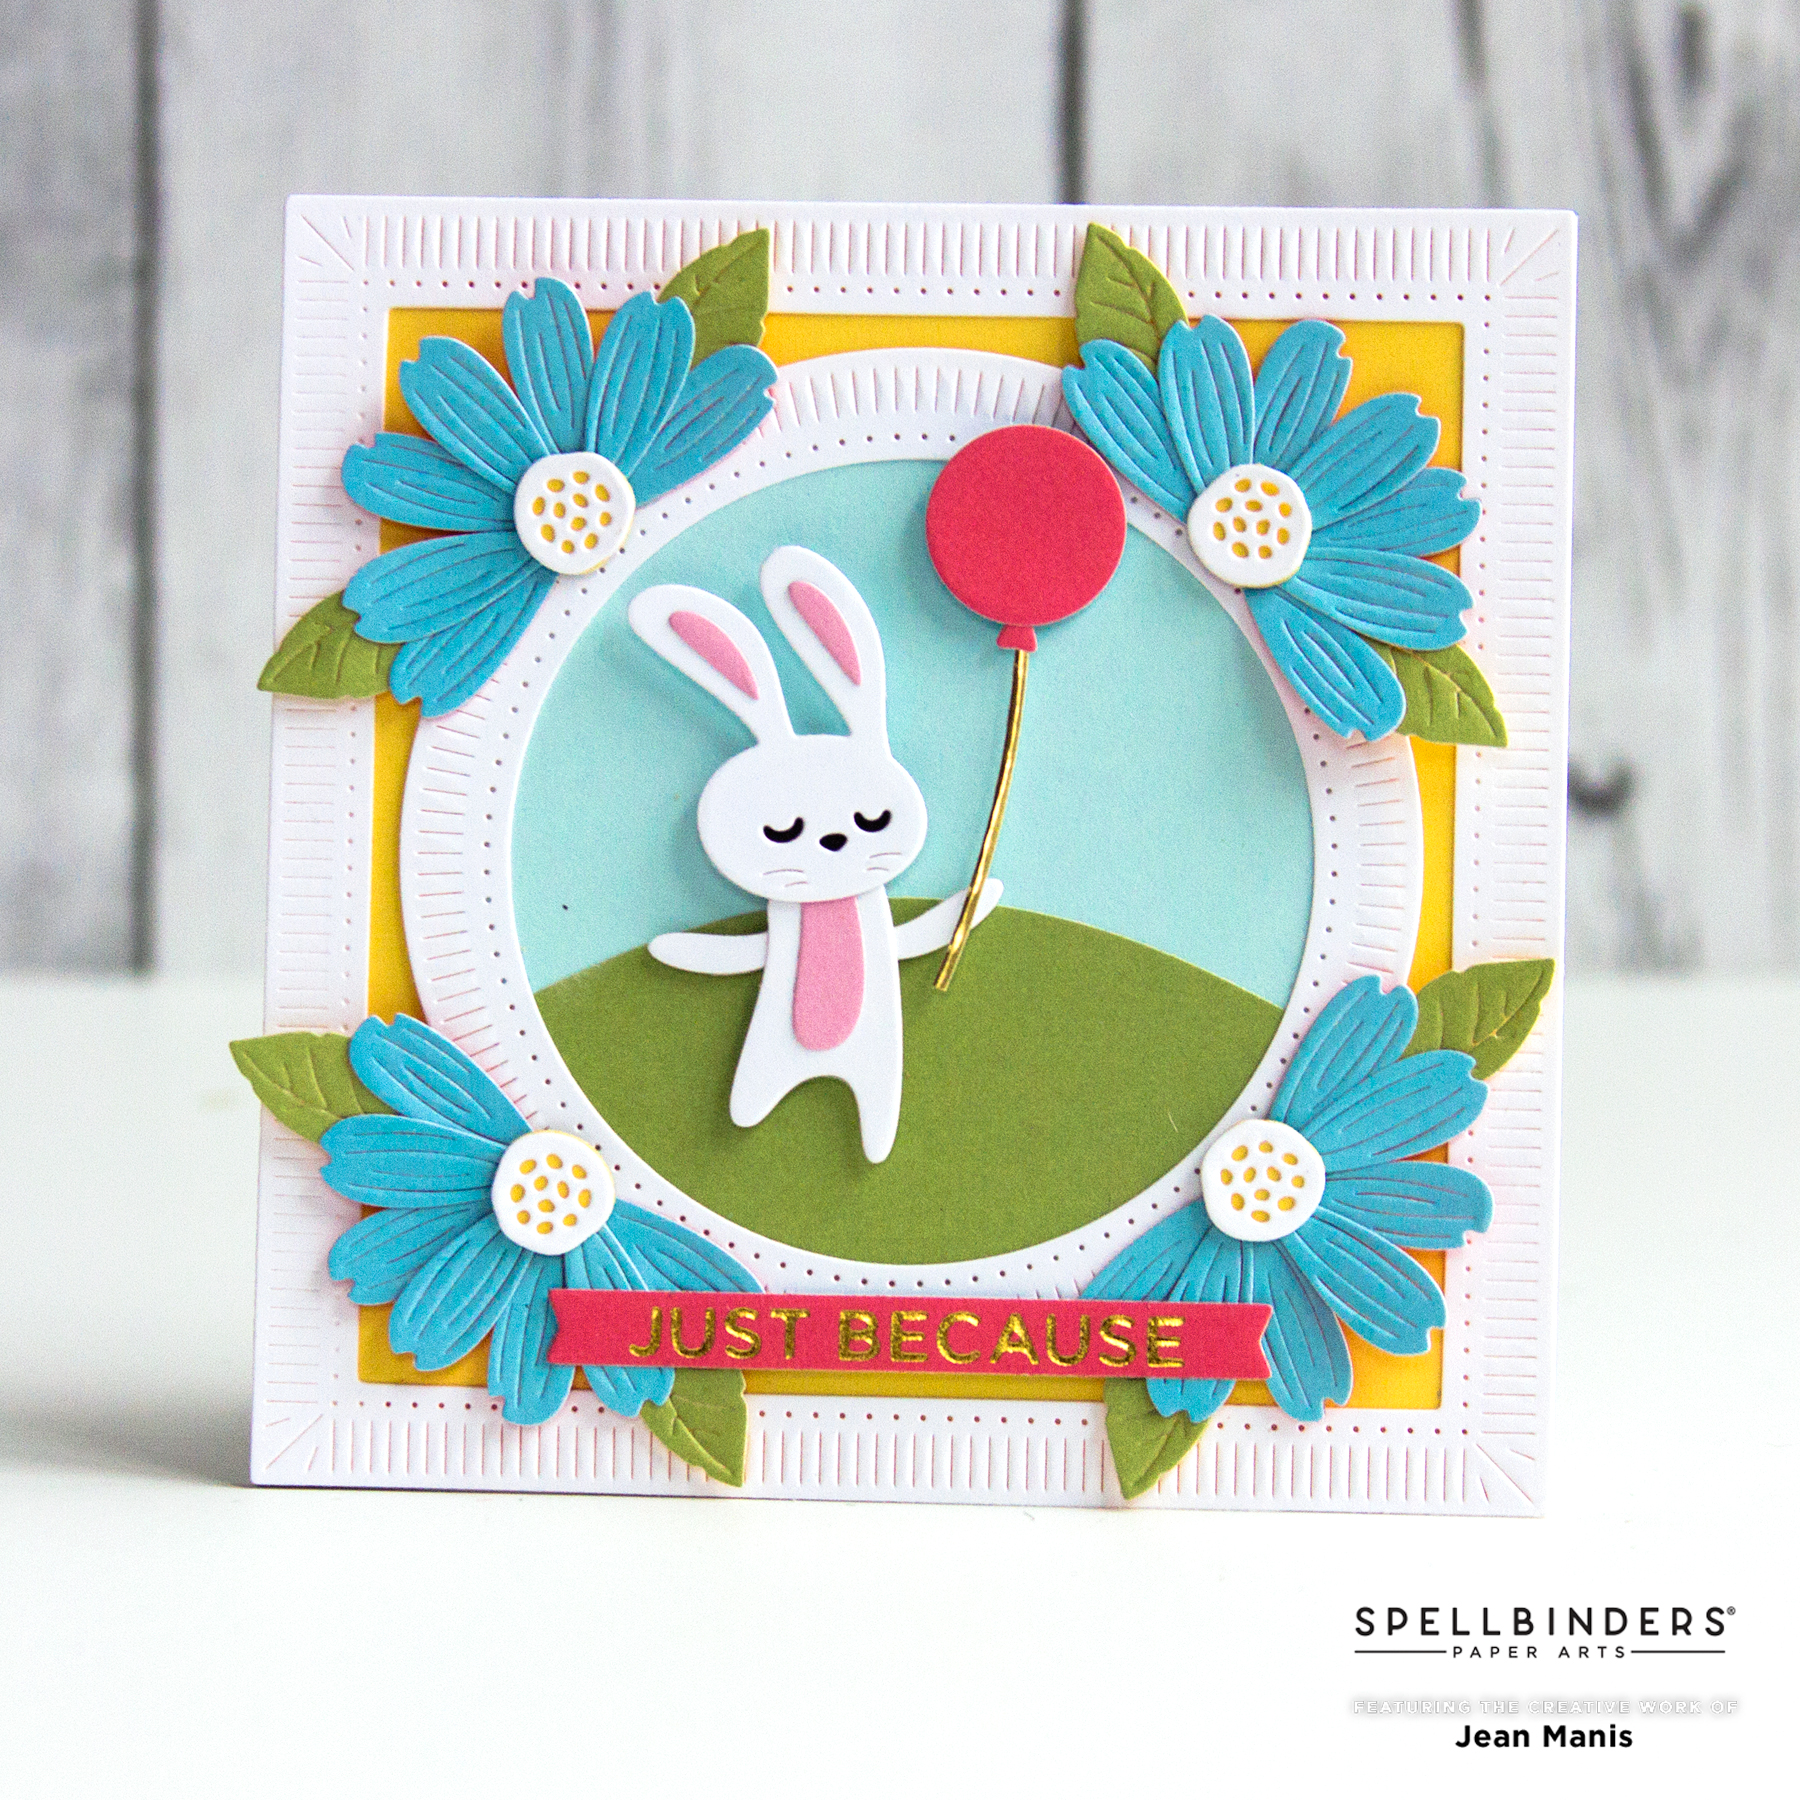
Hello! Today I am sharing a friendship card to introduce the just-released Sentiments for Everyday glimmer foil plates with dies, part of the Spring into Glimmer Collection at Spellbinders.

Spellbinders | Sentiments for Everyday Glimmer Plates

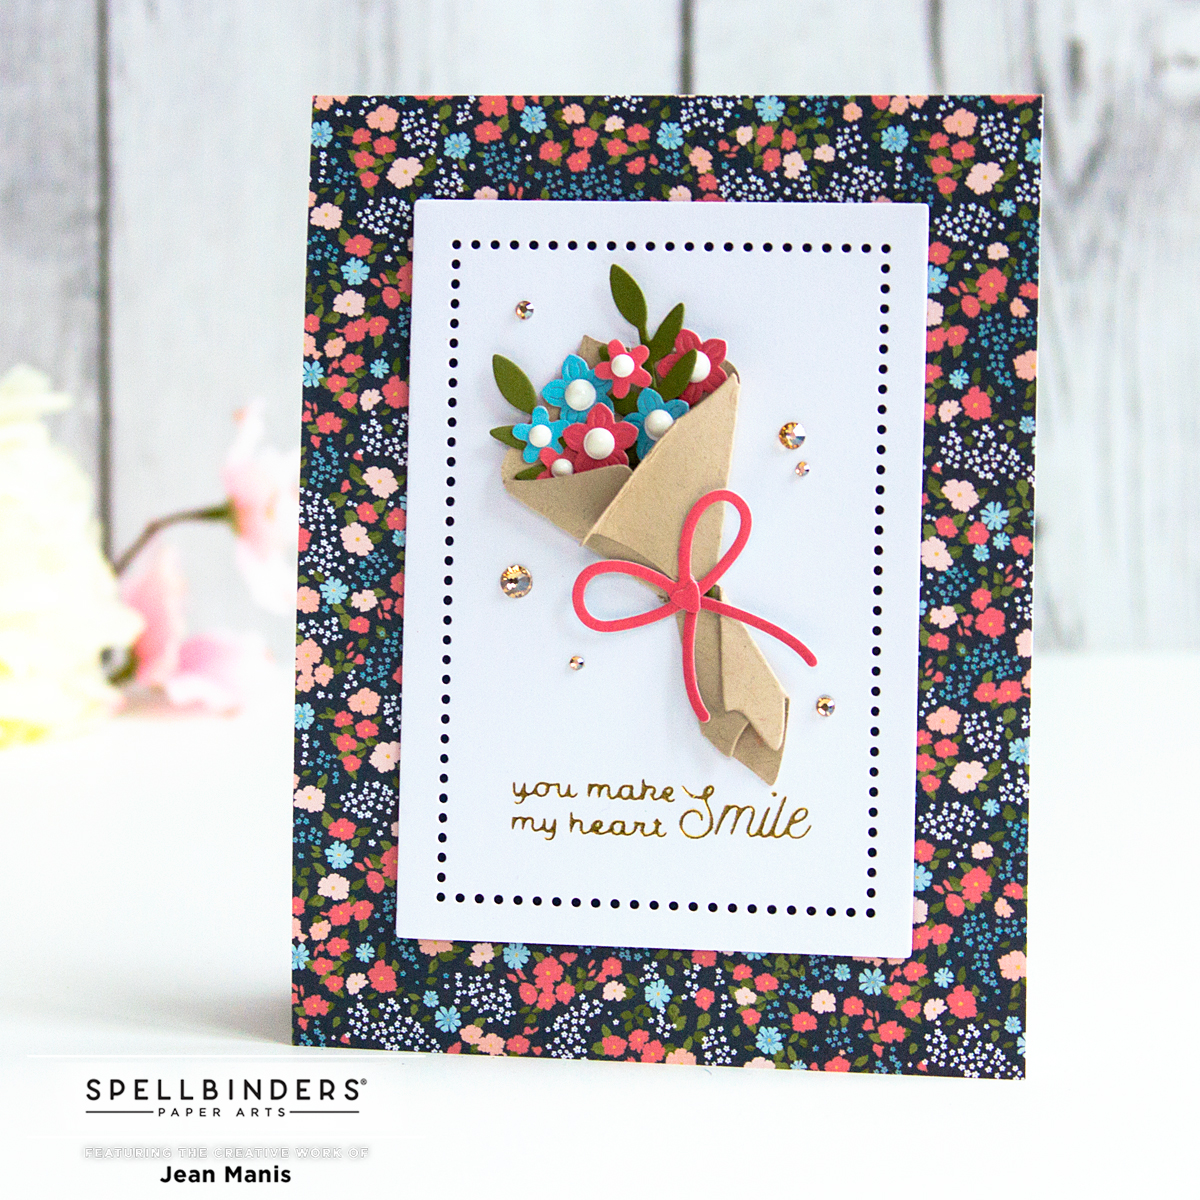
  • Create an A2-size card base and adhere patterned paper.
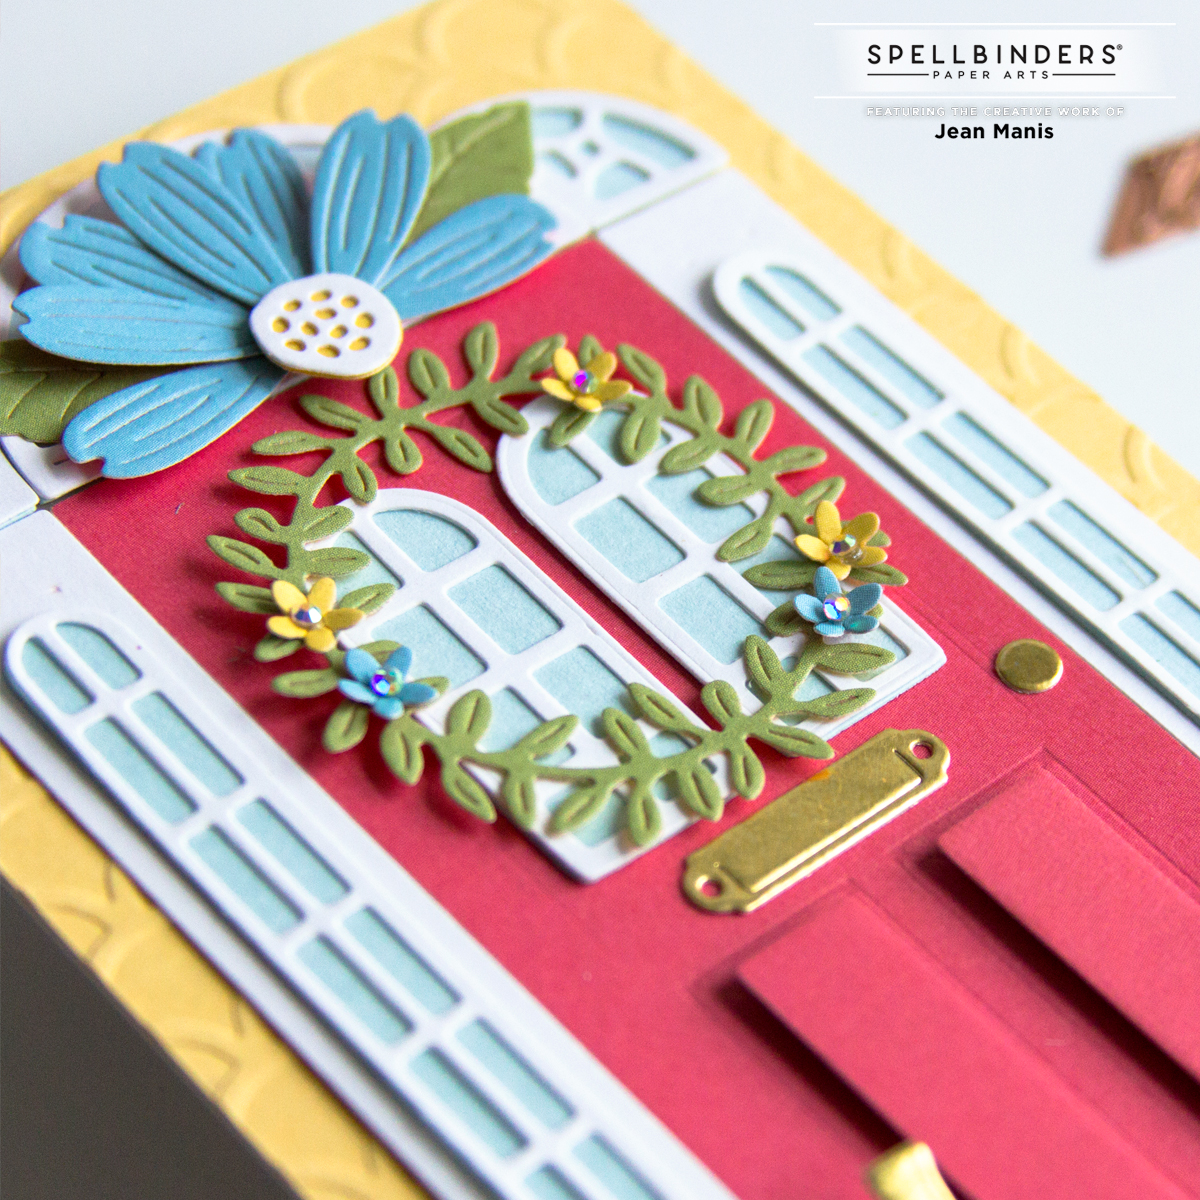
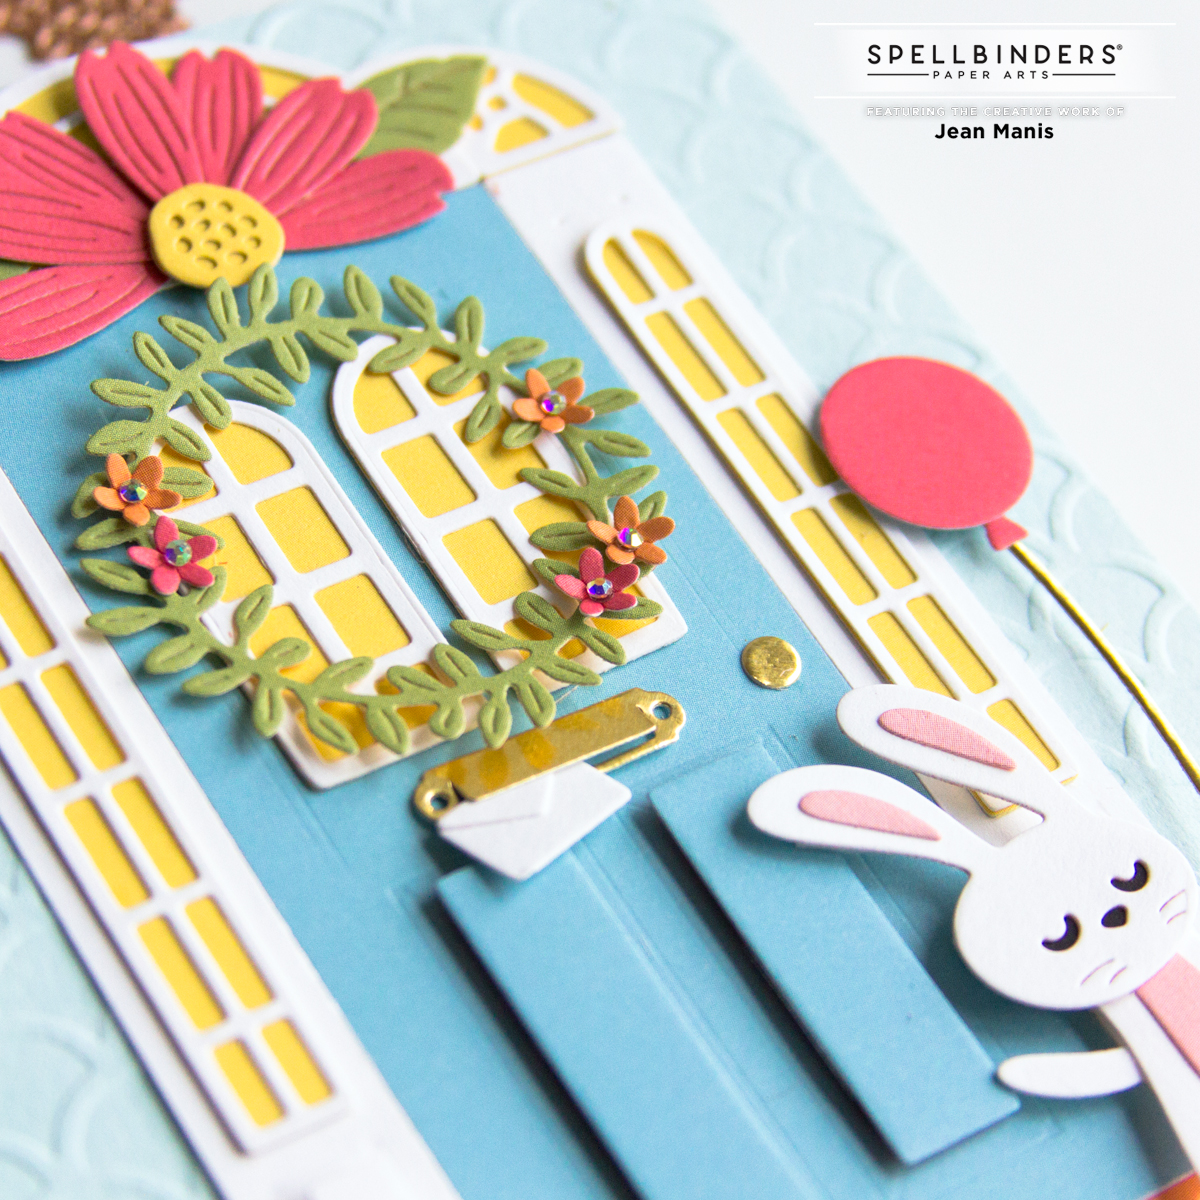
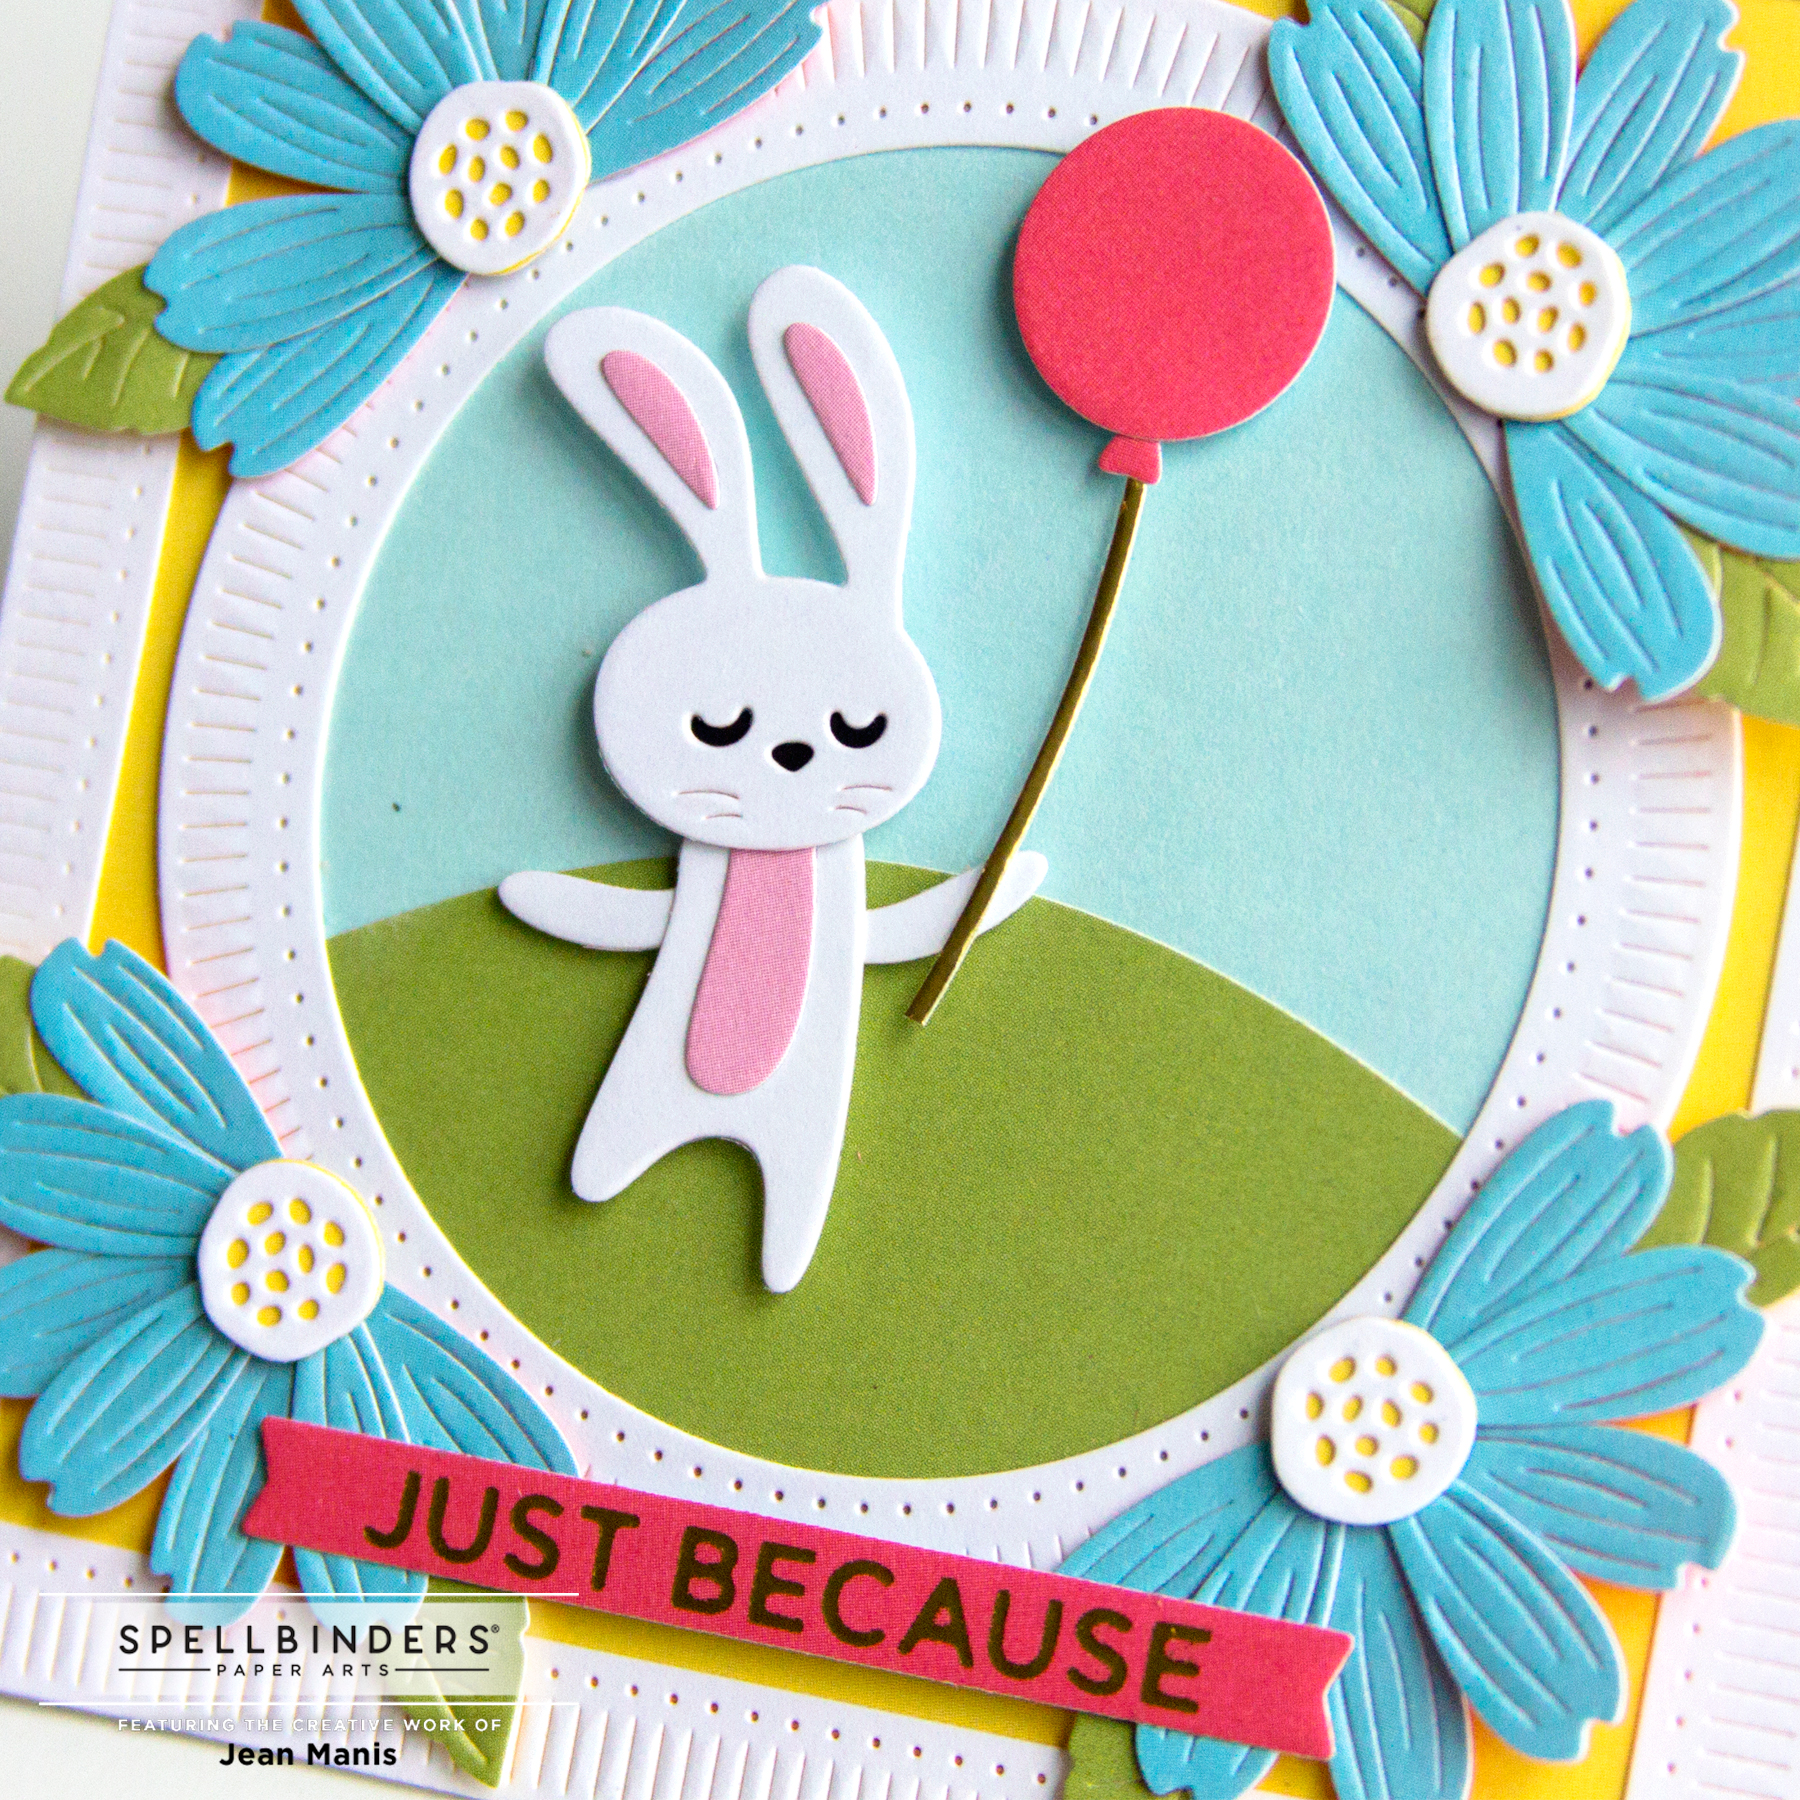
  • Die-cut Bouquet of Flowers from cardstock and assemble. Add Crystal Drops to the centers of the flowers; set aside to dry.
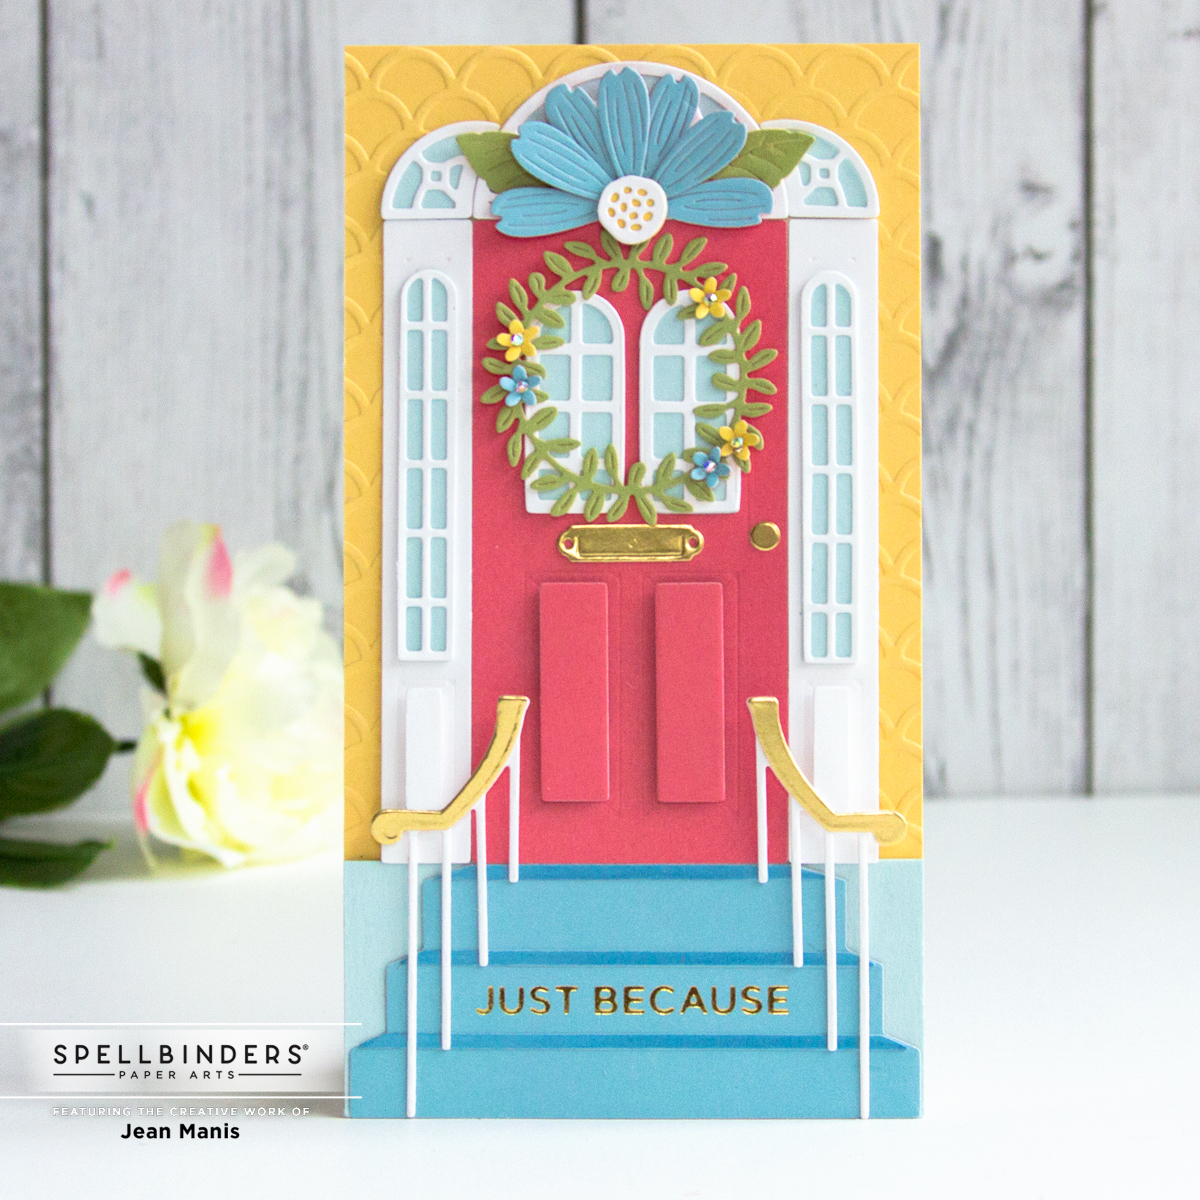
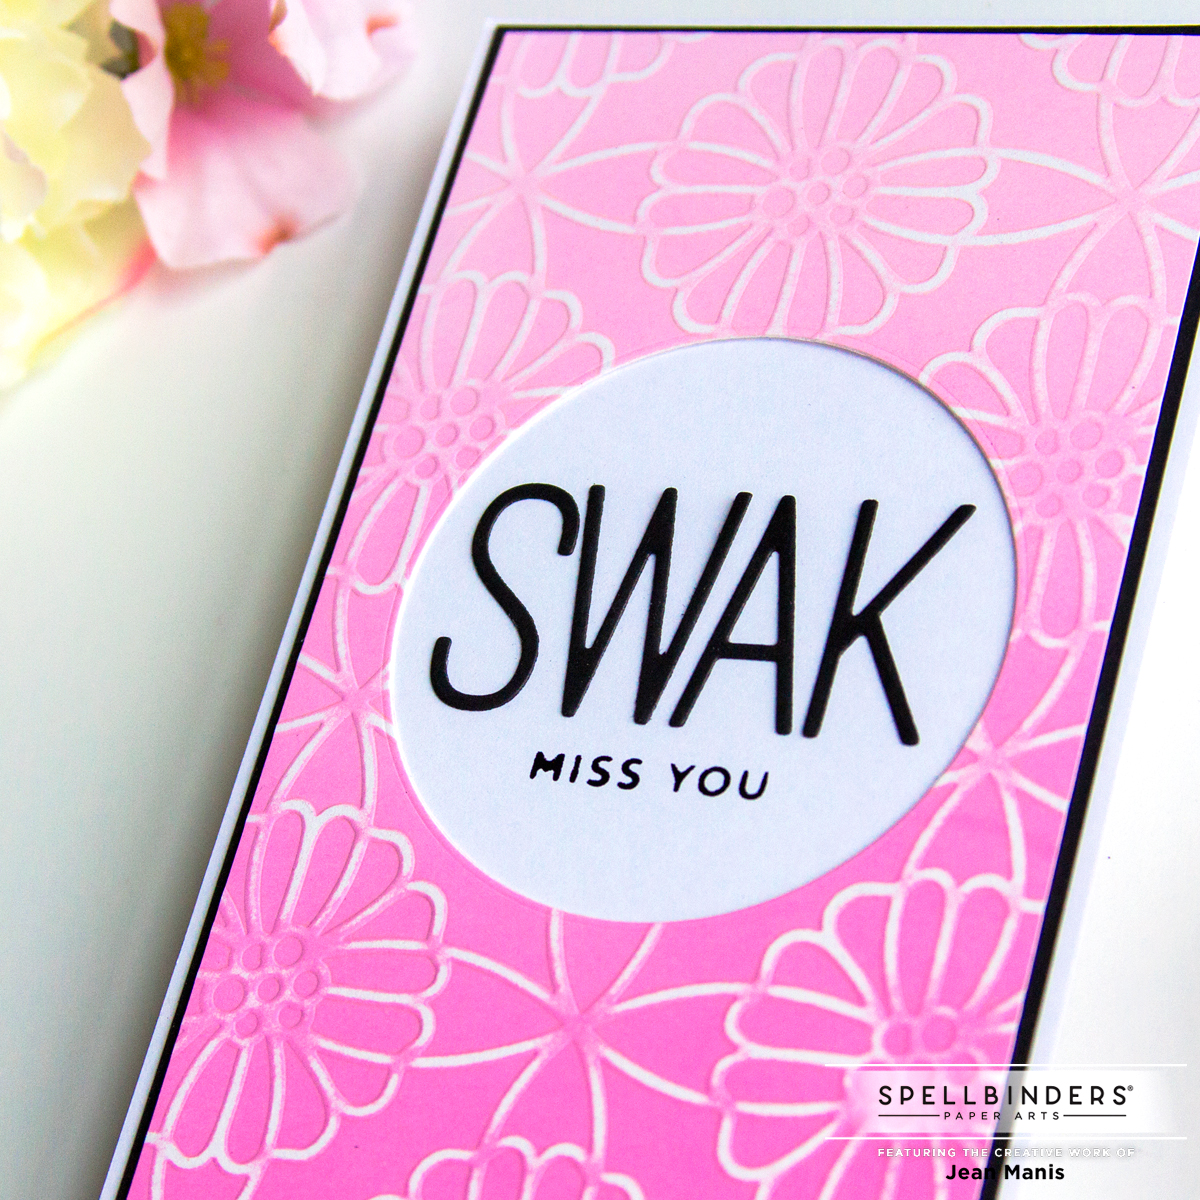
  • Glimmer-foil in gold the sentiment from the Sentiments for Everyday set on Snowdrift paper. This sentiment has a coordinating die, which I plan to use on another card. For this card design, I liked the look of the sentiment glimmer-foiled on the rectangle that was matting the focal item.
  • Die-cut sentiment panel with dies in the Essential Rectangles set. Die-cut a rectangle from navy cardstock and adhere to back. Add assembly to card base.
  • Add die-cut bouquet assembly to card and embellish with Gold Mix Gems.

Spellbinders | Sentiments for Everyday Glimmer Plates


Valentine Featuring Spellbinders Embossing Folder

Hello! I am sharing another mini-slimline card featuring the Spellbinders February 2022 Embossing Folder Kit Club. Check out my previous post showcasing this same design here. This card is Valentine-themed.

Valentine Featuring Spellbinders Embossing Folder

  • Color white cardstock with Distress Oxide inks.
  • Die-cut the inked panel to a mini-slimline size using the largest die in the Precision Layering Mini Slimline A set.
  • Dry-emboss the panel with the February 2022 Embossing Folder Kit Club. Remove the top texture with a sanding block to reveal the pattern in white.
  • Using a die in the Fluted Classics Circles set, cut a circle from the panel slightly above the middle.

Valentine Featuring Spellbinders Embossing Folder

Now through Sunday, February 13, 2022, join the Glimmer Foil Fiesta to save up to 40% Glimmer Hot Foil Plates and 25% Off Glimmer Hot Foil Rolls.

Spellbinders Glimmer Foil Fiesta


Just Because – Ready for Spring

Hello! Today, I am sharing a whimsical, spring-themed, friendship card created with Spellbinders products. Even though Punxsutawney Phil saw his shadow (and declared six more weeks of winter), I am crafting with spring colors.

Spellbinders Spring-themed Card

  • Die-cut bunny, balloon, and flowers with dies in the Open House Spring set.
  • Die-cut the square card frame (measuring almost 4 1/2 inches) with dies in the Fluted Classics Squares set. Adhere to a yellow card base.
  • Die-cut the circular frame with dies in the Fluted Classics Circles set.
  • Die-cut hill with a die in the Color Block Scenic Scape set. Adhere to sky cardstock and cut both with a die larger than the interior of the circle frame. Adhere frame and add assembly to card base.
  • Adhere flowers to the circular frame. Add the bunny and balloon with foam adhesive.
  • Glimmer-foil in Gold the sentiment with a plate in the More Sentiments set  and die-cut with a die in the Mini Sincere Sentiments set. Attach to card.

Spellbinders Spring-themed CardLooking for more inspiration? Check out this post. I previously shared projects with the versatile Fluted Classics Squares and Fluted Classics Circles sets here.


Spellbinders Open House Spring

Looking for the Spellbinders Blog Hop post? Head here.

I am delighted to share two cards created with the most-recent addition to the Open House Collection at Spellbinders – Open House Spring!

Spellbinders Open House Spring

The first card, a mini slimline, combines the Open House Door Base, the Door Side Panel, the Sentiment Steps, and the Open House Spring set.

Spellbinders Open House Spring

  • Dry-emboss the background with the Scallops folder.
  • Die-cut and assemble the Open House sets.
  • Glimmer foil in gold a sentiment in the More Sentiments set on the middle step.
  • Attach Open House assembly to card background.
  • Embellish the wreath flower centers with the Spectrum AB Color Essentials Gems.

Spellbinders Open House Spring

The second card, A2-sized, combines the Open House Door Base, the Door Side Panel, the Open House Valentines set (envelope), and the Open House Spring set.

Spellbinders Open House Spring

  • Dry-emboss the background with the Scallops folder.
  • Die-cut and assemble the Open House sets.
  • Attach Open House assembly to card background.
  • Add bunny and balloon.
  • Embellish the wreath flower centers with the Spectrum AB Color Essentials Gems.

Spellbinders Open House Spring

Spellbinders Open House Spring


Spellbinders – Valentine’s Day Open House

Hello! I was recently a guest on the Spellbinders blog sharing two cards featuring the Open House Valentines die set, part of the expanding Open House product line. I’d love for you to head over to see how I decorated two doors for Valentine’s Day.

Spellbinders - Valentine's Day Open House

Spellbinders - Valentine's Day Open House

Spellbinders - Valentine's Day Open House

Spellbinders - Valentine's Day Open House