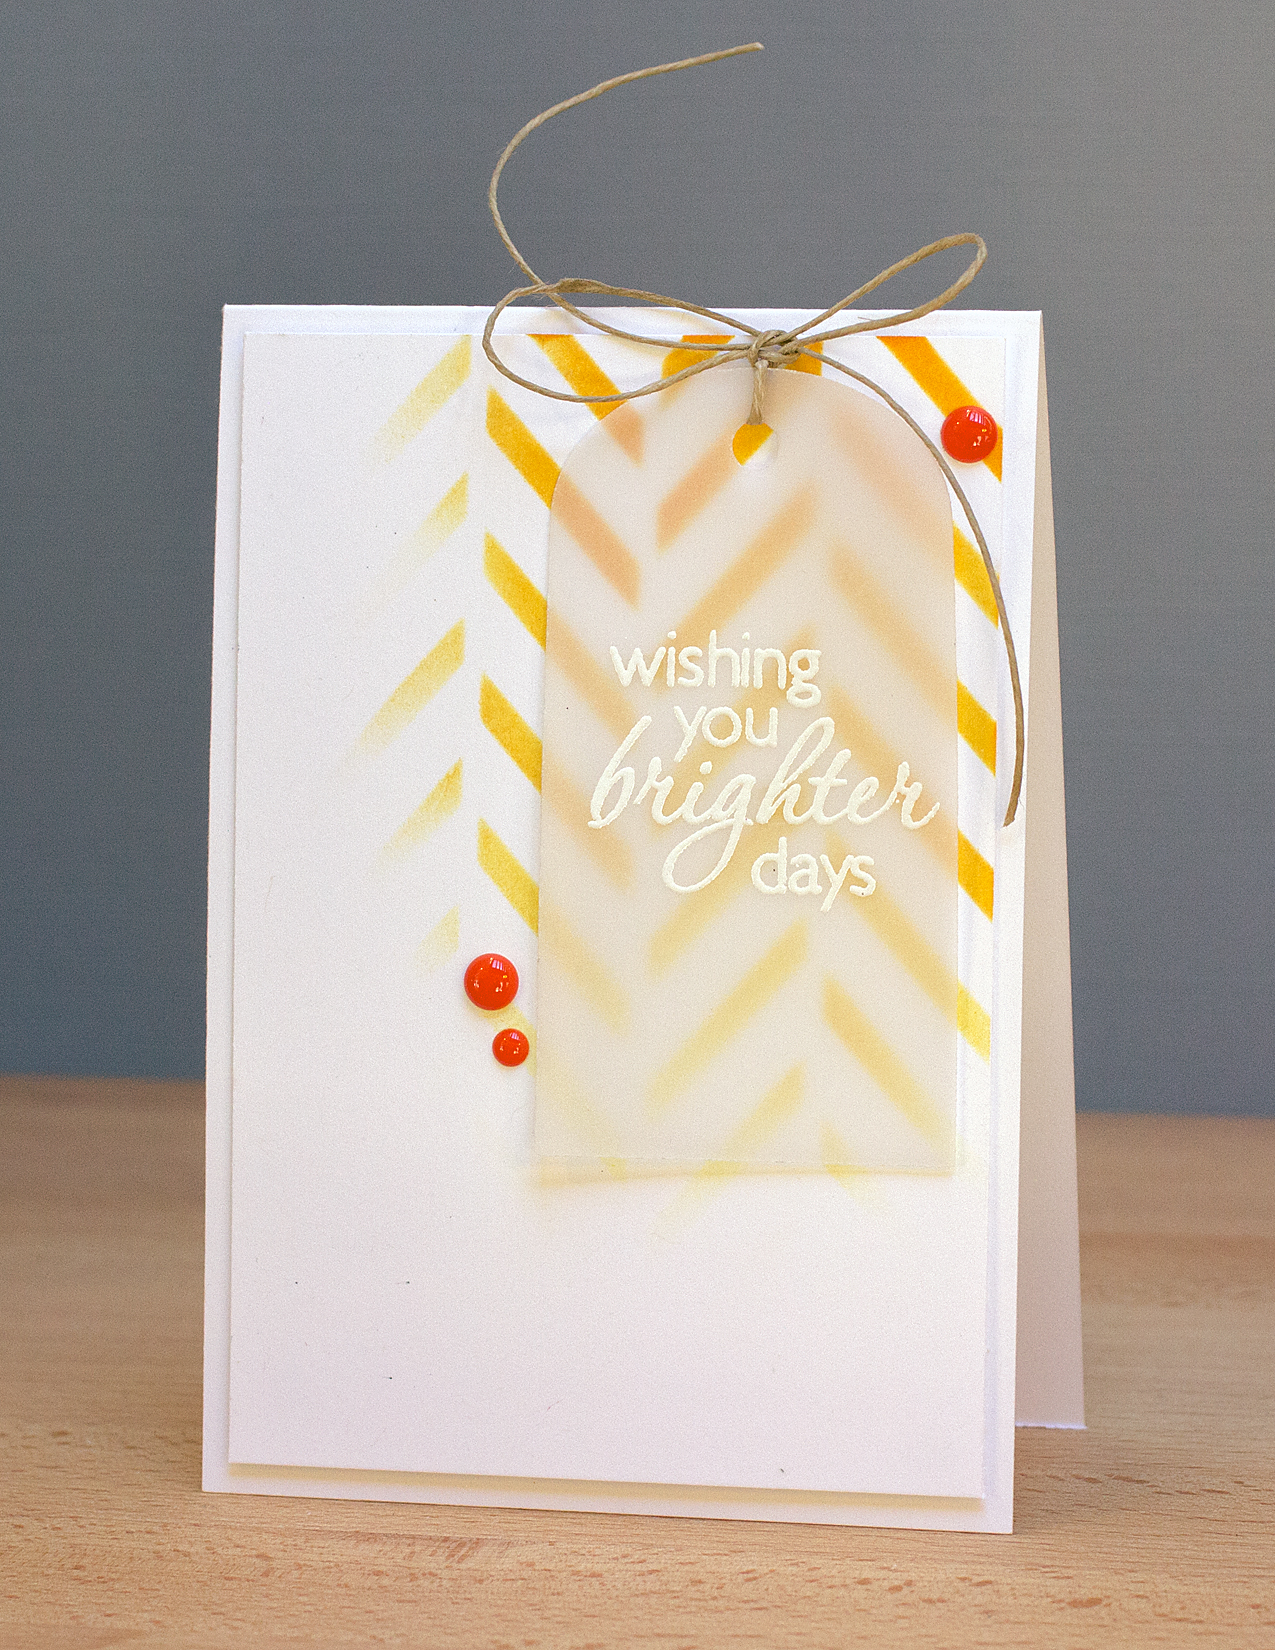
Today’s lesson in the Online Card Classes Stenciled Class focused on using embossing pastes with stencils. I followed one of the cards shown by Debby Hughes.
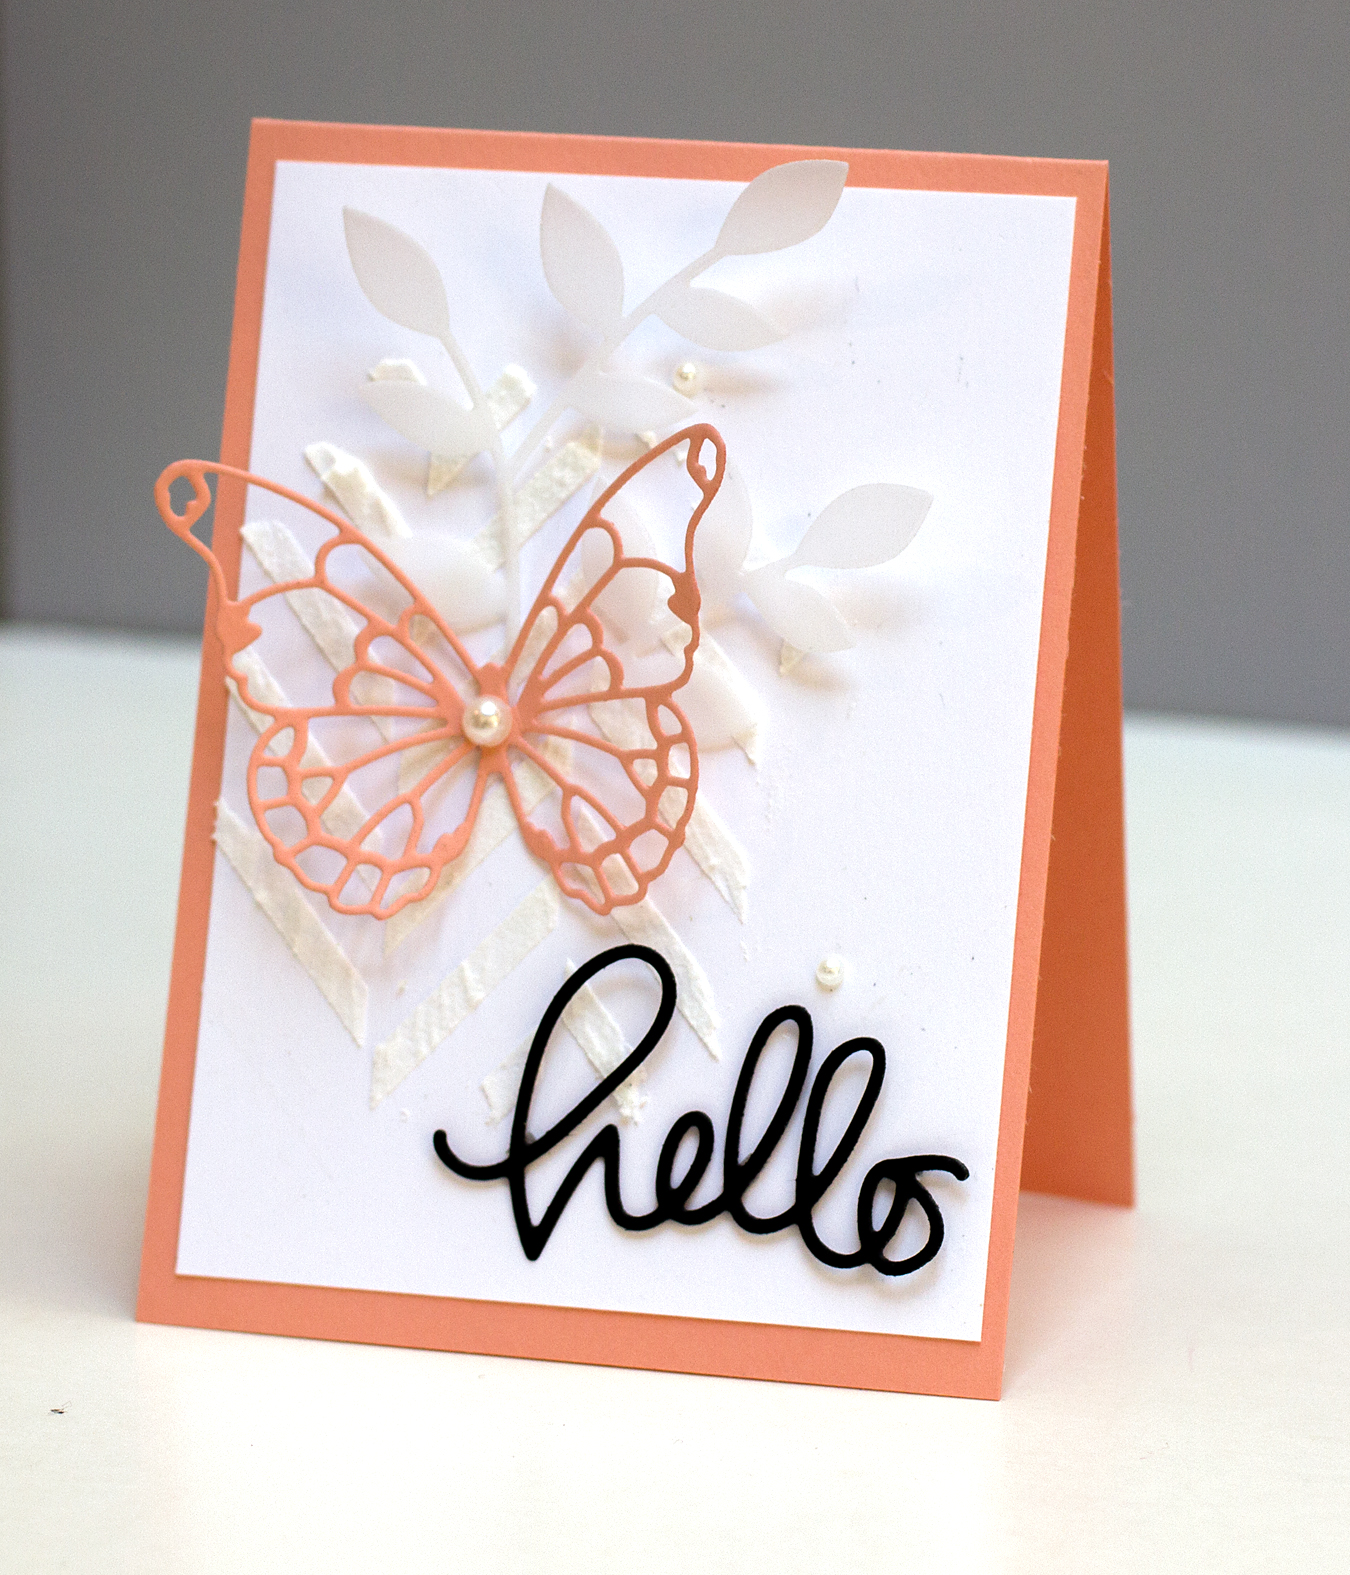
I made several modifications and simplifications on my card. For one, I didn’t use any mist on the card panel like Debby did. I can see how doing so would lend a little more softness and color. Instead I used a colored card base rather than white. I used vellum, die cut with the Poppystamps Lorelai Leaf, as a substitute for one of the elements Debby used. The “hello” die cut is from Simon Says Stamp. The butterfly is cut with the Memory Box Vivienne Butterfly die cut. Like Debby, I used white embossing paste with the Hero Arts Tweed Pattern stencil.
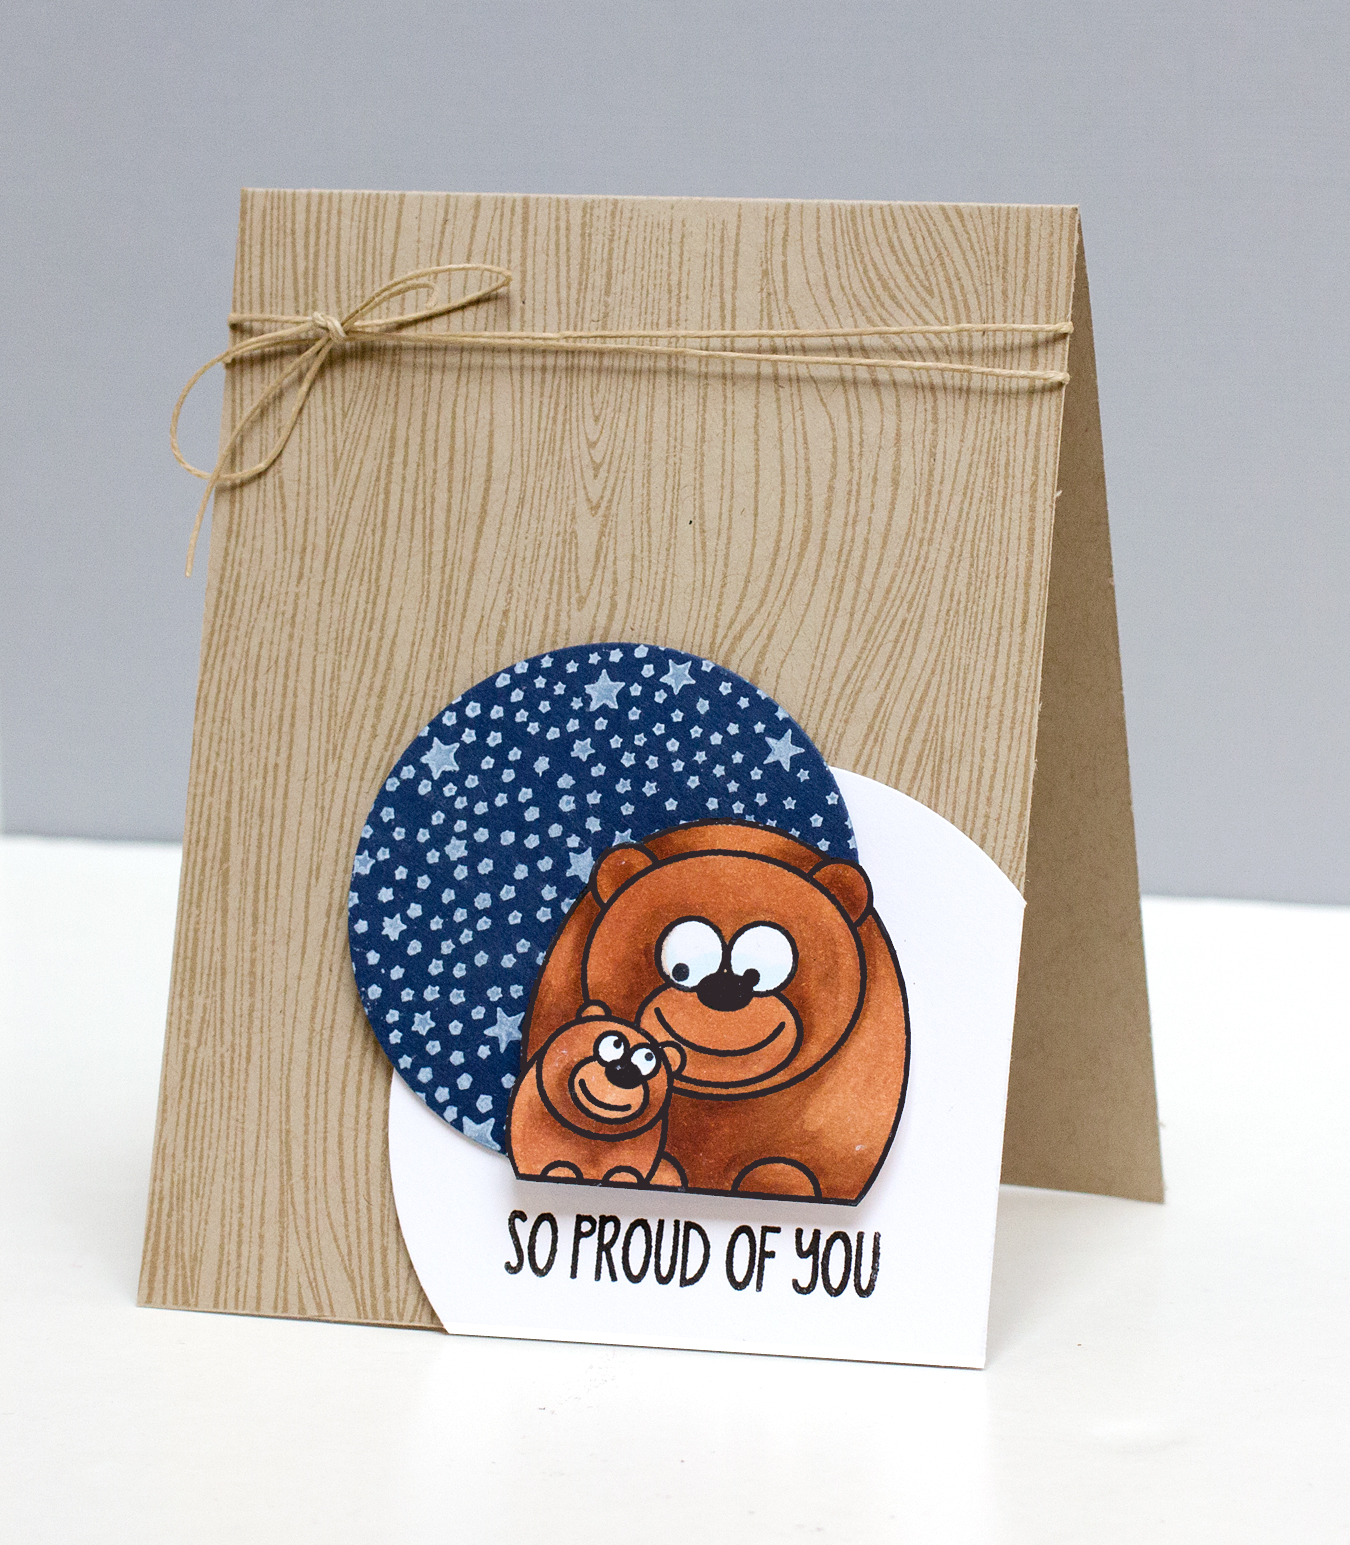
This class is going by quickly! Right now my goal is to make a card each day and in the next several weeks I’ll revisit the techniques and designs.