Today, I’m sharing a card created for Poppystamps. Even though the season is about to change, I’m still clinging to this last month of summer (those of you in the Southern Hemisphere are probably ready for spring!). I’m not quite ready to say “good-bye” to blooming flowers, sunny days, or the bright colors of the summer season.
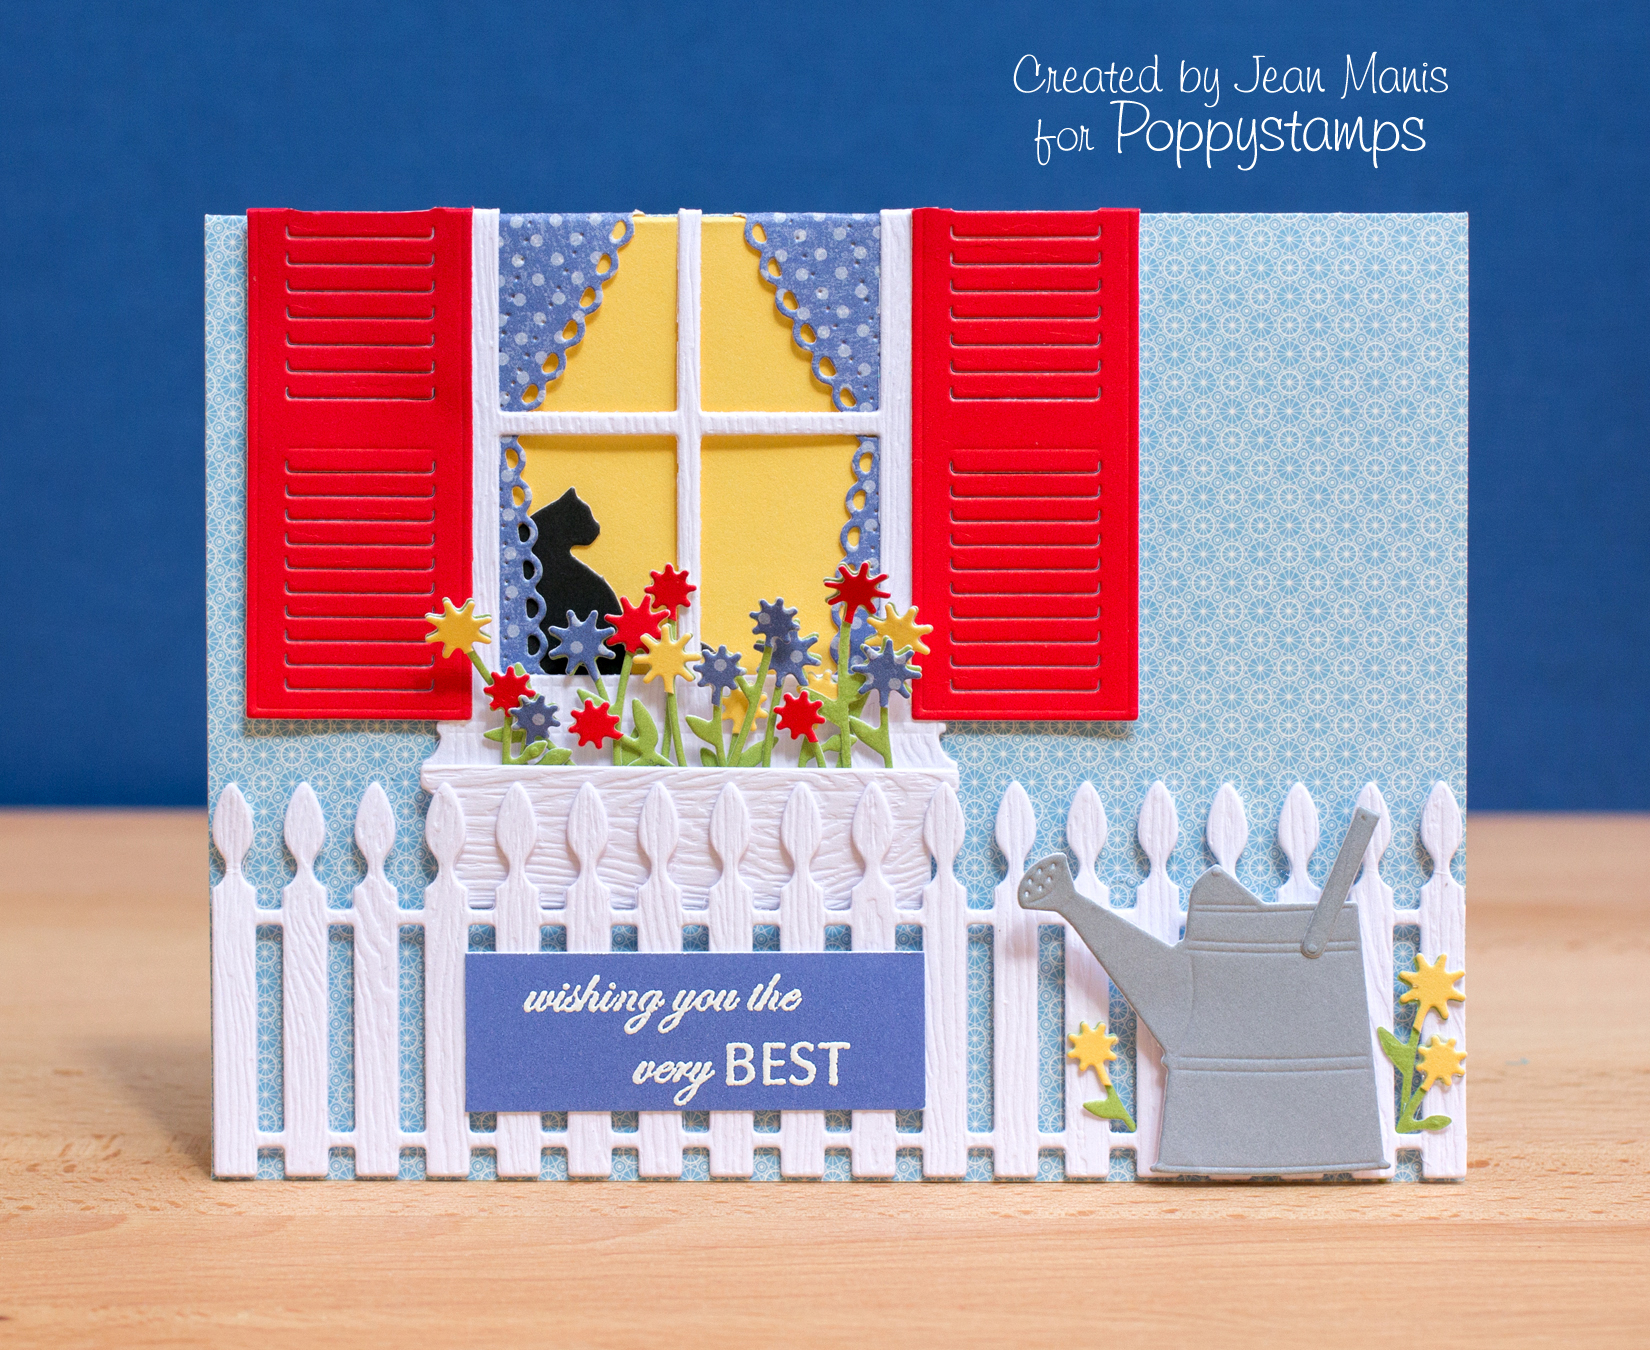
In order to fit in the pieces I wanted to include on the card, I decided to “cut” the window/shutter combination at the top. Rather than leave the raw edge, I scored the pieces and folded them back on themselves. That way, there’s a finished edge along the top.
I didn’t originally plan to have the flowers by the watering can. However, after I had all the pieces of the card in place, I decided a few flowers peeking through the fence would help with the depth of field I was trying to create and visually anchor the watering can.
             |