Spellbinders | Open Road Collection

Hello! I am delighted to introduce the Open Road Collection at Spellbinders with which I created a mini-slimline Congratulations card, suitable for a variety of occasions including graduation, a new job, or a promotion. The focal point – the car and balloons – was created with the Open Road die set.

Spellbinders | Open Road Collection

  • Place Sun Burst Stencil on mini-slimline card base. Mask stencil at horizon line. Apply Squeezed Lemonade Distress Oxide ink through the stencil.
  • Mask sun burst portion and apply Hickory Smoke Distress Oxide ink below the horizon line.
  • Paint Bristol cardstock with acrylic paints. Once dry, cut three balloons with dies in the Open Road set and glue crochet string to the backs
  • Cut car pieces with Open Road die set from silver foil, Brushed Silver, Onyx, shiny black, orange, red, and yellow cardstock. Assemble.
  • Stamp Open Road Sentiments on Snowdrift cardstock and cut with On Cloud Nine dies.
  • Add car to scene with foam adhesive. Place balloon strings through the piece on the back of the car. Secure with glue and trim ends.
  • Add clouds to scene, popping up the largest one with foam adhesive.

Spellbinders | Open Road Collection


Spellbinders | March 2022 Embossing Folder of the Month

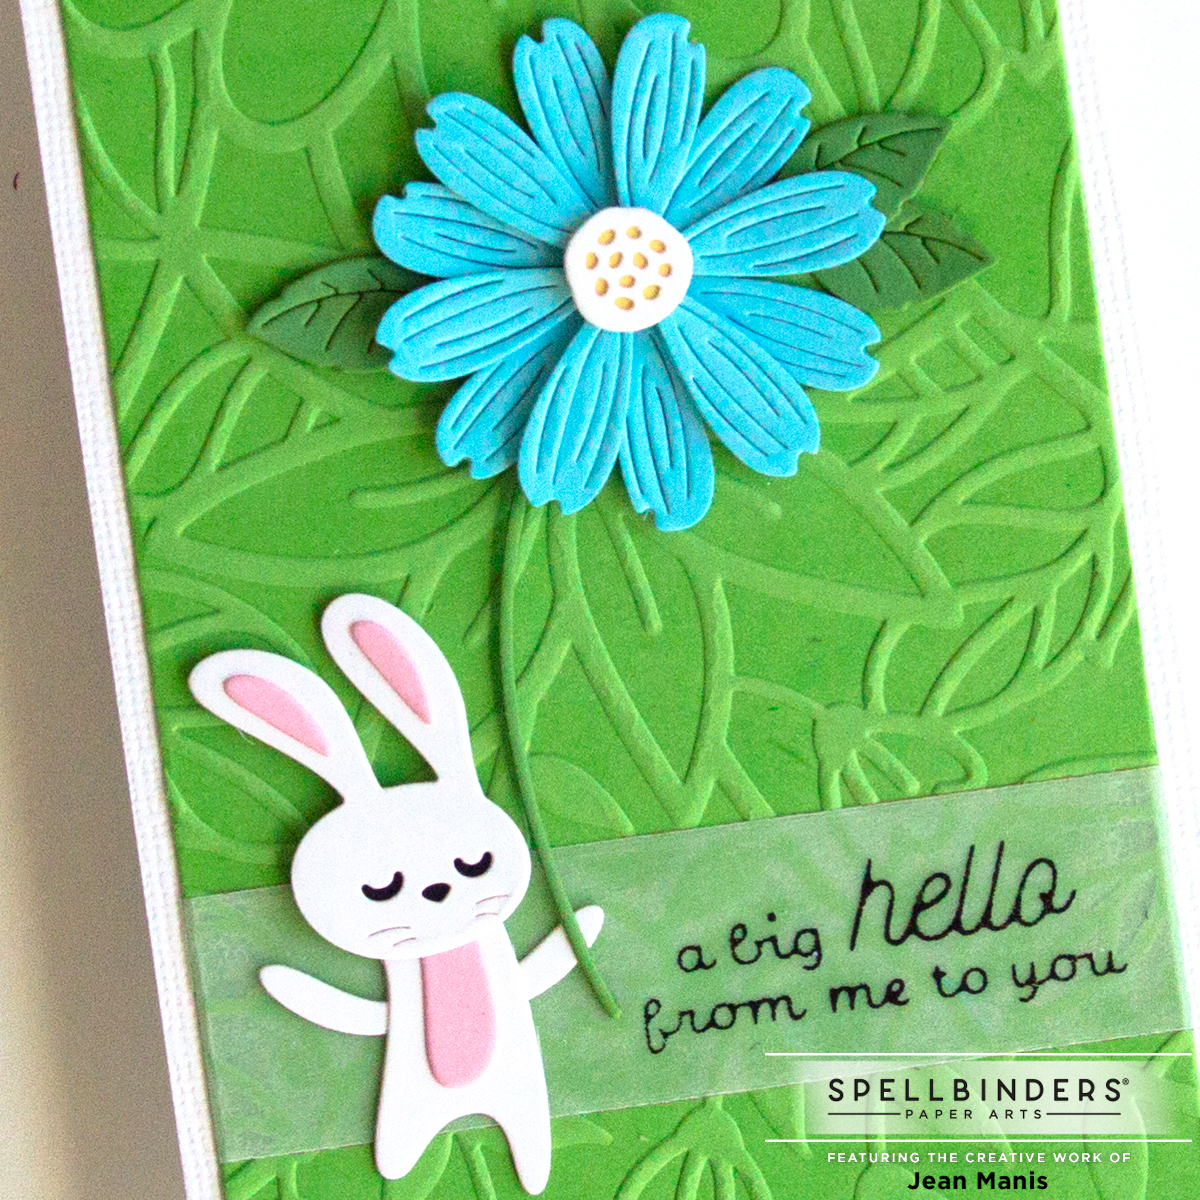
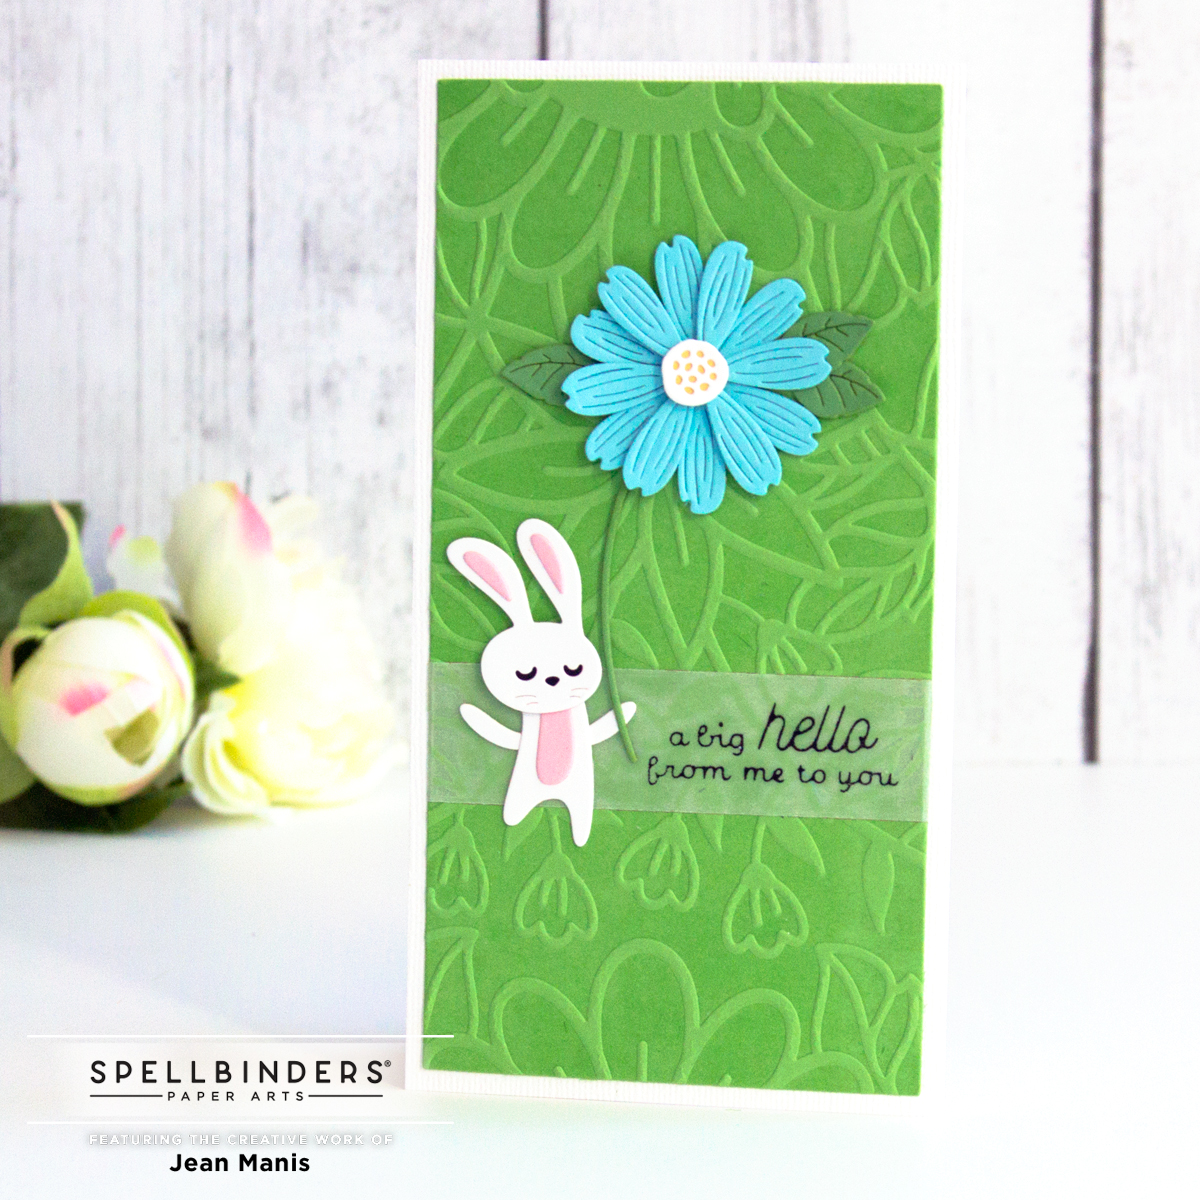
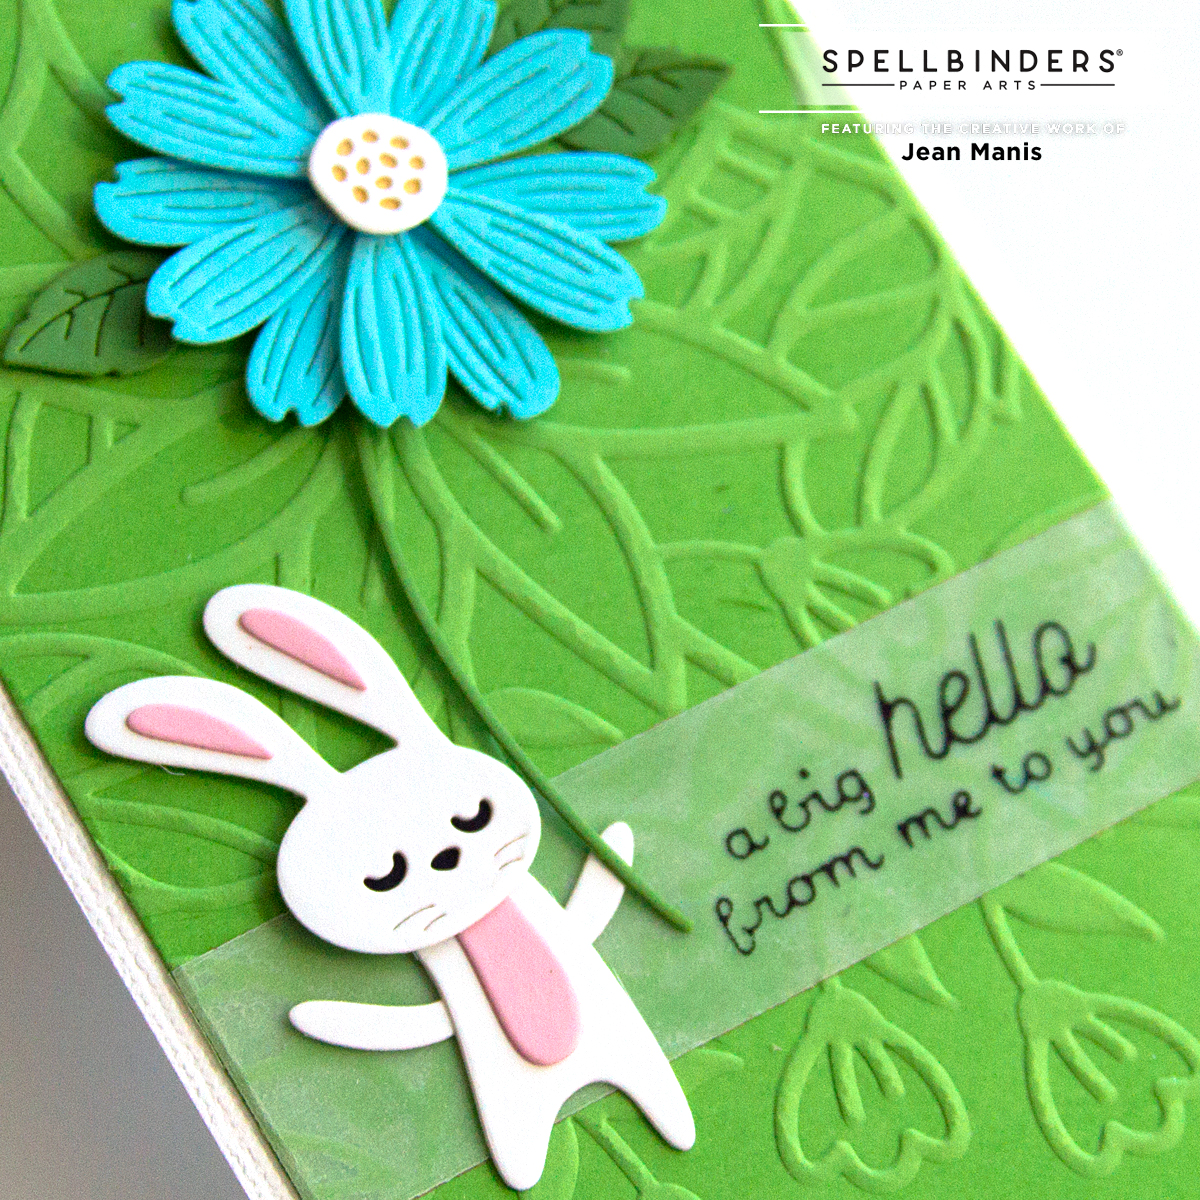
Hello! I’m sharing a CAS mini-slimline card created with the Spellbinders March 2022 Embossing Folder Kit Club “Garden Path.”

Spellbinders | March 2022 Embossing Folder of the Month

I used die-cutting, glimmer-foiling, and dry-embossing on this card – my favorite techniques!

Spellbinders | March 2022 Embossing Folder of the Month

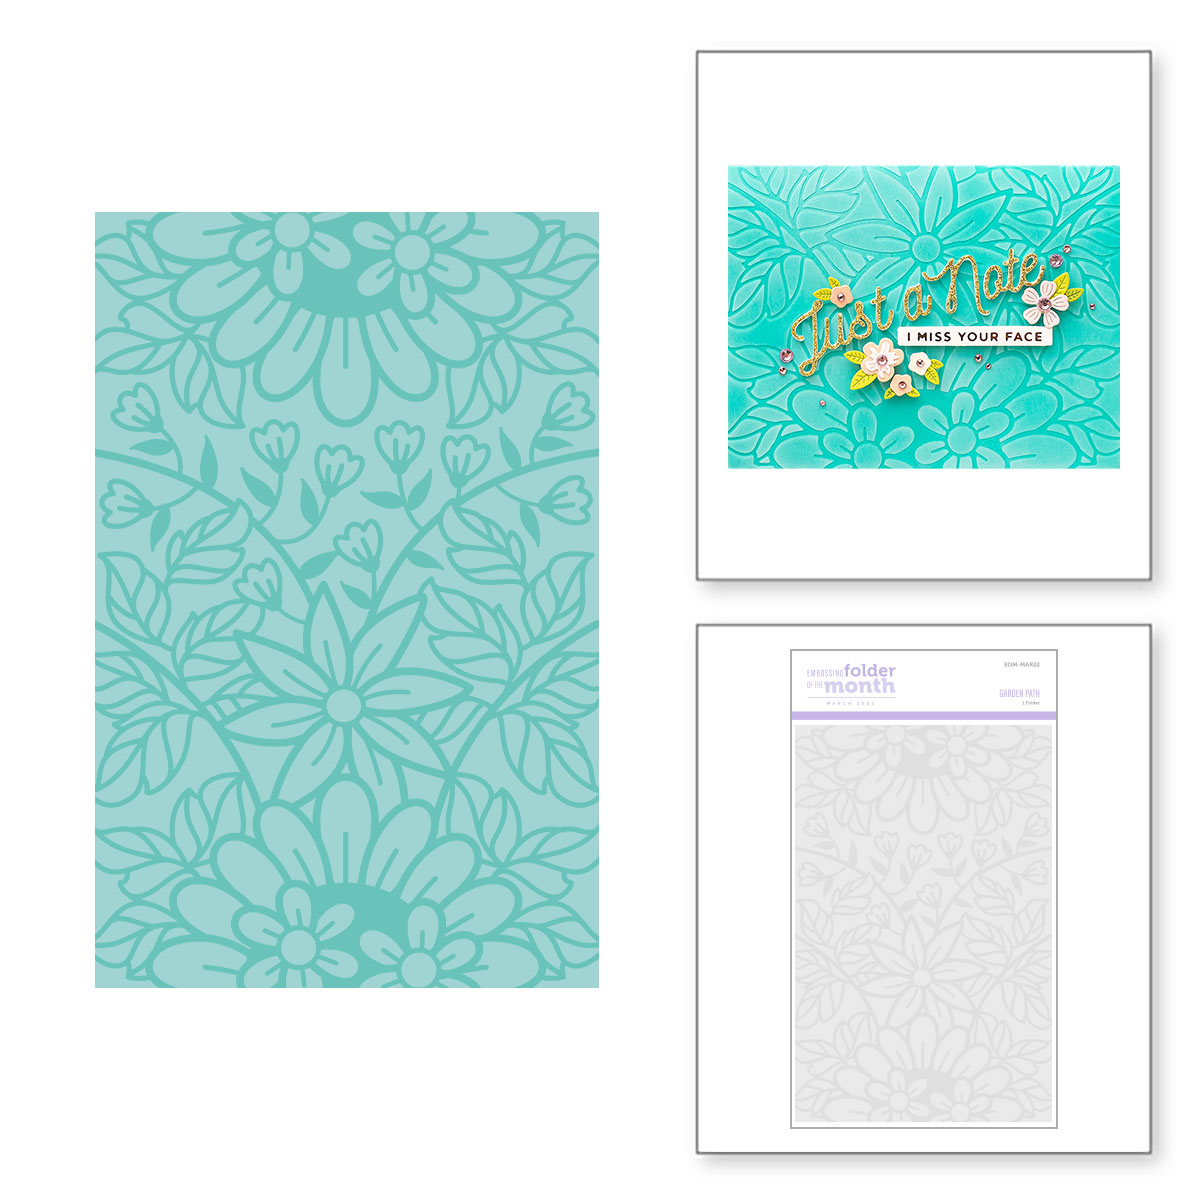
  • I applied VersaMark ink on the embossing folder before running it through my die-cutting machine. This method enhances the contrast of the raised area on the background.
  • I glimmer-foiled in black a sentiment from the Sentiments for Everyday set on vellum. I backed the vellum with double-sided adhesive and cut it with a die in the mini slimline B set. I added the sentiment strip to the dry-embossed panel and used the largest die in the mini slimline A set to cut it. This way I knew the sentiment strip would be straight.
  • I added the dry-embossed panel with the sentiment to a white, textured cardstock card base.
  • I die-cut the bunny and flower with dies in the Open House Spring set. You can see additional cards featuring this set here and here. I added the elements to the card base.

Spellbinders | March 2022 Embossing Folder of the Month

Find more Embossing Folder Kit Club inspiration here. The embossing folder, measuring 5.5 x 8.5 inches, can be used to make cards in a variety of sizes including slimline, mini-slimline, 5 x 7, and A2.

Spellbinders Surprise Bundle


Rubbernecker | Mini Slimline Die-cut Birthday Card

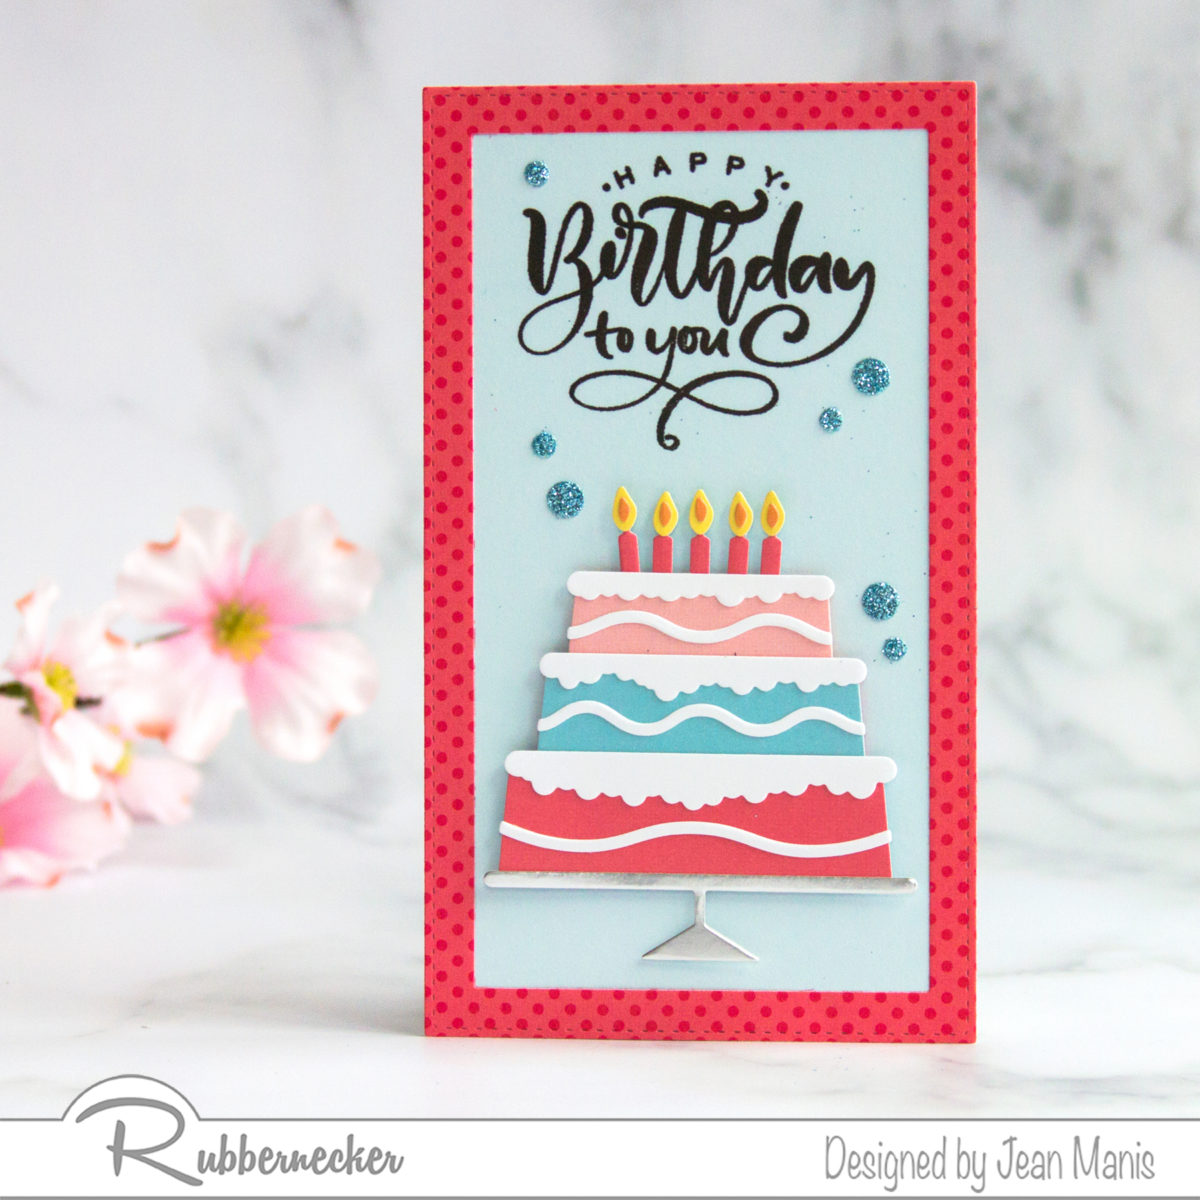
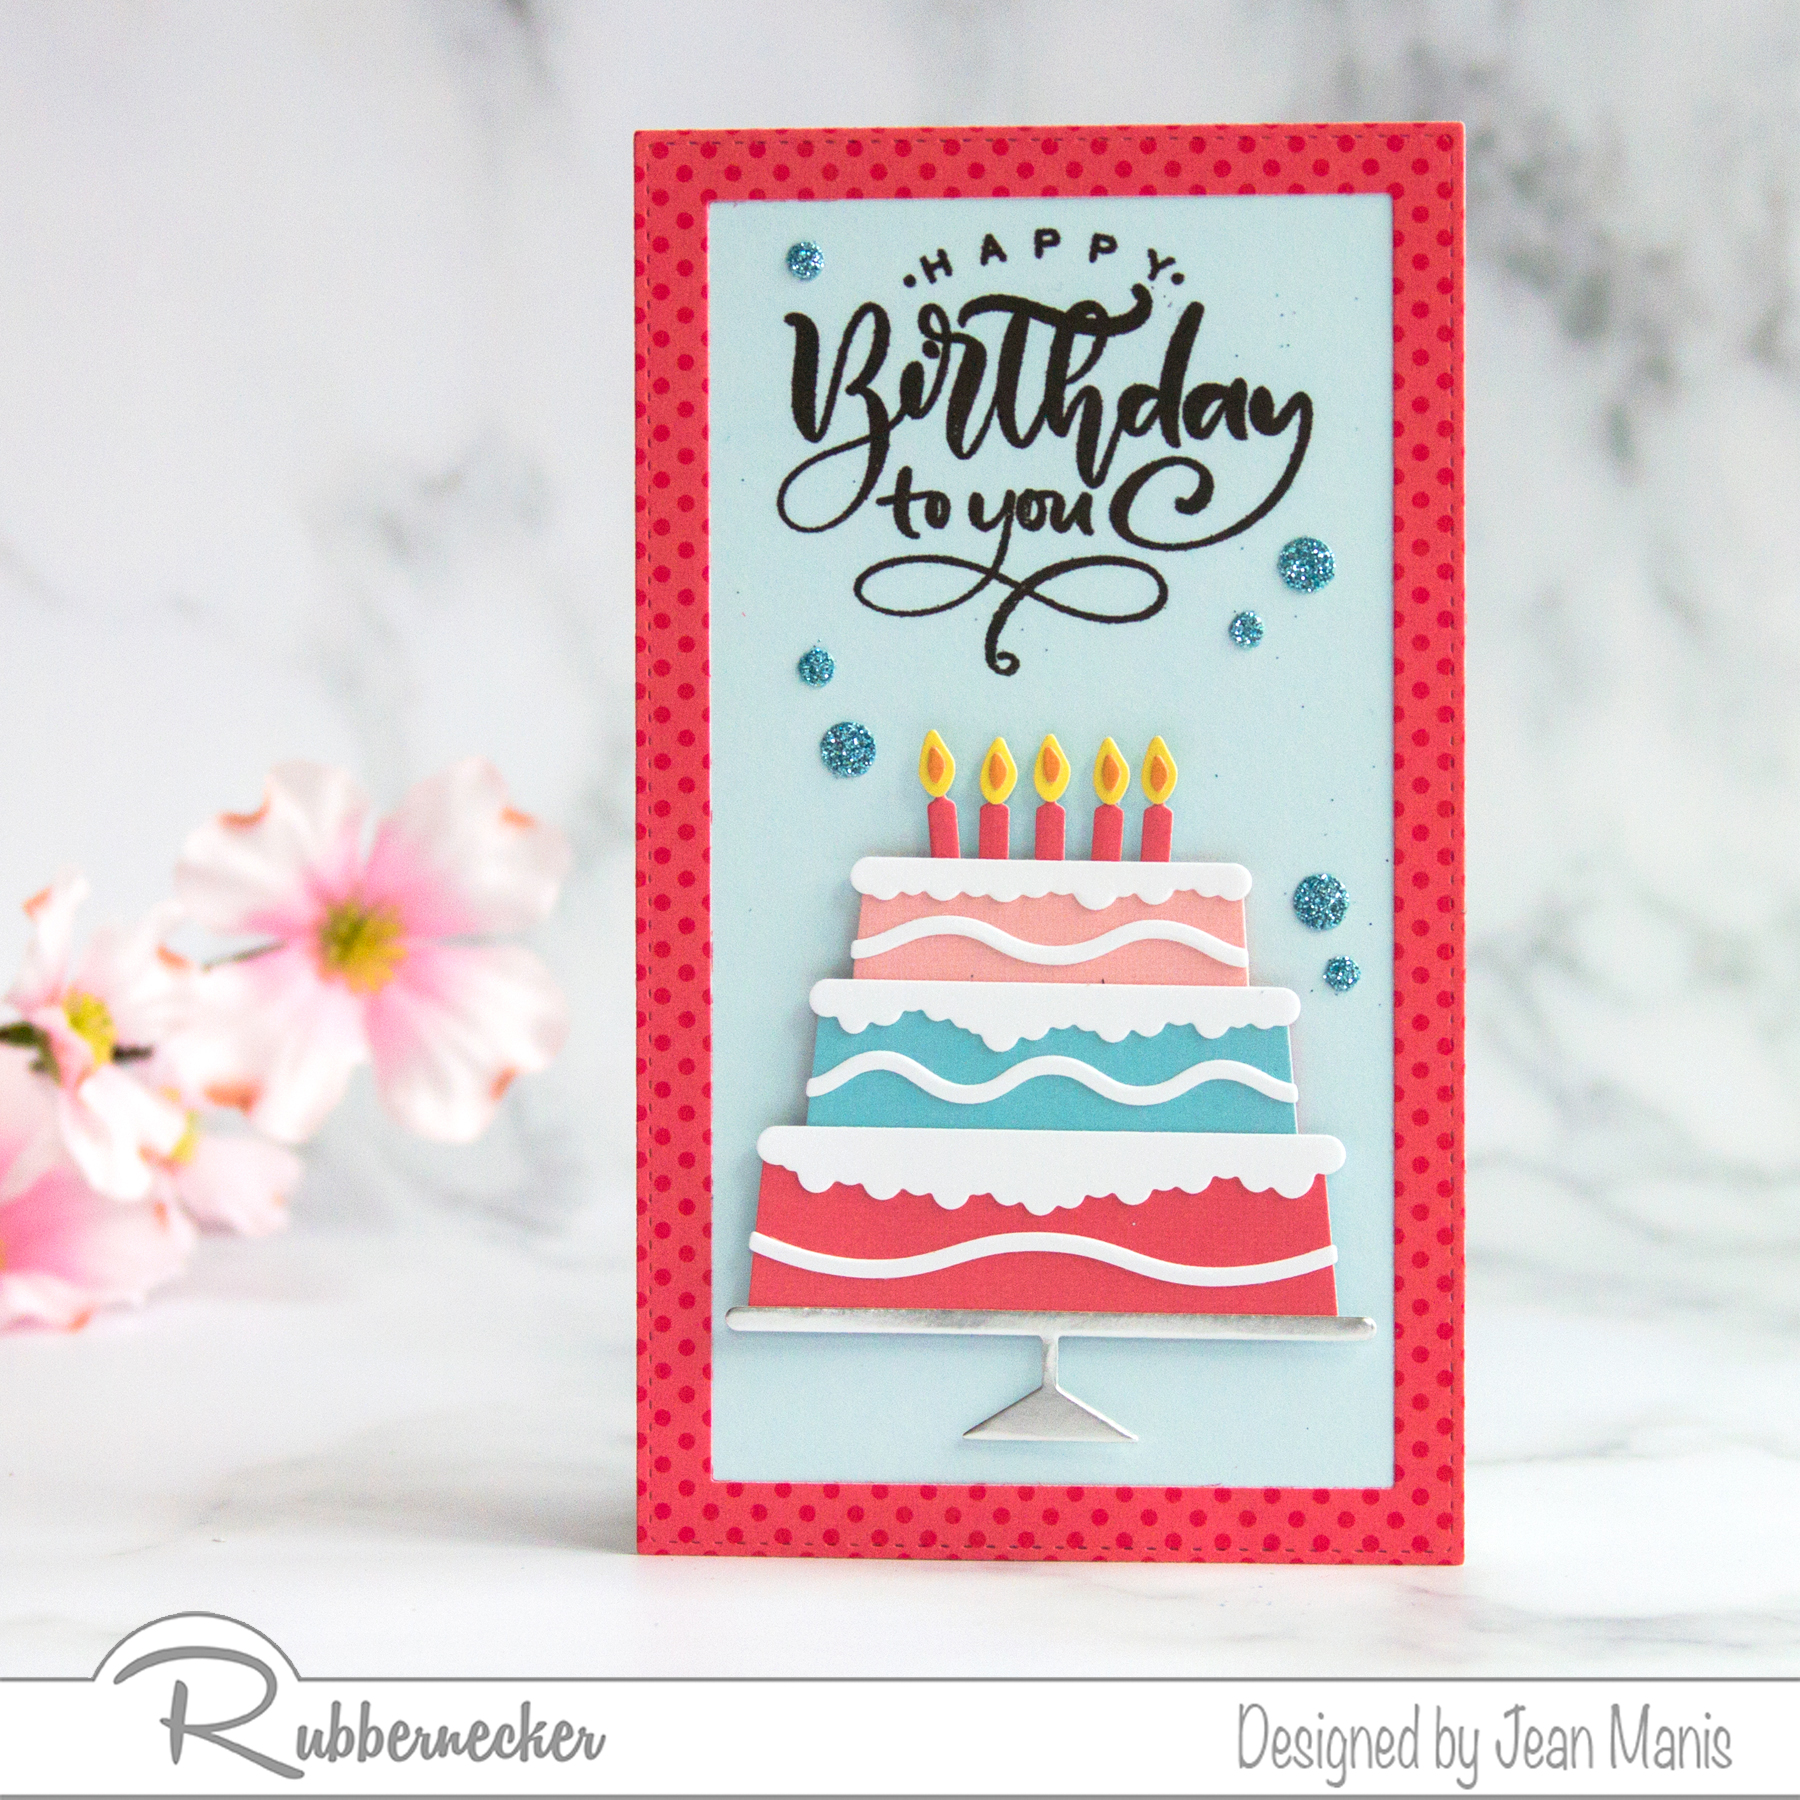
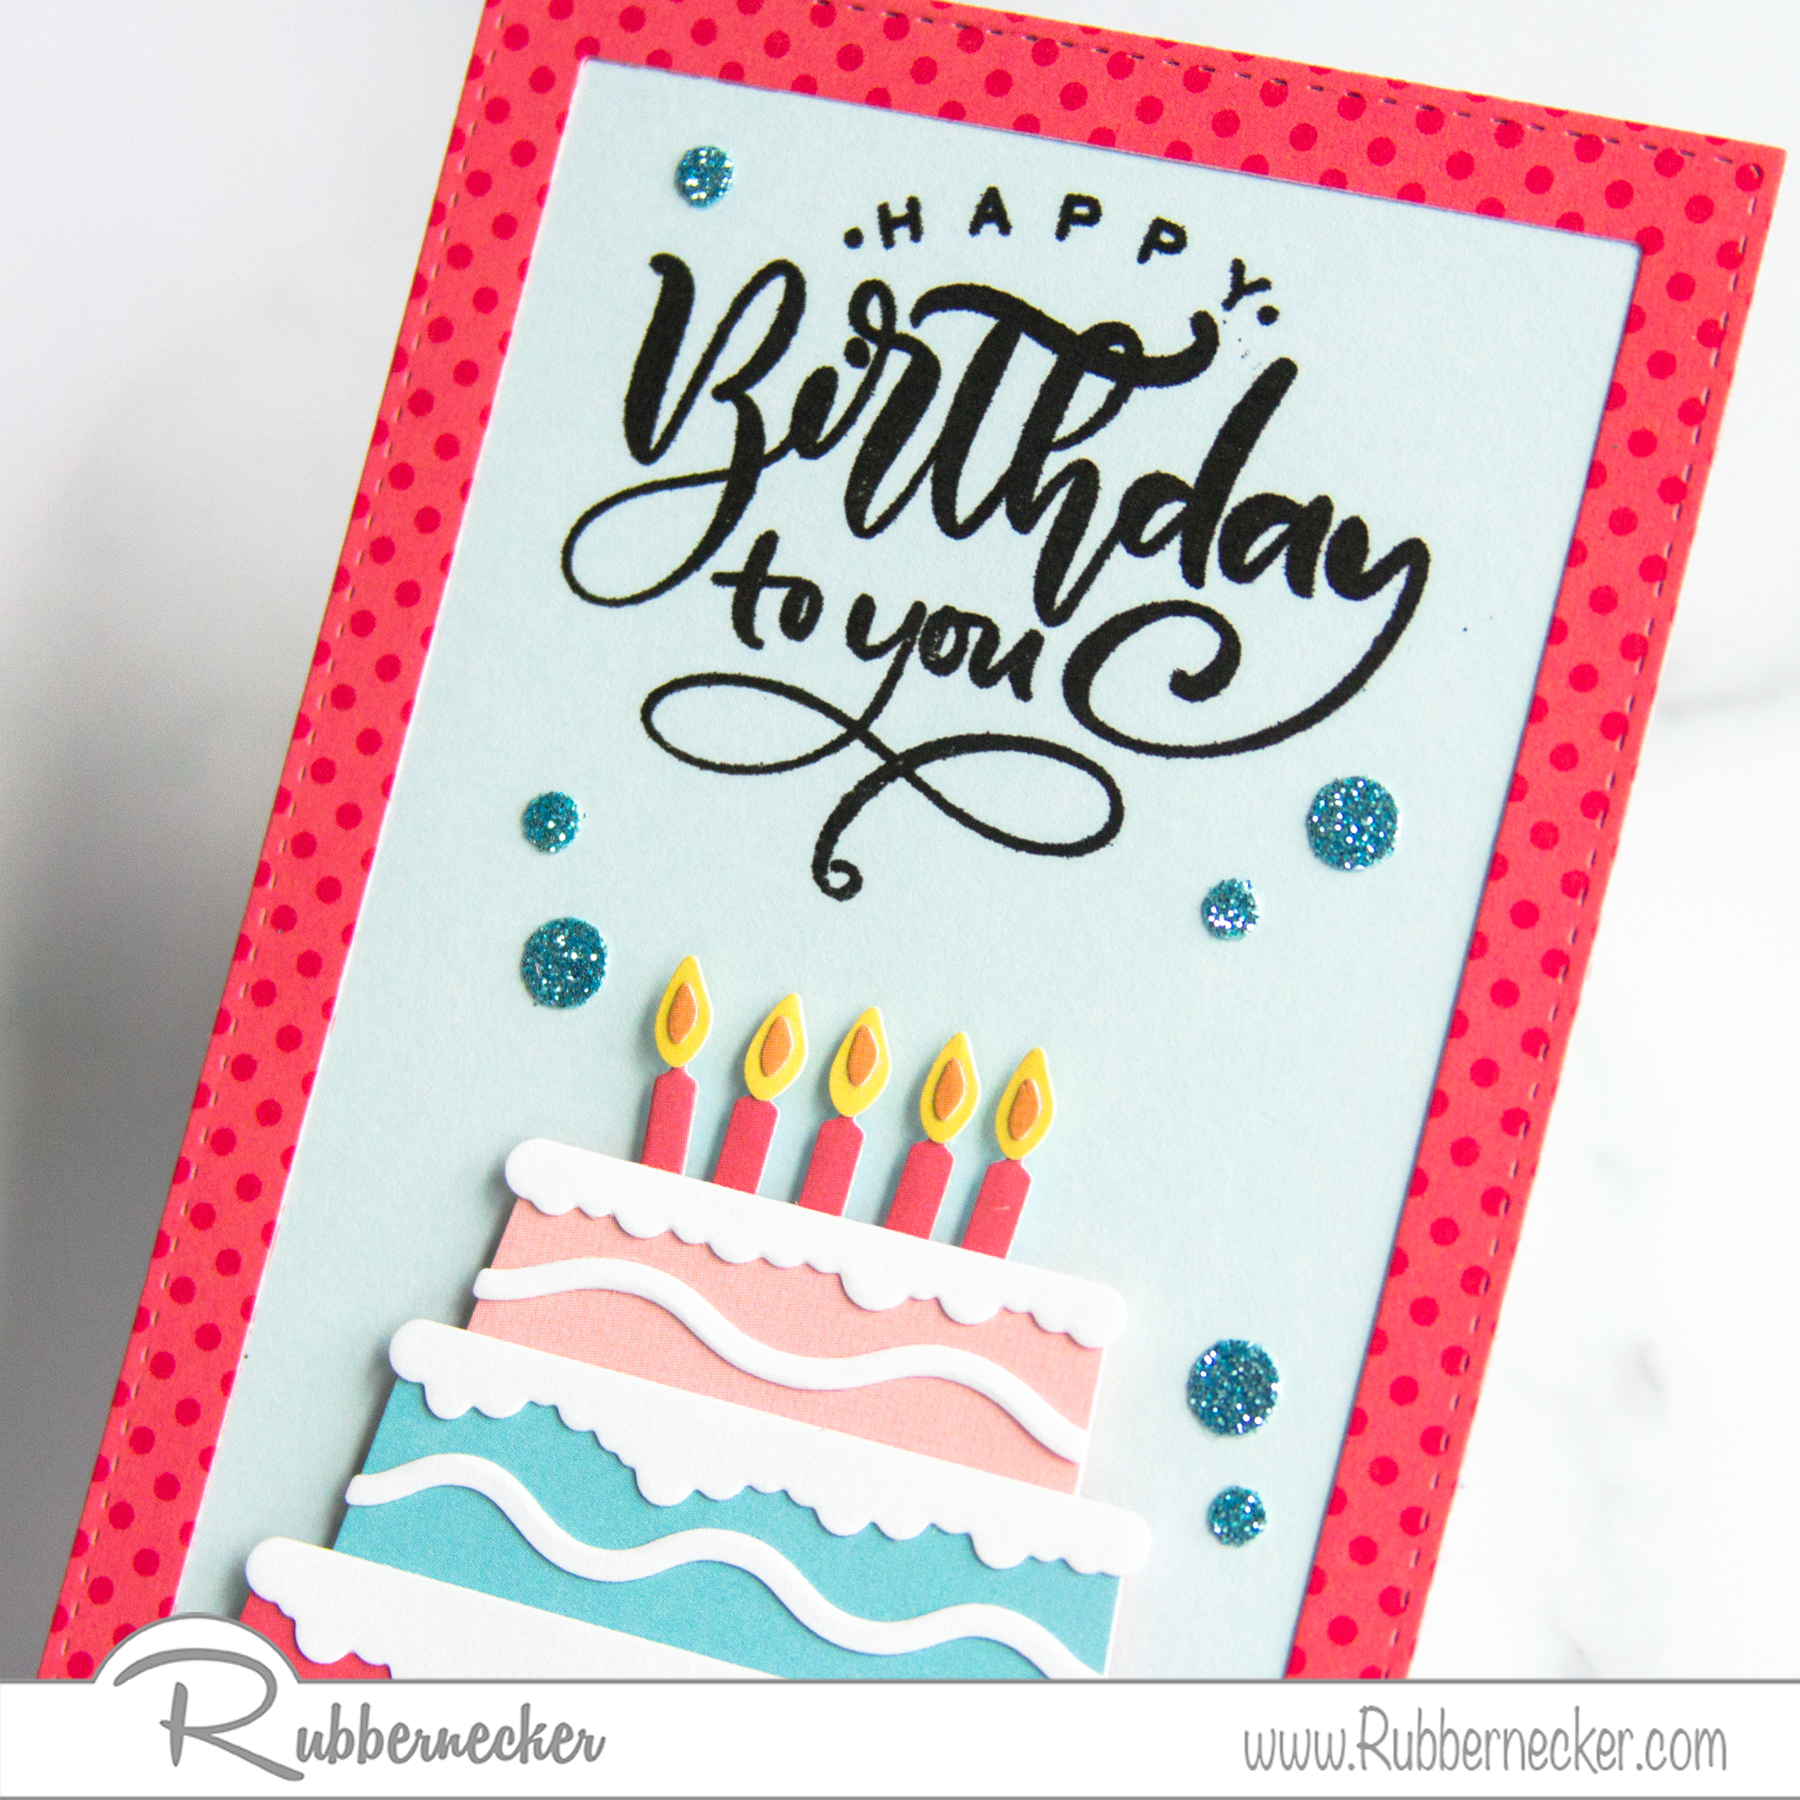
Hello! Today, I am sharing mini-slimline, birthday card featuring Rubbernecker supplies. Crafting a die-cut, birthday cake card is much like baking a layered birthday cake – create a base, bake the layers, ice the layers, add the frosting, and light the candles!

Rubbernecker | Mini Slimline Die-cut Birthday Card

  • Stamp Happy Birthday #1 sentiment on light-blue cardstock in Versafine Onyx ink. I previously used this set on a card in this post.
  • Die-cut the Birthday Cake from colored, white, and silver foil cardstock. Assemble the cake and candles for sizing purposes. Tape the cake layers from behind. I opted to change the colors of each layer while keeping the frosting the same color on all three layers.
  • Die-cut patterned paper frame using the two largest dies in the Mini Slimline Nested with Stitch set.
  • Using the frame for placement, determine where to cut the stamped panel. Trim accordingly. Add frame to stamped panel.
  • Finish assembly of the cake, adding the piped frosting pieces on the cake layers and the inner flames on the candles.
  • Attach cake to stamped panel with foam adhesive
  • Die-cut small circles with the Fishing Boat and Lifeguard Tower die sets from blue glitter cardstock and adhere for embellishment.

Rubbernecker | Mini Slimline Die-cut Birthday Card


Valentine Featuring Spellbinders Embossing Folder

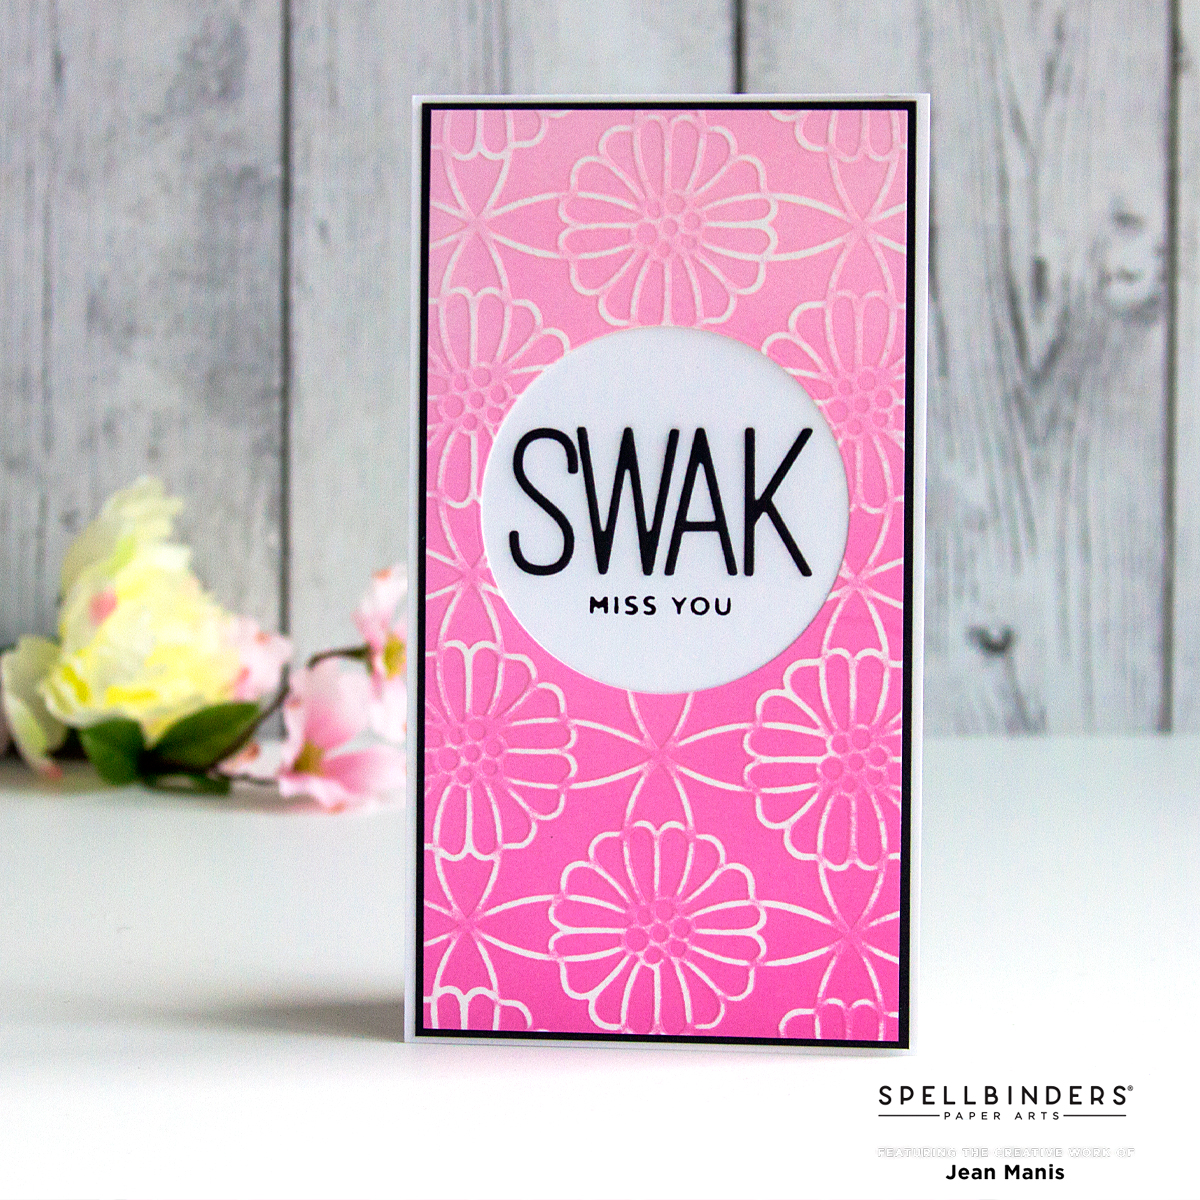
Hello! I am sharing another mini-slimline card featuring the Spellbinders February 2022 Embossing Folder Kit Club. Check out my previous post showcasing this same design here. This card is Valentine-themed.

Valentine Featuring Spellbinders Embossing Folder

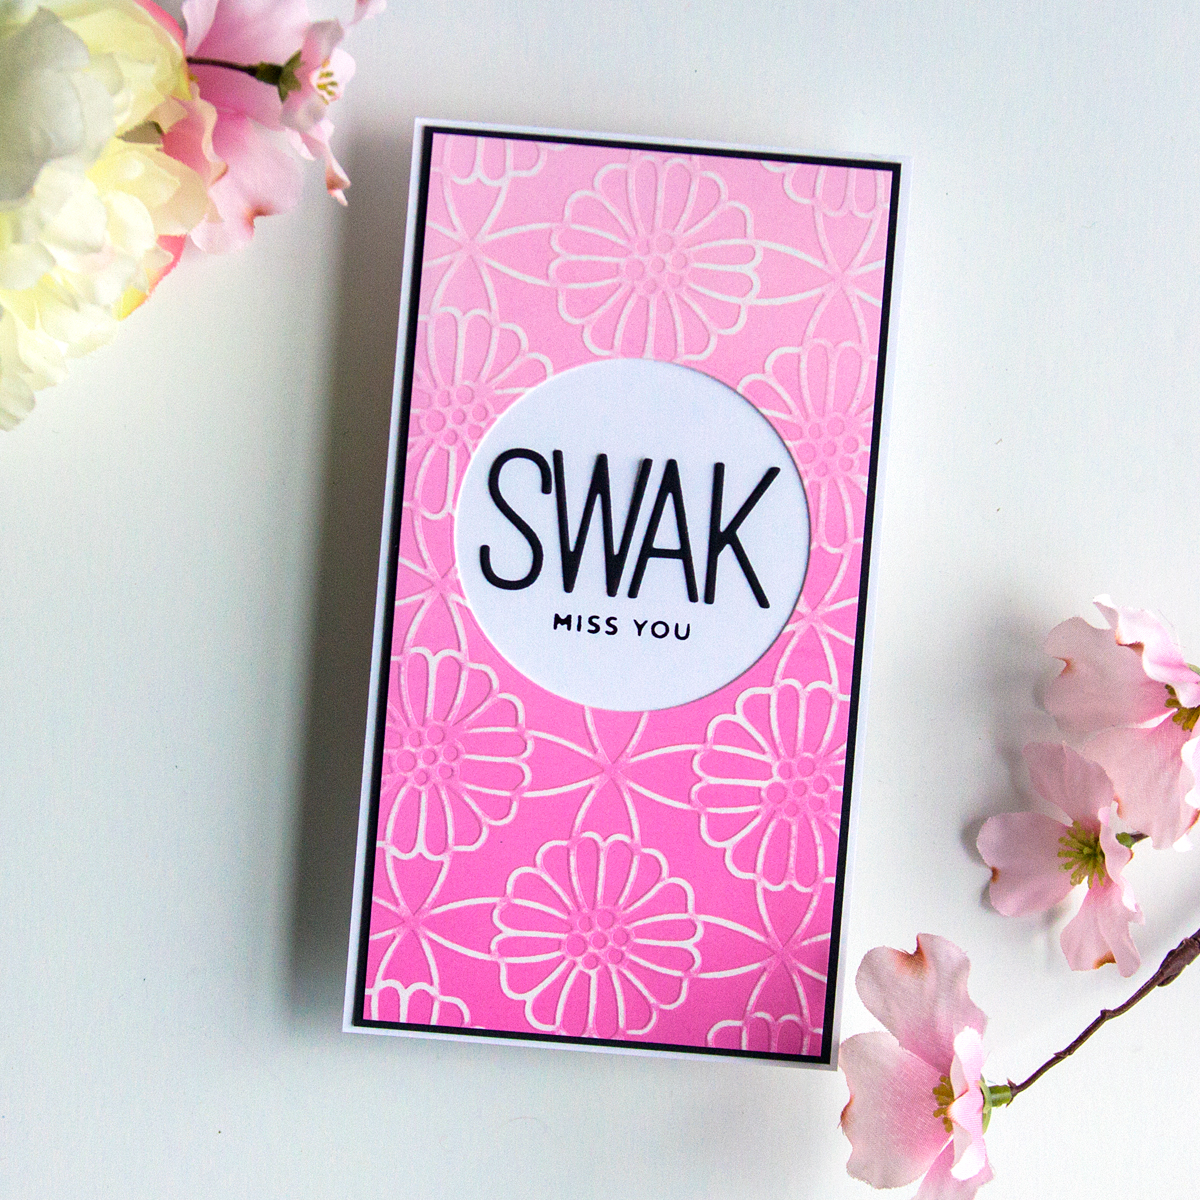
  • Color white cardstock with Distress Oxide inks.
  • Die-cut the inked panel to a mini-slimline size using the largest die in the Precision Layering Mini Slimline A set.
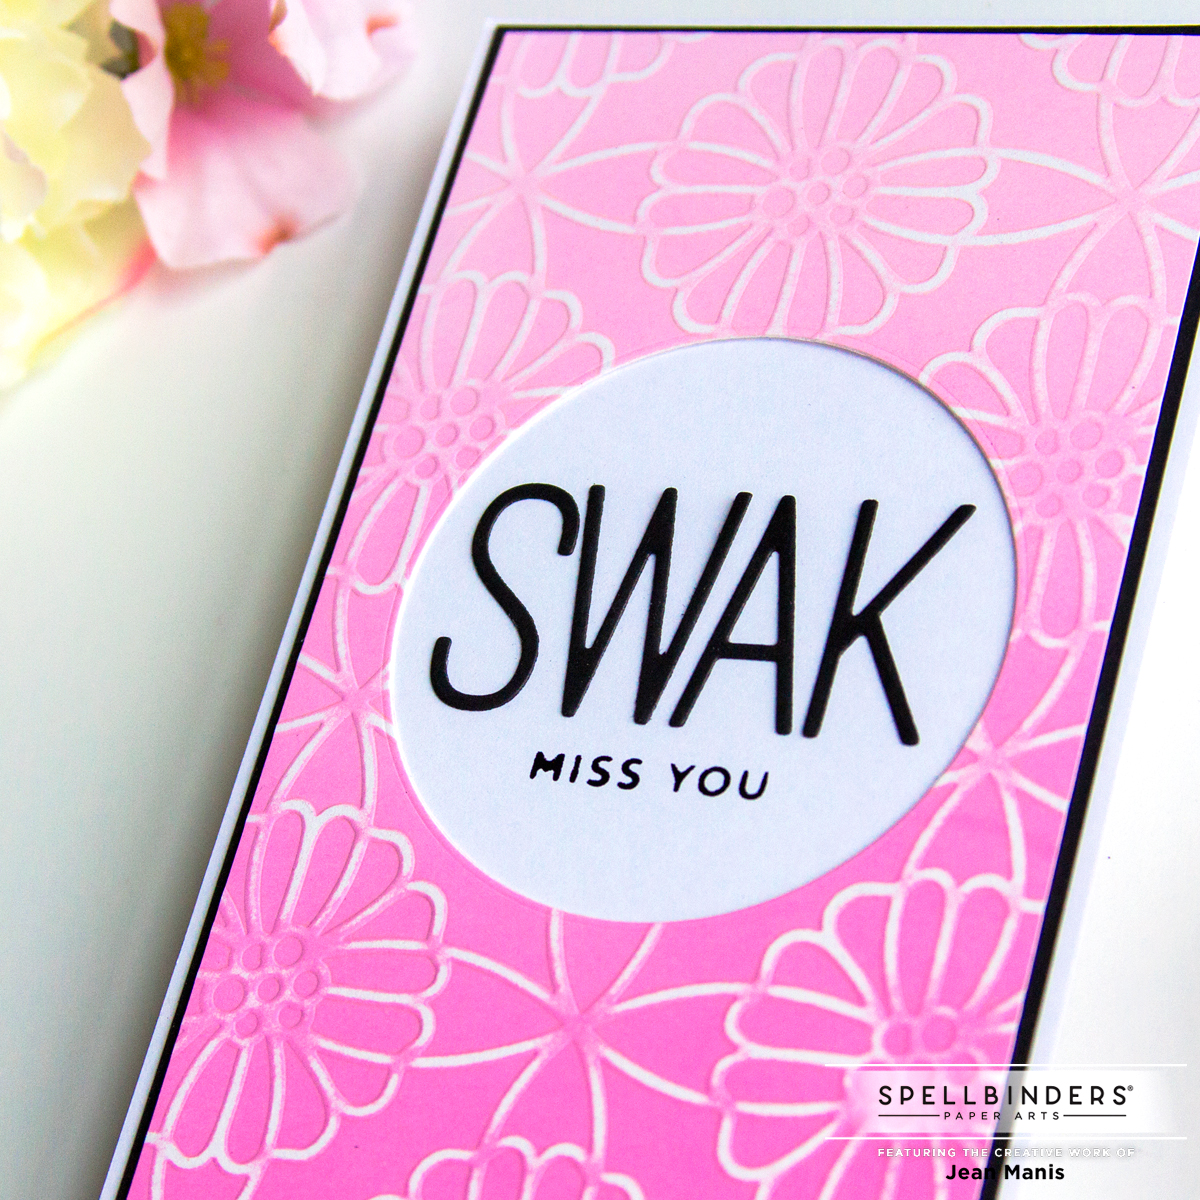
  • Dry-emboss the panel with the February 2022 Embossing Folder Kit Club. Remove the top texture with a sanding block to reveal the pattern in white.
  • Using a die in the Fluted Classics Circles set, cut a circle from the panel slightly above the middle.

Valentine Featuring Spellbinders Embossing Folder

Now through Sunday, February 13, 2022, join the Glimmer Foil Fiesta to save up to 40% Glimmer Hot Foil Plates and 25% Off Glimmer Hot Foil Rolls.

Spellbinders Glimmer Foil Fiesta


Rubbernecker Birthday Celebration Blog Hop

Hello! Welcome to the Rubbernecker Blog Hop celebrating their 29th birthday with a new release and prizes!

Rubbernecker Birthday Release

Comment on each post in the blog hop for a chance to win the four sets shown below, worth over $60. One winner will be chosen on 2/6.

Rubbernecker Blog Hop Prize

For the celebratory blog hop, I am sharing two mini-slimline, birthday-themed cards created with just-released Rubbernecker stamp sets. A full list of blog hop participants appears at the end of my post.

Rubbernecker Birthday Celebration Blog Hop

My first card features bright, die-cut balloons and a fun script sentiment.

Rubbernecker Birthday Celebration Blog Hop

  • I stamped the pattern image in the Happy Birthday #1 stamp set on to colored paper with coordinating inks for a tone-on-tone look.
  • I die-cut the stamped paper with the Balloons Die. I die-cut the strings from white cardstock and assembled the balloons.
  • I stamped the sentiment in the Birthday Vase set in VersaFine ink on a mini-slimline sized light-blue cardstock panel.

Rubbernecker Birthday Celebration Blog Hop

  • I created a mini-slimline frame by cutting patterned paper using the two largest dies in the Mini Slimline Nested with Stich set.
  • I attached the sentiment panel to a card base and adhered the frame.
  • After assembly everything, I embellished the card with circles cut from glitter cardstock using dies in the Lifeguard Tower and Fishing Boat die sets.

Rubbernecker Birthday Celebration Blog Hop

My second card showcases the fun-to-color Birthday Vase stamp set.

Rubbernecker Birthday Celebration Blog Hop

  • I created a mini-slimline frame by cutting patterned paper using the two largest dies in the Mini Slimline Nested with Stich set.
  • I stamped the sentiment in the Birthday Vase set in VersaFine ink on a mini-slimline sized white cardstock panel.
  • Using vellum as a mask, I applied Distress Oxide inks above and below the horizon line.
  • I attached the sentiment panel to a card base and adhered the frame.
  • I stamped the vase and flowers in Memento black ink on white cardstock, colored the image with Copic markers and colored pencils, and fussy-cut it.
  • I assembled the card, adding the flowers and vase with foam adhesive.
  • I embellished with Silver Mix Gems.

Rubbernecker Birthday Celebration Blog Hop

Scroll past the supplies for the full blog hop list.


Blog Hop List

Rubbernecker Blog
Colleen
Lisa
Annie
Jamie
Kittie
Jean <–You are here
Natasha
Carol
Preeti
Allison
Julie