Clean and Simple Cardmaking 3: One Layer Cards GIVEAWAY!

I’m delighted to be a Guest Artist in the upcoming Clean & Simple Cardmaking 3 from Online Card Classes. And I’ve got a seat to giveaway!

Here’s some info about the class:

Simplify your card creations for maximum “wow”! Join Kristina Werner, Jennifer McGuire, Julie Ebersole and guest artists (including me!) for another round of the ever-popular Clean & Simple Cardmaking class series, Clean & Simple Cardmaking 3, which shines the spotlight on one-layer cards!

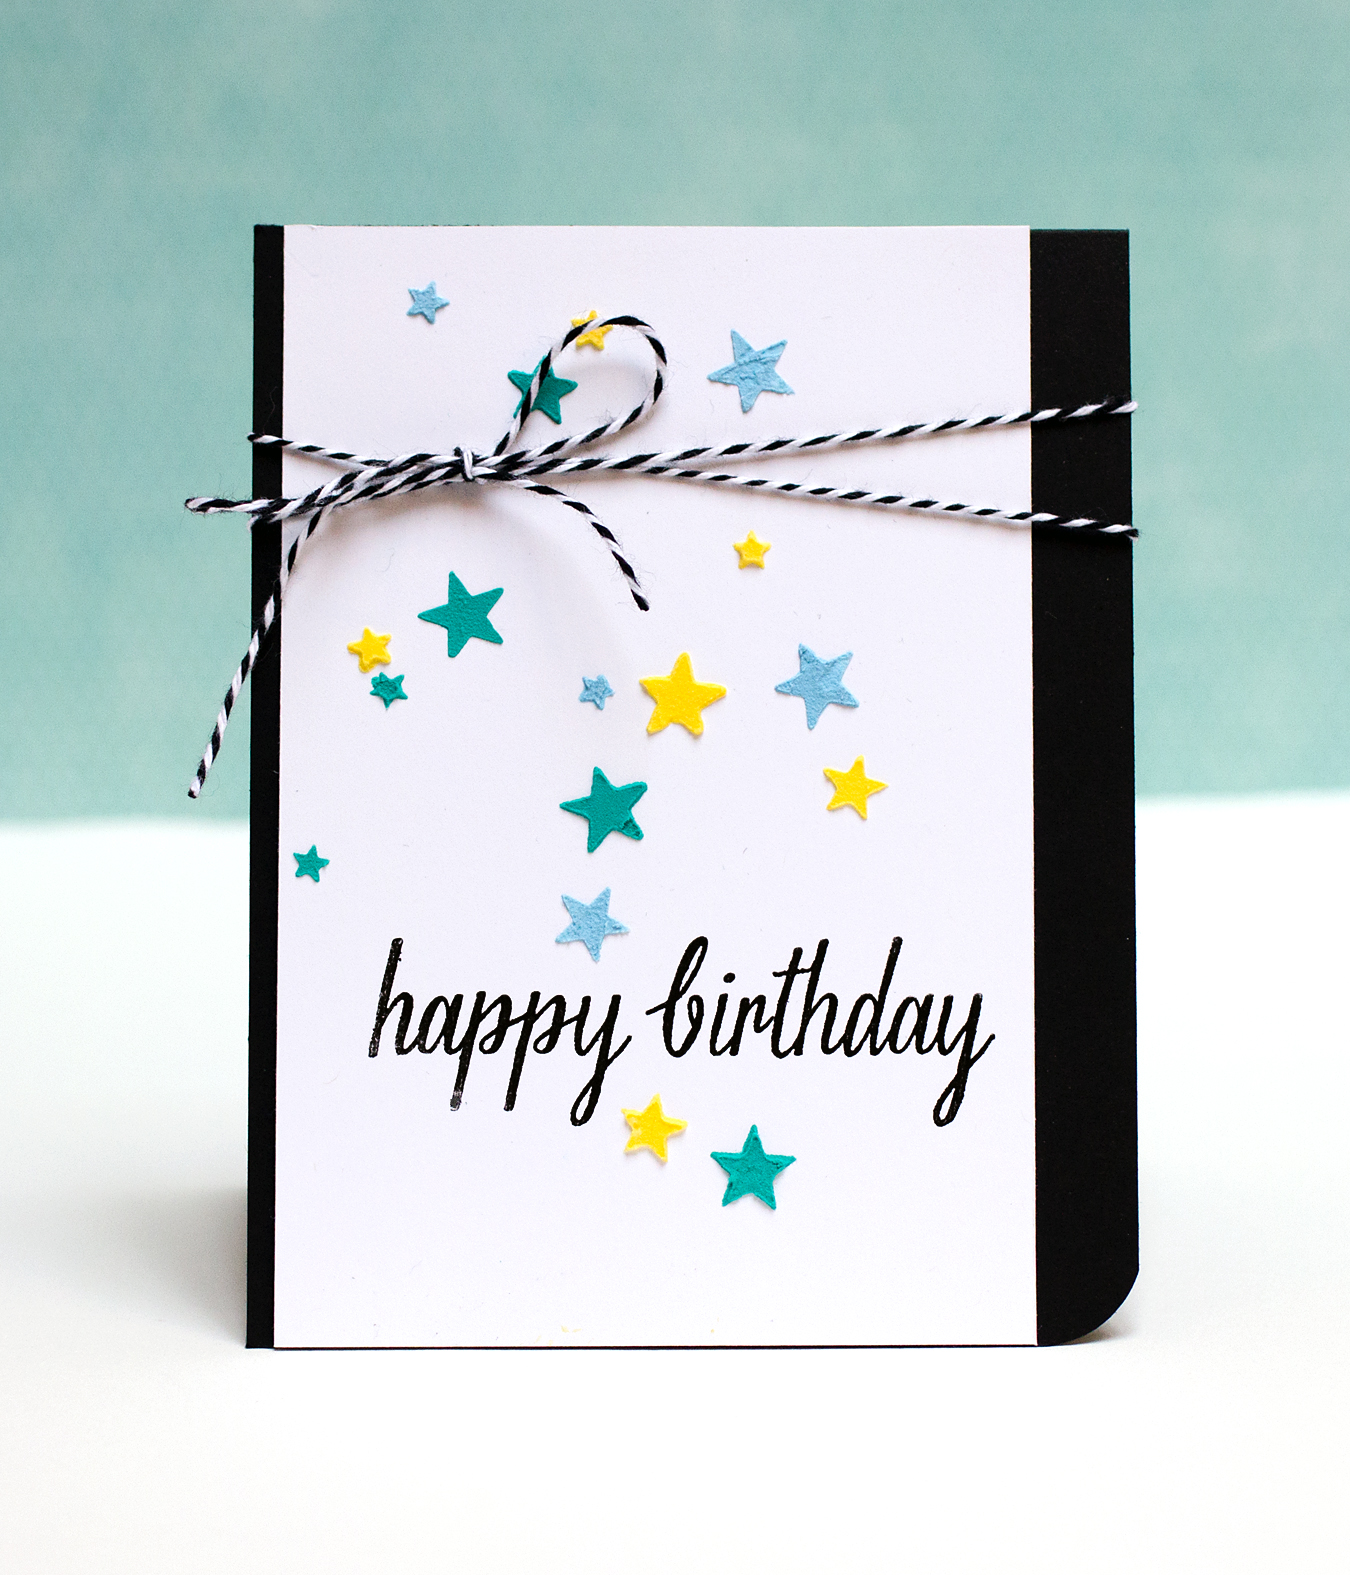
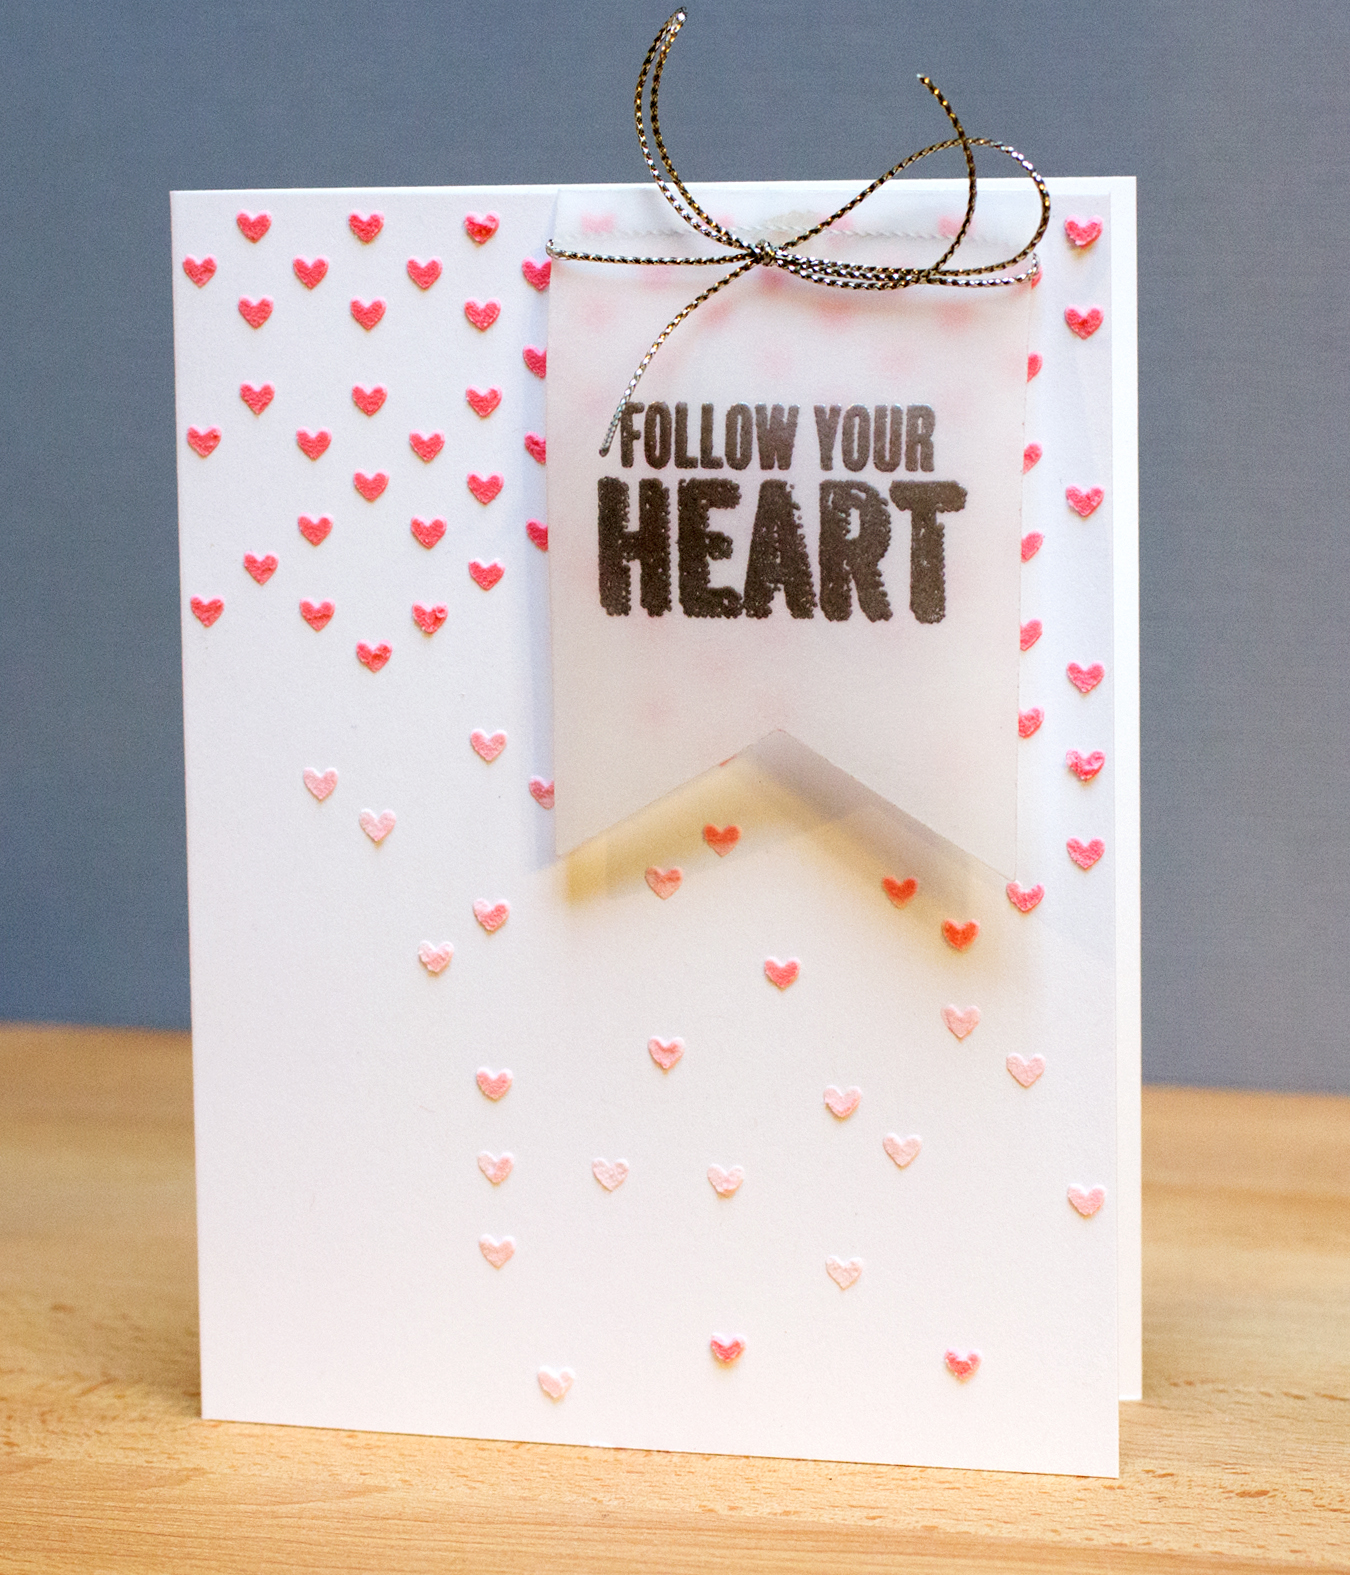
In Clean & Simple Cardmaking 3 from Online Card Classes, you’ll learn over 20 fabulous ways to create one-layer cards with a clean-and-simple style. Whether your definition of clean-and-simple is a simple technique with big impact or a bit more time-intensive technique with clean results, you’ll find a wide range of new ideas, videos and techniques to spark your creativity.

Head on over to Online Card Classes to sign up for Clean & Simple Cardmaking 3 and discover for yourself the all possibilities in one-layer cards. Class starts March 10, but you can take it anytime – you will have lifetime access.

I am giving away one spot in Clean and Simple Cardmaking 3! For your chance, leave a comment here by 11:50 pm EST on  3/5/14. If you win but have already purchased a spot, you’ll be refunded.
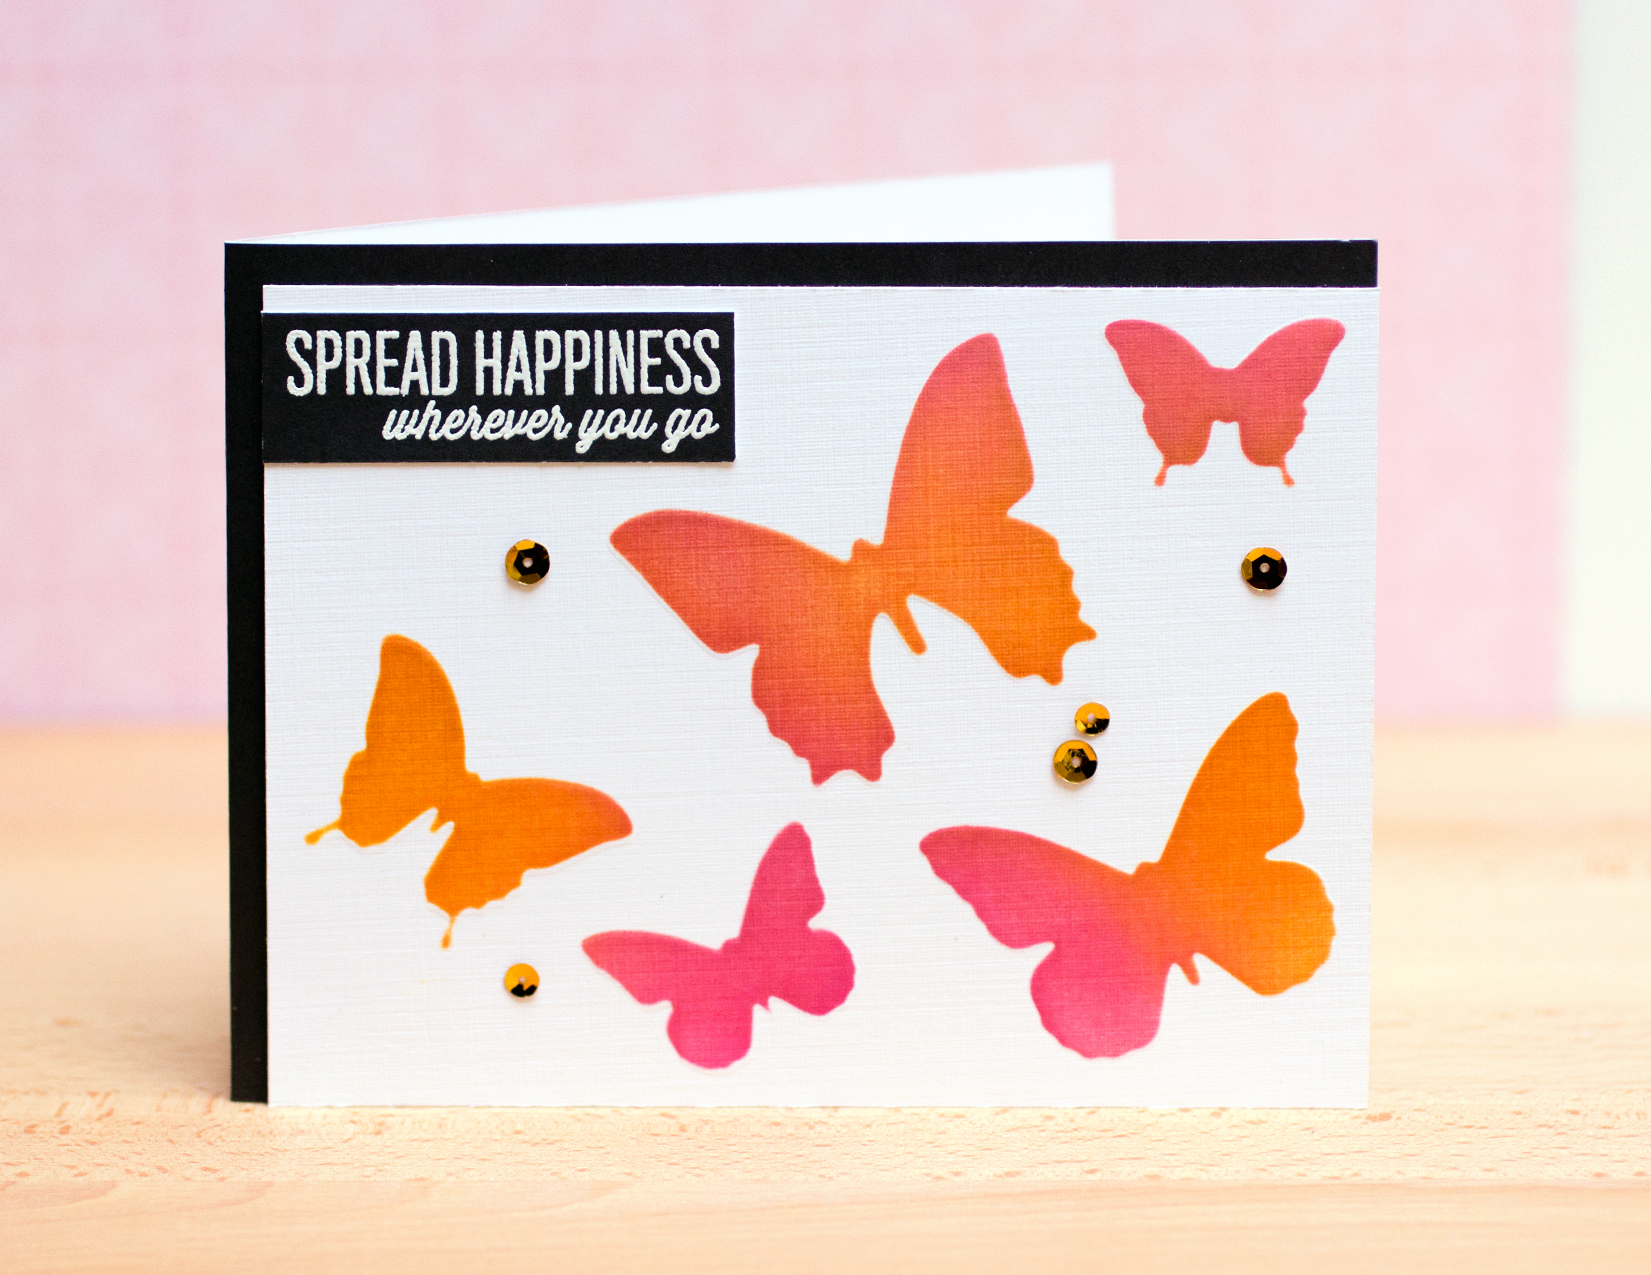
Who Loves You?

Today, I’m sharing a card created with one of the new stamp sets (and its companion die cut set)  from Paper Smooches.

Hooties

For the background, I applied Ferro acrylic paint through a Simon Says Stamp star stencil. The Ferro paint was demonstrated during the Online Card Classes Stenciled Class. It’s quite thick – as thick as embossing paste. Application was super easy and much easier than coloring embossing paste with a metallic (which I actually haven’t tried, although I have colored the embossing paste with acrylic paint). I also tried heat-embossing white paste (applied through the stencil) with silver powder; another technique demonstrated in the Stenciled class. It worked fine, but I prefer the look that the Ferro provides over the embossing powder technique, which tends to bubble the embossing powder during the heating process.

I colored the owls with Copics, cut them with the Owl Icons die, and attached them to the die cut branch with dimensional adhesive.

Supplies:

Stenciled: Butterflies

I’m still playing with stencils (and color!). The idea for this card comes from one of Julie Ebersole’s shown in the Online Card Classes Stenciled Class.

ButterflyStencilI dry-embossed the linen cardstock with the Heidi Swapp stencil before coloring it with the Distress Inks (leaving the stencil in place while applying the inks). The stencil includes an additional butterfly, which I cut off for a traditionally-sized card. I didn’t need to move the stencil at all for the design of the butterflies, which I liked, as I struggle to do something “artsy” when positioning items on my cards. 🙂

Supplies: Heidi Swapp Butterfly stencil

Seeing Stars

Yes, I’m still working through the material from the Online Card Classes Stenciled Class. After seeing the results that other classmates got with adding acrylic paint to embossing paste, I wanted to give it a try.

I created a card based on Kristina Werner’s design from Day Two using the techniques – using embossing paste with stencils – from Day Three.

Stenciled Stars

The Claudine Hellmuth acrylic paints have wonderfully vibrancy! I mixed the colors with the paste one at a time, applied the colored paste through the stencil, and let it dry before starting with a new color. I changed up the sentiment on this card from the card Day Two design. Because I didn’t cut the Hero Arts sentiment into two pieces, the white panel is wider than the original design. Just before photographing it, it seemed a tad plain, so I finished off the top with some twine.

Supplies:

Stenciled: Colored Embossing Paste

I’m still working through the course material from the Online Card Classes Stenciled Class. This card is based partially on a design by Debby Hughes from Day One, as well as on a card of Laura Bassen’s from the Simon Says Stamp Valentine’s Blog Hop.

Stenciled: Colored Embossing Paste

I’ve been wanting to color embossing paste, and used two distress inks to color the paste I used on the “Falling Hearts” stencil. Laura used acrylic paints to color her hearts. I like that idea as well, and plan to try it, but didn’t have two shades of pink, and I was set on using pink. Theoretically you could use one pink, and mix more (or less) of the embossing paste with it to create a different shades, but I’m finding that as a “newbie” I don’t have time to mix before applying to the stencil. I particularly like this SSS stencil – you simply lay it over the card and start applying paste. I don’t have to move the stencil around to get a pleasing design.

And there’s little light today here in the Pacific Northwest – dark skies and rain! So my photo is a bit hard to see.

Supplies: