Comfort & Joy – Holiday Donuts!

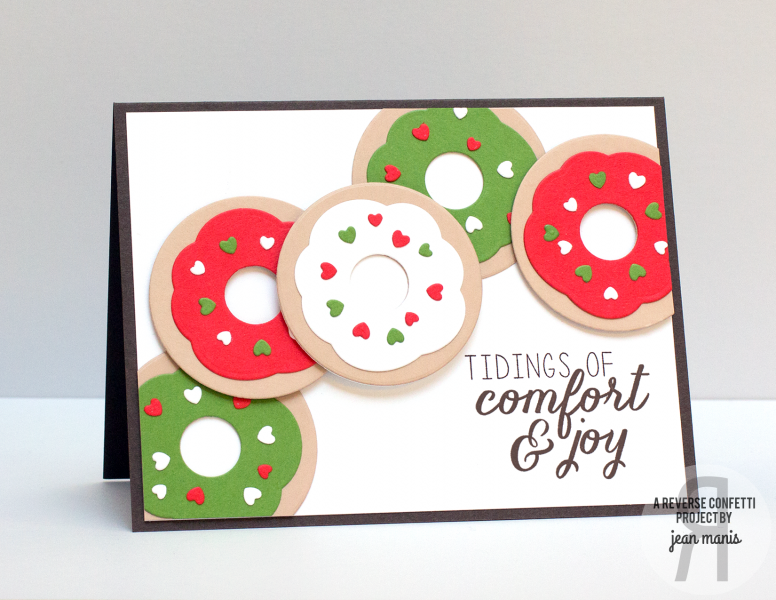
Today, I’m sharing a “just because” holiday card playing on the Reverse Confetti sentiment -“Tidings of comfort & joy.”

Comfort & Joy - Holiday Donuts!

I cut the donut bases with the large and small circles in the Donut You Know Confetti Cut set. Then I cut the icing tops with the icing die and small circle in holiday colors. I added heart sprinkles in red, green and white.

May your holiday week be filled with comfort and joy!

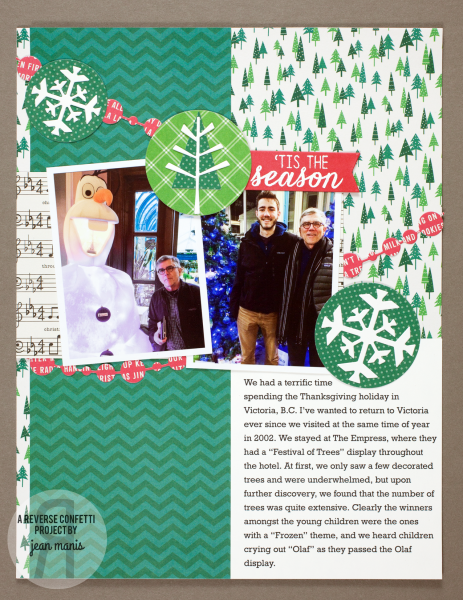
Reverse Confetti – Holiday Scrapbook Layout

Today, I’m sharing a layout for which I created my own embellishments with Reverse Confetti stamps and Confetti Cuts.

Over the Thanksgiving holiday, our family took a quick excursion to Victoria, BC. We’d traveled there twelve years ago at Thanksgiving time and had been wanting to return for quite a while. My husband and son were good sports and let me snap some photos for an 8 1/2″ x 11″ layout.

I used a sketch from Pagemaps for my layout.

I cut the white snowflakes with the Let It Snow Confetti Cuts and added them to patterned paper circles. I cut the evergreen and limbs with the Branch Out Confetti Cuts, also adding those to a patterned paper circle. I cut the Circle Garland three times, out of red patterned paper for some color. I cut the sentiment flag with the Tag Me banner and heat embossed it with one of the Seasonal Sentiments.

By using a coordinated set of patterned paper (Pebbles “Home for Christmas” collection) with the Reverse Confetti products, this layout came together quite quickly!

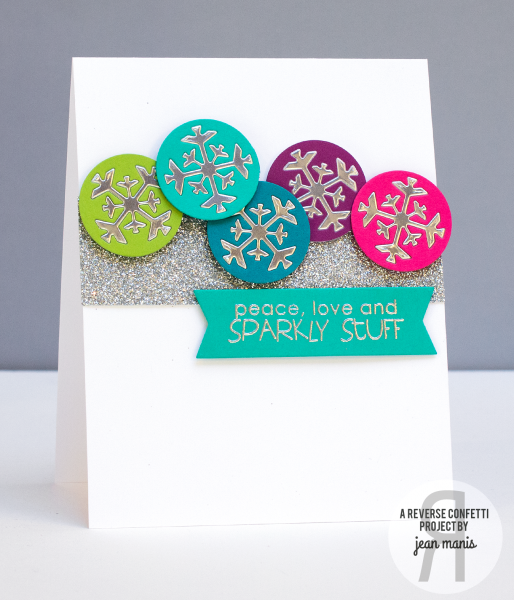
Reverse Confetti December SFYTT

I’m playing along with this month’s Sketch for You to Try at Reverse Confetti  using a stamped sentiment and snowflakes from the Let It Snow Confetti Cuts set.

To create the inlaid snowflake circles, I ran the snowflake die (from the Let It Snow Confetti Cuts set) placed inside a circle die through my Big Shot. I repeated for each of the five colors. I then cut the snowflakes again out of silver foil paper. I removed the snowflakes from the colored circles, put some Scotch tape on the back and placed the silver foil snowflakes inside. I added a silver glitter strip to the card base to tie in the silver-and-sparkle theme. I also heat embossed the sentiment, from the Tinsel ‘N Trim set, with silver powder, and cut it with the Tag Me banner

Reverse Confetti Pretty Packaging Blog Hop

Welcome to the Reverse Confetti Pretty Packaging Blog Hop! The Reverse Confetti designers are sharing a whole range of packaging ideas.
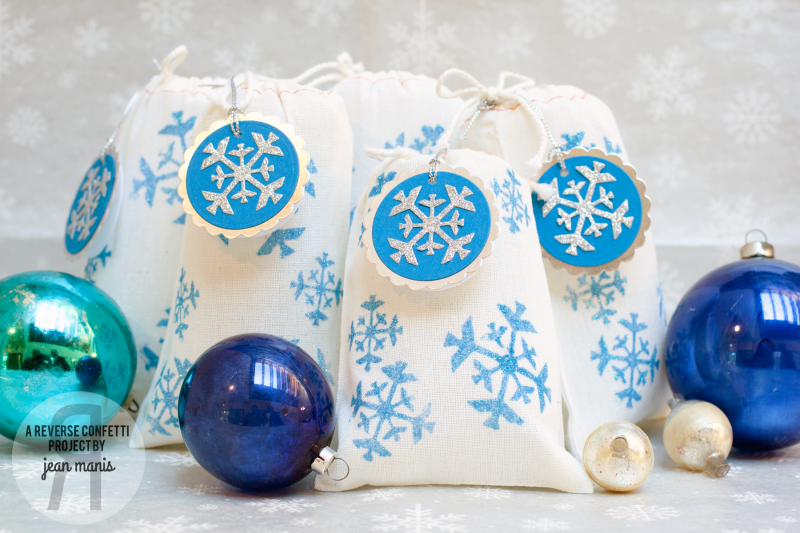
For the hop, I created glitter-stenciled muslin treat bags using the Let It Snow Confetti Cuts. Let’s take a look at the process.

To begin, cut a 4″ x 5″ piece of freezer paper (cut to the size of the muslin bag front) with the Let It Snow Confetti Cuts. I ran the freezer paper through the Big Shot first with all three snowflakes and again with the two smaller snowflakes.

Remove the cut out snowflakes from the panel. Iron the freezer paper panel (shiny side down) onto the muslin bag. The iron should be set on medium heat.

Apply glue to the open snowflake areas. I spread Aleene’s Jewel-It Embellishing Glue with a foam brush.

Shake glitter onto the open areas, covering generously. I used Martha Stewart blue iridescent glitter. Allow the glitter to dry, shake off excess and remove stencil.

To create matching gift tags:  Make a tag base with a circle die. Cover the tag front with a scallop piece cut from silver foil, using a die in the Circles ‘n Scallops Confetti Cuts set. Attach a blue cardstock circle embellished with a glitter snowflake, cut with the Let It Snow Confetti Cuts.

Stamp and heat emboss (using silver embossing powder) the inside of the tag with a sentiment from Seasonal Sentiments. Punch the finished tag and string with metallic twine.

Fill treat bags with whatever your heart desires – chocolates, caramels, small toys, nail polish, soaps, …
Reverse Confetti: Curtain Call Inspiration Challenge

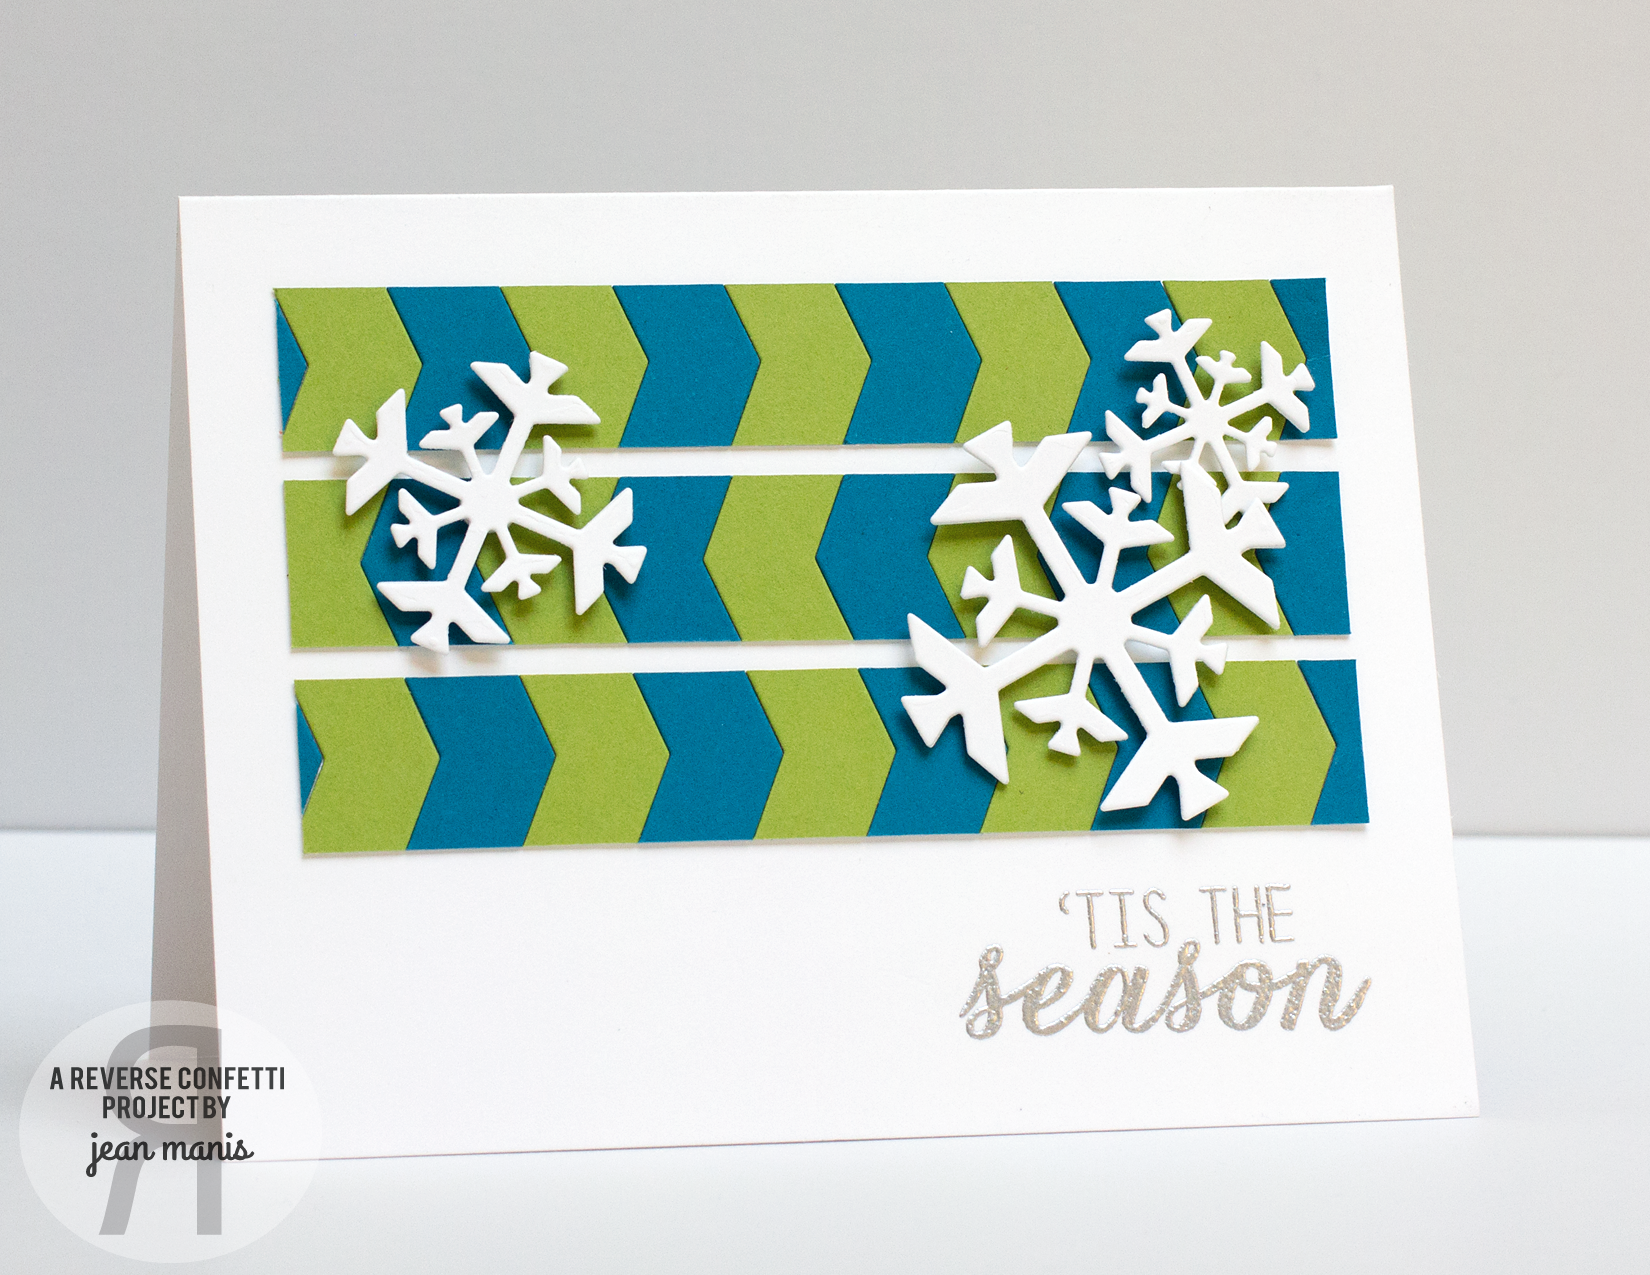
I’m playing along in the Curtain Call Inspiration Challenge: Clearly Christmas with a card created with some newly released Reverse Confetti supplies.

For my card, I was inspired by the colors of blue, green, white and silver. And of course the Christmas theme.

Reverse Confetti: Curtain Call Inspiration ChallengeI cut the chevrons with the Triple Chevies Confetti Cuts die and adhered them to a white base. I did this three times and then cut the panels into strips. When I attached the strips to the card base, I rotated the one in the middle 180 degrees so that there would be a zig zag pattern. I cut the snowflakes with the Let It Snow Confetti Cuts dies. I cut each size twice and adhered them for extra depth. I stamped and heat embossed a sentiment from Seasonal Sentiments in silver.