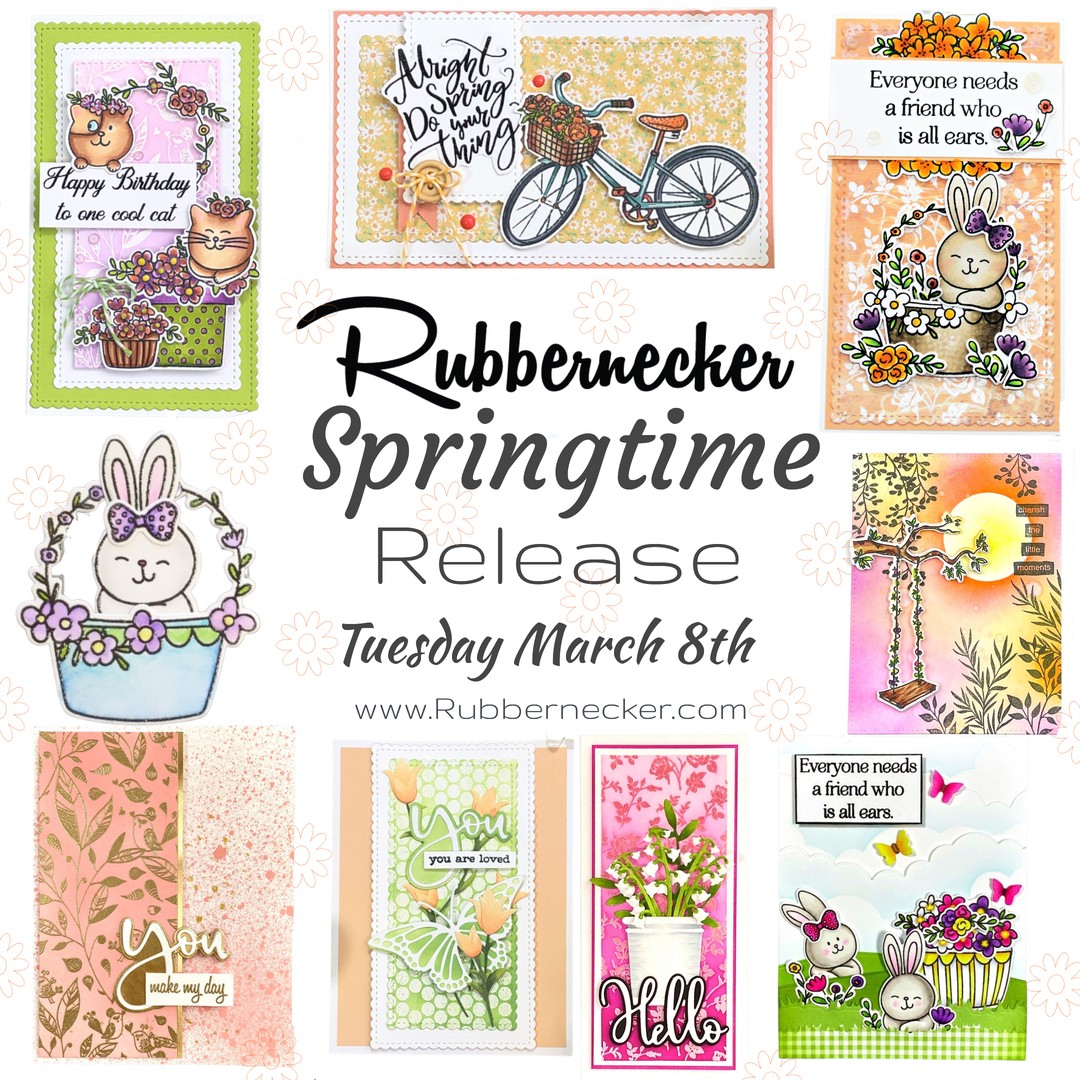
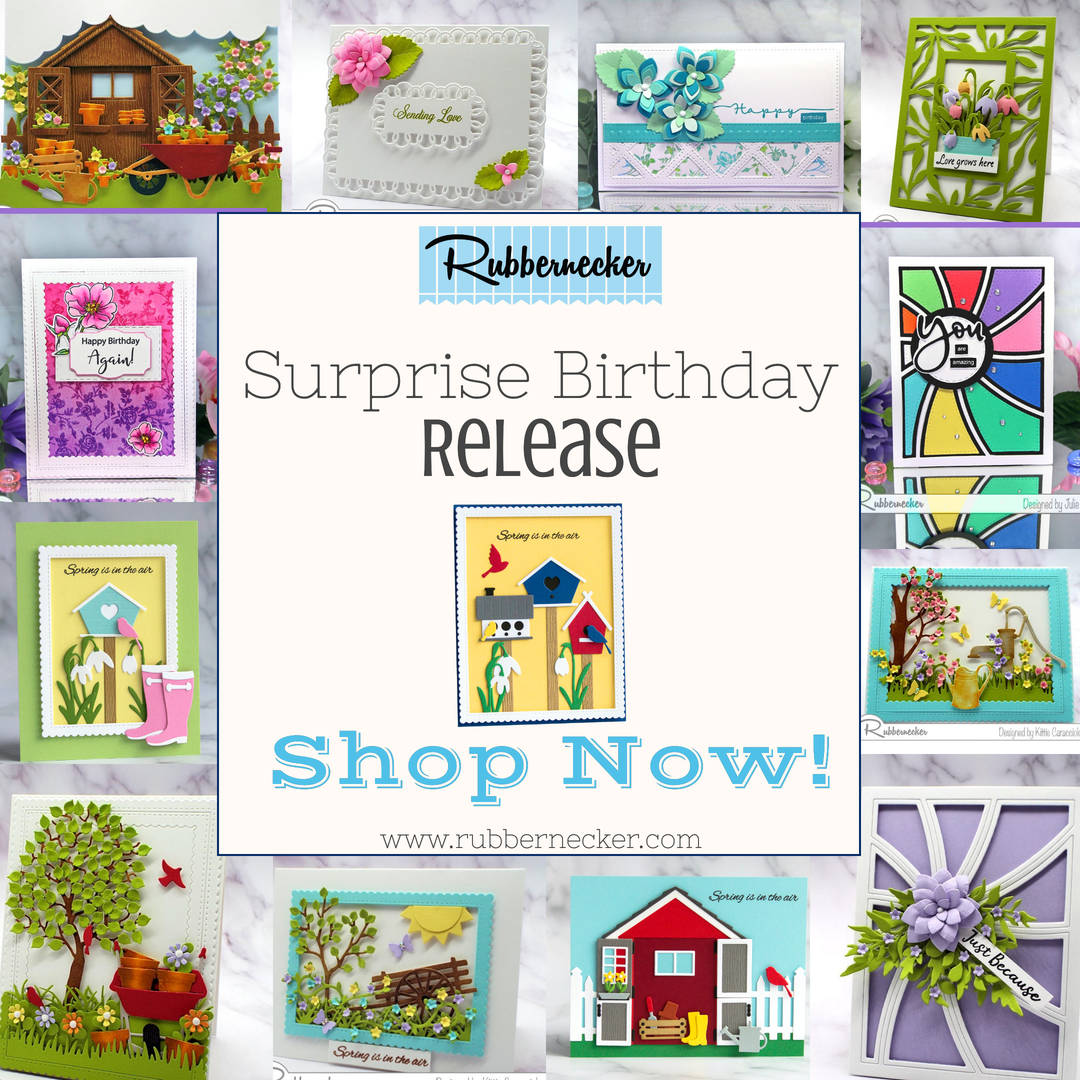
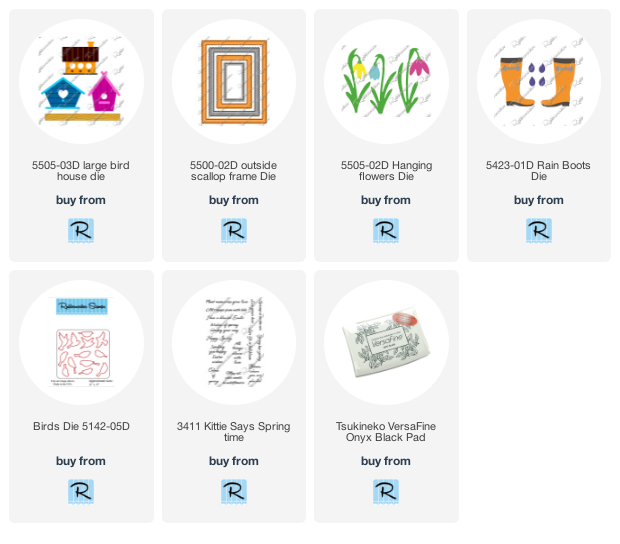
Hello! I am letting you know about the brand-new, spring-themed release at Rubbernecker. Find out more about the release on their blog! New releases are 5% off for 5 days.
Category: Rubbernecker
Rubbernecker | Golf Enthusiast Birthday Card
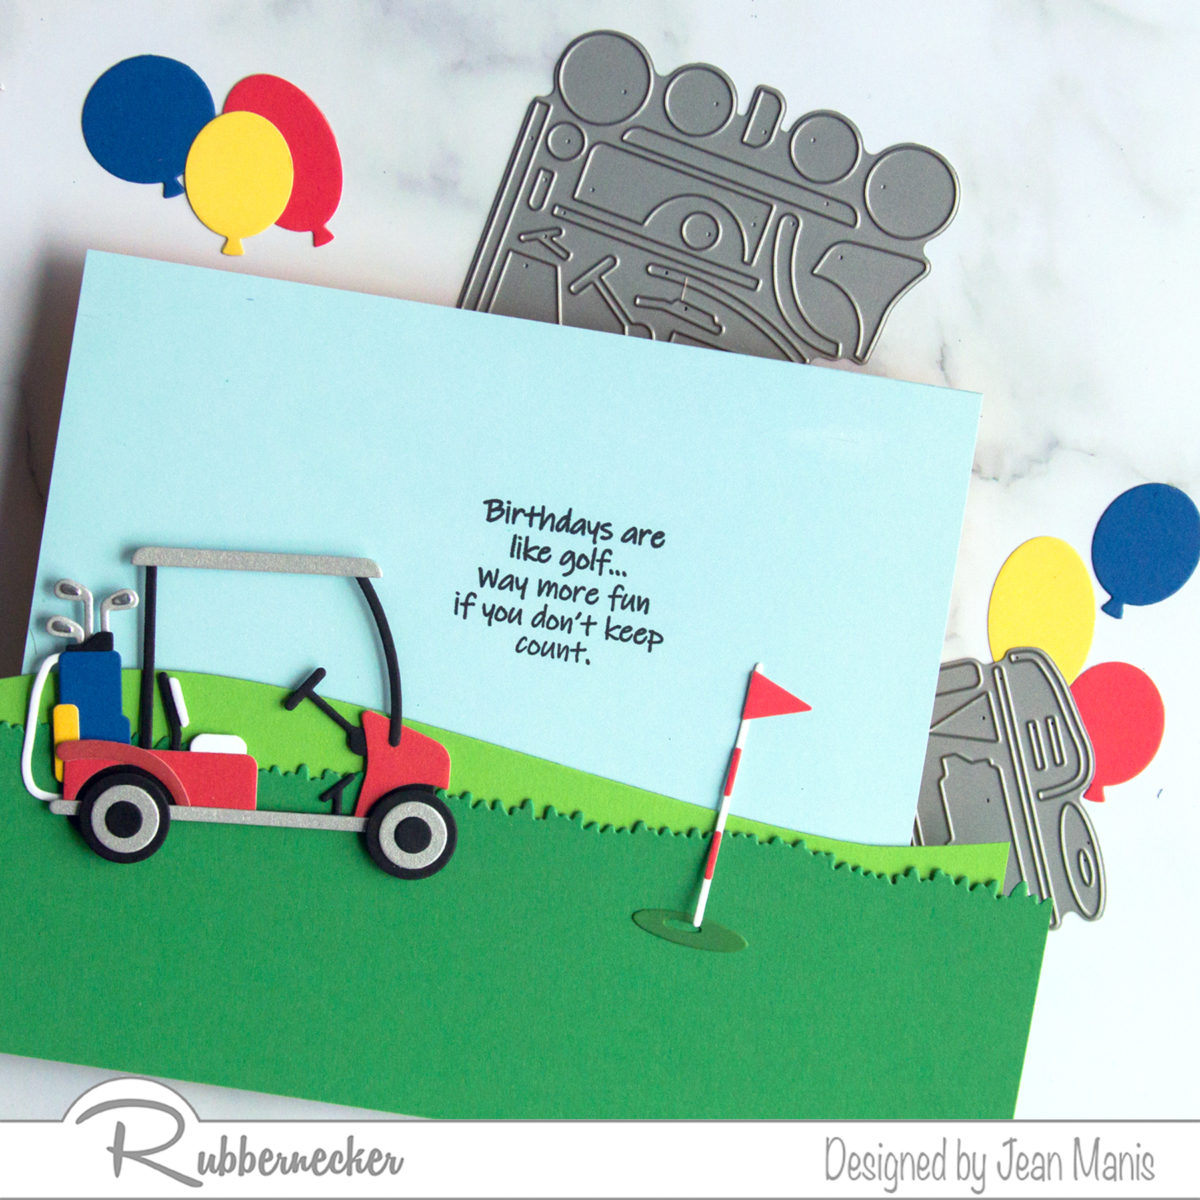
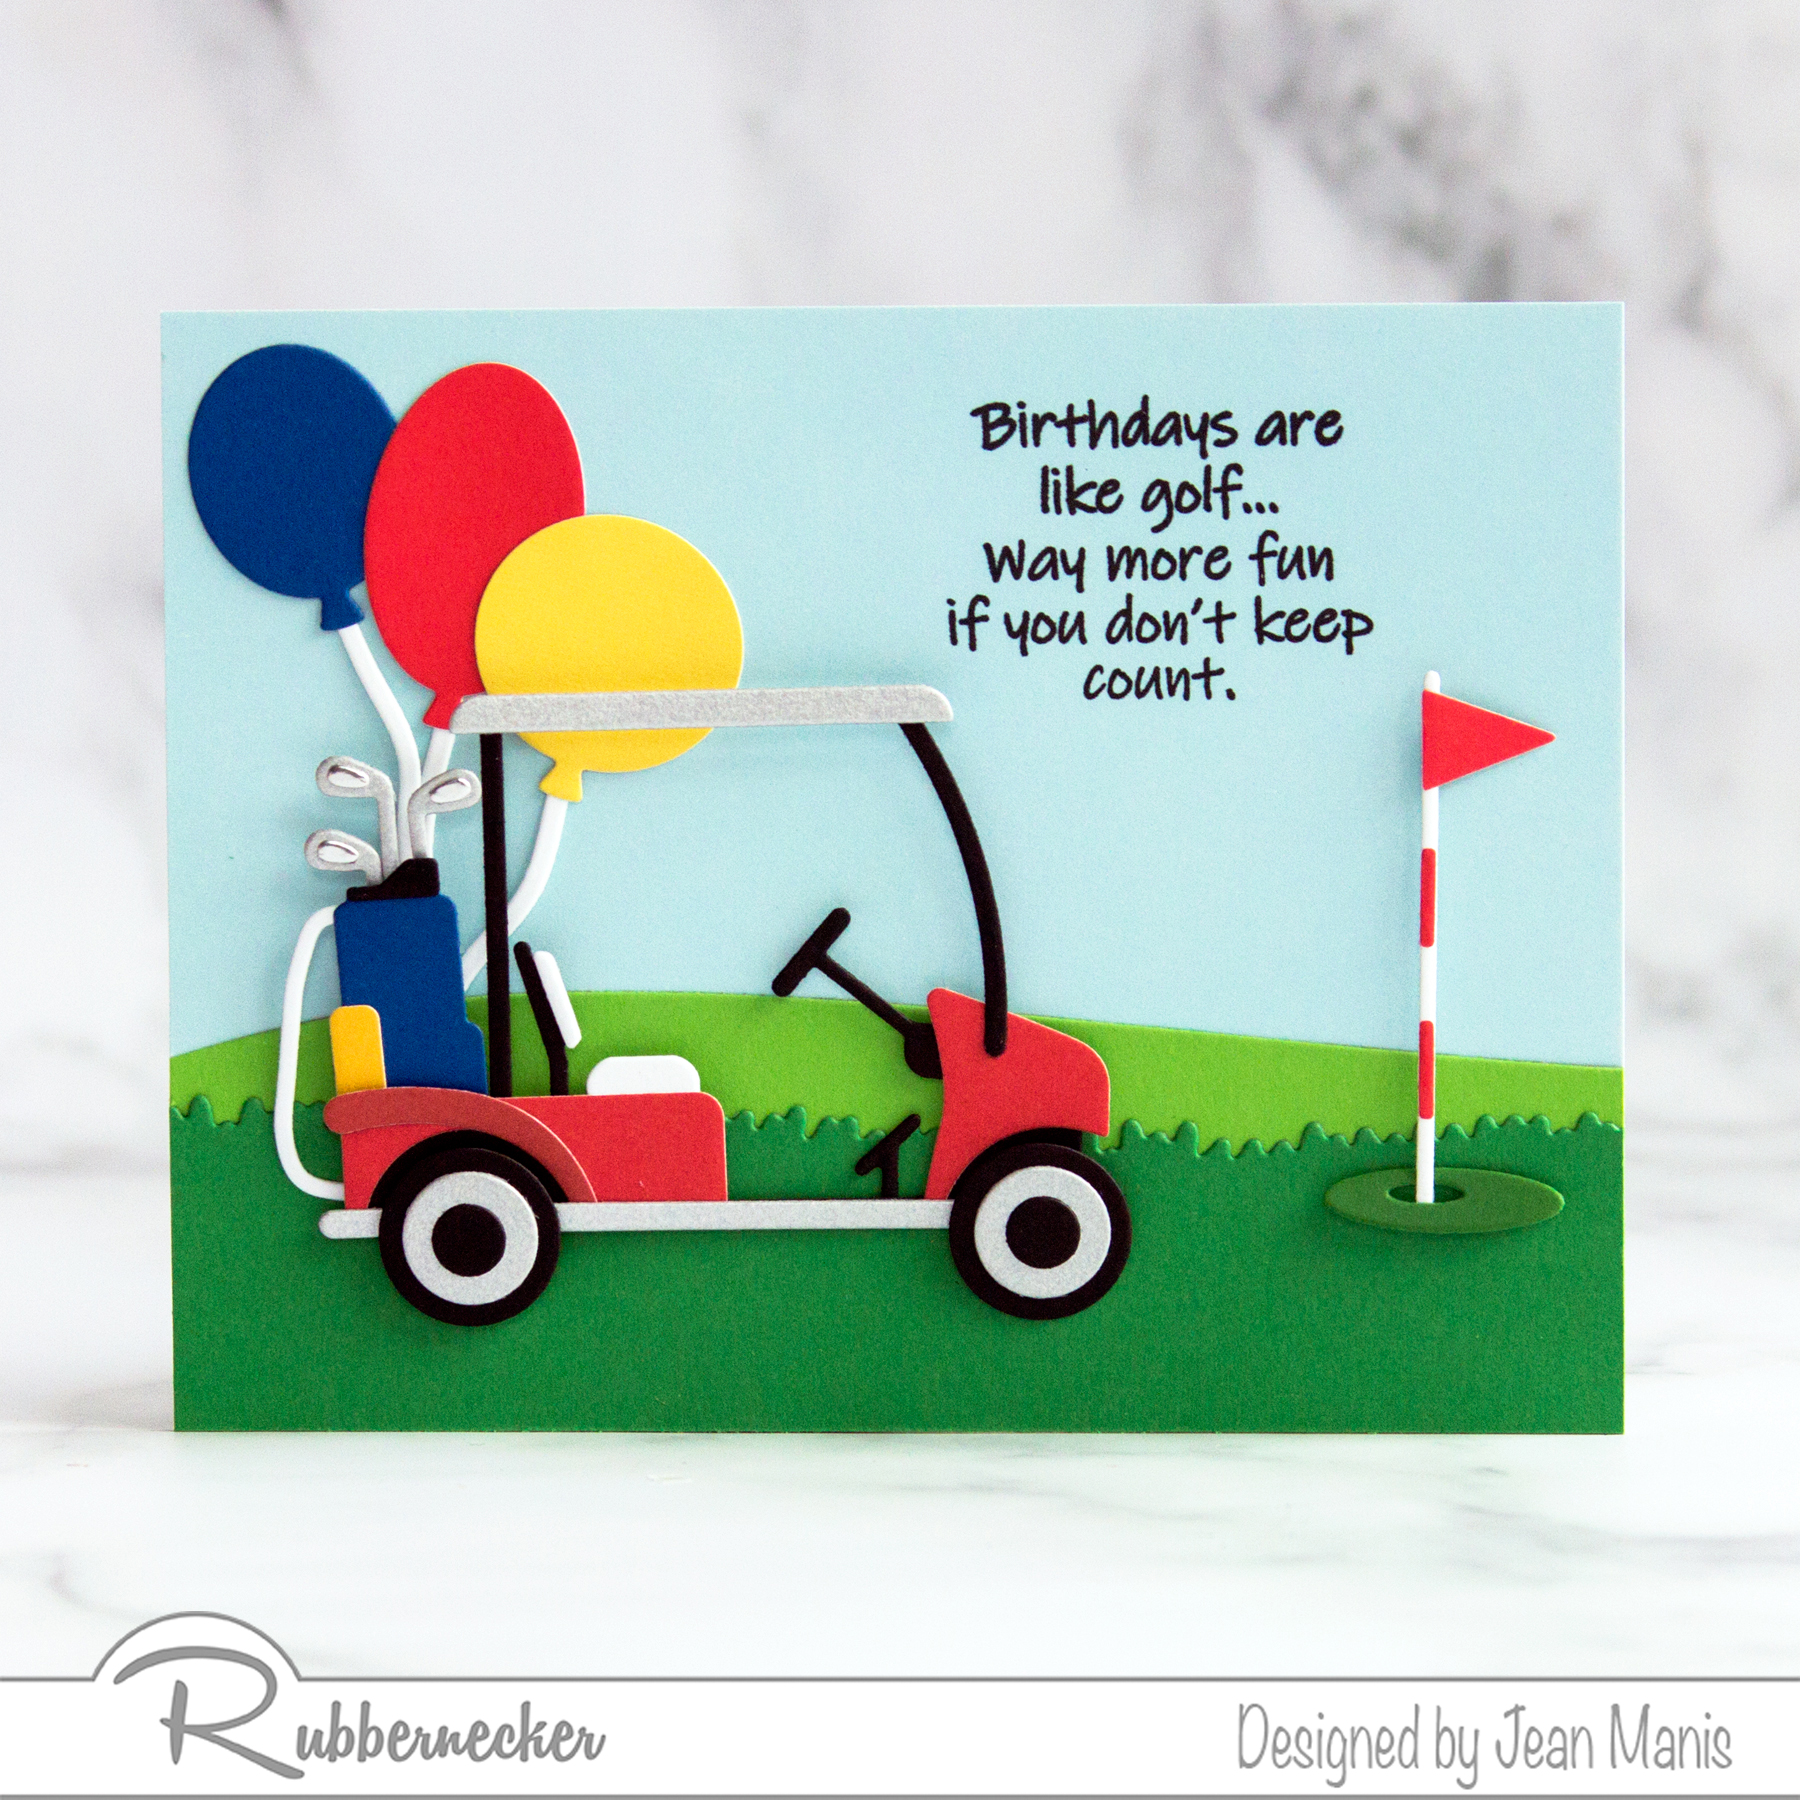
Fore! Do you have a golfer in your family or as a friend? Today, I am sharing a golf-themed birthday card created with Rubbernecker supplies.
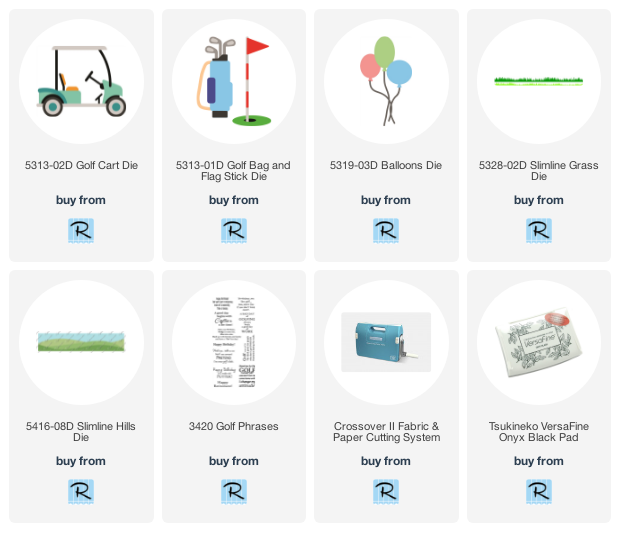
- Stamp Golf Phrases sentiment in VersaFine Onyx ink on a light-blue cardstock panel. This stamp set includes phrases for a variety of occasions including birthdays and retirements.
- Die-cut green cardstock with one of the Slimline Grass dies.
- Die-cut lighter-green cardstock with one of the Slimline Hills dies.
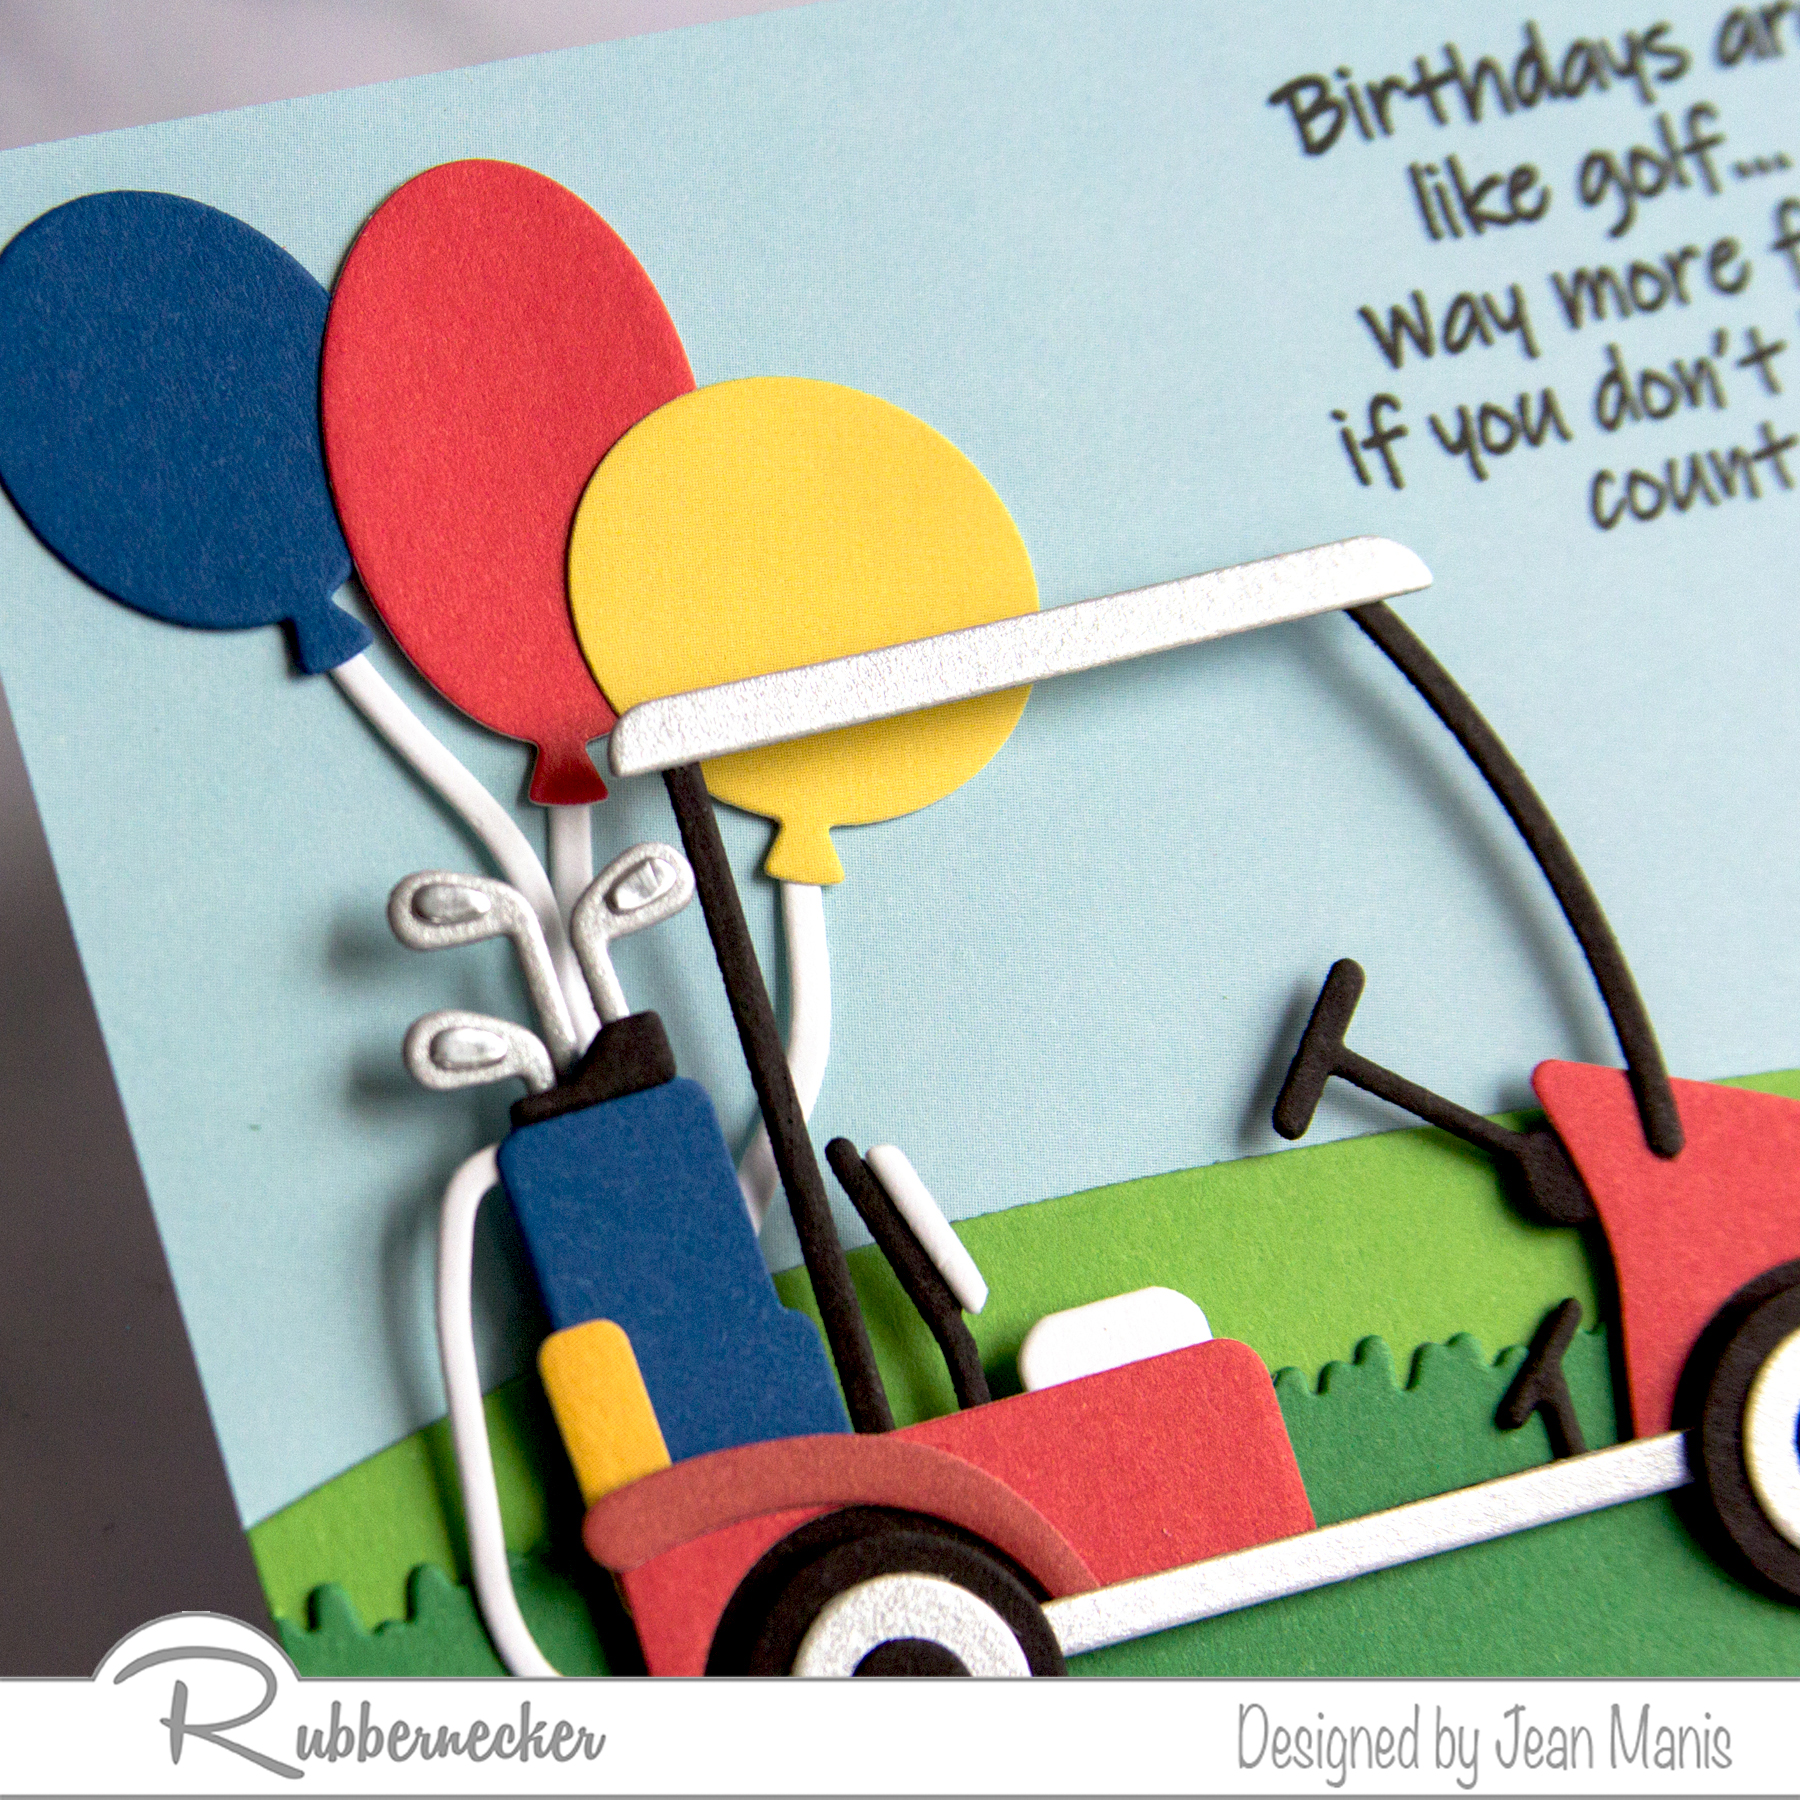
- Die-cut Golf Cart from colored, brushed silver, black, and white cardstock. Assemble Golf Cart according to instructions on the product description link.
- Die-cut Golf Bag and Flag Stick from white, brushed silver, silver foil, and colored cardstock; partially assemble. Color die-cut golf hole with green ink to distinguish it from the grass.
- Die-cut Balloons from colored and white cardstock.; do not assemble at this point.
- Using the Golf Cart, Golf Bag, and Flag Stick for positioning, trim the stamped background panel so that the sentiment is between the golf cart and the top of the flag stick.
- Adhere grass and hill together, attach to background, and trim panel.
- Adhere background panel to A2-size card base.
- Add hole to grass with foam adhesive; slip flag stick into hole, with small amount of glue at the bottom, and adhere flag to background with foam adhesive.
- Adhere golf bag to golf cart. Adhere assembly to the background with foam adhesive.
- Position balloons behind the golf cart, trim strings as necessary, and glue to background.
Rubbernecker | Spring-Themed Release Day 2
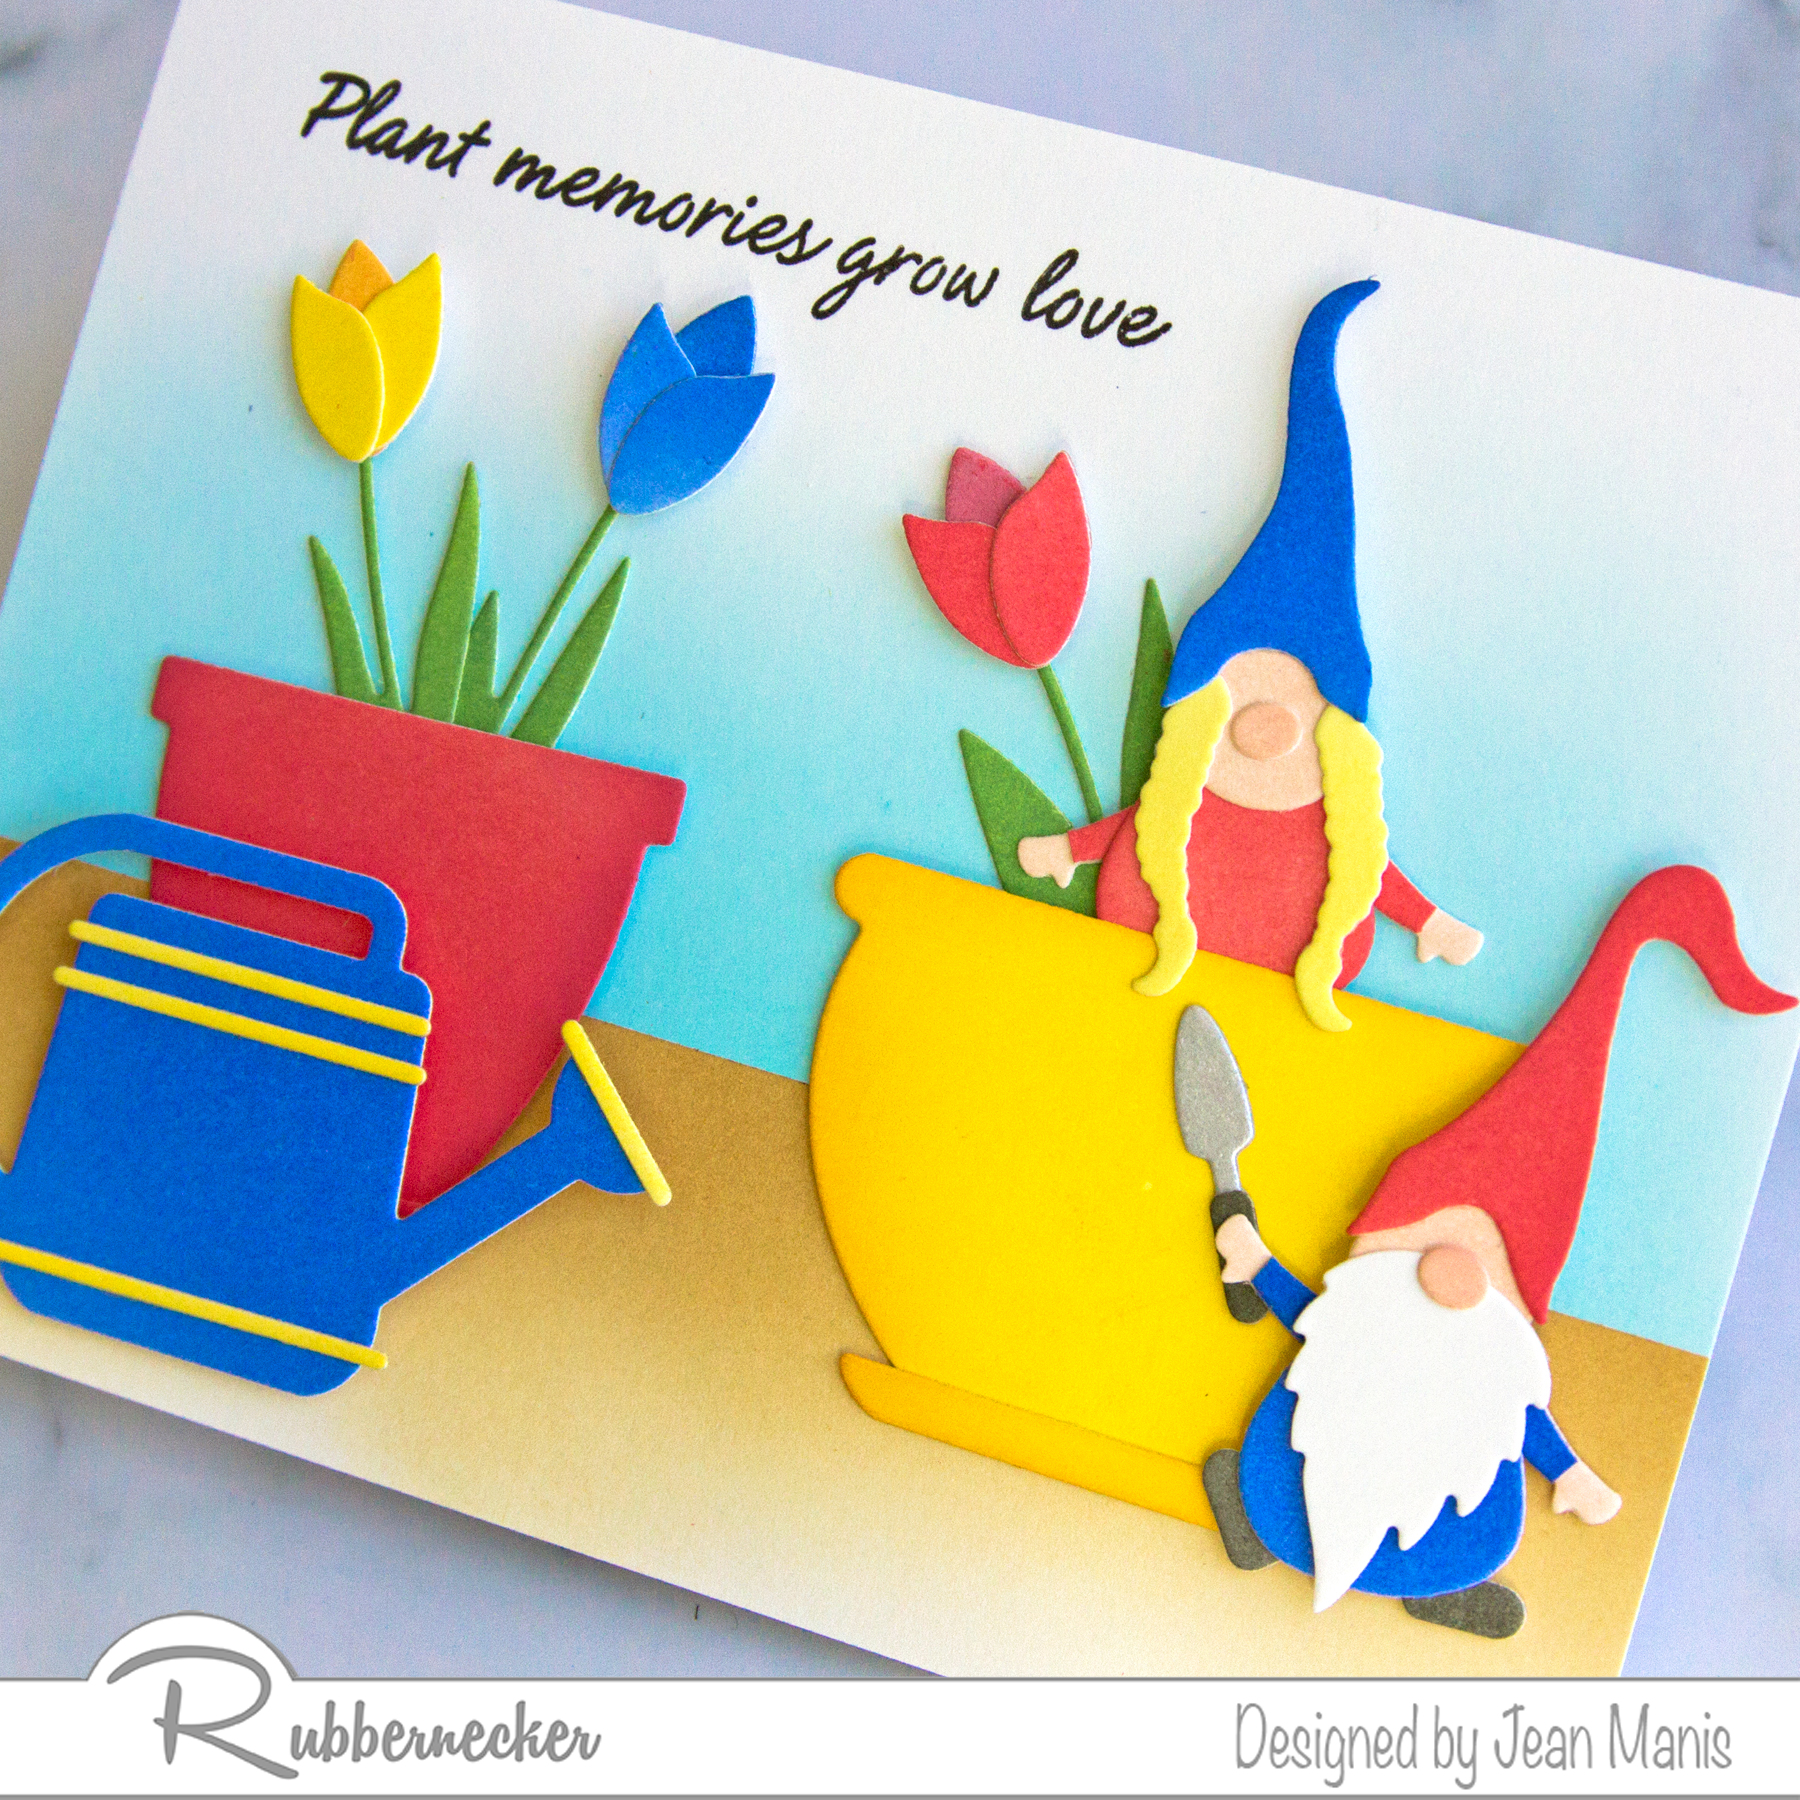
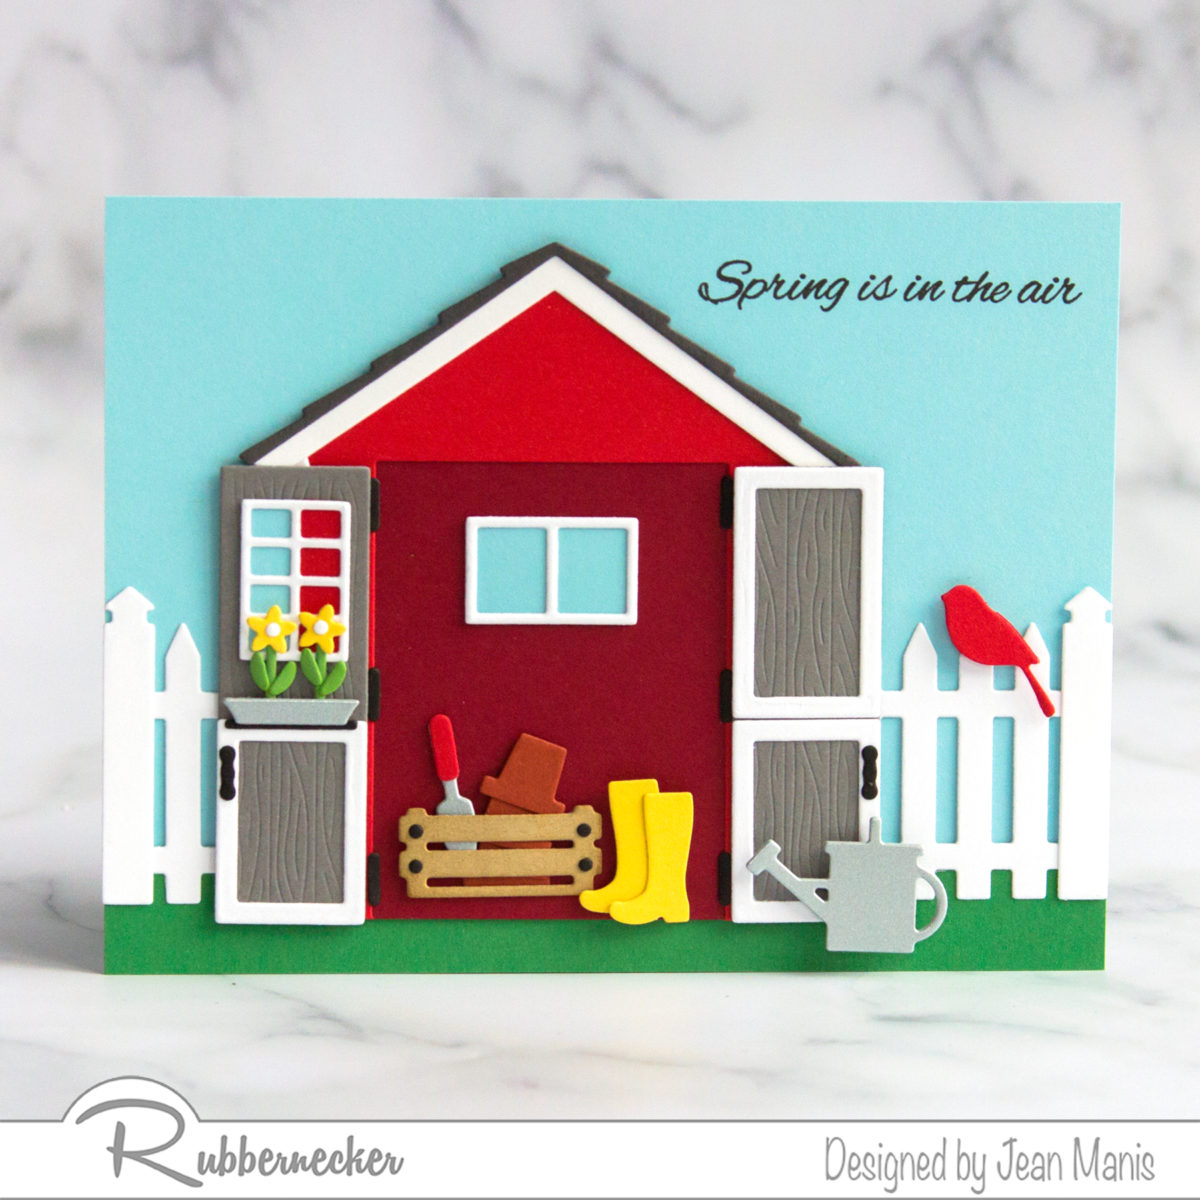
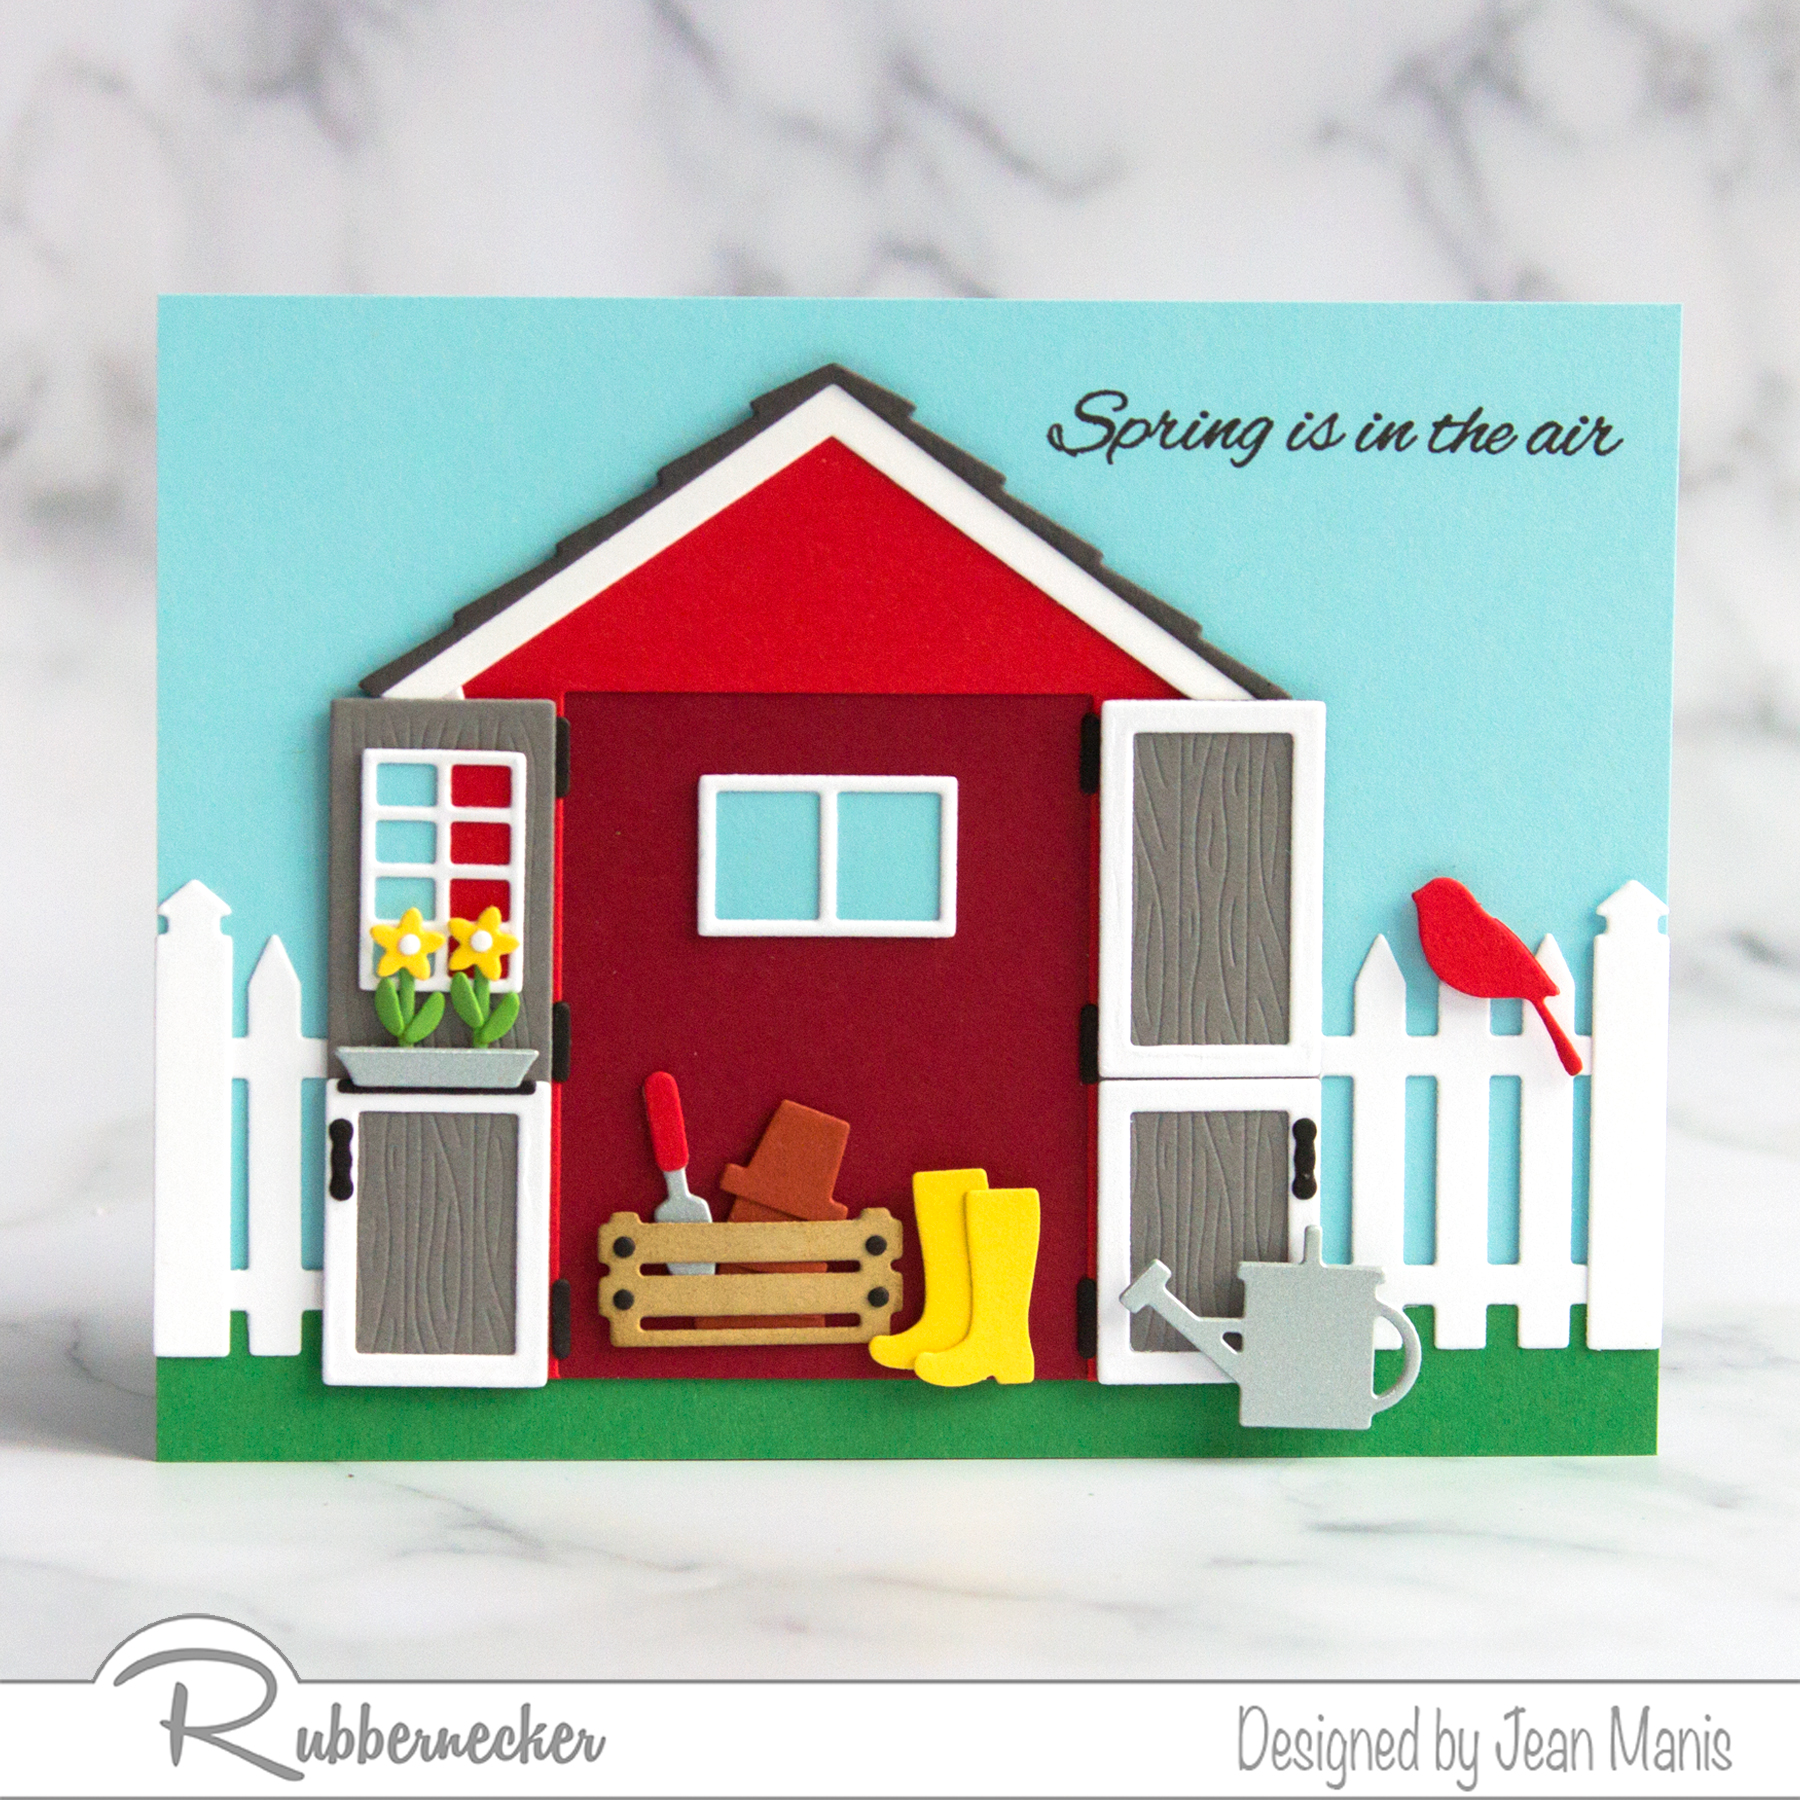
Hello! Today, I am sharing a spring-themed card featuring brand-new Rubbernecker die sets, part of their new release. With spring in the air, it is time to open our sheds! Check out this post for more inspiration.
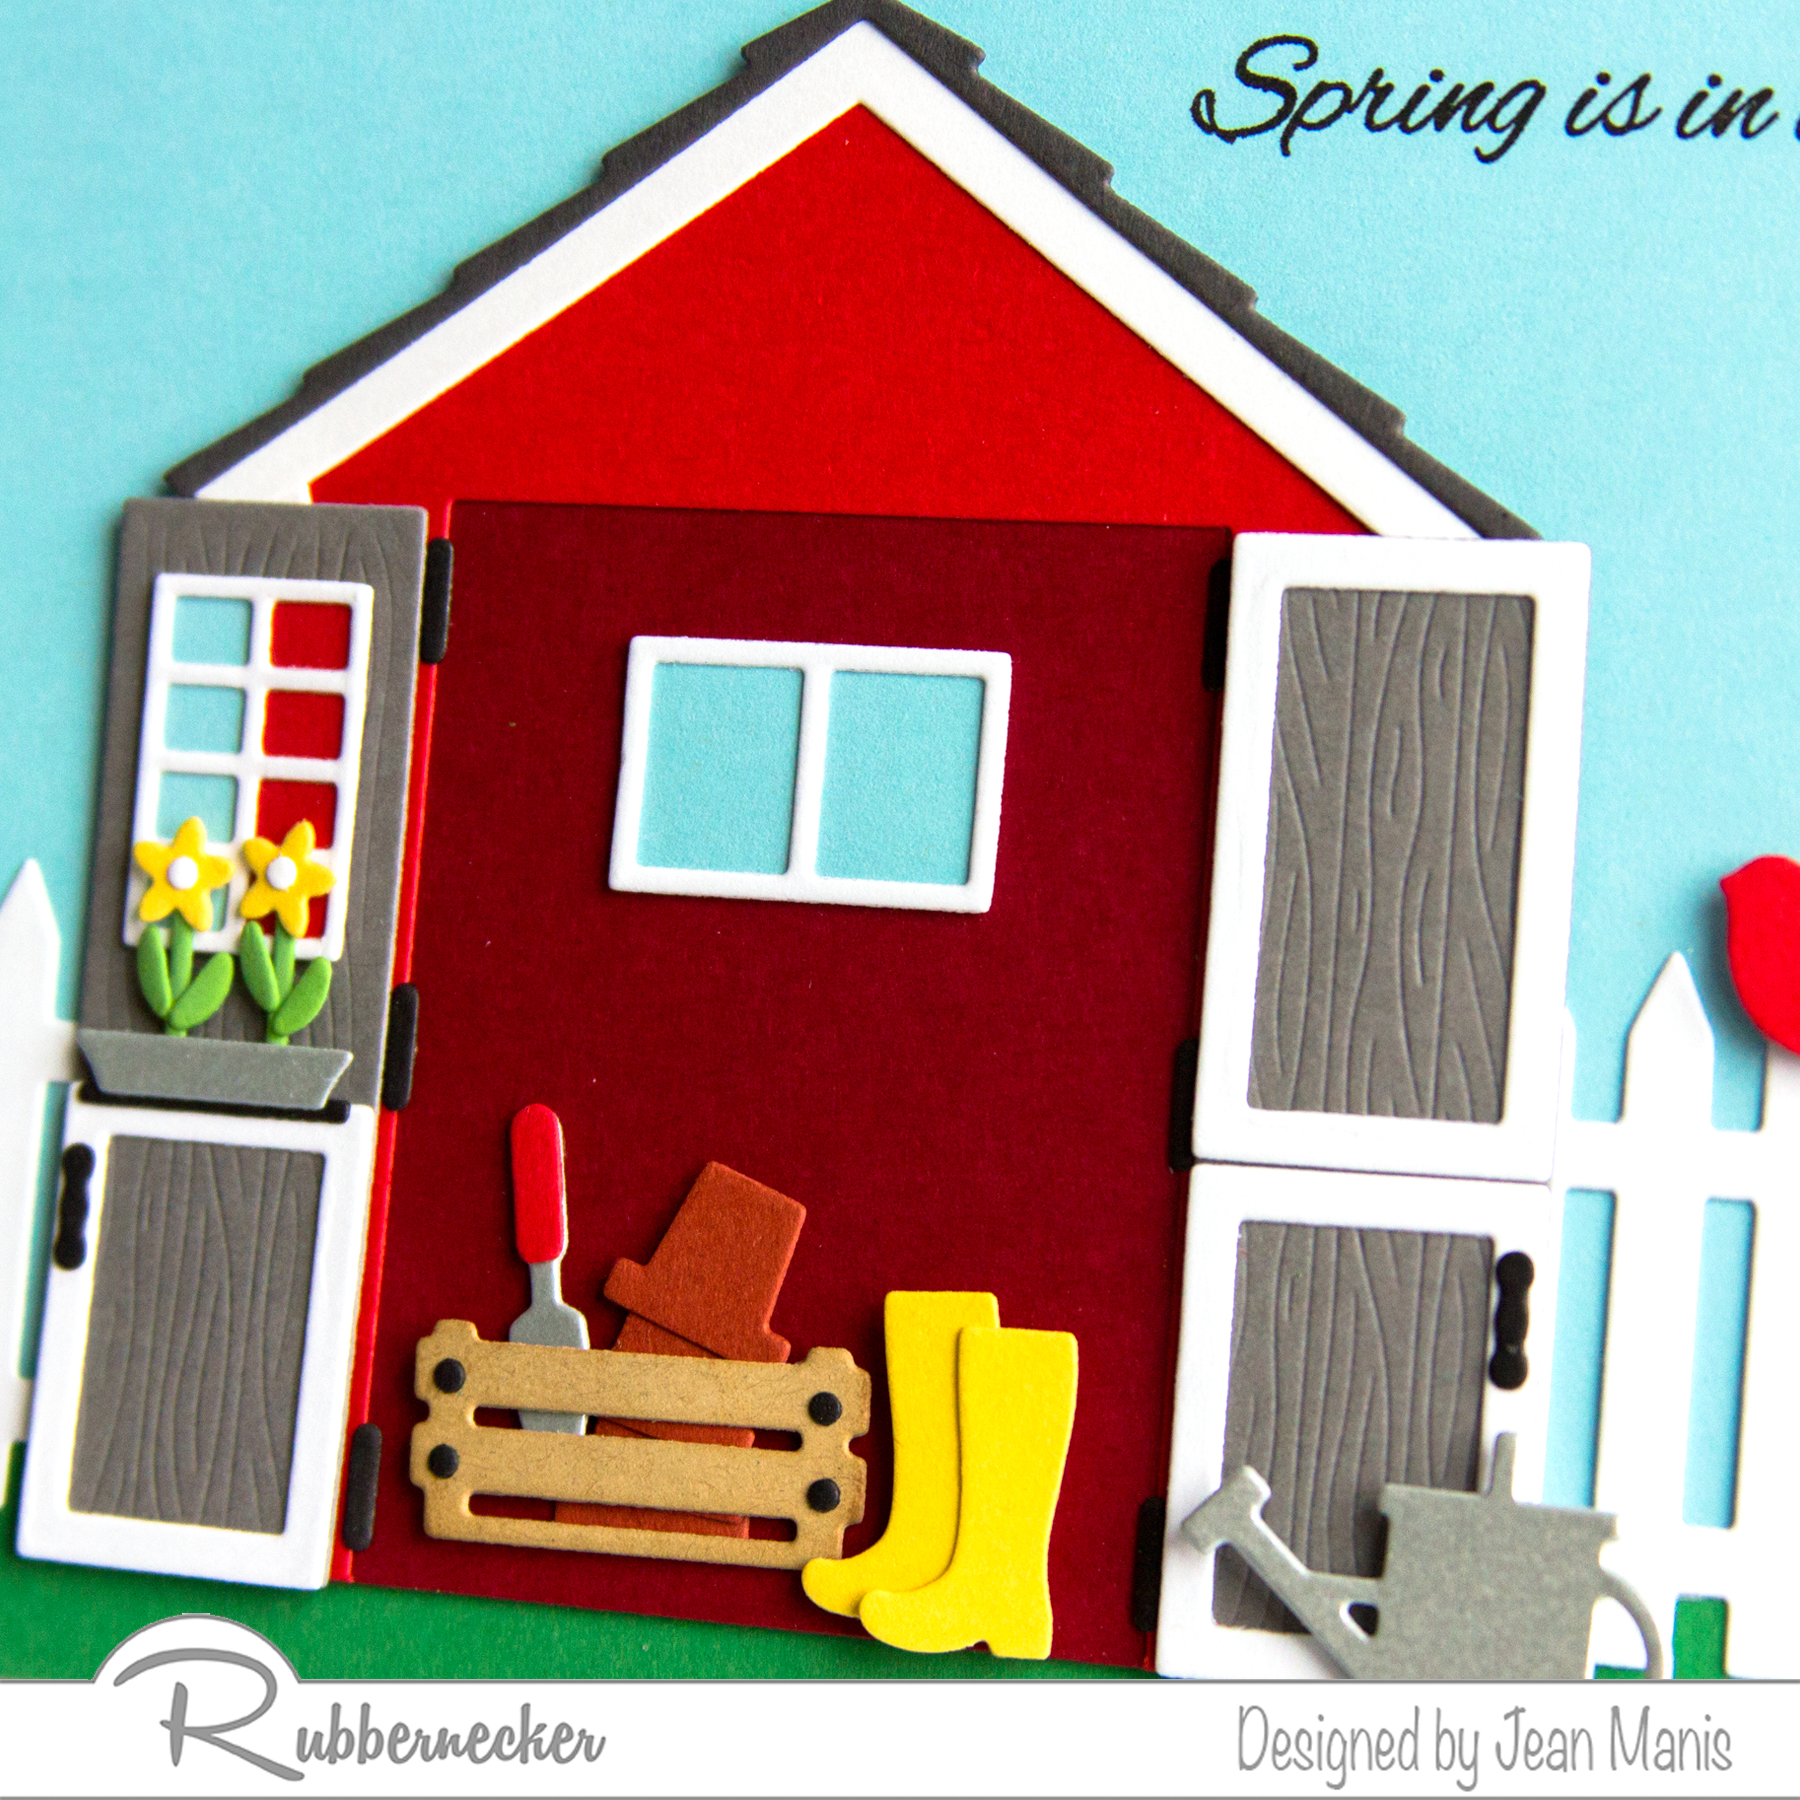
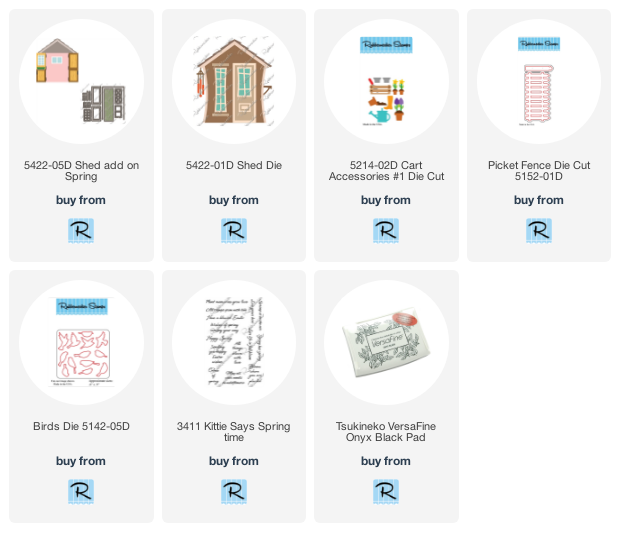
- Cut Shed and Shed Add On Spring pieces from colored and white cardstock. The Shed Add On Spring set includes a die with which to cut away the Shed so that it appears as if the shed is open. The open area is backed with cardstock in a darker shade of red.
- Decorate with items cut with dies in the Cart Accessories #1 set.
- Stamp Kittie Says Spring Time sentiment with VersaFine ink on blue cardstock. Trim to A2-size. Cut strip of green cardstock for grass and adhere to the base. Add background panel to A2-size card base.
- Cut fence twice from white cardstock with Picket Fence set. Add to background panel.
- Adhere assembled shed to scene. Add bird to top of fence and watering can with foam adhesive.
Don’t forget – there is free shipping for all orders over $29 until the end of the month!
Rubbernecker | Spring-Themed Release
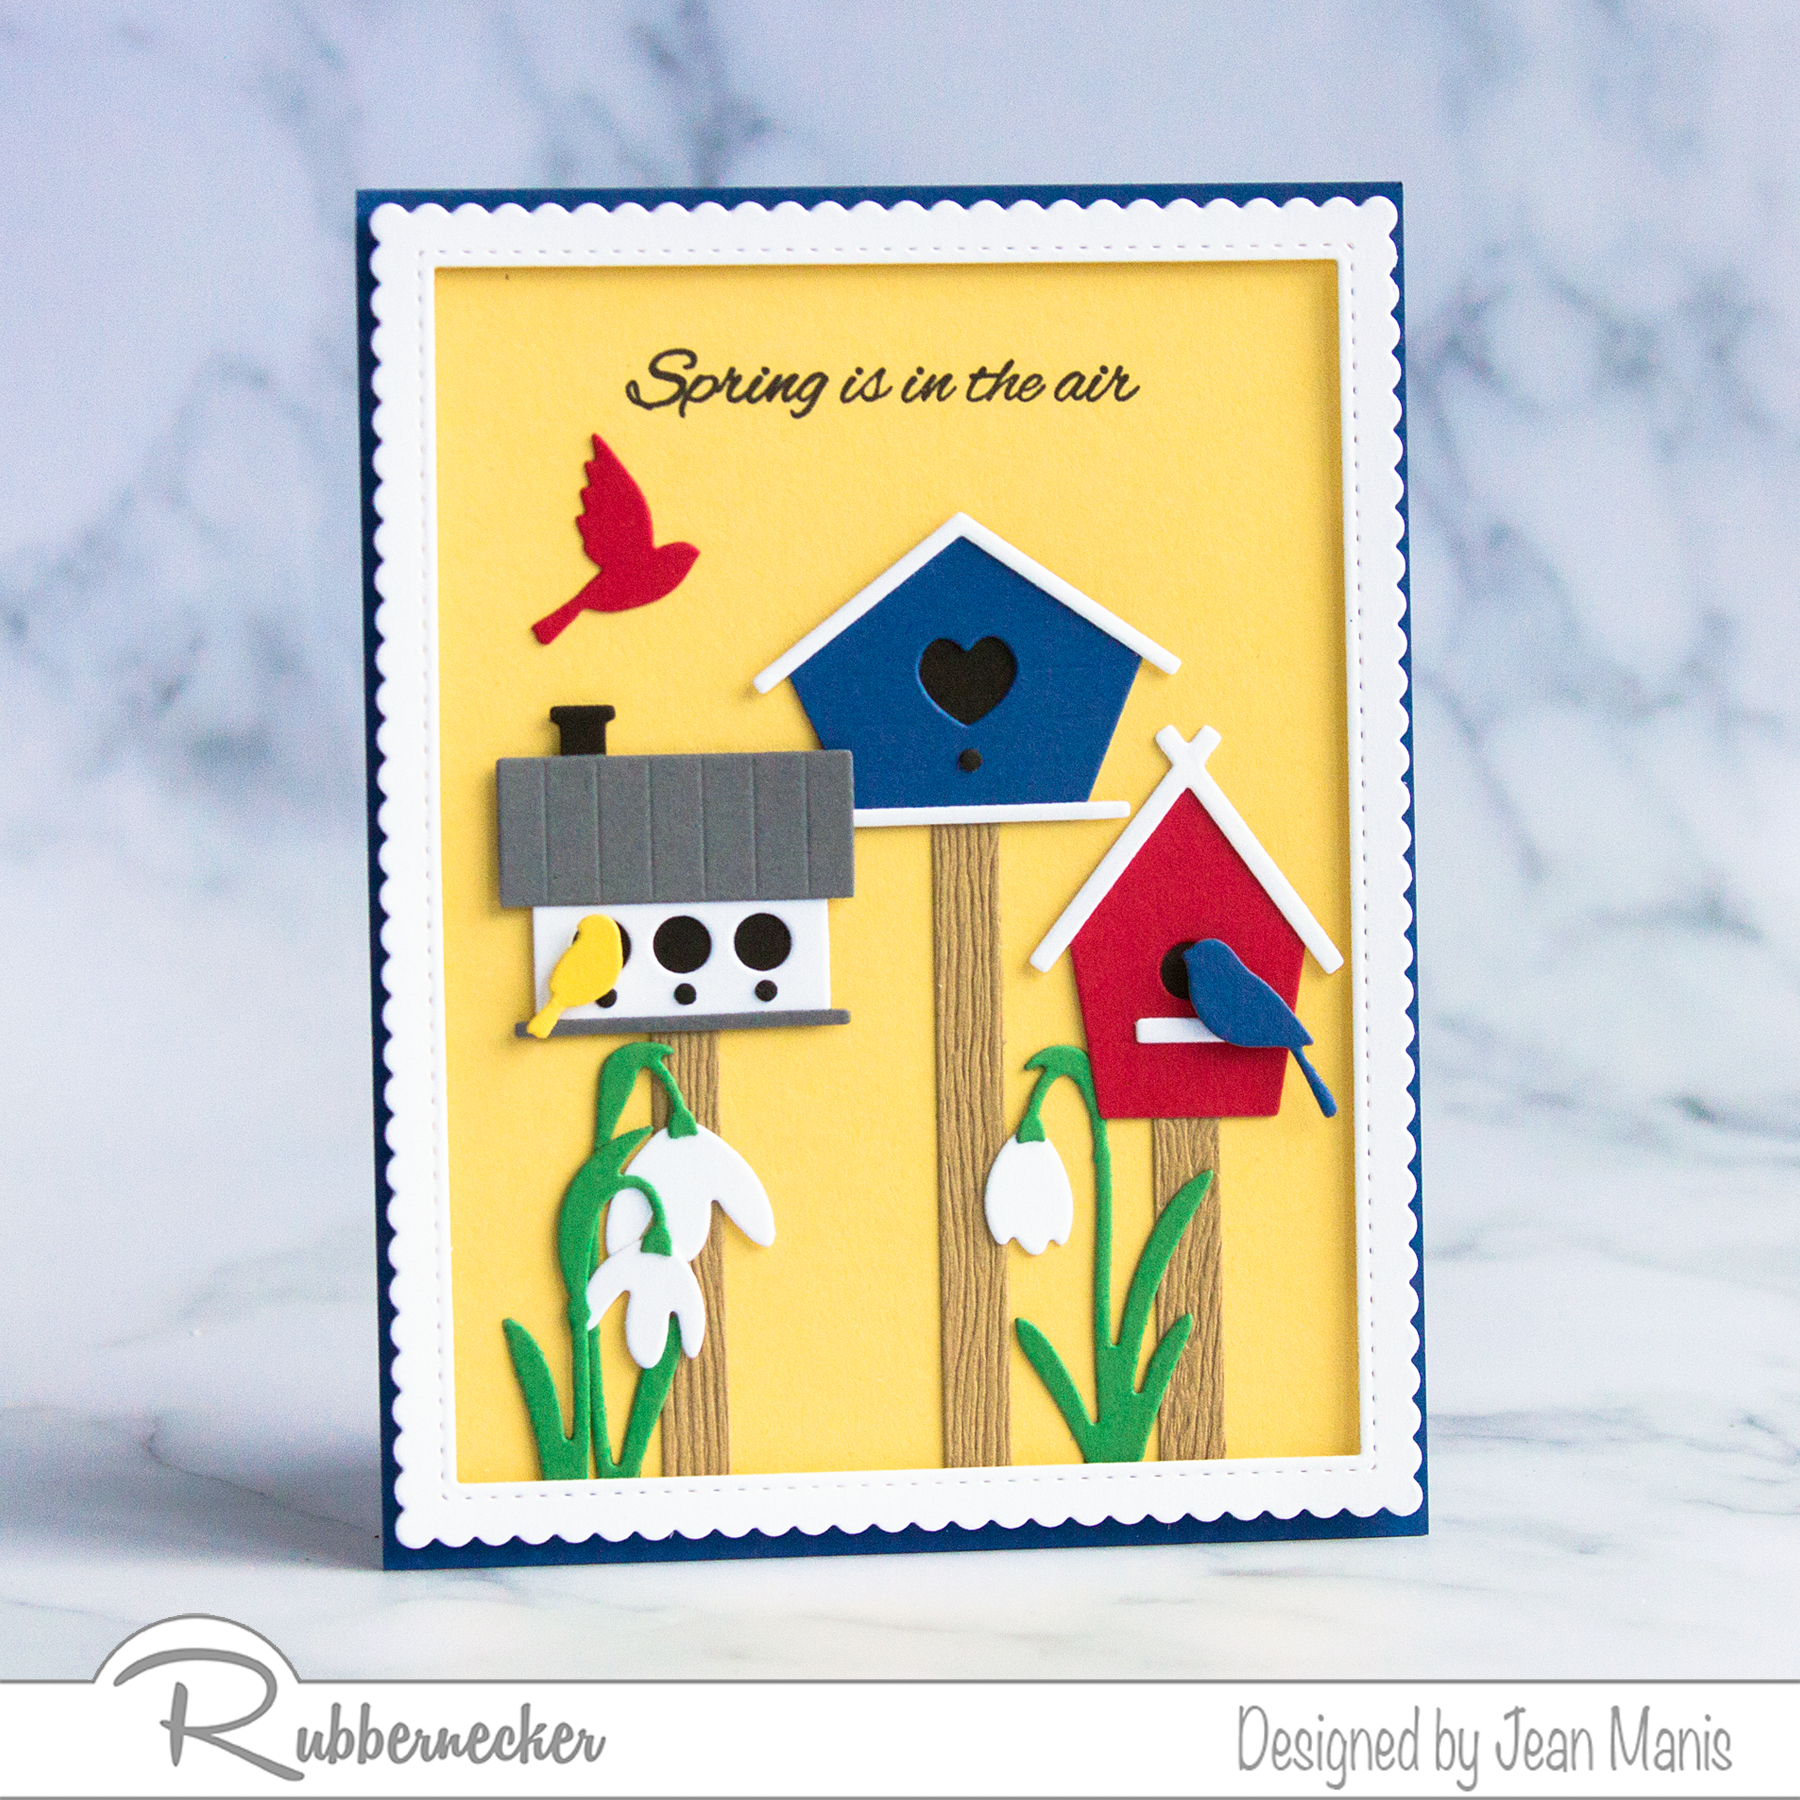
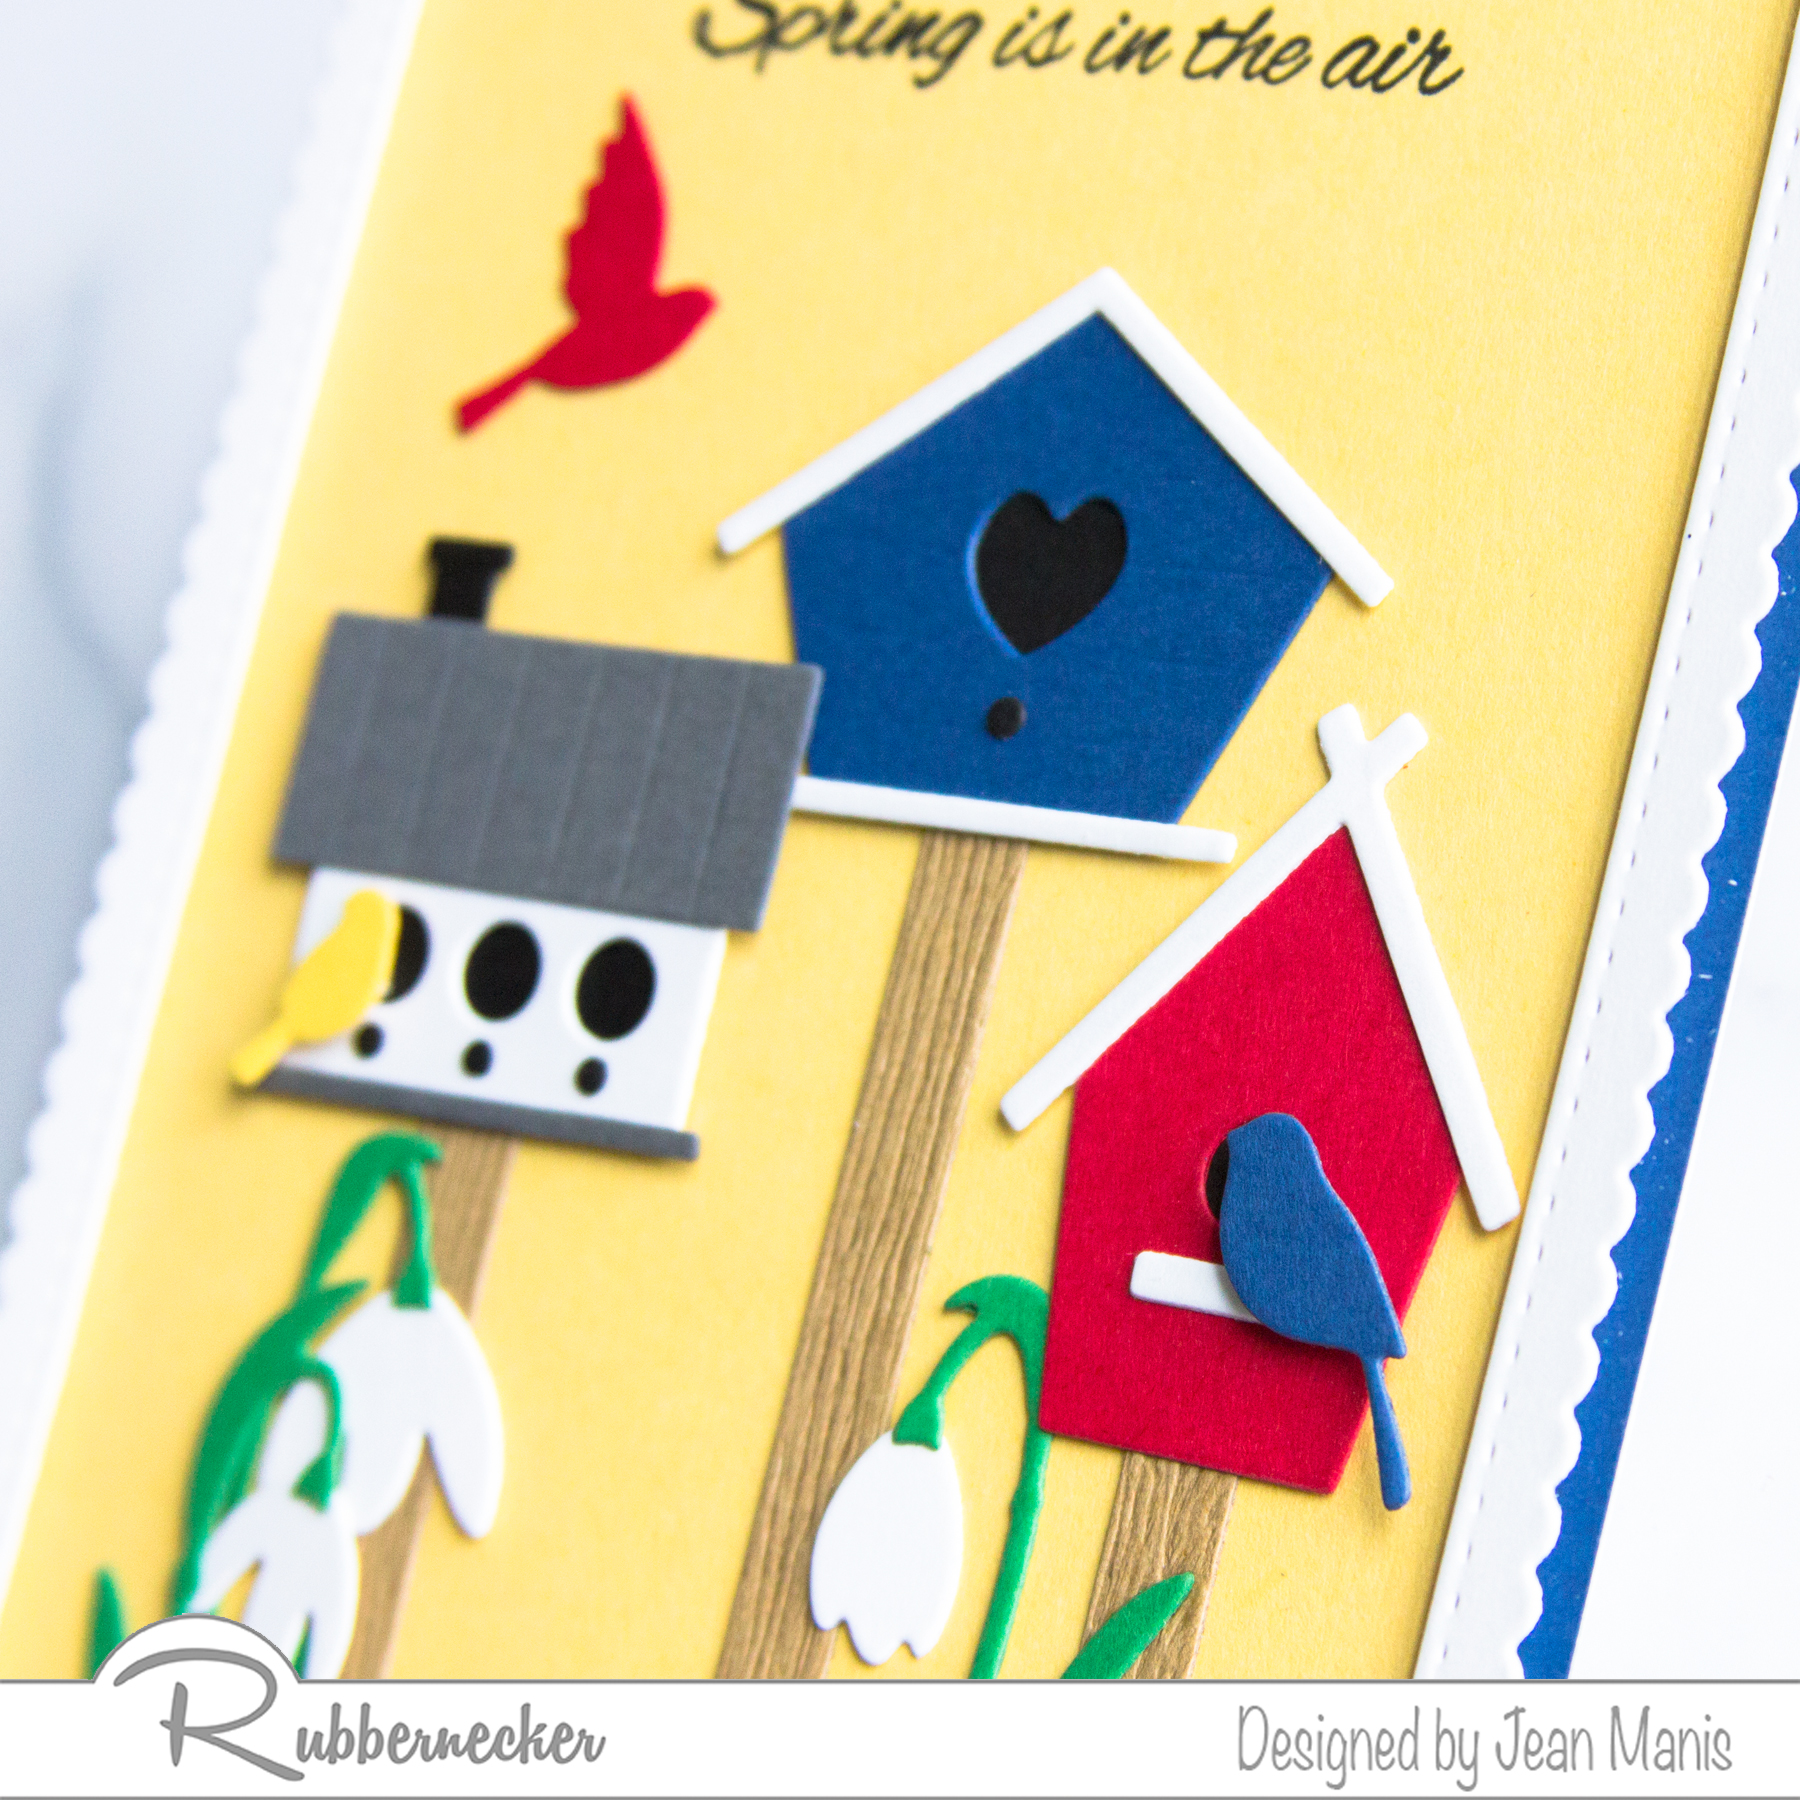
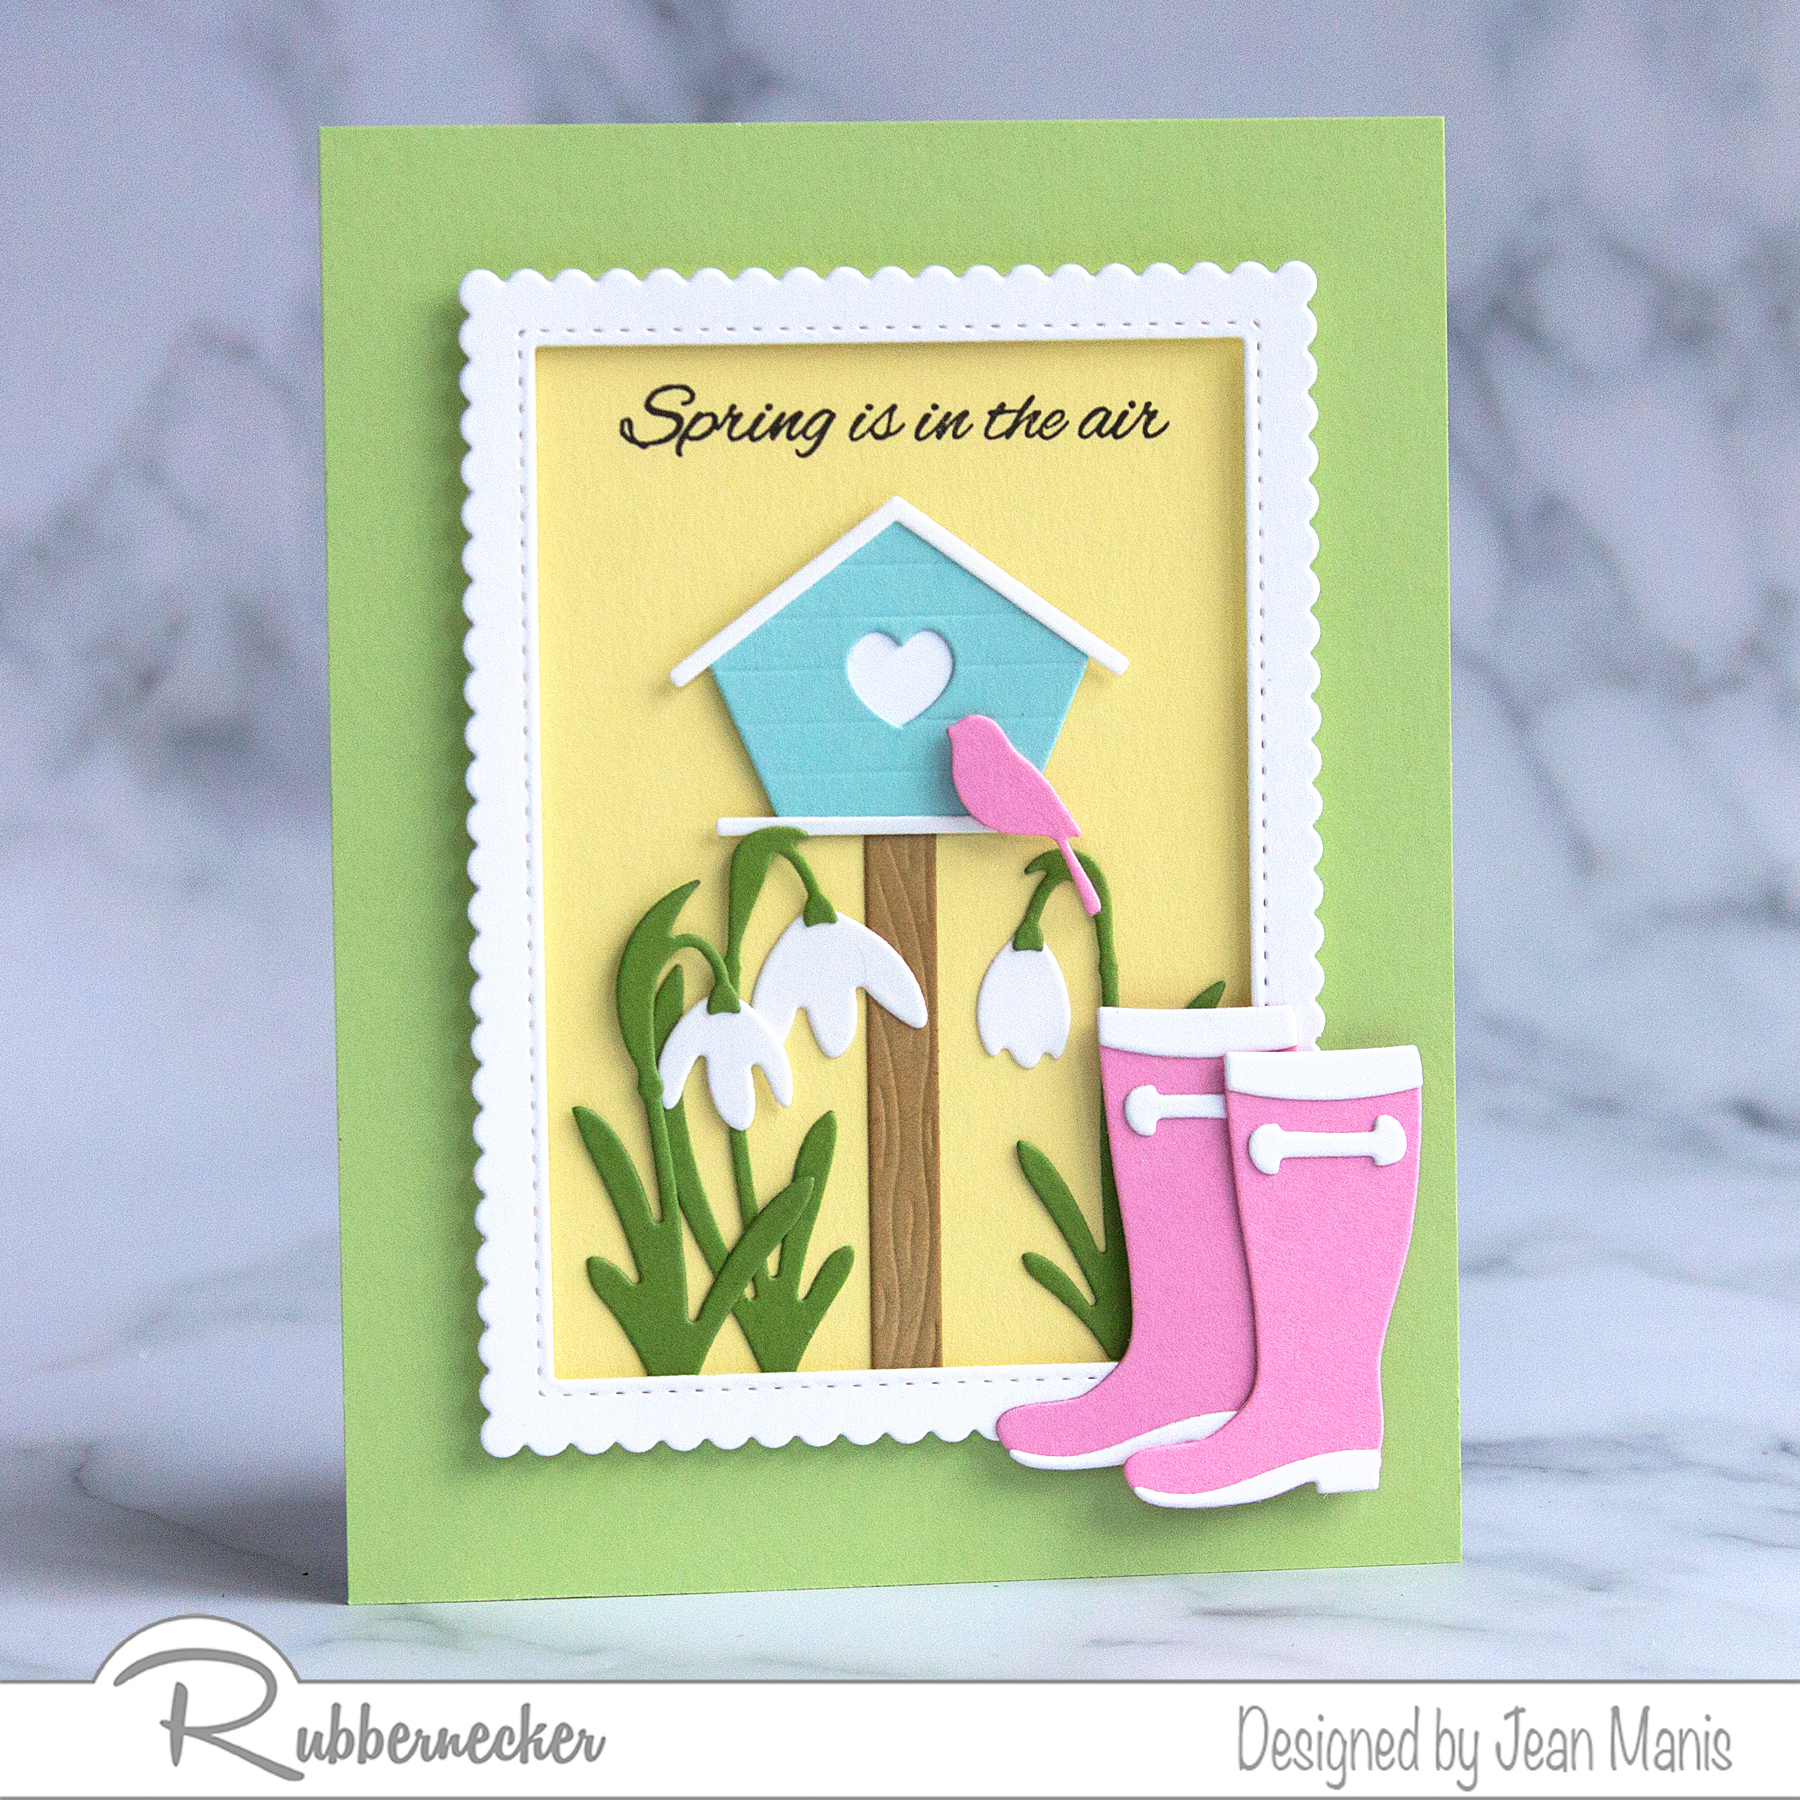
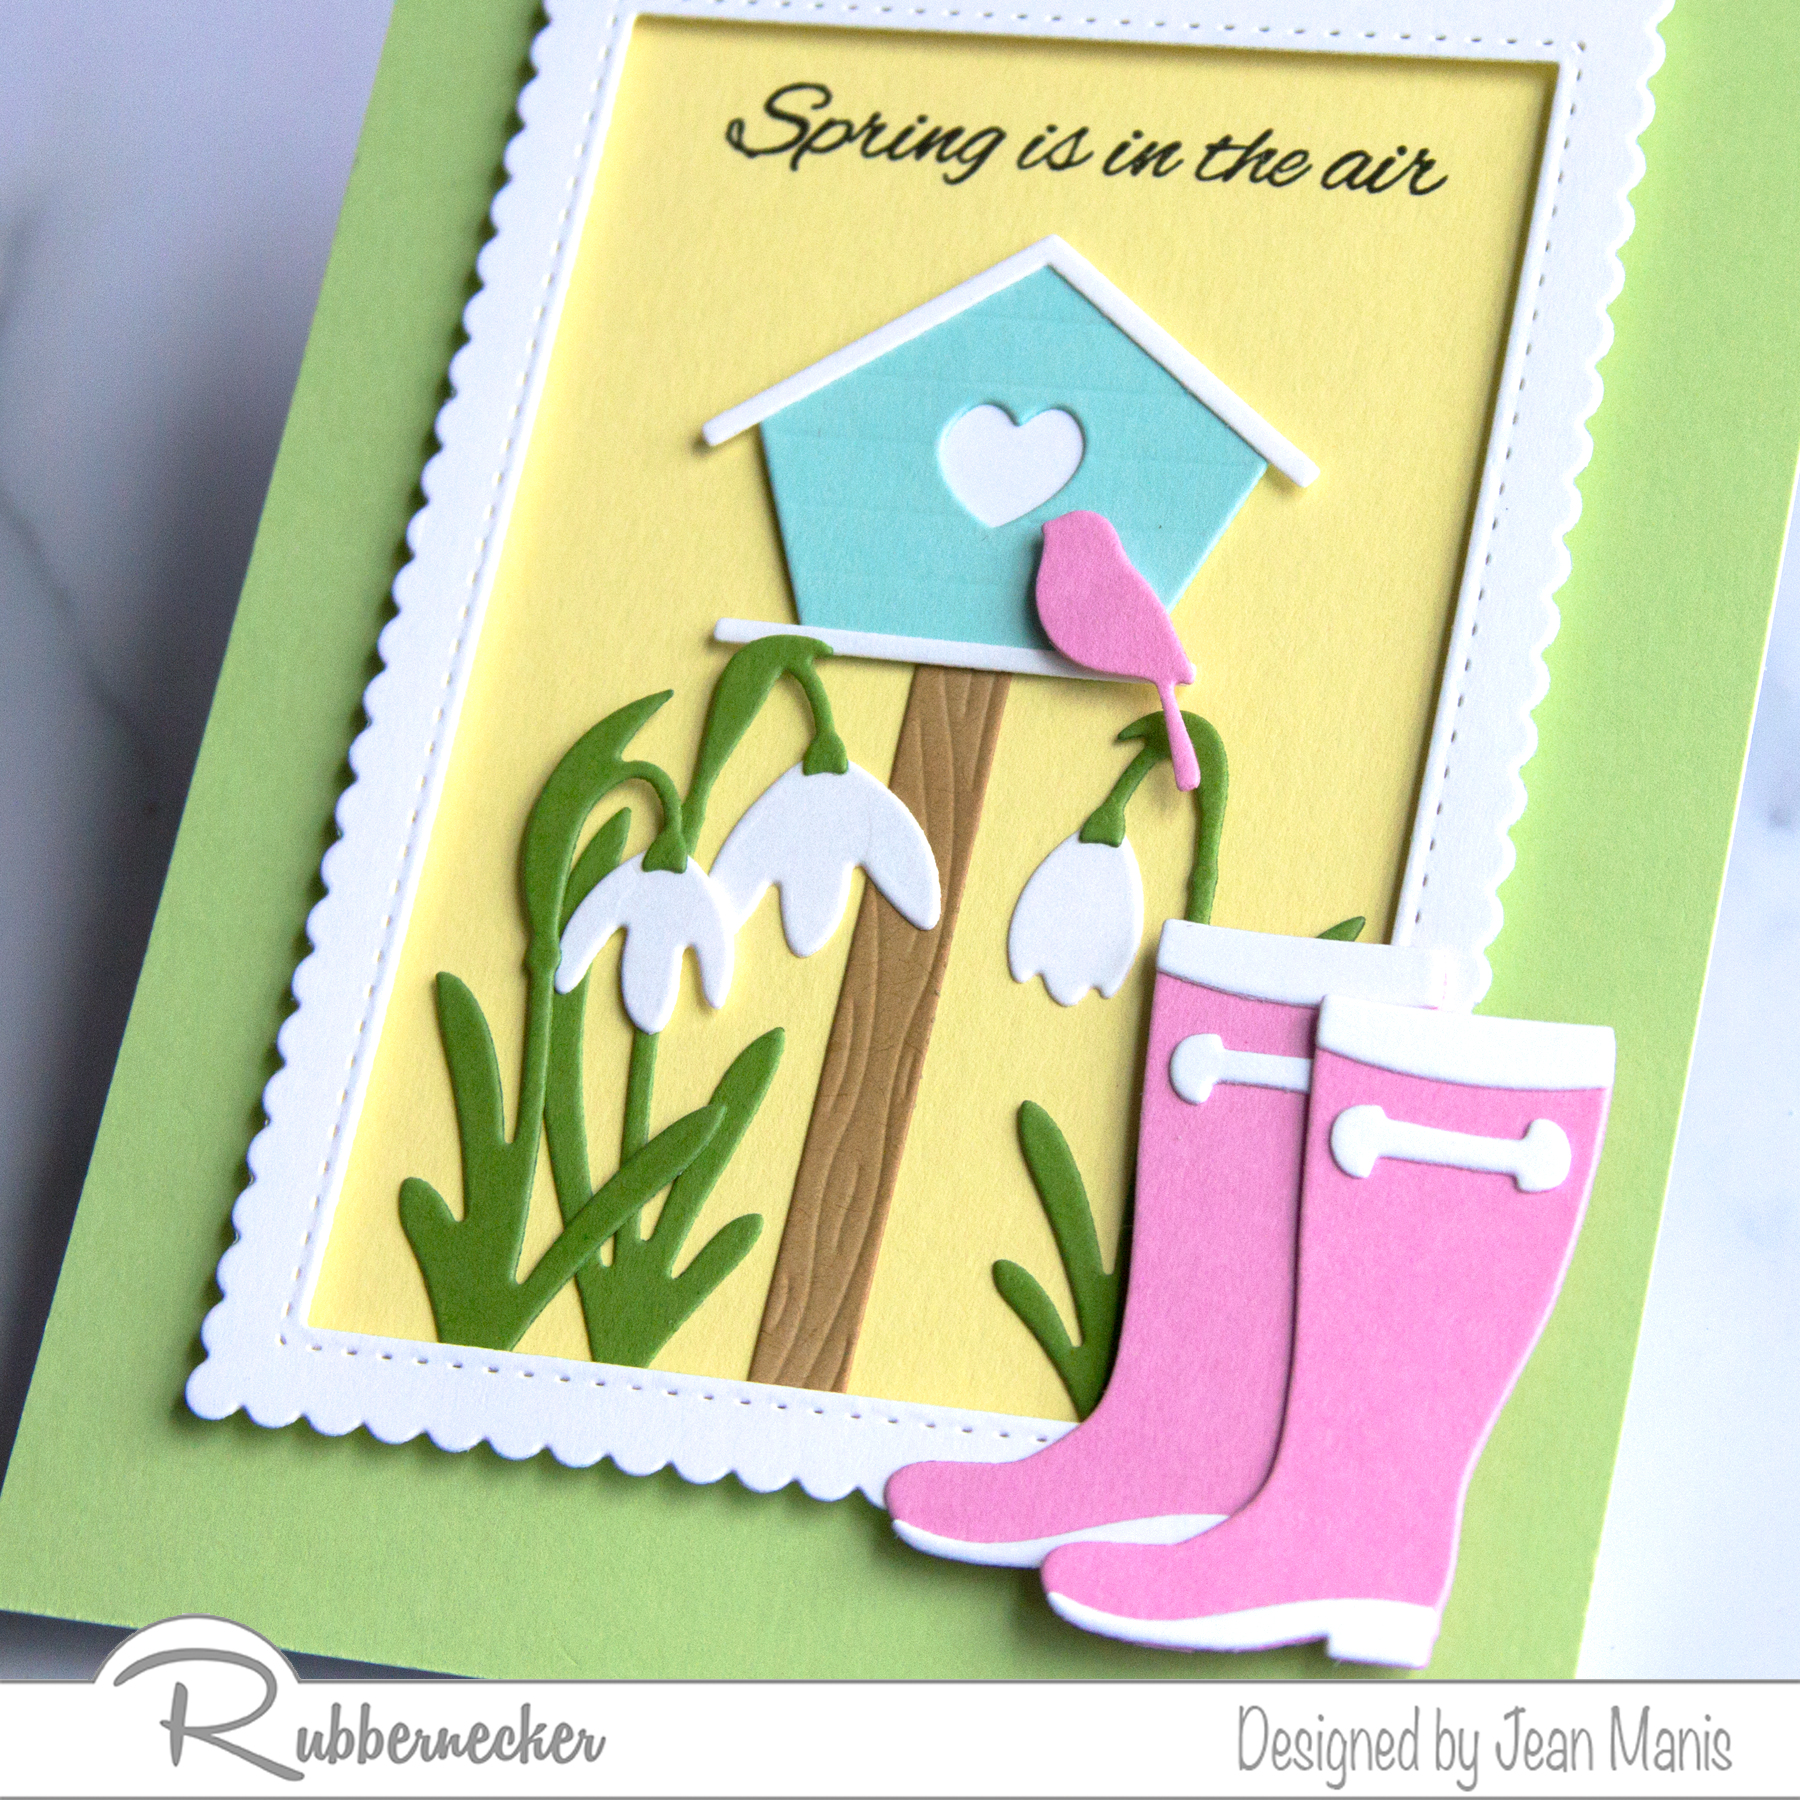
Hello! Today, I am sharing A2-size cards showcasing brand-new Rubbernecker die sets – part of their new release that includes garden dies, background stamps, A2 cover plates, and more! Don’t forget – there is free shipping for all orders over $29 until the end of the month!
- Stamp Kittie Says Spring Time sentiment with VersaFine ink on yellow cardstock panel. Trim panel to fit behind white cardstock frame, cut with the largest die in the Outside Scallop Frame set. Add assembly to blue cardstock base.
- Cut birdhouse pieces with the Large Bird House set. Assemble.
- Cut flowers with Hanging Flowers set.
- Cut birds with dies in the Birds and Small Birds sets.
- Add birdhouses to stamped panel. Trim flowers and add to scene, tucking the stems behind the frame.
- Add bird in upper-left directly to the stamped panel. Add additional birds with foam adhesive.
- Stamp Kittie Says Spring Time sentiment with VersaFine ink on yellow cardstock panel. Trim panel to fit behind white cardstock frame, cut with the second largest die in the Outside Scallop Frame set. Add assembly to light-green cardstock base.
- Cut birdhouse with the Large Bird House set. Assemble.
- Cut flowers with Hanging Flowers set.
- Cut birds with dies in the Birds set.
- Add birdhouse to stamped panel. Trim flowers and add to scene, tucking the stems behind the frame.
- Add bird with foam adhesive.
- Cut rain boots with Rain Boots set. Assemble and add to lower-right corner of frame.
Rubbernecker | Mini Slimline Die-cut Birthday Card
Hello! Today, I am sharing mini-slimline, birthday card featuring Rubbernecker supplies. Crafting a die-cut, birthday cake card is much like baking a layered birthday cake – create a base, bake the layers, ice the layers, add the frosting, and light the candles!
- Stamp Happy Birthday #1 sentiment on light-blue cardstock in Versafine Onyx ink. I previously used this set on a card in this post.
- Die-cut the Birthday Cake from colored, white, and silver foil cardstock. Assemble the cake and candles for sizing purposes. Tape the cake layers from behind. I opted to change the colors of each layer while keeping the frosting the same color on all three layers.
- Die-cut patterned paper frame using the two largest dies in the Mini Slimline Nested with Stitch set.
- Using the frame for placement, determine where to cut the stamped panel. Trim accordingly. Add frame to stamped panel.
- Finish assembly of the cake, adding the piped frosting pieces on the cake layers and the inner flames on the candles.
- Attach cake to stamped panel with foam adhesive
- Die-cut small circles with the Fishing Boat and Lifeguard Tower die sets from blue glitter cardstock and adhere for embellishment.