Star Card: Two Versions

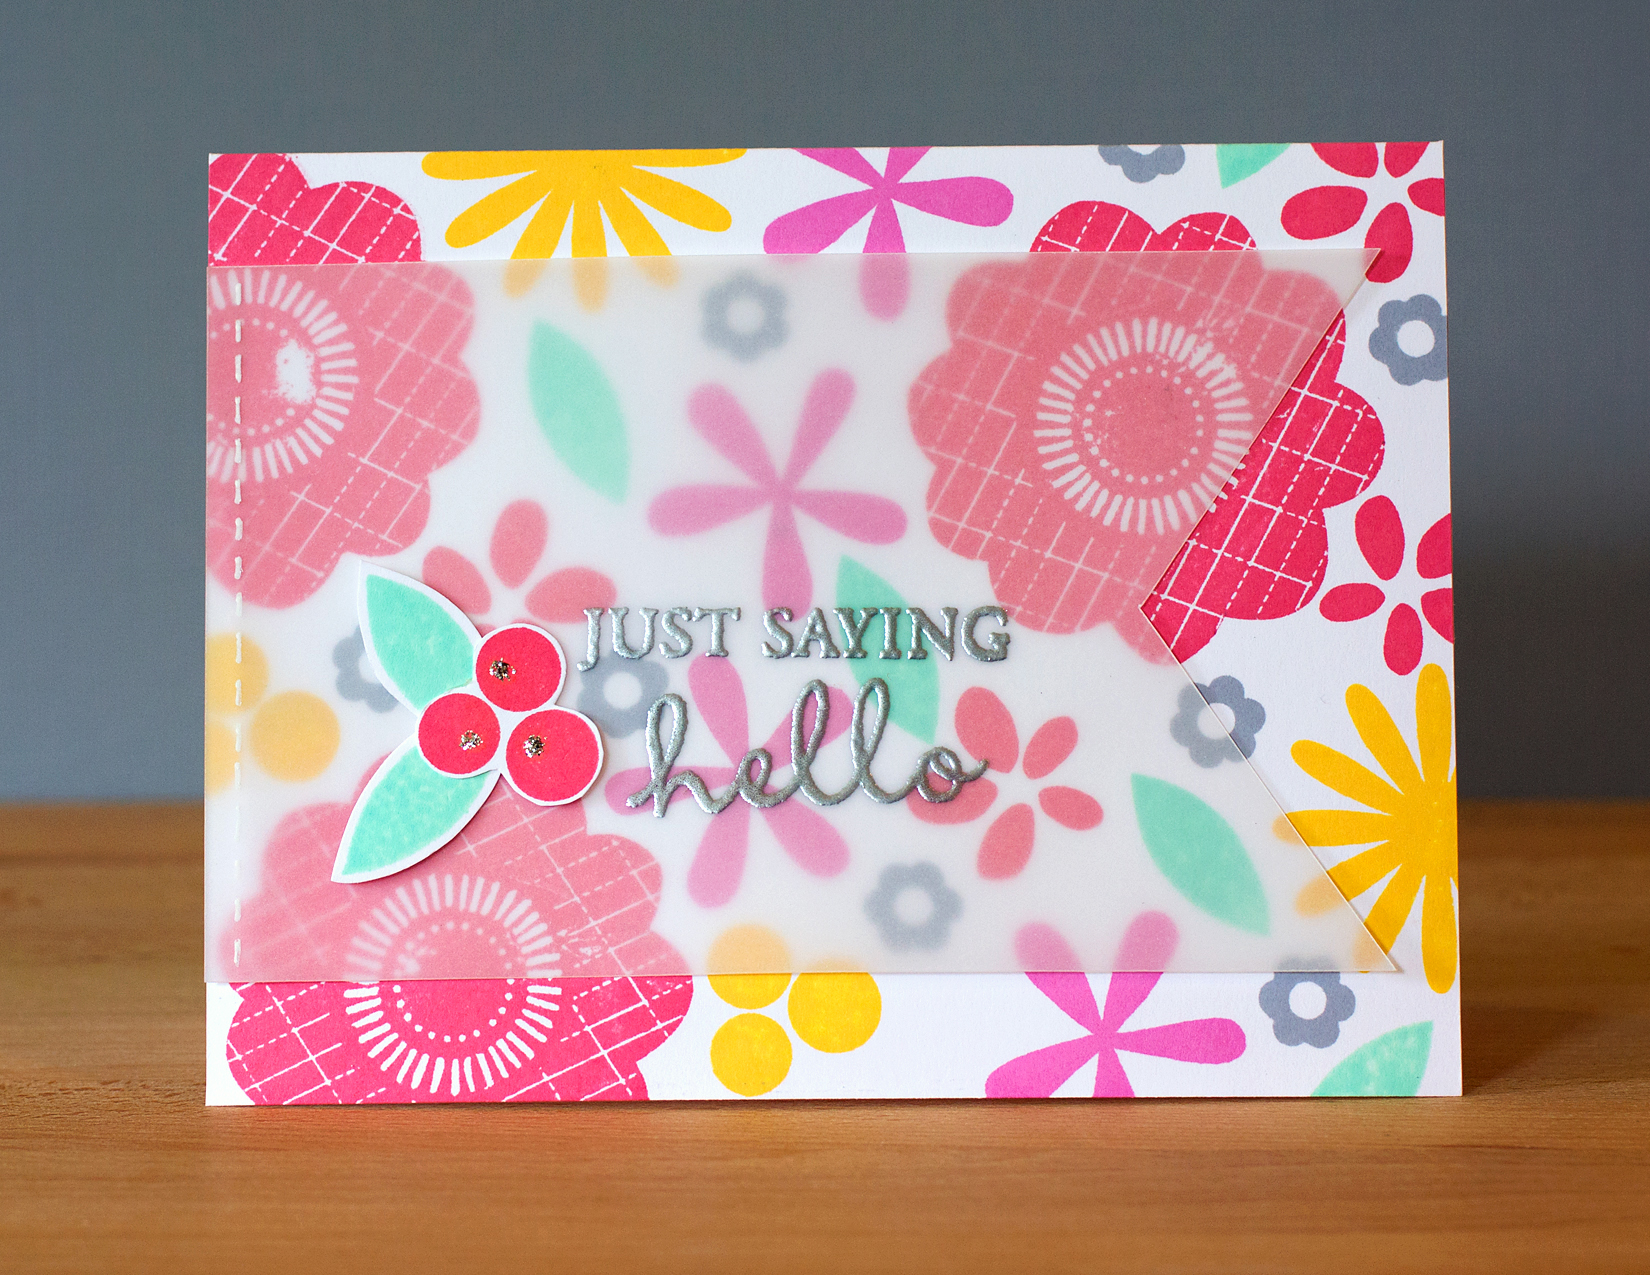
I’m still working through material from the Online Card Classes Summer Card Camp 2. The class provided a lot of fantastic inspiration that will keep me busy for weeks. I’m sharing two versions of the same design using one of the sketches from the third week.

Star Card: Two Versions

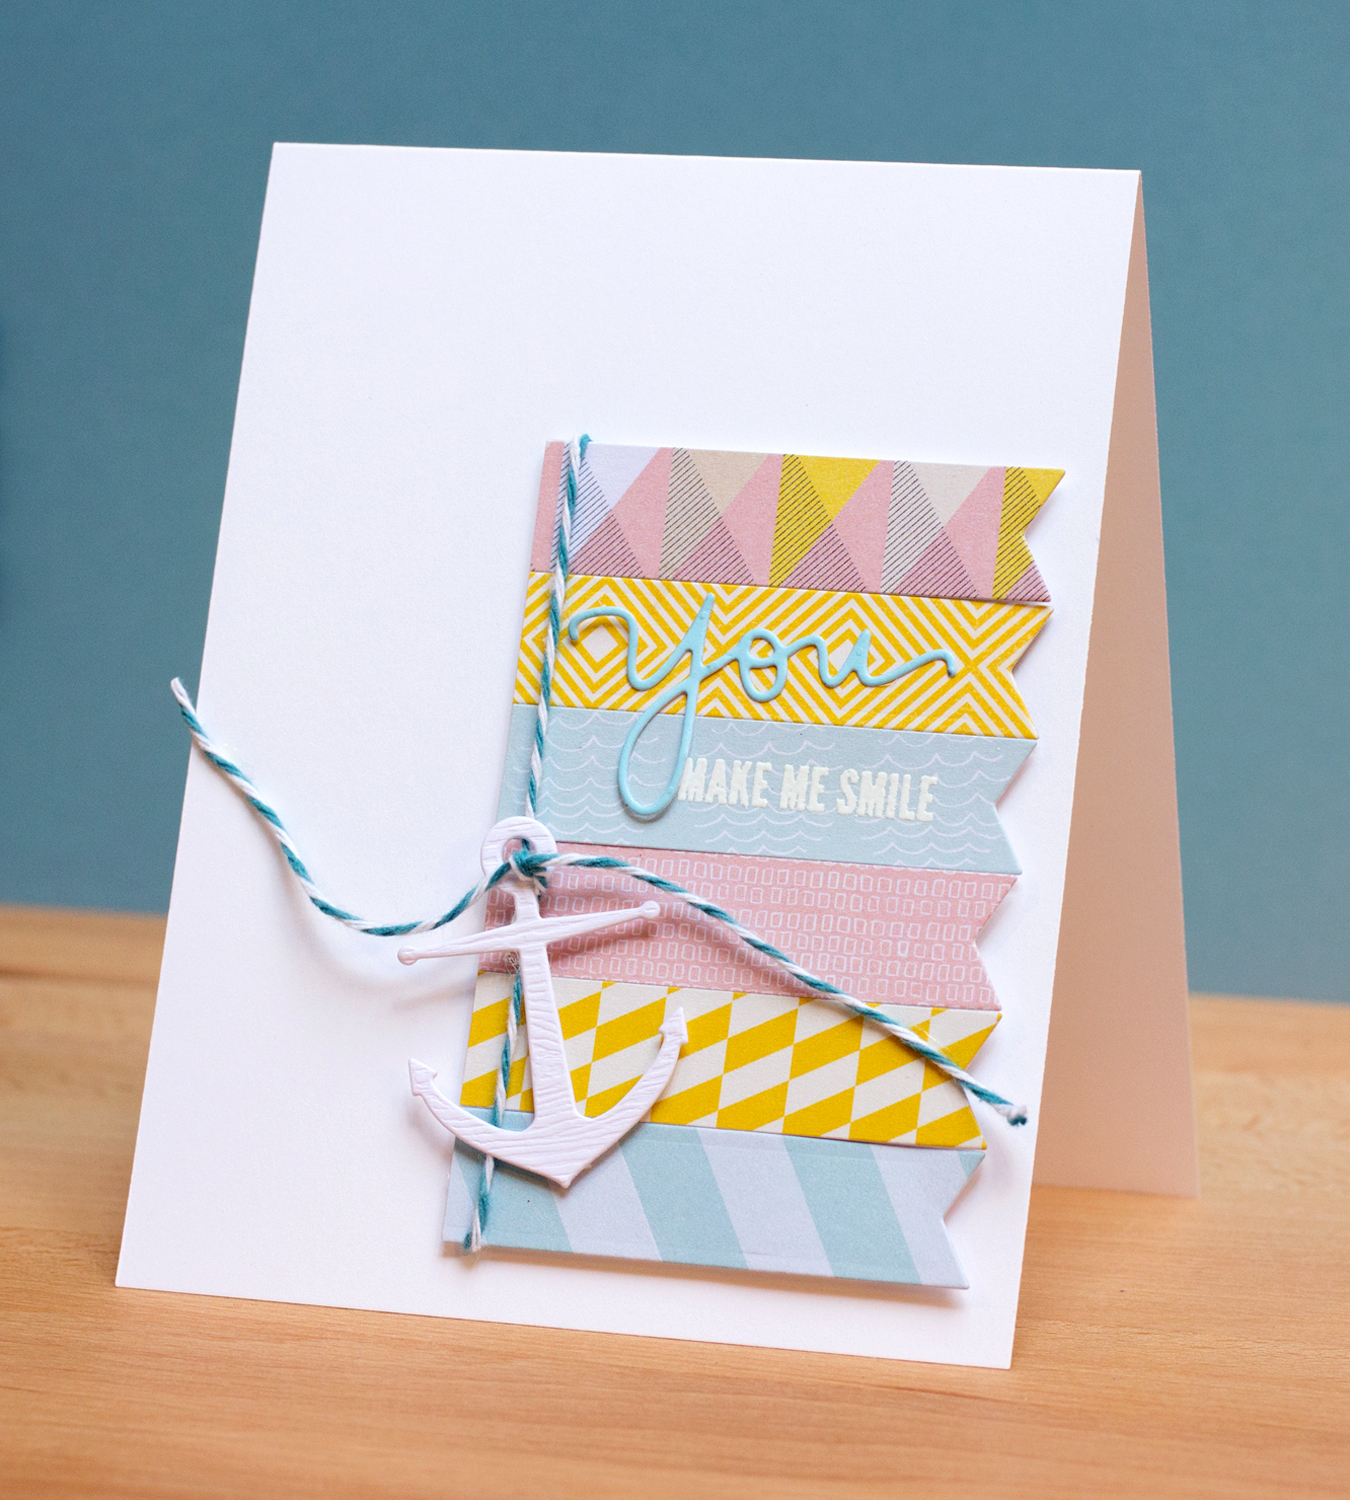
On my first card, I followed the instructions from Kristina Werner’s class video for adding the twine. The baker’s twine is looped around the back, but the top and bottom sections were done separately. I consider this card to be the “hers” version (using some of the principles and ideas learned in the Online Card Classes His & Hers class).

Because this is a relatively easy card to make, I couldn’t resist making a “his” version. I tied the twine the way that Shari Carroll had done on the card she shared in the class. The twine is three separate pieces that are just taped onto the card back. So much easier than looping around! I added the dashed line, like Kristina had done on her card, as the natural twine on the kraft cardstock called for something extra on the card.

Star Card: Two Versions

Supplies: Stampin’ Up cardstock (red)

SCC2: Week Three, Day Two

Today’s class in Online Card Classes Summer Card Camp 2 was all about techniques. I chose to make a card like one of the ones Jennifer McGuire shared.

SSC2: Week Three, Day Three

Again, I’ve made some product substitutions based on what I own. Jennifer used a different Memory Box die that had larger leaves. Her gold embossing was exquisite! I was surprised to hear her say she was “all thumbs,” because if that’s the case, I’m not sure what I am! Suffice it to say, getting coats of gold embossing powder on the vine was no easy feat. I added Stickles to the flowers, berries and butterflies, although I’m not sure they show up in the photo. Jennifer used some embossing powders that gave wonderful zing to those elements. I used the Stickles for an easy substitution.

SCC2: Week One, Day Five

What a week – I’m blown away by the material that’s being presented, as well as talent of teachers, guest artists and fellow classmates in the Online Card Classes Summer Card Camp 2 class!

My card for today’s homework is based on the one shared by Jennifer McGuire.

SCC2: Week One, Day Five

This wasn’t a “one take” card! I made some stamp and color adjustments after my first go. I didn’t have the sentiment stamps that Jennifer used, so I cut apart of the ones in the Truly Appreciated set from Hero Arts. Also Jennifer had machine stitched her vellum overlay on the left hand side. I used a white gel pen to draw fake stitching.

Have a fabulous weekend!

SSC2: Week One, Day Three

Fabulous cards in the Online Card Classes Summer Card Camp 2 class today from the guest designers. I modeled my card on the one shared by Laura Bassen with a few changes.

SSC2: Week One, Day Three

Although I normally shy away from pastels, the Atlantic paper from Studio Calico has some great patterns that reinforced my nautical theme and still kept to this week’s color palette. Laura stitched her banners on the left side. I adhered mine to a rectangular panel on the left, which is shorter in width than the banners, allowing the banners on the right to “flutter.” Without the stitching, the left side needed a little “something,” so I added the twine.

Supplies: Memory Box anchor die; Simon Says woodgrain cardstock; MFT fishtail die; Studio Calico and October Afternoon patterned papers; twine; Simon Says “you” die cut and stamp; Versamark; Hero Arts embossing powder

Stretch Your Stamps CASE

As I patiently wait for the Online Card Classes Summer Card Camp 2 to begin (just one week away!), I’m revisiting the materials from previous Online Card Classes, including Stretch Your Stamps. When I took the class last July, I created one of the fabulous cards designed by Cristina Kowalczyk.

Stretch Your Stamps CASE

I would never have considered using an alphabet stamp set to create a pattern on a card! With temperatures rising outside (a rare occurrence here in the Pacific Northwest for this time of year), I’m drawn to the fresh combination of aqua and lime green together. I used one of my favorite sentiments from the Simon Says Square Sayings set.

Happy Monday!

Supplies: Stampin’ Up cardstock (gray)