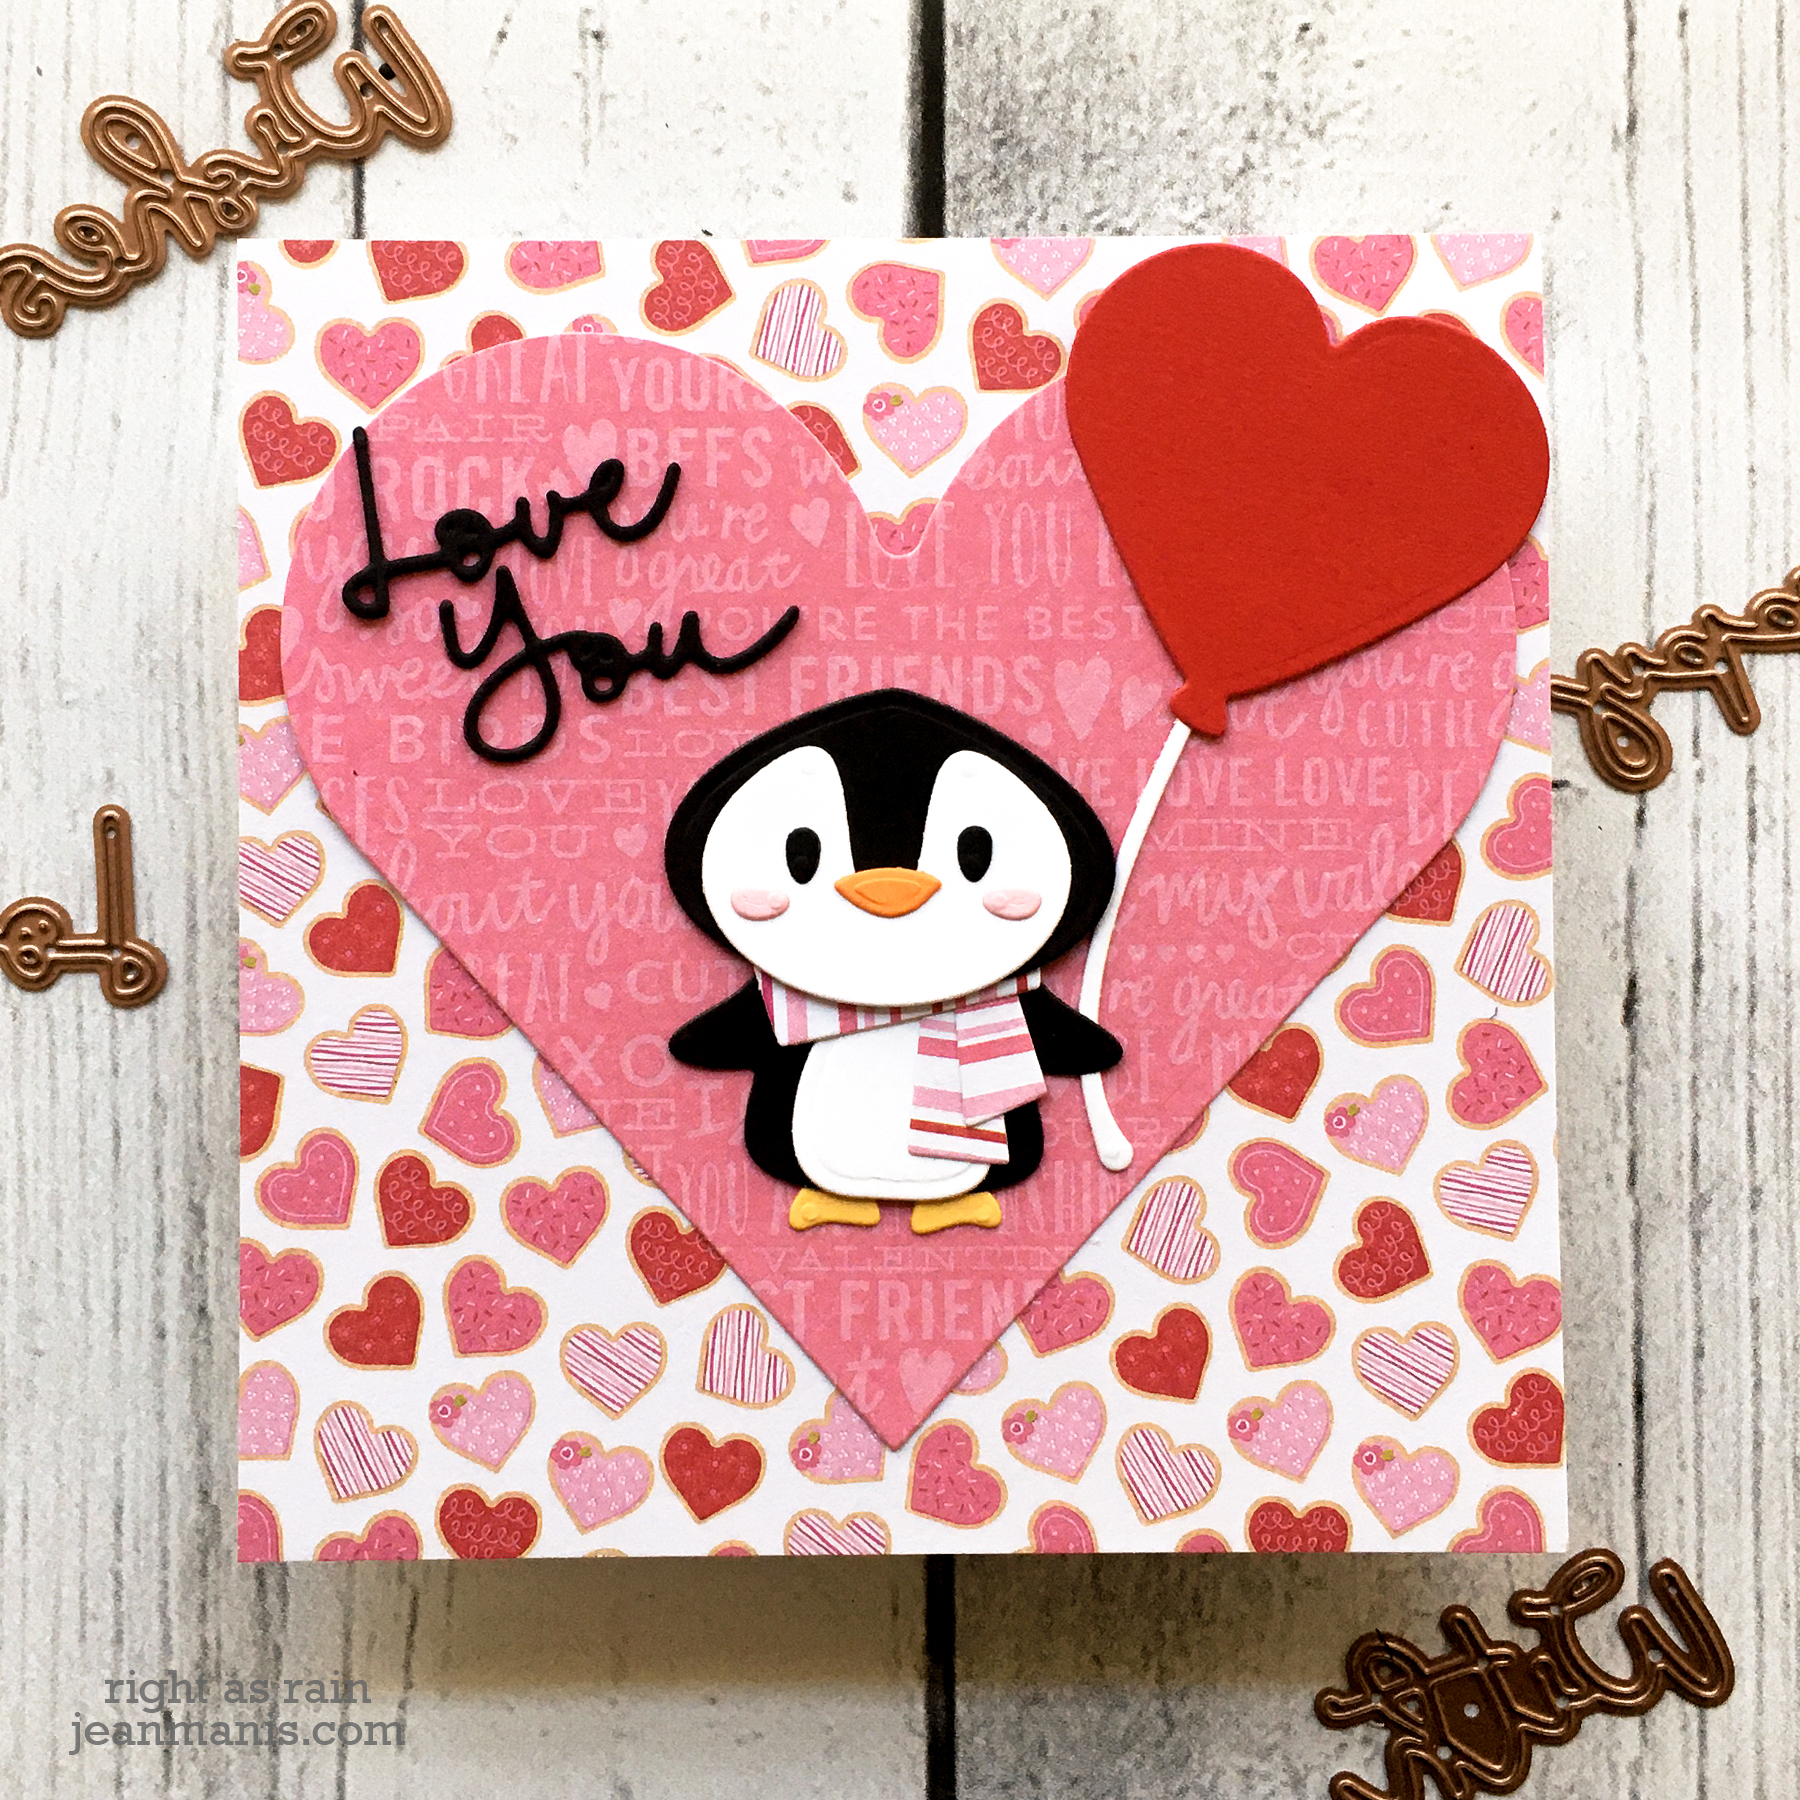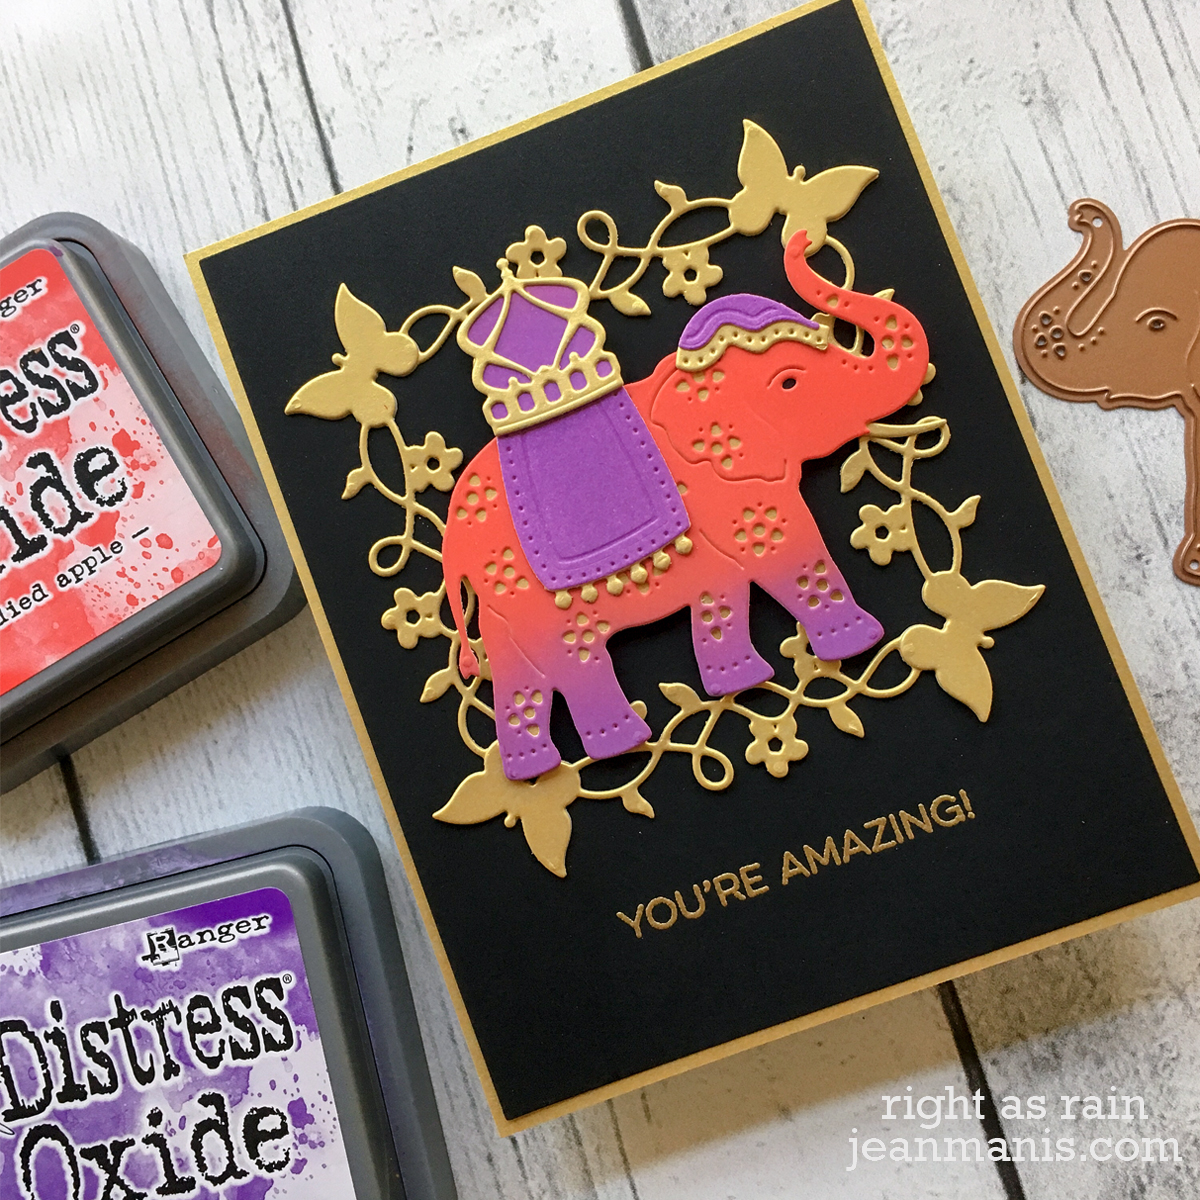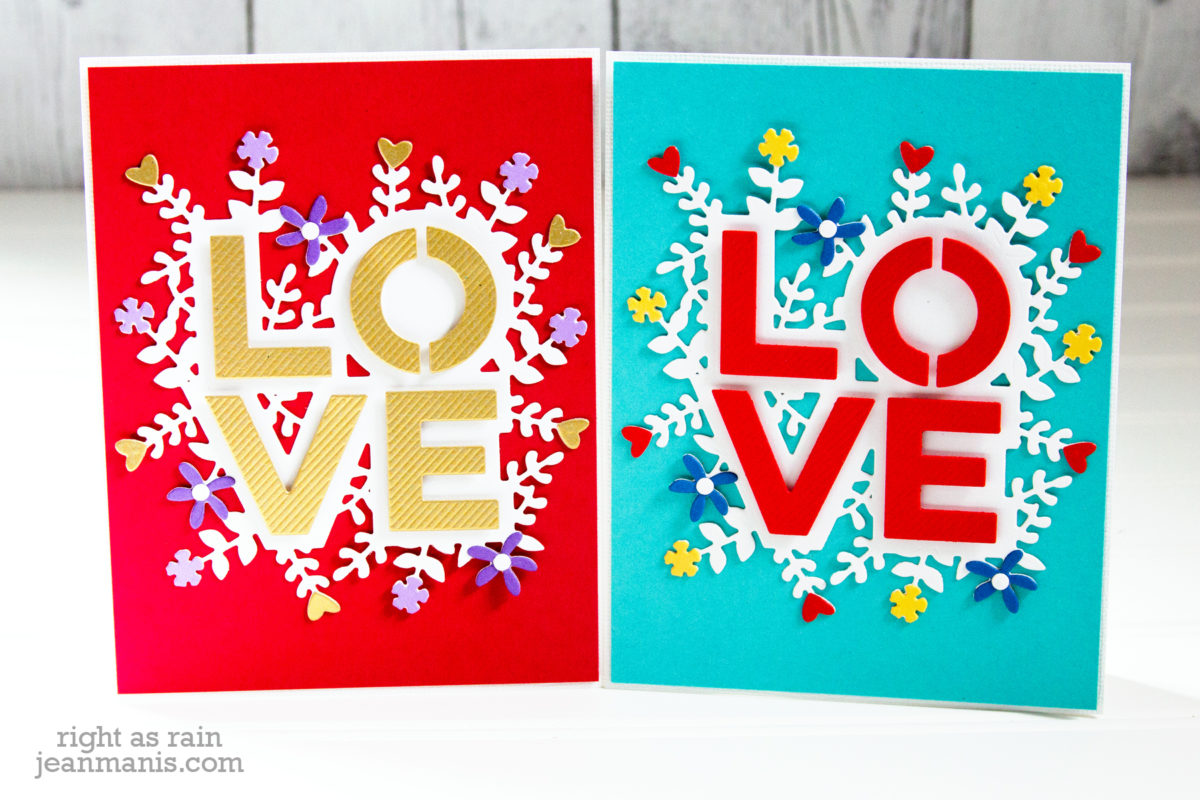
Happy New Year! Today, I am sharing two Valentine’s Day cards created with the January Small Die of the Month kit from Spellbinders – “Bold Love.”

I’ve created cards of the same design in two different color combinations to illustrate the variety obtained simply by changing colors. For example, including metallic cardstock creates a more formal card.
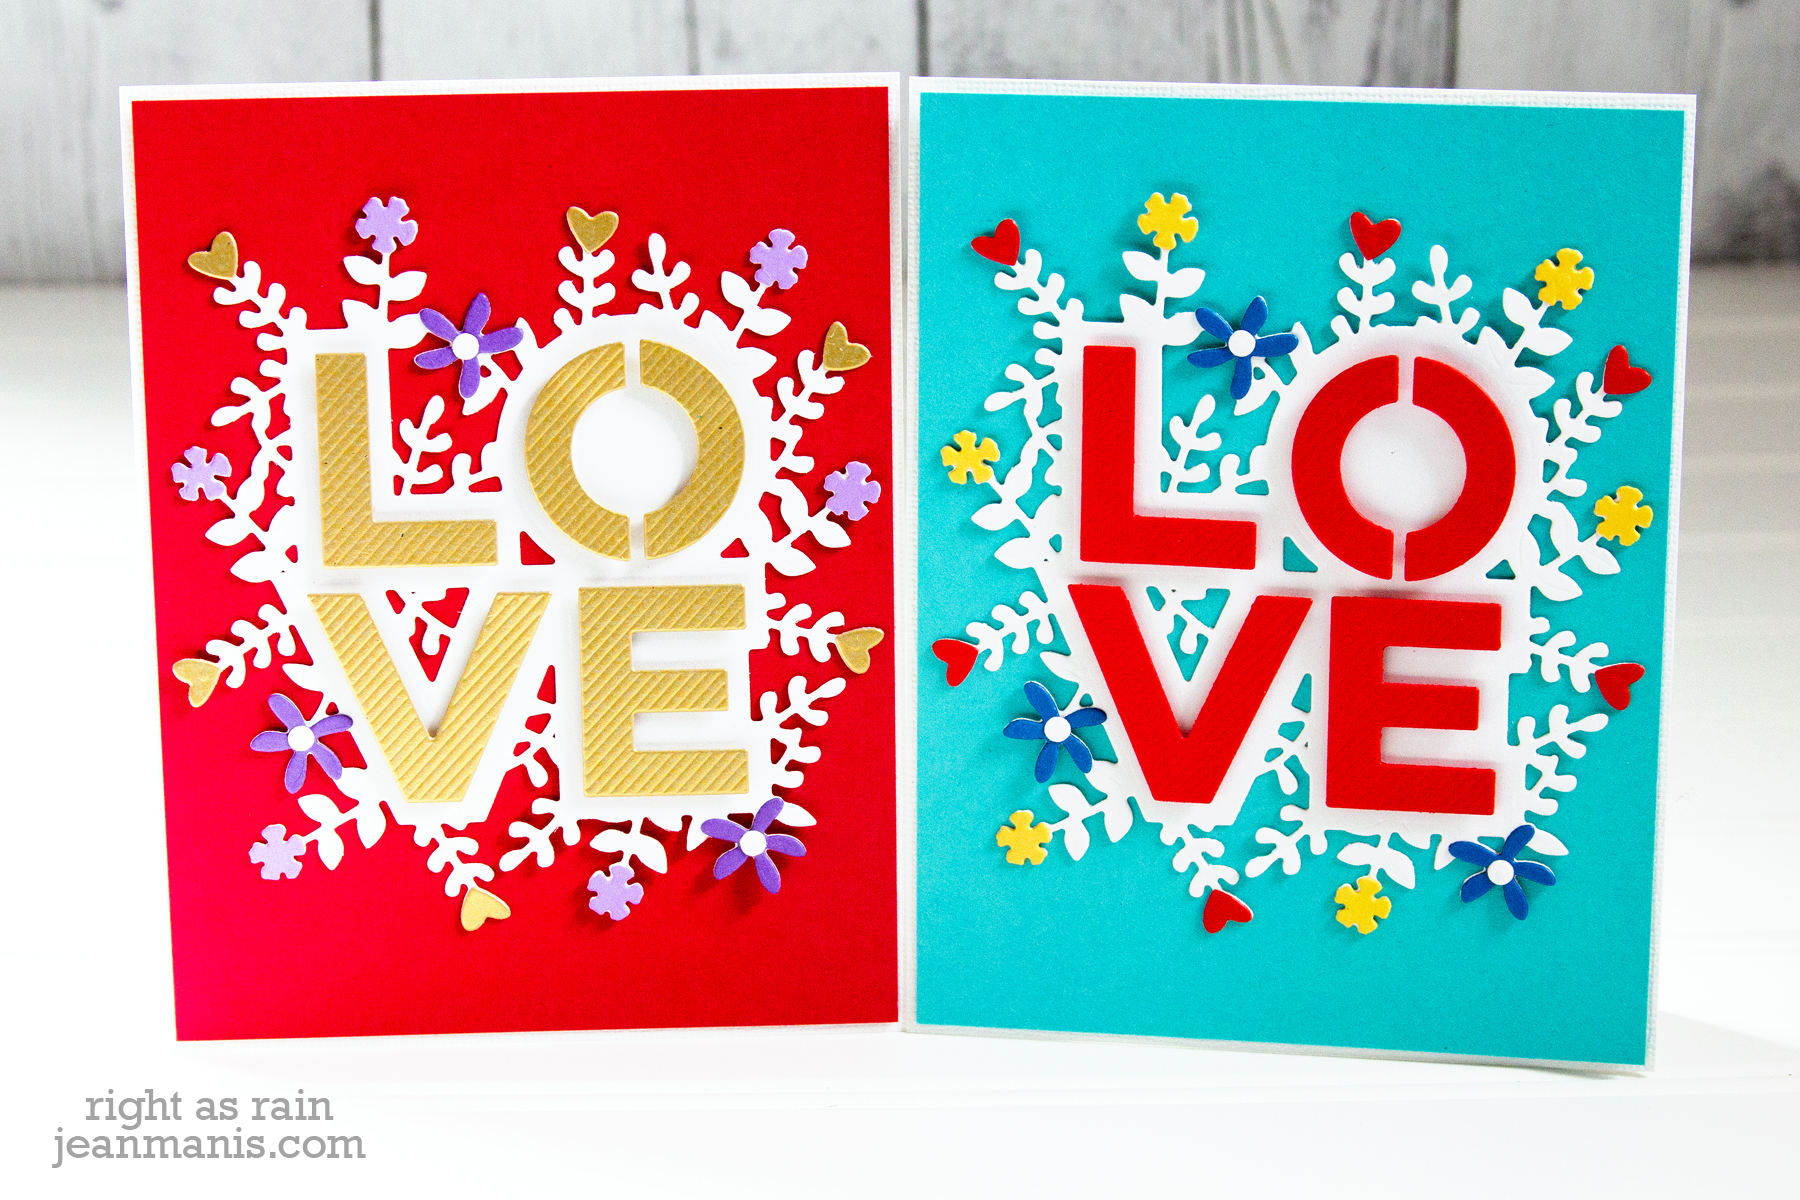
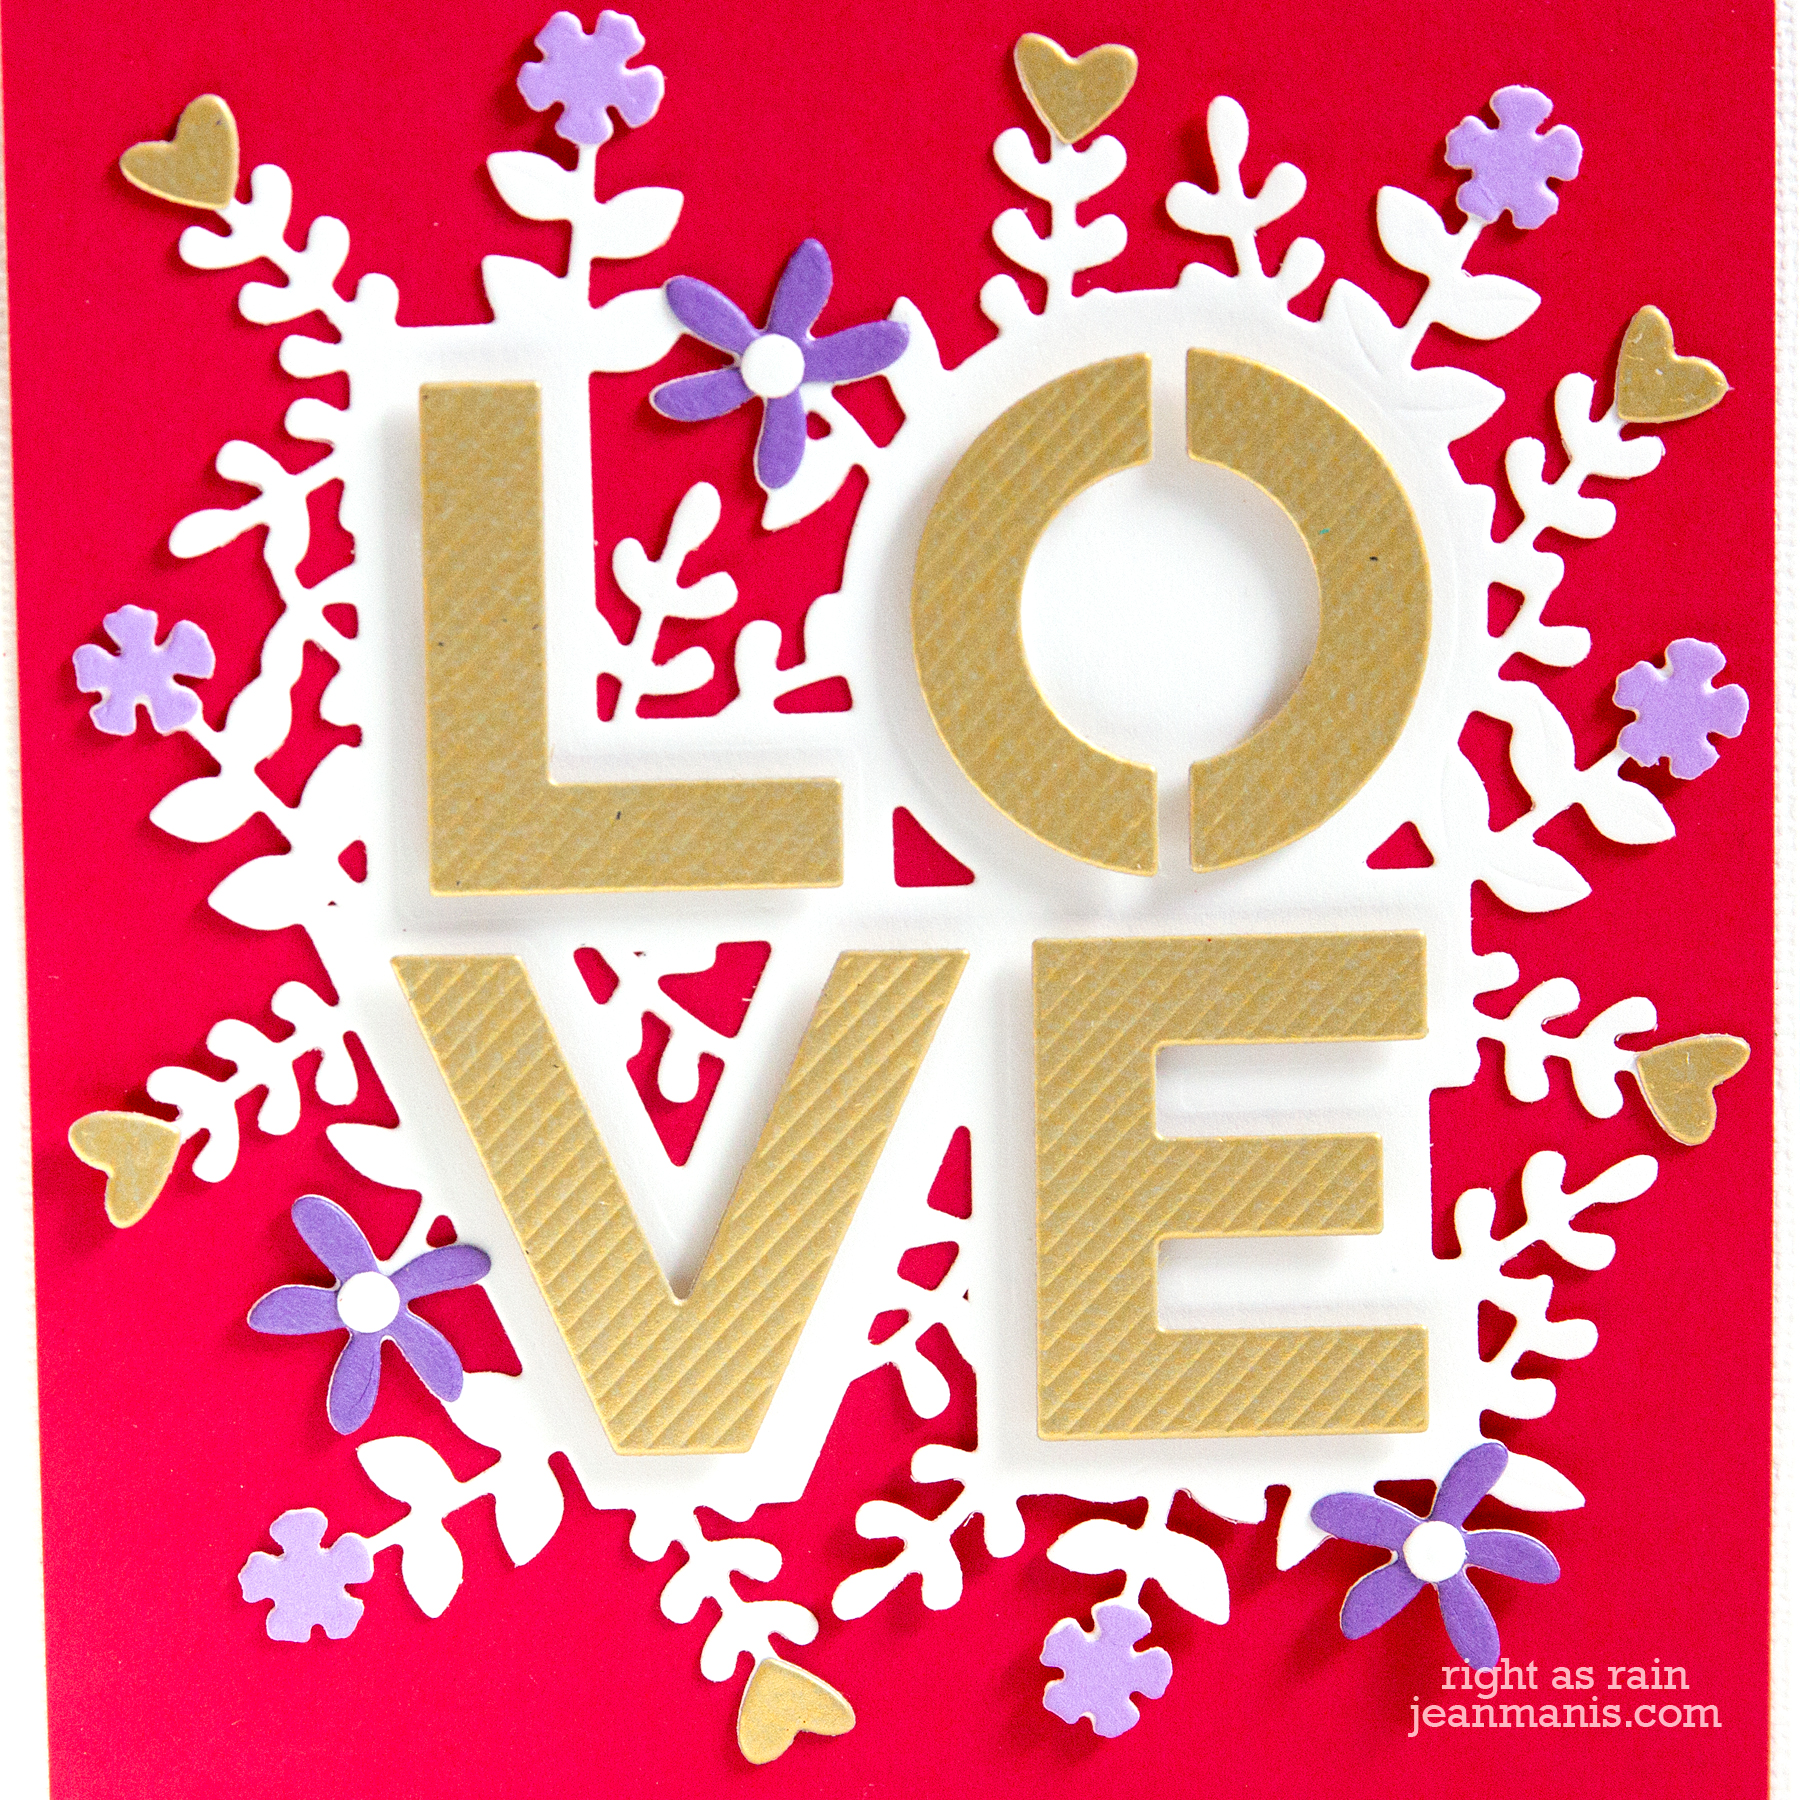
The red background card incorporates brushed gold letters, a white background for the letters, gold hearts, and purple flowers. The LOVE letters were added to the background assembly with foam adhesive.

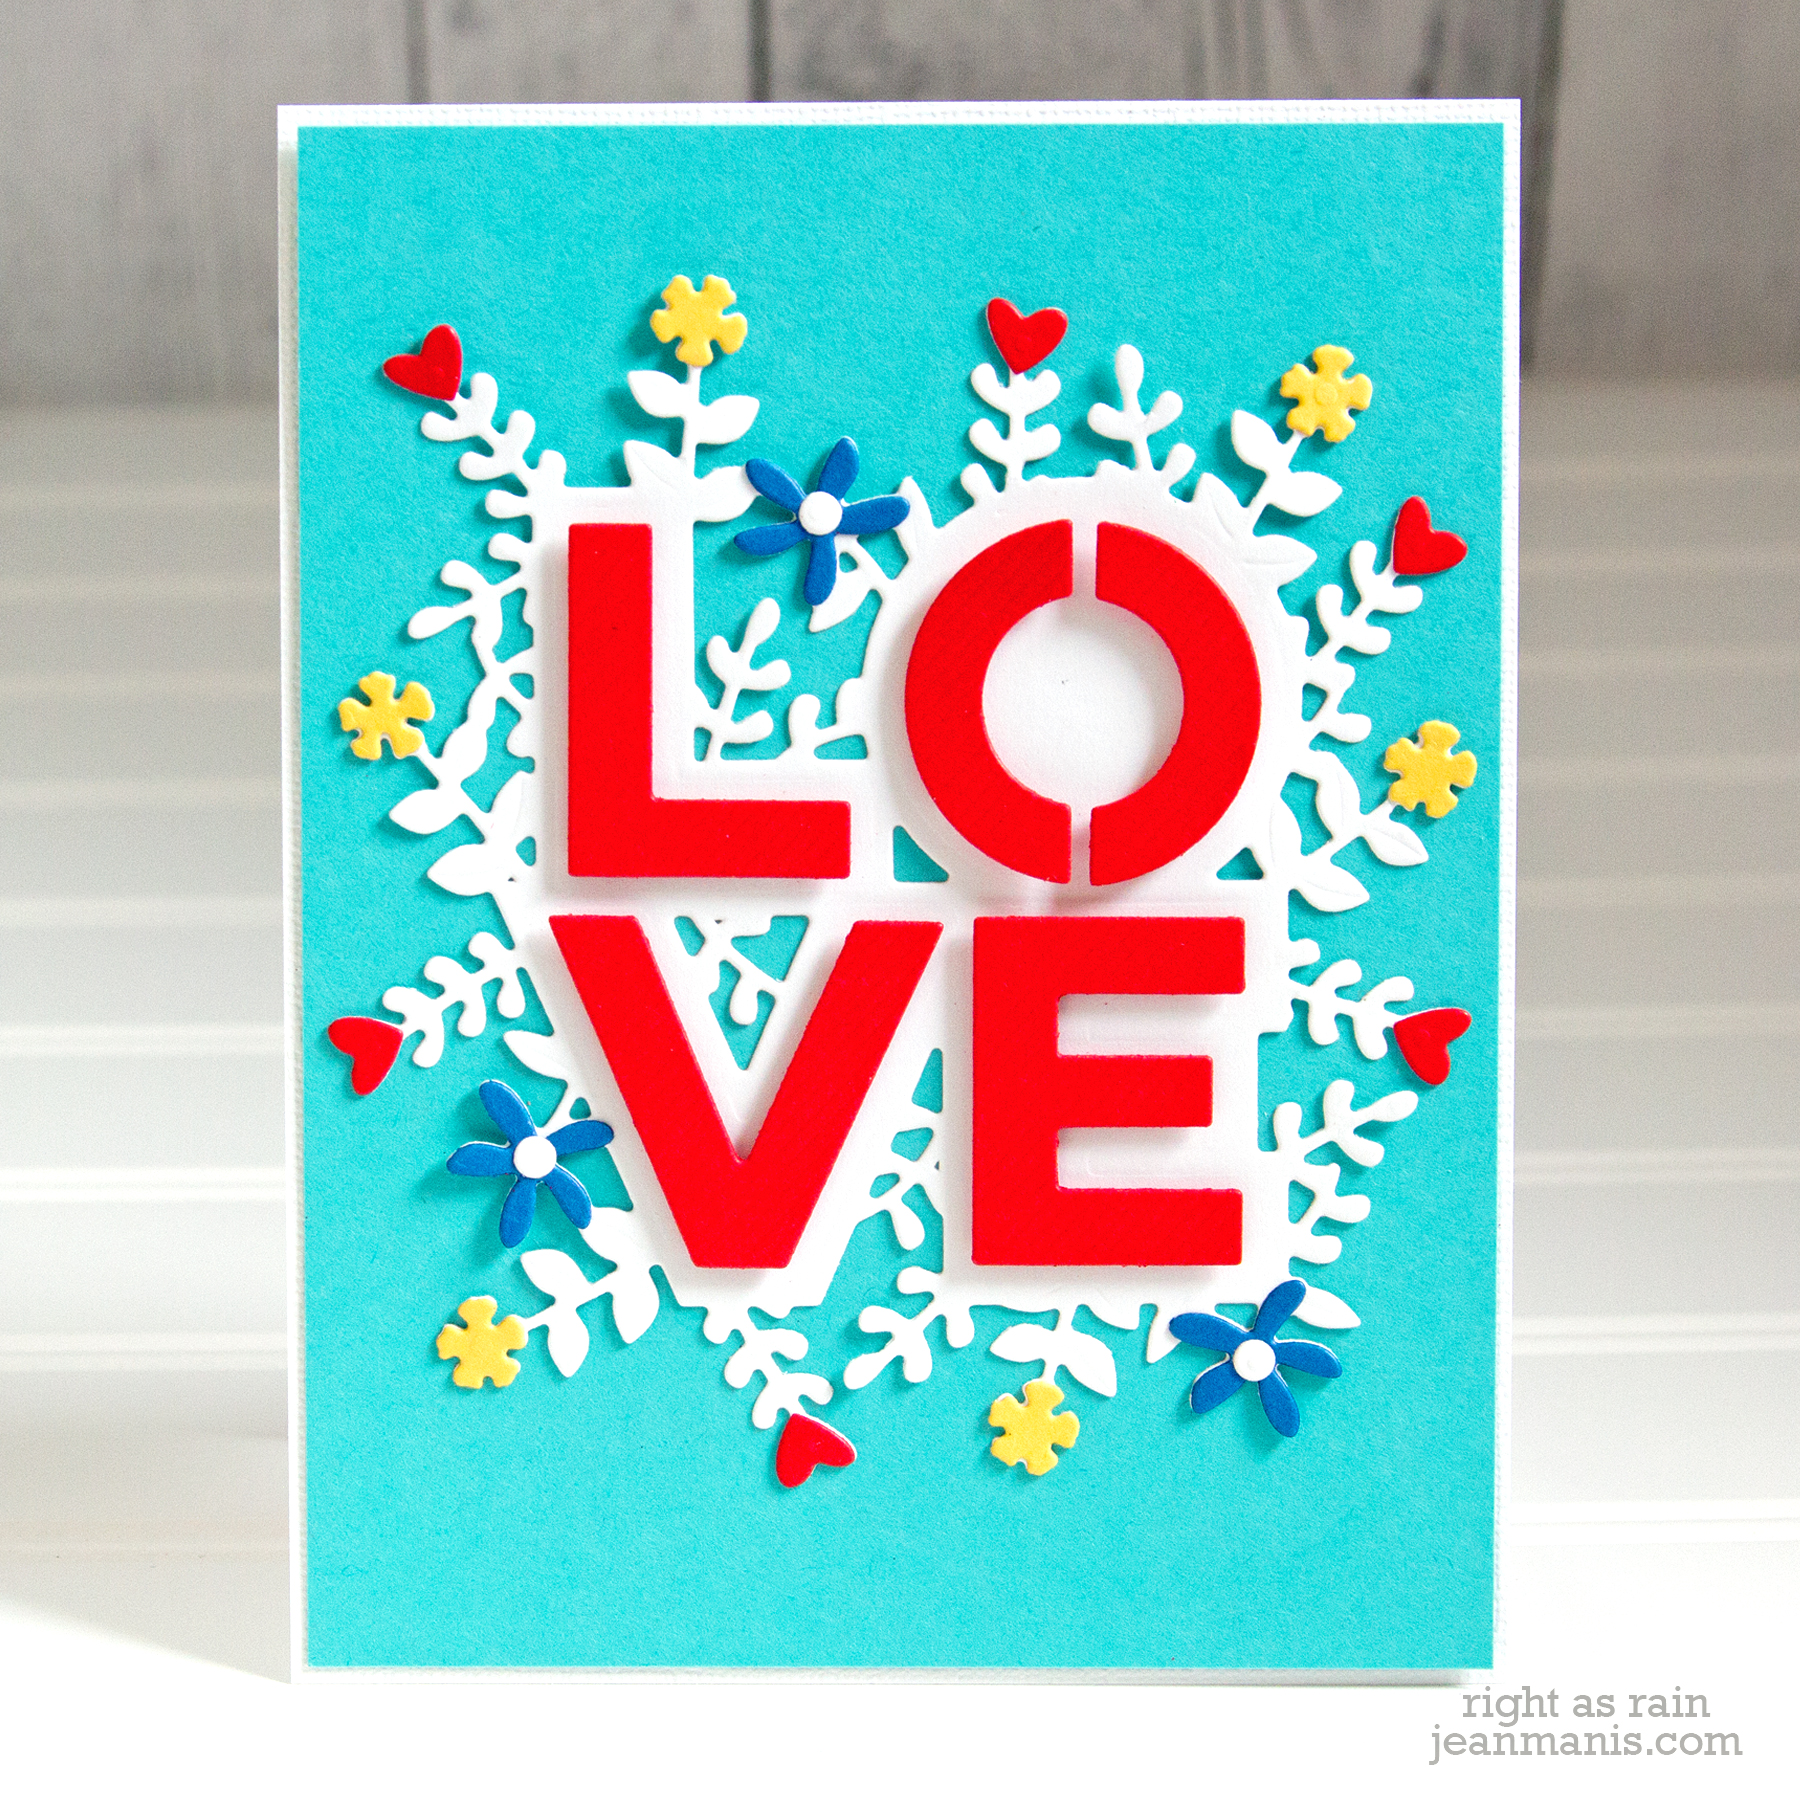
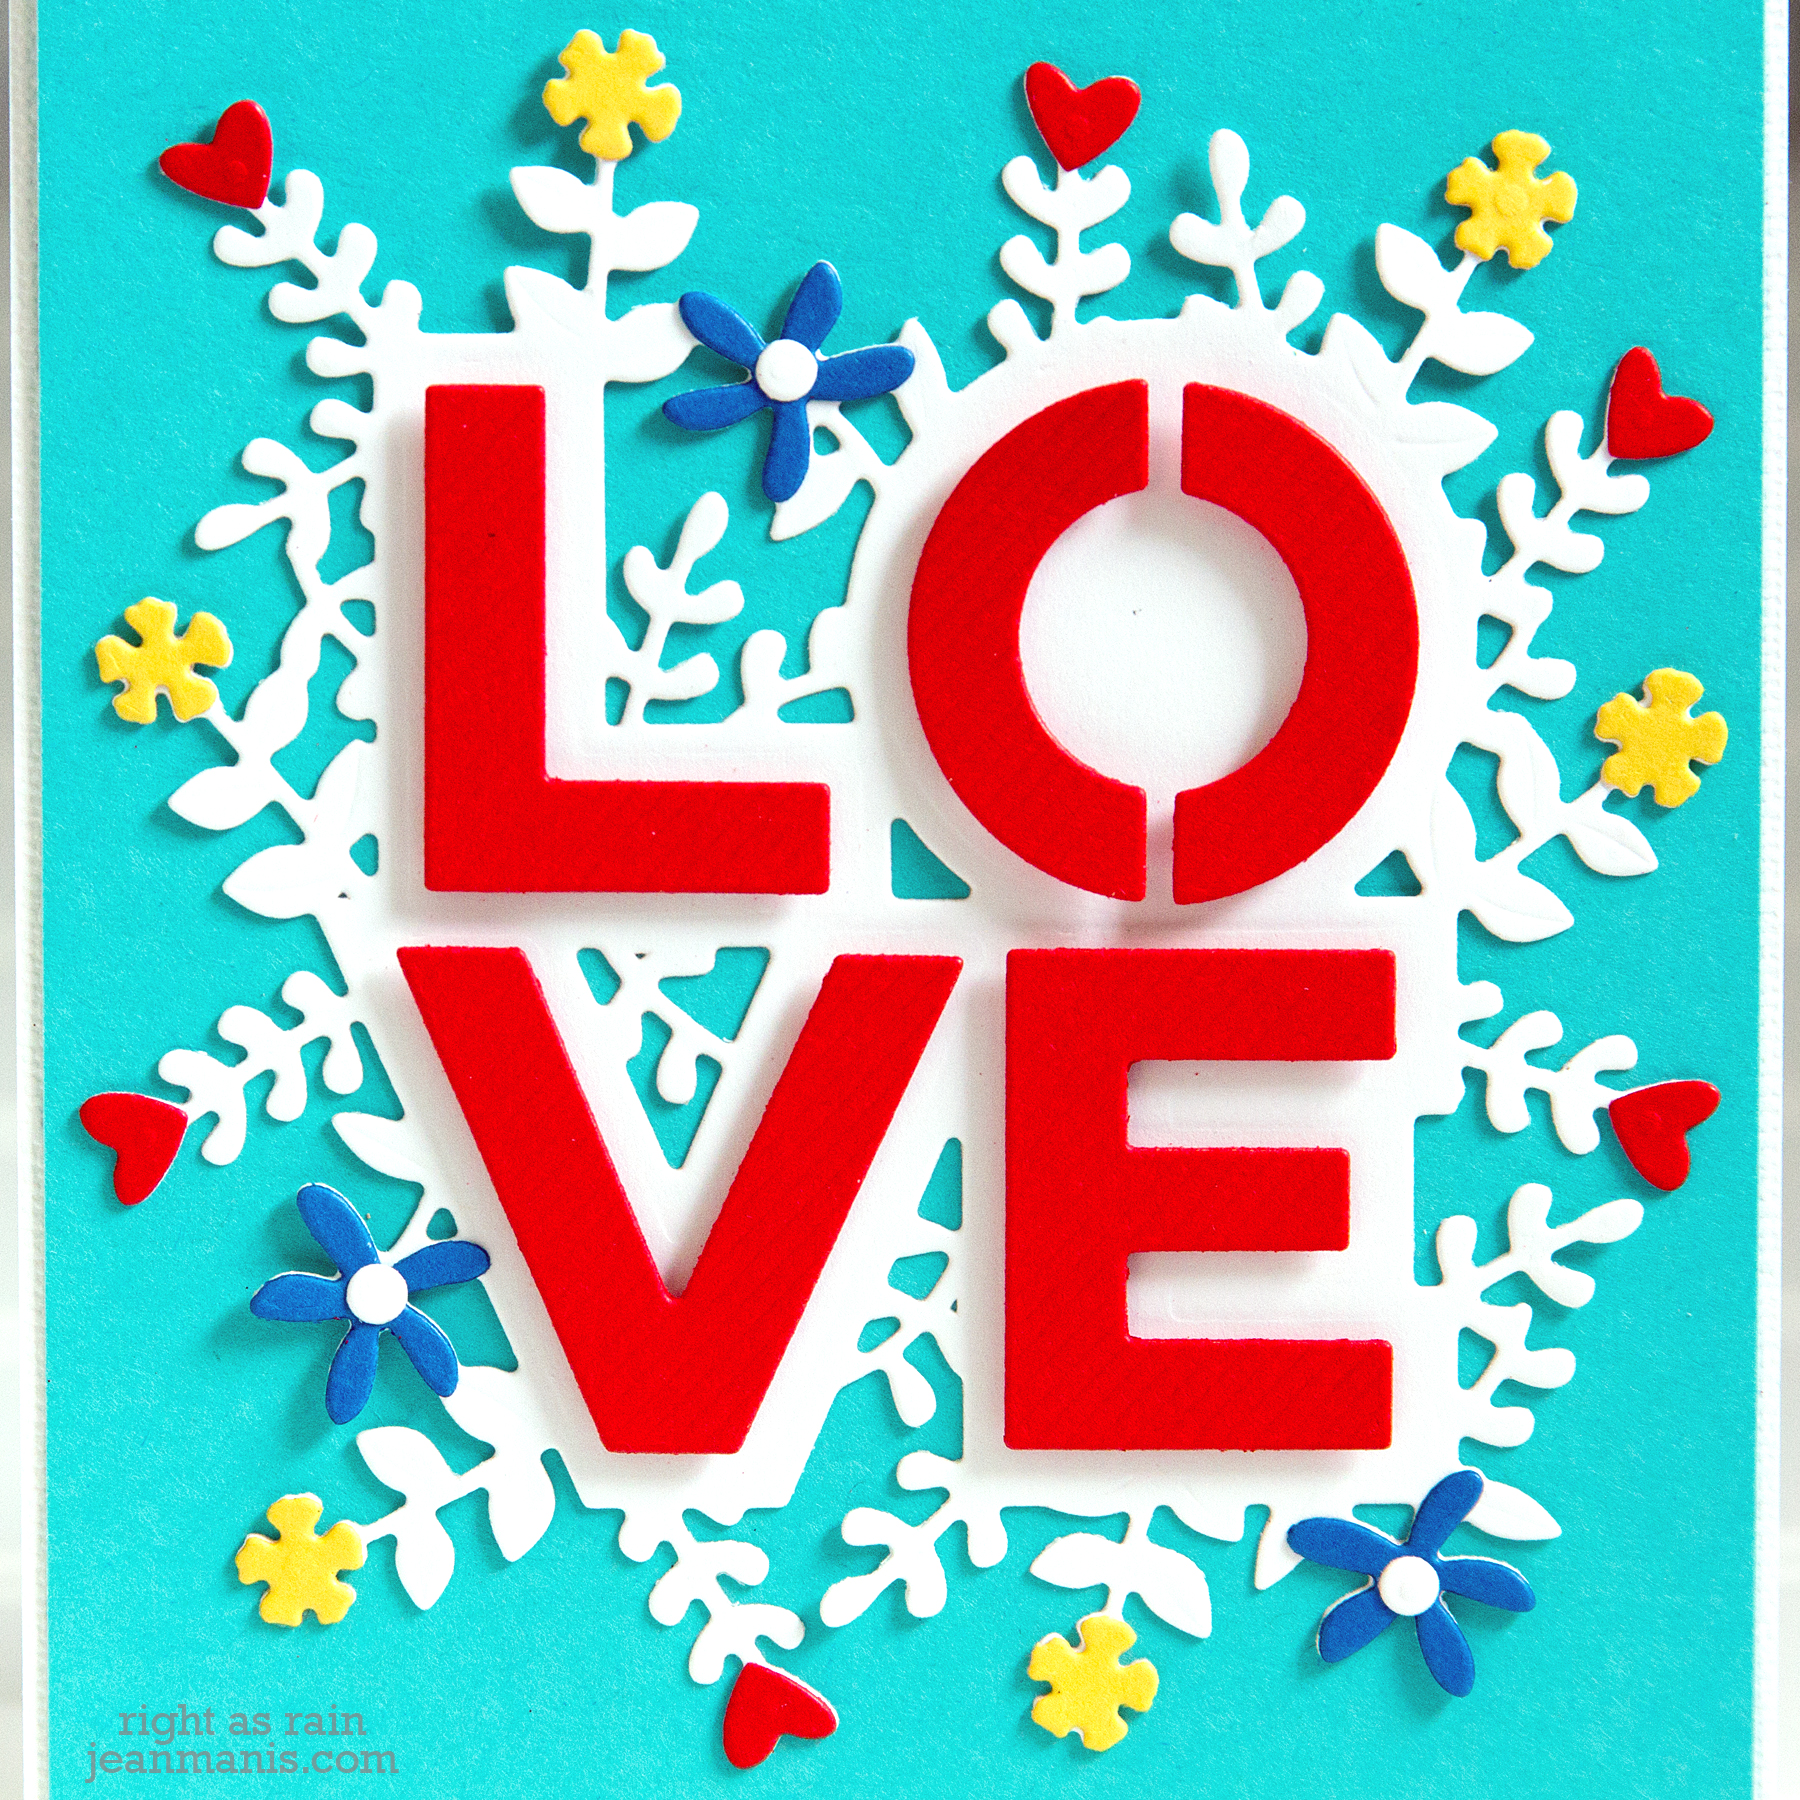
The turquoise/teal background card incorporates red letters, a white background for the letters, red hearts, and yellow and blue flowers.
I’m already thinking of additional color schemes for the card. Black background? Gold background for the letters? Brushed and shiny metallic for the hearts and flowers?
Wishing you all the best in 2020!
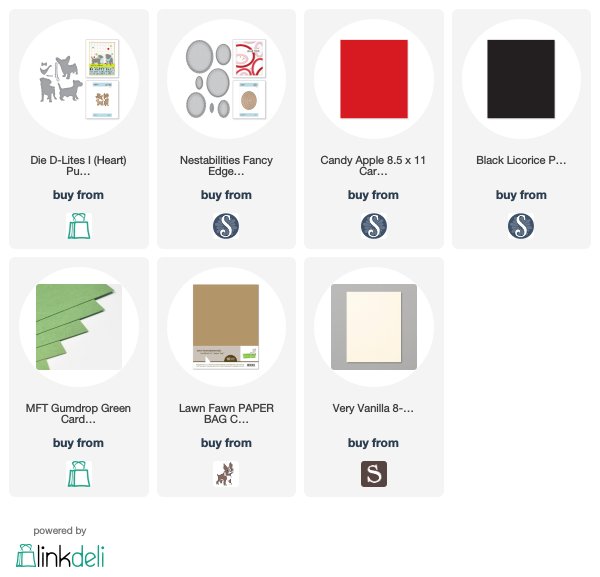
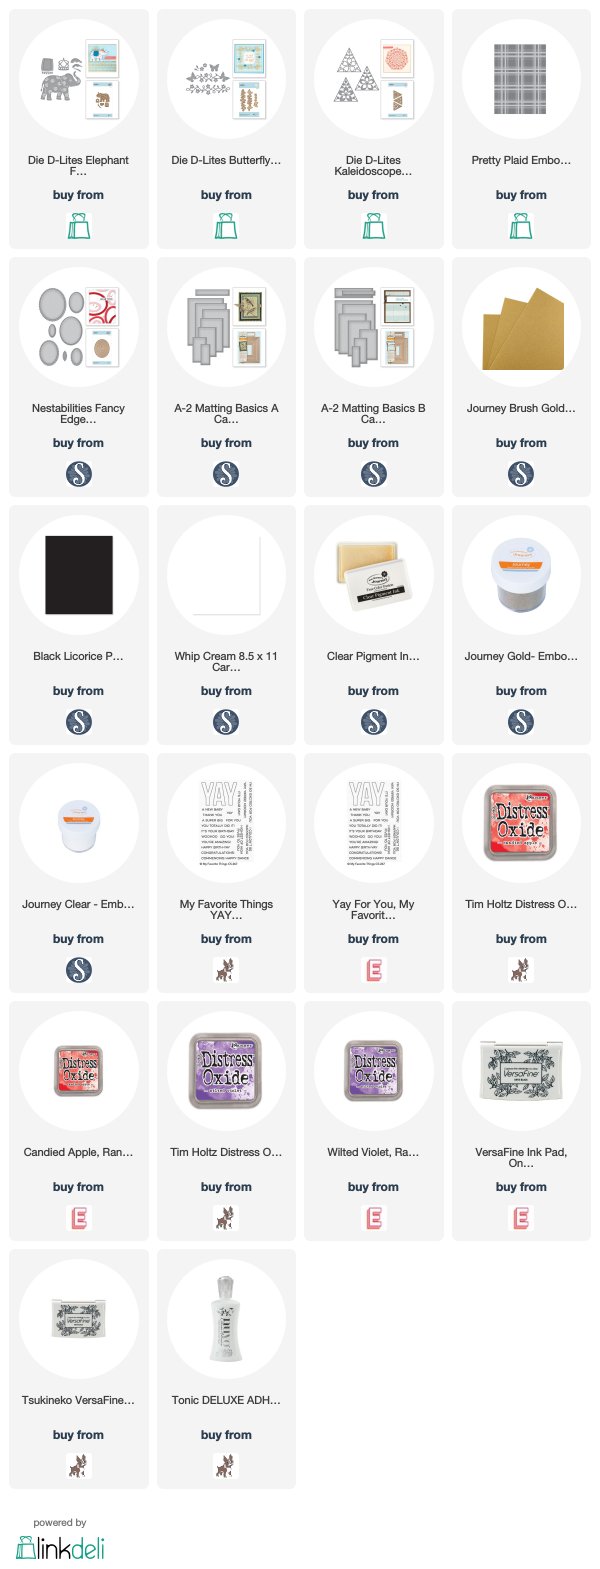
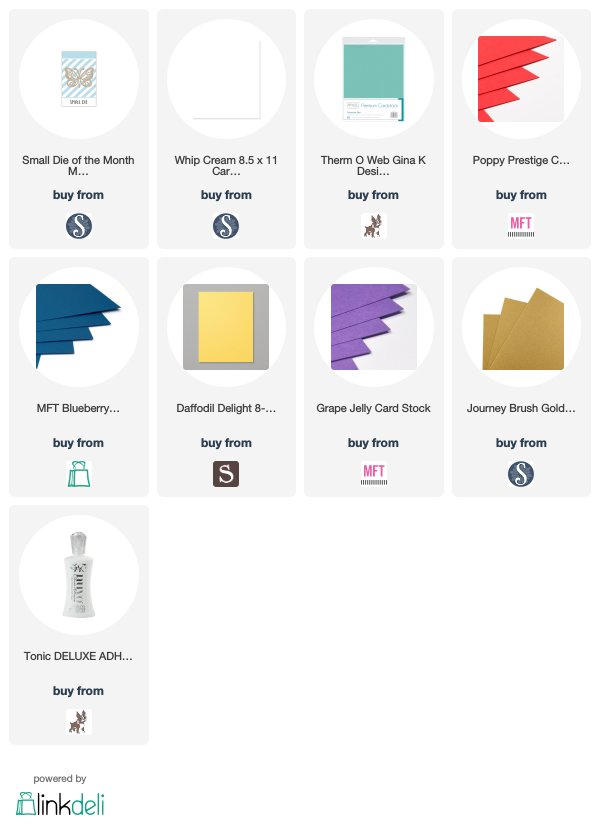
Supplies:


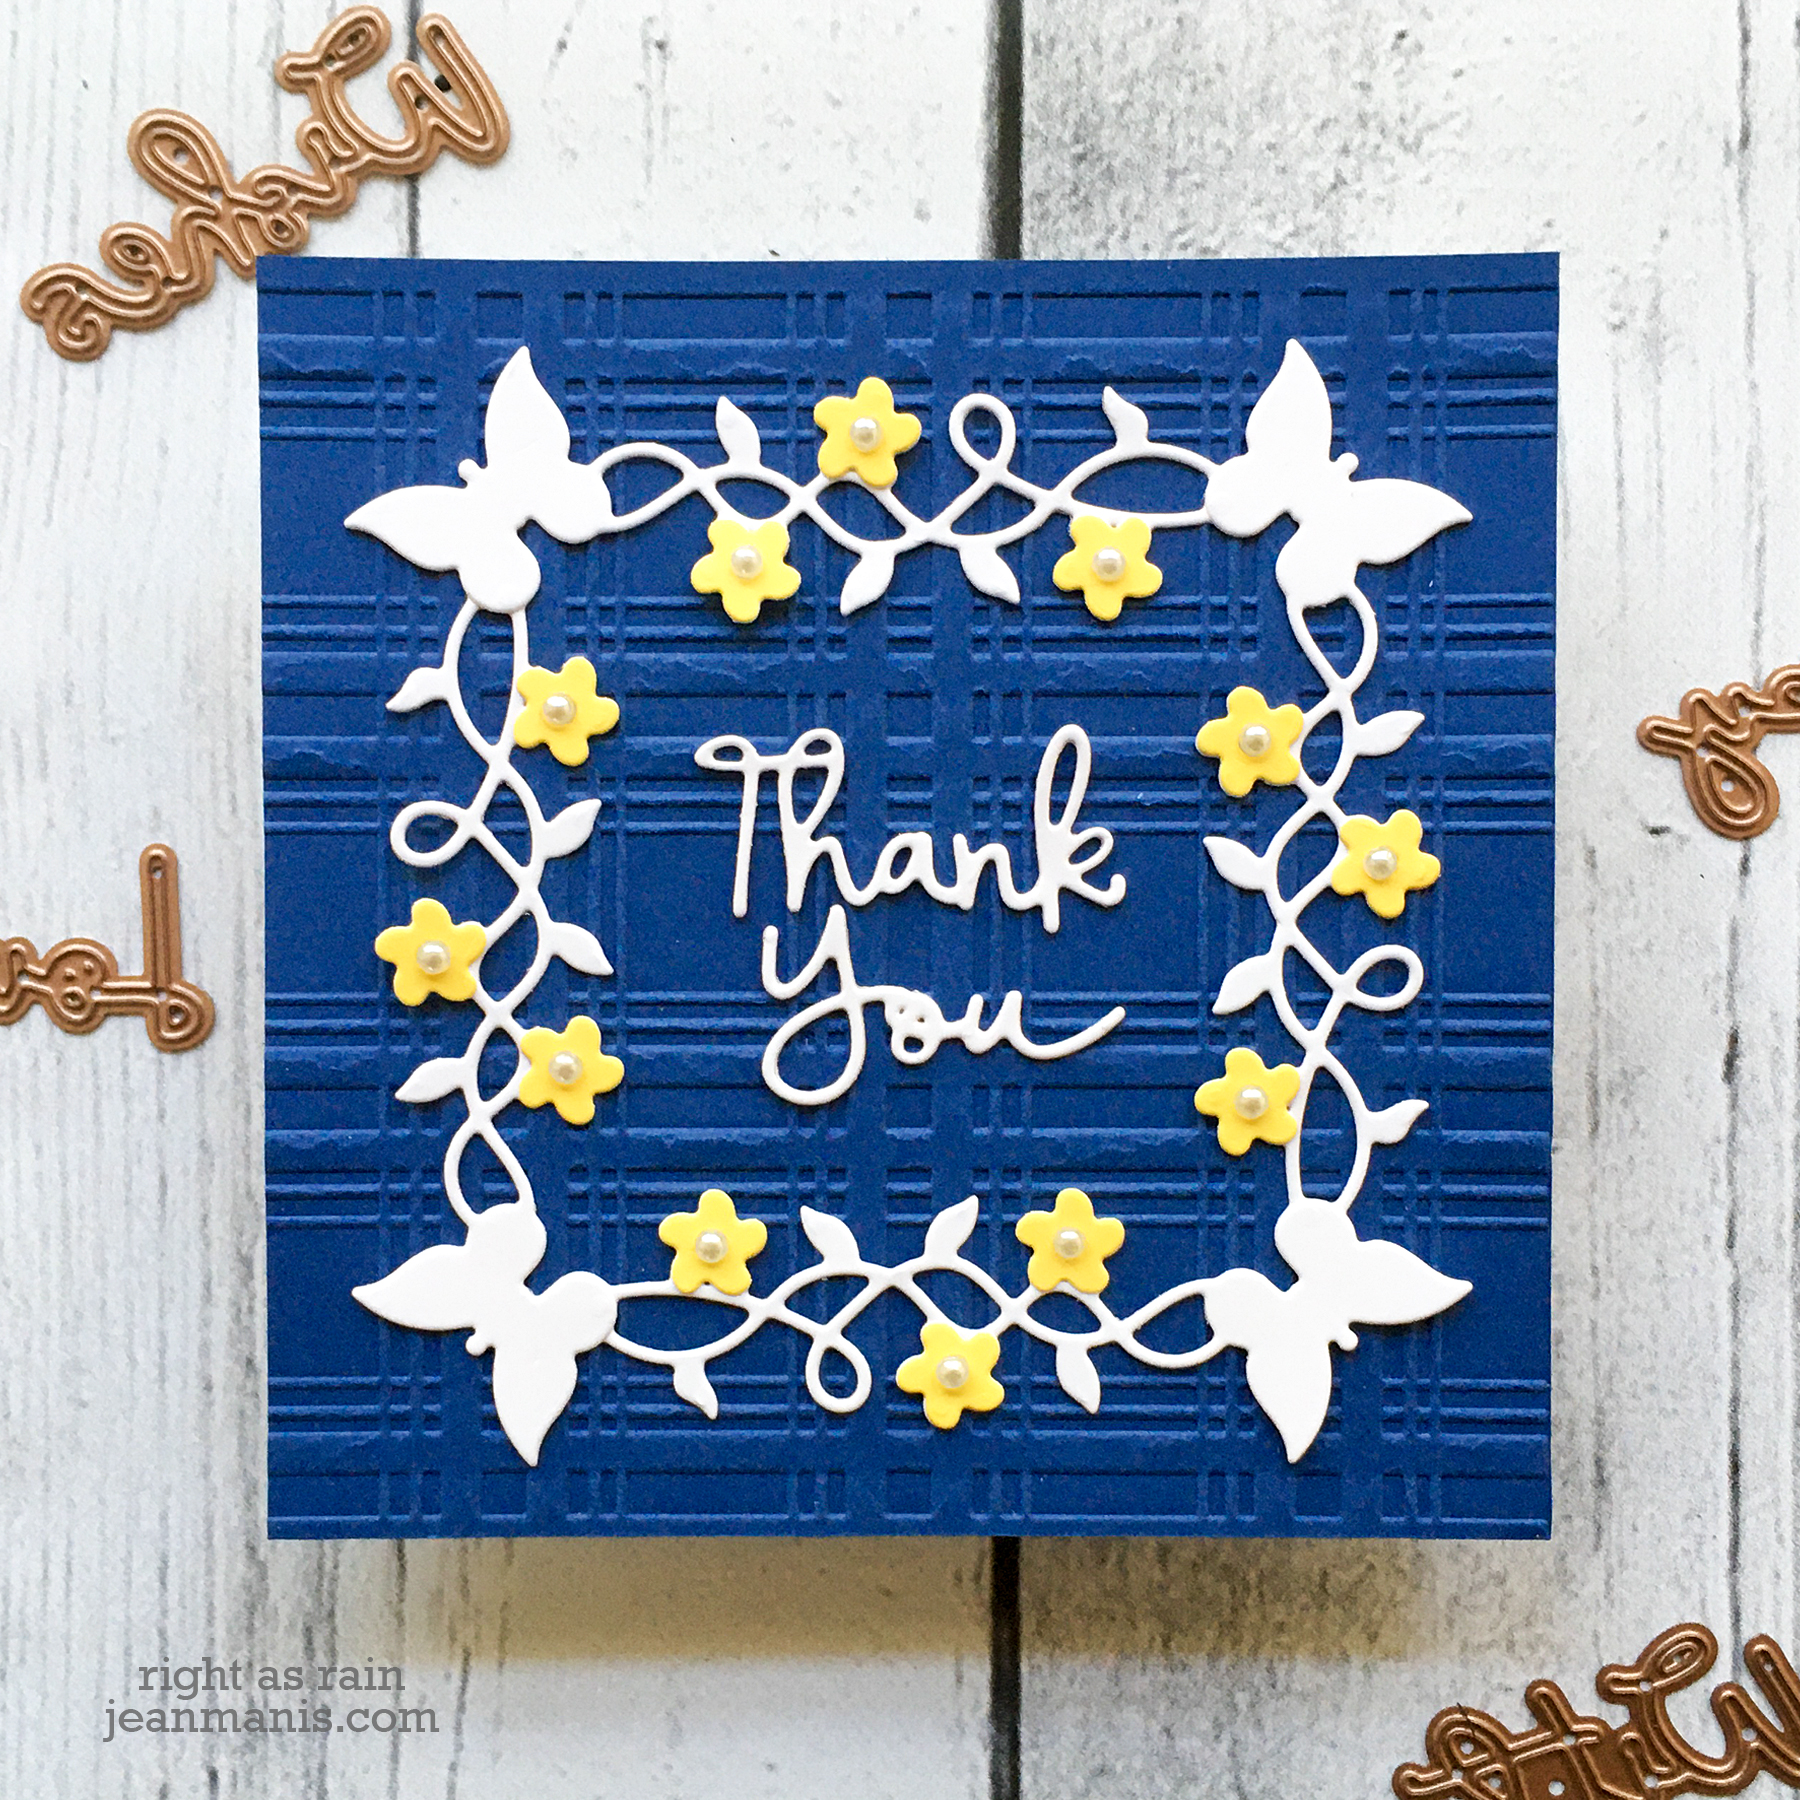
 The set includes fourteen word dies, in a versatile font, with which you can create a variety of expressions for a number of occasions such as: “Thinking of You,” “With Sympathy,” “Birthday Wishes to You,” and “Congrats to You,” as well as the more obvious “Thank You,” “Love You,” and “Happy Birthday.”