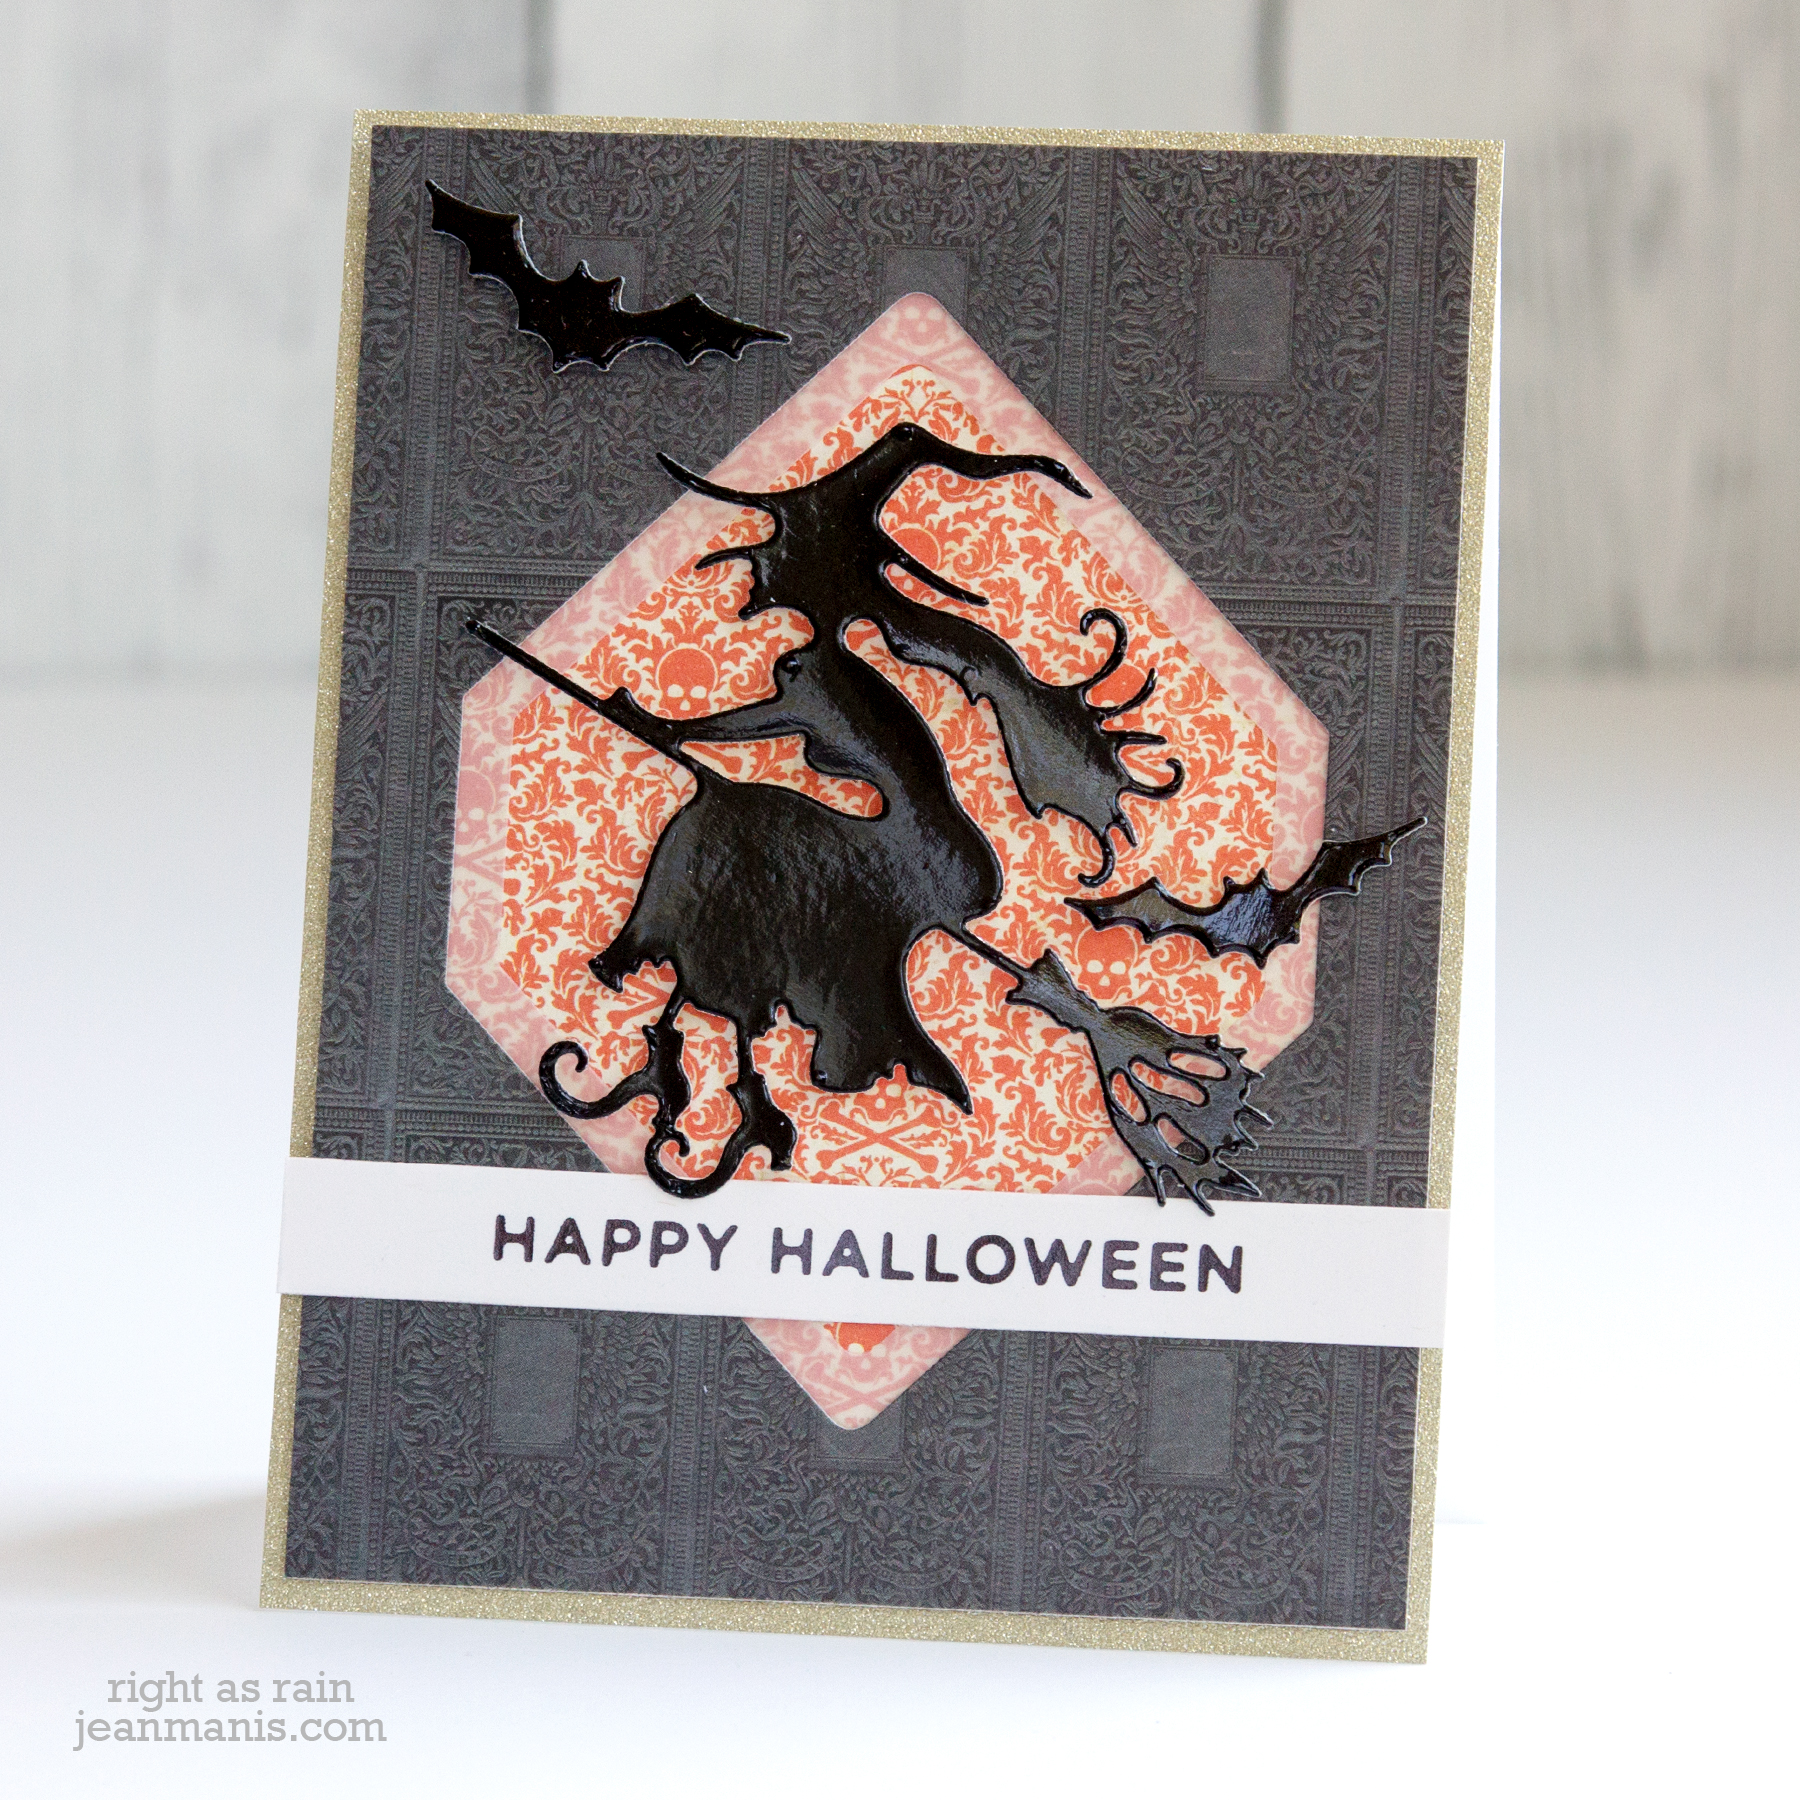
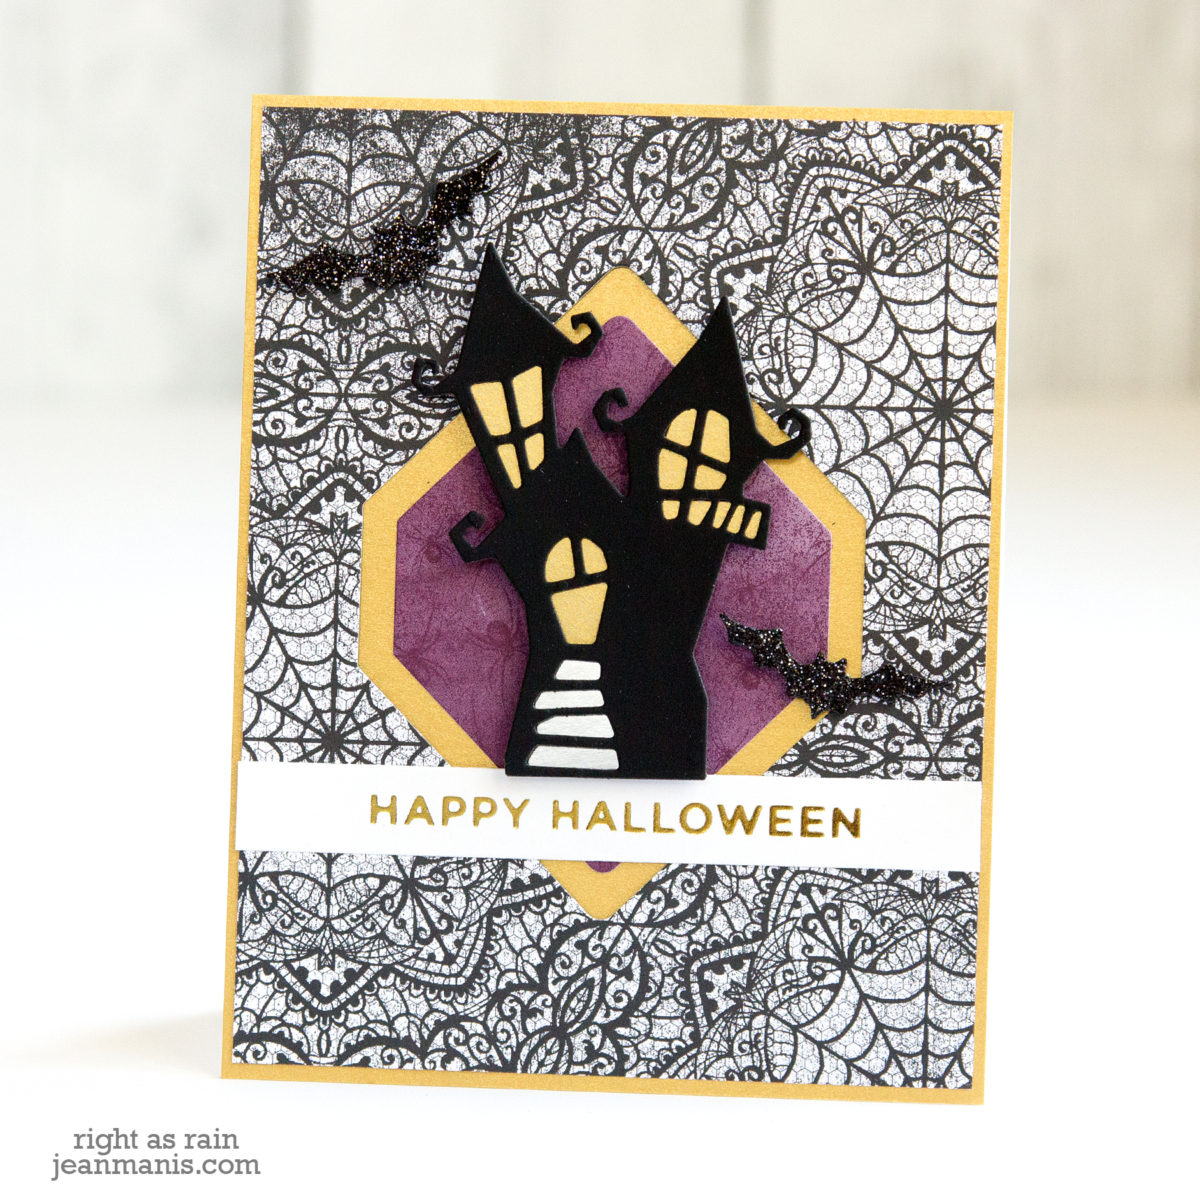
Hello! I am sharing a CAS, elegant, Halloween-themed card created with Spellbinders products. The card combines two of my favorite techniques: die-cutting and glimmer-foiling. I am also sharing info below about a sale on Spellbinders Past Club Kits.

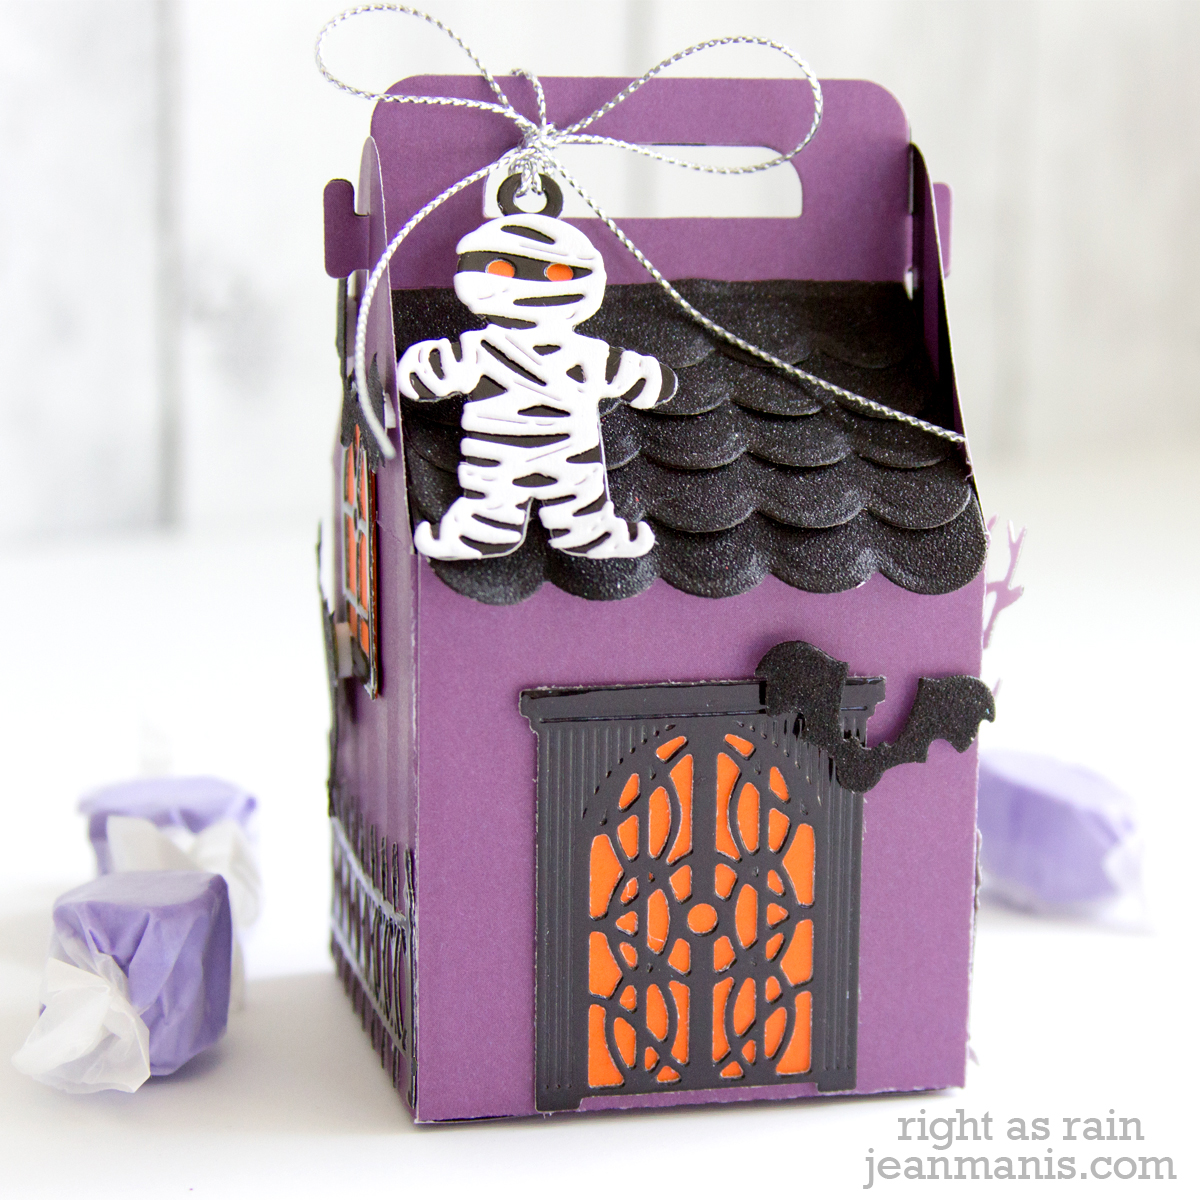
- I cut the Haunted Manor from black cardstock and backed it with metallic cardstock.
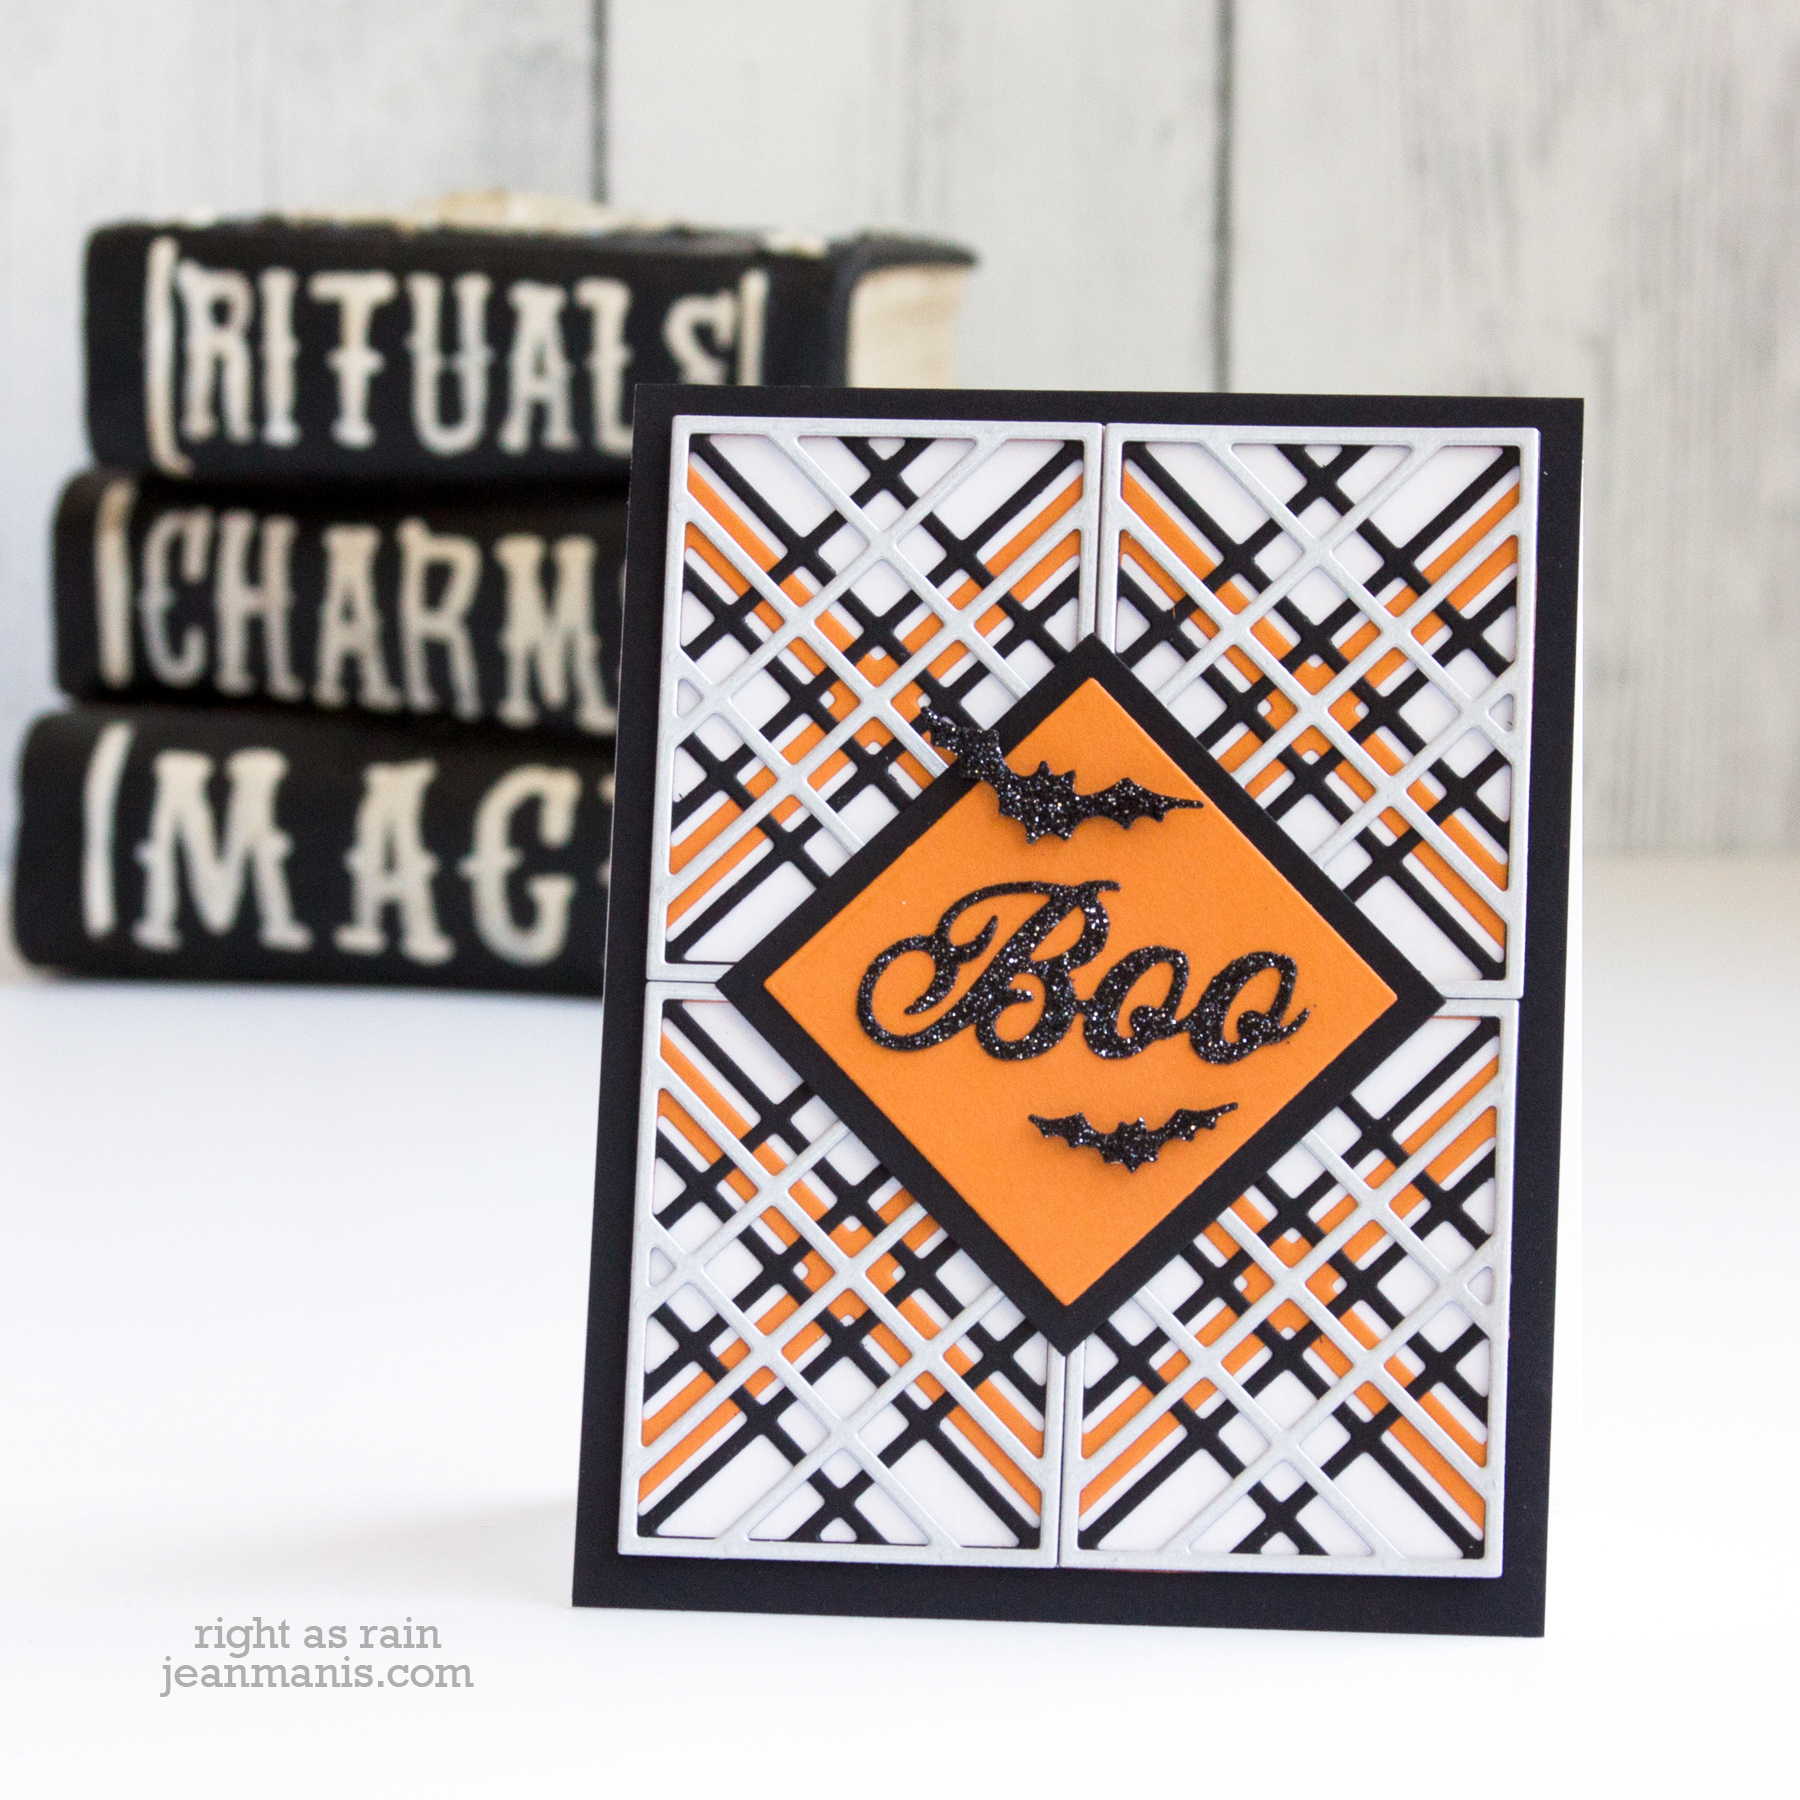
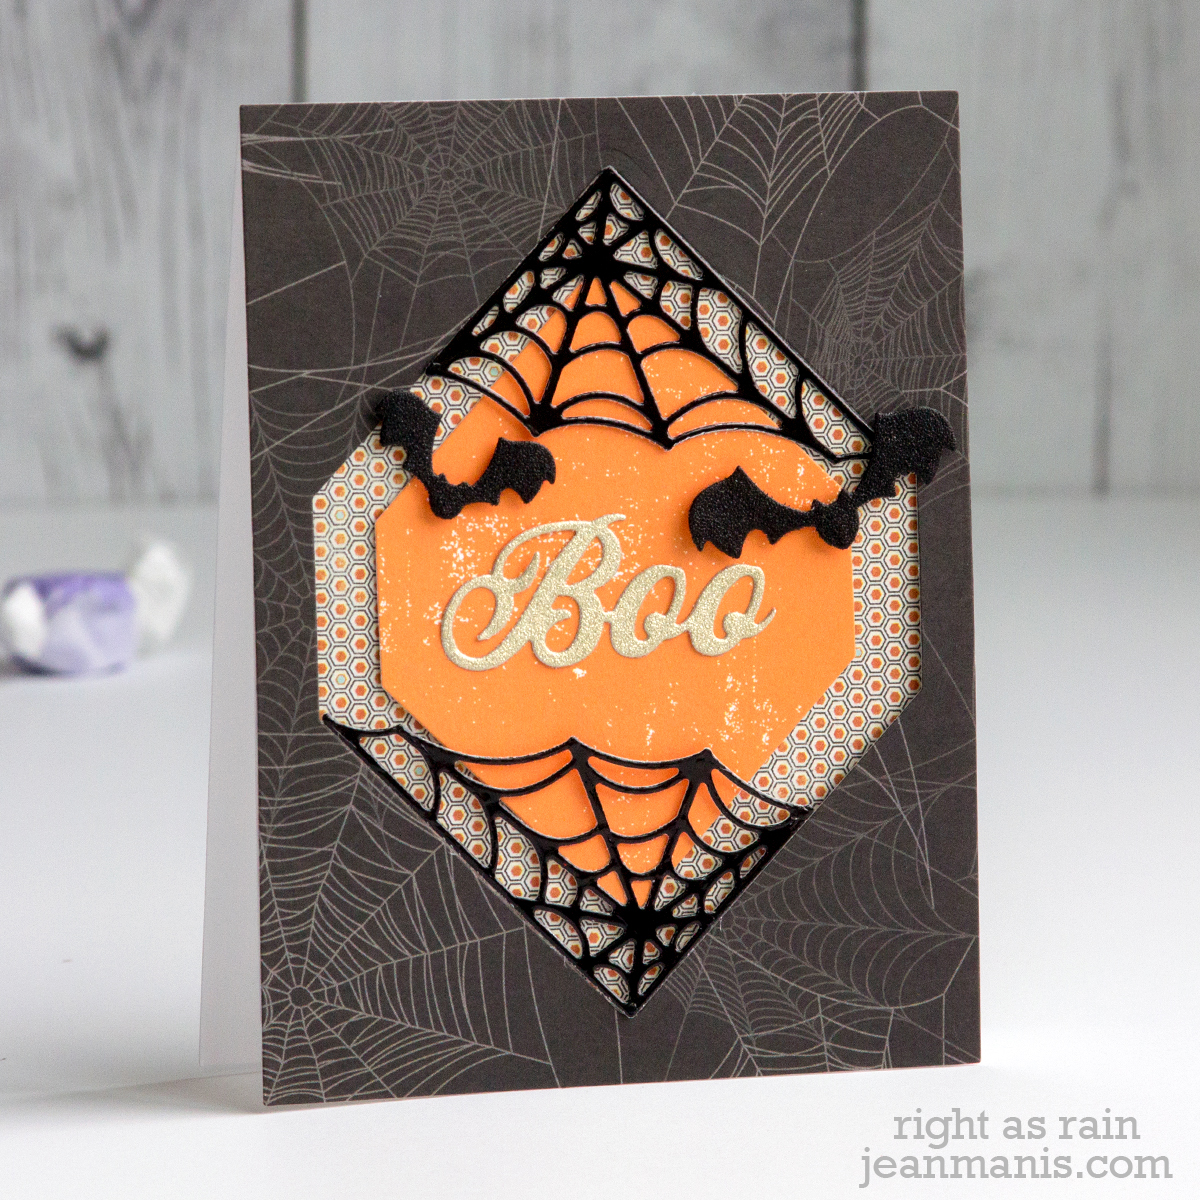
- I cut the frame using a die in the Nested Clipped Squares set from a patterned paper rectangle and backed it with metallic cardstock for the card base. I cut a smaller clipped square from another piece of patterned paper and adhered it to the center of the opening.
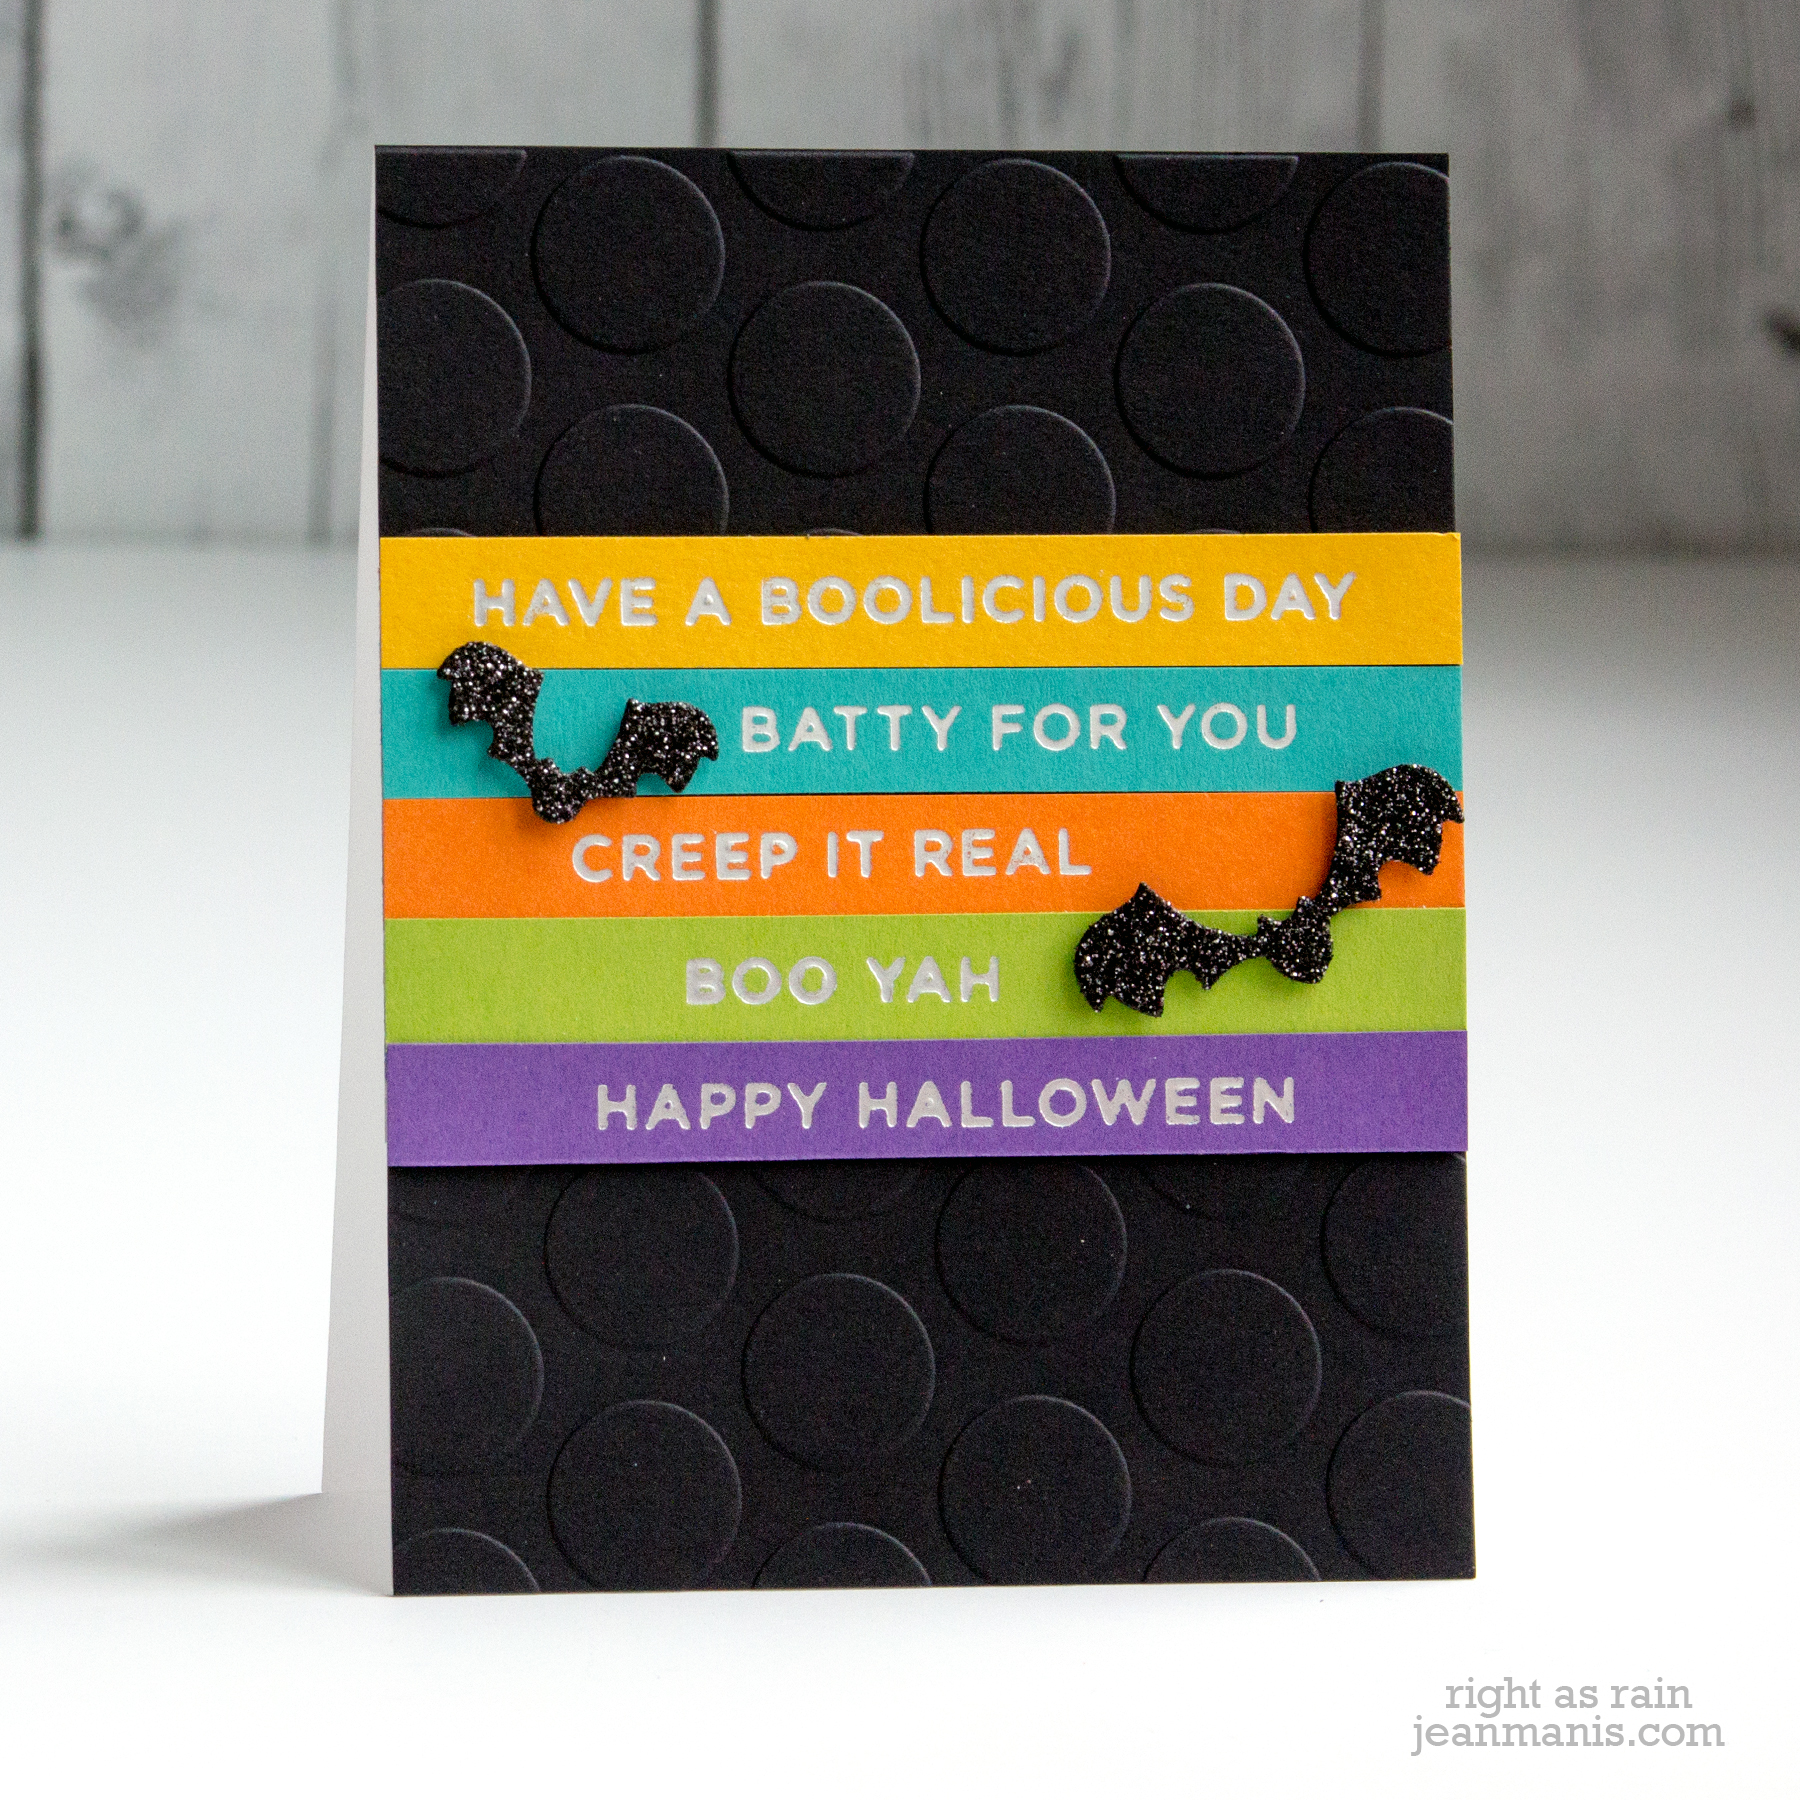
- I glimmer foiled the sentiment using the Spooking Greetings set in Gold. I cut the strip using a die in the Everyday Sentiments II set. I adhered the strip to the card base.
- I added the assembled manor to the center of the opening with foam adhesive.
- I cut the bats from black glitter paper with dies in the Witch on Broom set and added them to the scene with foam adhesive.
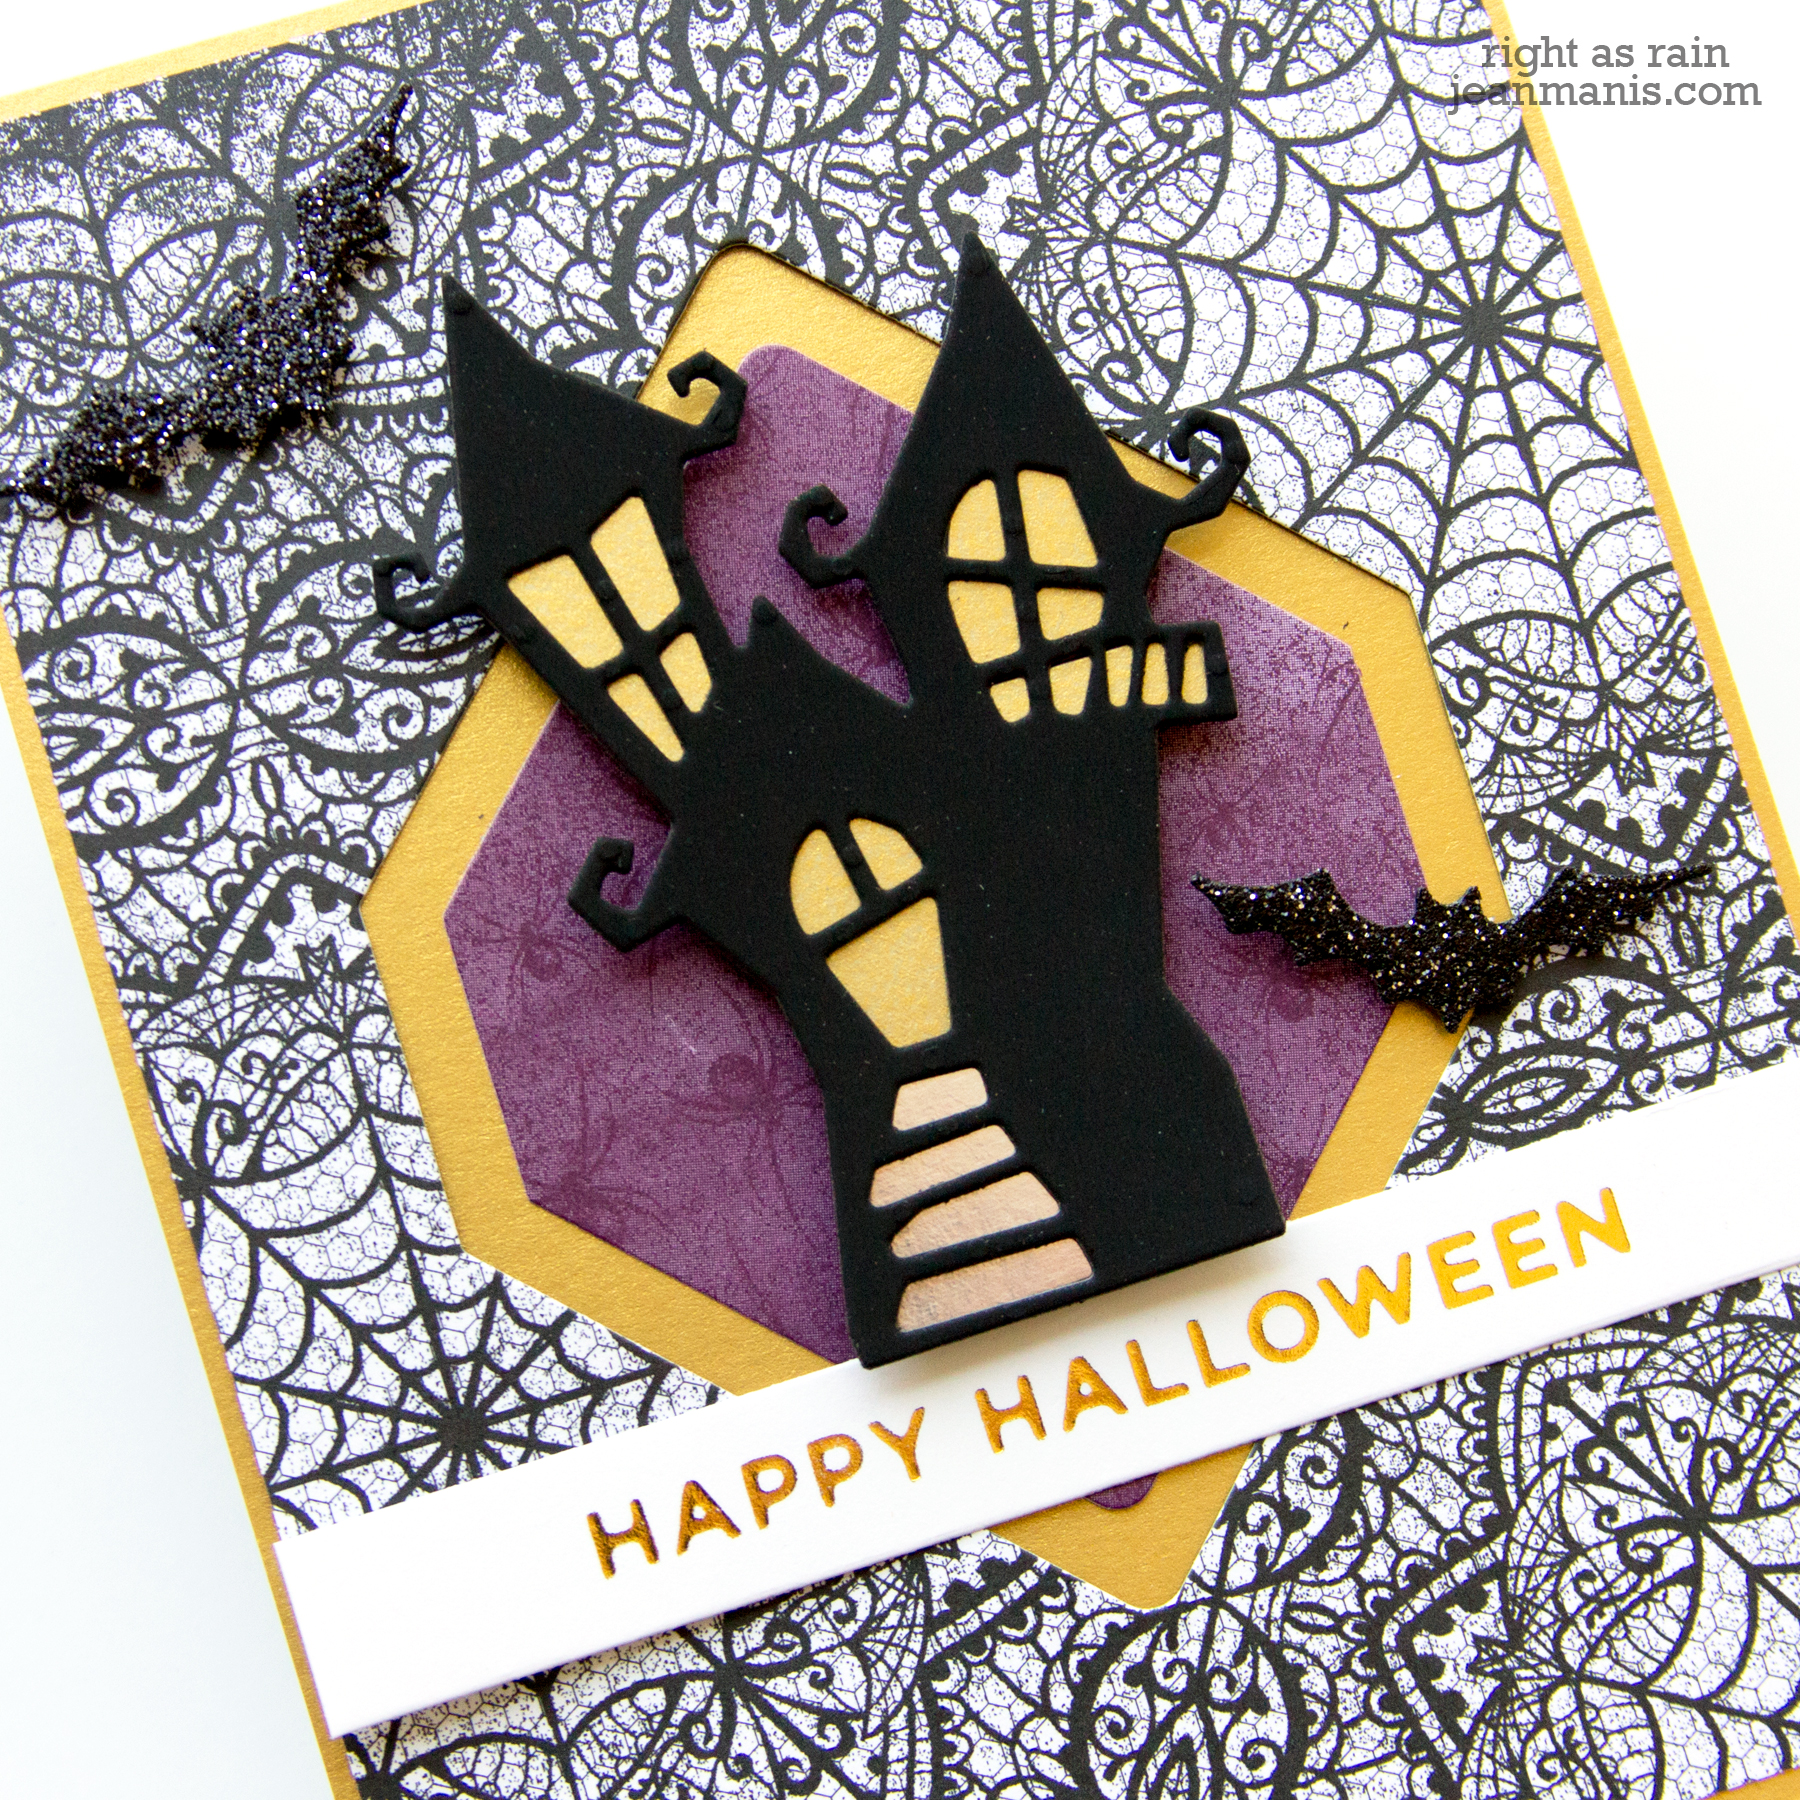
What I like about this card: I like the elegant take on Halloween and the pairing of the patterned papers with black and gold. I like this Stampin’ Up Halloween paper so much that I bought more!

The Spellbinders Past Club Kits sale offers up to 30% savings off select club kits. Join a club today and the club discount of 10% will be layered onto the sale items.
Supply List: