Spellbinders Foiled Nautical Thank You

Hello! Today I am sharing a CAS card showcasing a foiled sentiment from the Spellbinders Stylish Script Collection.

Spellbinders Foiled Nautical Thank You

I paired the foiled Thank You sentiment with ovals cut using dies in the Elegant Twist Ovals set. I previously shared a card created with this same die set here.

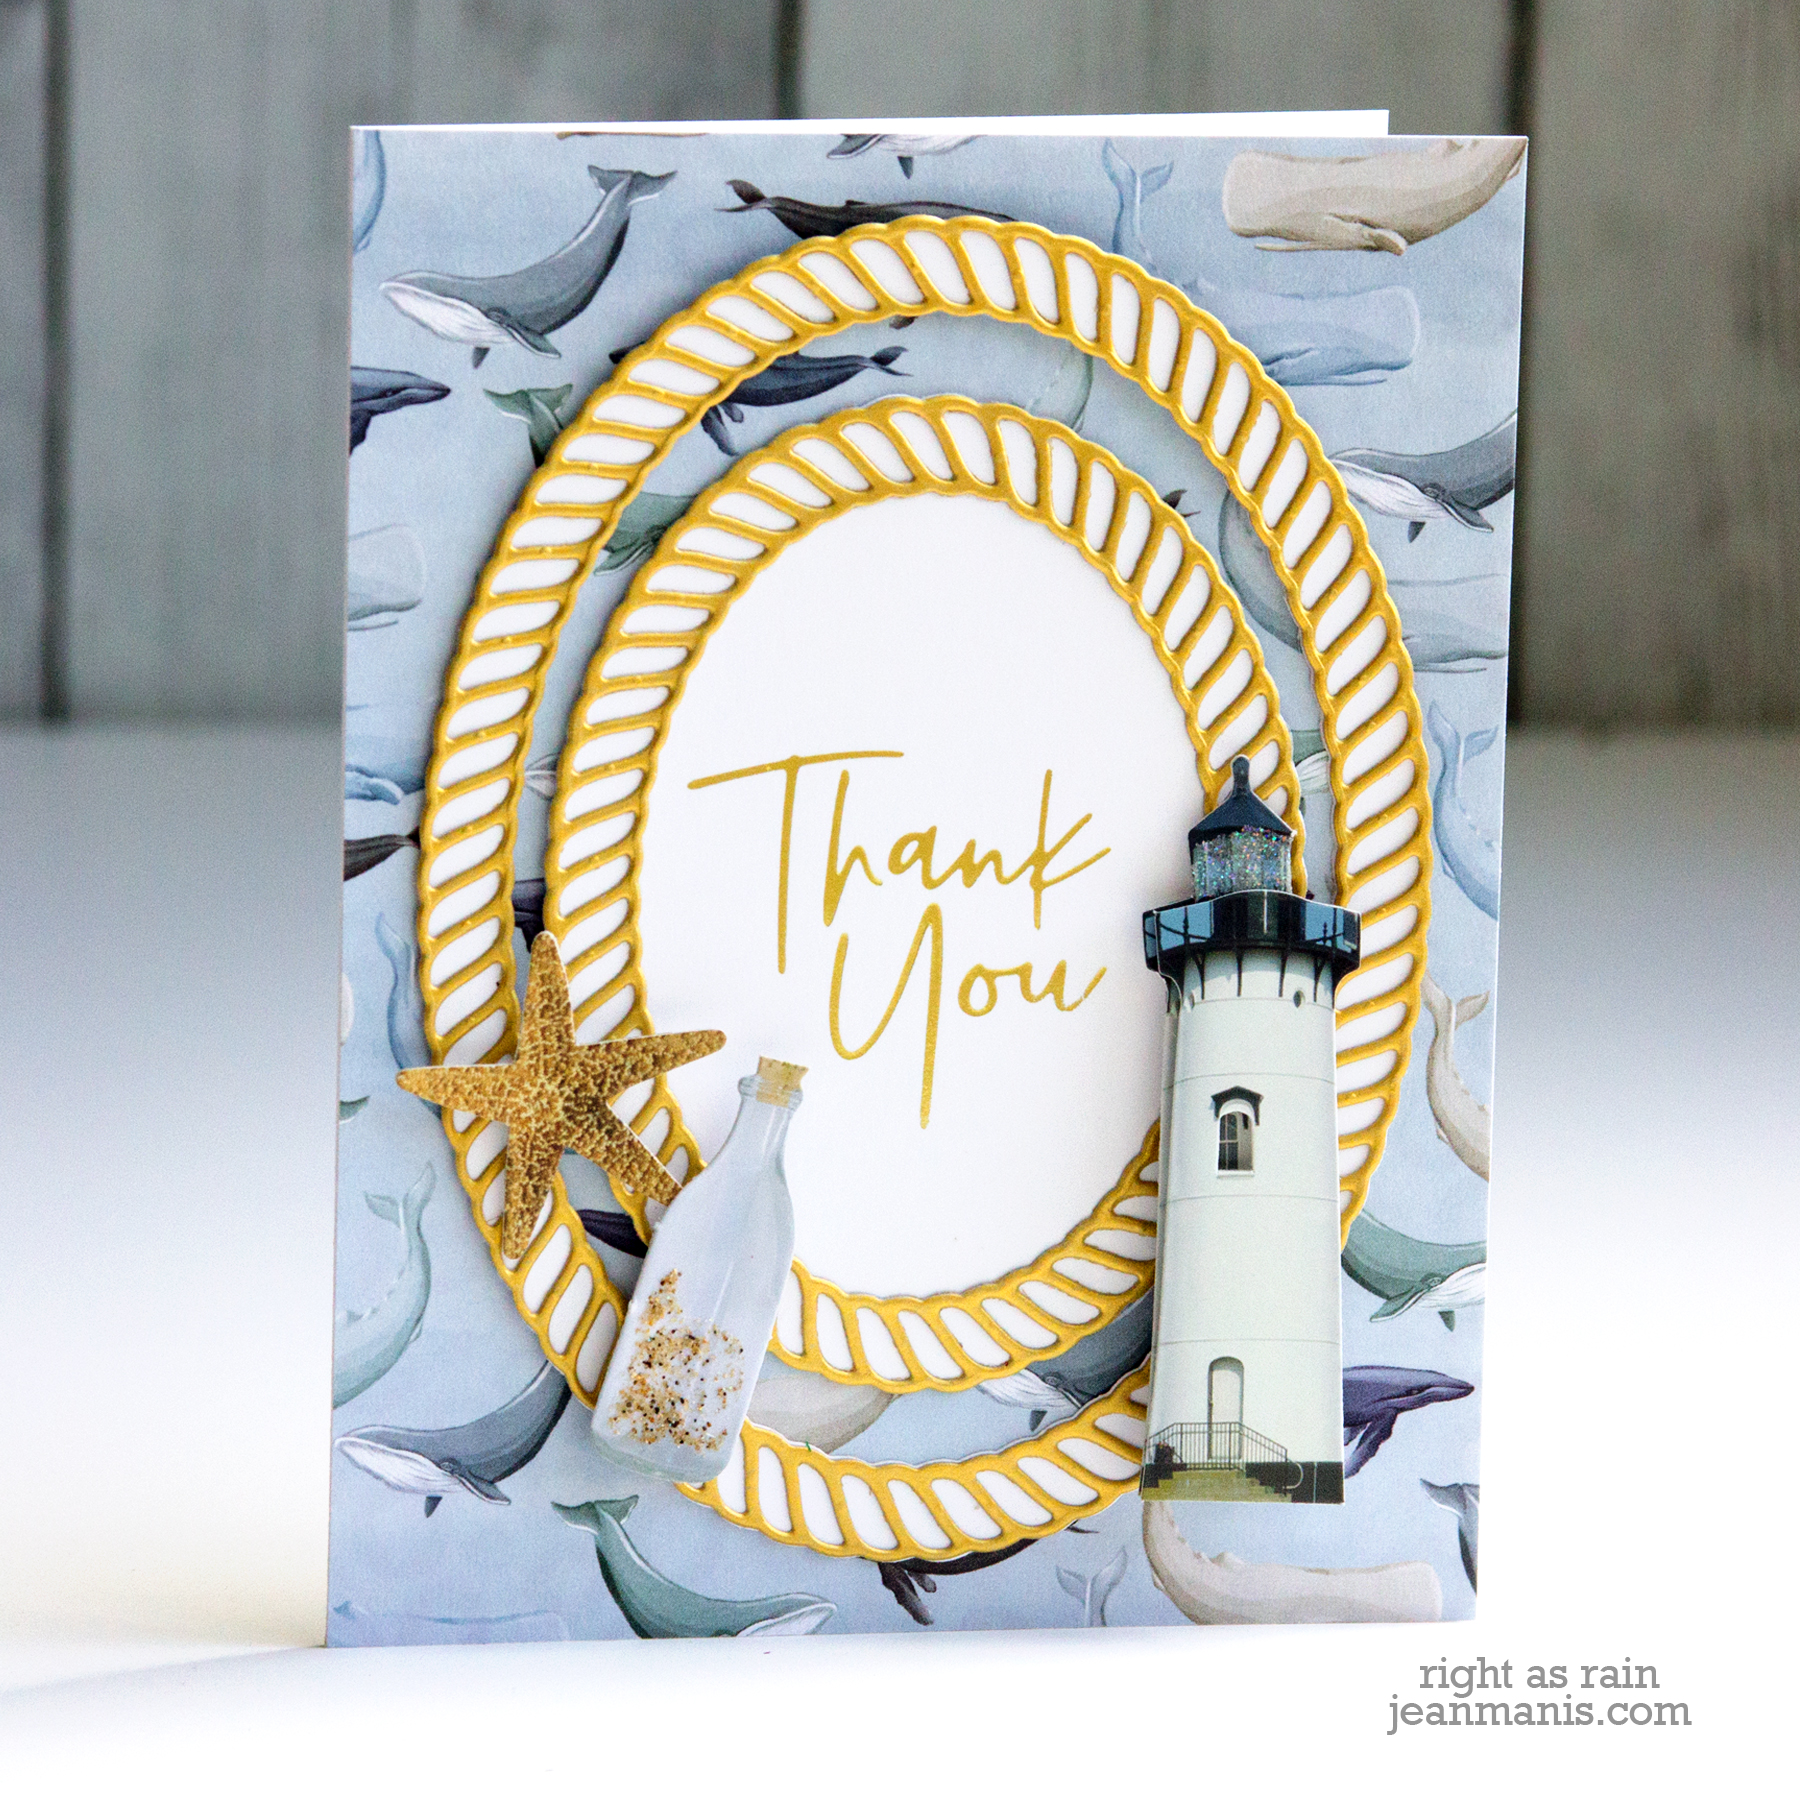
To create a nautical-themed Thank You:

  • Foil the sentiment on Whip Cream cardstock in Gold.
  • Cut the Elegant Twist Ovals frames from Brush Gold cardstock.
  • With dies in the set, cut an oval from Whip Cream cardstock; adhere to the back of the larger gold twist oval.
  • With a die in the set, cut the foiled sentiment cardstock; adhere the smaller gold twist oval on top.
  • Add the ovals to a card base covered with Carta Bella paper; add nautical stickers (Paper House Productions “At the Beach”) for embellishment.

Note: the card is slightly larger than A2.
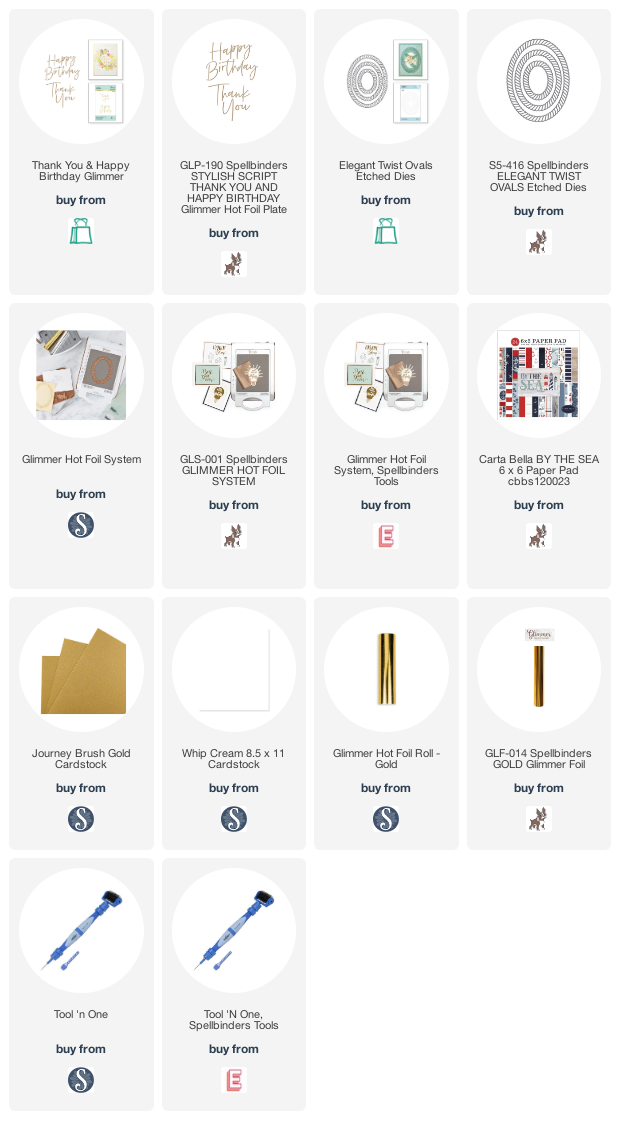
Spellbinders Foiled Nautical Thank You

Supplies:

Spellbinders – Destination Japan Collection

Hello! Today I am sharing an easy-to-create, CAS card showcasing the Spellbinders Pagoda die set, part of the Destination Japan collection by Lene Lok. I shared another card from this collection here.

Spellbinders - Destination Japan Collection

  • I foiled a sentiment from the More Sentiments set in Matte Gold on Whip Cream cardstock and cut as a thin strip.
  • The Pagoda set includes four pieces. I cut the body and top of the pagoda with the outline and detail dies from Brush Gold cardstock.
  • I cut the body and top again with just the outline dies from Candy Apple cardstock.
  • I cut thin strips of Whip Cream cardstock which I adhered behind the windows of the pagoda.
  • I adhered the gold top and body to the red carstock and attached the pieces together.
  • The card base background is a sheet from the MFT Woodgrain Whimsy paper pad.
  • I added the sentiment to the lower portion of the pagoda.

Spellbinders - Destination Japan Collection

Supplies:

Spellbinders July 2020 Small Die – Ornamental Floral Card Creator

Hello and Happy July!  Today I am sharing two cards created with the July Small Die of the Month kit from Spellbinders – “Ornamental Floral Card Creator.” The card designs are quite similar; I’m showing two orientations and two color combinations.

Spellbinders July 2020 Small Die – Ornamental Floral Card Creator

Spellbinders July 2020 Small Die – Ornamental Floral Card Creator

  • To begin, I cut two arched panels, which I glued together to create a frame.
  • I heat-embossed the sentiment on to a rectangular panel to which I glued the frame.
  • I cut the flowers using the two large flower dies in the set. On one of the flowers, I trimmed off the foliage. On another of the flowers, I trimmed off part of the foliage.
  • I used the inlaid technique for the flower centers, petals, and leaves.
  • I added the assembled flowers to the panel.
  • I added flat sequins to the panel as embellishment.

Spellbinders July 2020 Small Die – Ornamental Floral Card Creator

Spellbinders July 2020 Small Die – Ornamental Floral Card Creator

  • I cut two arched panels, which I glued together to create a frame.
  • I stamped the sentiment on to a rectangular panel to which I glued the frame.
  • I cut the flowers using the two large flower dies in the set. On one of the flowers, I trimmed off the foliage. On another of the flowers, I trimmed off the foliage, which I added with a different orientation.
  • I used the inlaid technique for the flower centers, petals, and leaves.
  • I added the assembled flowers to the panel.
  • I added flat sequins to the panel as embellishment.

Spellbinders July 2020 Small Die – Ornamental Floral Card Creator

Supplies:

Spellbinders Inlaid Die-cut Card

Hello! Today I am sharing a CAS card that uses the diecutting inlaid technique and features Spellbinders supplies.

Spellbinders Inlaid Die-cut Card

  • To begin, I cut the Waves overlay from white cardstock.
  • I backed the overlay with dark blue cardstock which created a frame for the other pieces of carstock.
  • I cut light blue cardstock with the Waves die and placed those pieces into the frame.
  • I cut medium blue cardstock with the Waves die an placed those pieces into the frame.
  • I foiled the sentiment in silver and adhered the strip to the assembled wave panel. I adhered the panel to a dark blue card base.

Spellbinders Inlaid Die-cut Card

Although inlay technique takes time, it’s a bit like working a jigsaw, which can be rewarding and therapeutic.

Supplies: