OCC Stenciled: Day One Take Two

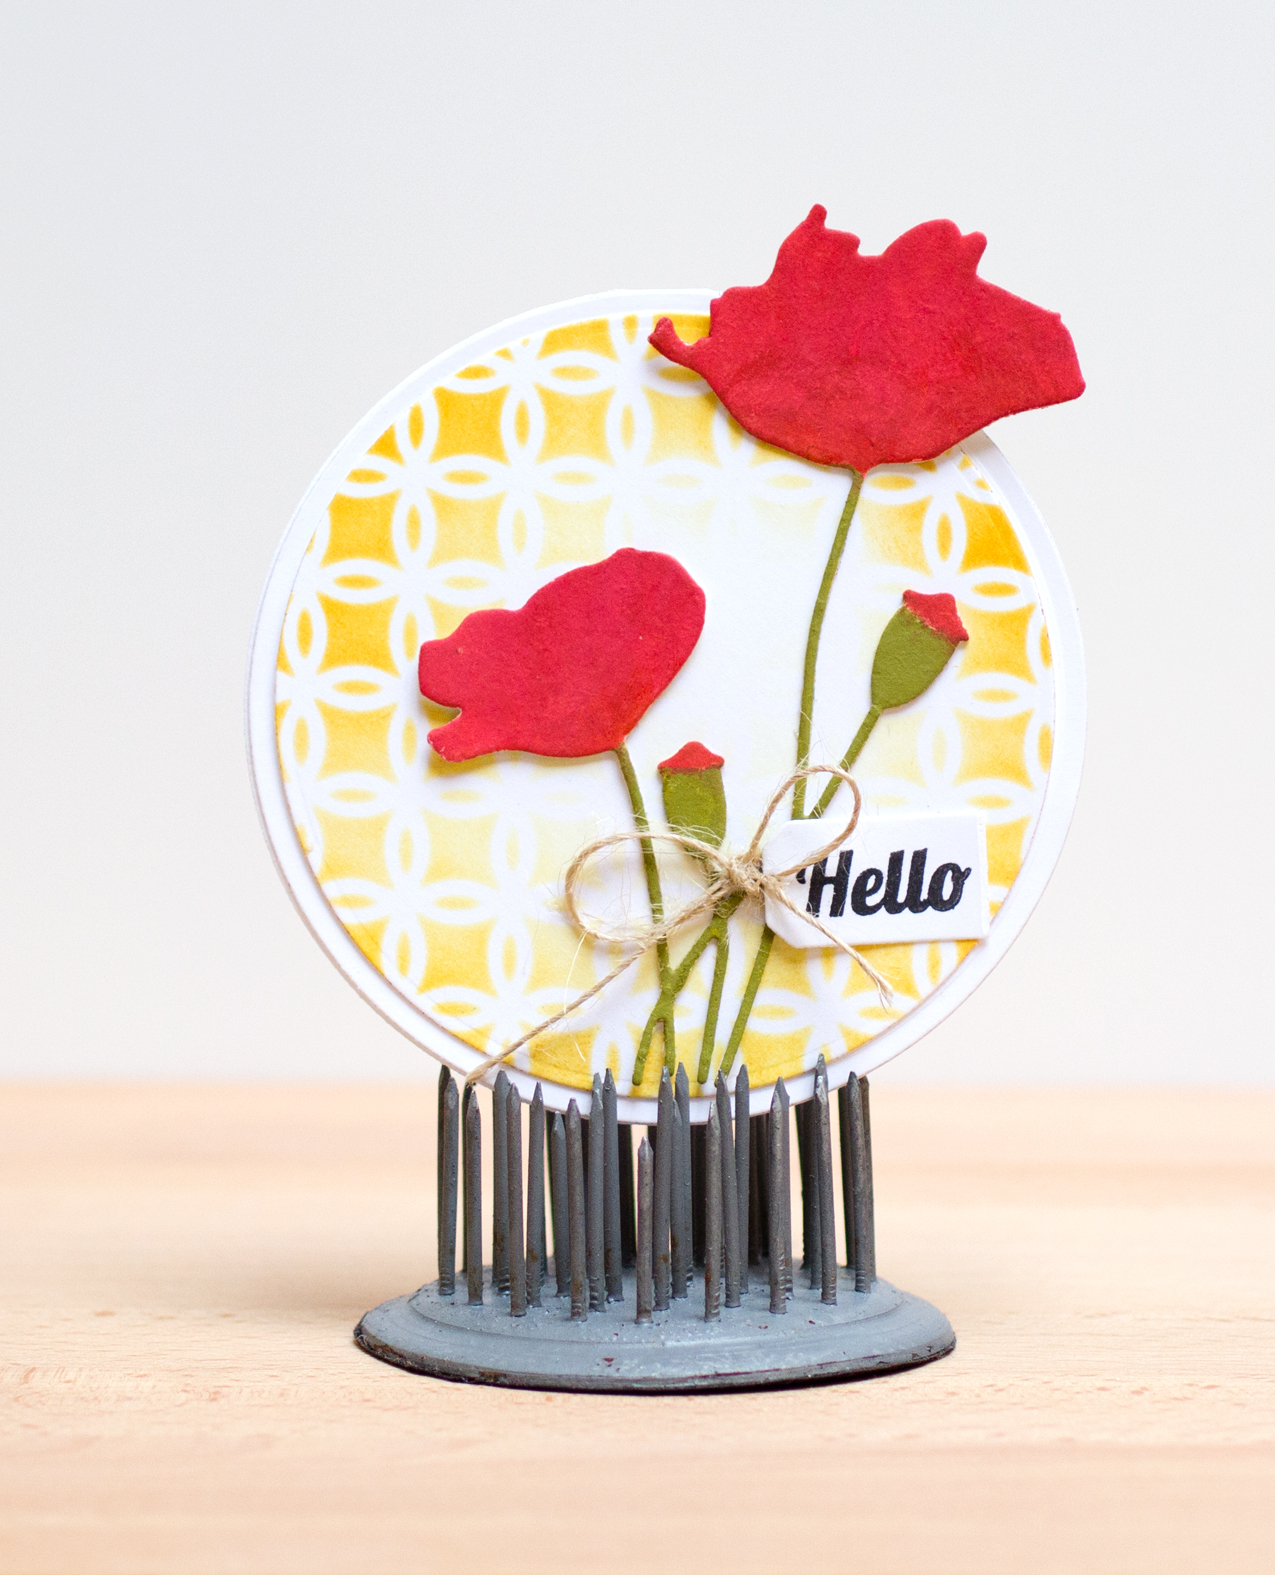
I couldn’t resist taking another go at the lesson from today’s Online Card Classes Stenciled class. This time I created a card based on the one shown by Julie Ebersole.

OCC Stenciled: Day One Take Two

Julie misted the same stencil for her card. I don’t mist (or more accurately, I’ve tried to mist and it was a mess!). So I inked my card with distress inks instead. And I used a much bolder sentiment – I really like the black with the sunshine ink colors.

I think if I were to redo my earlier card, I’d use darker colors for the inking, so that the white heat-embossed sentiment would be more visible. I’m also beginning to realize that you have to consider how much of the stencil image will show through. For example, this stencil gives a generous amount of background whereas the stencil I used for my earlier card did not. Lots to learn!

Supplies:

OCC Stenciled: Day One

The Online Card Classes Stenciled Class began today. It’s the perfect way to head into the weekend!

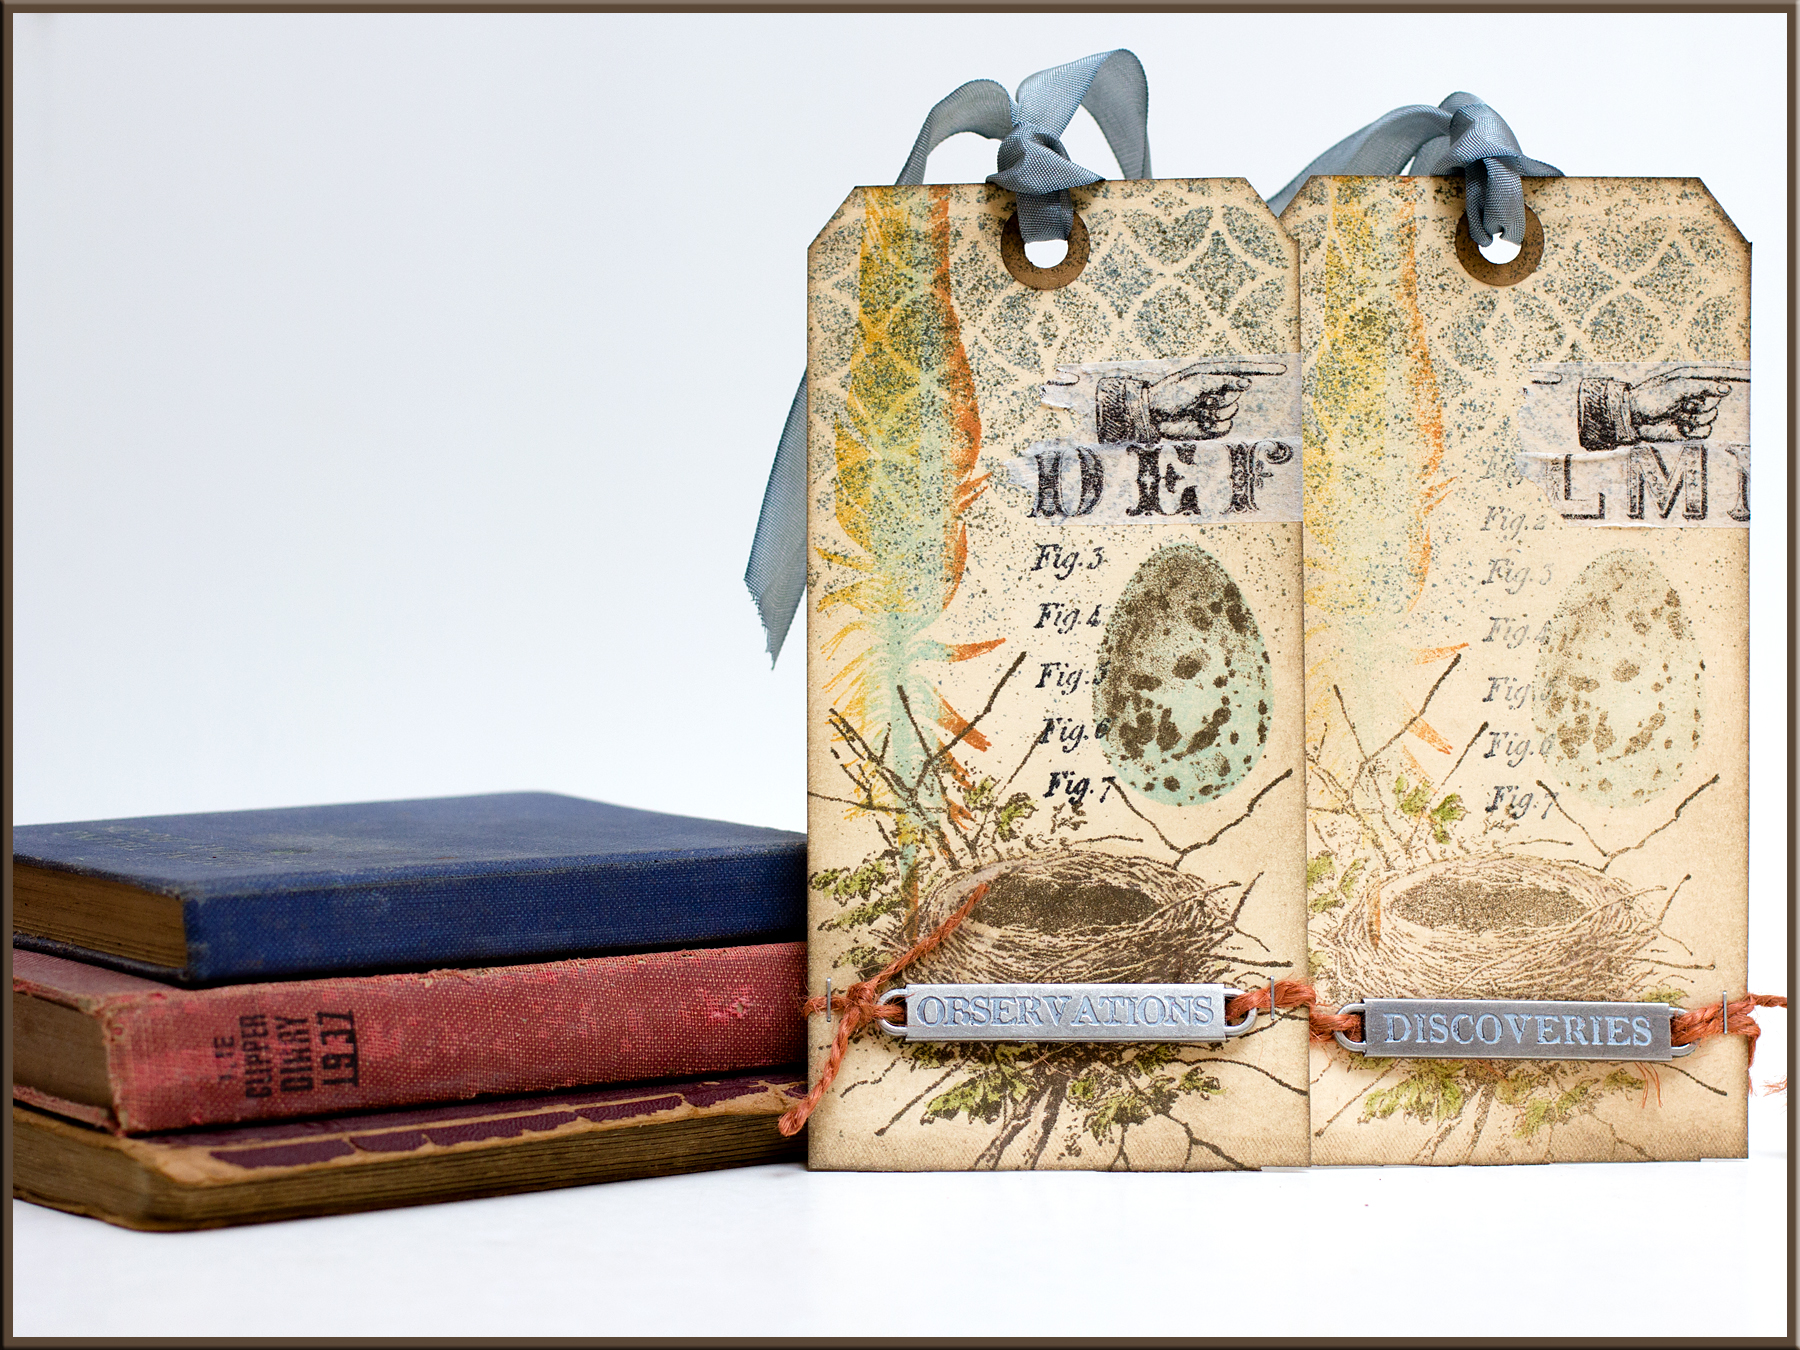
For my card, I followed the one shown by Debby Hughes. Her cards are always perfection! Debby used a different stencil and sentiment (neither of which I own).

OCC Stenciled: Day One
Yes, white on white with a vellum overlay is difficult to photograph! My sentiment doesn’t take up the tag space as much as the one Debby used (she used one from a SSS set and it’s just beautiful). Because the sentiment I used talks about “brighter days” I chose yellow and orange inks for the tweed pattern stencil. The biggest issue was adhering the vellum to the card front. I placed clear foam adhesive behind the heat-embossed sentiment in a couple of spots. Obviously, if the sentiment was larger, I would have had more spots to hide the adhesive!

Have a fabulous weekend!

Supplies: