This week, the challenge at Summer of Creative Chemistry with Tim Holtz at Online Card Classes is to create a project using 3 or more Distress Paints.
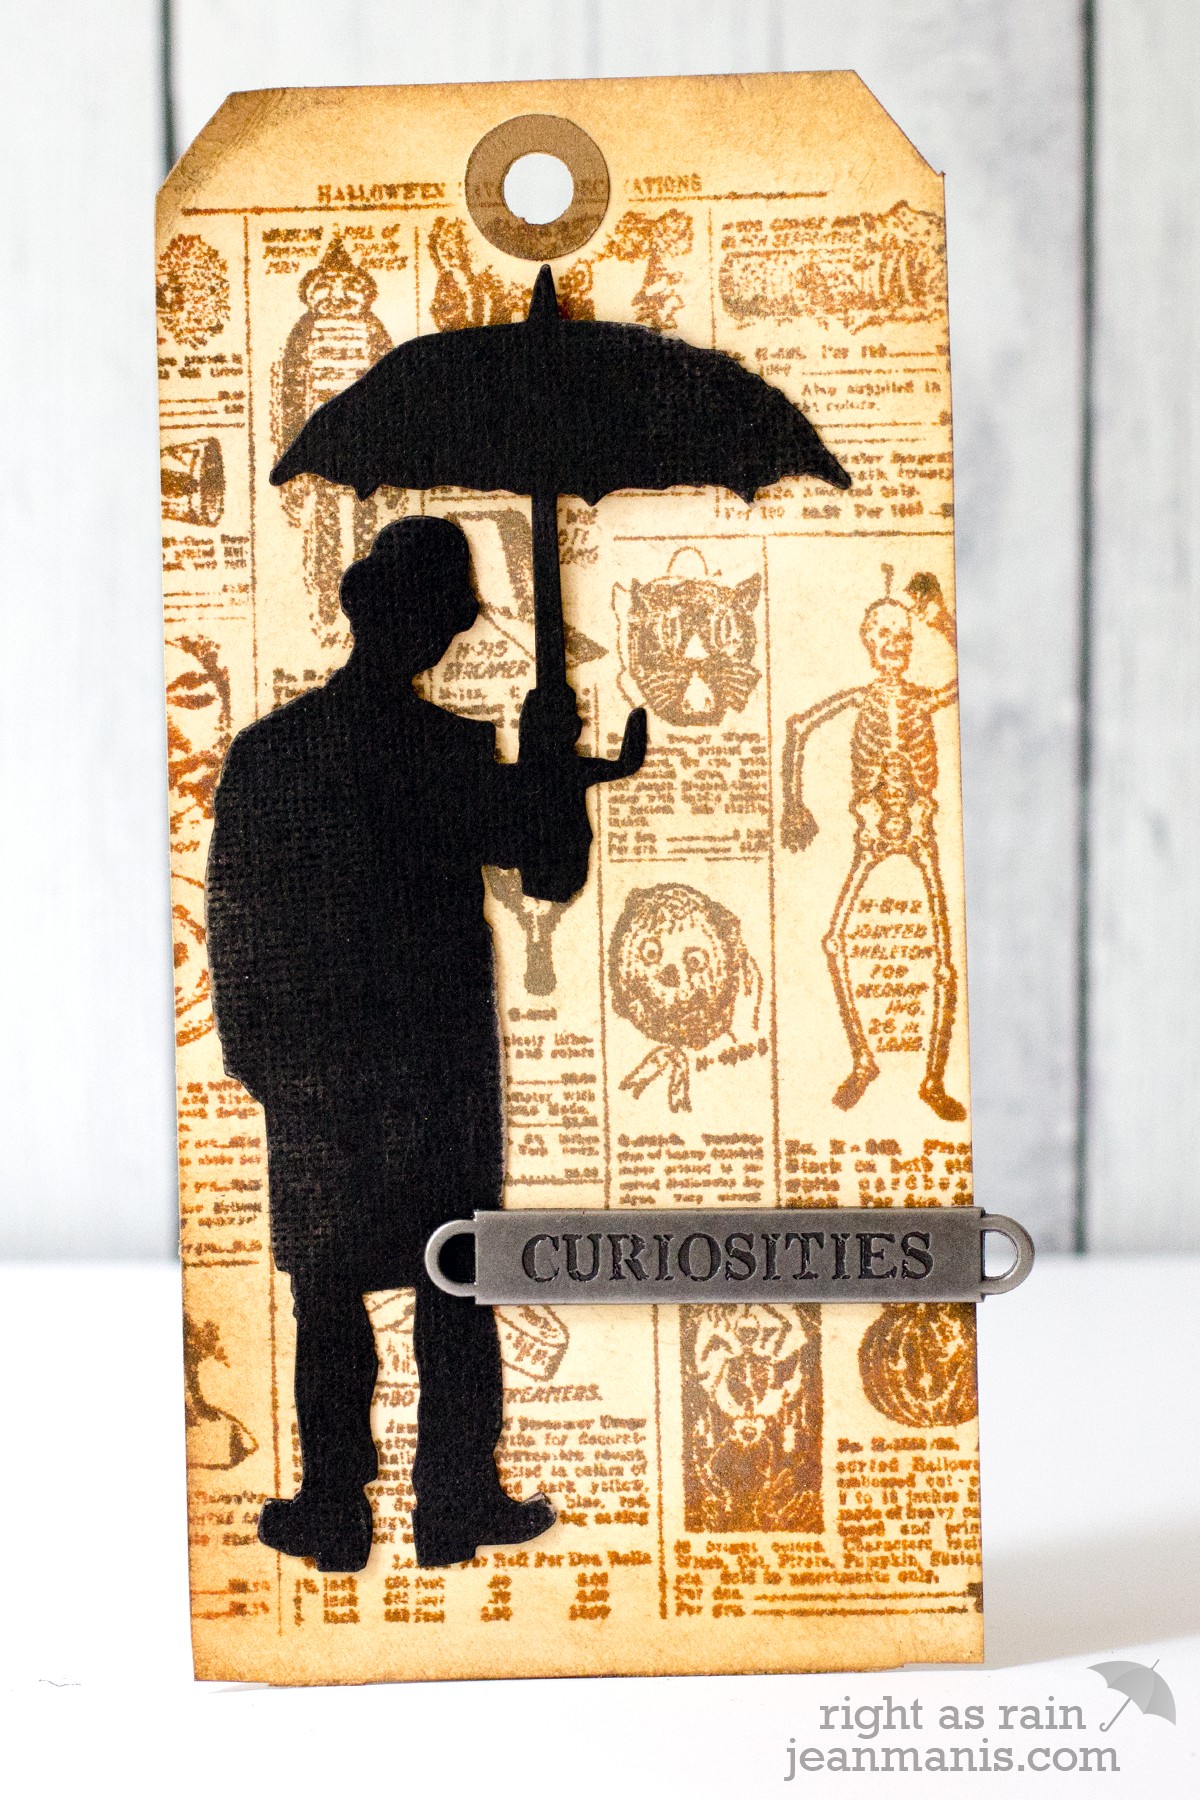
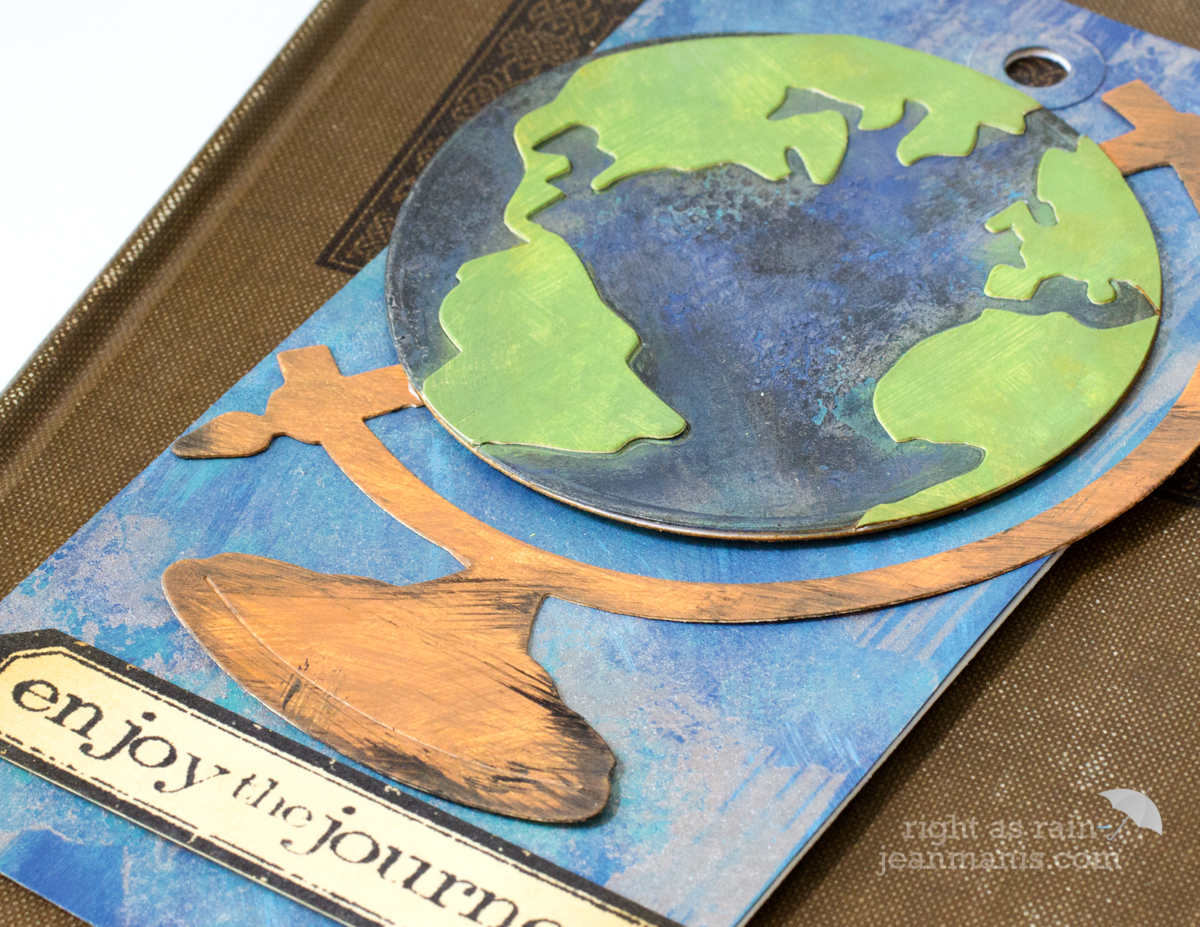
For my tag’s background, I used the Eroded Metallics technique.
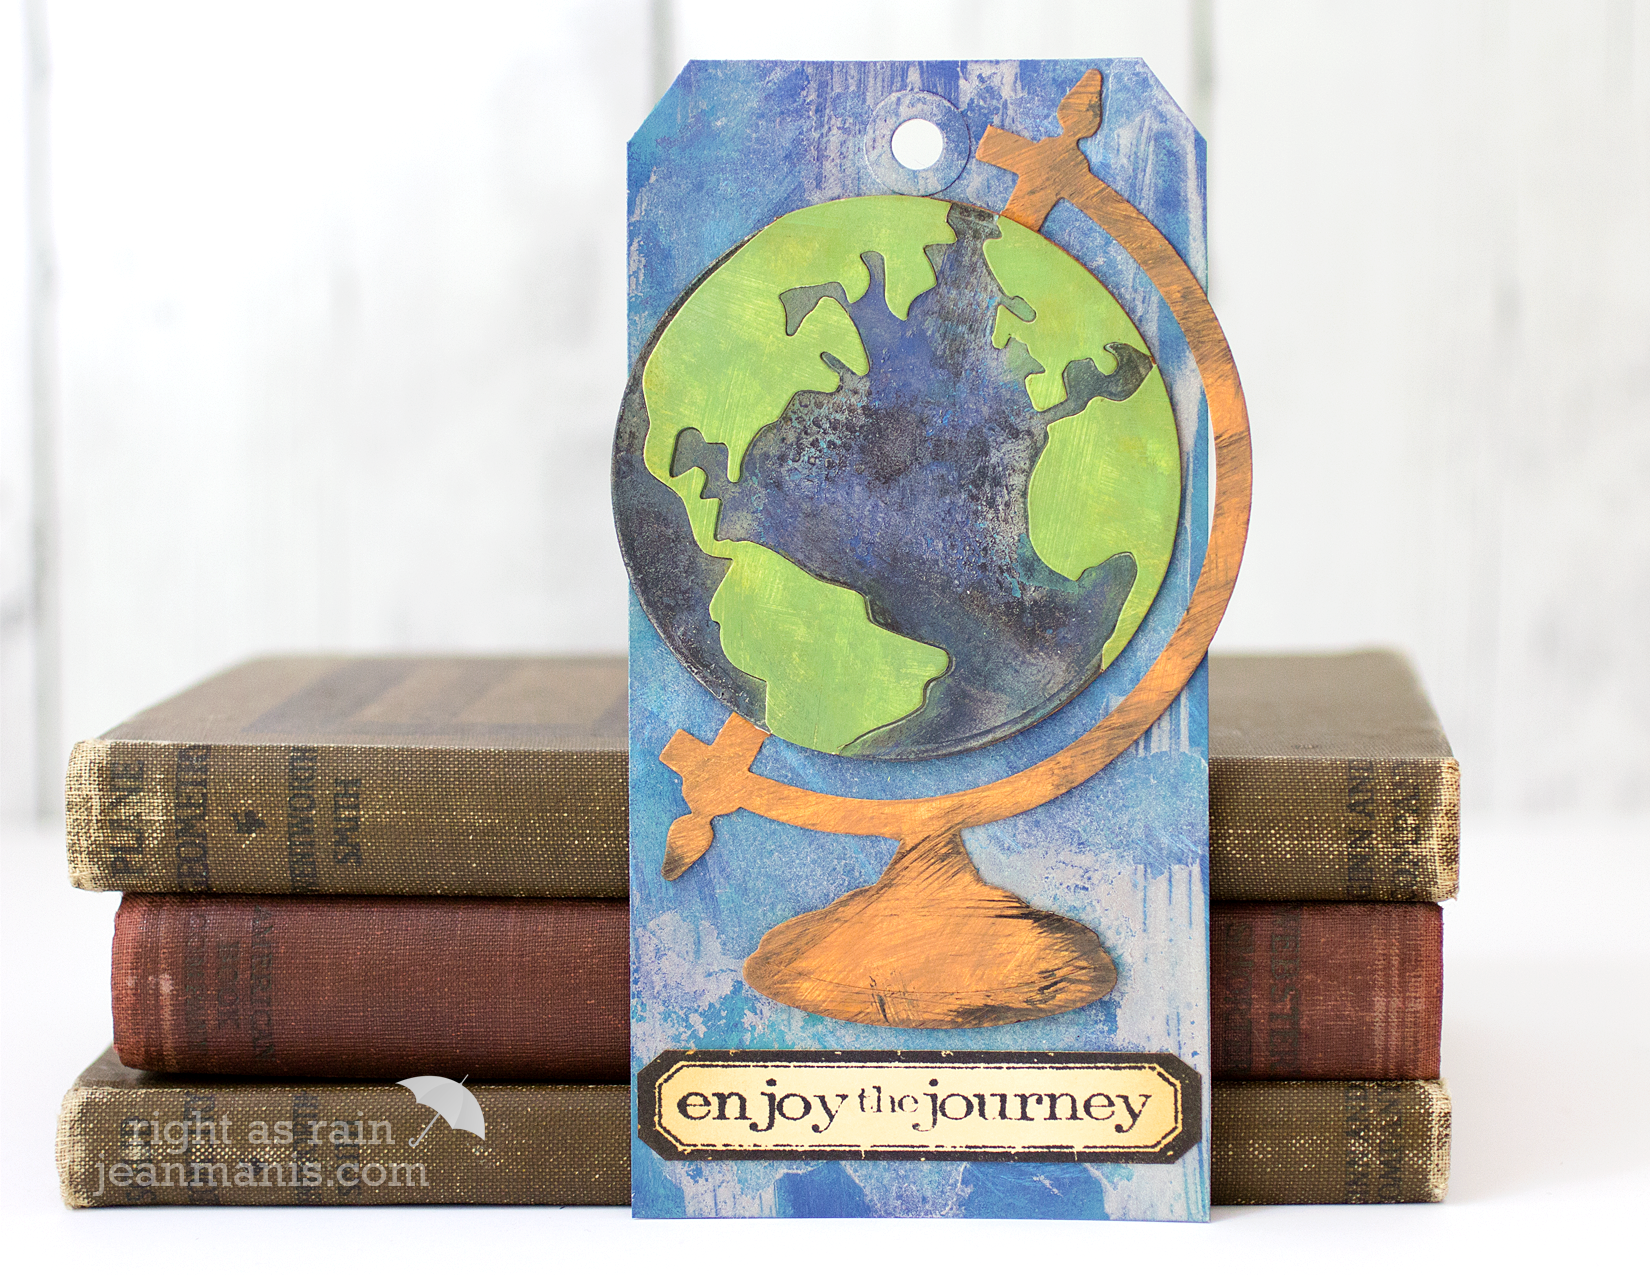
It took me several tries to feel like I was really getting the technique. I used Silver Distress Paint, although the Copper would have given a more patina look. The Copper is on my list to purchase. I was running out of Silver paint, otherwise I would have kept making tags using the technique. The water portion of the globe was cut from an earlier attempt at the technique. I figured I would find a way to salvage the tags! I used Distress Paints to paint manila cardstock for the land portions on the globe and for the globe stand.