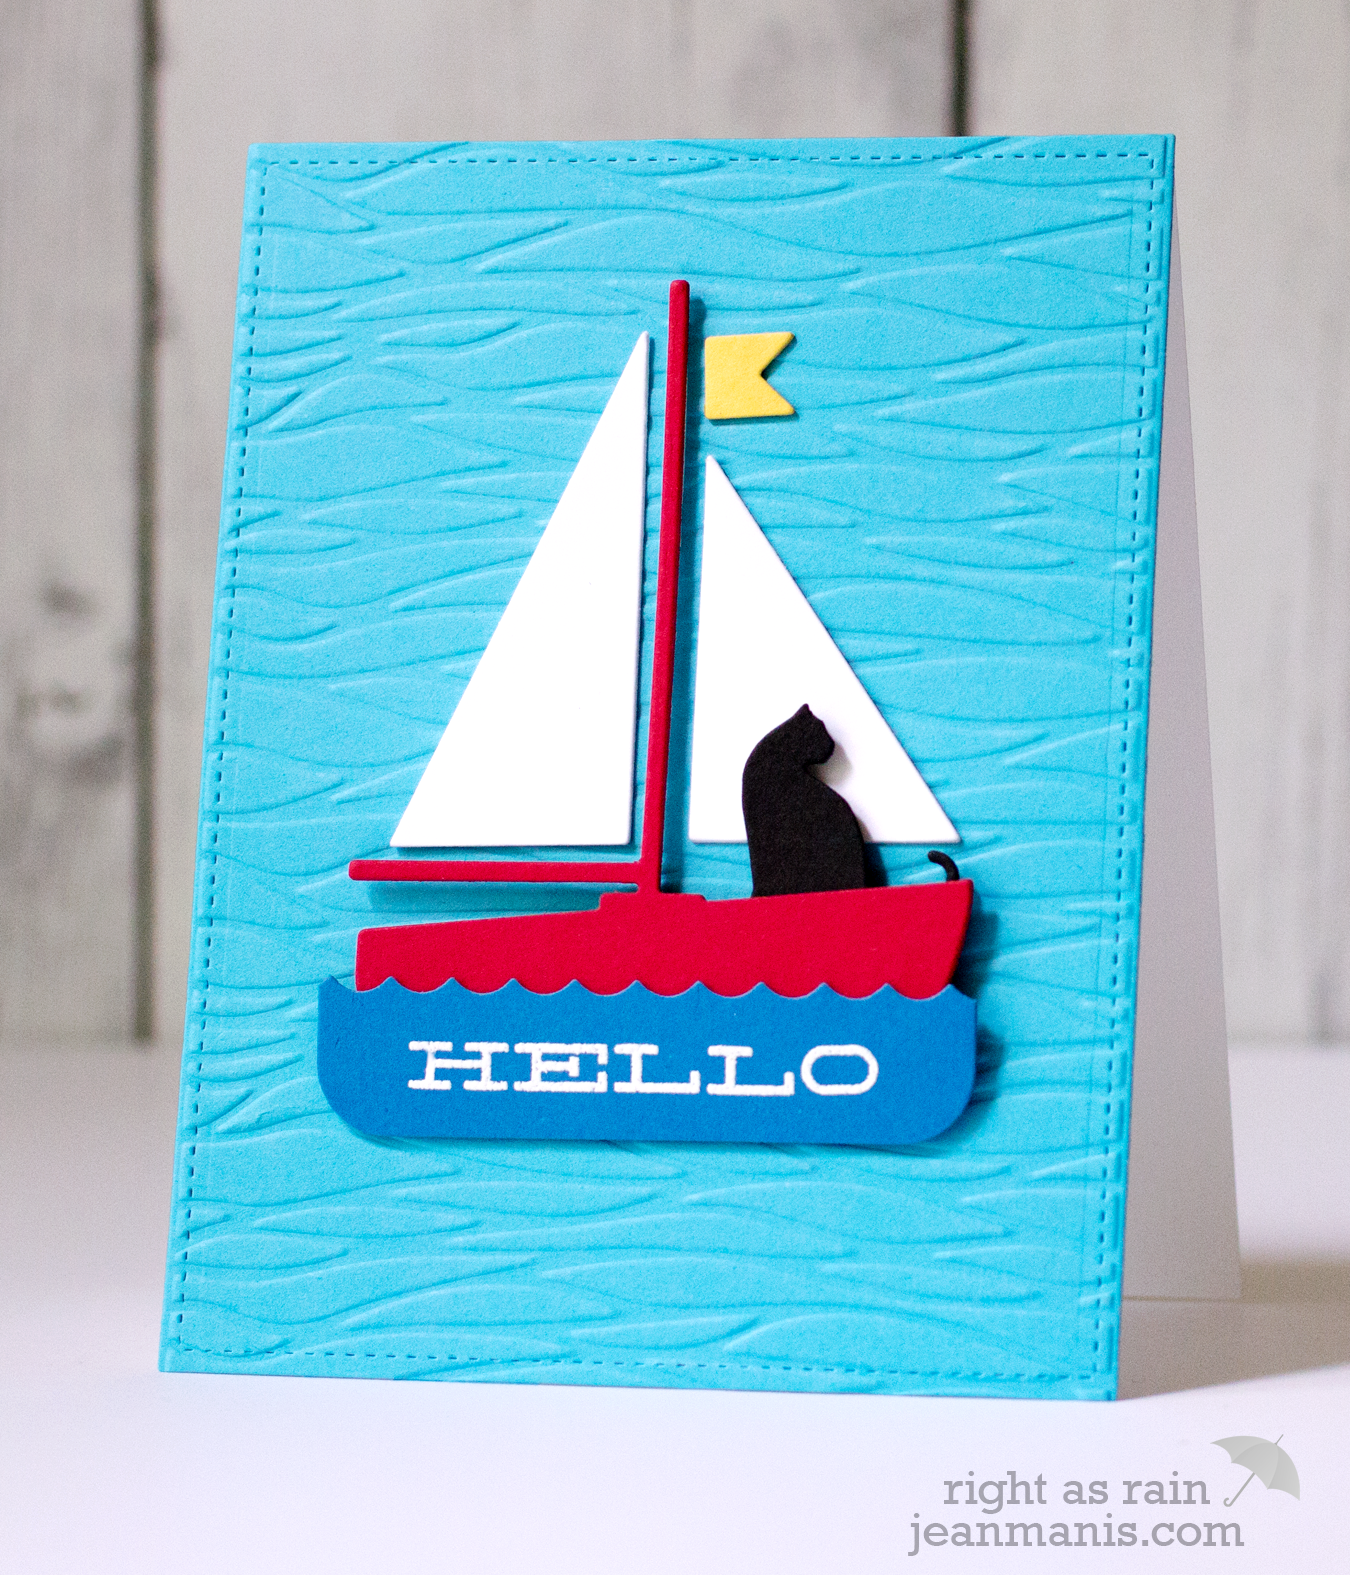
Warmer, sunnier days this past week had me in the mood to make something nautical (one of my favorite card themes). I created a whimsical sailing scene with a miscellany of products from my stash.
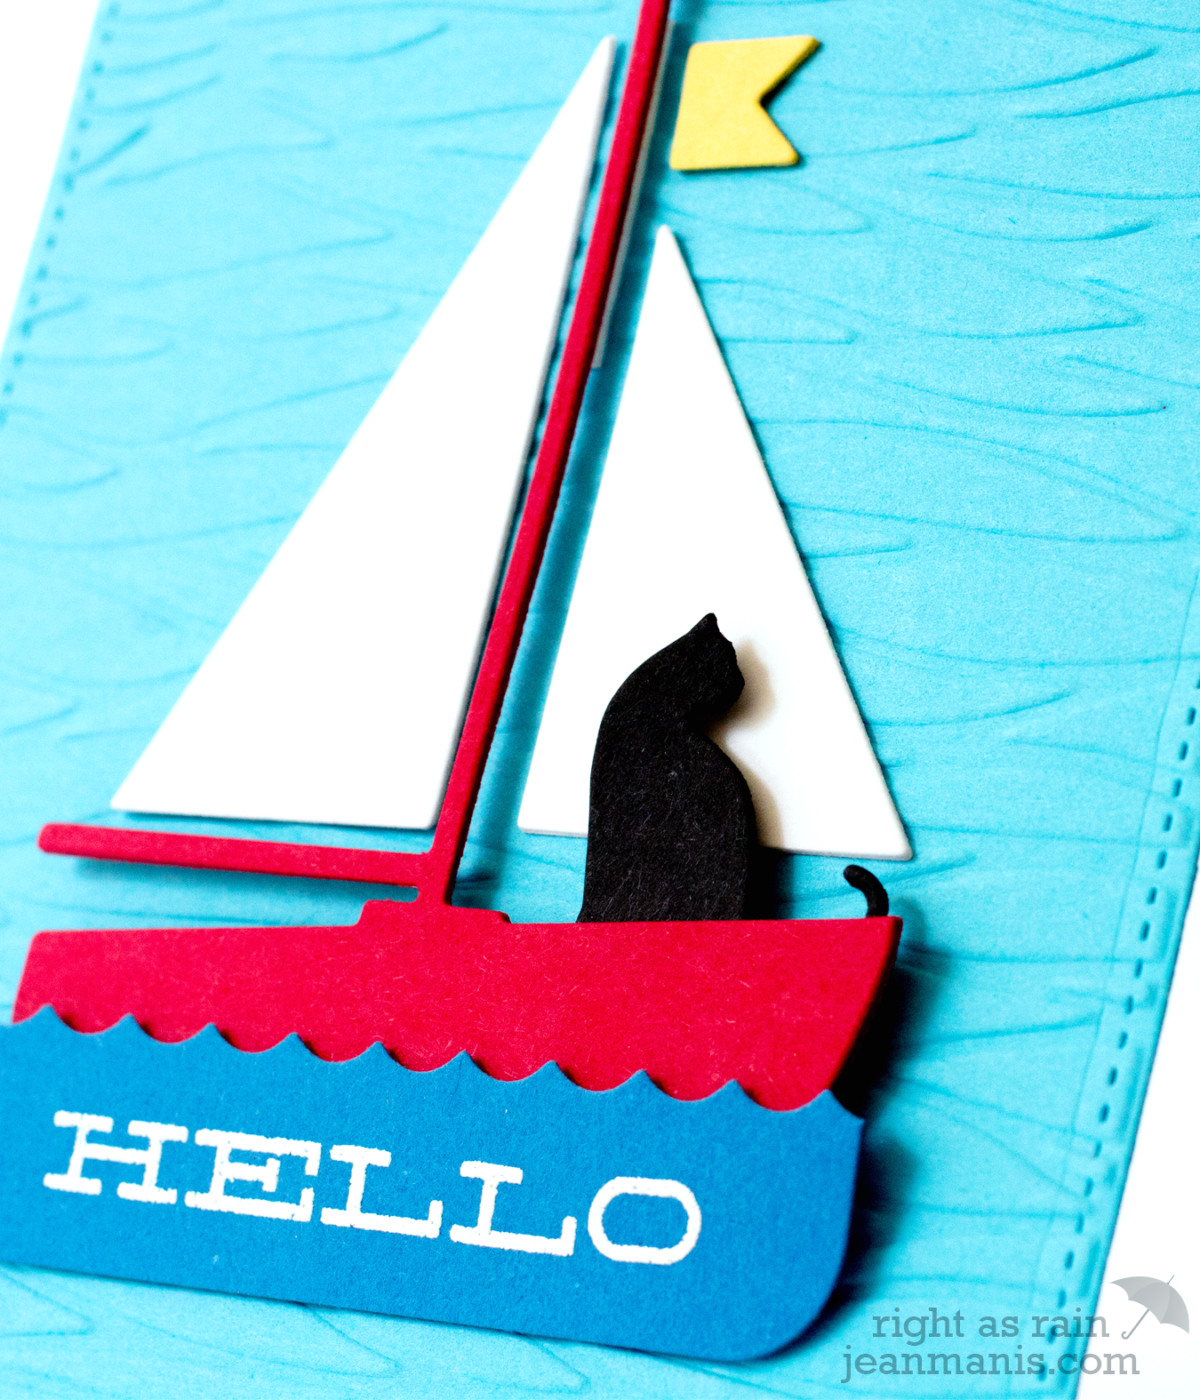
I’ve professed my love of the Poppystamps Walking Cat die, which I’ve used on quite a few cards. I would have used the same die here, but the Walking Cat didn’t fit on the Paper Smooches Sail Boat (it was too big).
With the Paper Smooches Sail Boat die, I cut the sailboat from a variety of colors and adhered the pieces to a dry-embossed background. I attached the boat part (red) with foam so that the cat could be placed behind the hull. I heat-embossed the sentiment (from a Simon Says Stamp set) onto a panel that I cut with one of the dies in the Poppystamps Marina Sailboat die set.
Have a great weekend!
Supplies: Paper Smooches Sail Boat die, Poppystamps Sitting Cat die, Poppystamps Marina Sailboats die, Simon Says Stamp sentiment