Welcome to Day 3 of Taylored Expressions December Sneak Peeks! The December products will be released tomorrow – Thursday, December 10 @ 7 AM PST!
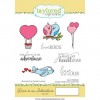
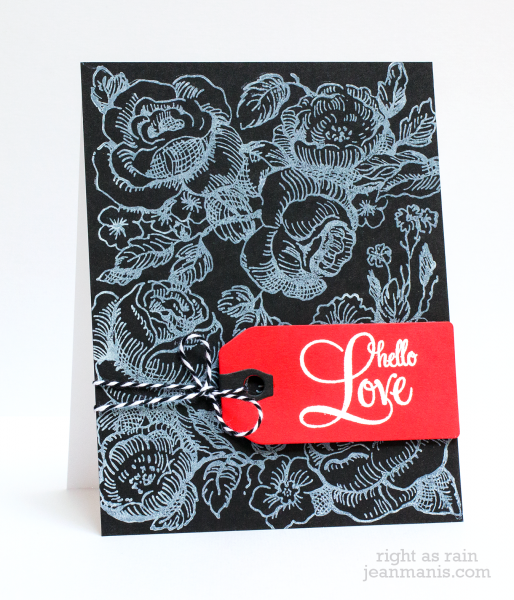
My first card today features the Love Makes the World Go Round stamp set. Taylored Expressions is releasing a companion die cut set for this stamp set.

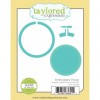
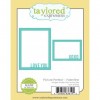
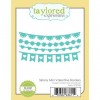
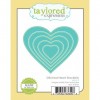
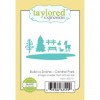
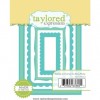
I stamped, Copic-colored and cut out the skates from the Love Makes the World Go Round stamp set adding them to a patch of ice cut with the Build a Scene – Central Park set. In order for the pond to fit inside the frame, cut with a die in the Frame in Frame Cutting Plate set, I cut it a second time by just shifting the first die cut within the die. I stamped the “xoxo” sentiment repeatedly in gray ink to surround the skaters. I finished the card with a banner from the Love & Be Mine Banners set.

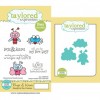
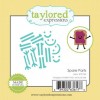
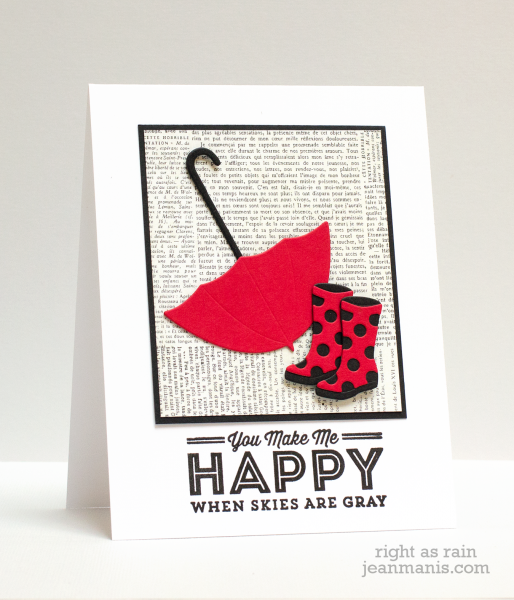
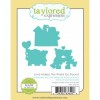
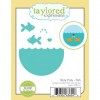
My second card is a shaker card featuring the Roly Poly – Fish die set.

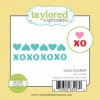
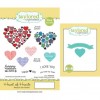
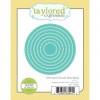
To create the shaker, I first made a circular frame with the Stitched Circle Stacklets set. I glued a clear plastic circle to the frame, as well as a circle cut from foam. I filled the circle with Formula for Love sequins. I die cut the pieces from the Roly Poly – Fish die set and adhered them to a circle cut with the Stitched Circle Stacklets set, which I attached to the back of the frame and enclosed sequins. The card base was dry-embossed with the Swiss Hearts folder. I added a heat-embossed sentiment from the Heart of Hearts Stamp & Die Combo set.
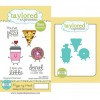
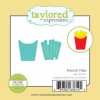
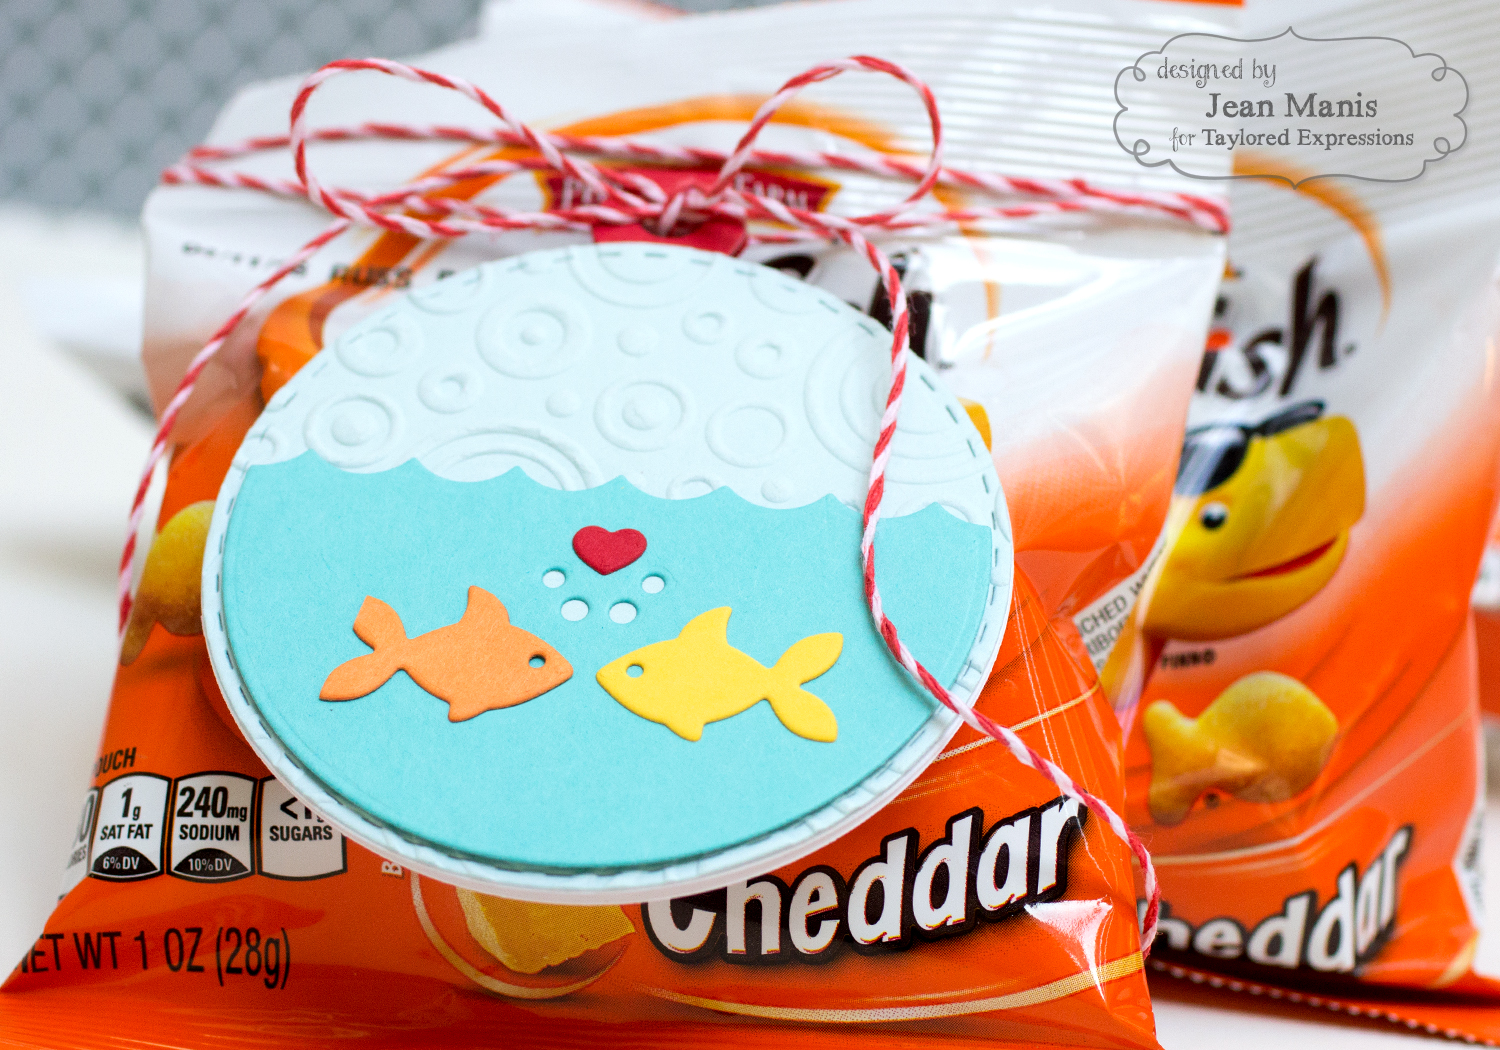
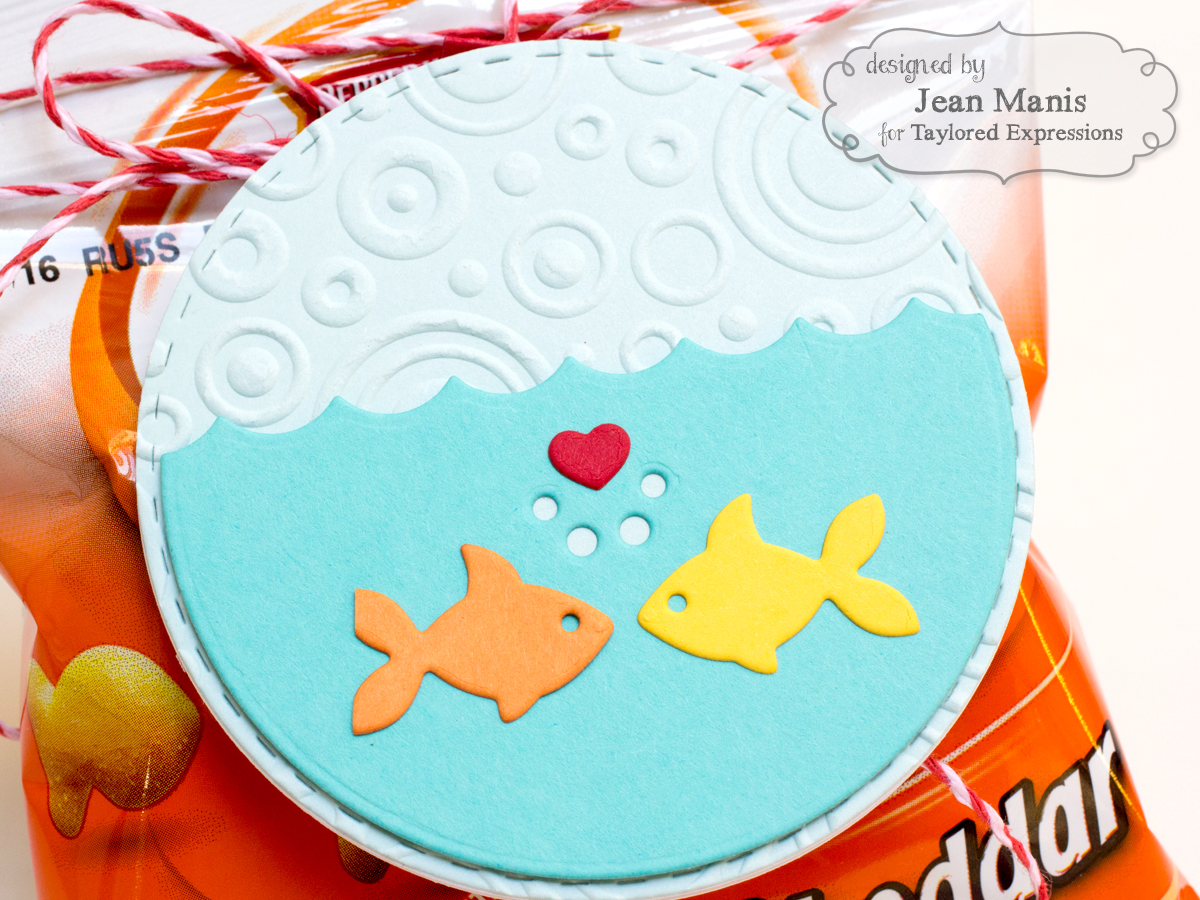
I also created a tag with the Roly Poly – Fish set to be added to Valentine’s Day treats – Swedish Fish and Gold Fish crackers (I couldn’t resist!).
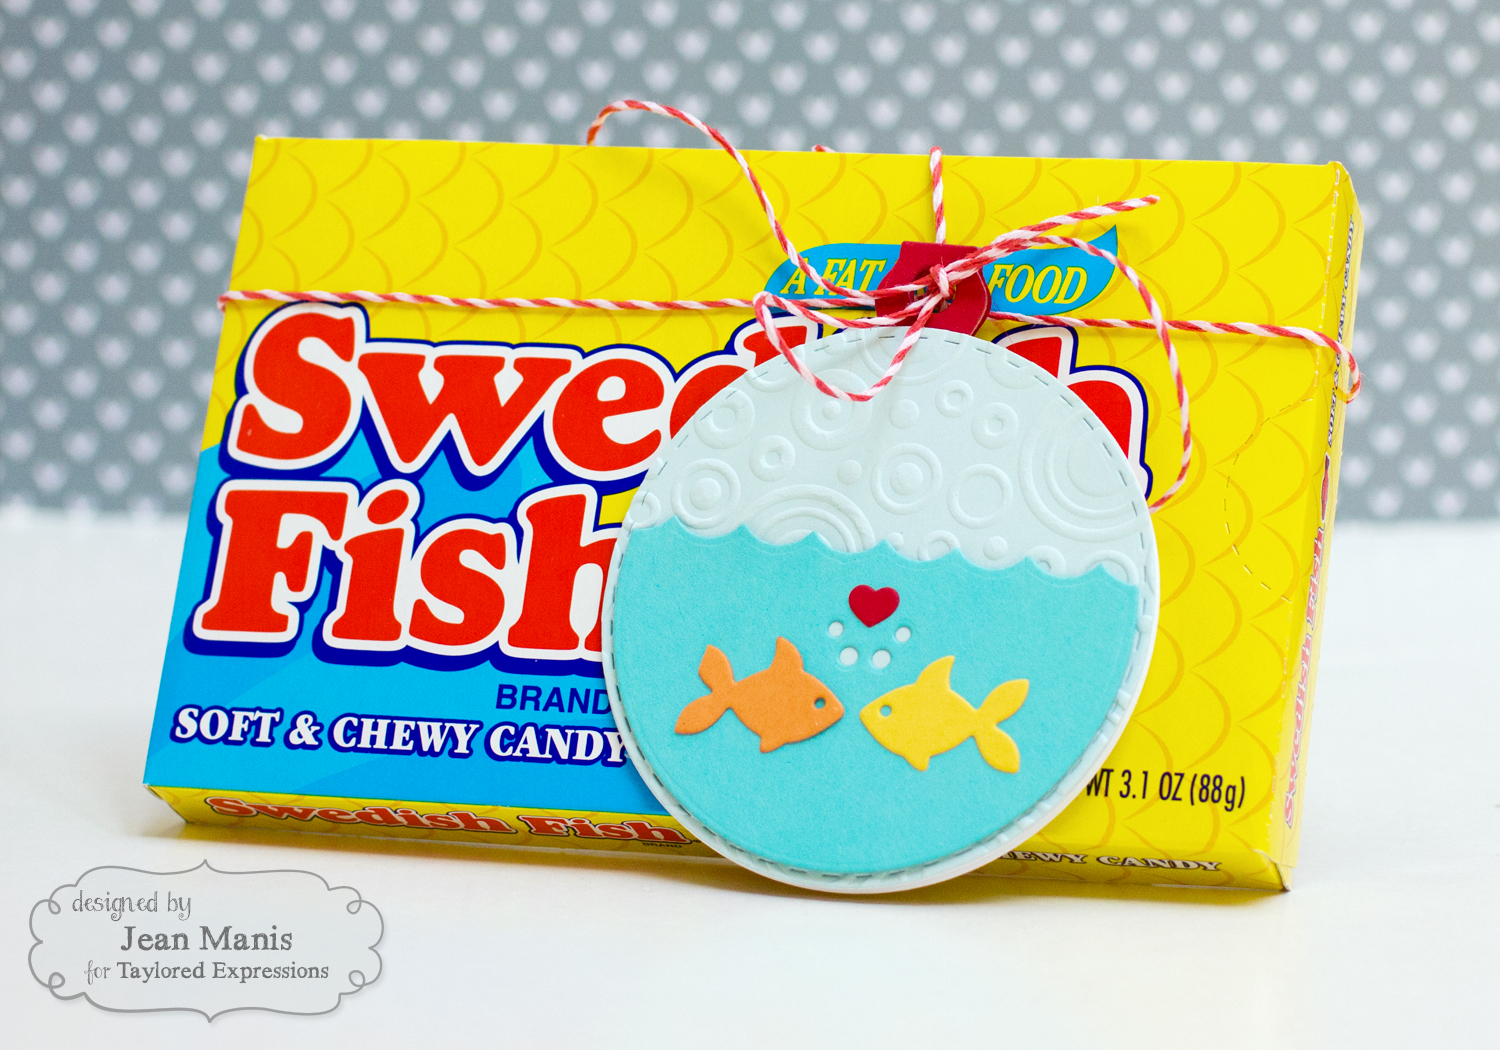
The Roly Poly Fish water panel was attached to a circle cut with the Stitched Circle Stacklets set and dry-embossed with the On the Spot embossing folder. I attached the circle to a tag created with the Stitched Circle Stacklets set using the partial die cutting technique (leaving the top hinged). I adhered a Tag Reinforcement to the back so that the tag could easily be tied onto the treats.
I stamped the inside of the tag with a sentiment from the Love Always Wins Stamp & Die Combo set.

Taylored Expressions is celebrating Release Week with some fabulous giveaways! Visit the TE Blog each Sneak Peek Day this week for details on how you can enter to win.

Thanks so much for stopping by! Be sure to head over to the TE Blog for a complete blog roll of our participating designers! There’s lots of inspiration for the new release products!
Products in BOLD will be available in the TE store Thursday, 12/10/15 @ 7 AM PST!
Supplies for Love Makes the World Go Round card:
 |
 |
 |
 |
 |
 |
 |
 |
 |
 |
 |
 |
Supplies for Roly Poly Fish Shaker card:
 |
 |
 |
 |
 |
|
 |
 |
 |
|
 |
 |
 |
 |
|
 |
Supplies for Roly Poly Fish treat tag:
|
|
 |
|
 |
 |
|
 |
 |
|
|
 |
|
|