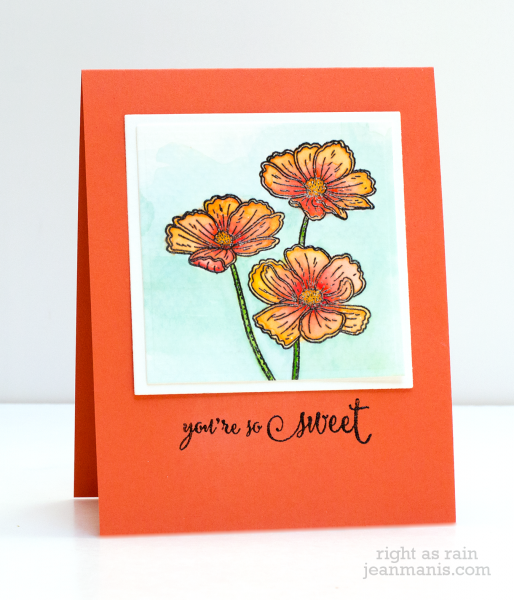
Here’s my take on the AEI♥U Watercolor Challenge:
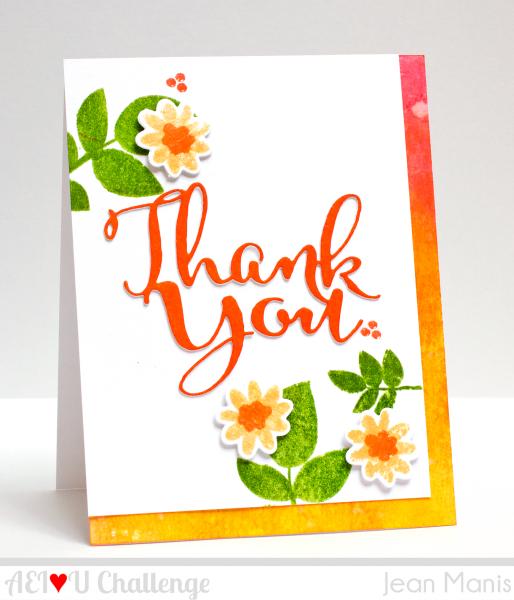
I did some faux watercoloring by inking my stamps with Distress Inks and then spritzing/misting with water before stamping onto watercolor paper. The stems from Petals and Stems were stamped directly onto the panel. The flowers, from the Fabulous Florals stamp set, were stamped onto watercolor paper, stamped again with a smaller flower, and then cut with their matching Elle-ments set. The die-cut sentiment was cut with the Thank You Elle-ments die from cardstock, which I colored directly with a Distress Ink pad.
There’s no limit to how you can create a watercolor project for the challenge – use colored pencils, Distress Inks, traditional watercolors, …
Check out the inspiration from the rest of the Design Team over on the AEI♥U Challenge Blog! You’ll also find the InLinkz tool to link up YOUR take on the challenge – we’d love to see your beautiful work in our gallery! There are two $25 Avery Elle Gift Certificates up for grabs for the two best entries! You have until 12:01 AM on April 26, 2015 to link up your take on the challenge!
Supplies: