CAS3: Day Seven

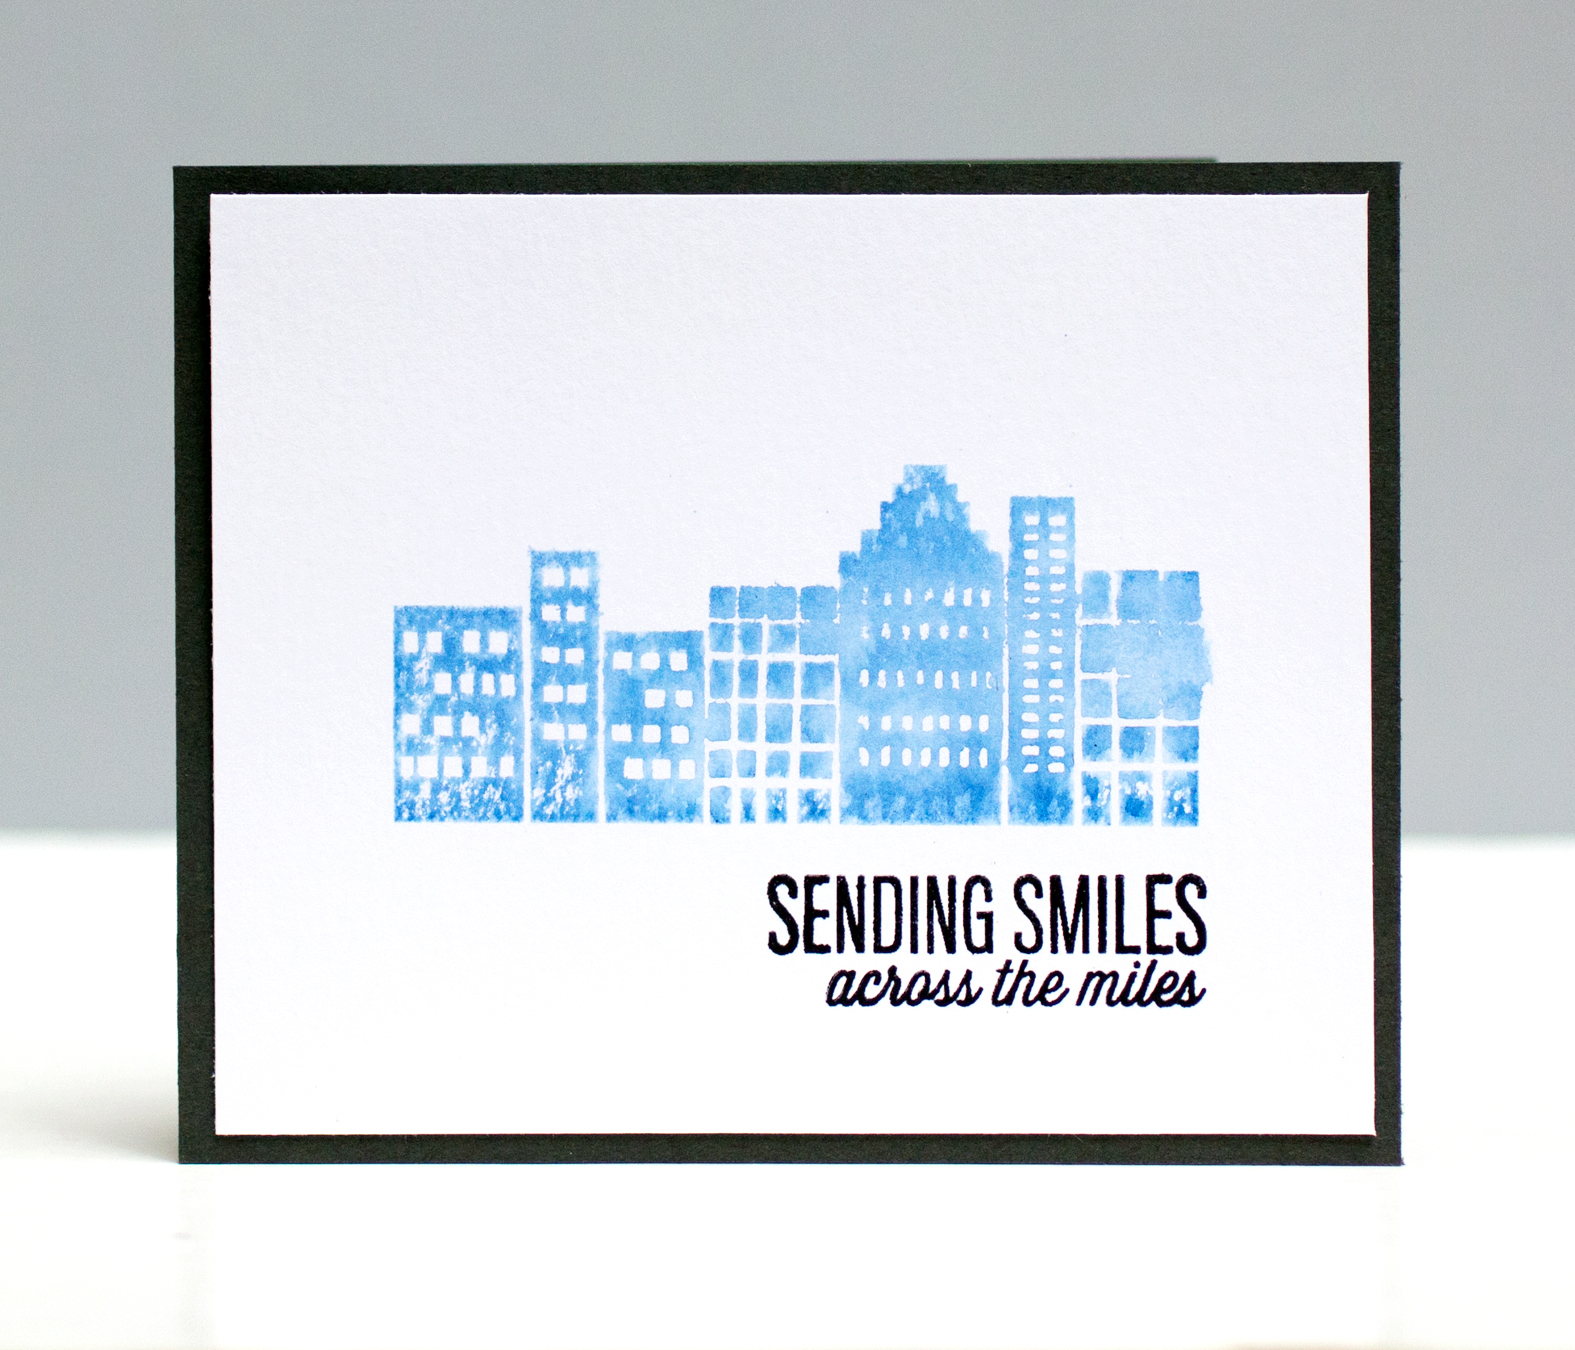
I’m sharing a card inspired by one shown by Jennifer Rzasa in today’s Clean & Simple Cardmaking 3 lesson. Jennifer’s card featured a beautiful painted feather.
CAS3: Day Seven

I wanted the simplicity of stamping (and wasn’t sure I could pull off painting a feather!). I stamped my sentiment, and then used a brush to apply some water to the paper. I colored the cityscape stamp with the Pitt Big Brush and stamped into the wet watercolor paper. The result was a subtle blur. I wanted to keep some of the cityscape detail. This is definitely a technique I’ll use for other stamps. From my brief investigation, it seems to work better with rubber stamps than clear ones.

Supplies:

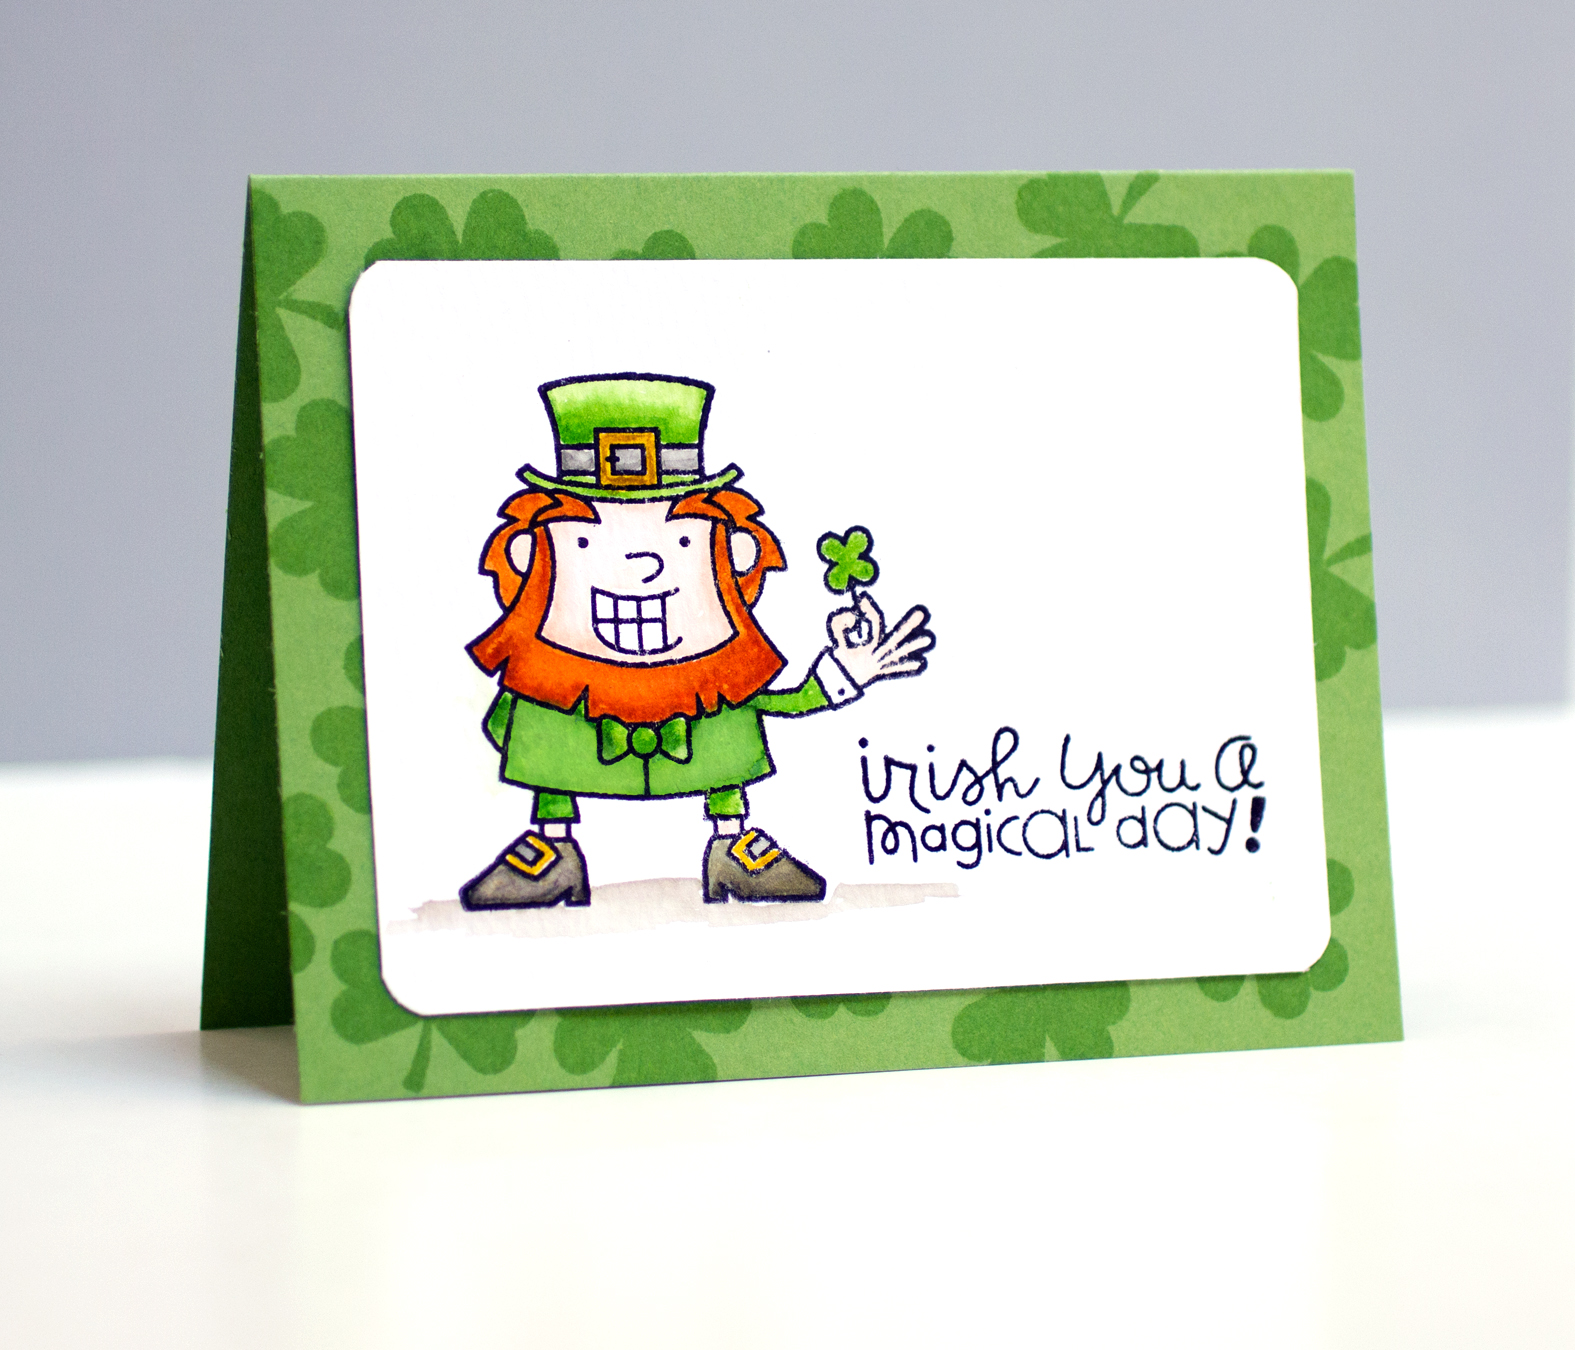
Kristina Werner CASE – Lucky Leprechaun

I’m on a mission to improve my coloring of images, and lately I’ve been on a watercoloring kick. I’m absolutely in awe of the talent out there when it comes to coloring! I was delighted that Kristina Werner posted a card on her Color Wednesday segment using the cute leprechaun from Paper Smooches in time for Saint Patrick’s Day!

leprechaun

Kristina used Distress Ink markers to color her leprechaun. I used both markers and ink pads for the colors. She had more advanced coloring for the leprechaun’s coat and his beard, combining two colors. I stuck with just one color! I really appreciate having a project to CASE in which the colors are already decided, and I can watch a video to see how the color is applied.

CAS 3: Day Five

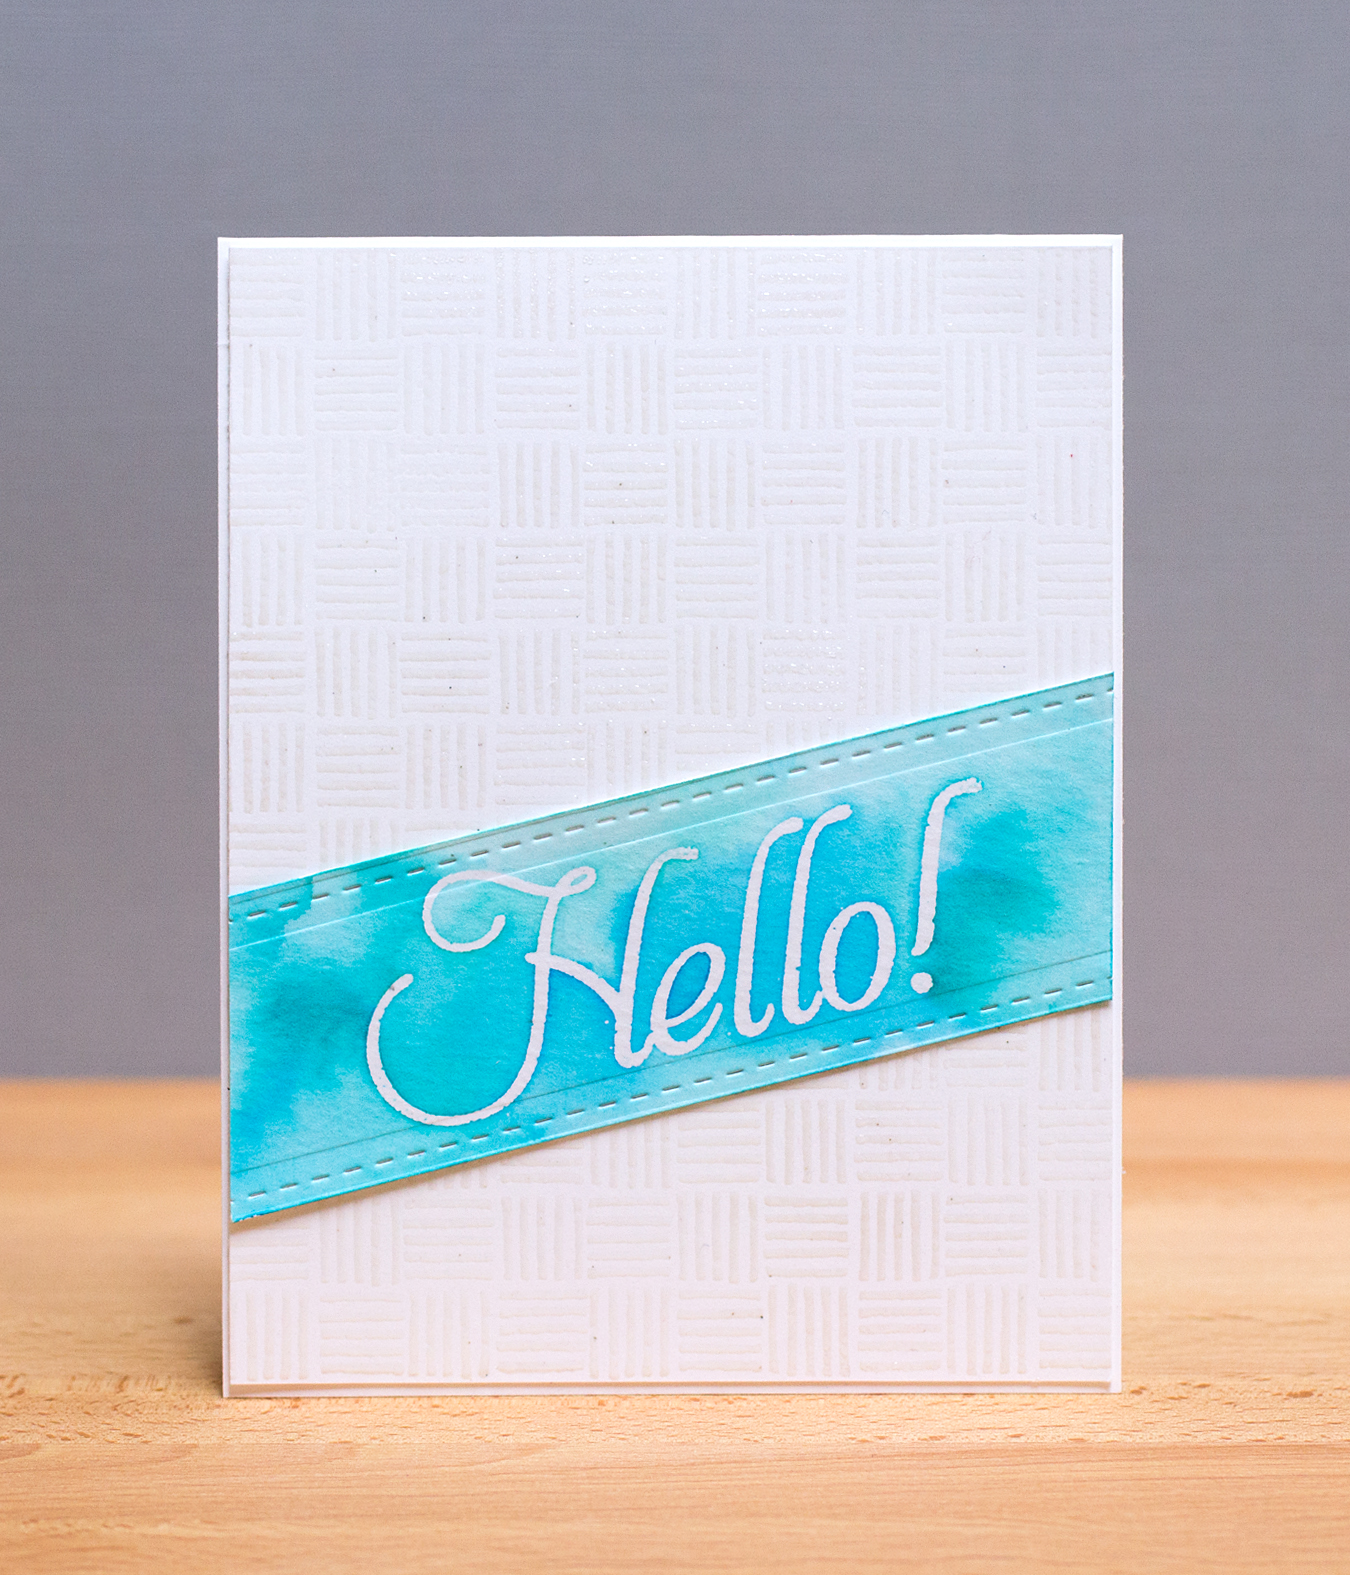
Okay, confession time – this isn’t a single layer card! I decided that I’d “cheat” a bit today to get the technique, shown by Jennifer McGuire in today’s Clean & Simple Cardmaking 3 lesson, under my belt without all of the work.

DayFive

I cut the panel out of Distress Watercolor paper, heat embossed the sentiment (from the Hero Arts Fancy Basics set) and then applied Salty Ocean and Peacock Feathers Distress Inks with a brush. As instructed, I ironed the sentiment to remove the embossing when the panel was dry. I added some stitching to the panel with Lil’ Inker dies to give it a more finished look. Unfortunately, because the watercolor paper is thicker than cardstock, you can really see the lines from the edge of the die. I’d have to redo my embossing sandwich in order to eliminate those lines. Live and Learn!

I applied the watercolor panel to a panel that was heat-embossed using the Hero Arts Five-Line background stamp. I wanted a little texture for that base panel.


Penny Black Stenciling on Watercolor

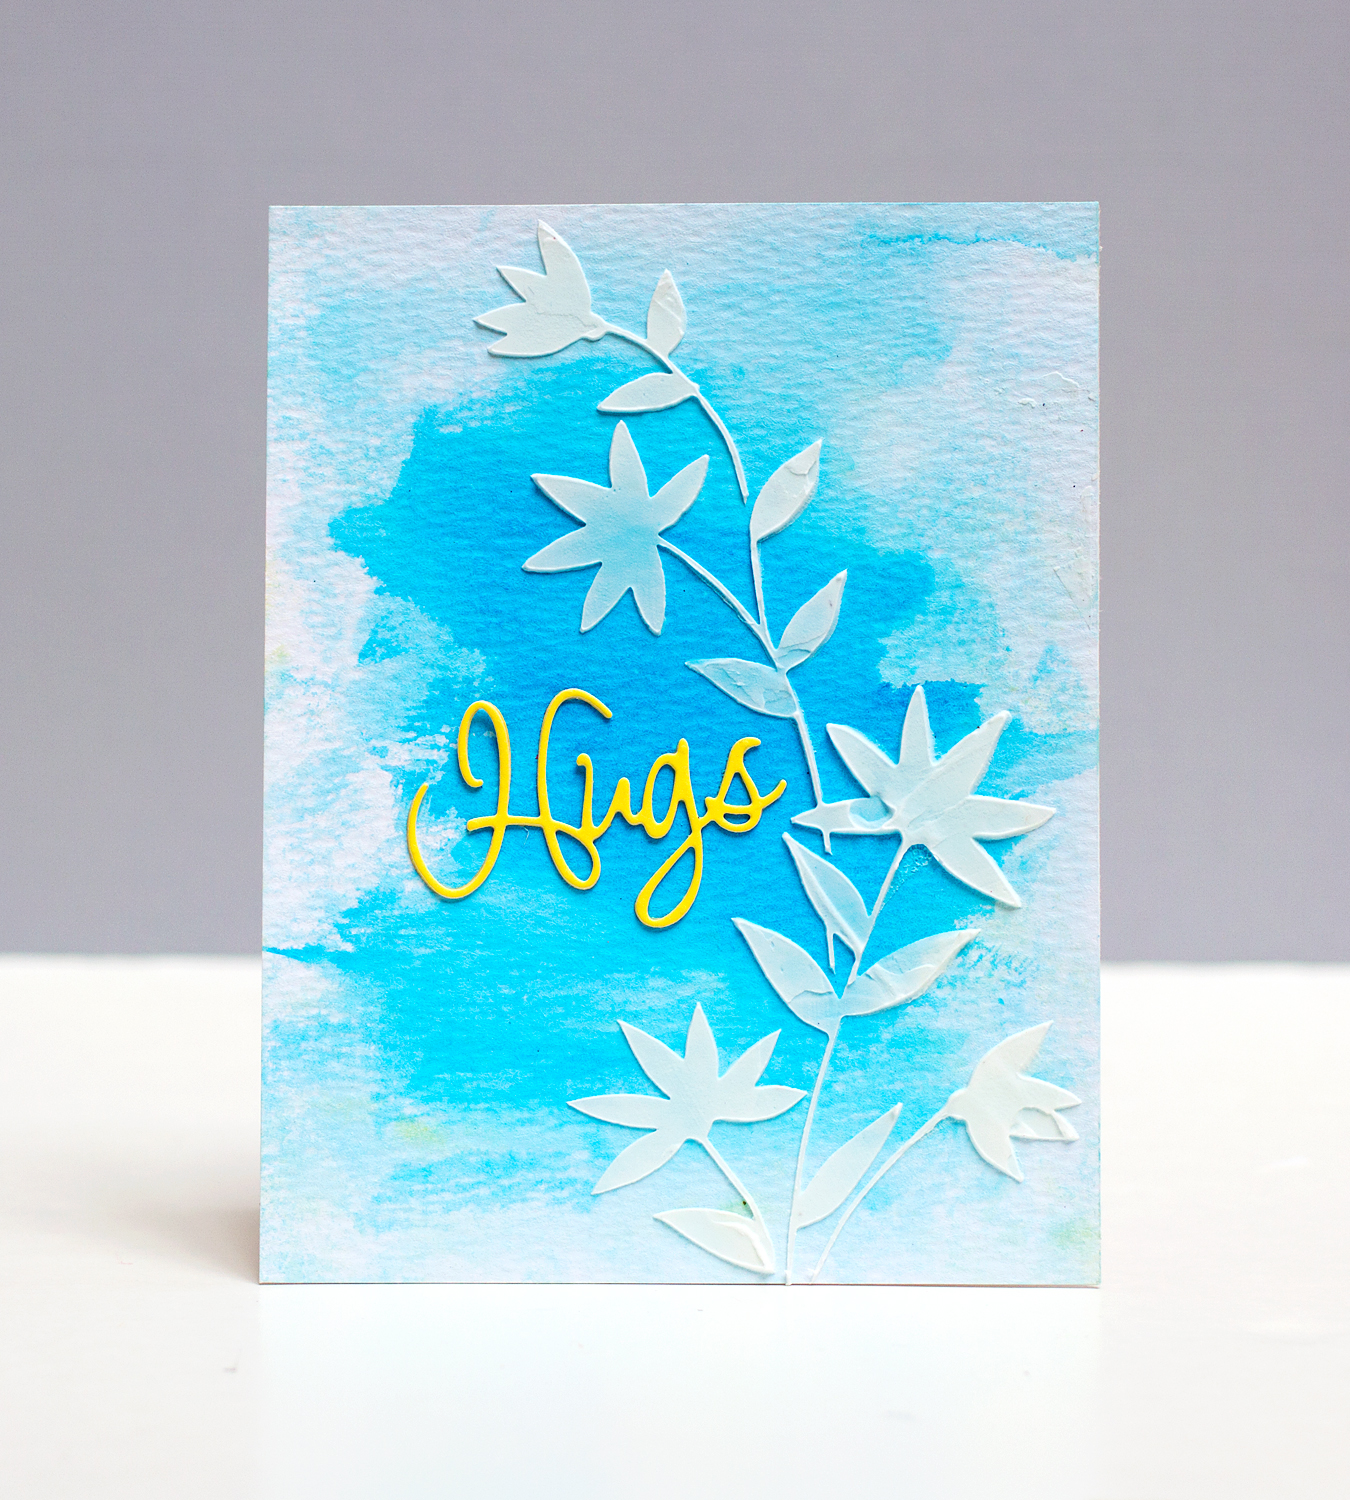
When I saw Alexandra’s use of the Penny Black Verdant stencil on a watercolored background, I couldn’t wait to try the technique. She included her panel on a scrapbooking page; I adhered mine to a cardstock base for a card.

EmbossingPasteWatercolor

I created my watercolor background with a combination of Distress Inks in shades of blue. I picked the ink up from my craft mat, after diluting it a bit, and brushed the ink onto the watercolor paper. After the watercolor panel dried, I carefully taped the Penny Black Verdant stencil [#25-003] and applied Faber Castell Whipped Spackle. The embossing paste dries quite quickly. I die cut the “Hugs” from Penny Black’s Love Expressions [#51-025] set twice to give the sentiment a bit more depth.

What’s fun about this technique is that every card is different!

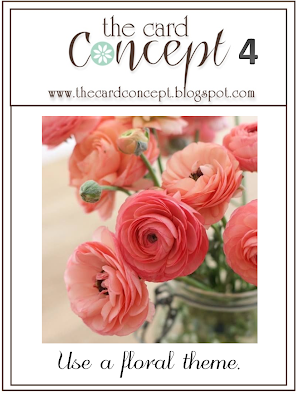
Card Concept Challenge #4

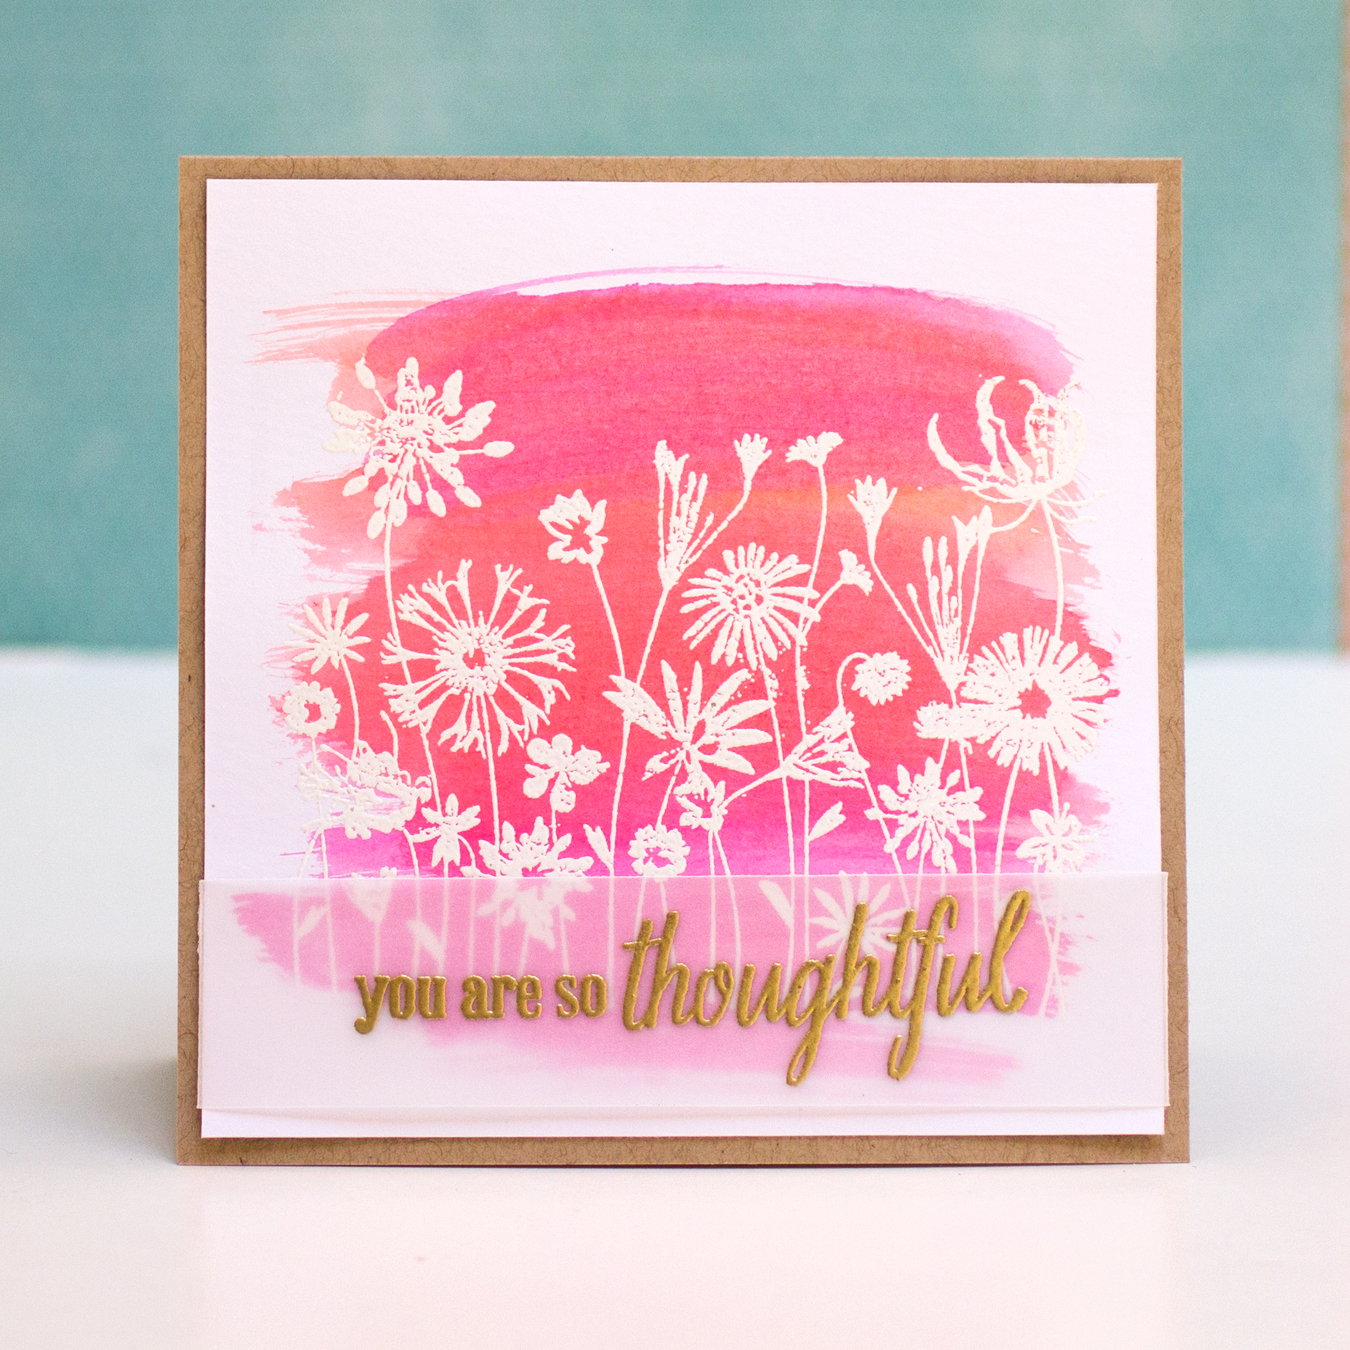
I’m playing along with the Card Concept Challenge – Use a Floral Theme with a CAS card. I was inspired by the coral color in the inspiration image, as well as the floral motif.

CardConcept4

I colored watercolor paper with three colors of Distress Ink. I simply smooshed the ink onto my craft sheet and lifted the color with a brush that I had dipped in water. (I tried this technique on cardstock and it did not work nearly as well as with the watercolor paper!) After the paper dried, I stamped the Blooming Meadow stamp with Versamark ink and heat set it with white embossing powder. I added a sentiment heat embossed with gold powder on vellum and attached the panel to a kraft card base.

Supplies: