Another Merry Monday #180 Reindeer

I’m playing along at the Merry Monday #180 Challenge with another reindeer card. Turns out, I have a lot of reindeer-themed supplies!

Hero Arts Reindeer Stencil

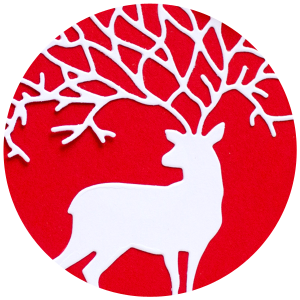
I used Bo Bunny Sugar Glitter embossing paste with the Hero Arts Merry Christmas Reindeer stencil. I allowed the red cardstock panel to dry overnight (the product seems to take longer to dry than other embossing pastes I’ve used before) and then added a heat-embossed sentiment from the Hero Arts Family and Friends stamp set. I used a Taylored Expressions stitched banner die to cut the sentiment. Other than the drying time, this CAS card came together quickly.

Penny Black Reindeer

I’m playing along at the Merry Monday #180 Challenge with a reindeer card!

Jean Manis Penny Black Christmas Reindeer

I colored Distress Ink watercolor paper with three shades of Zig Clean Color Brushes (for am ombré effect) and cut the paper with the Penny Black 51-147 a very merry die. I also used the die to cut white cardstock and attached the two die cuts with liquid adhesive. The reindeer (from the 40-258 dancing deers set) was stamped with red pigment ink. I added patterned paper from 80-012 wintertime to a square card base and finished the card off with twine.

180

Penny Black Supplies:
40-258 dancing deers
51-147 a very merry
80-012 wintertime

Taylored Expressions Holiday Moose

Today, I’m sharing a holiday card featuring the Taylored Expressions Little Bits Moose.

Jean Manis Taylored Expressions Little Bits Moose

I couldn’t resist pairing the moose with plaid (patterned paper from American Crafts Deck the Halls). To create the moose, I used a combination of cardstocks: Woodgrain (to give him more texture), Oreo, Sugar Cube, Toffee and Chocolate Truffle. I cut the tag out of Sugar Cube. I heat-embossed a sentiment from Critter Correspondence on Cherry Pop cardstock and cut it with the tag die. To create the stitched strip of Sweet Basil cardstock, I used the Basketweave Cutting Plate to cut a narrow strip, then cut it again with one of the Stitched Rectangle Stacklets dies. I finished off the top of the tag with a reinforcement, cut from Cherry Pop with one of the Tag Reinforcements dies, and twine.


Supplies:


Reverse Confetti November Release Countdown to Confetti Day Three

It’s Day Three of the Countdown to Confetti at Reverse Confetti! Today, Reverse Confetti introduces the Bubbly Tag Toppers Confetti Cuts.

For my first project, I created a celebration tag, cut with the Topped Off Tag set, using a sentiment from With Love and a panel cut with the Bubbly Tag Toppers set.

I finished the tag off with pieces cut with the Hang Ups set and a silver ribbon.

ReverseConfettiNov2015TagCelebrate

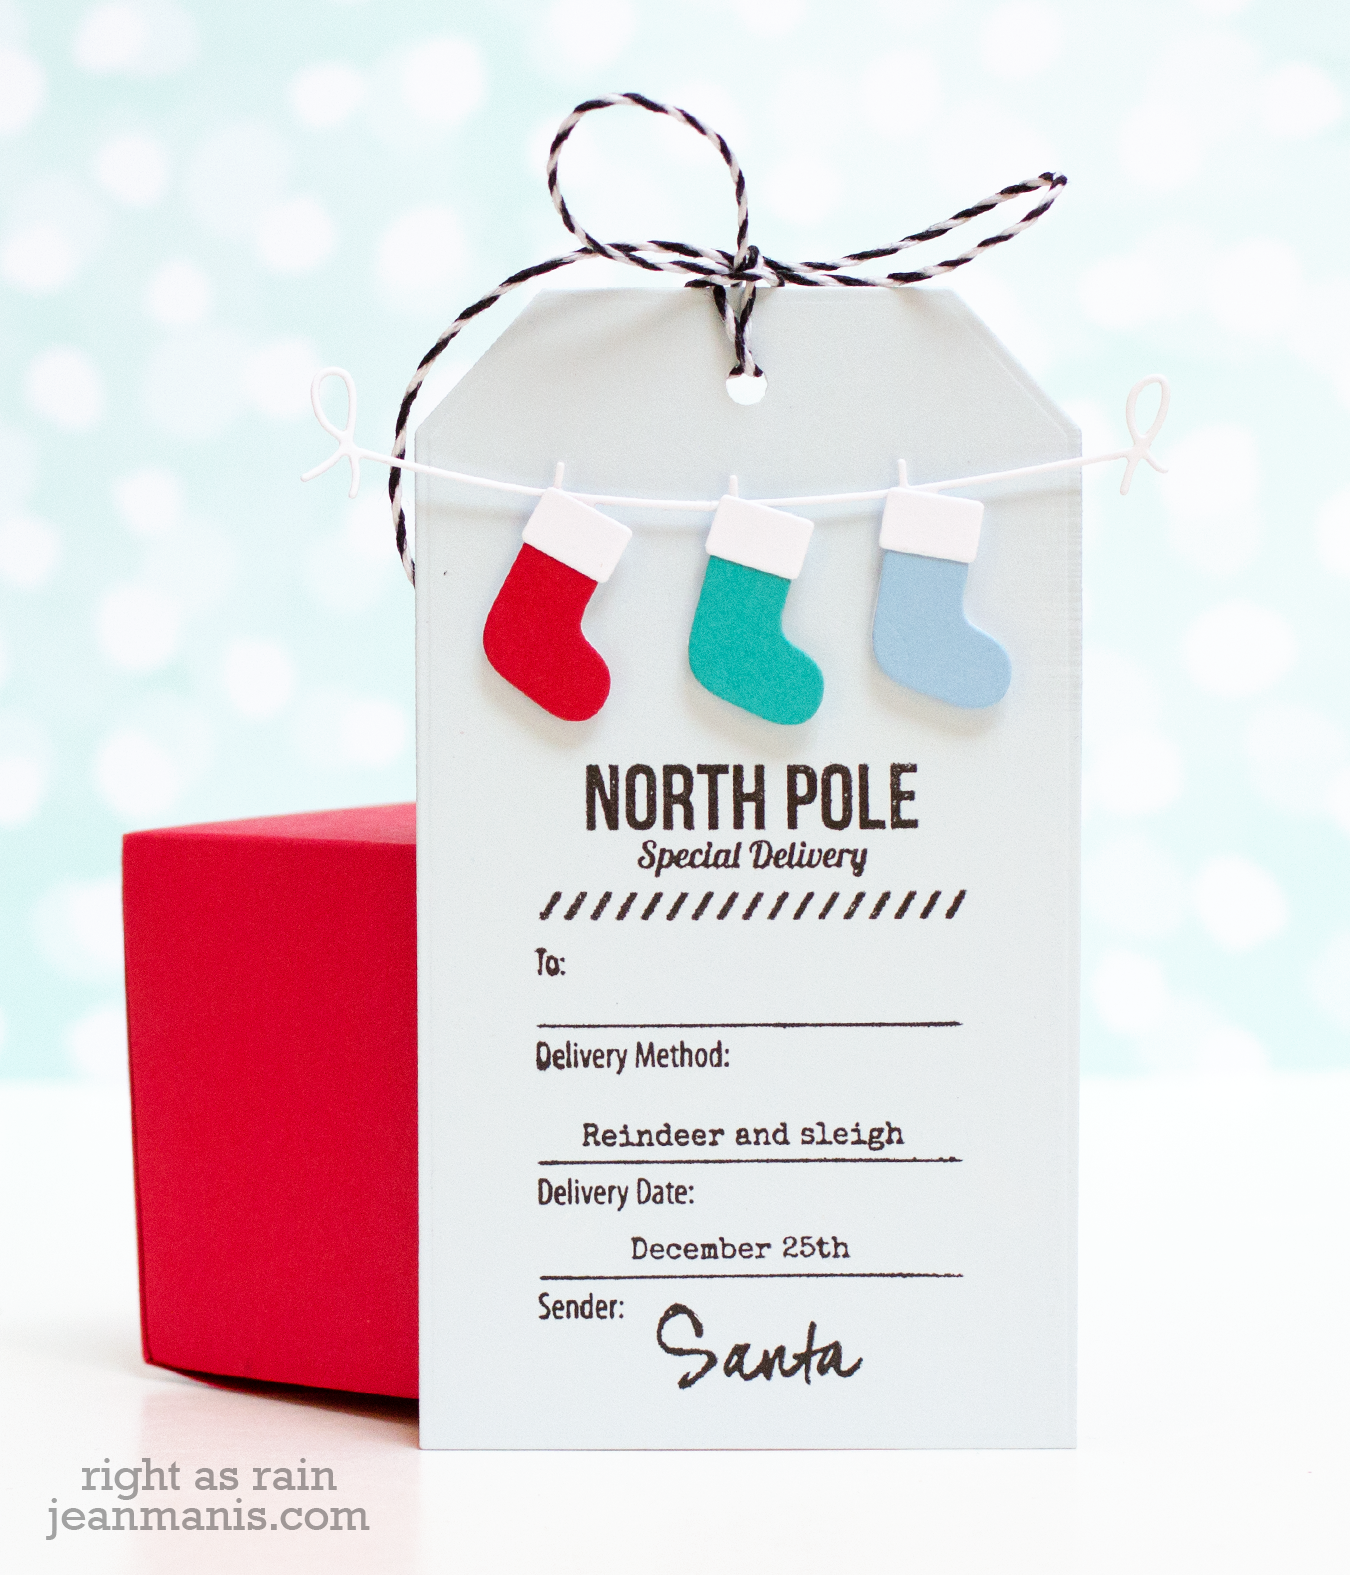
For my second tag, I used the Bubbly Tag Toppers set along with a small scallop banner die in the Gift Card Holder Tag set to hang stockings cut with the Jolly Holiday set.

ReverseConfettiNov2015Tag

The With Love sentiment was stamped on the tag, which I cut with the Topped Off Tag set.

WithLoveProductGraphic

ToppedOffTagCCProductGraphic

HangUpsCCProductGraphic

Taylored Expressions November Release Day!

Hello! Welcome to the Taylored Expressions November 2015 Release! All products that we have been peeking this week are now available in the TE store, HERE! Before you head off to shop, I have one last project to show you.
JeanManisNOV15RaiseYourGlass

I created a celebratory card with the Raise Your Glass die set. (While my card is for New Year’s Eve, the Raise Your Glass set works for any number of occasions – engagement, wedding, graduation, …!) I cut the glass out of a white metallic cardstock (I used the two dies together to create a frame), as well as out of gold metallic cardstock. The sentiment from Eventful – Holidays was heat-embossed on Oreo cardstock and cut with one of the just-released Stitched Banner Stacklets dies. I added some celebratory streamers to the card base, which I dry-embossed with the On the Spot embossing folder.

JeanManisNOV2015RaiseYourGlasscloseup


I filled the glasses with a combination of sequins and Little Bits – Celebration Confetti. Although I didn’t create a shaker card, doing so would be easy!

Thanks so much for stopping by! If you’d like to see more projects and new product information, head over to the TE Blog for a complete blog roll of our participating designers!

Taylored Expressions Supplies: