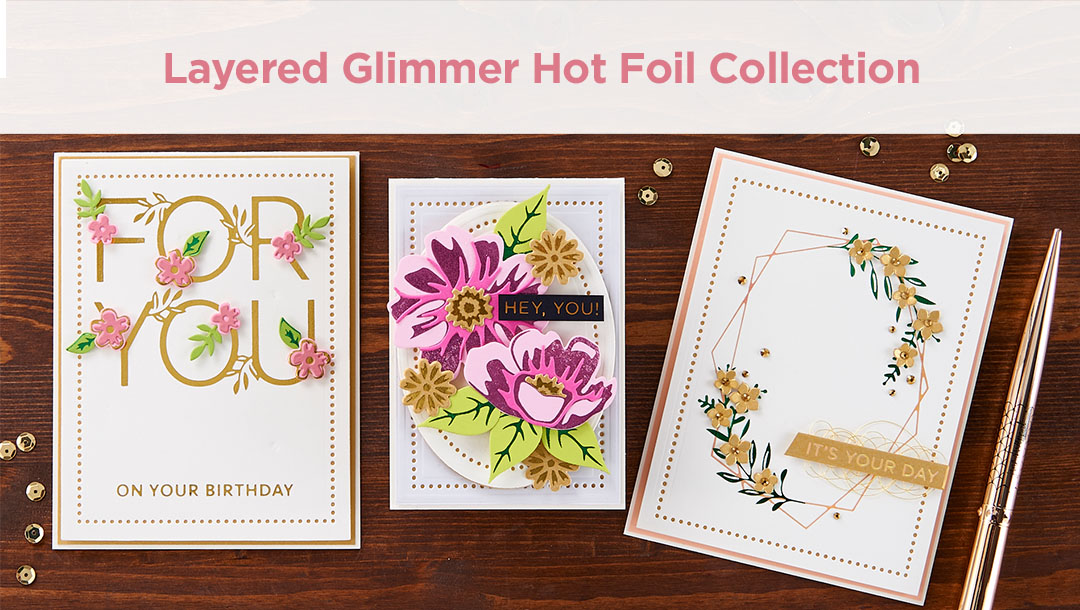
Hello! Today I am sharing cards created with the Layered Glimmer Hot Foil Collection at Spellbinders. The products in the collection include Glimmer Foil Plates AND Dies.

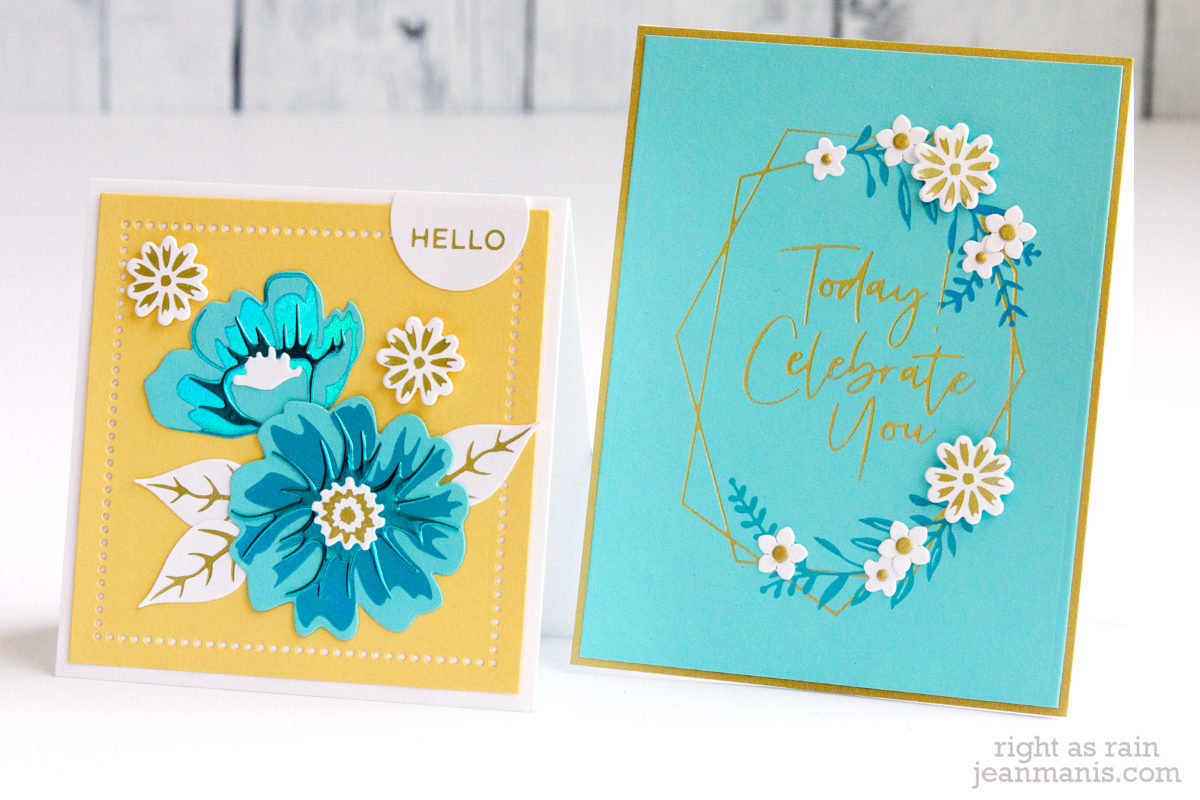
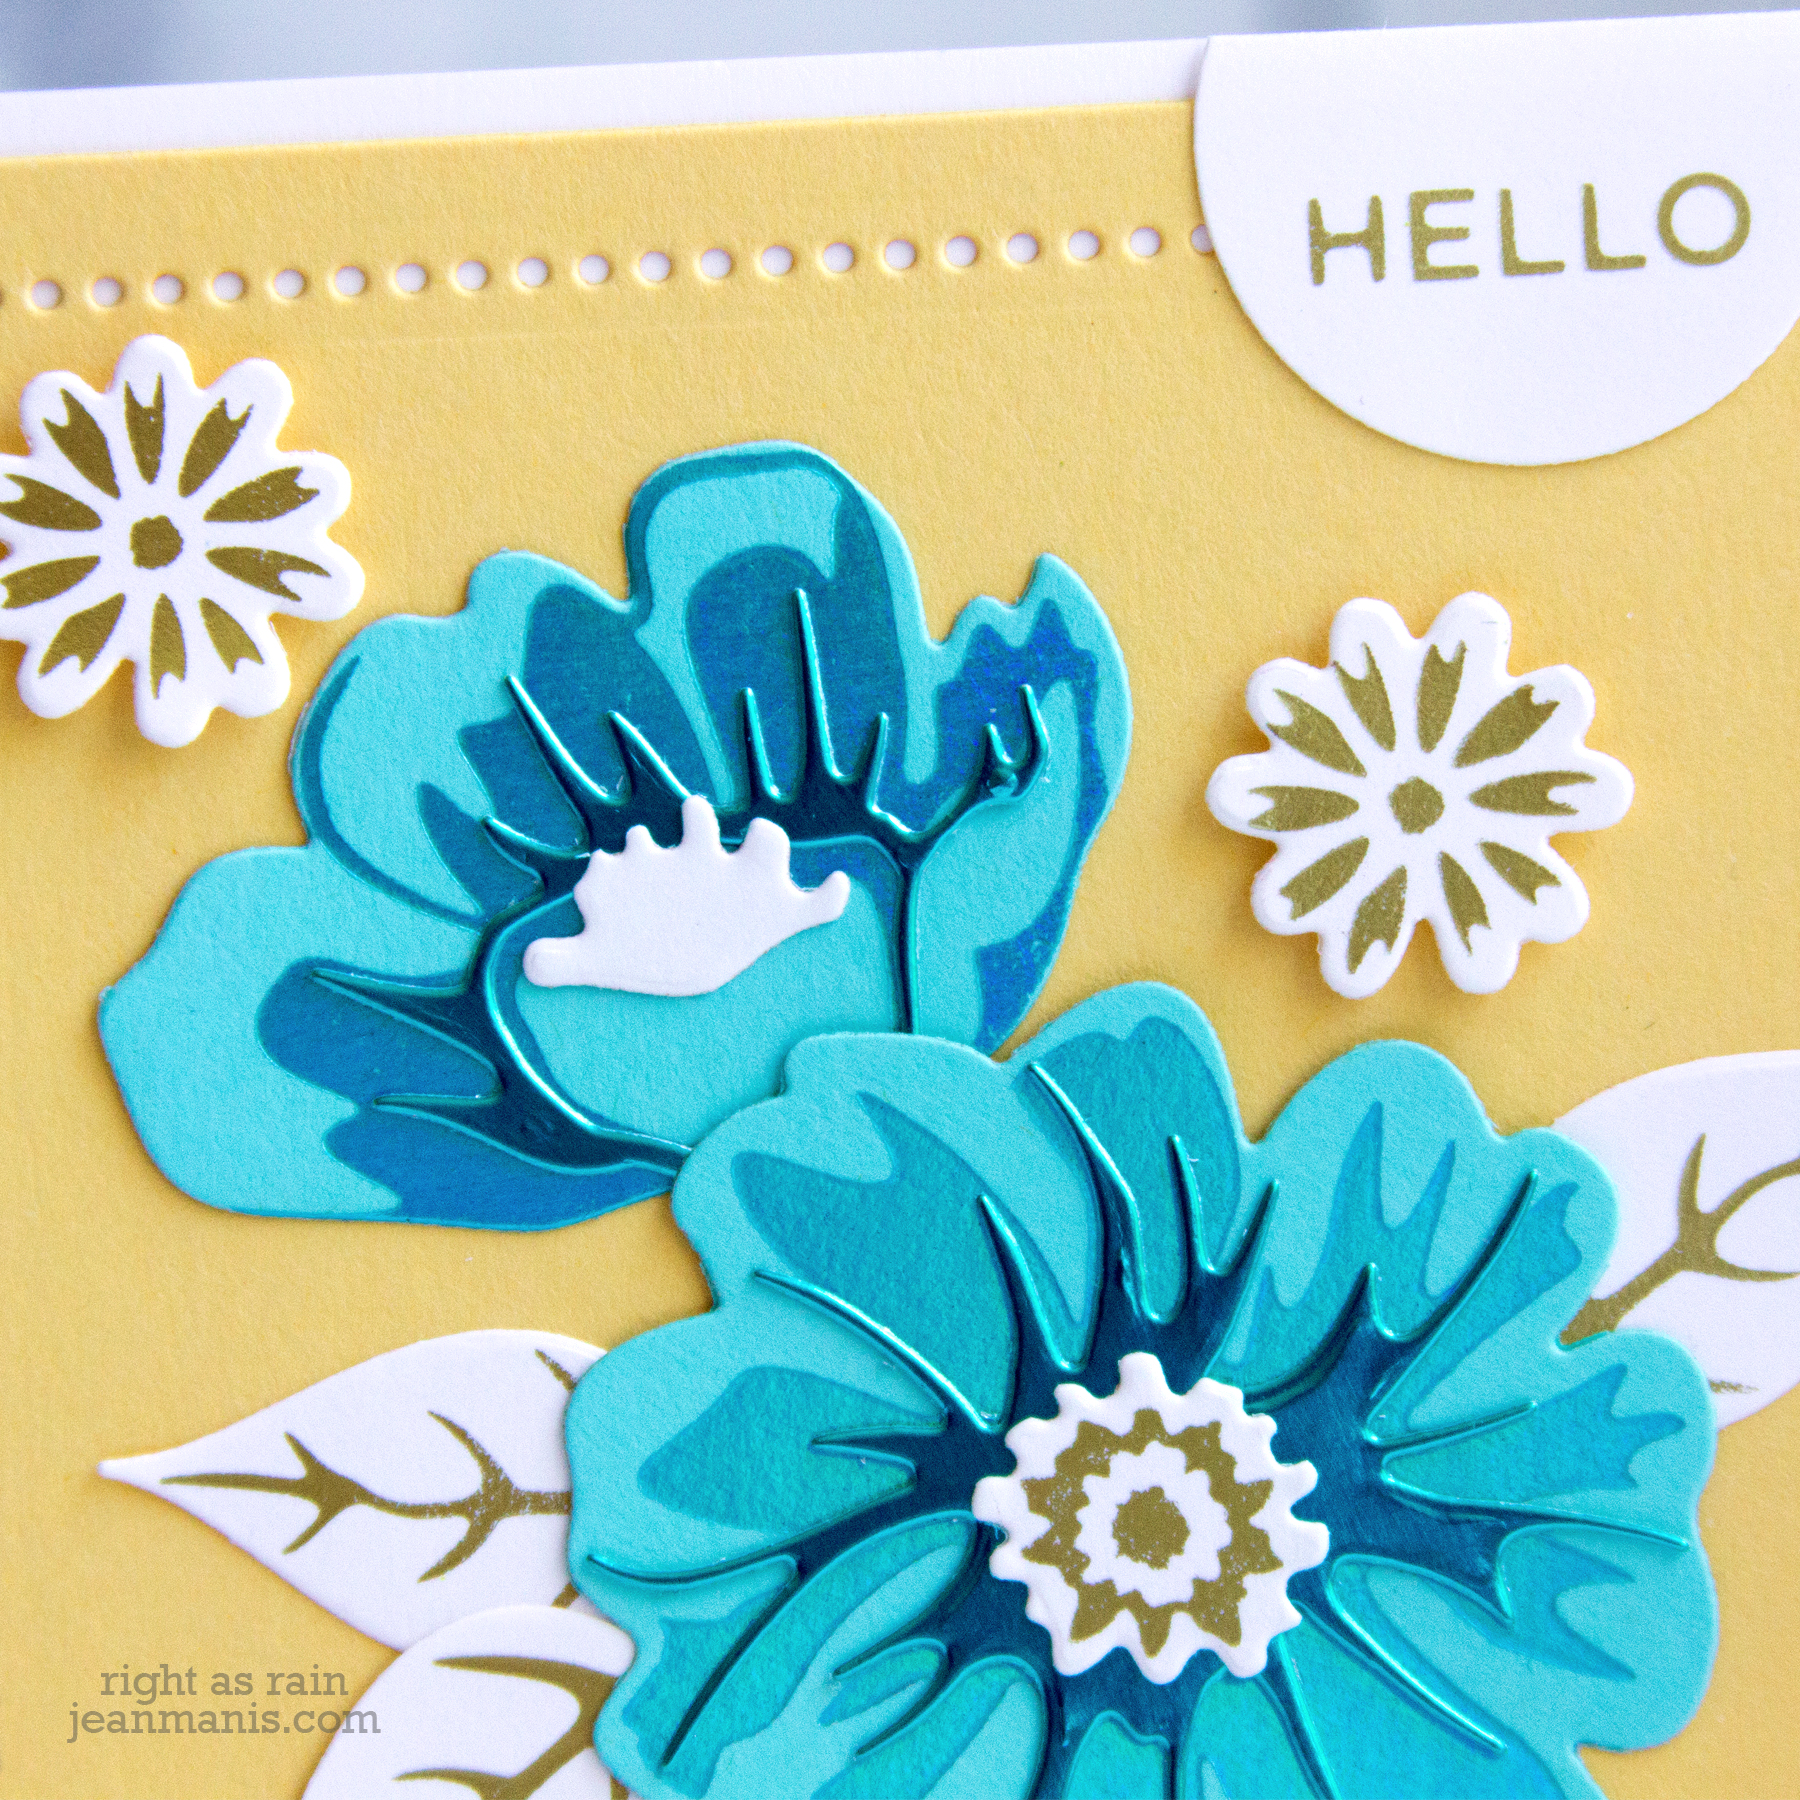
My first card showcases the Glimmered Botanical Plate and Die set.
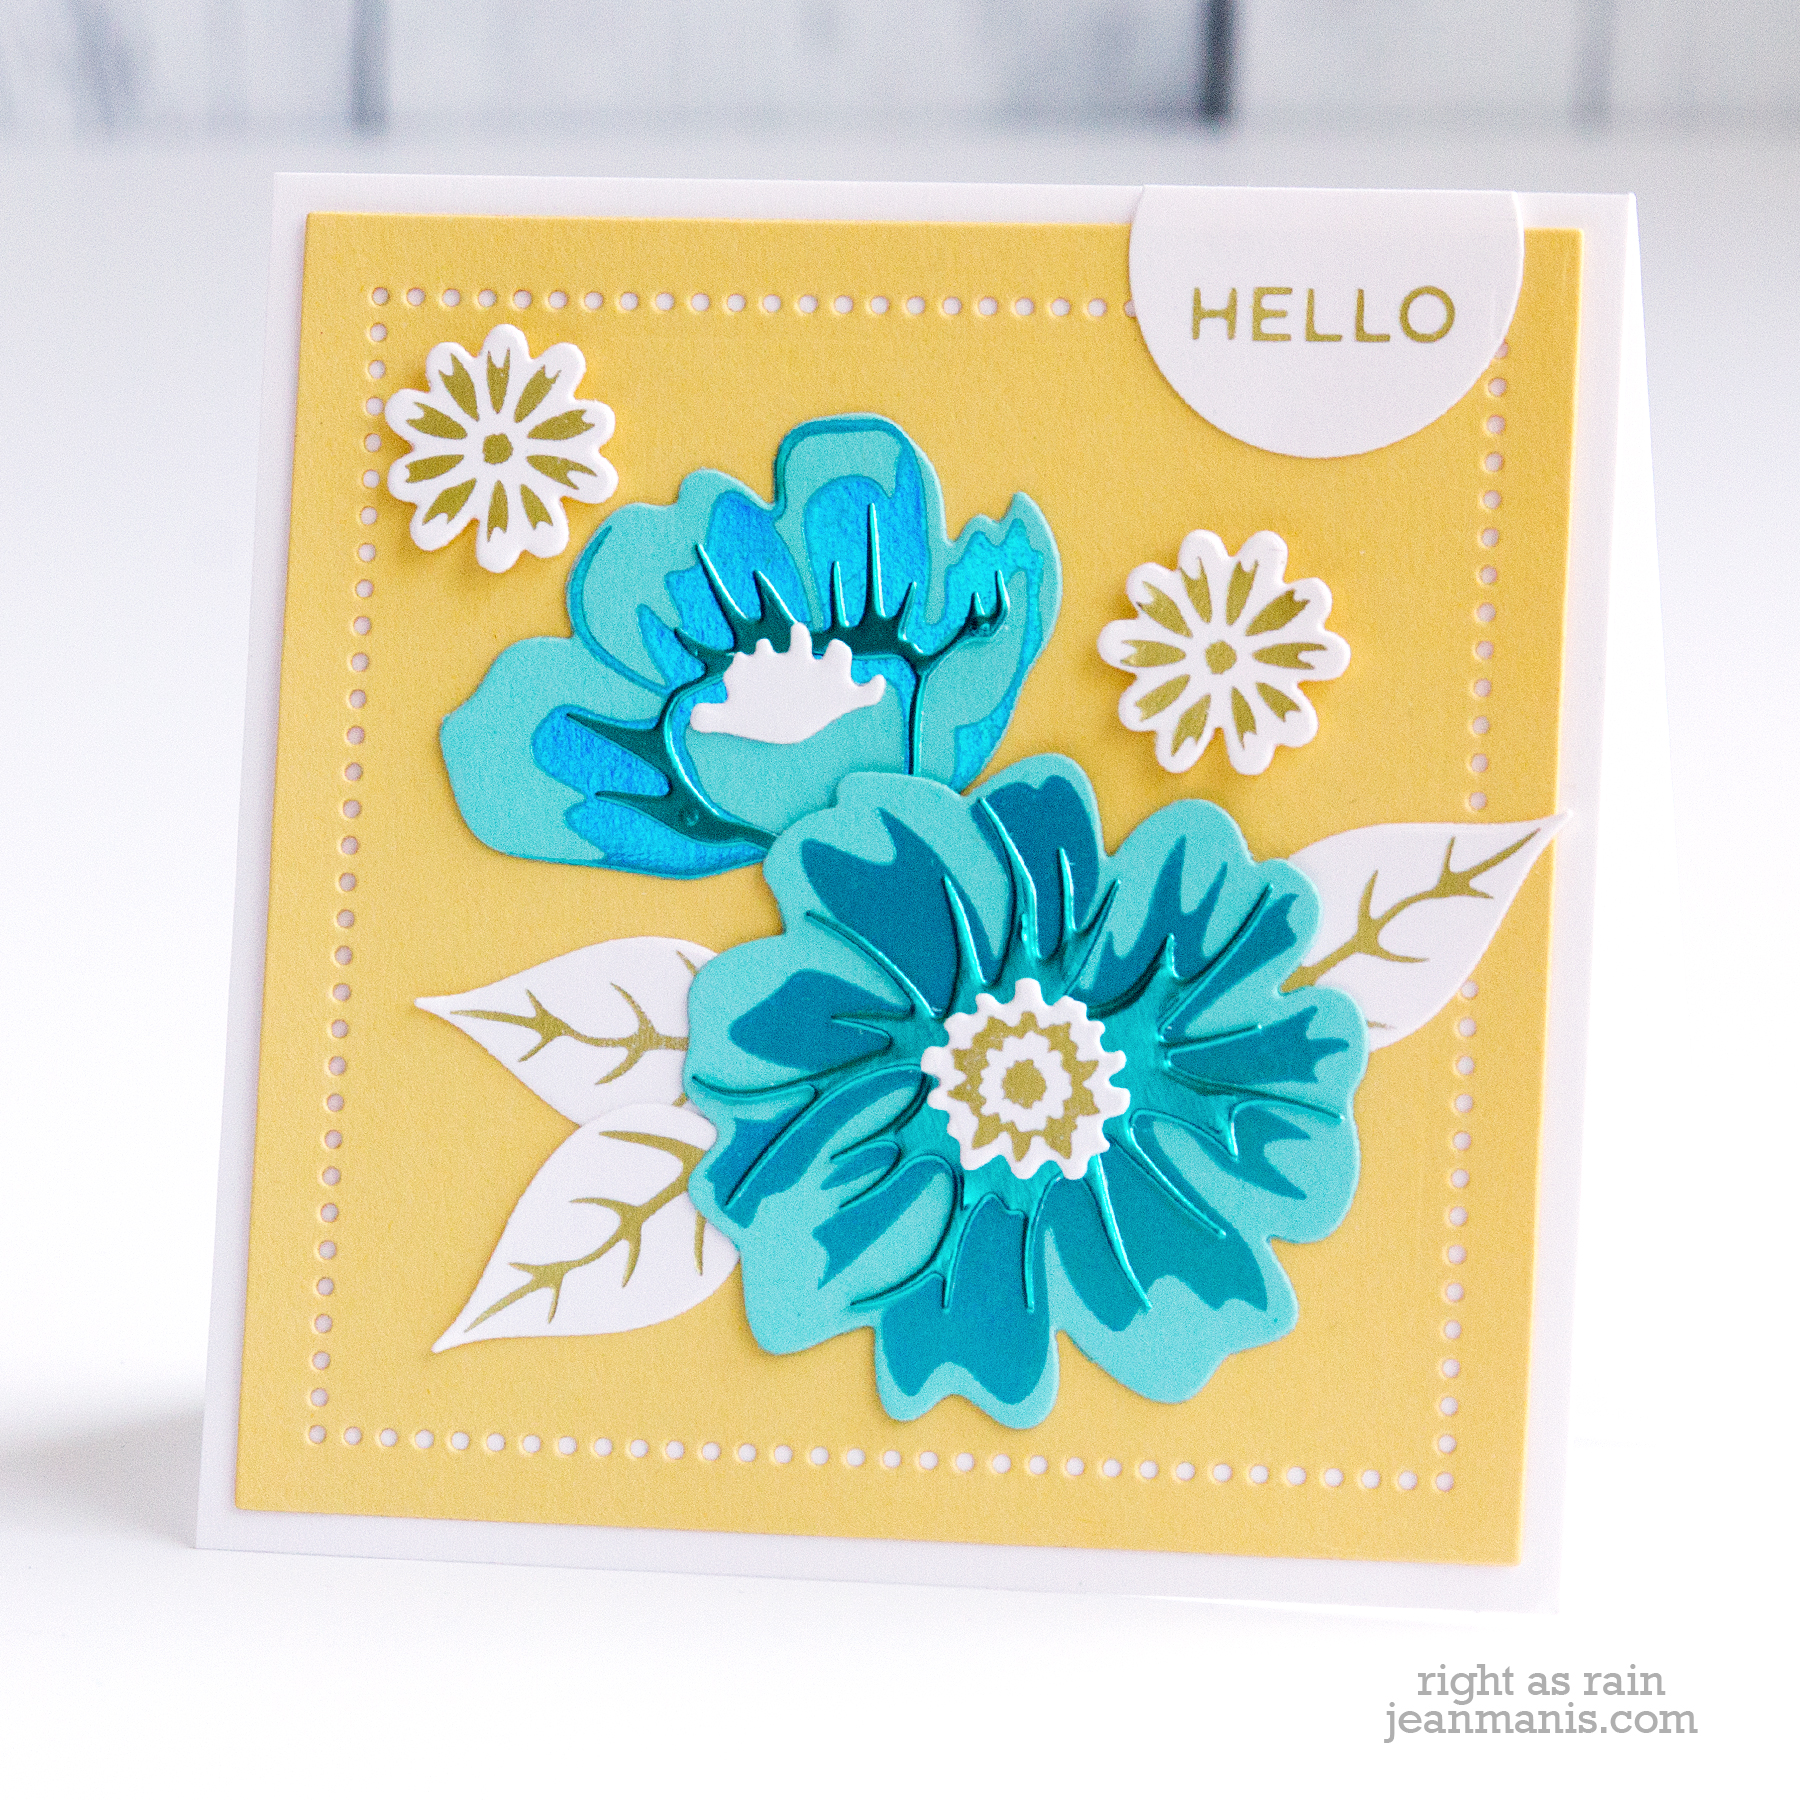
- For the large flowers, I foiled light teal cardstock using plates in the Glimmered Botanical Plate and Die set with Moondust foil.
- I cut the flowers with their corresponding dies. I cut the next layers for those flowers from teal foil cardstock.
- I foiled the set’s leaves, flower center, and small flowers in Matte Gold on Whip Cream cardstock and cut those pieces with their corresponding dies.
- I foiled the Everyday Sentiments II sentiment in Matte Gold on Whip Cream cardstock. I cut the sentiment with a circle die and trimmed off the top.
- The card base is 4 1/4″ square. I cut a 4″ square from So Saffron cardstock with the largest dies in the Essential Squares set.
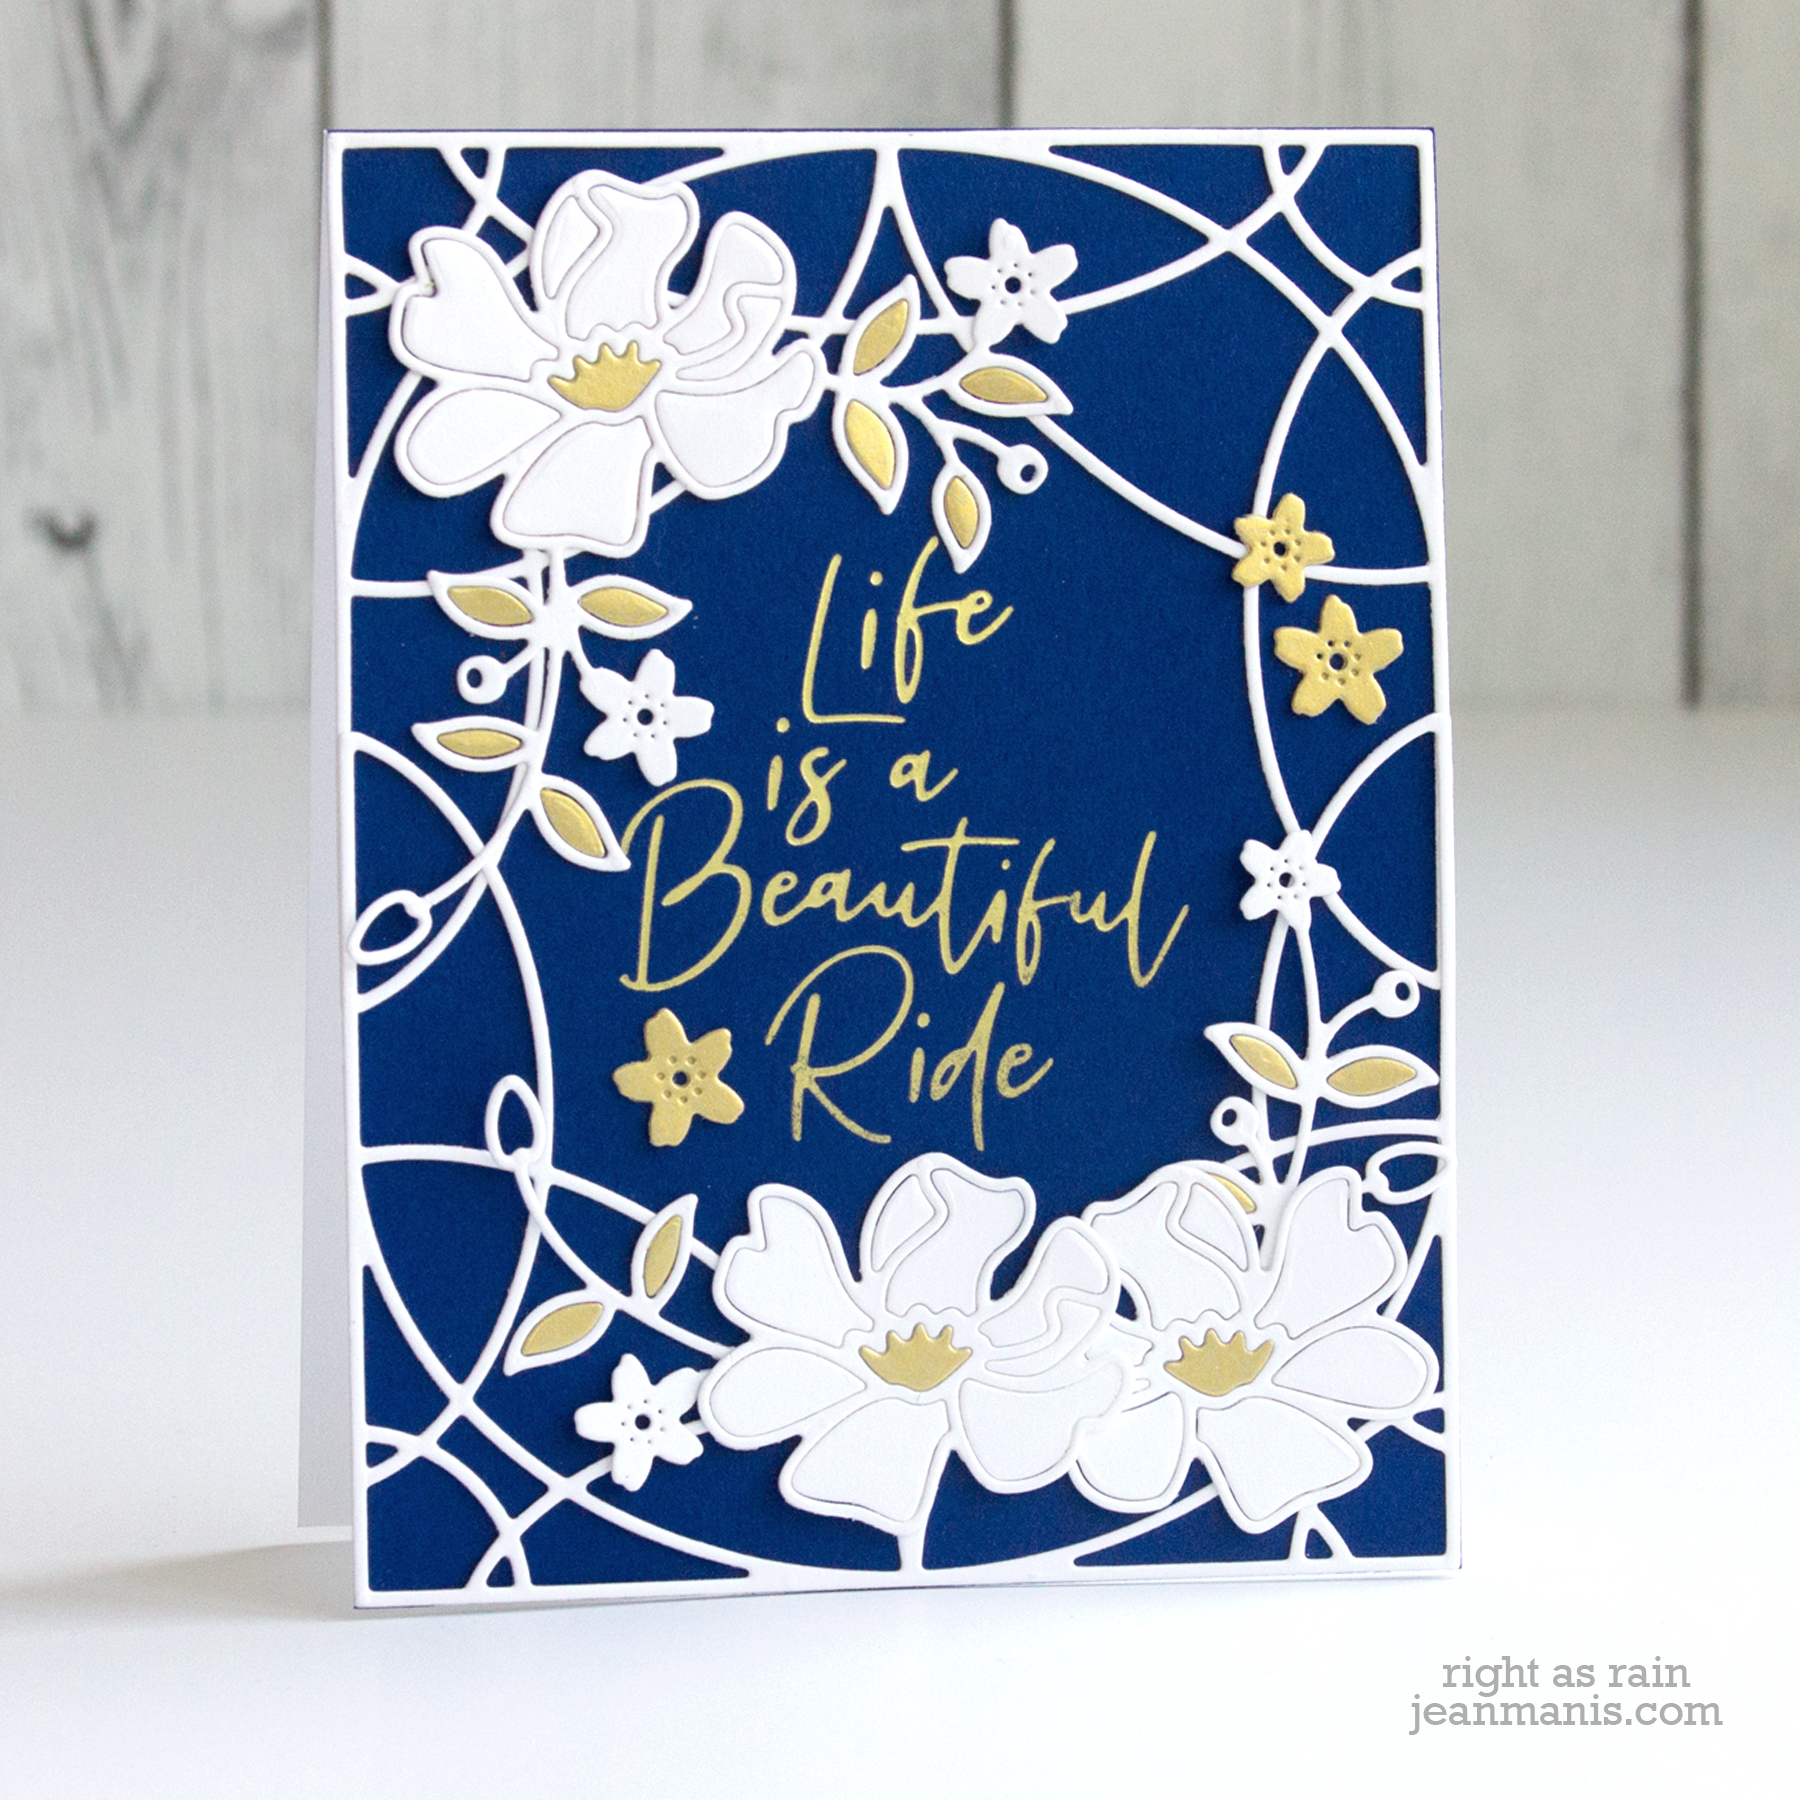
My second card combines elements from the Geometric Floral set, the Glimmered Botanical set, and a sentiment from the For You set.
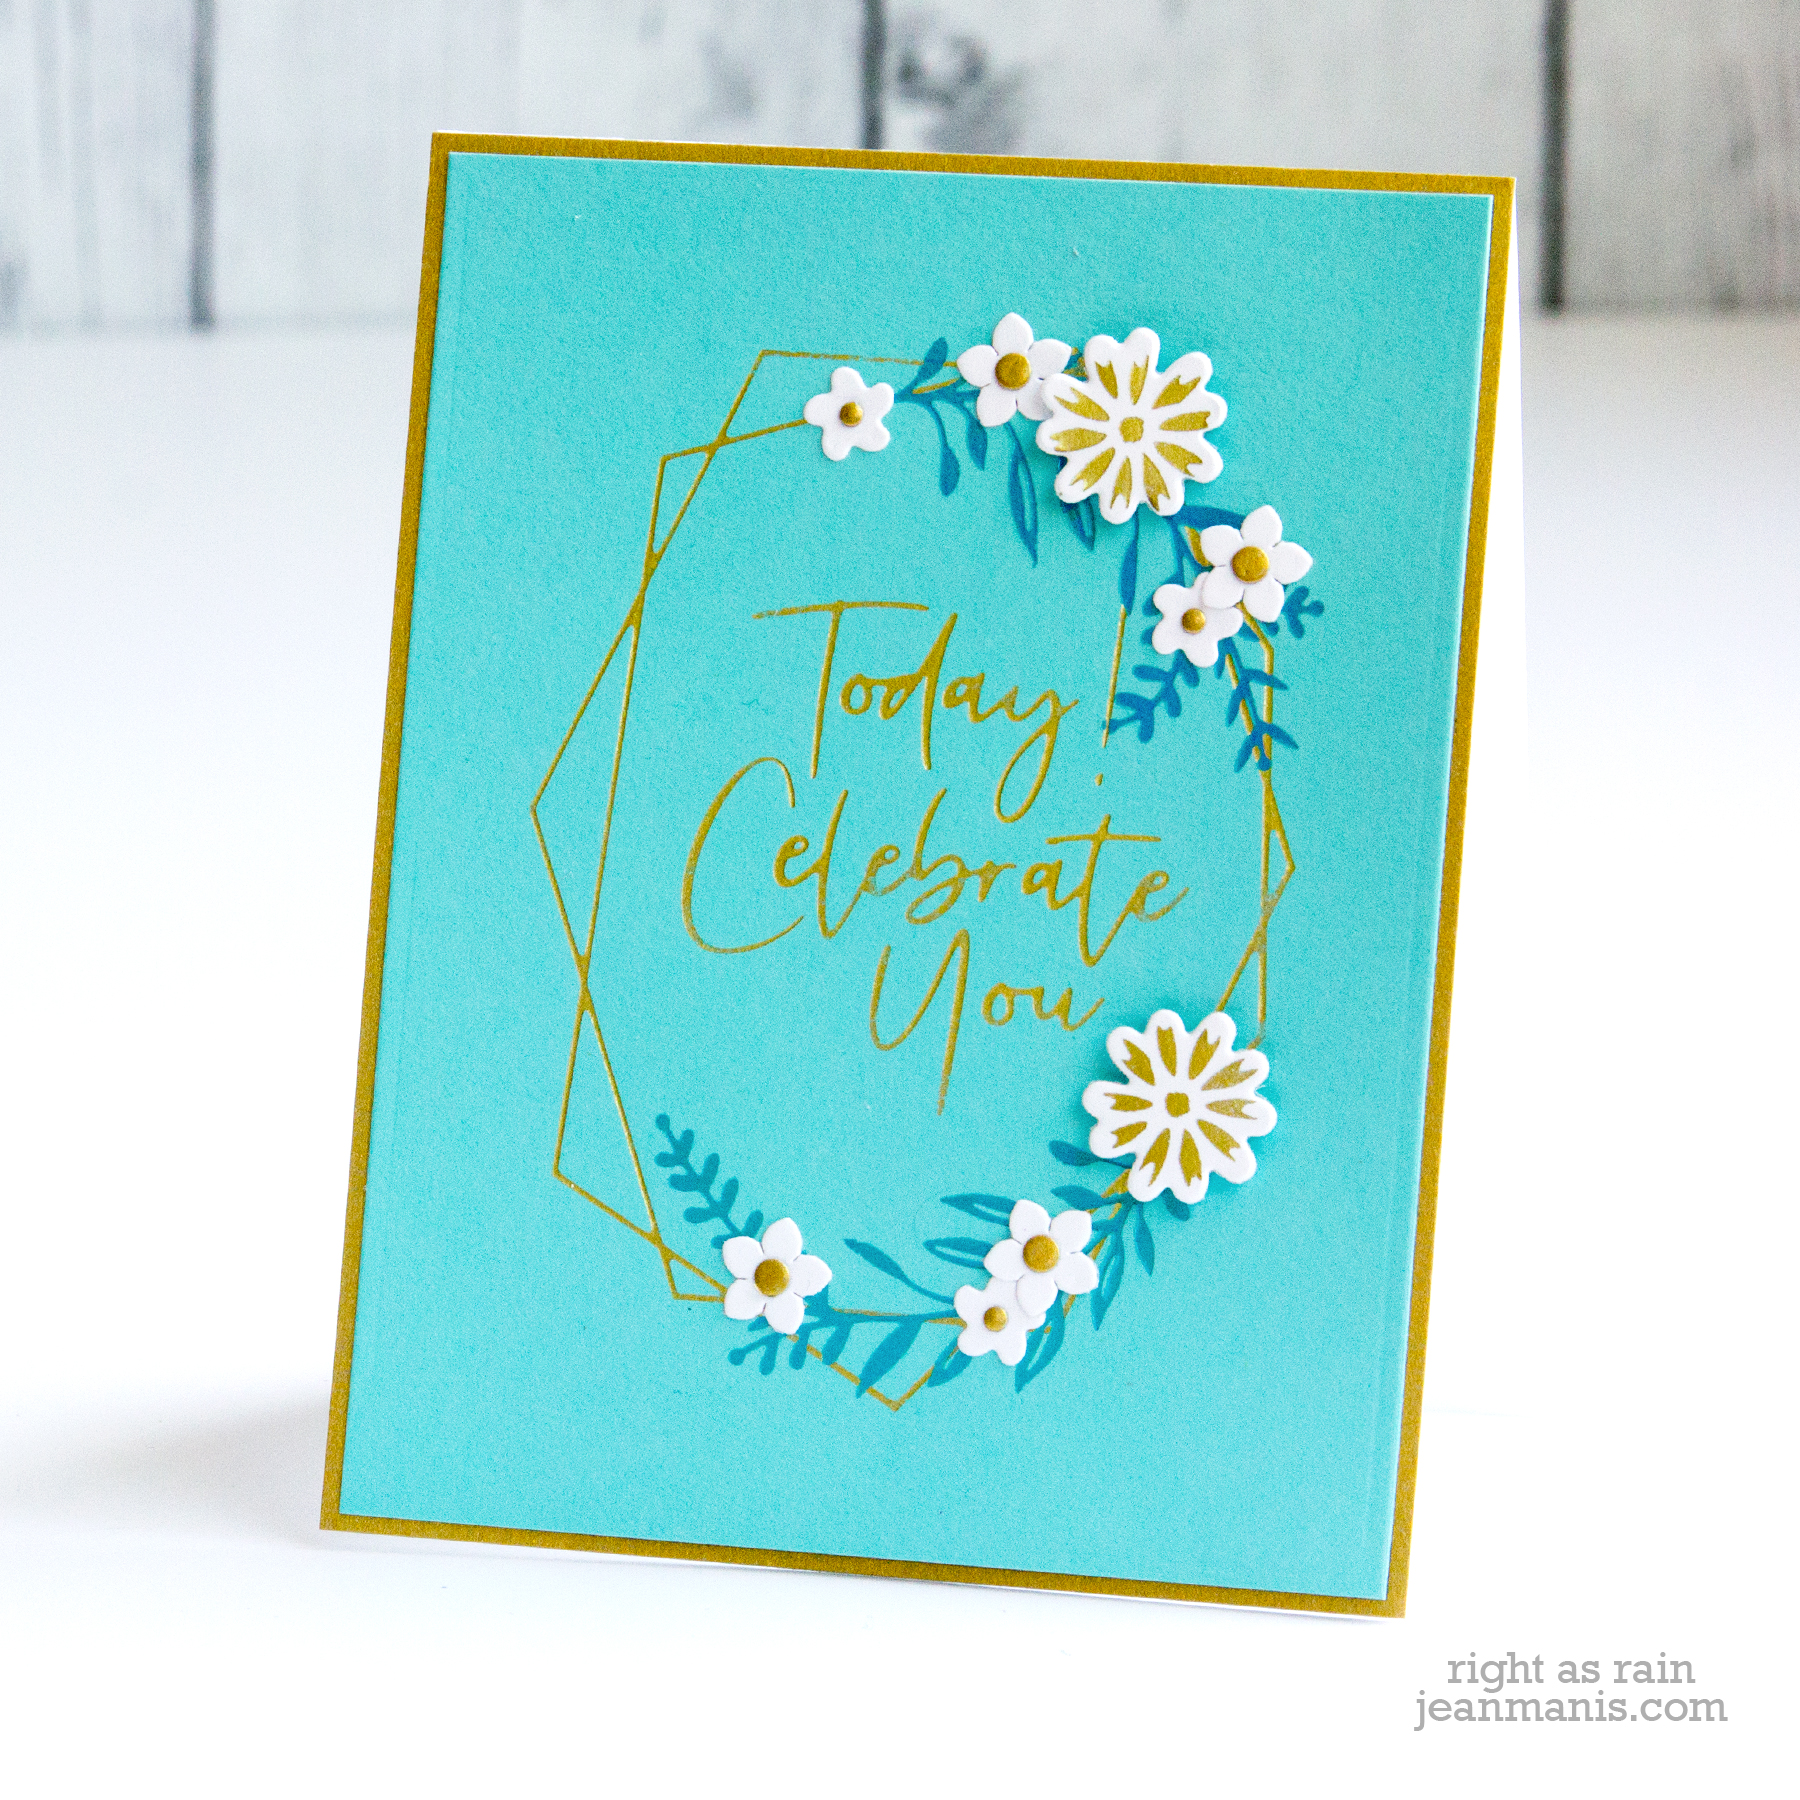
- I foiled the geometric frame and the sentiment together in Matte Gold on teal cardstock.
- I foiled Moondust foil foliage using plates in the Geometric Floral set to the geometric frame.
- I added the foiled panel to a Brush Gold card base.
- I foiled the Glimmered Botanical set’s small flowers in Matte Gold on Whip Cream cardstock, cut those pieces with their corresponding dies, and added them to the card with foam adhesive.
- I cut small and large flowers with a die in the Geometric Floral set from Whip Cream and Brush Gold (centers) cardstock and added them to the card.

Supplies:


 On my second card, I foiled a sentiment from the