Penny Black – A Carefree Day

Hello! Wishing you a carefree day – doesn’t that sound blissful? Today I am sharing a CAS, die-cut, garden-themed card created with Penny Black supplies.

Penny Black - A Carefree Day

  • I stamped the 30-700 Carefree Wishes sentiment on to a white cardstock panel.
  • I added Summer Sky ink to the background.
  • I cut the flowers, foliage, shelf, watering can, tools, pots, and butterfly with the 51-635 Buckets of Flowers, 51-510 A Garden, and the 51-610 Hydrangea die sets.
  • I placed the scene on to an orange cardstock base. I tried yellow, blue, and red before deciding that the orange was “just right”!

Penny Black - A Carefree Day

Supplies:

Paper Smooches Birthday Wishes

Hello! Today I am sharing a birthday card, created with Paper Smooches supplies, which is on its way to a friend who is an avid gardener. I am entering this card into the latest Paper Smooches Challenge, whose theme is Anything Goes.

Paper Smooches Birthday Wishes

  • I die-cut the daisies with the Sunflower die.
  • I glued the daisies on to light blue paper and trimmed the panel. The panel was sized to fit behind the Polaroid die-cut.
  • I added the Polaroid frame on which I stamped the sentiment.
  • For whimsy and additional detail, I added a bee!
  • I added the Polaroid panel to a dry-embossed background (SU Island Indigo cardstock, now retired, embossed with the Taylored Expressions Burlap folder).

Paper Smooches Birthday Wishes

Supplies:

Spellbinders Botanical Greenhouse

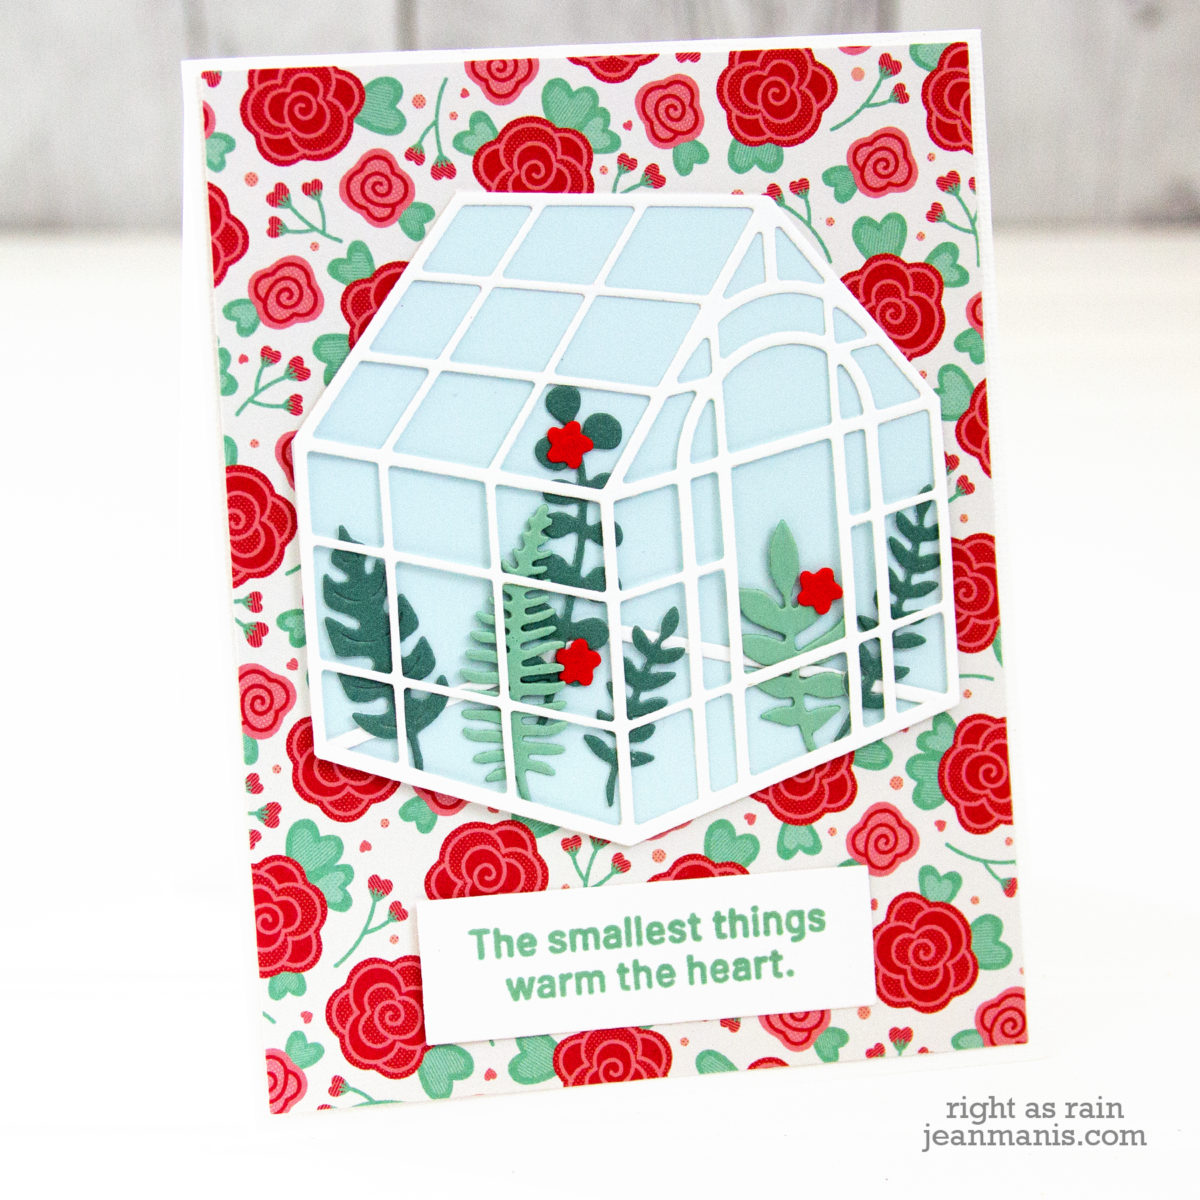
Hello! Today I am sharing two cards featuring the Spellbinders Botanical House die set. This is a fun set that can be used for a variety of occasions and/or messages, specifically uplifting ones! I think of greenhouses as a place where positive things are made possible, and right now, I’m all about focusing on the positive.

Spellbinders Botanical Greenhouse

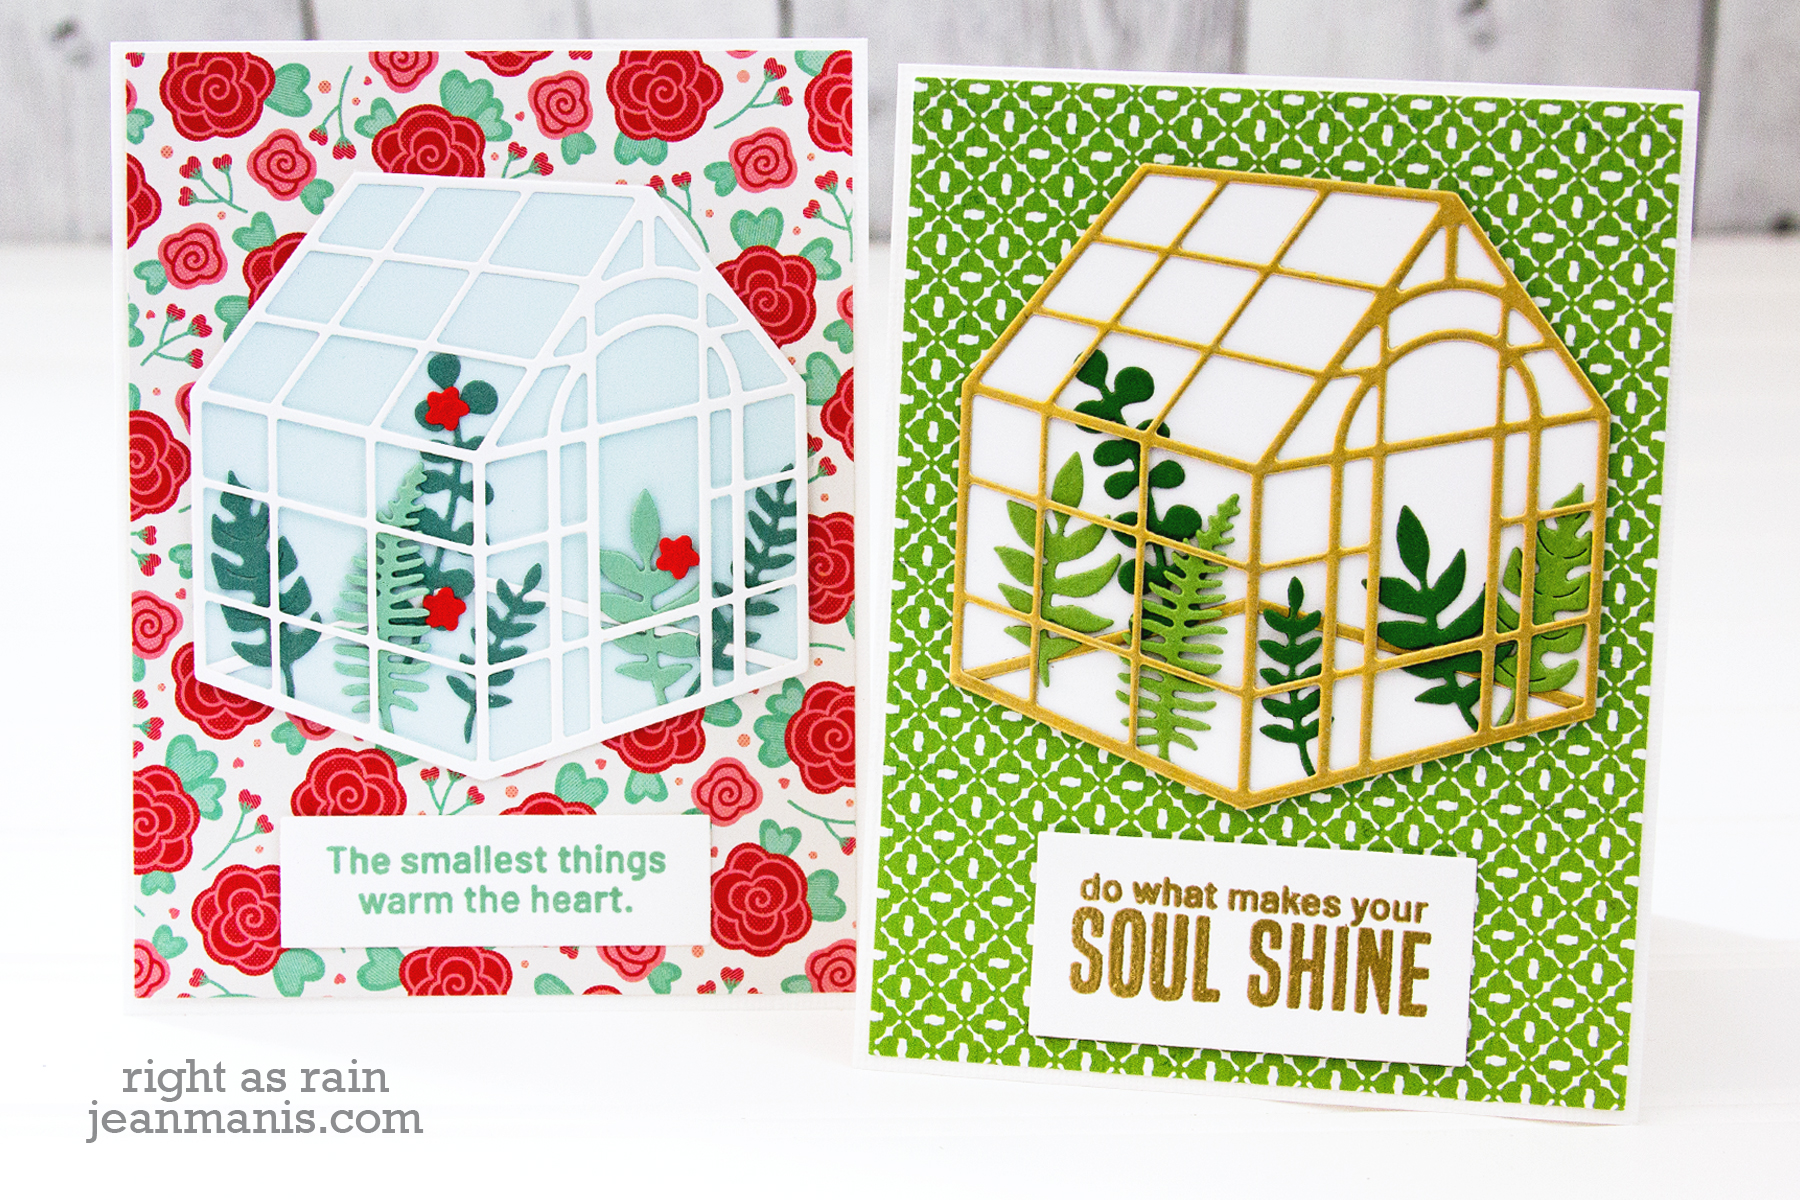
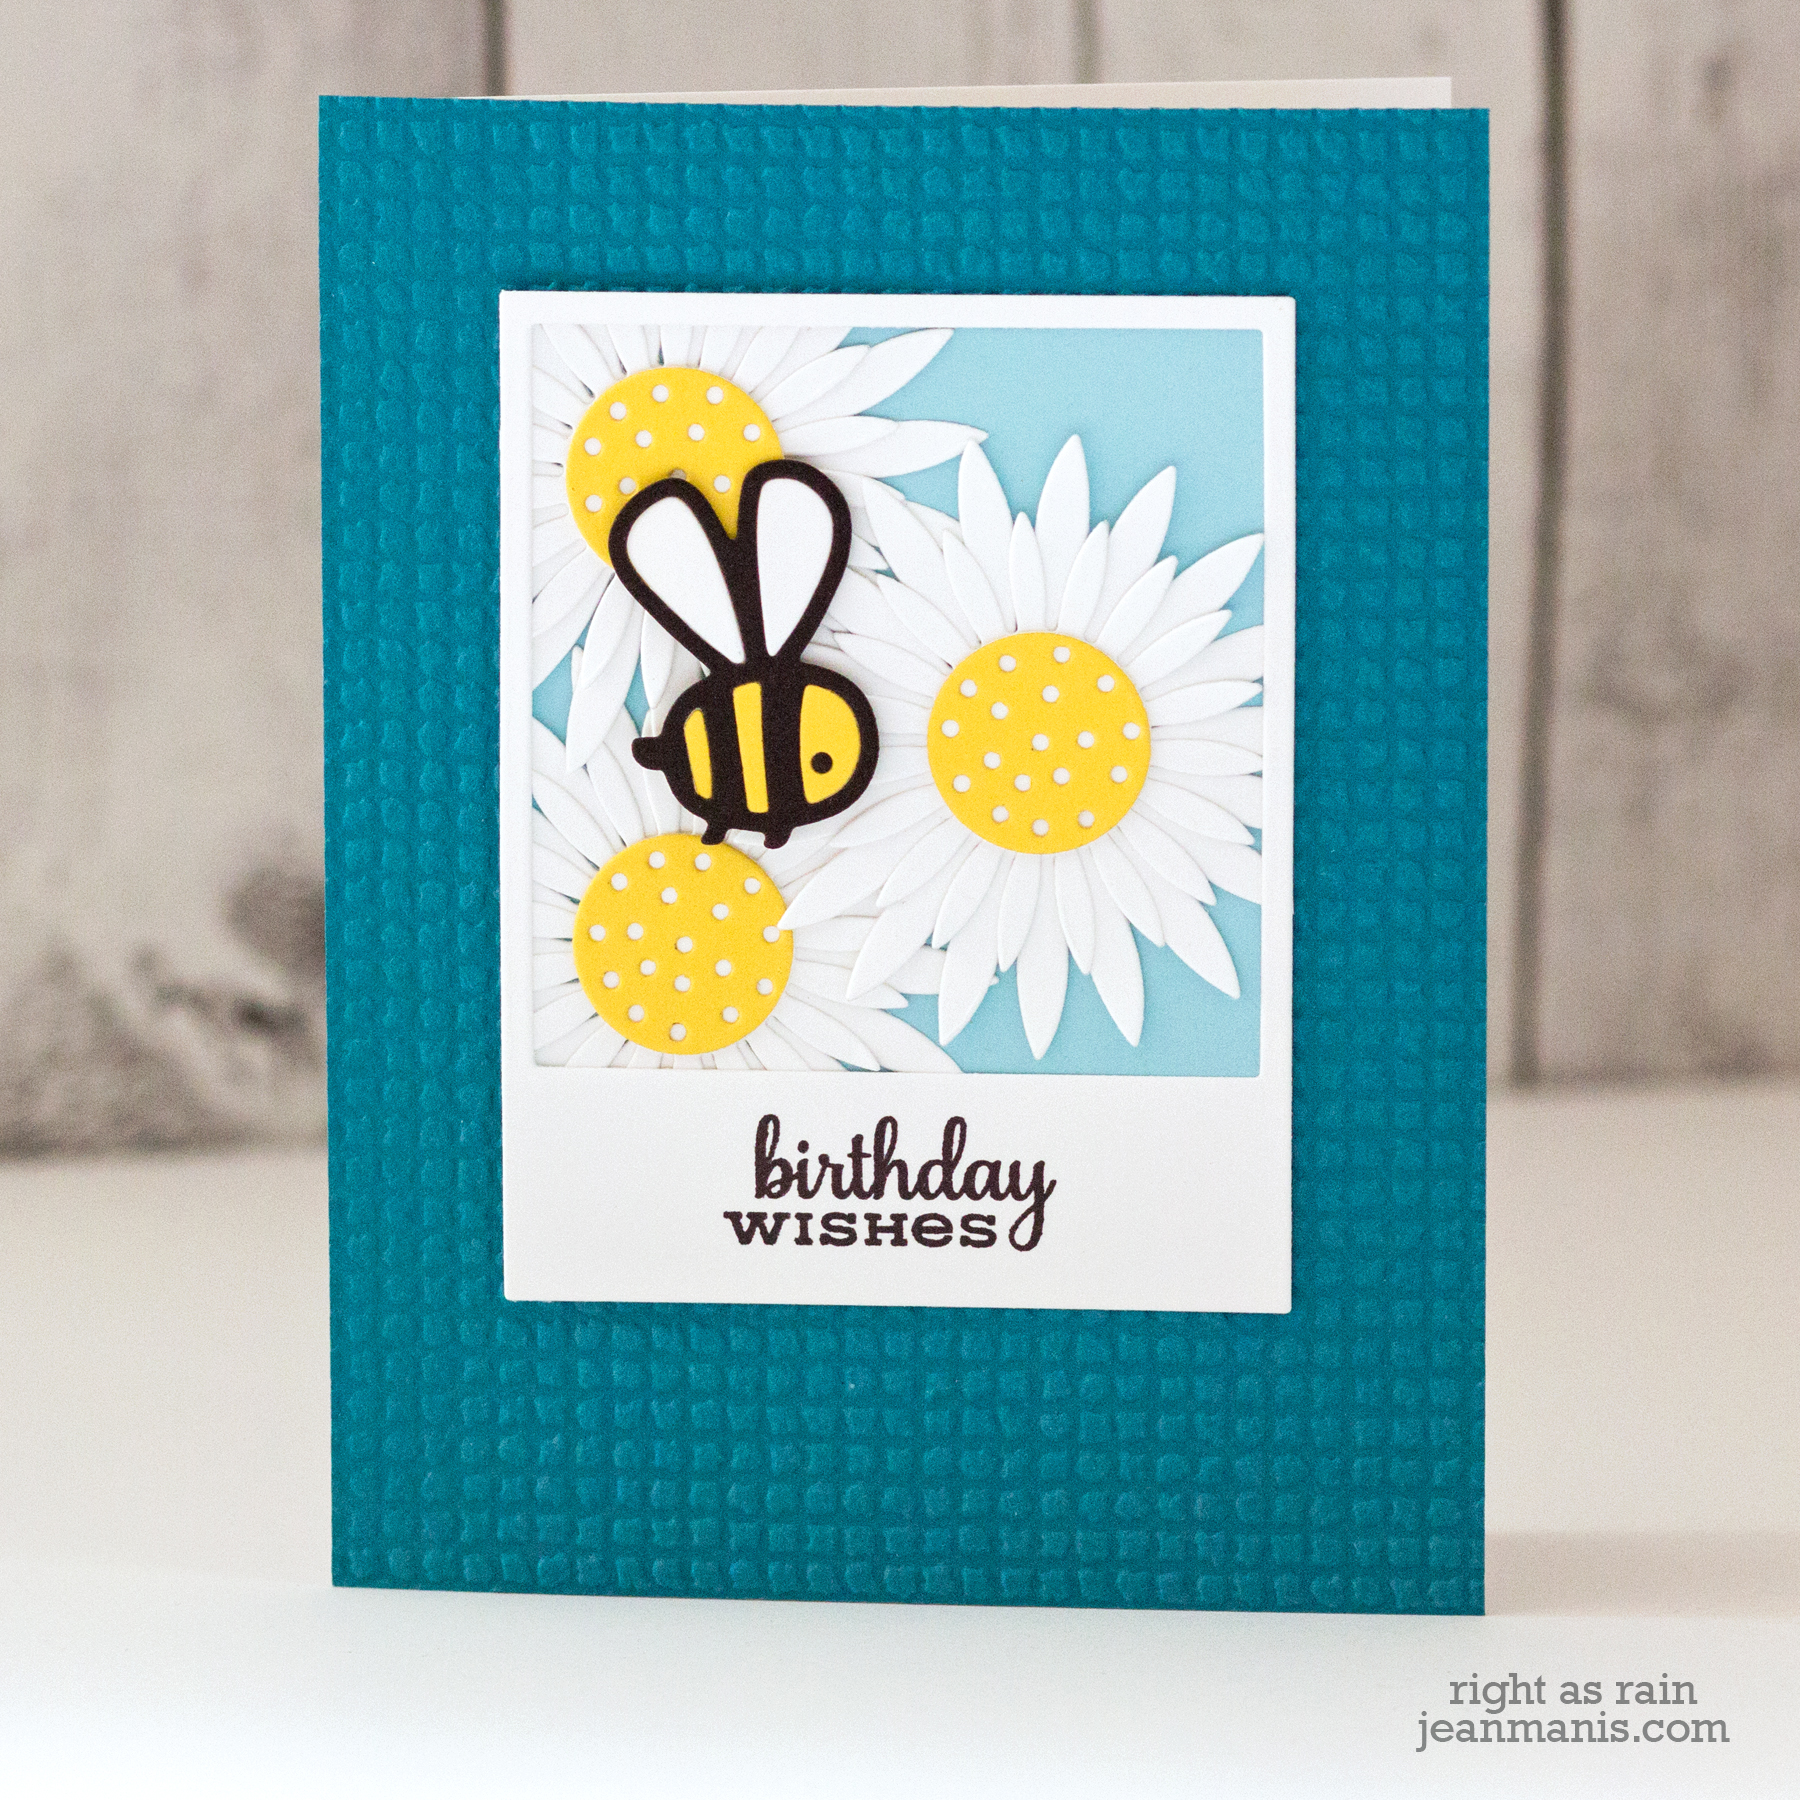
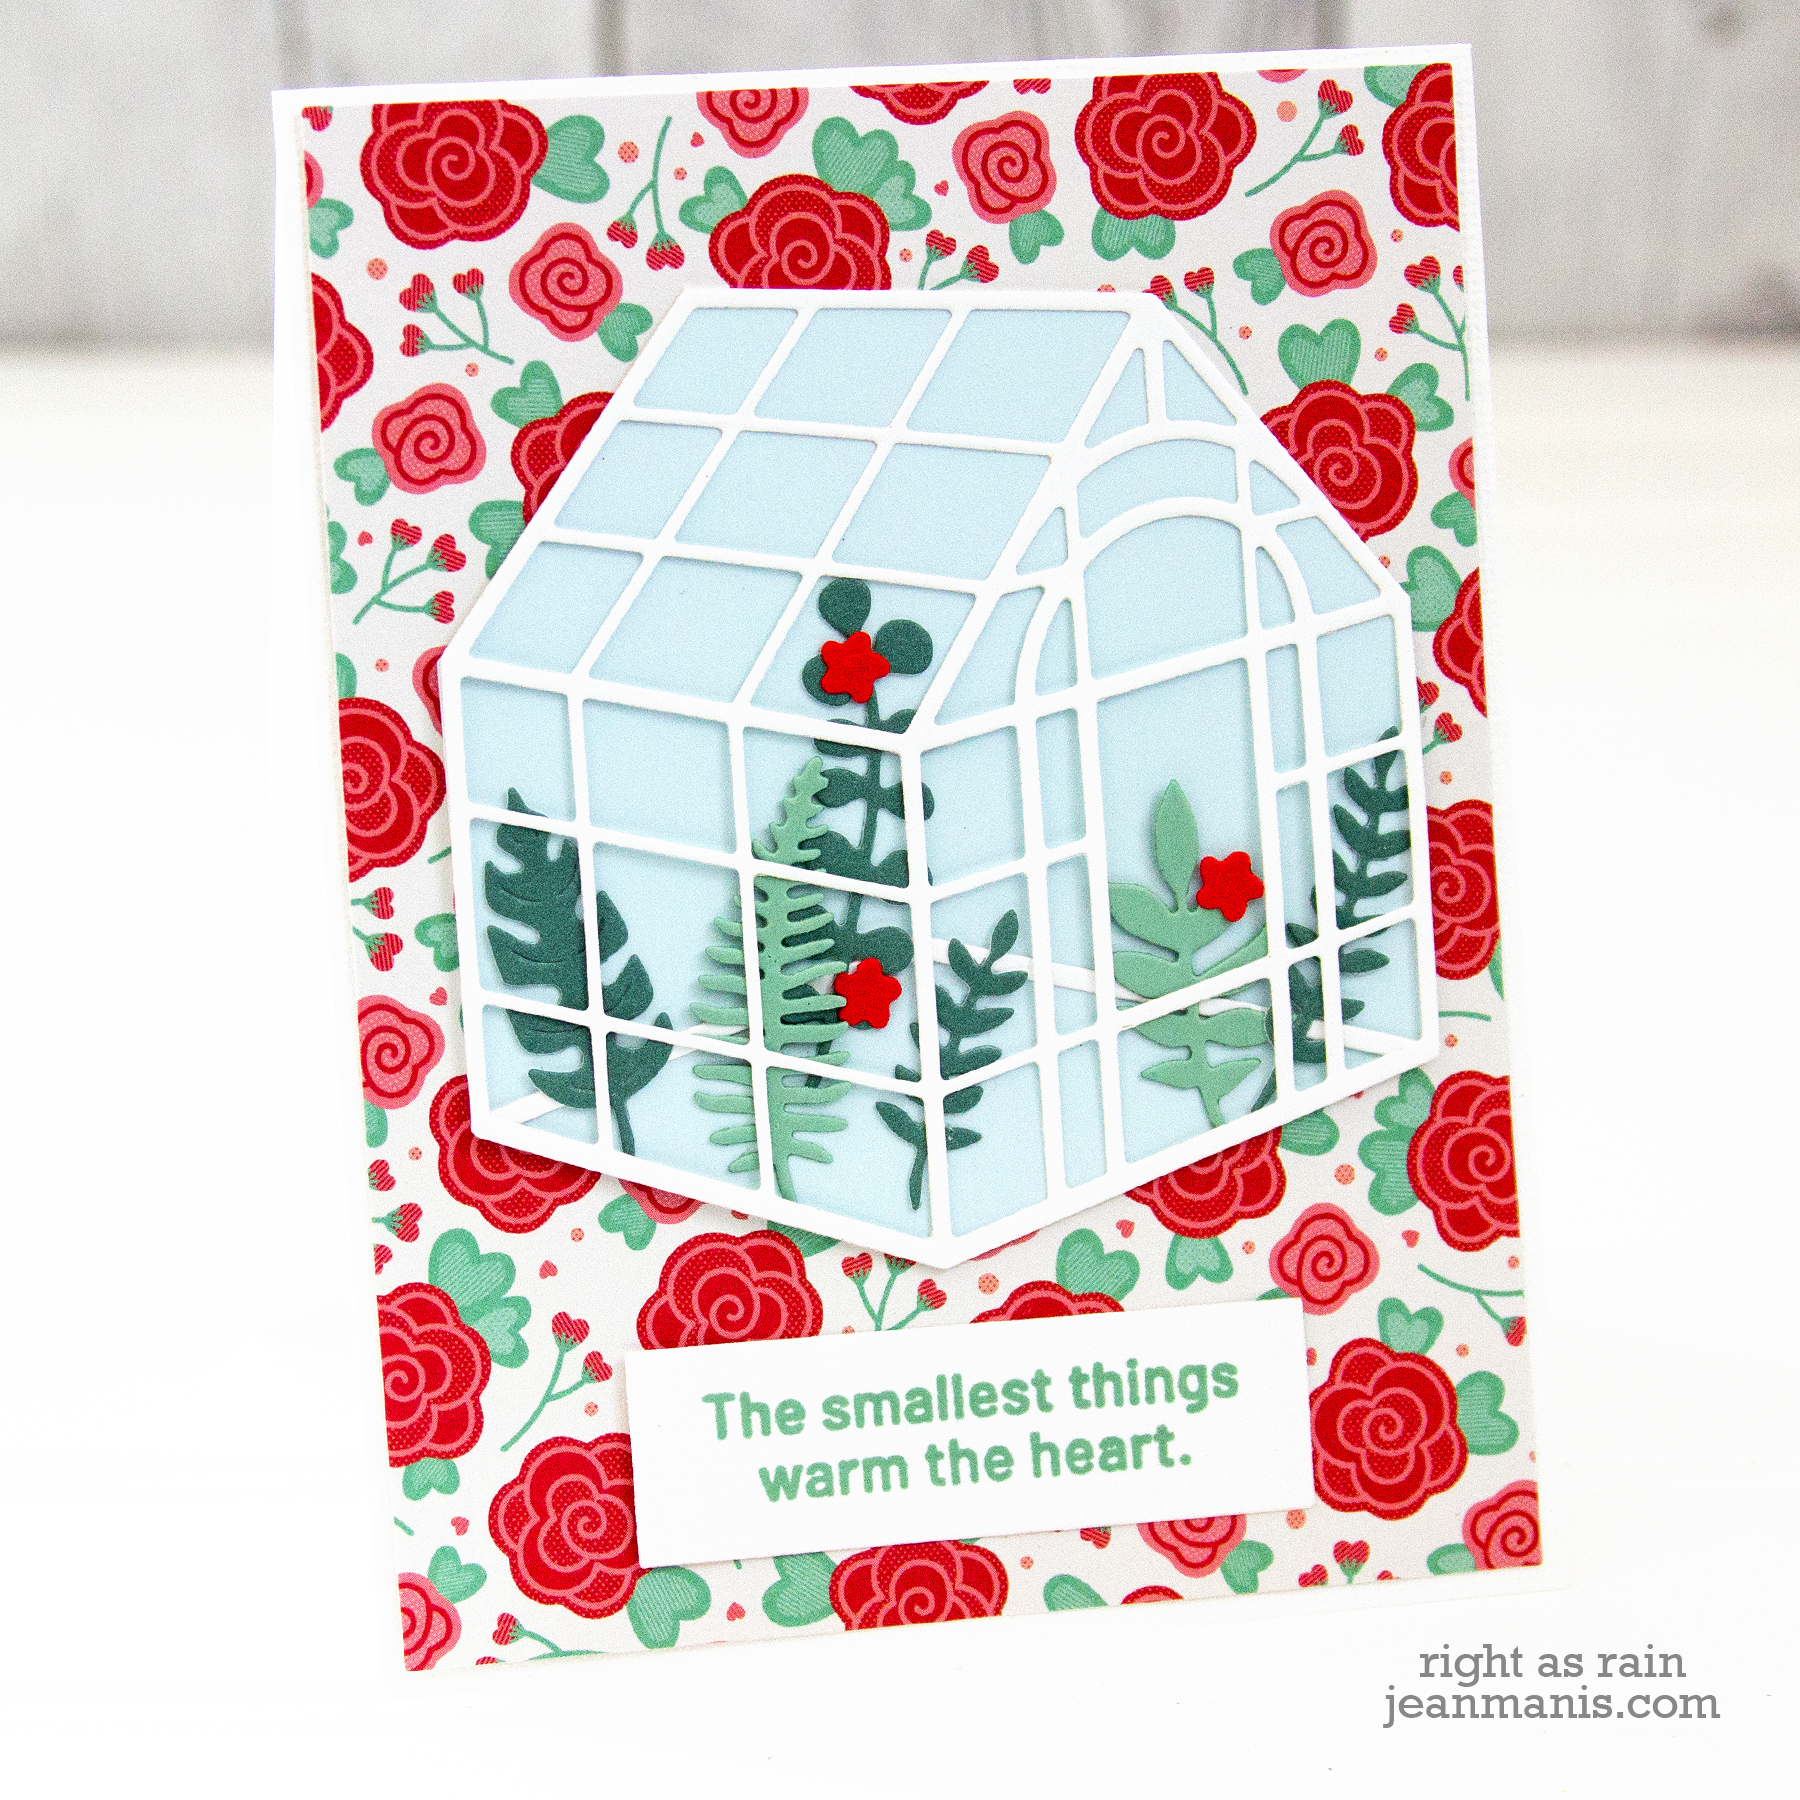
I used the same design recipe for both cards: patterned paper background, sentiment stamped on a rectangle, with the greenhouse as the focal point.

Spellbinders Botanical Greenhouse

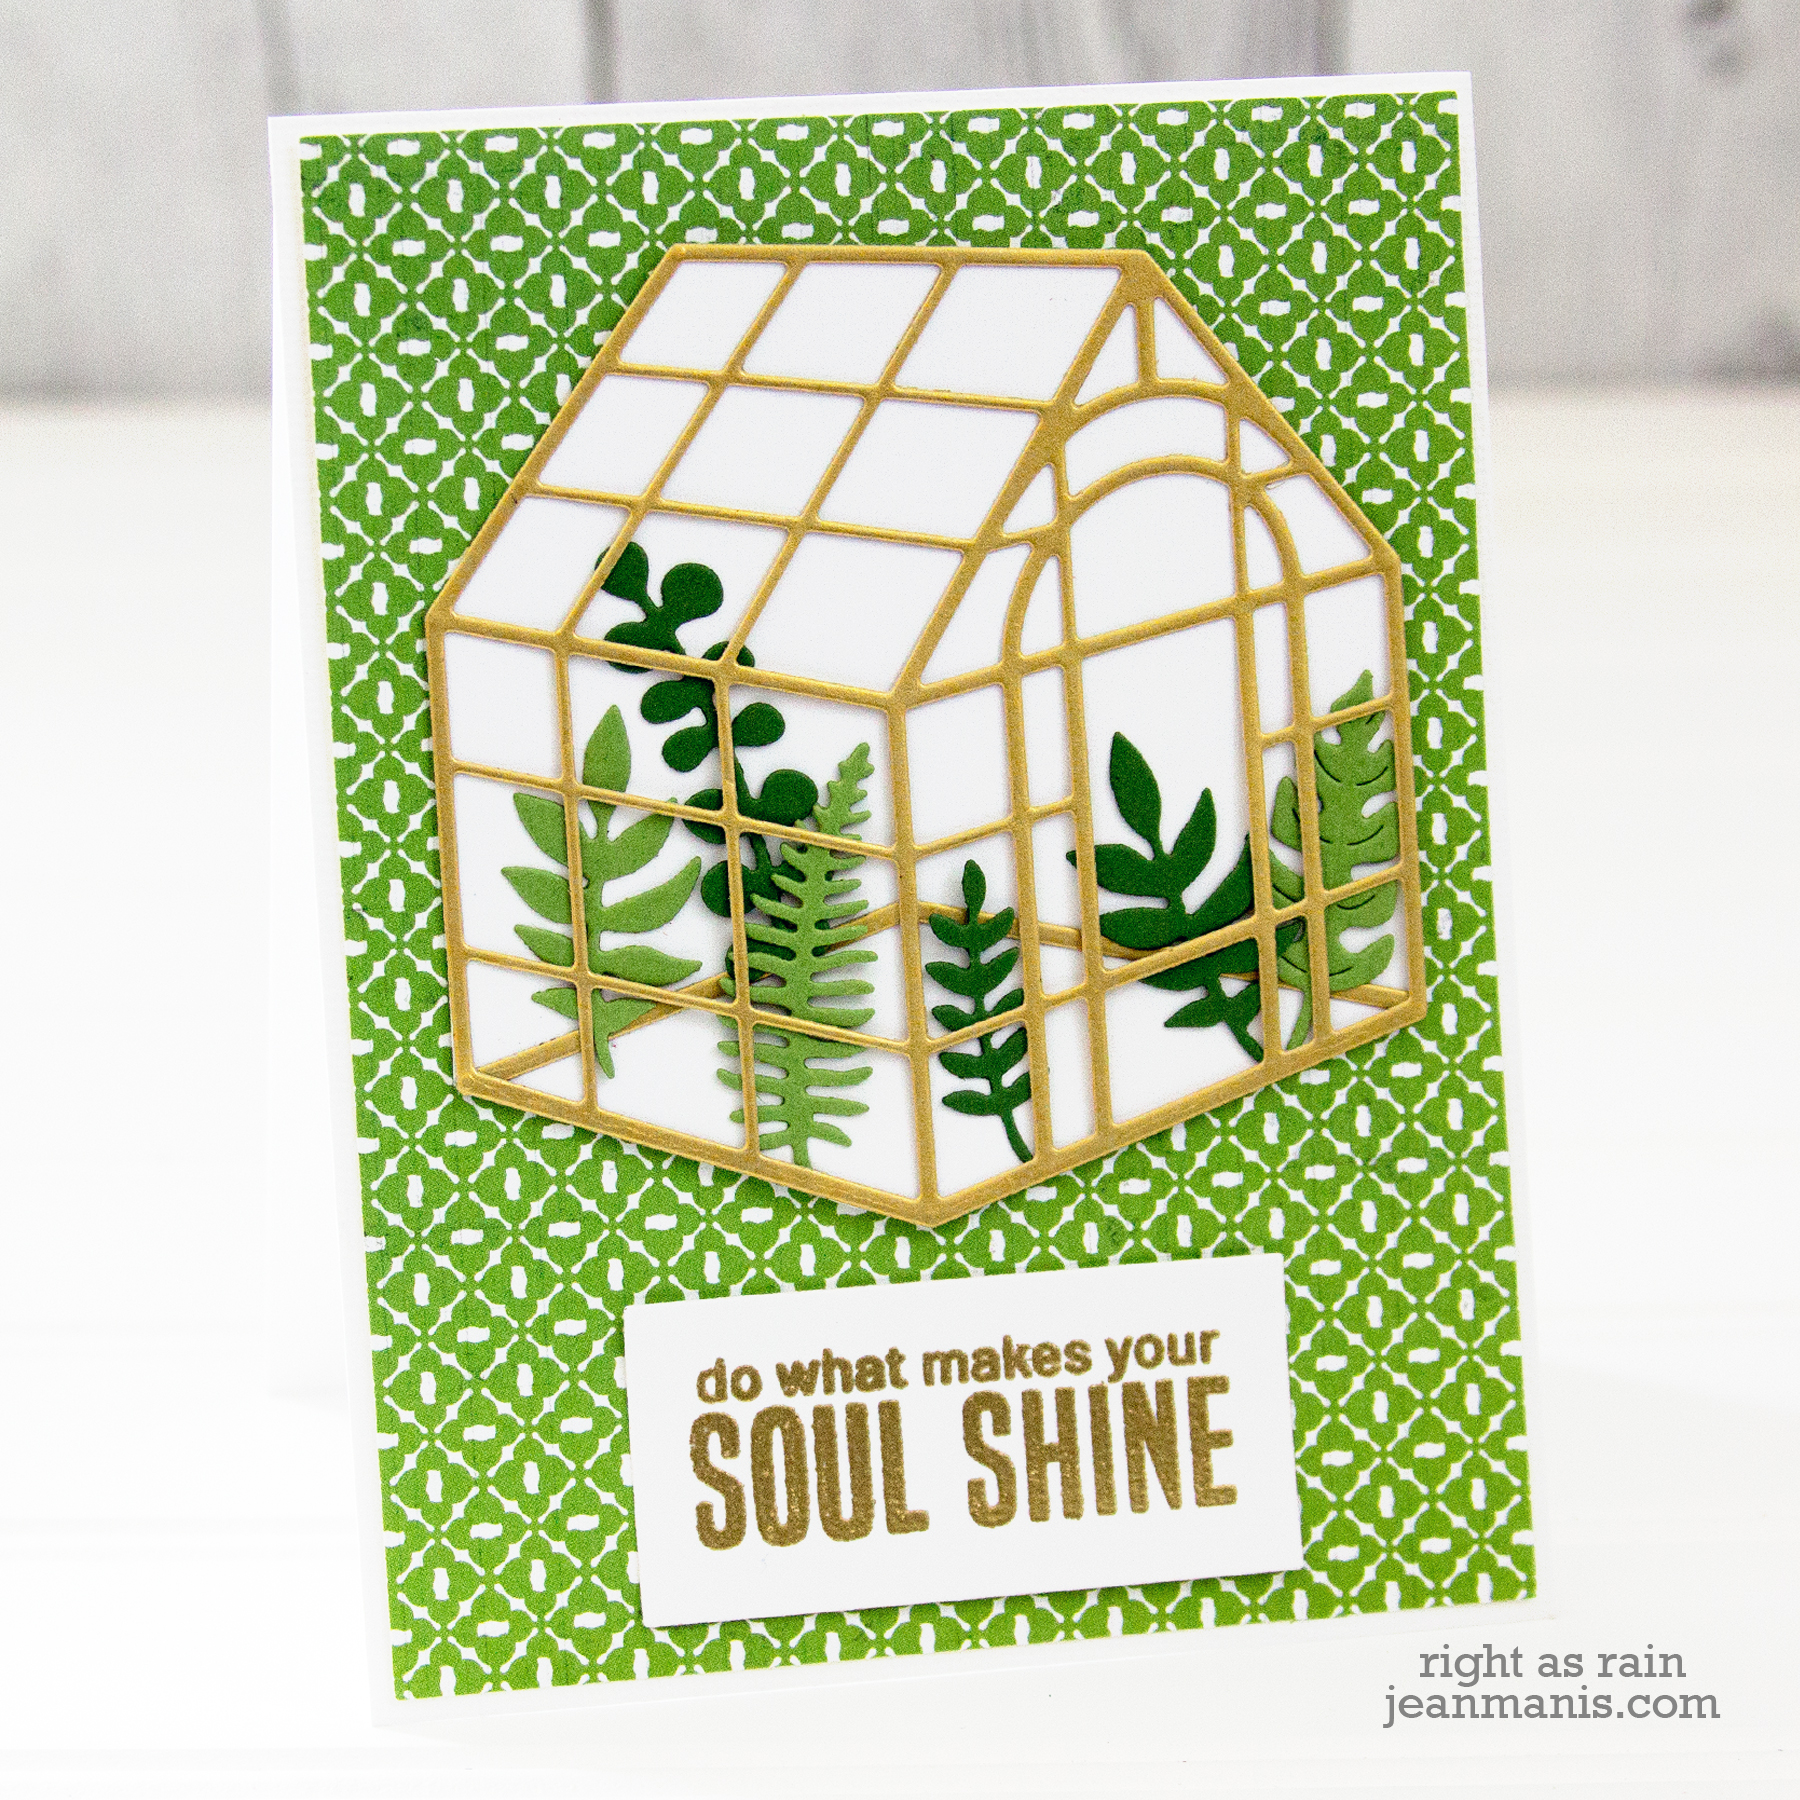
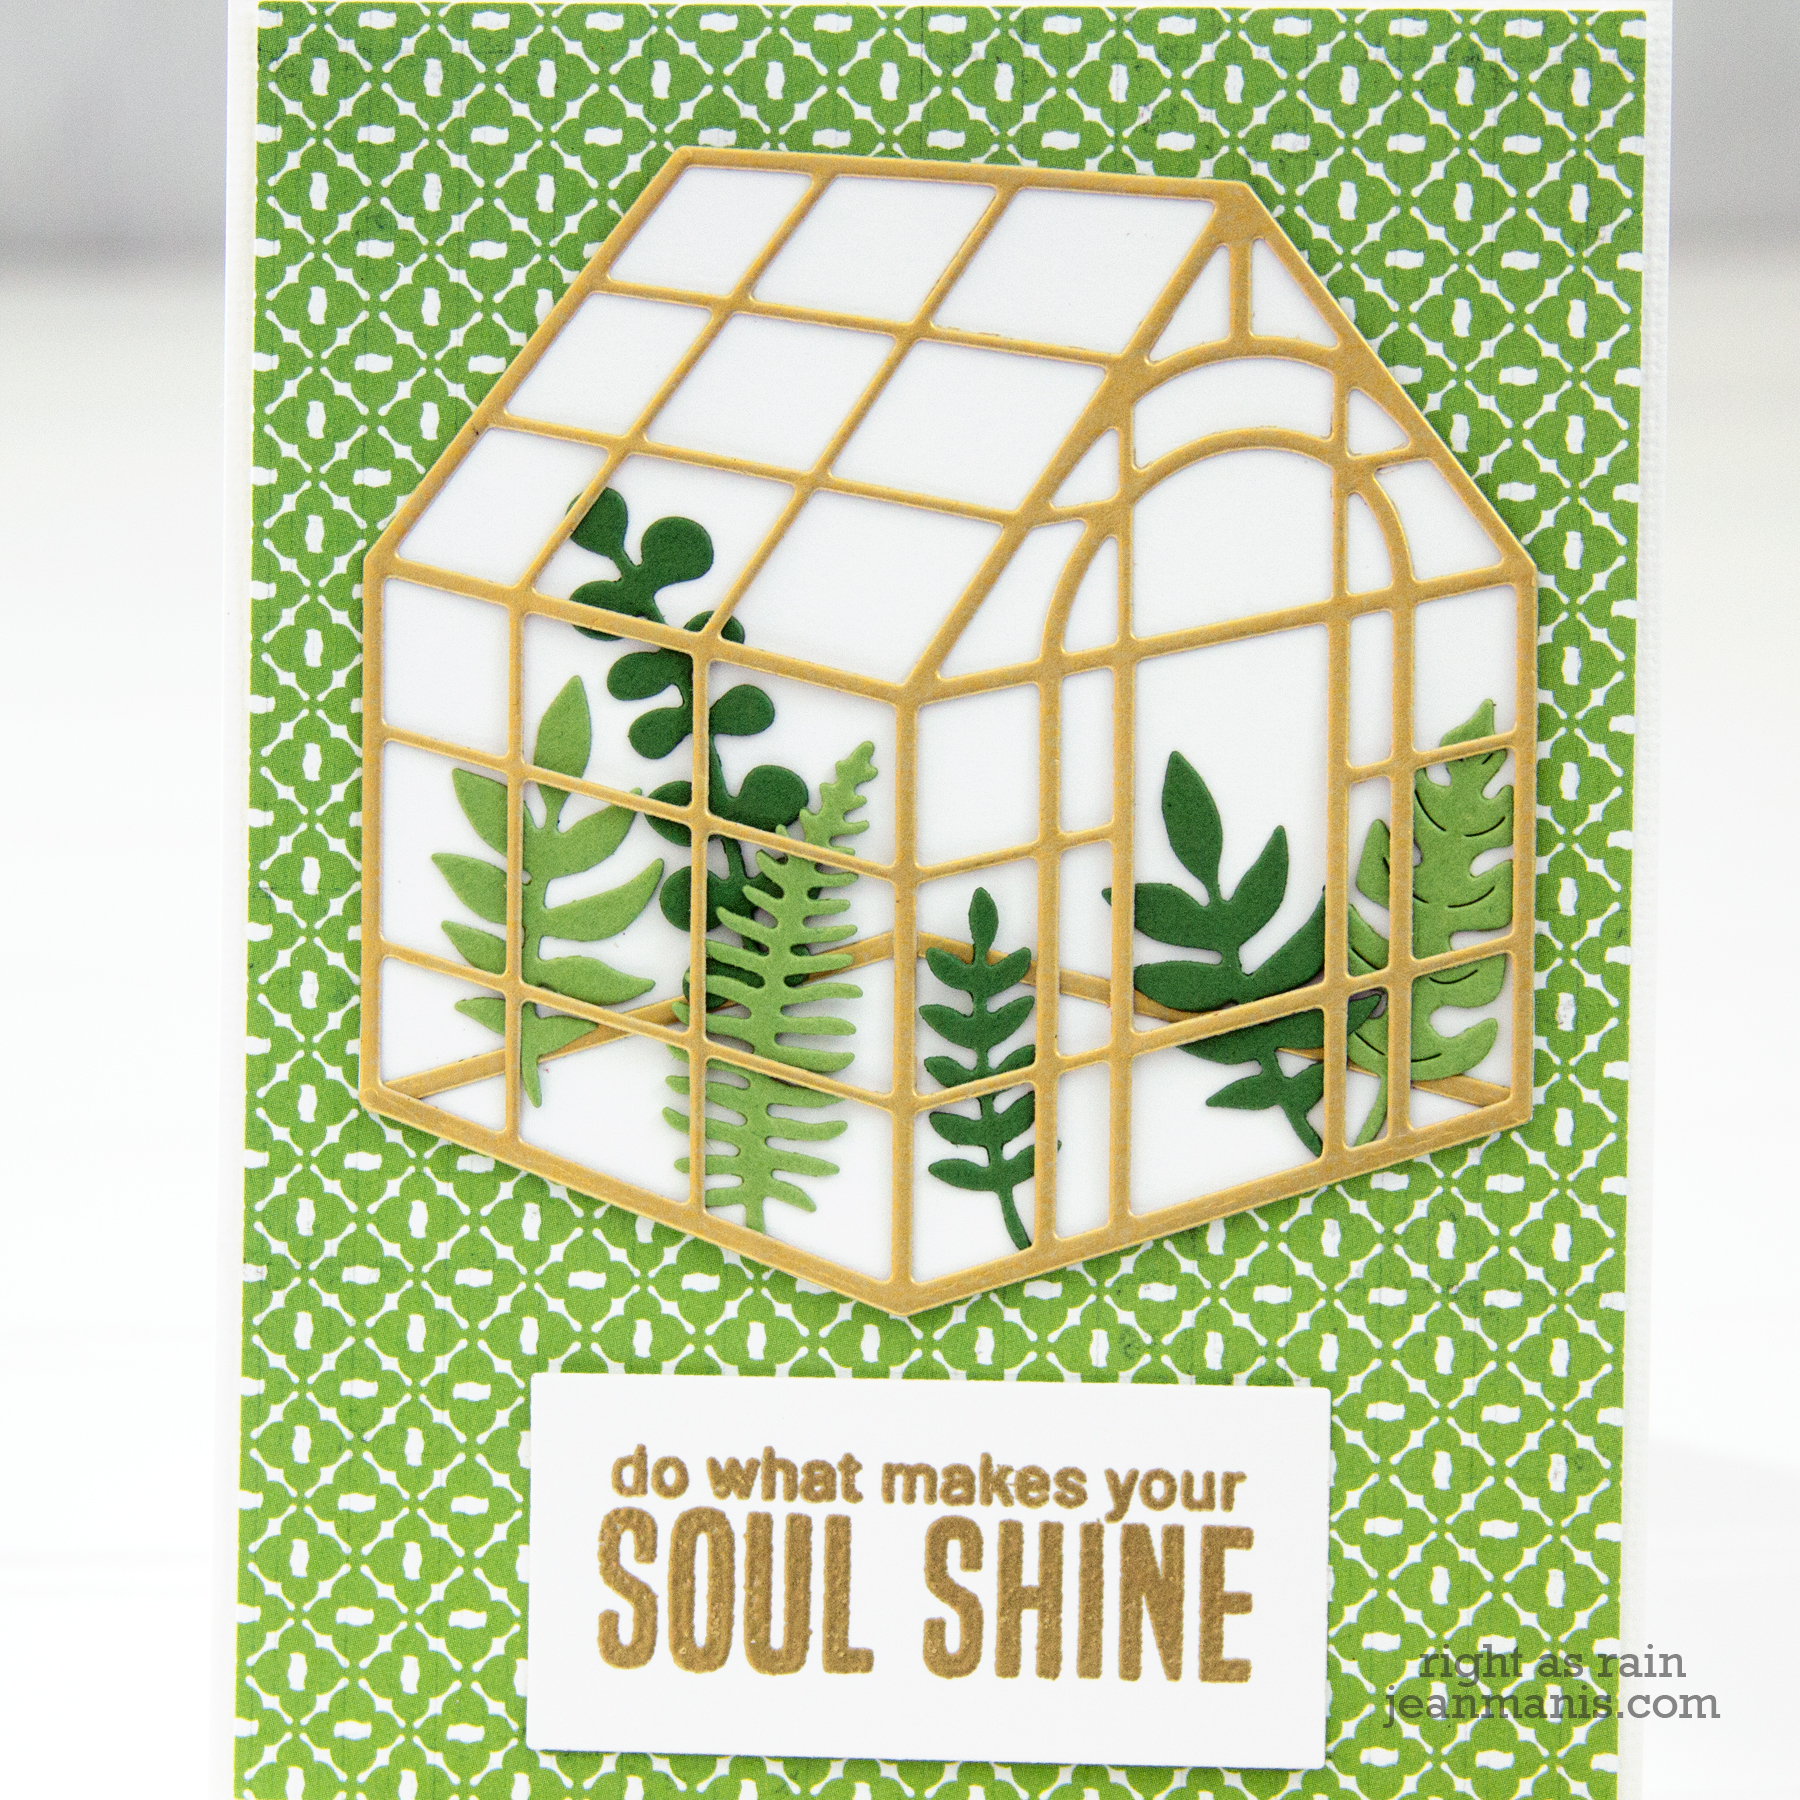
  • On the first card, I cut the greenhouse from gold cardstock.
  • I used the negative shape to cut out a piece of Whip Cream cardstock.
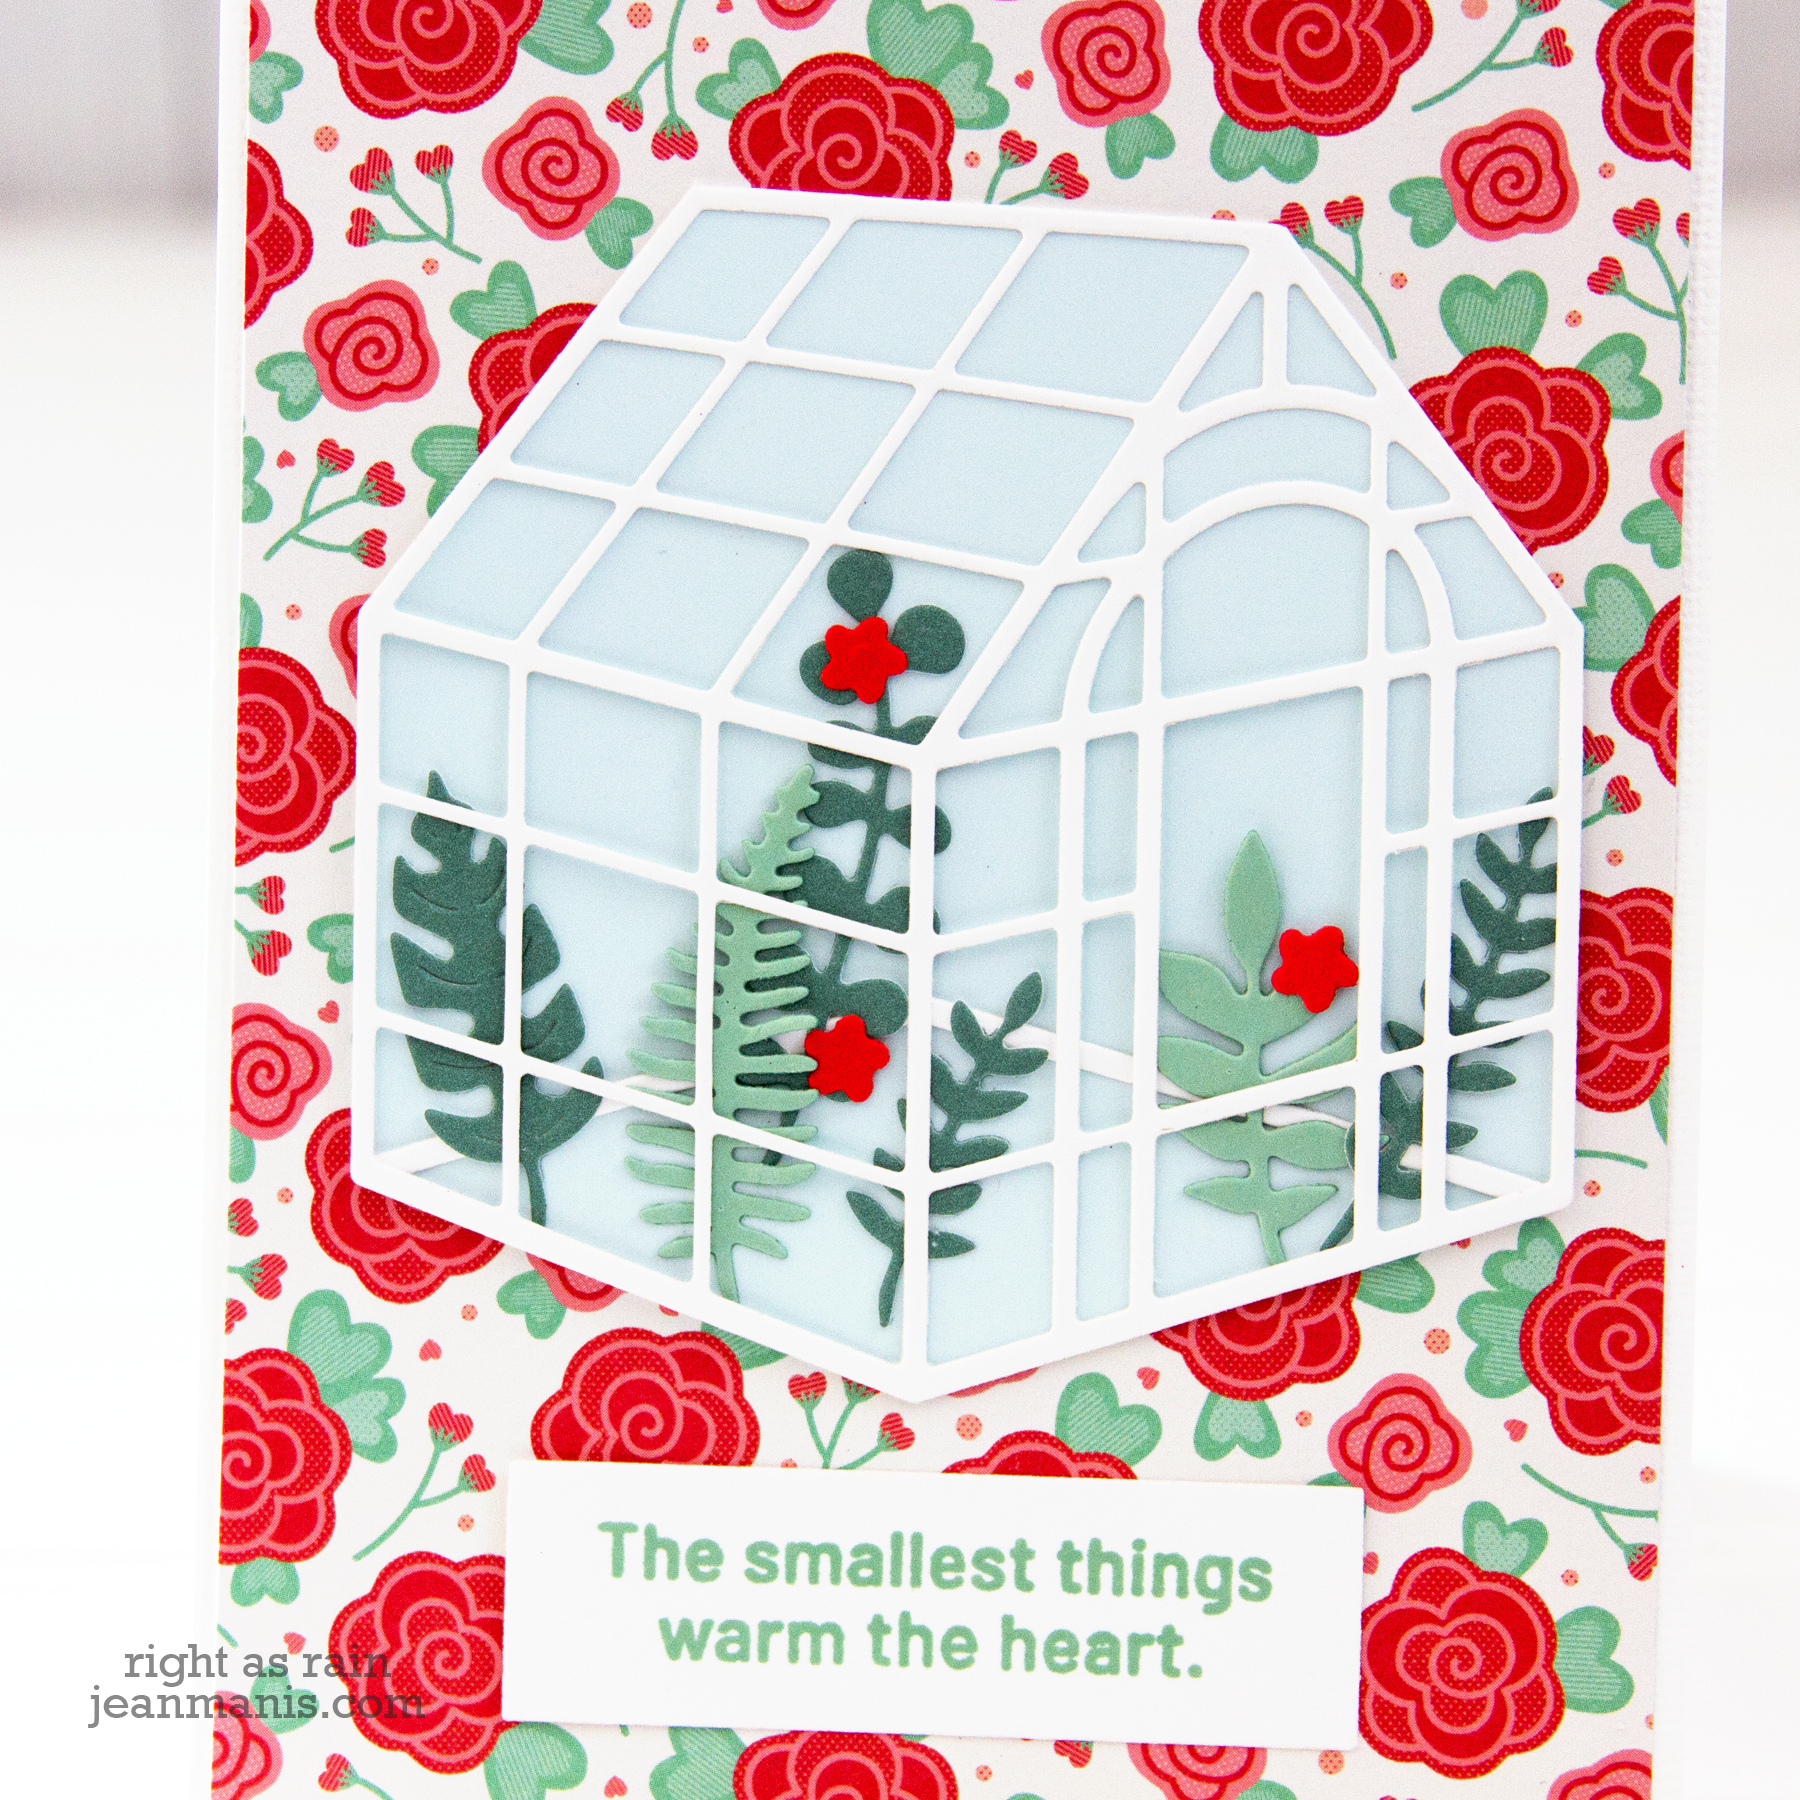
  • I cut the foliage pieces from two cardstock colors to coordinate with the patterned paper background.
  • I heat-embossed the sentiment on to a rectangular piece of cardstock.
  • I partially glued the greenhouse to the white background, placed the foliage inside the greenhouse, adhered the foliage, and adhered the rest of the greenhouse.
  • I added the assembled greenhouse and sentiment to the card base.

Spellbinders Botanical Greenhouse

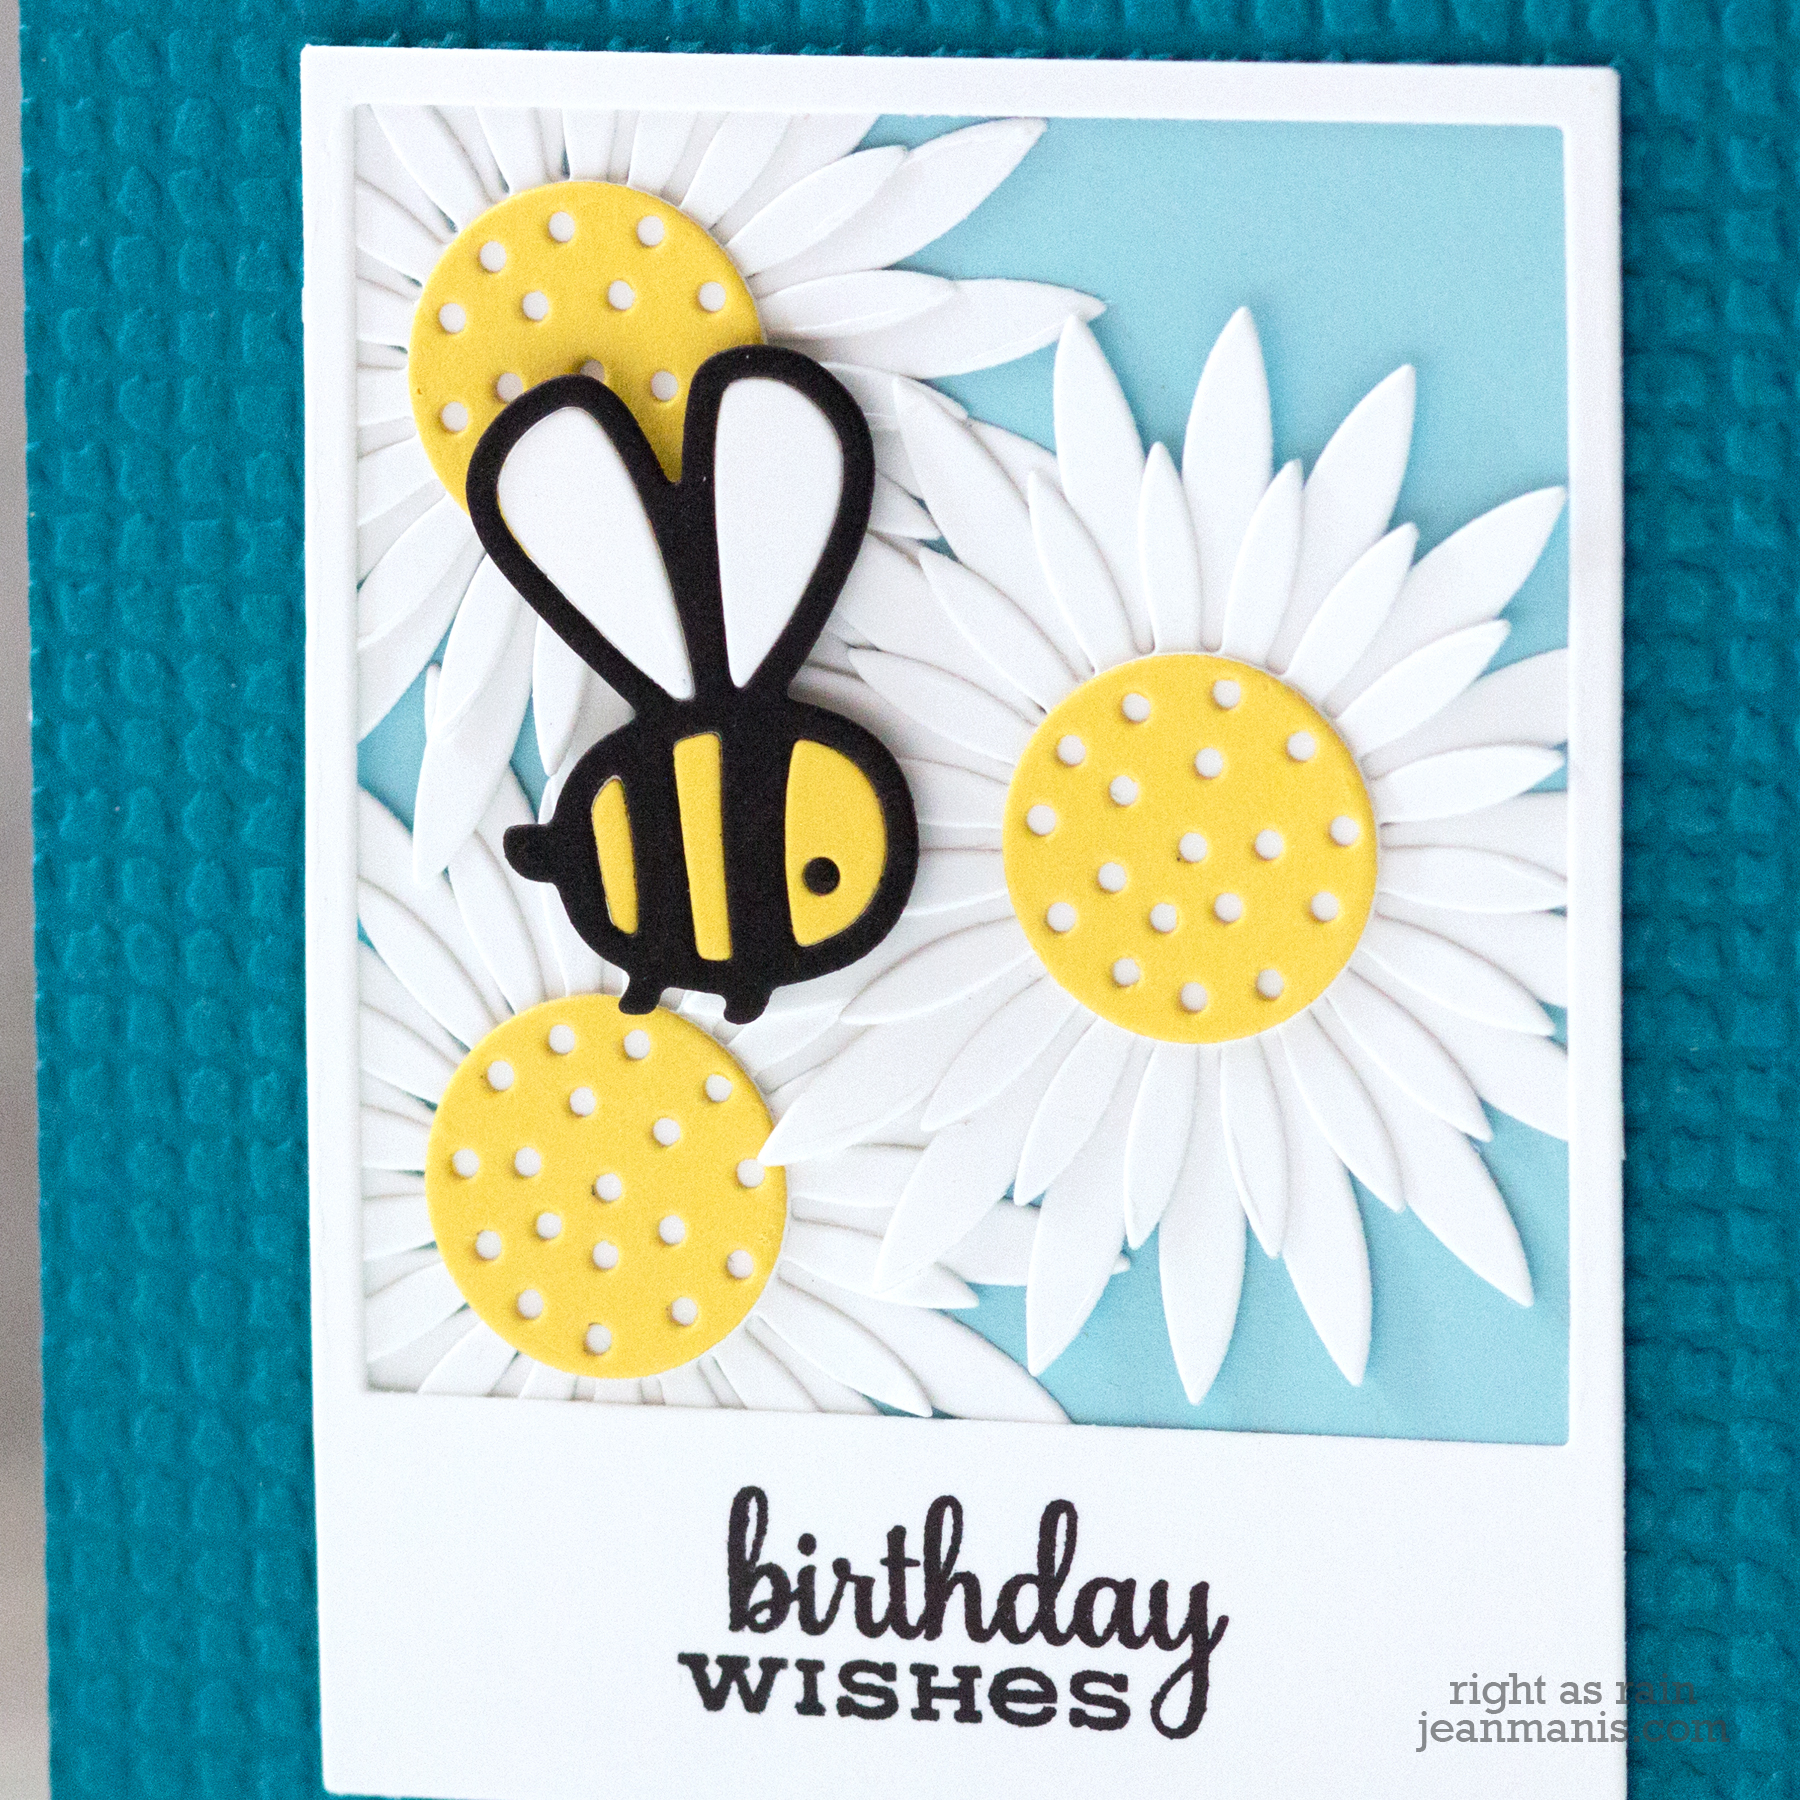
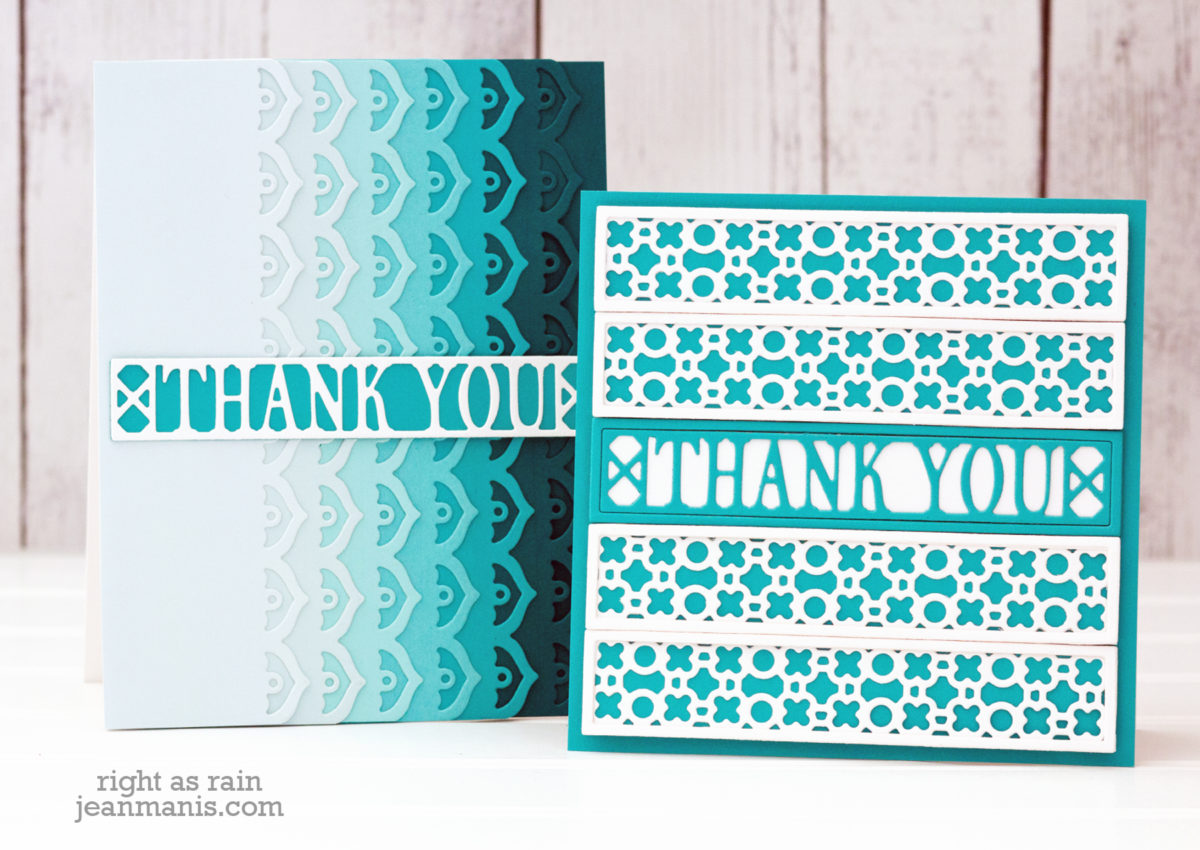
On the second card, I followed the same formula changing the colors and sentiment. Additionally, I added flowers cut with a flower die in the Hitched set to add punch and to coordinate with the background paper.

Spellbinders Botanical Greenhouse

Spellbinders Botanical Greenhouse

Hope you have an uplifting day!
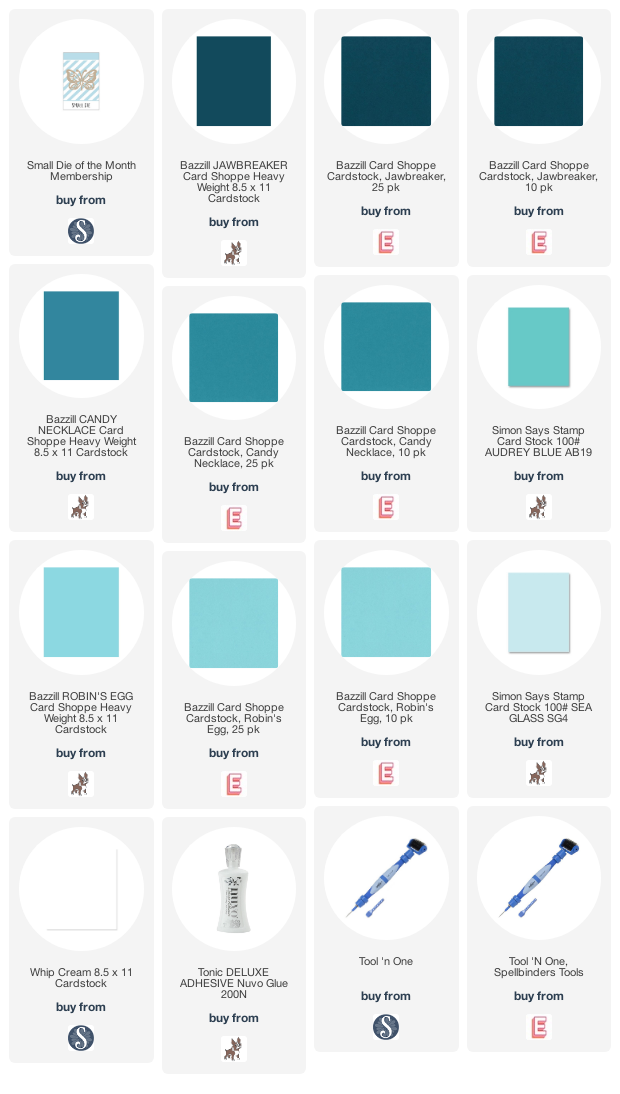
Supplies:

Spellbinders May 2020 Small Die of the Month – Stacked Decorative Edges

Hello and Happy May!  Today I am sharing two CAS “Thank You” cards created with the May Small Die of the Month kit from Spellbinders – “Stacked Decorative Edges.”Spellbinders May 2020 Small Die of the Month - Stacked Decorative Edges

Spellbinders May 2020 Small Die of the Month - Stacked Decorative Edges

  • For the first card, I cut Whip Cream cardstock with one of the detailed dies which I refer to as latticework. The detail die does not cut an edge.
  • I used the Thank You die to cut four frame pieces, twice per panel for extra depth. I trimmed the latticework strip and framed it with the border piece. I repeated this four times.
  • I used the Thank You die to cut the sentiment, which I framed in the same manner as the latticework strips. The five strips formed a 4 1/4″ square which I added to a 4 1/2″ card base.

Spellbinders May 2020 Small Die of the Month - Stacked Decorative Edges

On the second card I used one of the set’s edge borders to cut cardstock from six different shades of blue-green. This just happens to be the cardstock color of which I have this many shades.

Spellbinders May 2020 Small Die of the Month - Stacked Decorative Edges

  • After cutting the six cardstock colors with the edge border die, I trimmed the panels and adhered them together on a base in the darkest shade.
  • I cut the Thank You from Whip Cream cardstock and backed it with cardstock in the next-to-darkest shade and adhered it to the card front.

There are dozens of ways to use the dies in the set to create elegant CAS cards.

Supplies:

Penny Black Wings and Vases

Hello! Today I am sharing a CAS friendship card created with Penny Black supplies.

Penny Black Wings and Vases

  • I stamped the 30-704 Wings and Vases image and colored it with Copic markers and colored pencils.
  • I cut the image with its corresponding die set.
  • I stamped the 30-700 Carefree Wishes sentiment on to a white cardstock panel.
  • I added light blue ink to the panel in the area where the vase of flowers would be placed.
  • I cut two butterflies from white cardstock using a die in the 51-610 Hydrangea set.
  • I added the flowers and vase as well as the butterflies to the panel with foam adhesive.
  • I added the assembly to a dry-embossed cardstock base.

Penny Black Wings and Vases

Supplies: