Paper Smooches – February LOVE Challenge

Hello! Today I am sharing a card which I’m entering into the Paper Smooches LOVE Challenge.

Paper Smooches - February LOVE Challenge

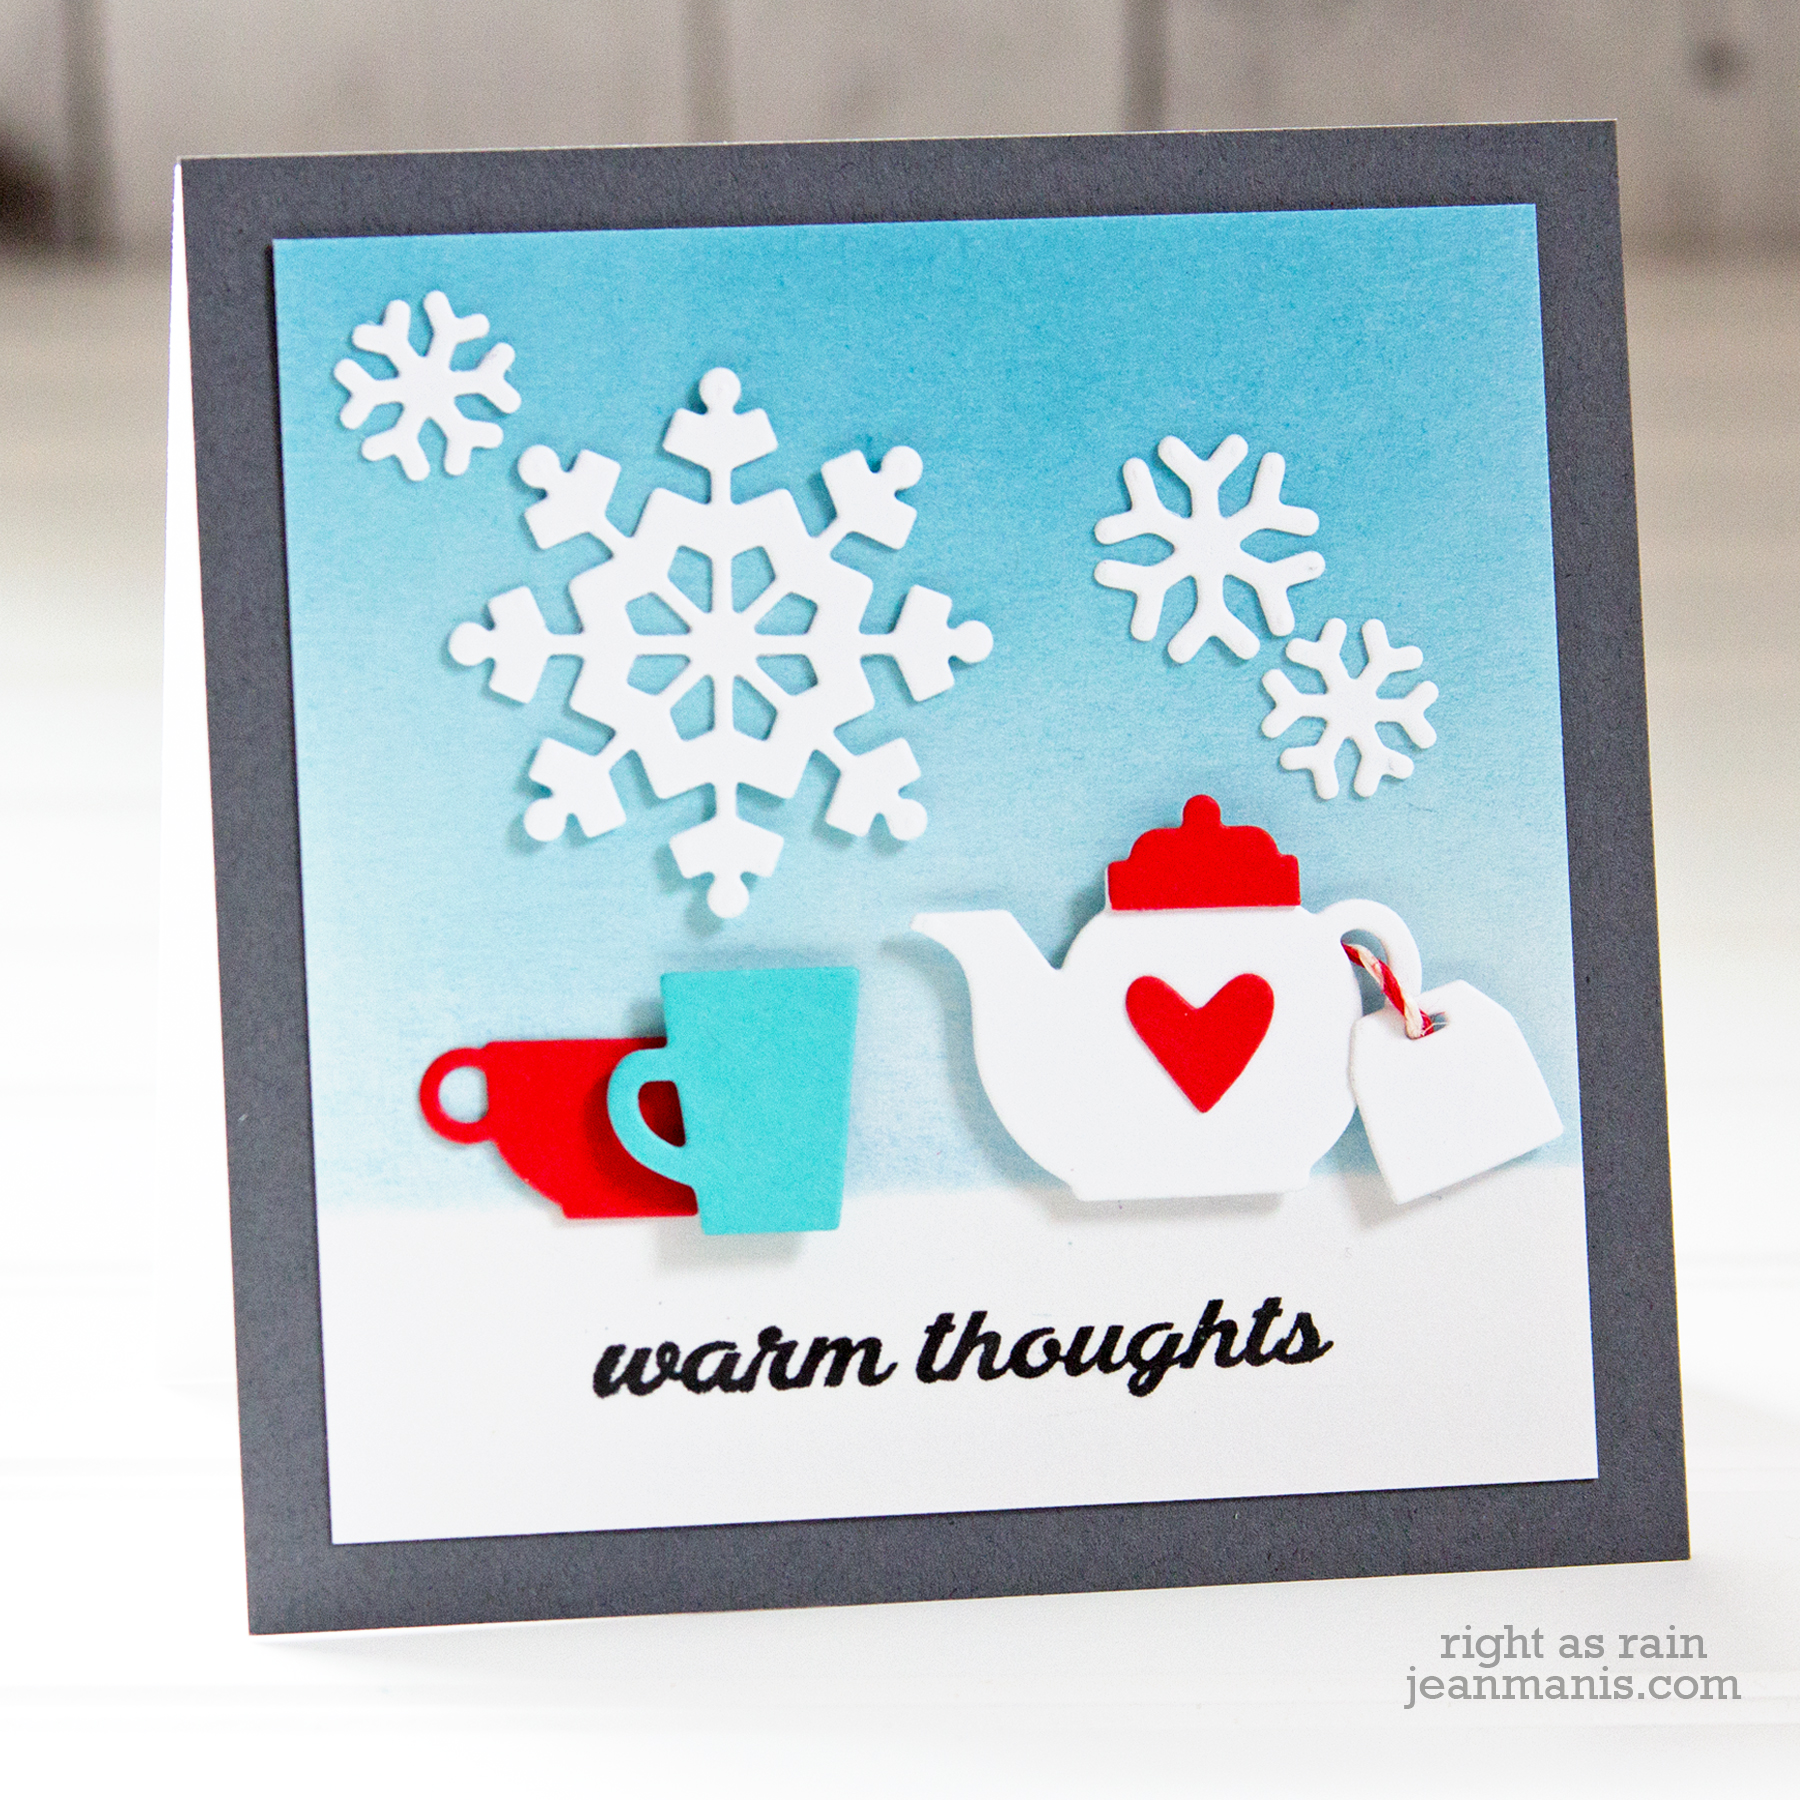
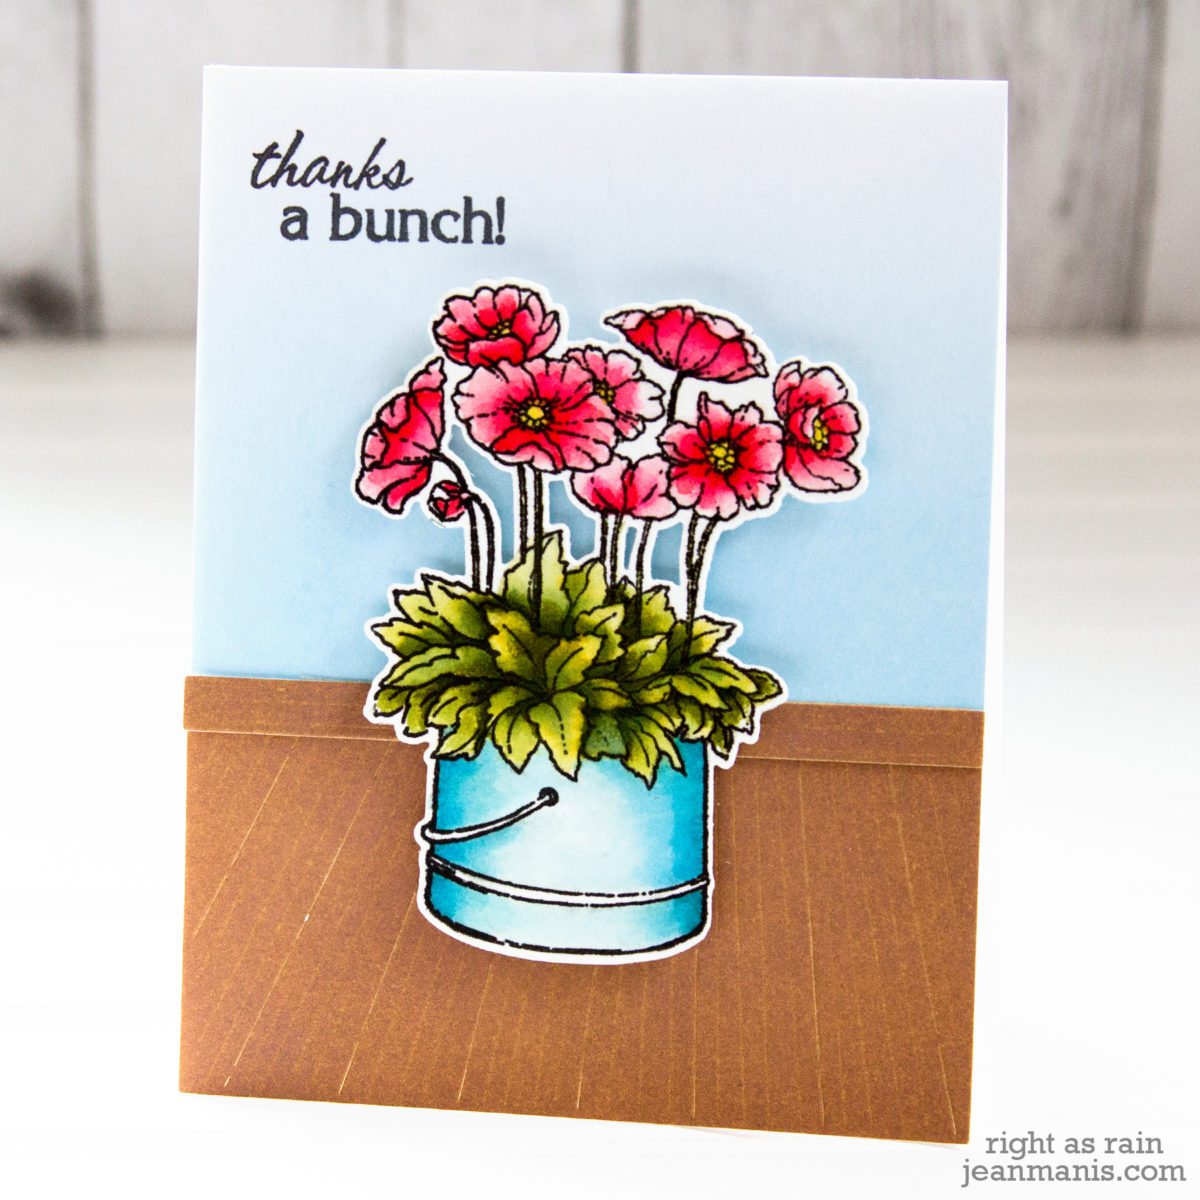
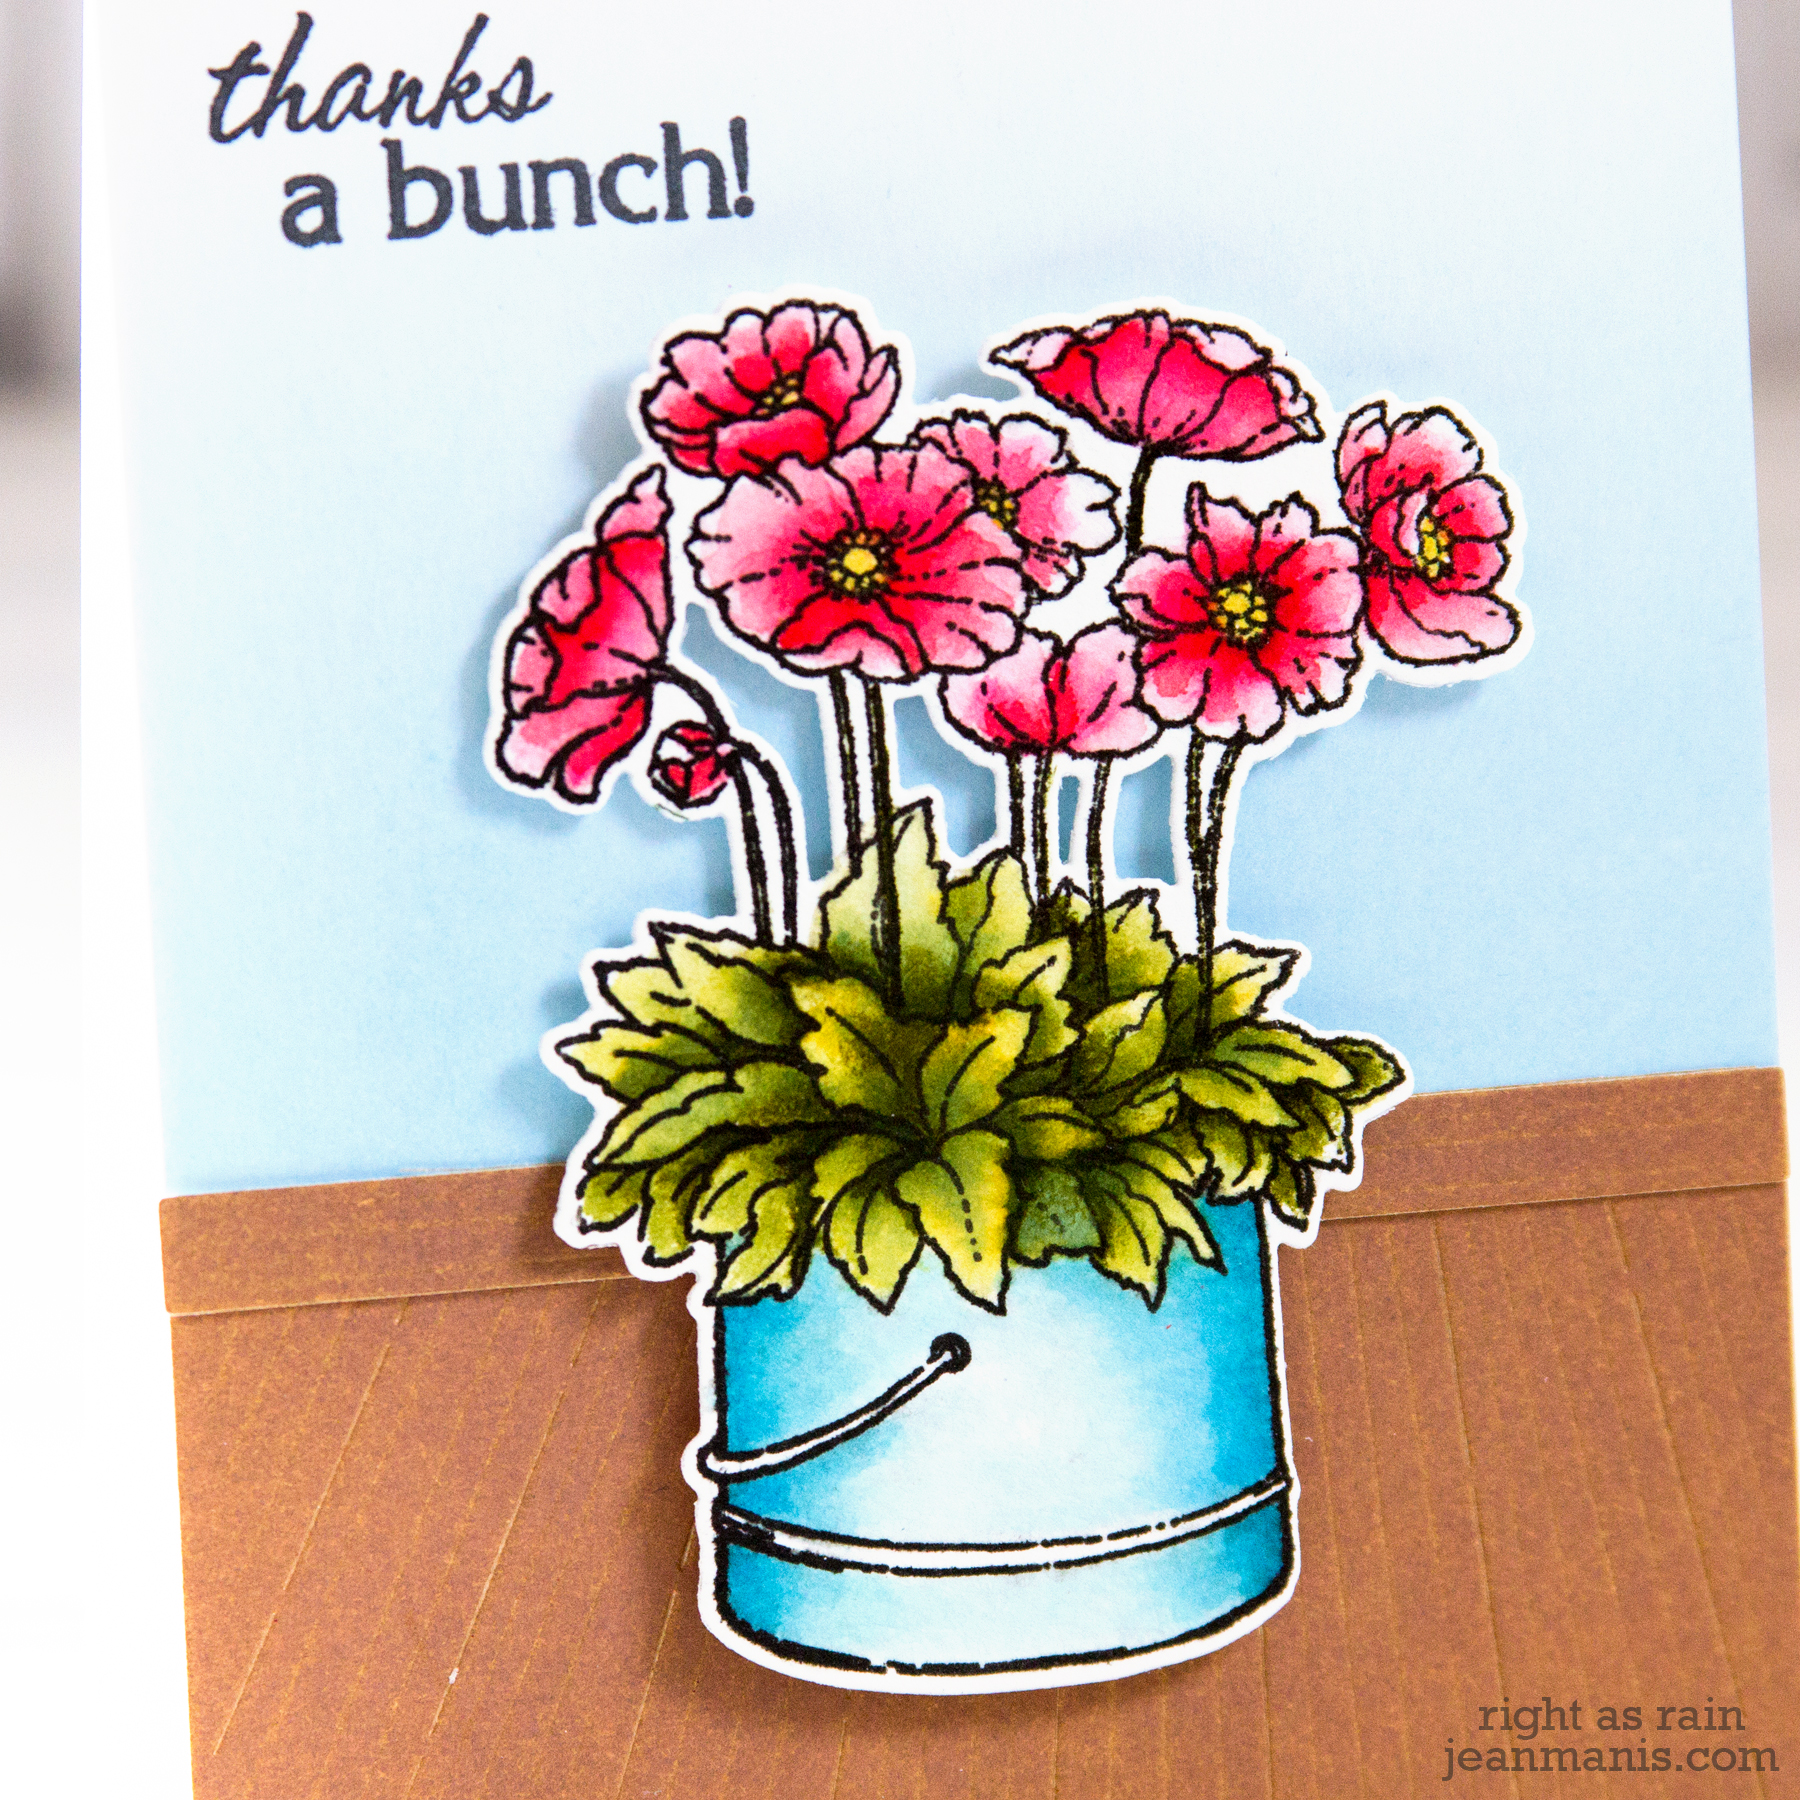
  • I’m going to start with what I like most about this card – it expresses love without being a traditional, romantic Valentine.
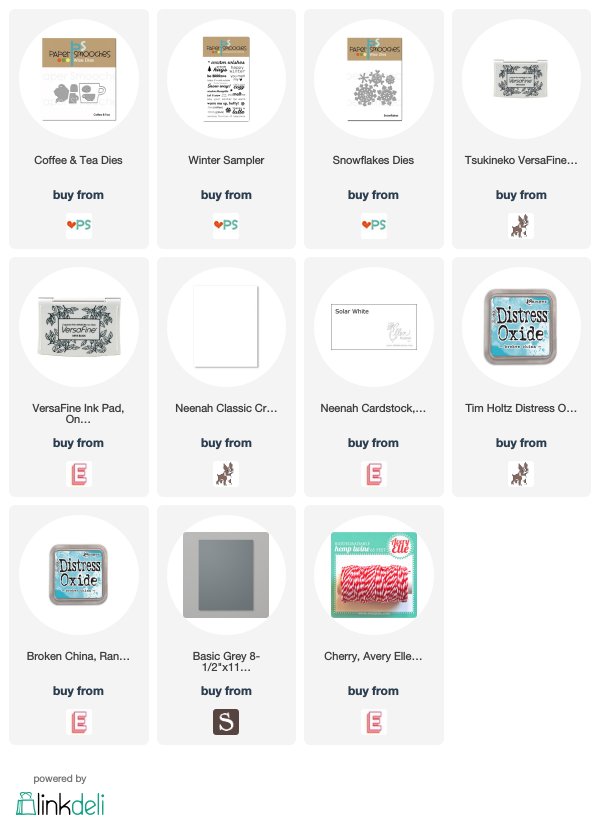
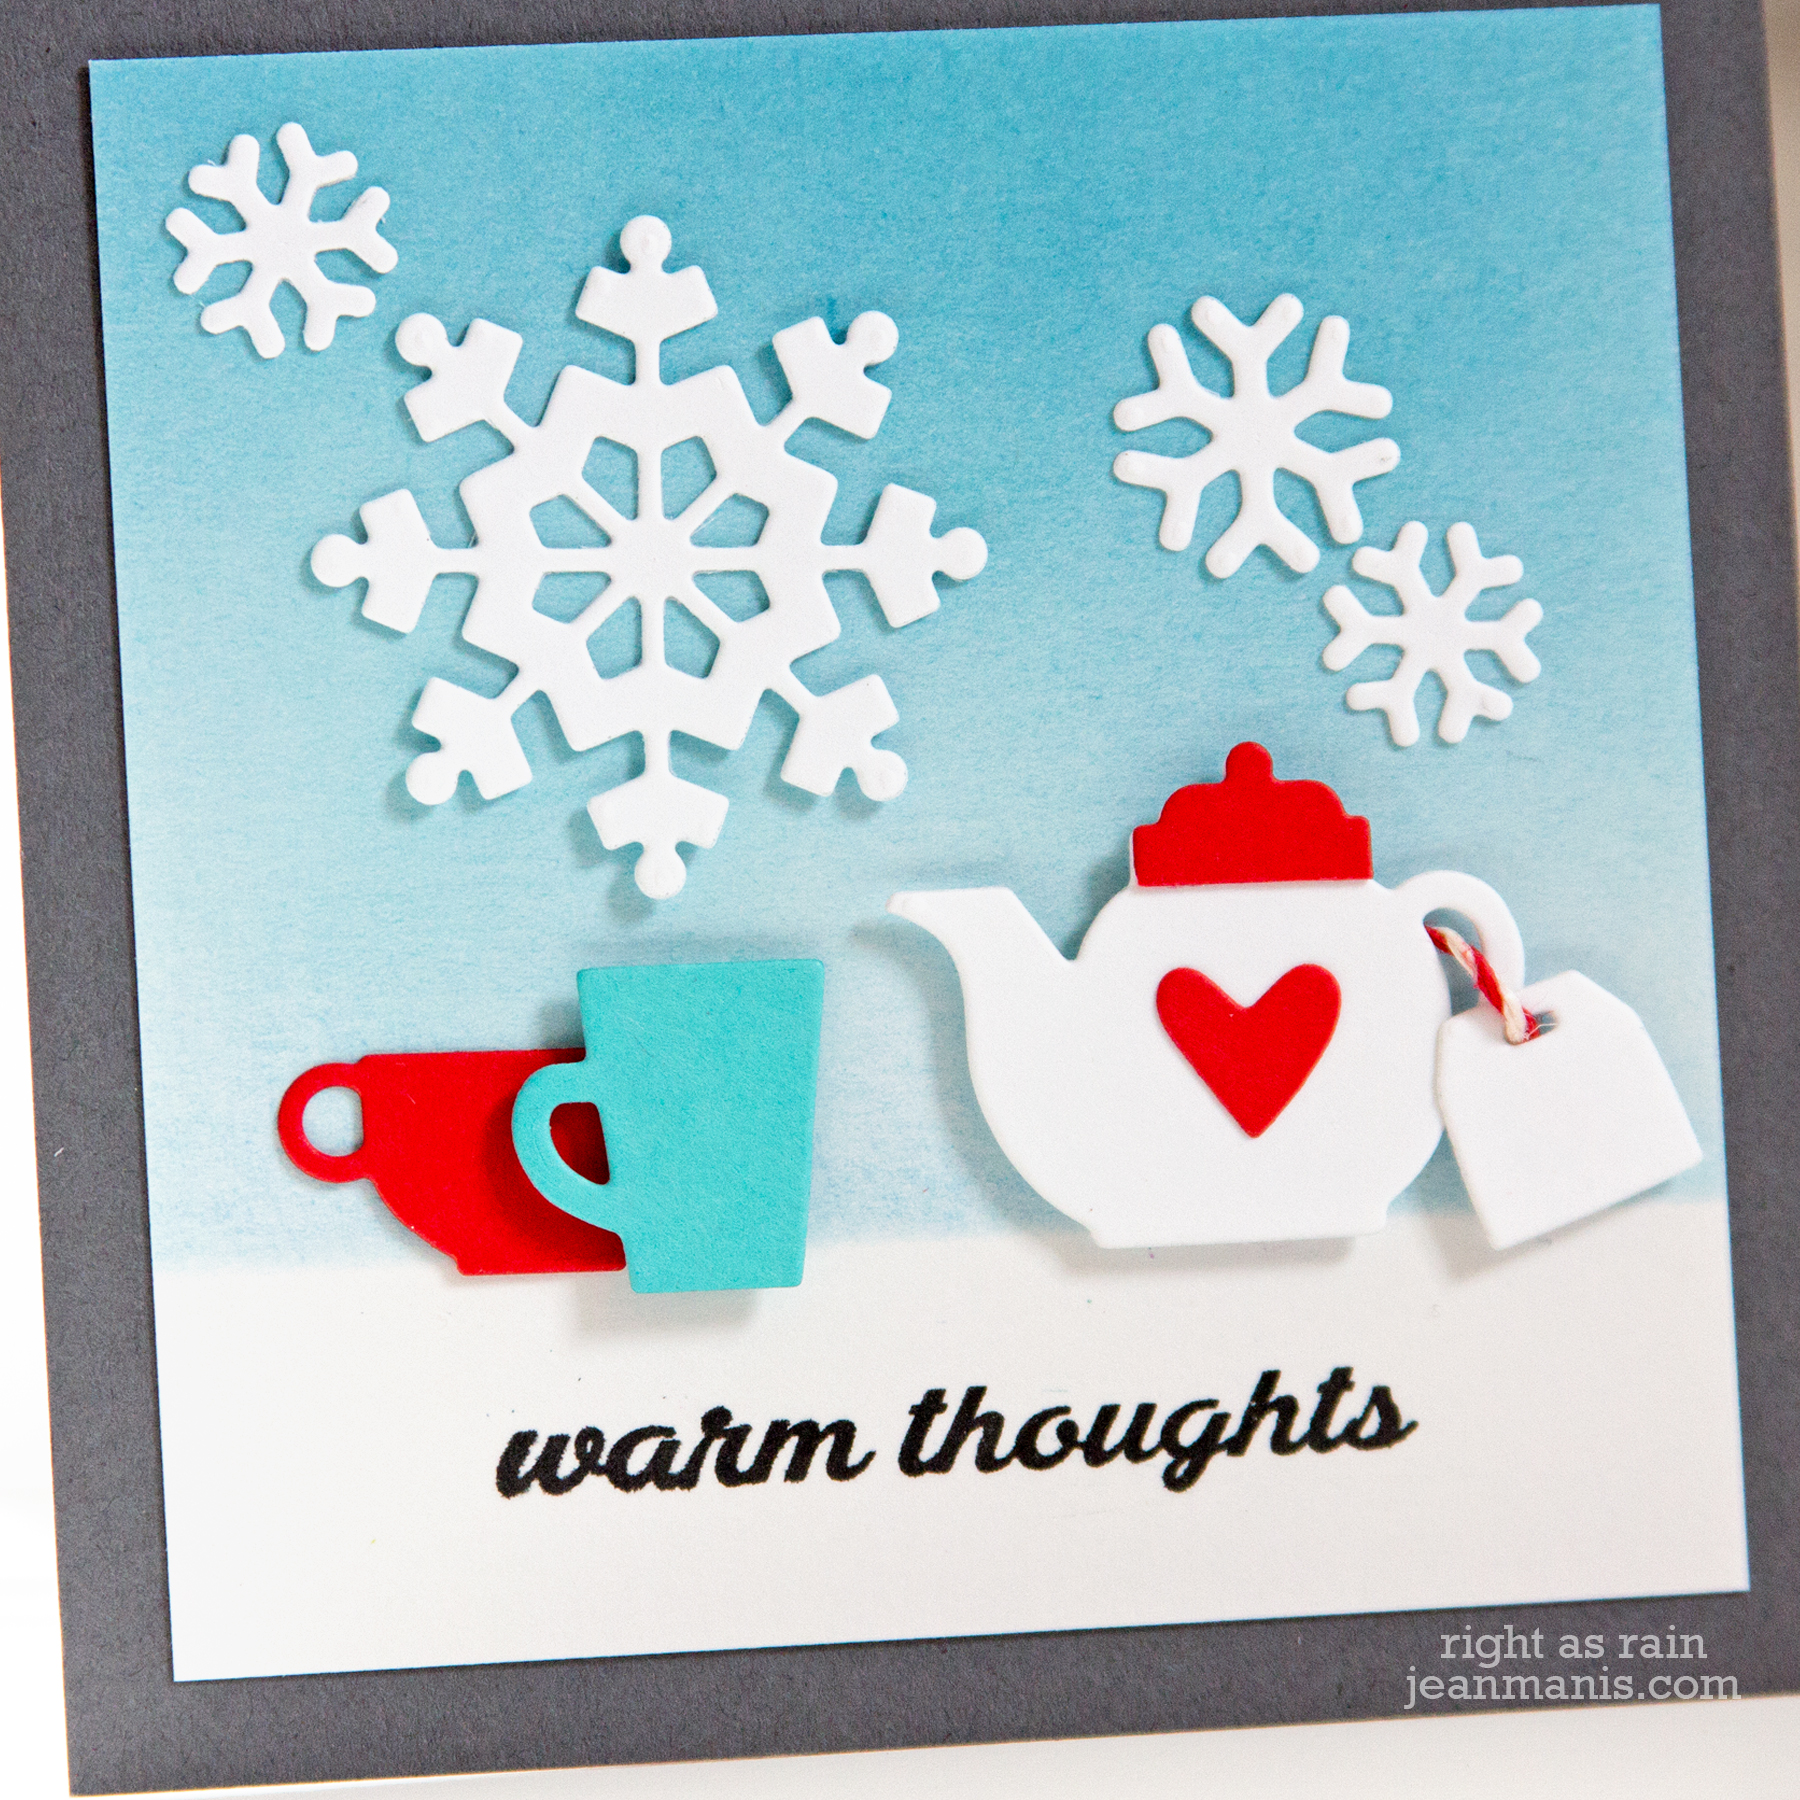
  • With the Paper Smooches Coffee & Tea die set, I die-cut the tea pot, tea bag, cups, and snowflakes. For the teapot, I cut the pot twice, the second time trimming off the bottom part to make the lid.
  • I stamped the Winter Sampler sentiment and blended the sky by masking off the lower area. I applied the ink from the top.
  • I embellished with snowflakes cut with the Snowflakes die set.
  • This card is 4″ square. I wanted the elements to be close together to feel cozy and warm.
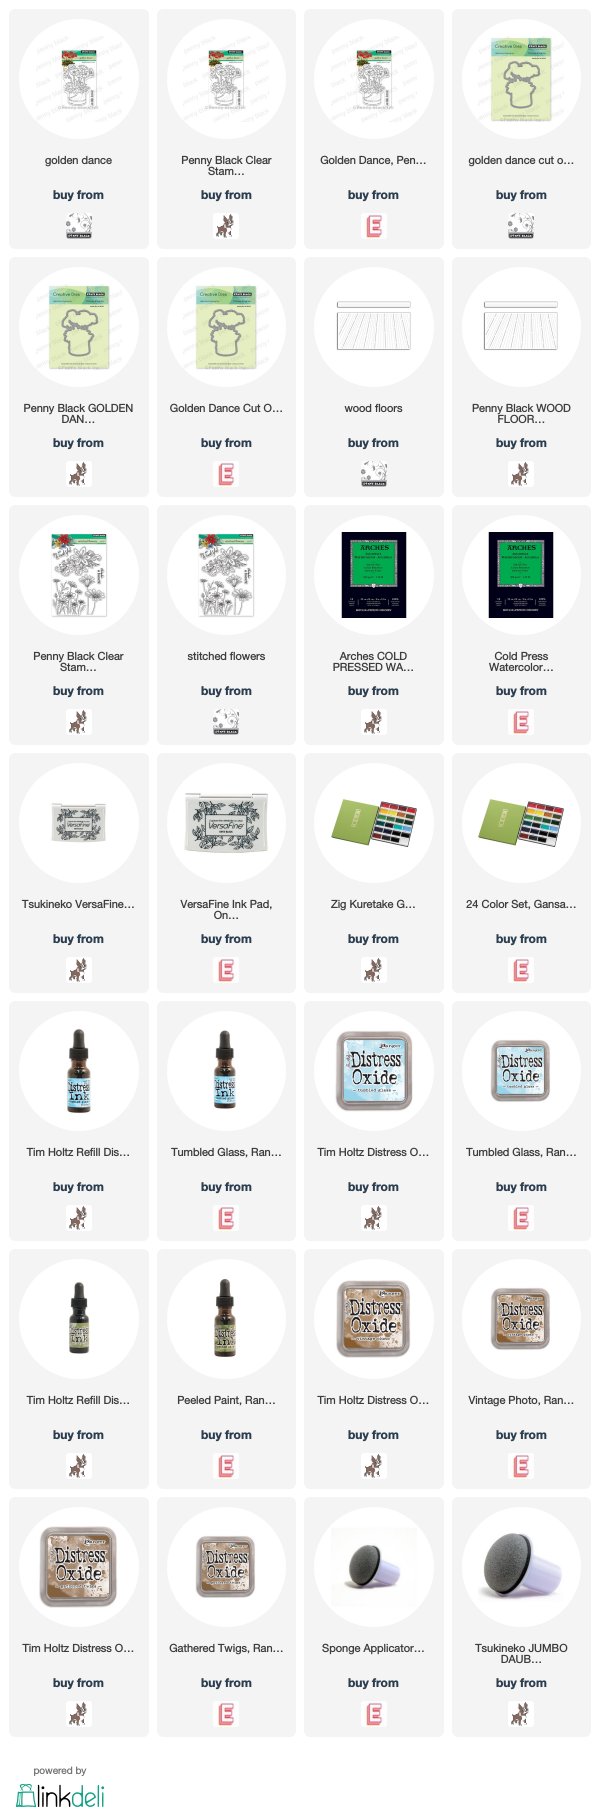
Paper Smooches - February LOVE Challenge

Supplies:

Penny Black – Watercolored Golden Dance

Hello! Today I am sharing a card featuring a watercolored floral image from the Penny Black stamp set #30-562 Golden Dance, cut with its coordinating die.

Penny Black - Watercolored Golden Dance

  • I stamped the #30-562 Golden Dance image with VersaFine ink on Cold Press paper and watercolored it with Distress Ink reinkers and Gansai Tambi watercolors.
  • Once dry, I cut the image with the #51-533 Golden Dance Cut Out.
  • I cut the floor with the #51-433 Wood Floors die from cardstock, which  I had colored with Distress Oxide inks.
  • I blended Tumbled Glass ink on to the card base and stamped a sentiment from the #30-418 Stitched Flowers stamp set.
  • I adhered the floor (and its base board) to the card base and added the watercolored flowers with foam adhesive.

Penny Black - Watercolored Golden Dance

Supplies:

Art Studio Botanicals – February 2020 Spellbinders Small Die of the Month

Hello and Happy February! Today, I am sharing two friendship cards created with the February Small Die of the Month kit from Spellbinders – “Art Studio Botanicals.” The set includes seven dies with which you can create fun abstract art – three circle shapes feature botanical images, three circle shapes feature geometrical images, and a circle die (to cut the outline on the images and to cut a solid circle).

My first card features the assembled circles placed around a “hello” sentiment on an A2-sized card.

February 2020 Spellbinders Small Die of the Month

I cut the botanical images from Whip Cream cardstock. I cut the geometrical pieces from green, blue, and teal cardstock. I cut the bottom circles from black. I assembled the circle stacks and added them to the card front. I added enamel dots to help fill the “white space.”

February 2020 Spellbinders Small Die of the Month

My second card is sized 6  1/2″ x 3  1/2″ and features the assembled circles in a row.

February 2020 Spellbinders Small Die of the Month

I cut the botanical images from Whip Cream cardstock. I cut the geometrical pieces from teal, blue, and red cardstock. I cut the bottom circles from black. I assembled the circle stacks and added them to a yellow cardstock rectangle. I heat-embossed the sentiment on to dark grey cardstock.

February 2020 Spellbinders Small Die of the Month

Supplies:

Penny Black – Watercolored Floral Card

Hello! Today I am sharing a watercolored thank you card featuring Penny Black supplies.

Penny Black - Watercolored Floral Card

  • I stamped the #40-682 Harmony image on to Canson Montval watercolor paper with Versafine ink and colored the image with Zig markers and Gansai Tambi watercolors.
  • Once dry, I stamped the panel with a sentiment from the #30-574 Special Sentiments set and trimmed it.
  • I added the image to a white linen-finish card base.

Penny Black - Watercolored Floral Card

Supplies: Penny Black Harmony and Special Sentiments stamp sets; Montval watercolor paper

Avery Elle Viking

Hello! Today I am sharing a CAS masculine thank you card created with the Avery Elle Viking stamp set. This is another card created with the goals of using seldom- or never-used products and practicing my coloring skills.

Avery Elle Viking

  • I stamped the viking image and colored him with Copic markers and colored pencils. The image includes a sentiment in the beard, which I covered when I stamped the image.
  • I used the coordinating die to cut out the viking.
  • I heat-embossed an Avery Elle thank you sentiment (sent in one of my Avery Elle orders) on woodgrain patterned paper.
  • I added the Viking to the woodgrain paper with foam adhesive and added the assembly to a gingham-checked patterned paper base.

Avery Elle Viking

Supplies: Avery Elle Viking and coordinating die set, X-Press It paper (for Copics)