Spellbinders – Halloween Candy Container

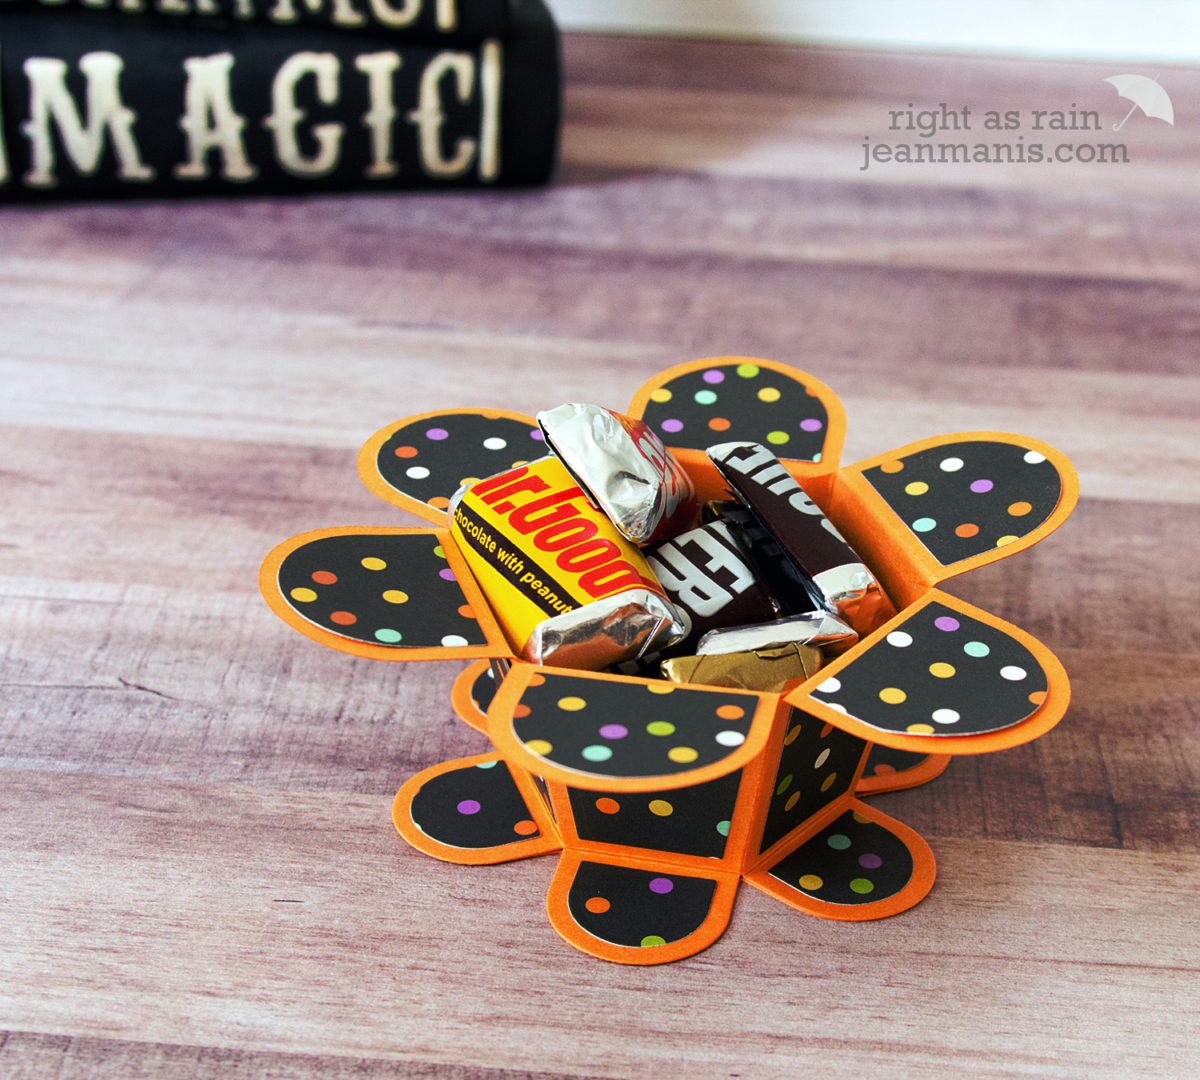
Hello, crafty friends! Today, I am sharing a Halloween candy container created with the Spellbinders Hexagon Petal Box from the Blooming Garden Collection by Marisa Job. The set contains eight dies to create a six-sided box.  While I kept my Halloween-themed container simple, there are many variations possible with this set (as you will see on the product link).

Spellbinders - Halloween Candy Container

Spellbinders - Halloween Candy Container

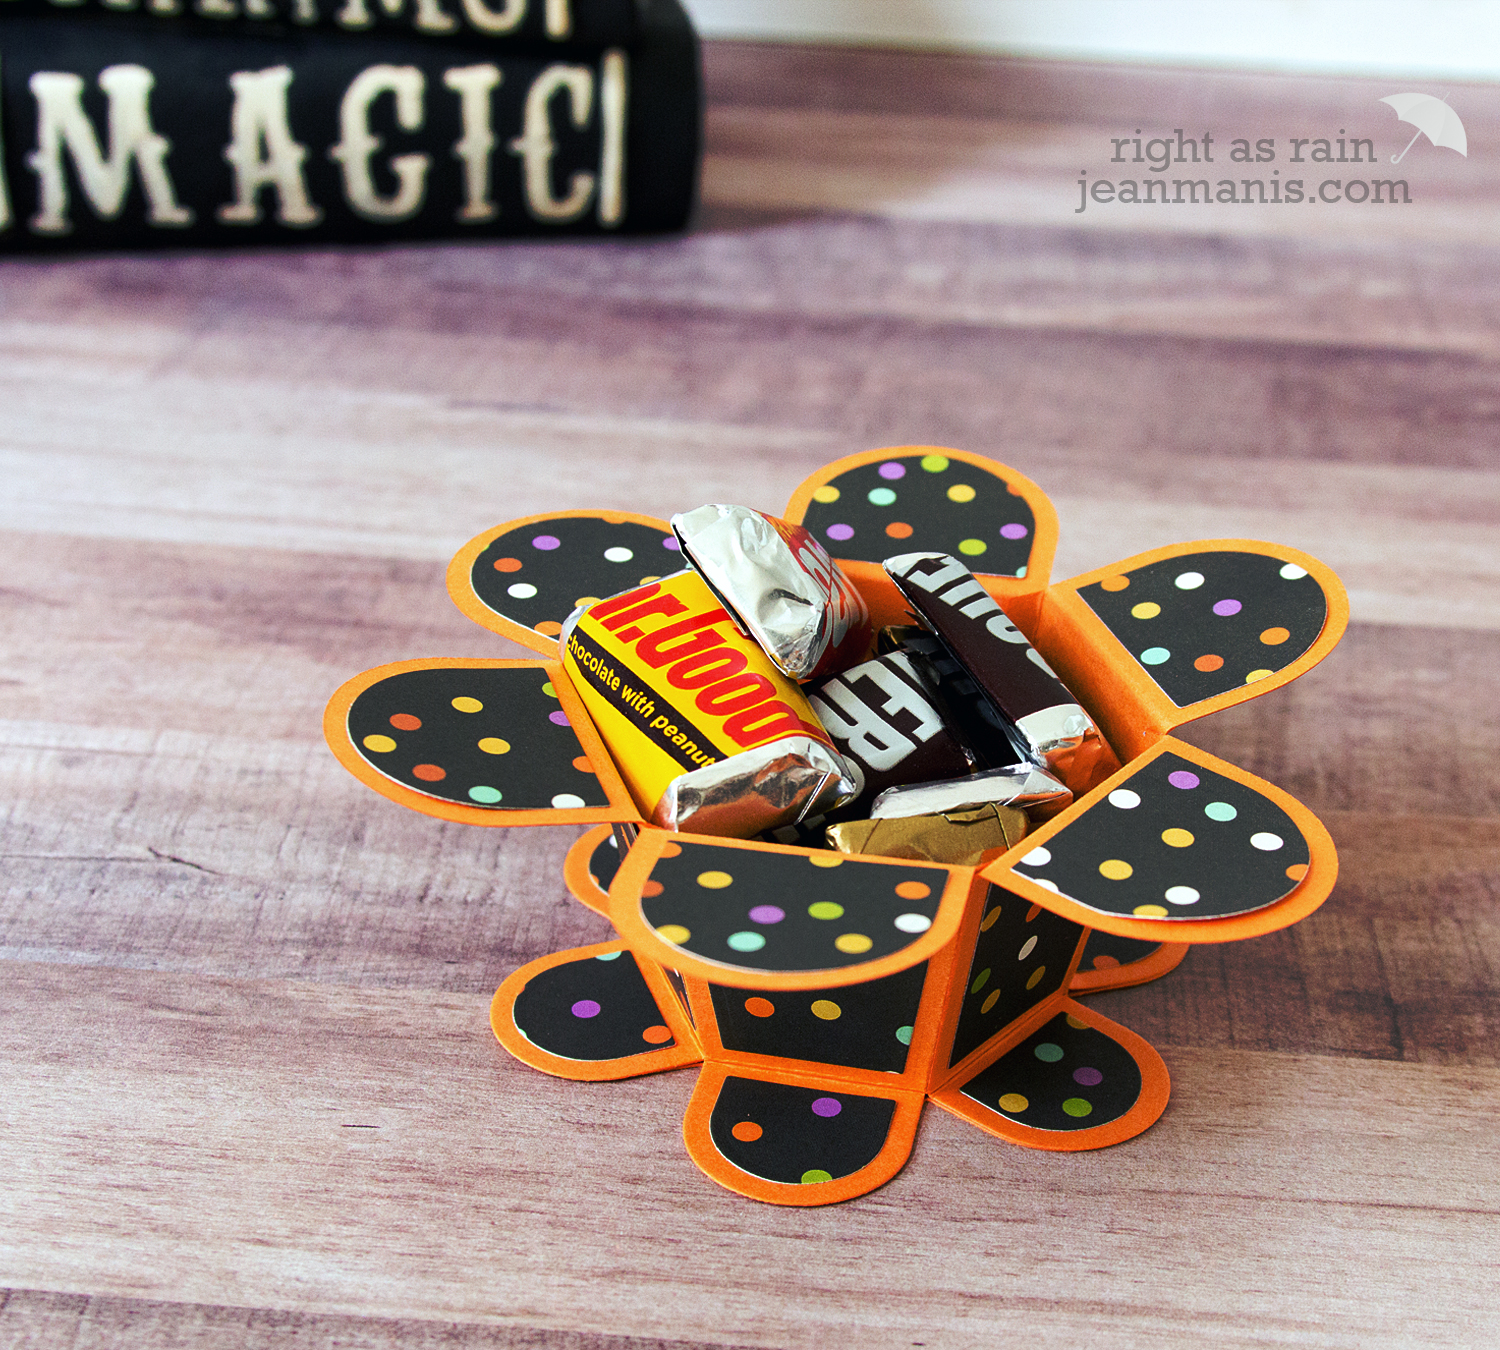
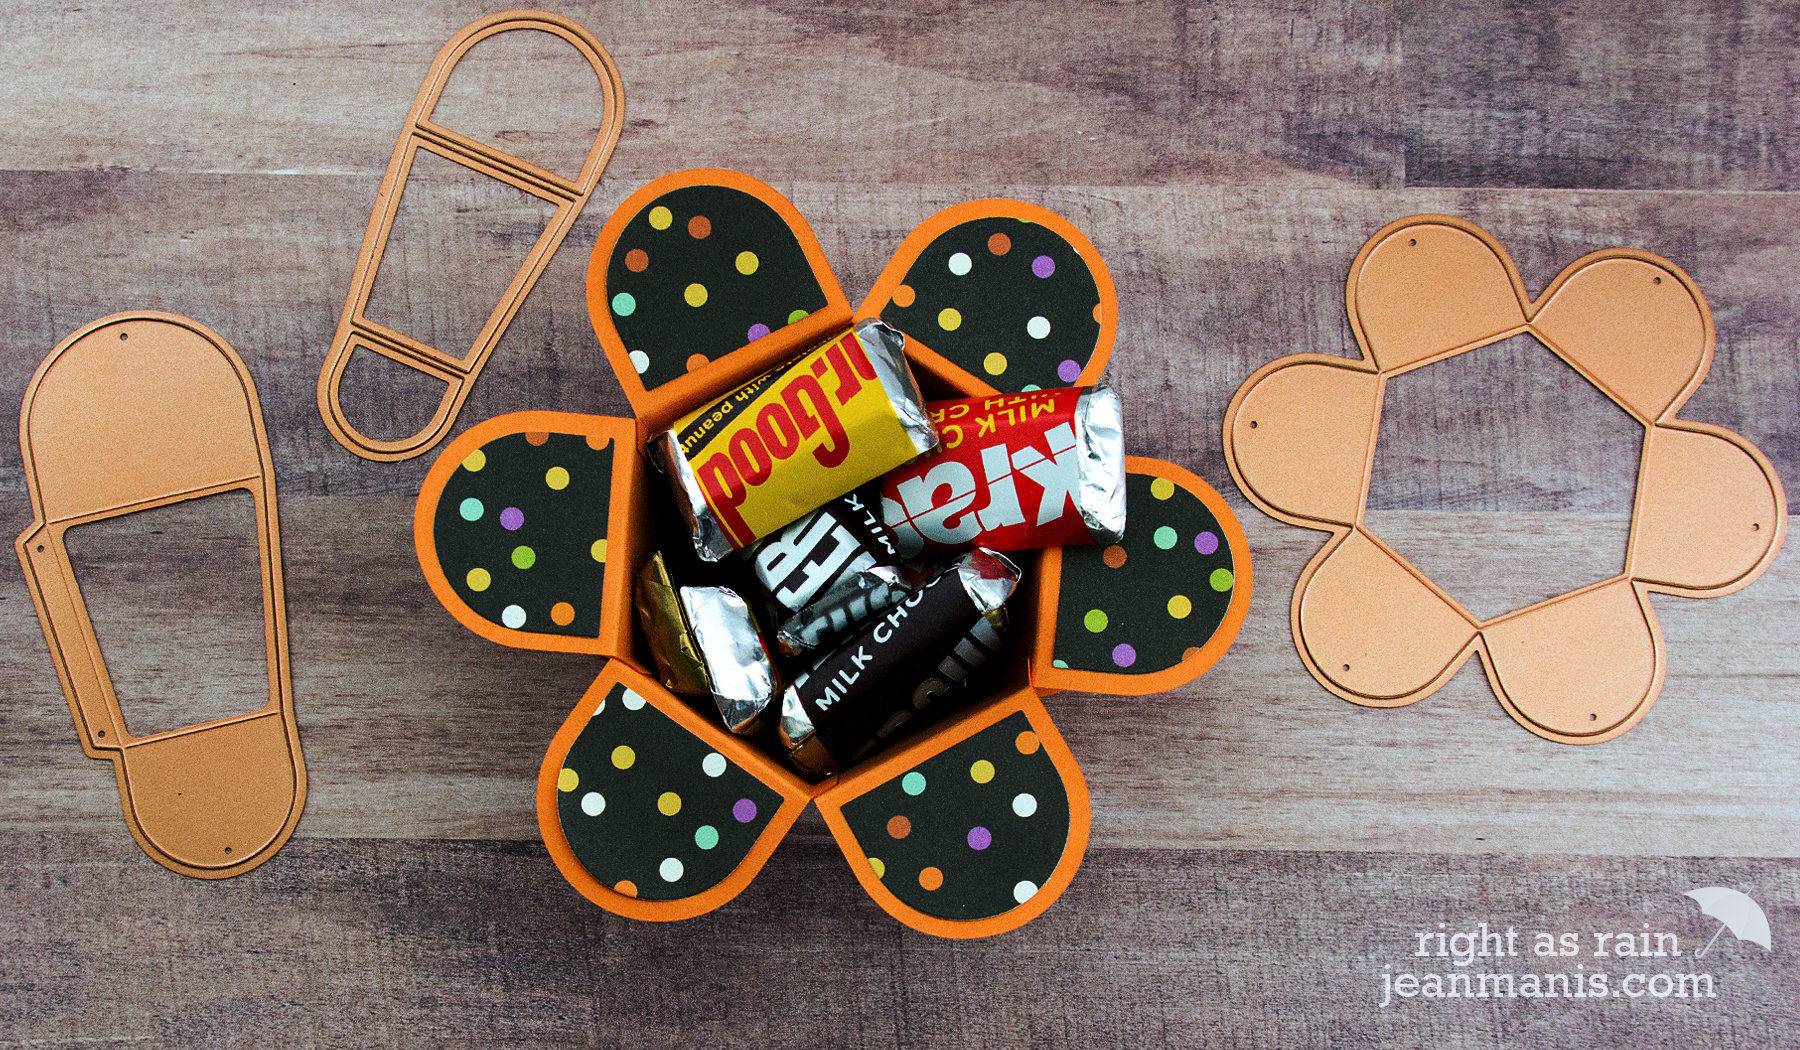
I used one of the set’s dies to cut the base from orange cardstock, another die to create the side pieces (also from the orange cardstock), and a third die to cut the decorative pieces (cut from the polka dot paper). I applied the decorative pieces before attaching the side pieces to the base. The side piece die scores and cuts, making the creation of the box extremely easy! Trick or Treat!

Reverse Confetti – CAS One-Layer Halloween card

Hello! I love Halloween and with fall in the air here in the PNW, I am happily preparing for the event (getting out my various Halloween-themed crafting supplies). I pulled out two Revere Confetti stamp sets to create a CAS one-layer Halloween card.

Reverse Confetti CAS One-Layer Halloween Card

The sentiment is from the Spooky Sentiments set and the witch’s boots are from the Spooky Cuties set (both are now retired). I stamped the boots with Hero Arts black dye ink and the sentiment with Stampin’ Up Pumpkin Pie ink. Without a stamp positioner, I would never have been able to make this card!

Taylored Expressions – Die-Cut Watercolor Scraps

Hello! I recently created a set of watercolor notecards, which were featured on the Taylored Expressions blog. I had a lot of leftover smooshed watercolor cardstock from which I cut flowers and greenery for a die-cut scene.

Taylored Expressions - Die-Cut Watercolor Scraps

I created the scene using the Garden Arbor and Gate, the Arbor Fence, Bloomers Greenery, Mini Bloomers, and Mini Bloomers 2 dies.

Taylored Expressions - Die-Cut Watercolor Scraps

I stamped a sentiment from the Simply Stamped – Wreath set on to a background brushed with Tumbled Glass Distress Oxide ink.


Spellbinders – Swirl Happy Birthday Frame

Hello! I am back crafting after a break to the Mojave Desert to visit family. Today, I am sharing a birthday card created with the Swirl Happy Birthday Frame, part of the Blooming Garden Collection by Marisa Job at Spellbinders. I previously shared a card created with another die from this collection here.

Spellbinders - Swirl Happy Birthday Frame

The Swirl Happy Birthday Frame set includes the birthday sentiment, the background swirl panel, and a die to cut a rectangle which fits inside the background swirl. I used the dies to cut white cardstock with the swirl designs.

Spellbinders - Swirl Happy Birthday Frame

I cut both the sentiment swirl and the background swirl twice to create depth. I initially cut the sentiment from gold foil and from black cardstock, but after playing with a variety of patterned papers for the card base and the rectangular panel, the most elegant and striking combination was the one using the white cardstock. I wanted the swirls to take center stage!

Spellbinders - Swirl Happy Birthday Frame

Newton’s Nook – Live, Love, Aloha

Hello! Today, I am sharing another card created with the Newton’s Nook Aloha Newton stamp set. See my first card here.

Newton’s Nook Aloha Newton

  • I stamped the image with Intense Black ink on Mixed Media paper.
  • I colored the image with Zig Clean Color Real Brush markers.
  • I stamped the sentiment under the colored image and cut the paper with a rectangular die.
  • For the card base, I dry-embossed Taylored Expressions Candy Corn cardstock with a TE embossing folder that reinforces the tropical feel.

Newton’s Nook Aloha NewtonSupplies: